This post is sponsored by Cricut, all opinions are 100% my own! I have also included affiliate links for your convenience… enjoy!

So here’s the question… is the Cricut Heat Press worth it? Those babies aren’t exactly free so do I really need one? My answer? Yes! If you plan to make more than a few iron-on projects a year a heat press is 100% the way to go.
There are a million reasons why (and I go over even more of them in my Ultimate Guide to the Cricut Easy Press which you can read here) but we’re going to go over the main points here.
Questions We’ll Answer:
- Is a heat press necessary for Cricut?
- Do you need a Cricut heat press or can you use an iron?
- What can you make with a Cricut heat press?
- BONUS Cricut Access Library Project: Cruise Control T-Shirt
Looking for a real life example? Scroll to the bottom for an easy to follow t-shirt tutorial with my easy press 2! We’ll be layering infusible ink and iron-on so you can see the versatility of the easy press with both materials.
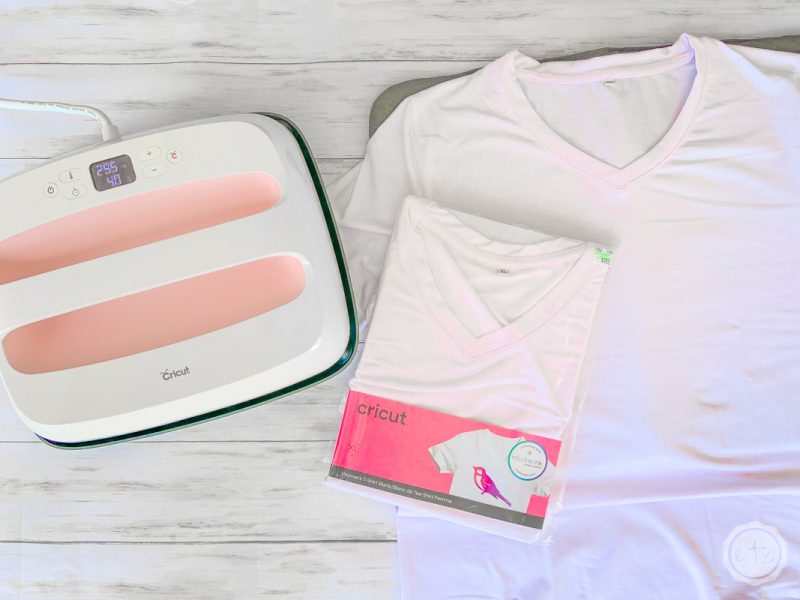
Is a heat press necessary for Cricut?
Ok first things first… is the heat press a necessity? NO. You could make a million, bajillion cricut projects without ever owning a heat press. It is however my number one item you should buy as a cricut newbie that you don’t actually need.
If you never plan on making a project with iron-on or infusible ink then you could probably skip it. If you’re planning to only make really cool projects with Cricut baswood and never add iron-on to any of them then the easy press is not for you.
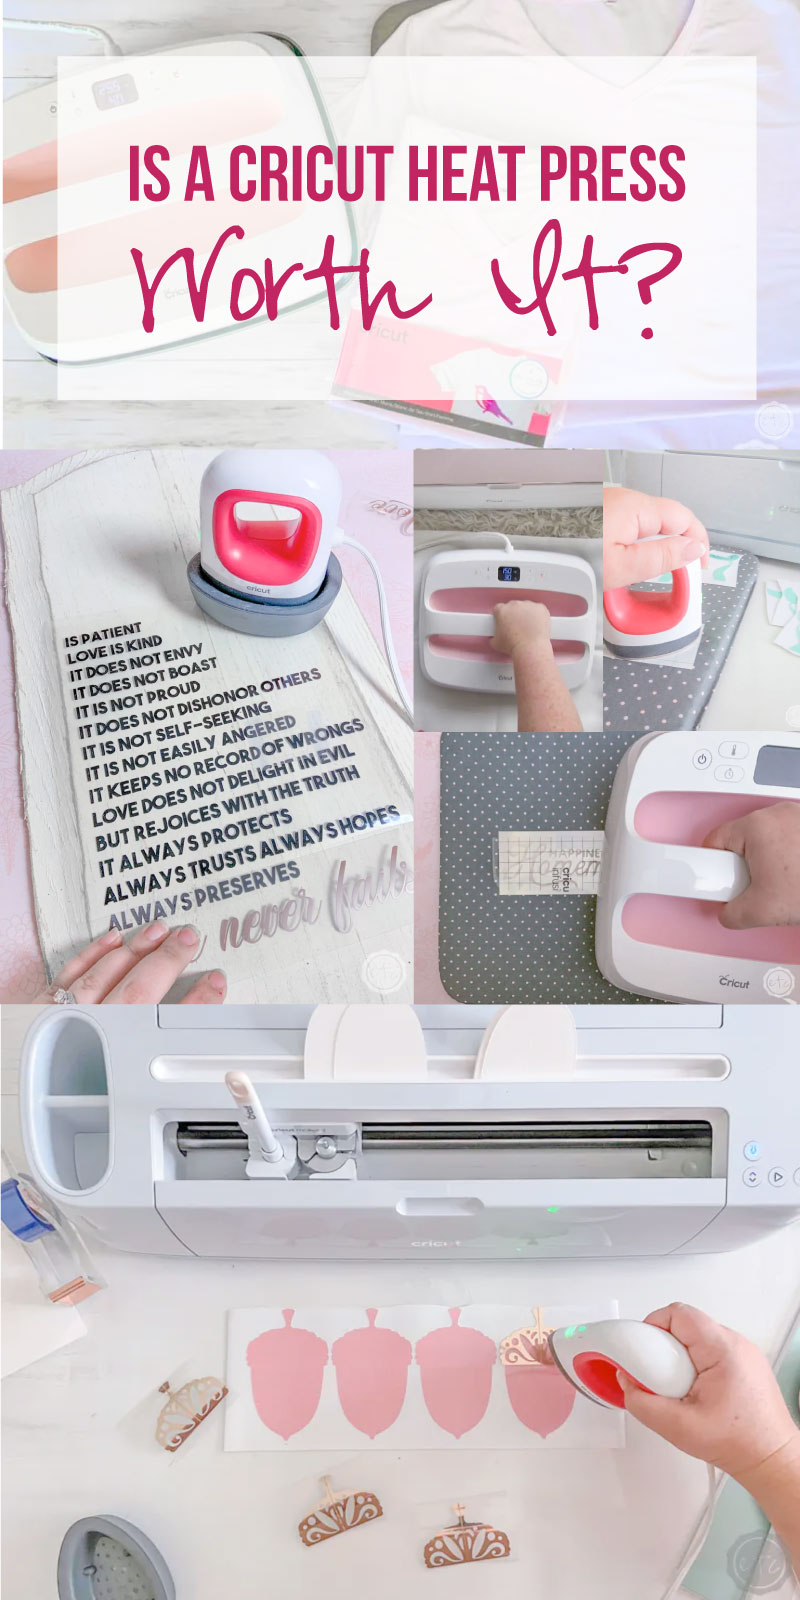
BUT most people purchase their Cricut with plans to make lots of iron-on projects! There are a million ways to use iron-on besides the basic t-shirt… last week I literally used my mini easy press to add iron-on to sticker cardstock to make these diy paper acorns.
And if you’re planning to make more than one iron-on project each year an easy press will save you time and sanity. I’ll tell you why as we go over whether or not an iron is a viable alternative to the Cricut easy press.

Do you need a Cricut heat press or can you use an iron?
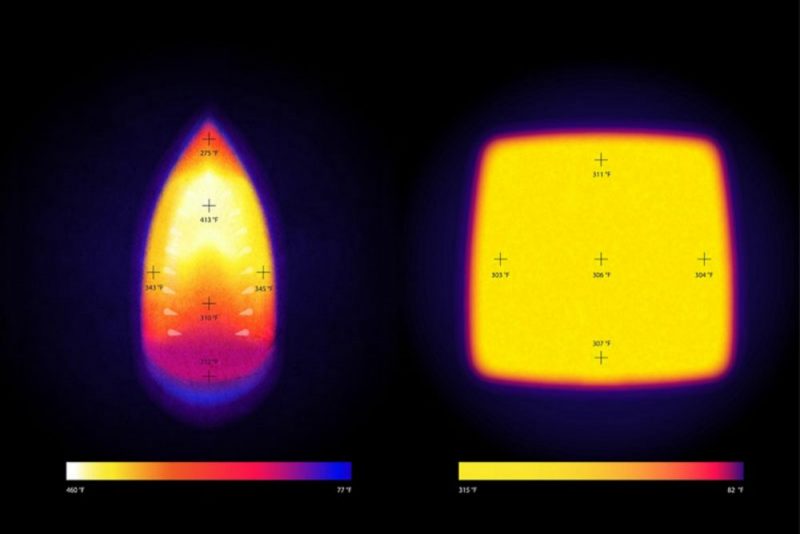
Yes, you can use an iron… but this is where the “saves your sanity” part of the story comes in. An iron does not evenly heat up across the surface. Instead it heats up the center portion of the iron and the tip. Which means instead of covering your entire design with an evenly heated heat plate you’re covering part of your design with high heat, part with medium, part with low and part with none… unless your design is itty bitty.
Not only does this mean you have to move your iron to heat the entire design (which is not a good idea with infusible ink as it can make it hazy) but it means each part of your design gets an unequal amount of heat. Some parts may be perfect but some will have too much heat and start to crinkle and some will have too little heat and may not adhere.
I also found that the designs I did with my iron (before I purchased my easy press) did not last as long. The iron-on would start to peel up after 2-3 washes as opposed to designs I’ve done with my easy press that have lasted years.
All of this is enough of a reason for me to prefer the easy press but if you need one more reason using an iron for your next project is a bad idea… it’s time. The time it takes to bond iron-on with an iron vs an easy press. Cricut’s heat guide will tell you exactly how long it takes to bond anything to anything with your iron-on… iron-on to an infusible ink blank t-shirt? Heat your easy press to 315 and cover with heat for 30 seconds on the front and 15 seconds on the back.
That’s a total of 45 seconds for your entire design. An iron on the other hand doesn’t have a time limit… you have to move the iron around until it hits each part of the design with the hottest portion enough to bond. This means a lot of checking and re-checking. That design I did with my iron? Took me about 15-30 minutes to make sure every single piece of the design was bonded with my iron.
Which is maddening.
What can you make with a Cricut heat press?
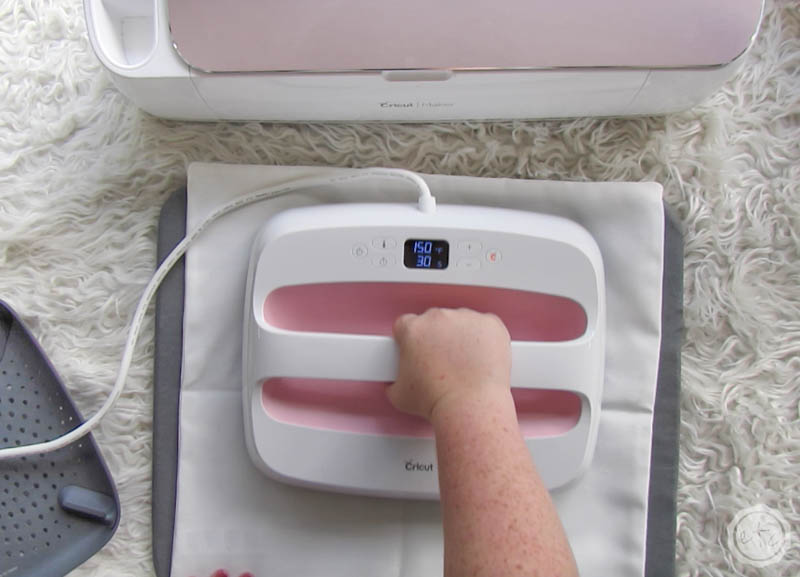
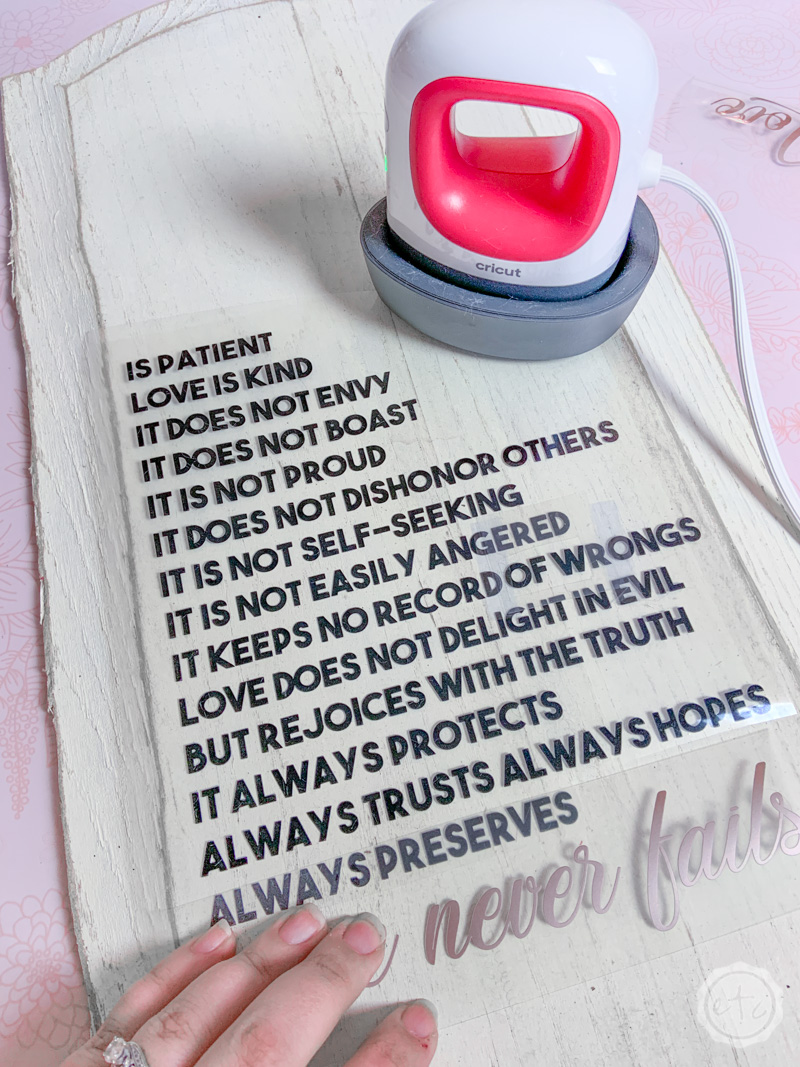
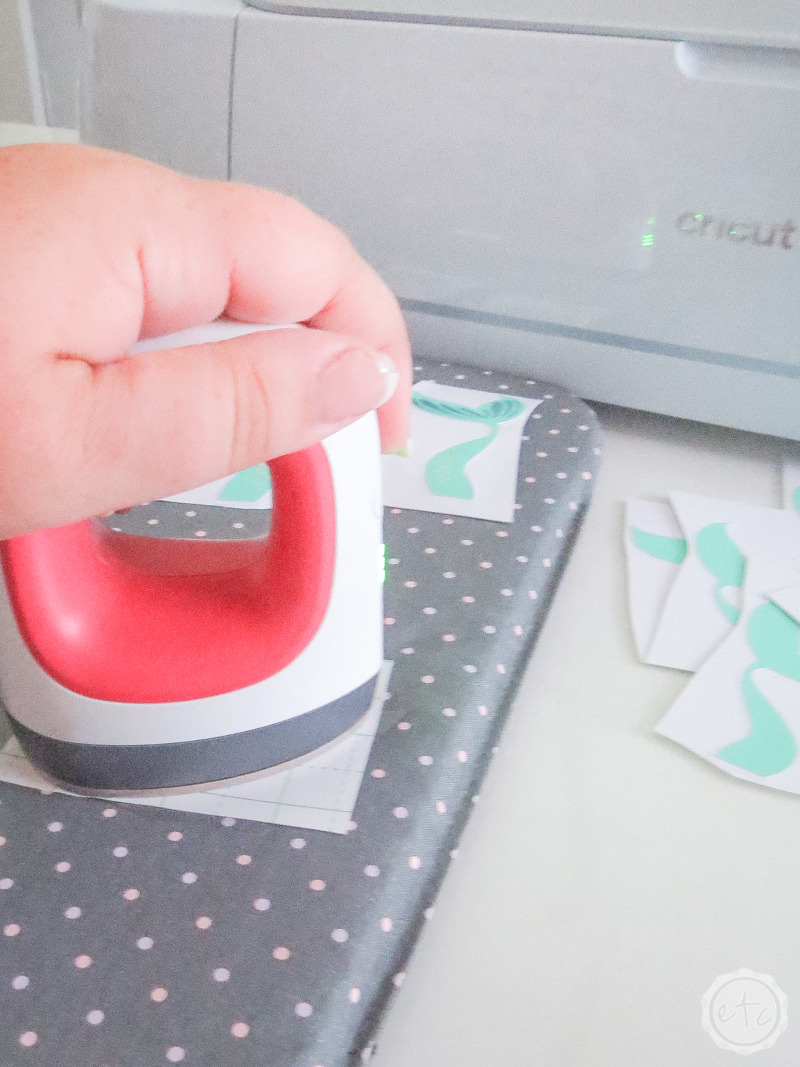
So. many. things. While you can whip up t-shirts and hats (tote bags, shoes… pillows!). You can also make signs… both wooden and aluminum. You can add iron-on to cardstock to make fun paper projects (like these mermaid drink stirrers). If you upgrade to the mug press you can make custom mugs or tumblers… and the new hat press makes diy hats a breeze.
Iron-on will bond to just about anything (literally I’ve used a heat gun to add it to curved metal milk pails!). Which means the possibilities are really endless once you get started.
Here’s a list of a few fun projects you can make today with your easy press.
- Creativity OVER Fear T-Shirt
- Game of Thrones T-Shirt Collection
- Outlander T-Shirt
- Spring Tote Bag
- Anchor Slip on Shoes
- Fall Cheetah Pumpkin Pillows
- Christmas Pillows
- Wooden 1st Corinthians Sign
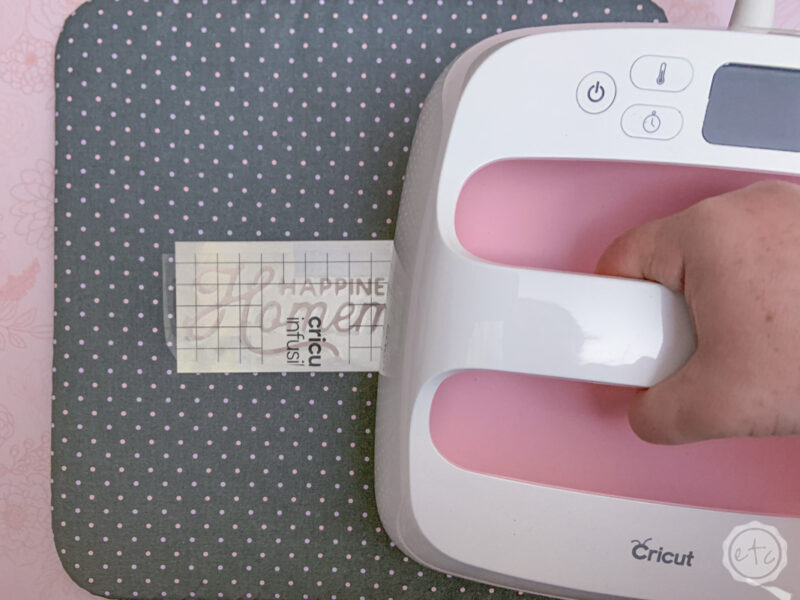
- Happiness is Homemade Aluminum Sign
- Mermaid Drink Stirrer
- Paper 3D Acorns
Cricut Access Library Project: Cruise Control T-Shirt
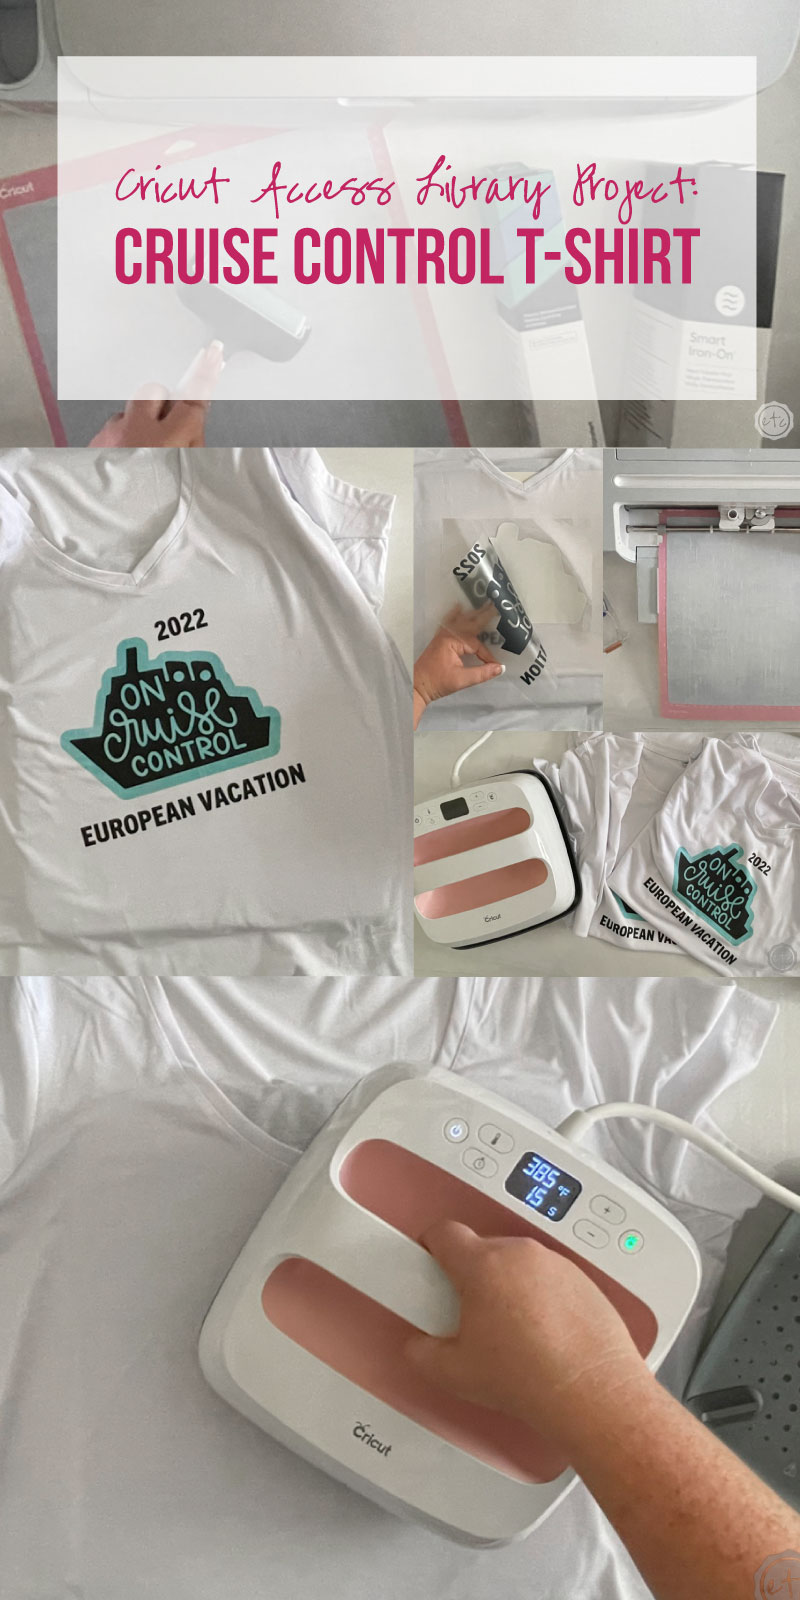
Let’s make a project! Now that we’ve gone over a bit of why the Cricut heat press is totally worth it let’s see it in action! I wanted to show you how it works with multiple materials so we’re going to be layering iron-on over infusible ink.
This means we’ll be adding our infusible ink decal first and then pressing the iron-on over that design… two heat presses for the price of one!
Luckily that sounds intimidating but it’s actually super easy. Let’s get started.
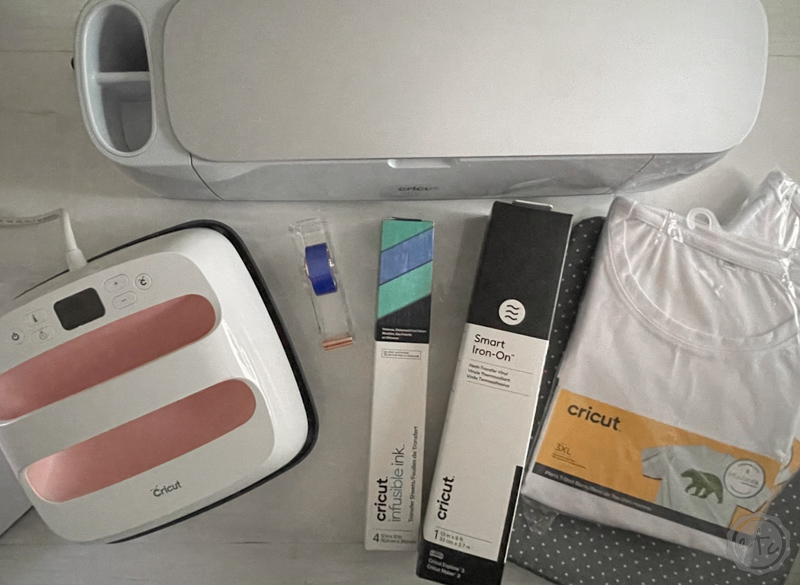
Supplies:
- Cricut Access
- Maker 3
- Vinyl Roll Holder
- Fine Point Blade
- Fabric Grip Mat
- Easy Press
- Easy Press Mat
- Heat Resistant Tape
- Lint Roller
- Piece of Cardstock
- Smart Iron-On
- Infusible Ink
- Infusible Ink Compatible T-Shirts
- Bright 360
- Weeding Tool
- Brayer

Step 1: Prep your Design File
For this little project I hit the Cricut Access Library to find a design I liked. Mom and I are going on a 21 day European Cruise in the next few months so we needed new cruise shirts! You can check out the family cruise shirts I made for our last trip here.
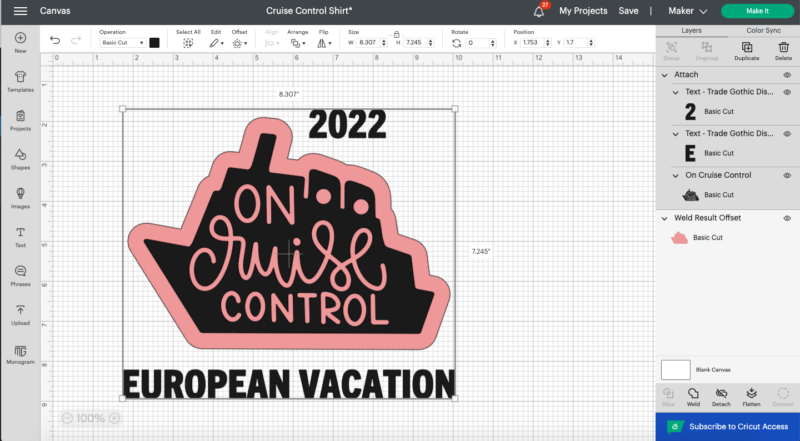
I ended up finding the perfect design in the image section… it’s 24 rows down and shows a little ship that reads “on Cruise Control”. Which is perfect because my mom says she’s on cruise control nearly every trip we take… it’s her thing.
Although I really like the girls gone cruising design as well. Maybe I’ll make that one next.
Either way I selected my image and added it to the canvas. Then I added a bit of text… I wanted our shirts to have the year above the ship and “European Vacation” below so that we could remember which trip this was down the road. I used the “trade gothic display text” font from the Cricut Access Library to add this part and then sized it to match the image.
From here I made an offset path of the ship and moved it to the back layer. This will be our infusible ink layer and will be readable through the cut out words of our design. If you’ve never made an offset path in Cricut Design Space you can check out the full tutorial here.
Perfect! Now that we have our infusible ink layer and our black iron-on layer we’re almost ready to hit make it. One last step… select all 3 black layers and attach them together. This way they’ll cut in the right spots on our iron-on and we won’t have to piece them together on our shirt.

New to Cricut Design Space? I’ve written a comprehensive walk-through of the entire Cricut Design Space dashboard… I’ll show you what every single button does and how to use them for your projects. This includes buttons like the attach or weld button in the right toolbar. We just used the attach button for this project so if you need help (or don’t know the difference between attach and weld) check it out!

Step 2: Prep your Materials
Now that our design is ready let’s go ahead and prep our materials.
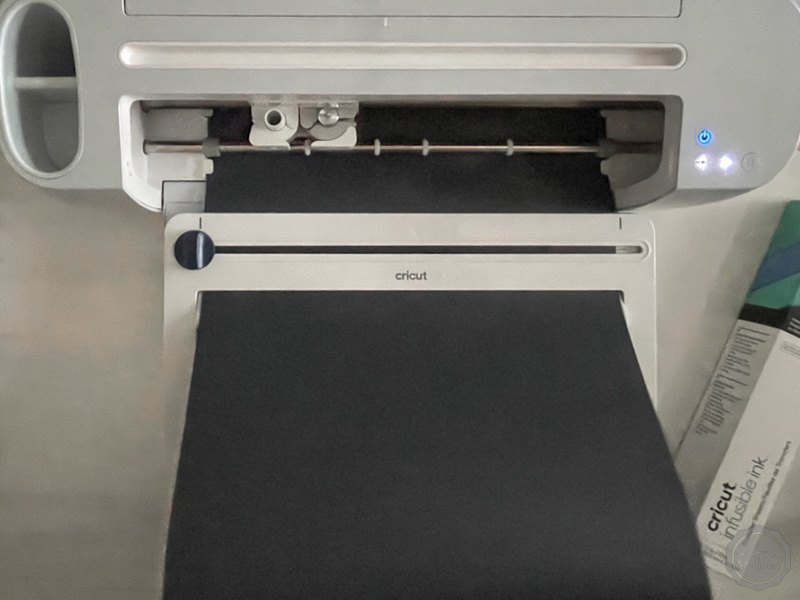
Your smart iron-on won’t need a mat (if you’re not using a Maker 3 and smart iron-on you will need to add your regular iron-on to a cutting mat for use with your Maker or Explore Air 2) but you’ll want to grab your vinyl roll holder.
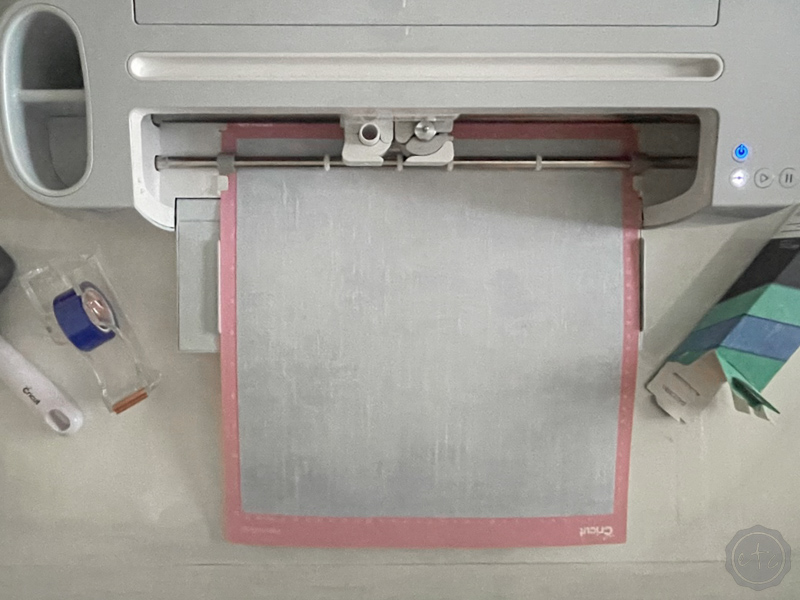
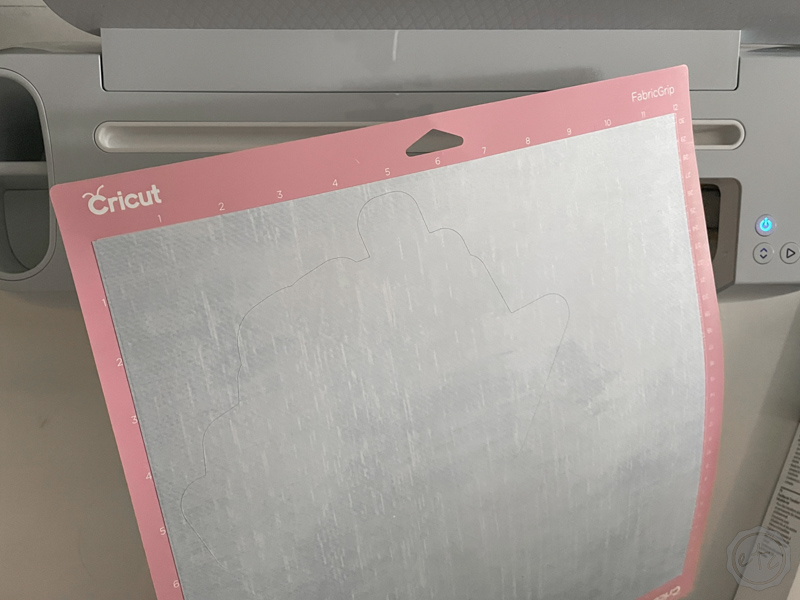
As for your infusible ink you will place that on a cutting mat: ink side up using clean dry hands. This sheet is made with actual ink so using dirty hands may smudge your ink… using wet hands will definitely smudge your ink. Once it’s on your cutting mat I like to smooth it out with a brayer as the stiff material is known to have little air bubbles between the material and the cutting mat… a brayer just ensures that you have a smooth bond across the entire surface.
Perfect.

Step 3: Cut your Materials
Ready to cut? Both the infusible ink and iron-on will need to be “mirrored” in design space so make sure that mirror is turned on for both layers and the right material is selected.
Once you have your material selected for your first layer (which should be the iron-on) Design Space will remind you to place your material shiny side down on the cutting mat and turn “mirror” on. So you don’t have to remember simply read the instructions each time and you’ll be good to go.
Go ahead and cut both materials (they both use the fine-point blade) and we’ll move on to weeding!
Step 4: Weed your Decals
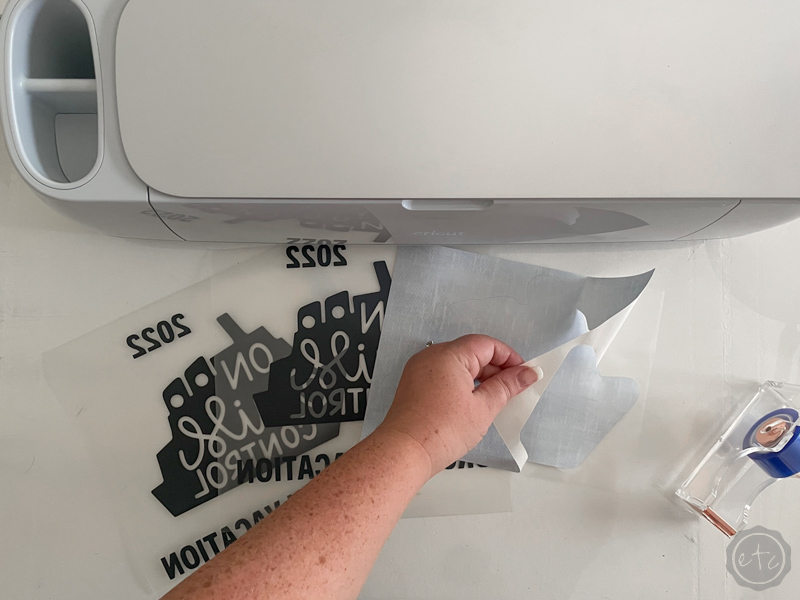
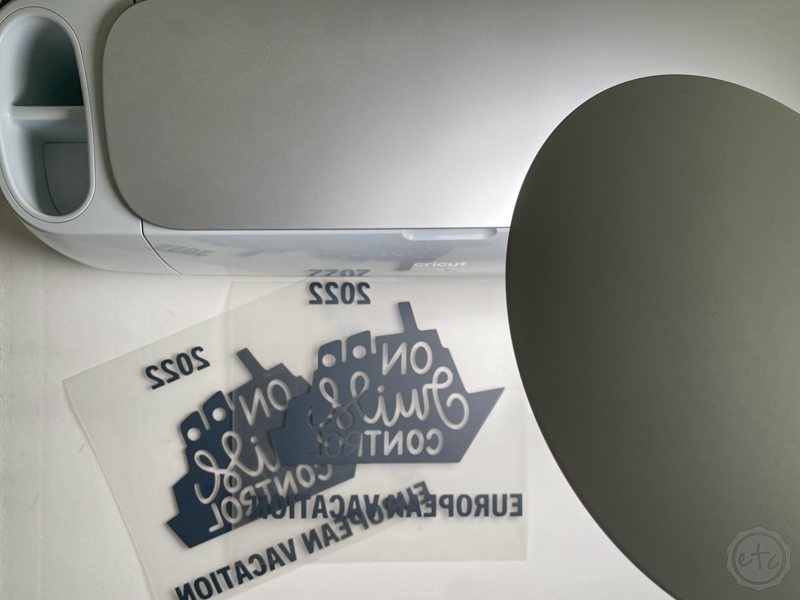
Now we’re getting to the fun part! Weeding infusible ink is easy peezy lemon squeezy… don’t use a weeding tool as it may rip your material. Instead use your fingers to separate the outside layer of infusible ink and pull it away from the clear protective backing. This should leave you with a single ship on a clear sheet of plastic.
Score!
Ready for the iron-on?
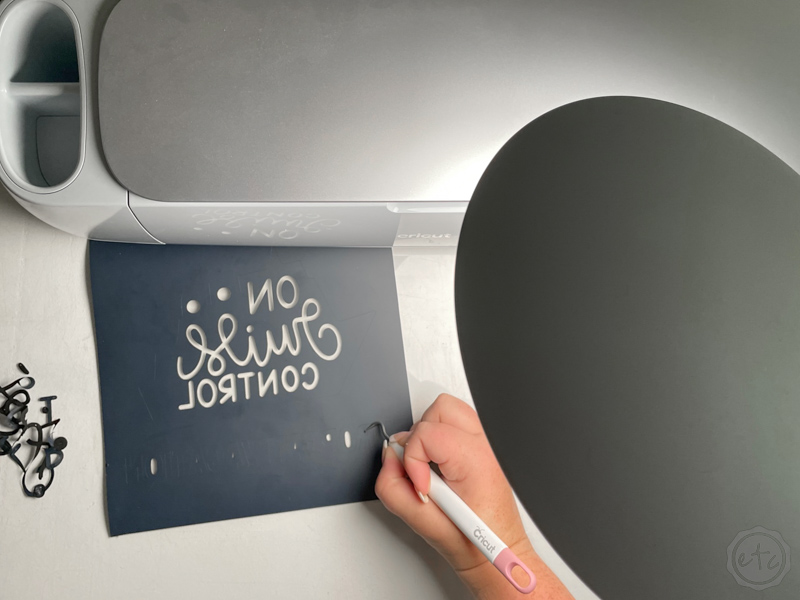
It was getting late as I worked on this project and for whatever reason I had a really hard time seeing those weeding lines. Typically black materials have enough contrast that I can weed them no problem (I have to use my Bright Pad for white materials every. single. time). But even my Bright Pad did nothing for this black iron-on. Luckily I turned on my Bright 360 and could see every single line clear as day.
Hopefully it’s easy to see in the photos too!
If you want a comprehensive overview on the Bright 360 (and why I love it so much) you can check it out here). In the meantime go ahead and weed your iron-on. For this project we want to remove the words from inside the ship and the iron-on from around the ship (leaving the words we added to the background). Then remove the inside of the letters from the words we added and we’re good to go!

Step 5: Apply your Infusible Ink
Let’s do this thing! Go ahead and heat up your easy press to the temperature on the heat guide… for my easy press 2 on an infusible ink compatible shirt with a Cricut Easy Press Mat (the heat guide doesn’t play around with asking what you’re using!) the guidelines are 385 degrees for 40 seconds. So we’ll set our easy press to 385 and let it heat up while we line up our infusible ink on our shirt.
Start by positioning your shirt on your easy press mat. Then use your heat press (while it’s heating up) to remove any wrinkles. Wrinkles on the surface of your shirt means wrinkles on the surface of your project and we don’t want that!
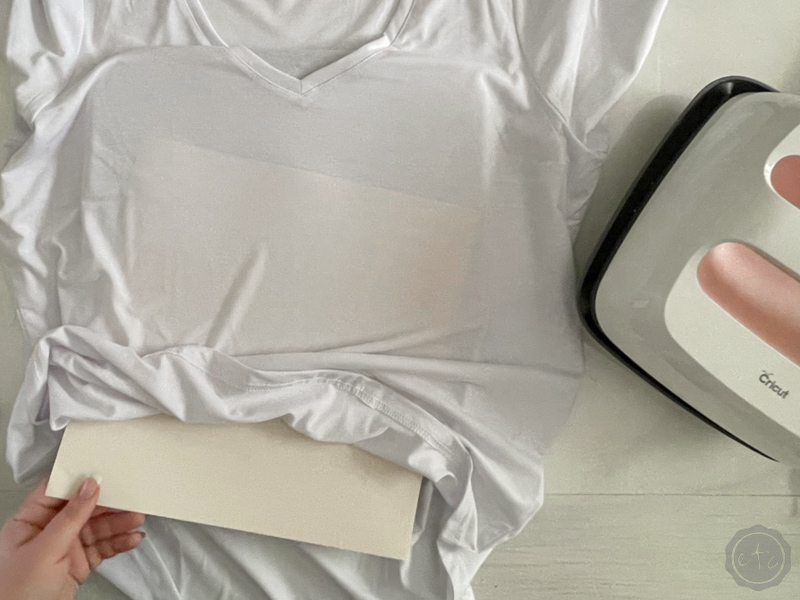
Then carefully add a piece of cardstock inside your shirt… this will catch any excess ink from the infusible ink that tries to bleed through and stain the back layer of your t-shirt.
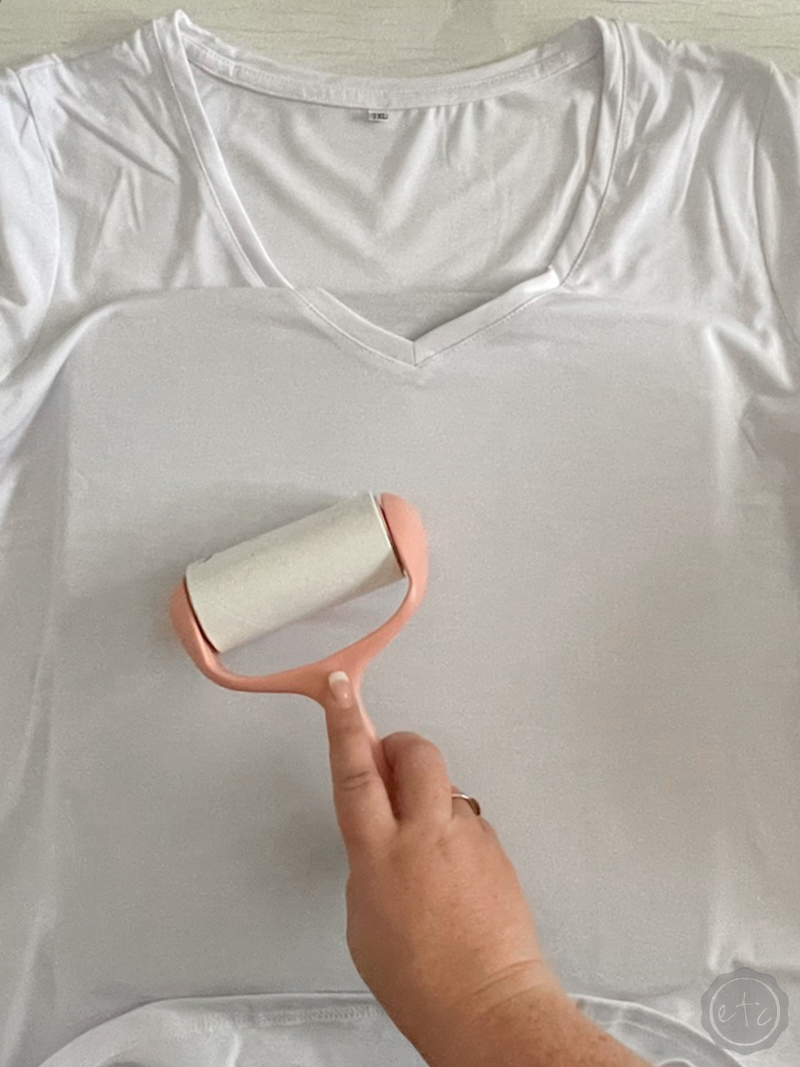
We’re almost done with our prep work… the last step is to use your lint roller to remove any fuzz (or in my case dog hair) that has attacked your shirt in the few seconds since you opened your shirt till now. Maybe you live in a magic world where dog hair isn’t everywhere but this is a necessary step in my house.
Now take your infusible ink layer and your iron-on layer and line them up. Since we’re adding our infusible ink layer first if we position it on our t-shirt by itself our overall design may not be in the correct place when all is said and done. So make an infusible ink and iron-on sandwhich and we’ll position it on our shirt.

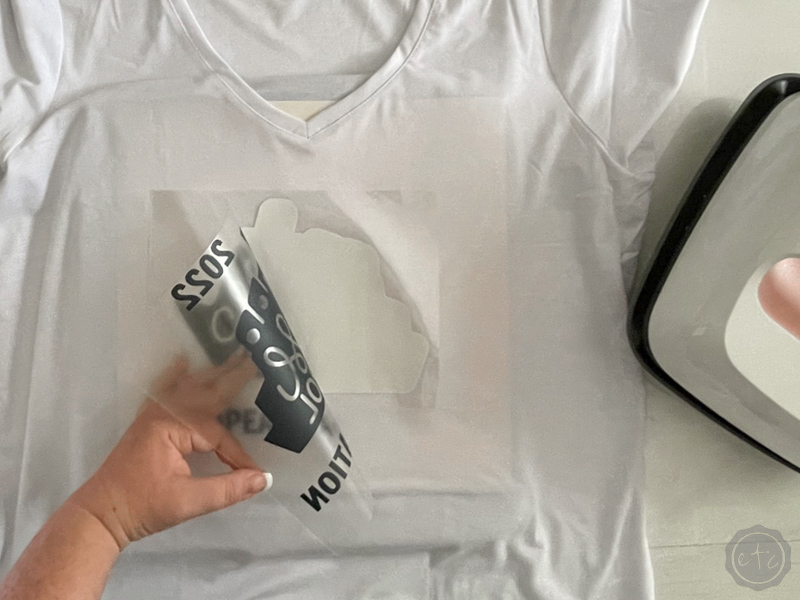
I like to add my designs 4 finger widths down from the neck of the shirt… then just make sure the entire design is centered and straight before placing it down.
The infusible ink backing is pretty sticky so press it down while carefully removing the iron-on. Make sure that the infusible ink layer stays in place and you can set your iron-on off to the side for now.
Last but not least go ahead and use a bit of heat resistant washi tape to tape down the infusible ink layer. Once we apply heat if the infusible ink decal moves at all your design will be hazy and slightly funny looking… so the tape helps to hold the decal in place while we heat it up.


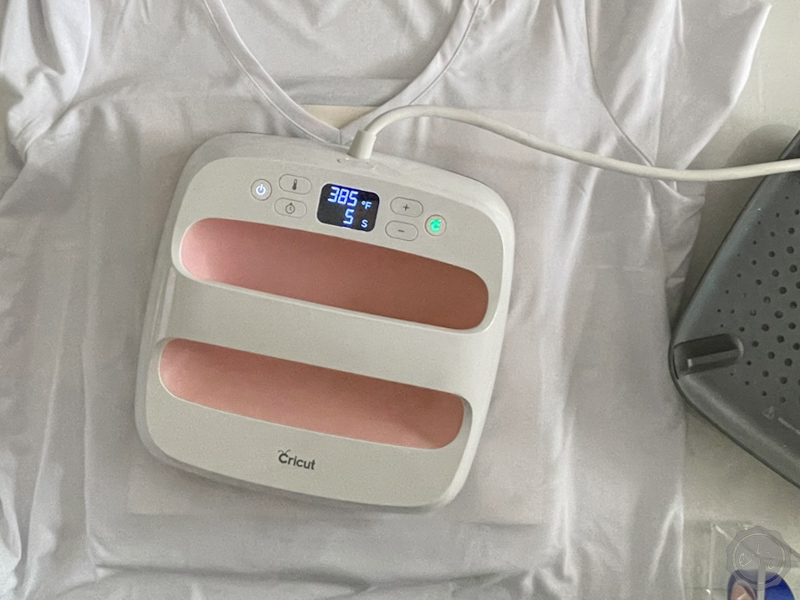
Now that your design is in place go ahead and place heat press straight down onto your design. Make sure it’s covering the entire ship and then click the green cricut button to start the timer. Make sure not to touch or bump the easy press for the entire 30 seconds or you may shift your design.
When 30 seconds is up go ahead and lift the easy press straight up and set it aside.
We’ll wait for the infusible ink to cool down before we remove it… in the meantime reset your easy press. We’ll need a setting of 315 and 30 seconds for the iron on so our easy press will take a minute to cool down too. Go ahead and set it and watch the temp drop from 385 to 315.
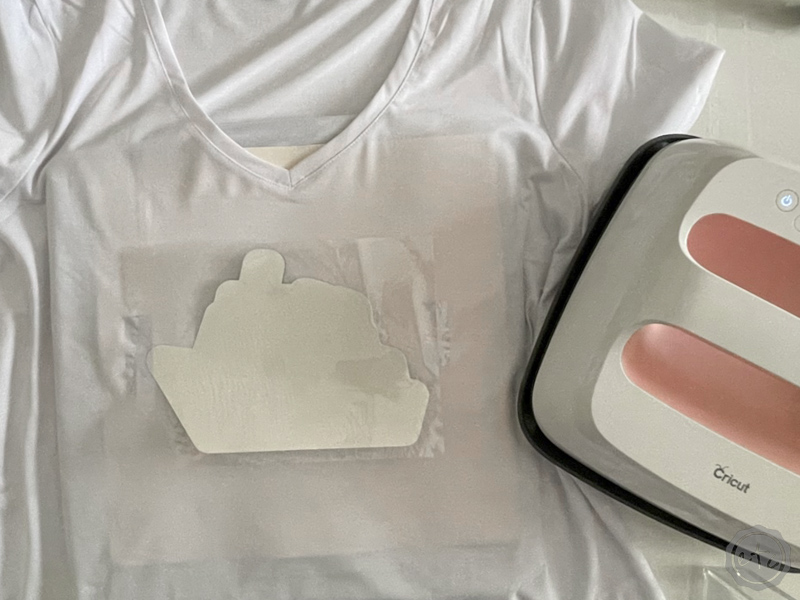
As we’re waiting our infusible ink will start to curl away from the design at the edges… I like to wait for my machine to reset to 315 and then remove the infusible ink sheet. Then we know it’s been long enough!
Once your easy press is at 315 and the ship is starting to reveal itself you can remove the infusible ink backing. That backing should be blank now and all of your ink should be on your shirt! Yay!
This is always the most dramatic part of the project… mainly because infusible ink is so light when you take it out of the box. It’s not until after you heat it up and it’s on your piece that the true color is revealed. And even knowing that every time I take a transfer sheet out of it’s box I’m like… this isn’t the right color?!
I wanted teal iron-on to look like the ocean and this is light blue! Nope it’s teal… it just looks light blue before it’s pressed.
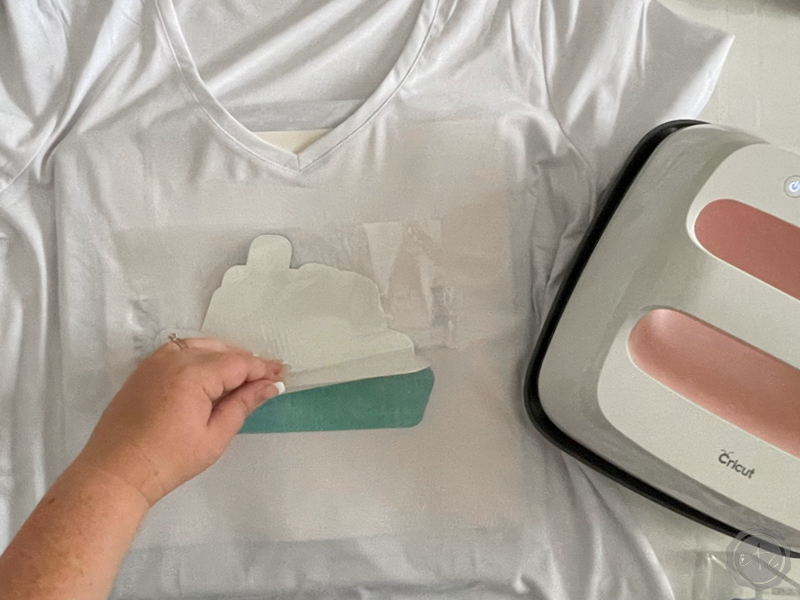
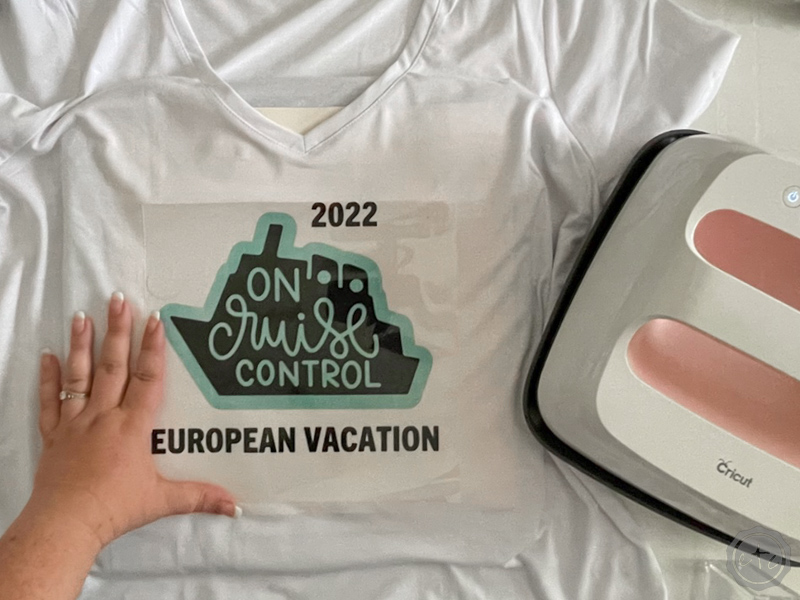
Now go ahead and position the iron-on (making sure the entire infusible ink design is protected, if you place your easy press on top of the infusible ink layer with no protective sheet in between it will fade the color) and press it down for the full 30 seconds.
Now flip the whole shirt over and hit it with the heat on the back of the design for 15 seconds.
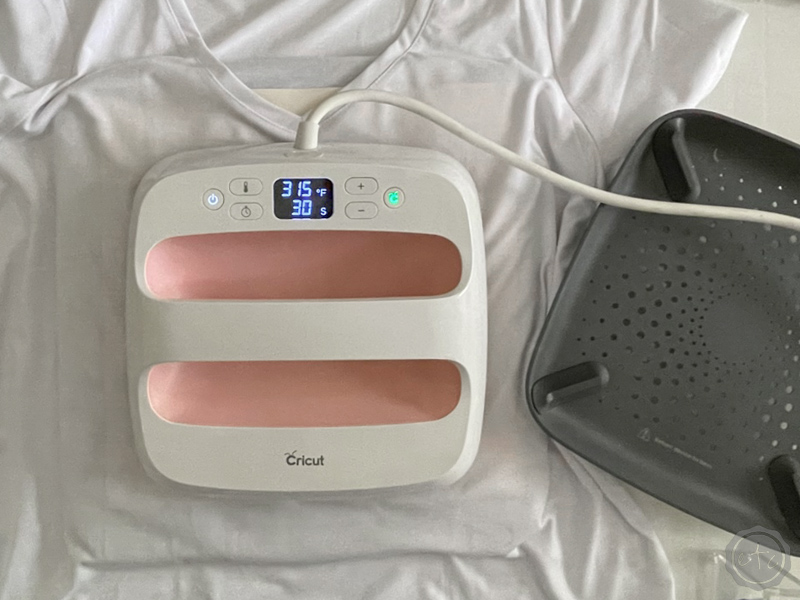
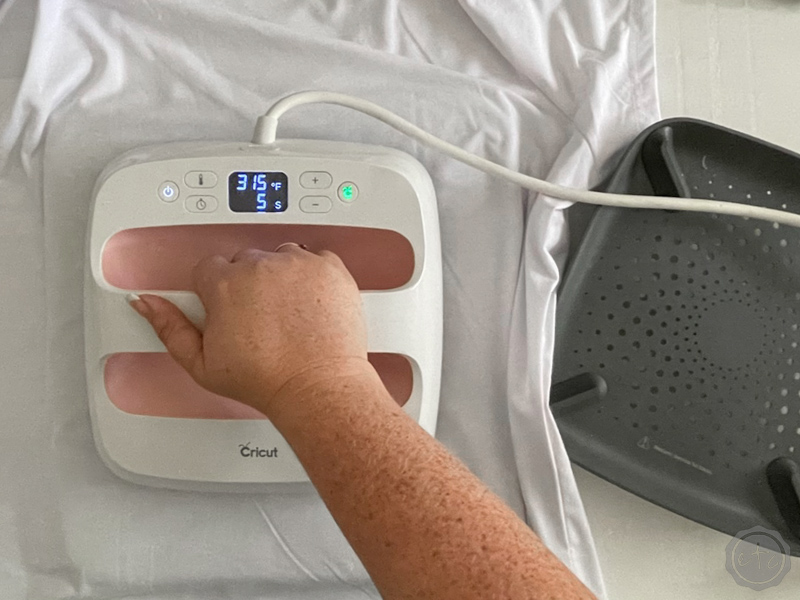

Perfect! Once again wait a few minutes (until the design is cool to the touch) and then remove the clear protective cover.
Volia!
A layered infusible ink and iron-on cruise shirt for your next vacation!
Of course, you can use this technique with any shirt design… sign design, pillow design, tote design, shoe design. You get the idea.
Let’s take a look at how cute these babies turned out!
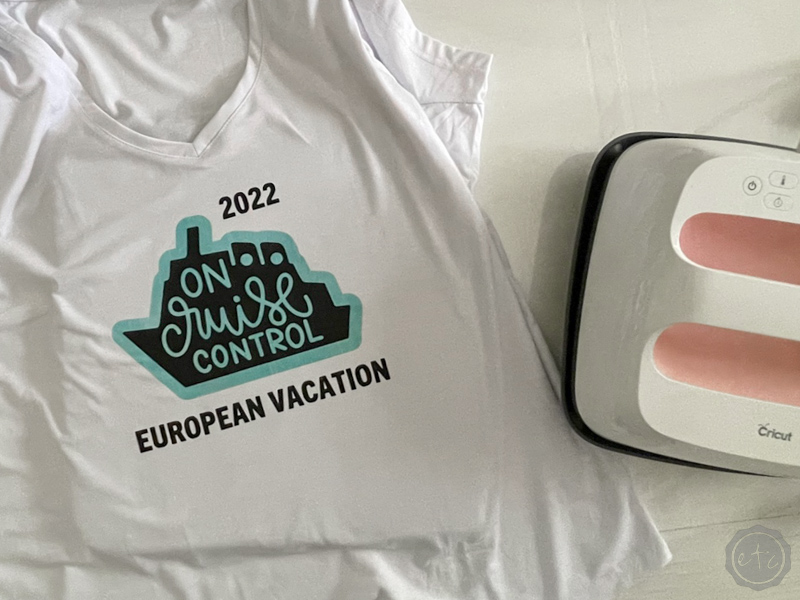

Looking for a walk-through on any other Cricut products? I’ve gone over alllll the basics here:
Get Your FREE PDF Guide!

Don't forget to snag your free PDF Guide to buying your first Cricut!










Leave a Reply