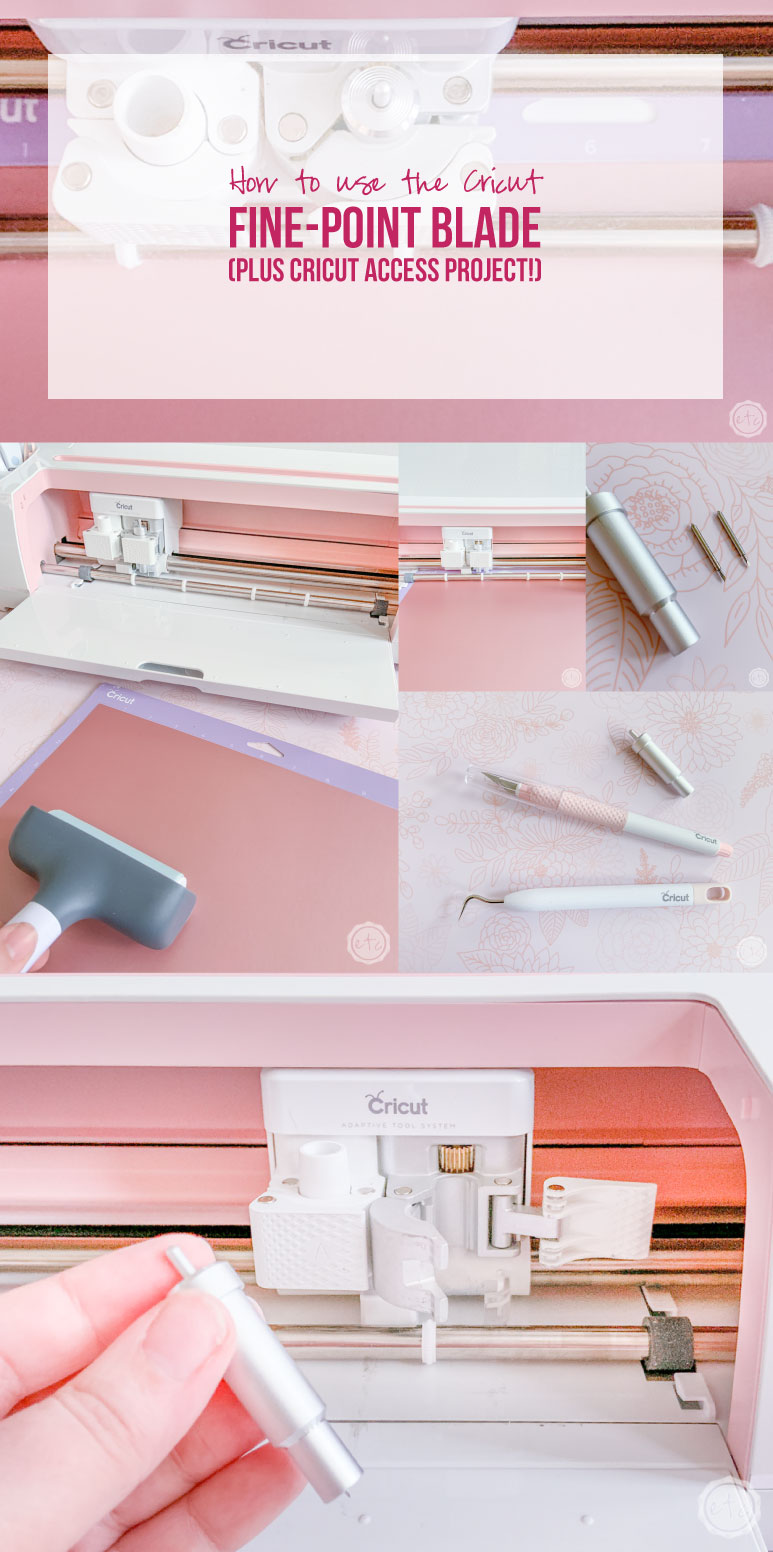
So you’re ready to use the fine-point blade! Of all the blades you can use with your Cricut this is the most basic… it’s like Cricut 101! 9 times out of 10 it comes with your machine so if you have a Cricut you have a fine-point blade.
Basic doesn’t mean boring though… this little baby can do wonderful things. Make wonderful things?
Either way… it’s pretty awesome.
While there are newer, fancier blades that cut bigger, badder materials this little baby can cut all your standards. If you’re cutting vinyl the fine point blade is your new best friend. Of course, there’s more too it then that! Let’s get started.
We’ll cover all the important things you need to know about what the fine point blade is and what it does… then have fun making the access project at the bottom of the post!
What is the Fine Point Blade?
The Fine Point Blade is Cricut’s standard cutting blade. It cuts most lightweight to medium-weight materials and can be used with both the Cricut Explore family (that means the Explore Air 2 baby!) and the Cricut Maker.
This baby is made from long-lasting German carbide… I’m not sure what the specifics of that means but this baby stays sharp for a long time. It was over a year of cutting materials before I started to notice my first blade slowing down.
This little guy is tiny but mighty, it can make even the smallest of cuts and can do detailed, intricate work without a problem.
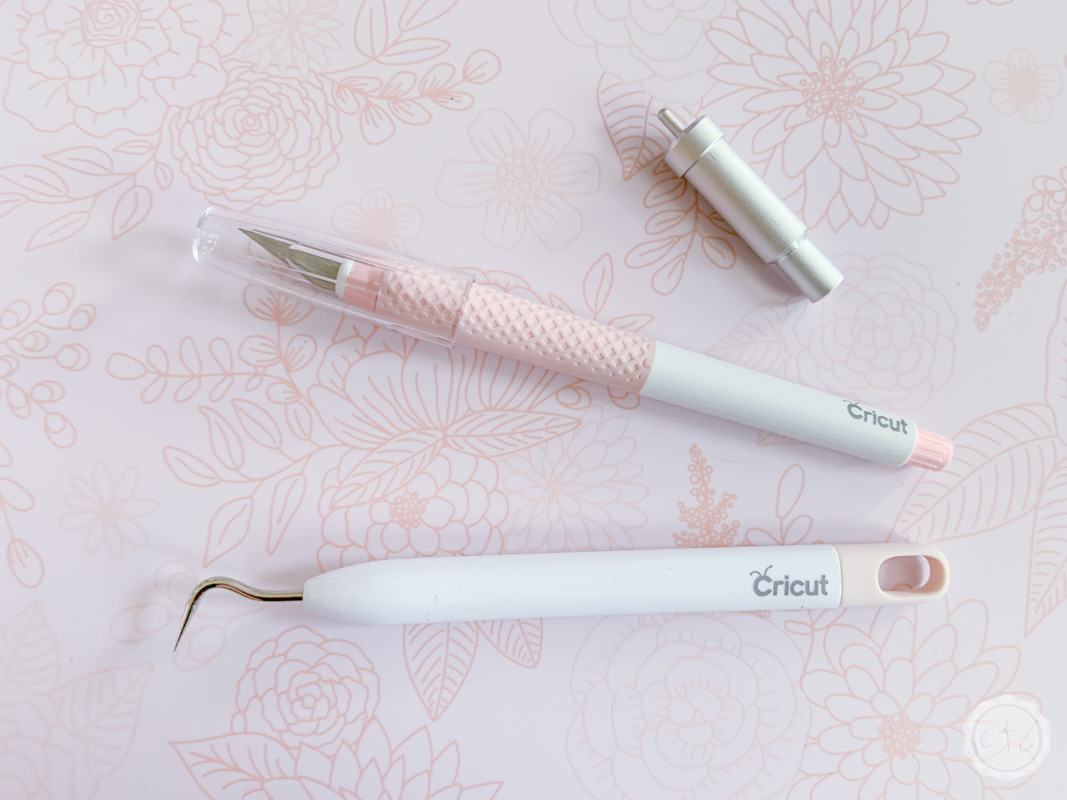
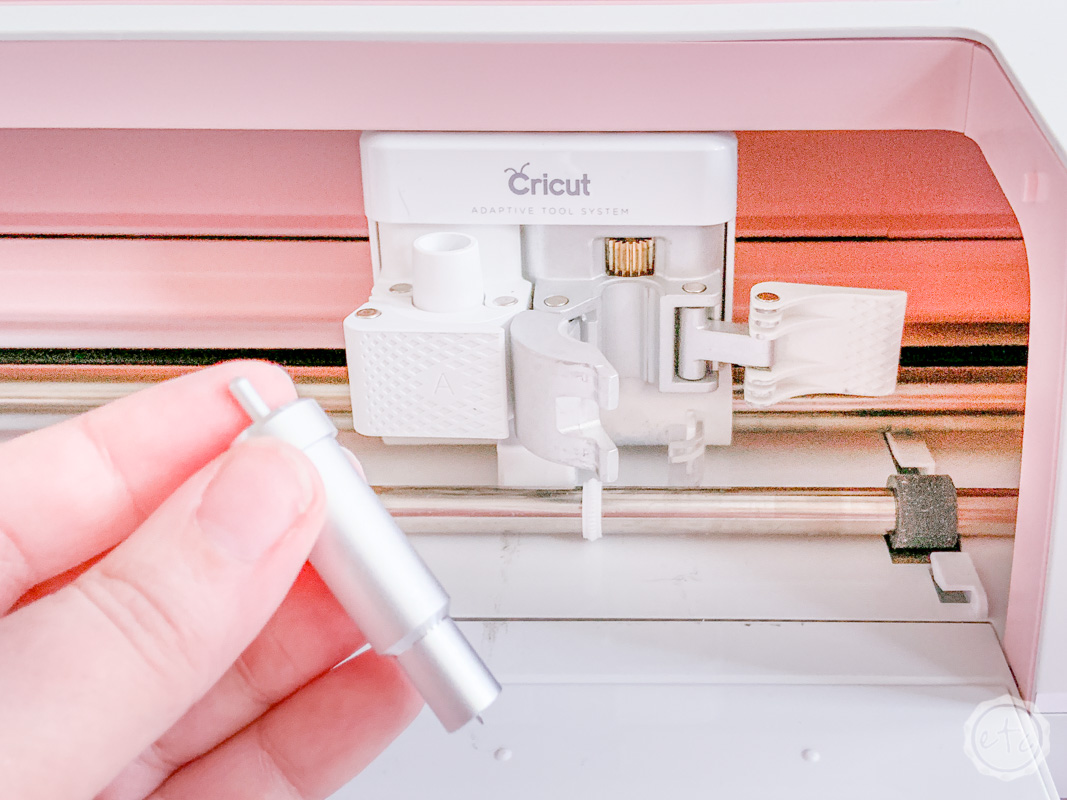
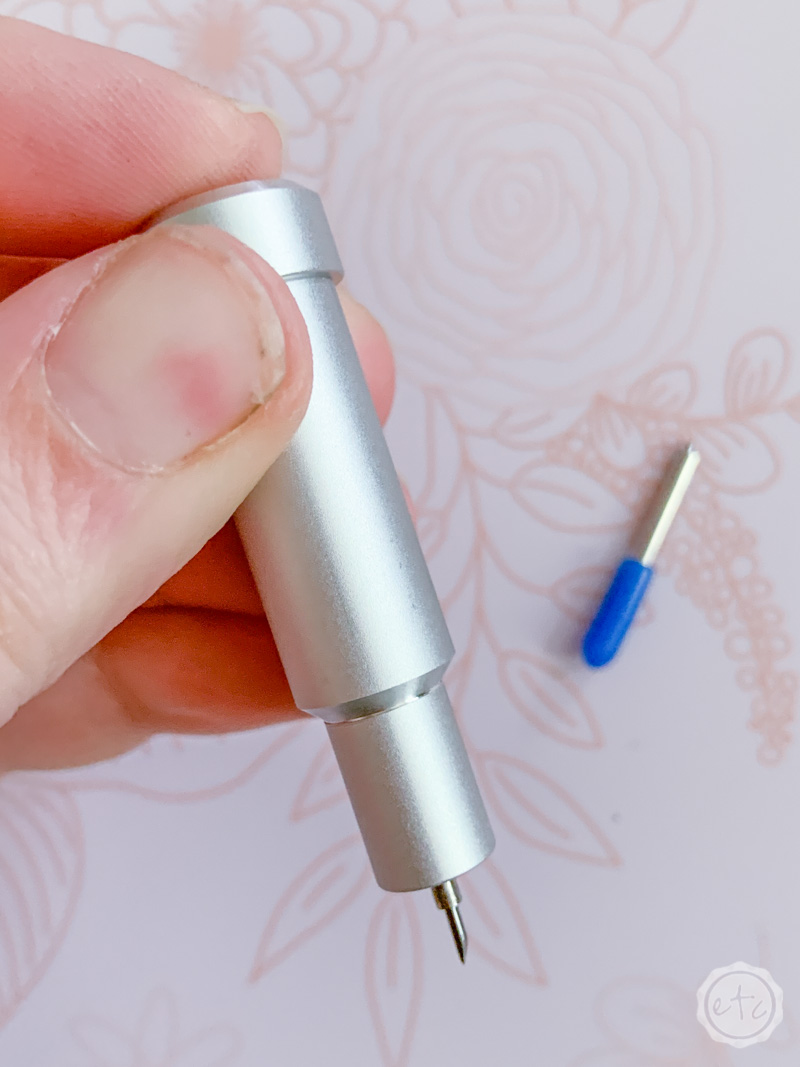
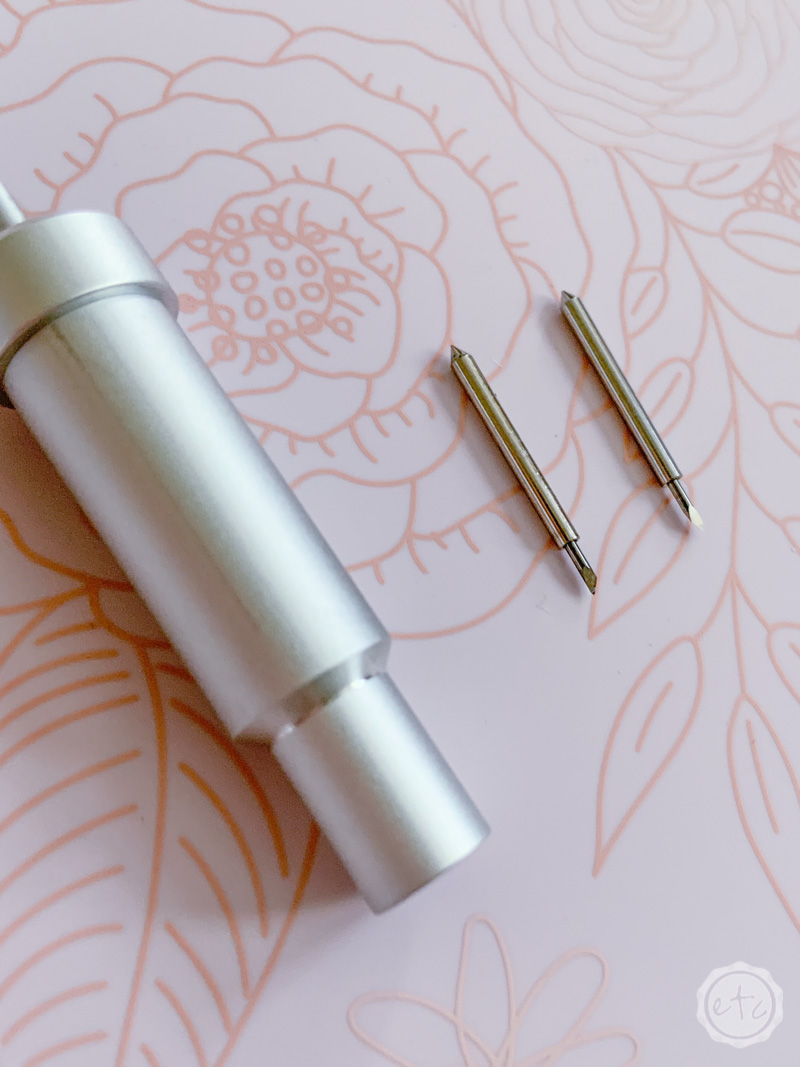
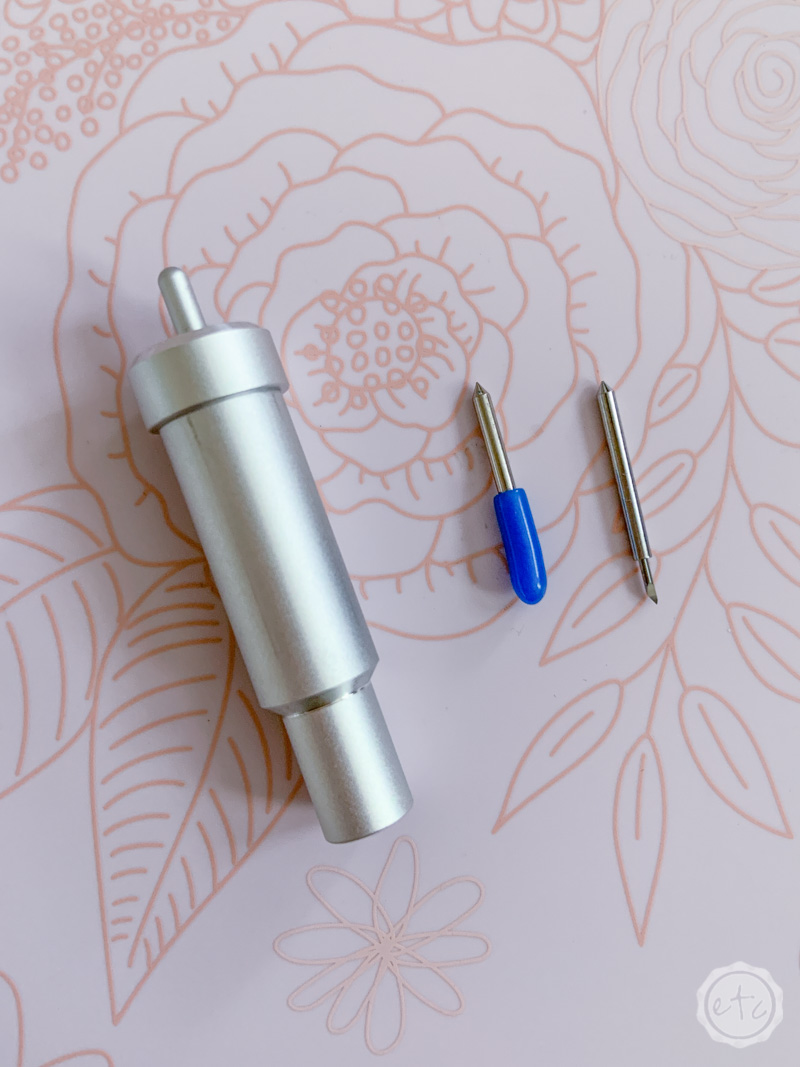
You’ll notice that some fine point housings are silver and some are gold… that’s because Cricut re-designed this little guy and made him gold. The silver fine point housings are older while all new fine point housings are gold.
Fortunately the blade is the important part here (not the housing!) and the new fine point blades fit both the silver housing and the new fancy gold housing. SO if you have a silver housing (like I do!) there’s no reason to run out and buy a gold housing (unless you just really want it!).
What can I cut with the Fine Point Blade?
- Cardstock
- Vinyl
- Iron-on
- Poster Board
- Scrapbook Paper
- Tissue Paper
- Wrapping Paper
What can I make with the Fine Point Blade?
- T-Shirts
- Pillows
- Mugs
- Mobiles
- Holiday Cloche
- Decorative Boxes
- Labels
- Menu Chalk Board
- Wine Glasses
- Gift Tags
Need help picking your perfect machine? I’ve got you covered!
How do I load the Fine Point Blade?
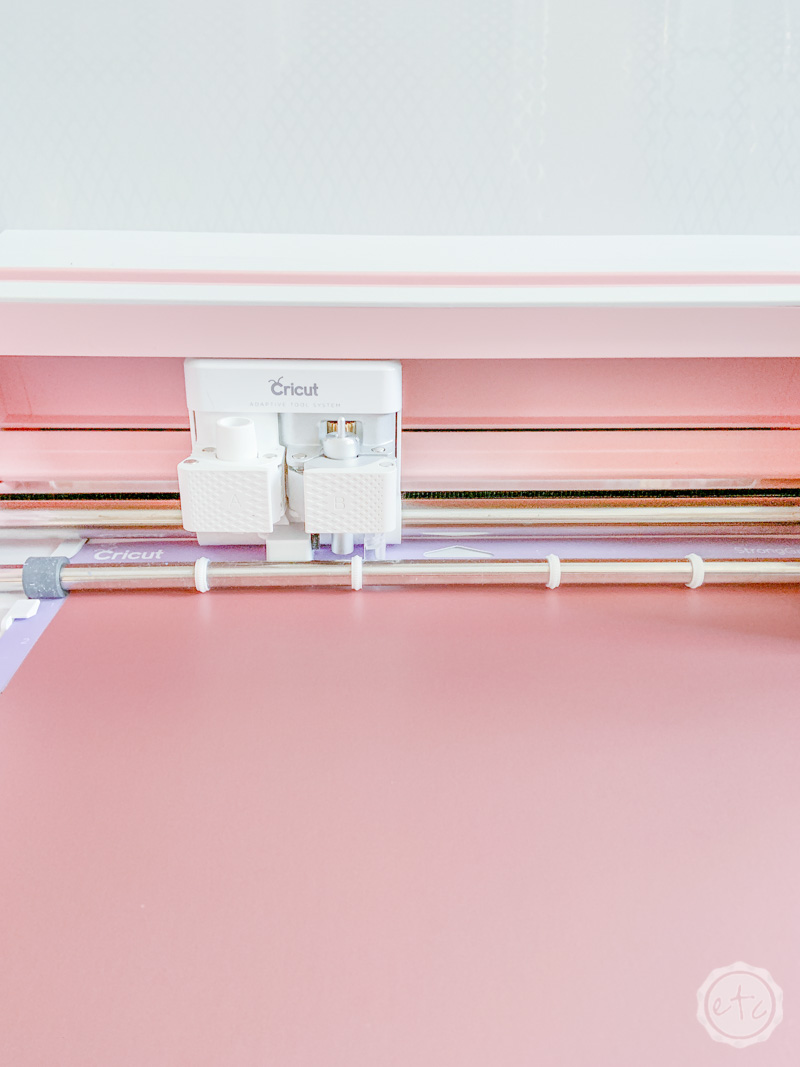
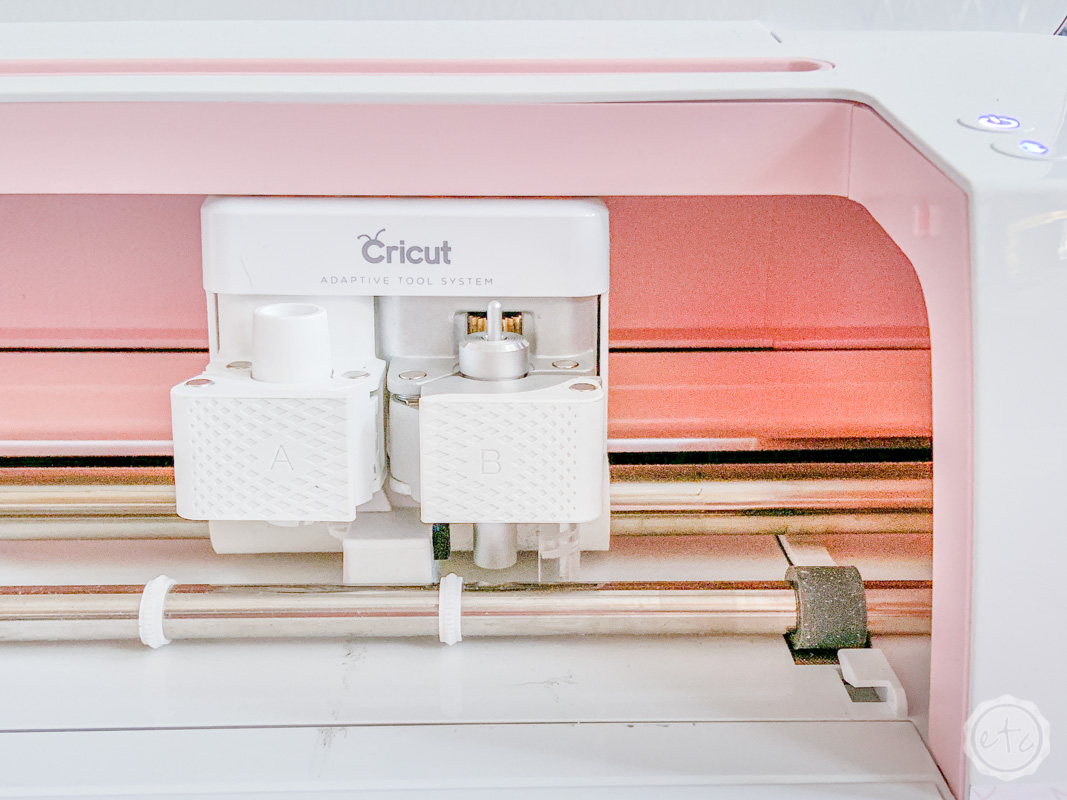
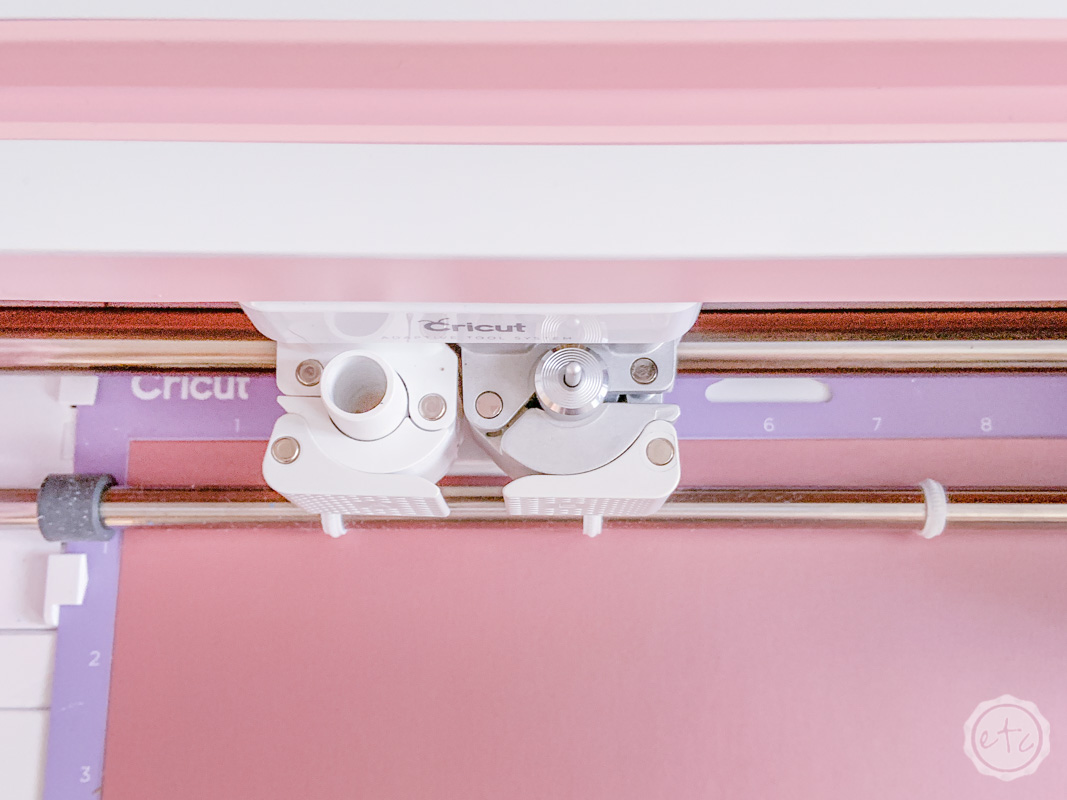
The fine point blade is super easy to load… simply open the tabs on side B and insert your fine point blade before closing the tabs again.
The Cricut Maker and the Explore Air 2 tabs open slightly differently (the Maker’s tabs open all the way while the Explore Air 2’s tabs only open enough to insert the blade) but the result is the same. Simply make sure the top of the blade is snug against the machine in slot B and you’re ready to go.
How do I Replace the Blade in the Fine Point Housing?
This is fairly easy to do once you’ve learned it but I’ll be honest… I was completely lost the first time I had to change the blade!
This little blade stays sharp for so long you’ll probably forget to check it for sharpness… especially if you’re cutting thinner materials like vinyl. I typically leave my blade until I start to notice it not cutting all the way through.
This shows up more when I’m cutting materials like poster board then vinyl… probably because poster board is thicker! Just keep an eye out and when you notice it not cutting all the way through or skipping sections on your design change the blade.
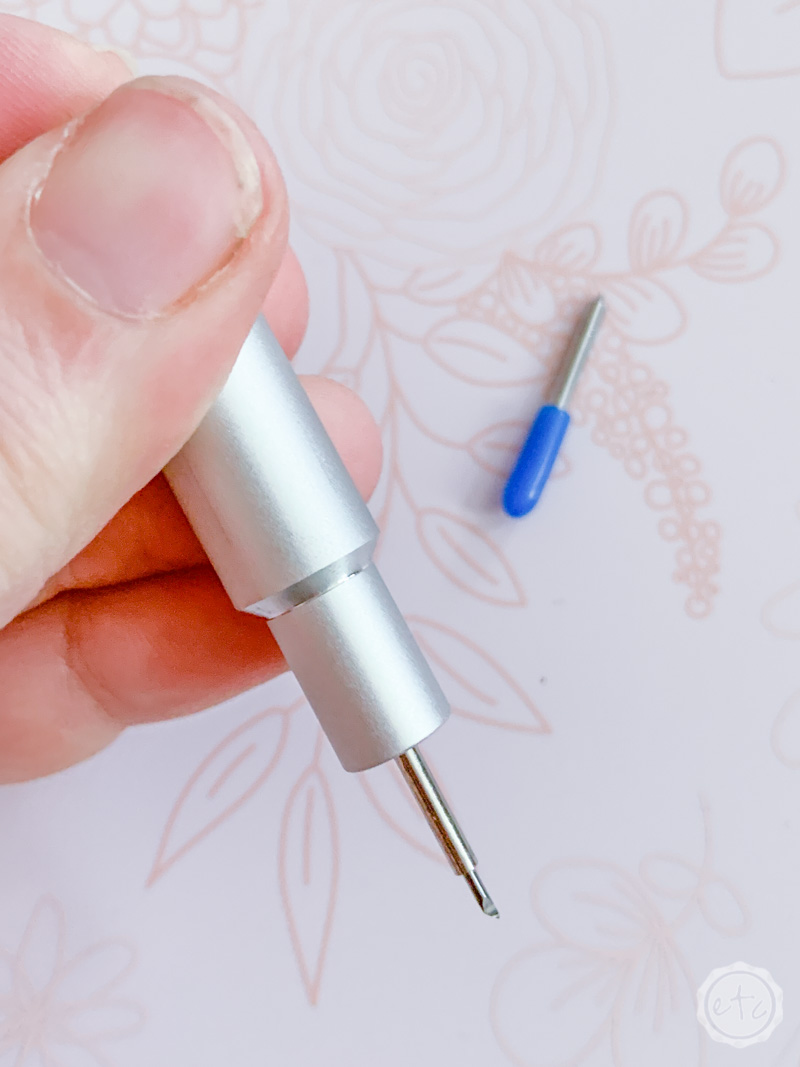
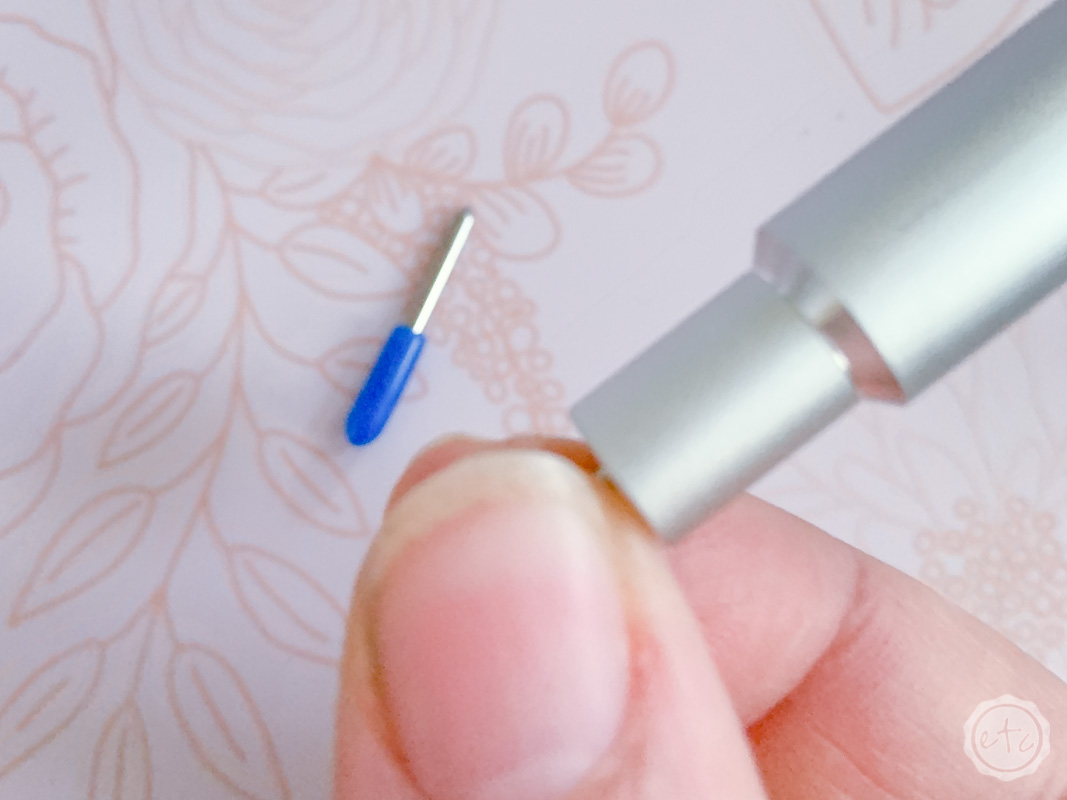
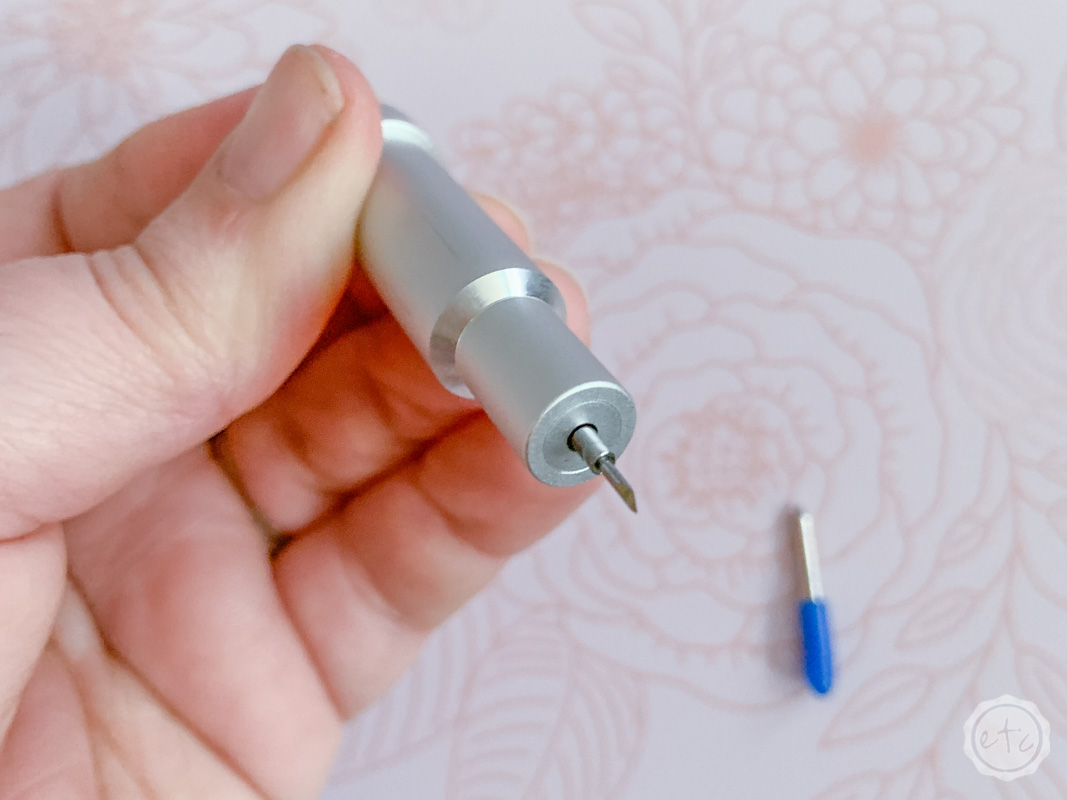
Ready to get started? To change the blade first press the button on top of the housing… you’ll notice the blade comes further out of the housing so that you can grasp it. Take a hold of the blade (carefully so you don’t cut yourself) and pull it from the housing.
Then you can pull the little bit protective wax off the new blade and put it over the old blade before throwing it away. That way the old blade won’t hurt anyone even once you toss it in the trash.
Press the button on top of the housing again and this time place the new blade in the housing and push upwards. It should slide into place and once you release the button disappear into the housing same as the old blade.
Easy peezy!
Cricut Access Project: Moon Constellation Mobile
Alright y’all it’s time to get started on a fun new project! I learn best by doing but since I’ve already made about a million vinyl projects I decided to work with poster board this time. You can read my full tutorial on working with vinyl here but in the meantime let’s get started.
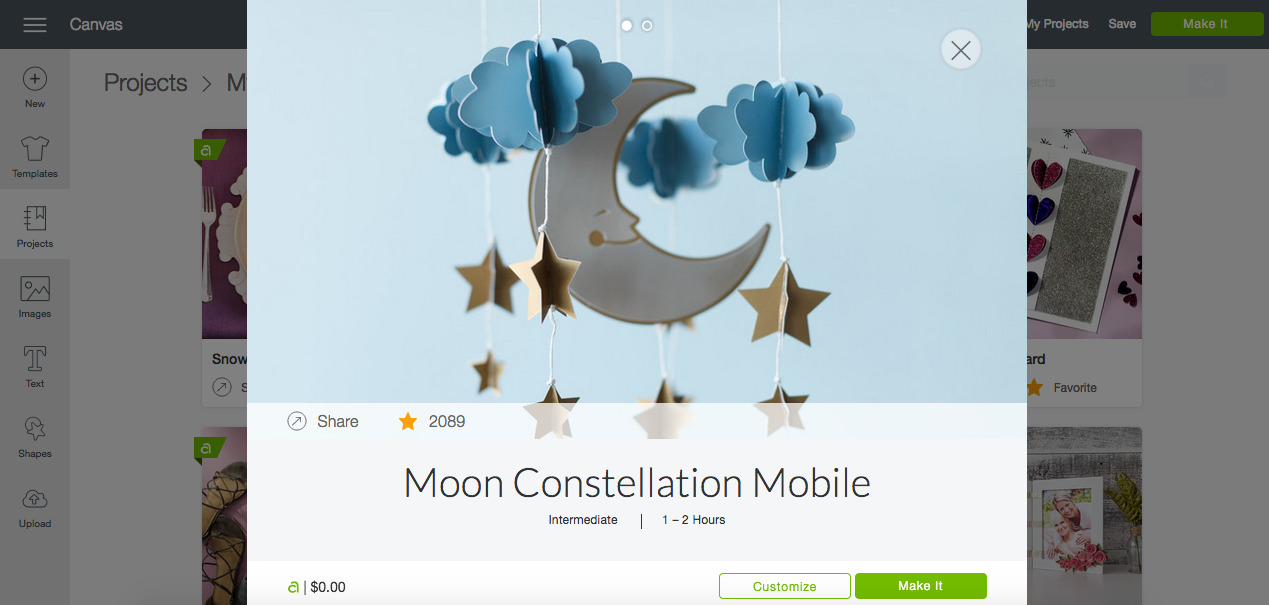
I opened up Cricut Access and typed in poster board into the search bar at the top of the page… so many fun projects make it really hard to choose! I scrolled through the options until I found this cute moon constellation mobile.
Ready to make a fun little poster board mobile?
Supplies
- Cricut Maker
- Fine-Point Cutting Blade
- Cricut Access Cut File: Moon Constellation Mobile
- Metallic Poster Board (2)
- Strong Grip Mat (the purple one!)
- Brayer
- Hot Glue and Glue Gun
- Jute (Colored)
- 1 1.5″ Width Spool
- 3 .5″ Width Lace Spools
- 4 .5″ Width Spools in varying textures
- 1 12″ Floral & Craft Ring
- 1 6″ Wreath Ring
Step 1: Load Your Mats
Alright y’all it’s time to get down to business. The best part about Cricut Access is that once you pick a file you’re pretty much ready to rock. So start by loading your mats… as always I load at least 2 right off the bat so that once the machine is finished with the first mat I can feed the machine the second mat while I unload and prep the first mat.
Always feeding the beast I suppose!
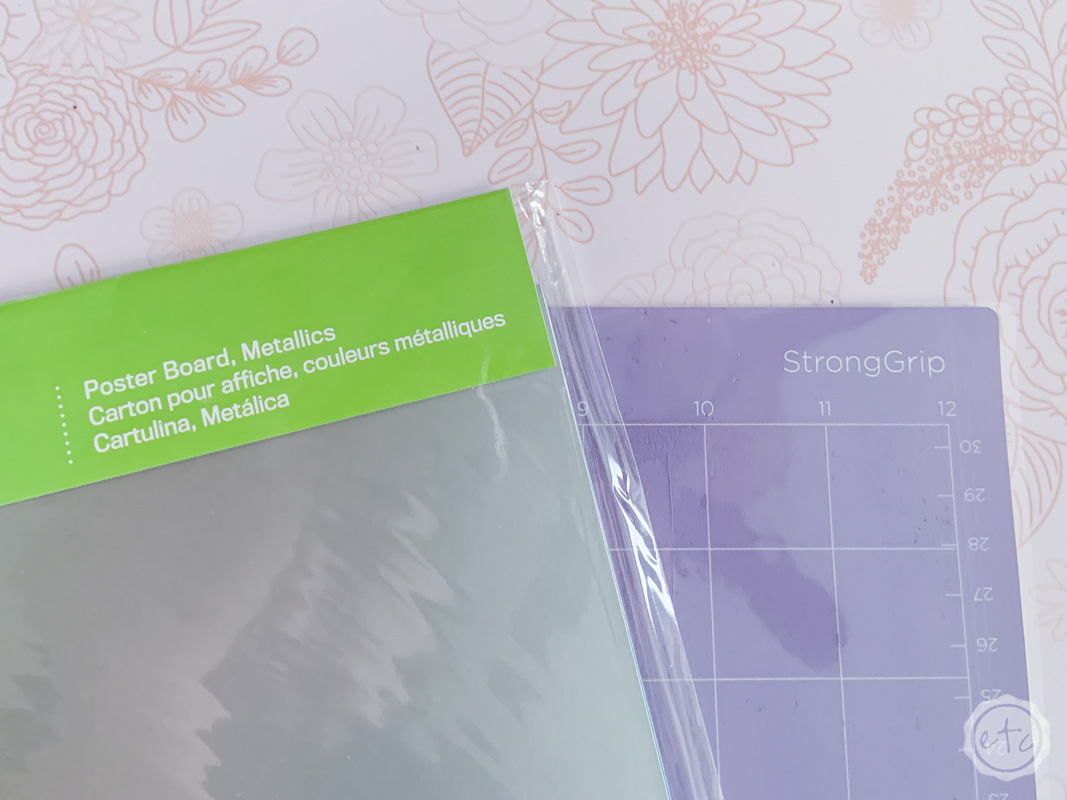
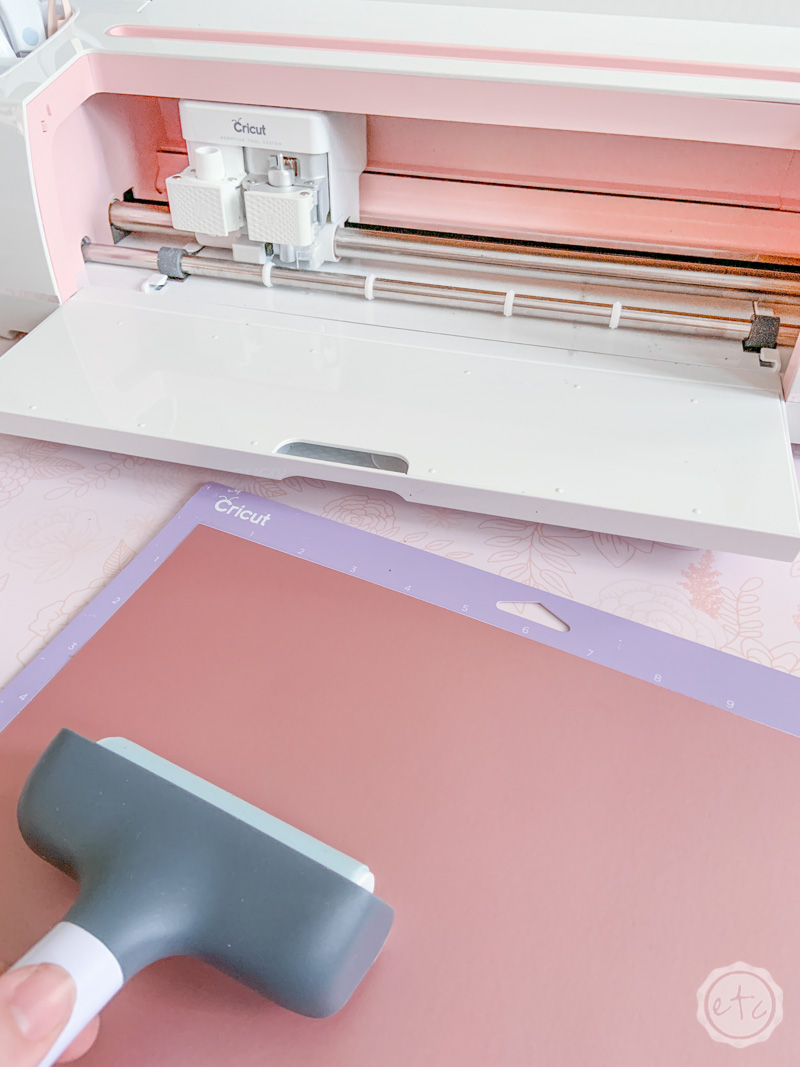
Poster board calls for a strong grip mat (that’s the purple one!) to hold the poster board in place so I went ahead and loaded 2 purple mats with poster board. Make sure to use your brayer to firmly smooth your poster board onto the mat so that it doesn’t move while it’s being cut.
Tip: The original file has blue clouds, gold stars and a gold and silver moon! Gold is not my jam so I decided to change things up at this point and go with colors that worked for the sweet little girl I was making this for.
The metallic poster board set has 1 of each color and you’ll need 2 to make this. Of the colors available I decided to go with pink, blue and silver. This is your chance to pick your colors…. remember the Cricut Access Library is great inspiration but you don’t HAVE to make the project exactly as described… add your own twist to it!
Step 2: Prepare your Cut Files… and press GO!
Ready for the fun part? Since this is a Cricut Access project and we aren’t designing the project we can simply hit GO and let the Cricut do it’s thing… you don’t even have to hit customize if you don’t want to! Simply hit make it and load the mats the machine asks for!
I will say this: 9 times out of 10 I am able to hit make it and have no problems with the project exactly as it appears in the Cricut Access library BUT this project must have been designed before the Maker was released because a score line directly through the center of each star would have made a world of difference here.
The little stars and clouds are suppose to be three dimensional in the end but without the Maker scoring each little piece it becomes a tedious task for you.
SO (if you have a Cricut Maker and a scoring wheel) before hitting “make it” hit customize. Go ahead and add a score line directly through the center of each star and each cloud and then attach the score lines to the objects.
The designer has the stars set in sets of 3 so you’ll have a set of 3 stars with 3 score lines attached together. You’ll have to add the scoring wheel to your maker before cutting out the stars with the fine-point blade but take it from someone who just hit “make it” and had to star by star score everything by hand… it’s worth letting the machine do it for you!
If you’d like to skip the work and just click “make it” I’ve made the re-vised version I changed shareable… so that you don’t have to add all the score lines yourself. Simply use this cricut cut file instead of the original and you’ll be able to use your scoring wheel for the hard parts.
Step 2.5: Add Extra Stars
Once you’ve completely cut out your materials you have to decide how many stars you’ll use. The original project calls for an embroidery hoop as the base and I’ve changed that to a floral and craft ring with 8 strands around the perimeter… the 8 strands means I needed more stars.
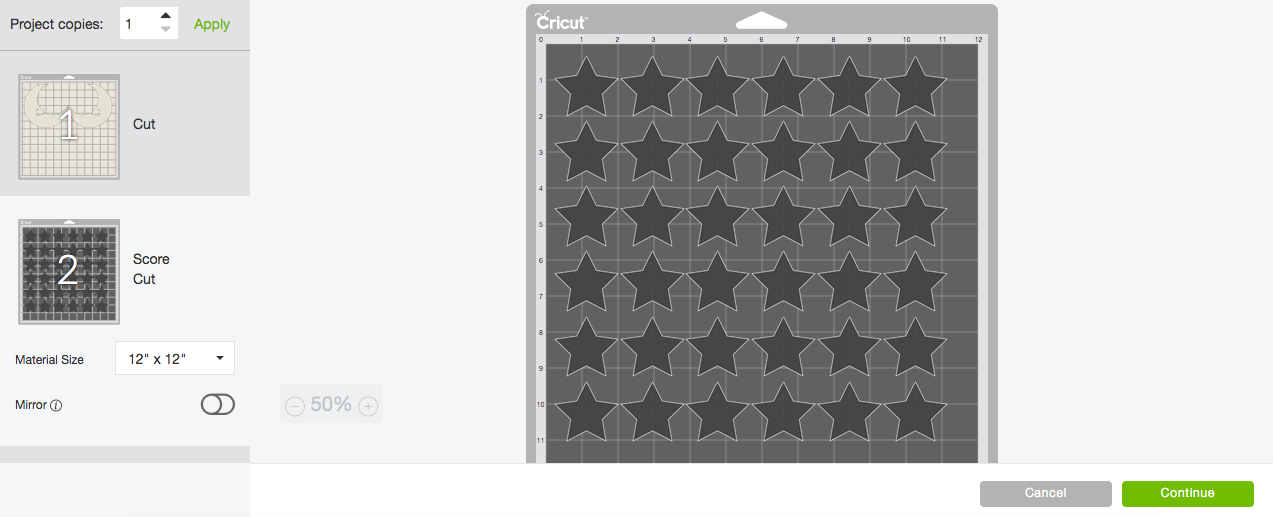
SO I simply created a star file and added a score line through the center. Since my little star was only one star as opposed to the group of 3 the original designer had Cricut laid them onto the mat very neatly. I was able to cut 36 stars (with score lines) out of a single piece of poster board this way so that I had plenty of extra stars for my extra strings.
Hint: If you use my revised version above the extra stars are shown in black while the original stars are in gold. If you cut both cutting mats already then you already have the extra stars. If you used the original cut file and would like the extra stars simply cut the black star cutting mat from this cricut cut file.

Step 3: Score Your Stars and Glue Them Together
Ready for a bit of fun?! Now we can start to see it all come together! If you used the revised cut file simply fold your stars and clouds along the score lines and you’re good to go.
If you don’t have a scoring wheel just yet you can use a score board to score those stars or the old fashioned way… fold those babies in half and reinforce the folds with a bone knife (or your Cricut Smoother tool!).
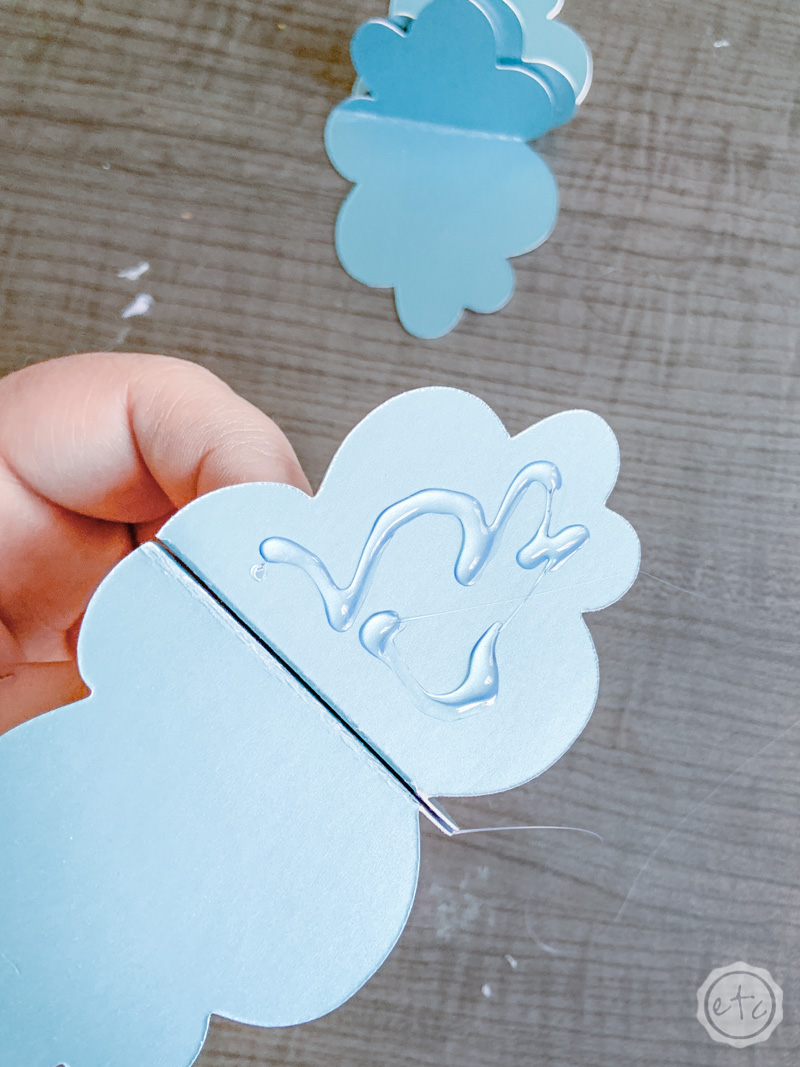
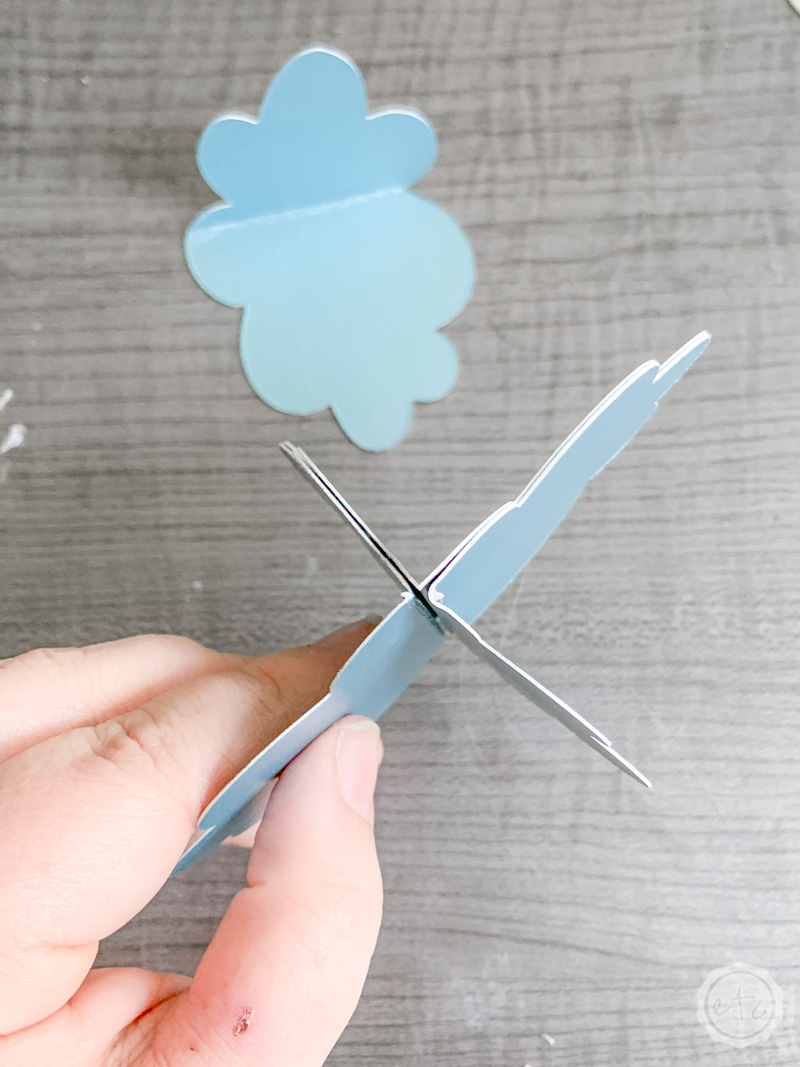
Either way every single star and cloud needs to be folded in half… and then glued. When it comes to the folding this poster board is double sided which makes it easy… the stars can be folded either side. Before folding the clouds however I find it best to fit all 4 cloud pieces together to make sure you have them folded correctly. You’ll need 2 folded left and 2 folded right to make a total cloud.
(It’s a little hard to describe but take a look at the pictures… basically when folding you’ll look straight down the barrel of the cloud… and the top of the cloud will fold left or right. So fold 2 left and 2 right. That way they’ll line up!)
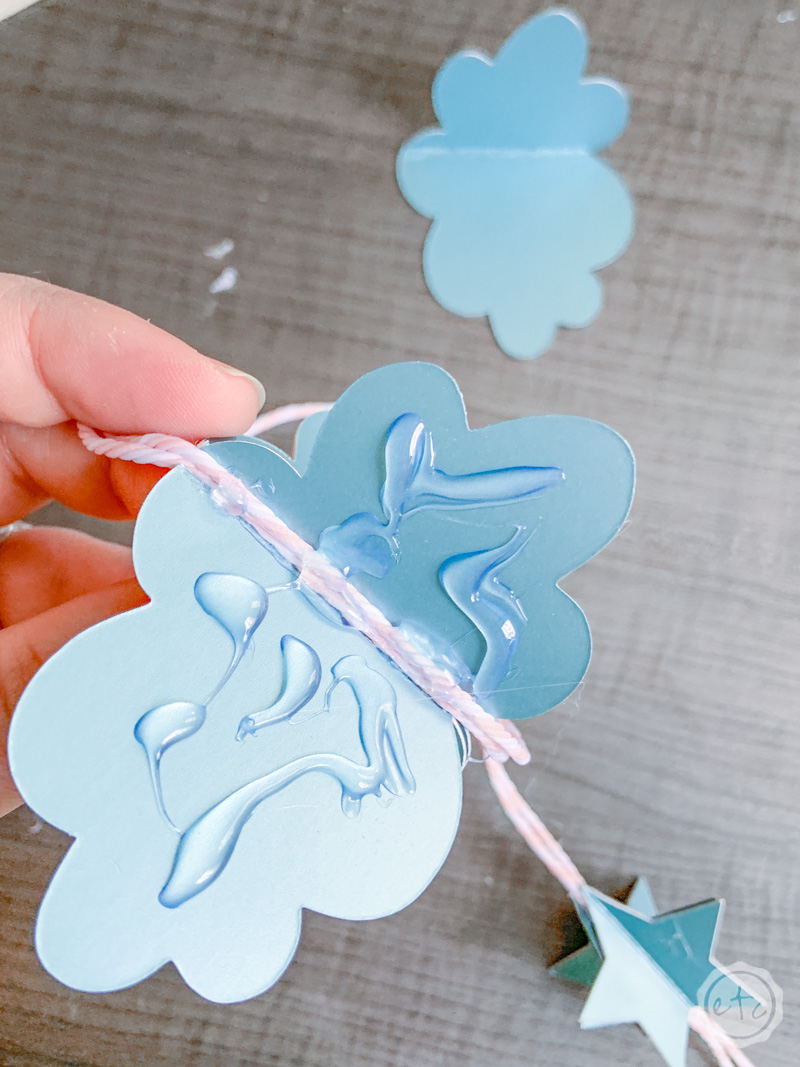
I used hot glue which holds this poster board together really well. Go ahead and place glue on one half of your first cloud… and then press two clouds together to glue them. Make sure the edges are lined up!
Now add a bit of glue to the second cloud and line up the edges of the third cloud before pressing it into place.
Once you’ve glued 3 cloud parts together set it aside with the 4th piece UNGLUED. You’ll add your string in the center before gluing the fourth piece on so for now just glue in sets of 3.
Go ahead and glue alllllll your stars and clouds in sets of 3 and make sure you have a fourth piece set aside for each. Once you’ve glued alllll the pieces it’s time to move on to the next step!
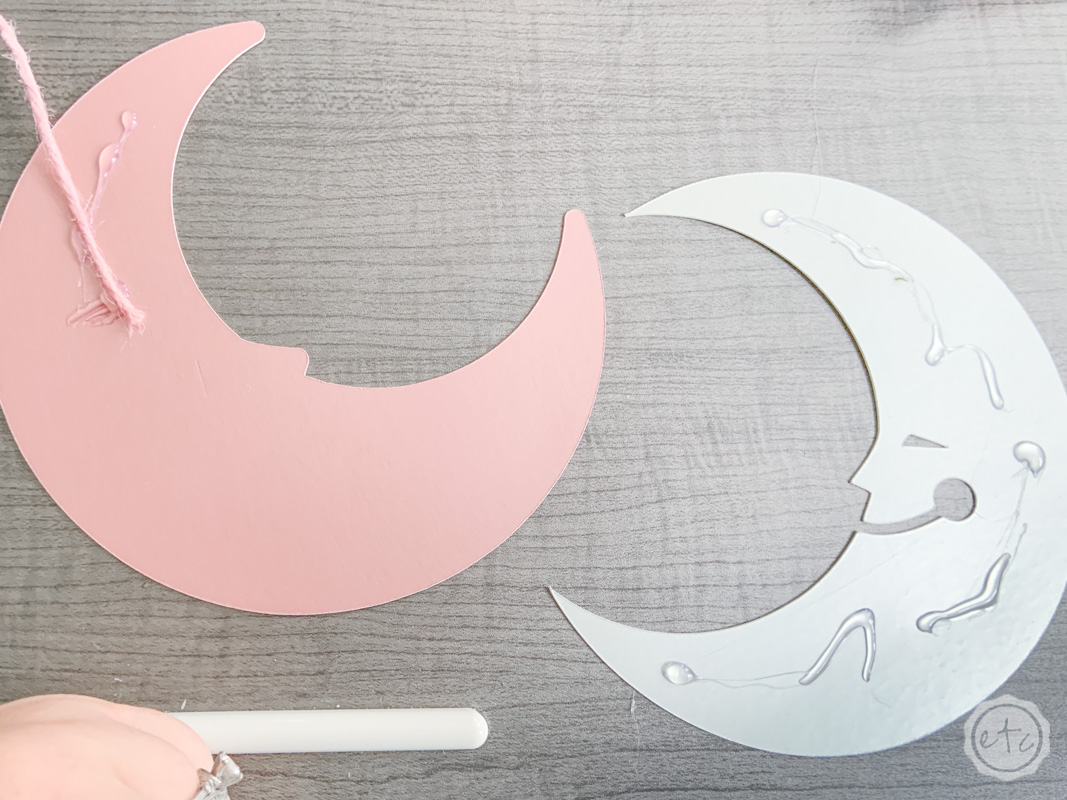
Before you move on to the next step don’t forget to glue the little moon together! Make sure to cut an extra long piece of colored jute for the little moon (about 2 feet) and glue the end of the jute in-between the pink inner moon and top silver moon.
Make sure when adding glue you don’t put any glue where the moons eye is or where the moons little mouth will be… you wouldn’t want any hot glue to show in the end! The moon is double sided so one side will be super easy to glue the silver moon face in place… the side with the jute will be a little harder.
Basically once the two pieces are glued together with the pink jute sandwiched in place you’ll notice gaps (because the jute won’t allow the two pieces to lay flat!). I simply added hot glue down in the cracks and pressed the pieces together until they were all one piece (still being careful of the little moons nose and mouth!).
Step 4: Add your Clouds and Stars to Jute
Okay now it’s time to add your jute! I decided that the jute portion below the ring would be about a foot long… so I cut 8 pieces of jute about a foot and a half long. You want enough jute above the ring to tie all 8 strands in a knot and hang the mobile.
Measure all 8 strands about a foot long and tie a knot on each one. This is what the floral and craft ring will rest on once you thread the jute through. Now you can hot glue your clouds and stars onto the 8 jute strands. You should have enough pieces to place 3 pieces onto each string (1 could and 2 stars or 3 different sized stars). Make sure to glue them at different heights so that they hang with a little whimsy!
Gluing them onto the jute is simple… simply put a bit of hot glue on the seam of your star or cloud piece (the set of 3 you’ve already glued together) and then add your jute to the seam making sure it’s in as tight to the center of the star (or cloud) as possible. Then add hot glue to the two sides of the star or cloud and add your fourth piece.
Once you’ve glued the fourth side onto your star (or cloud) you’ll be set with that piece… just work quickly so that you can line up the sides properly.
Keep working your way down all 8 strings of jute until you’ve finished with all your stars and clouds. Then you can thread the jute up through the holes in your floral and craft ring so that they’re evenly spaced!
TIP: I didn’t like the brown look of the floral and craft ring so I spray painted mine silver to match my poster board… also what kind of name is floral and craft ring? It’s long and annoying!
Step 5: Create Your Ribbon Ring
This may be the best part of the whole thing! Technically after placing all your stars and clouds on the first ring you could call it finished… but I wanted another touch of whimsy! SO I cut a bunch of ribbon….. alll the ribbon in the supply list into 2 foot long strips.
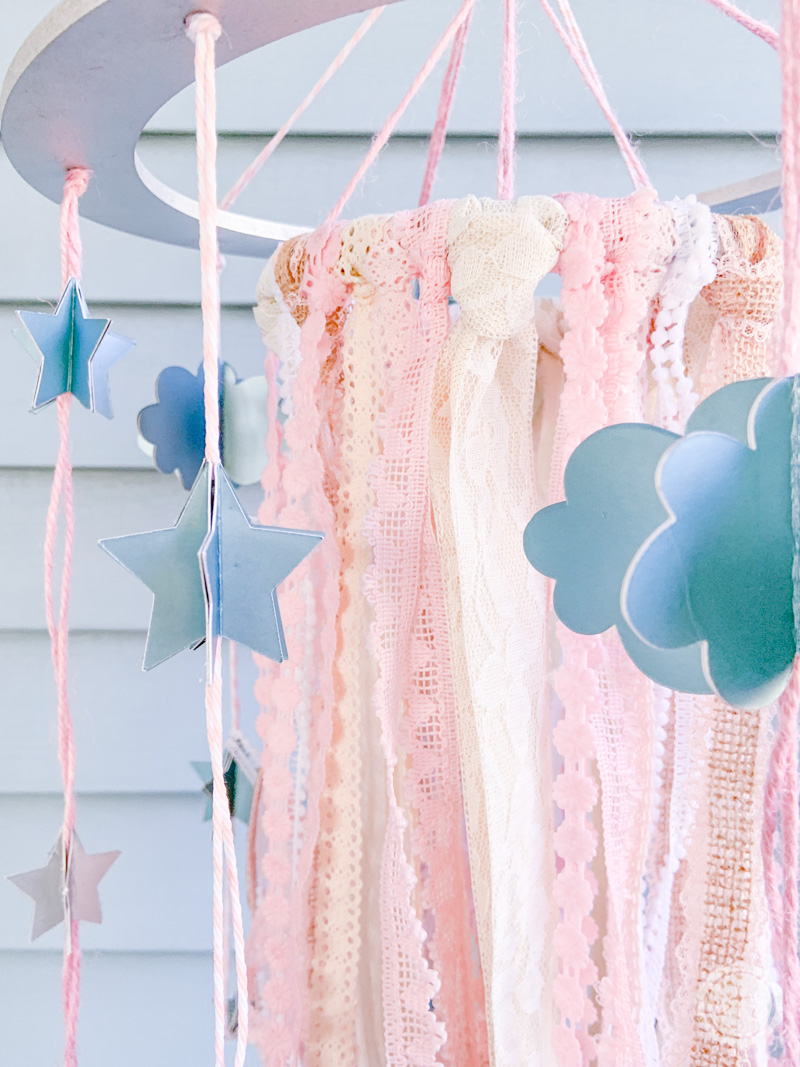
Then I simply tied them onto my smaller craft ring. I tied each strand of ribbon in the middle so that about a foot of ribbon was hanging down allllllll the way around the ring… and I tied on lots and lots of ribbons because I wanted it to be really full. That way you couldn’t necessarily see one side of the mobile from the other.
I tied four pieces of jute to the craft ring (technically I did this first so that the ribbon would cover the jute knots) so that I could hang my ribbon ring in the center of my stars and clouds.
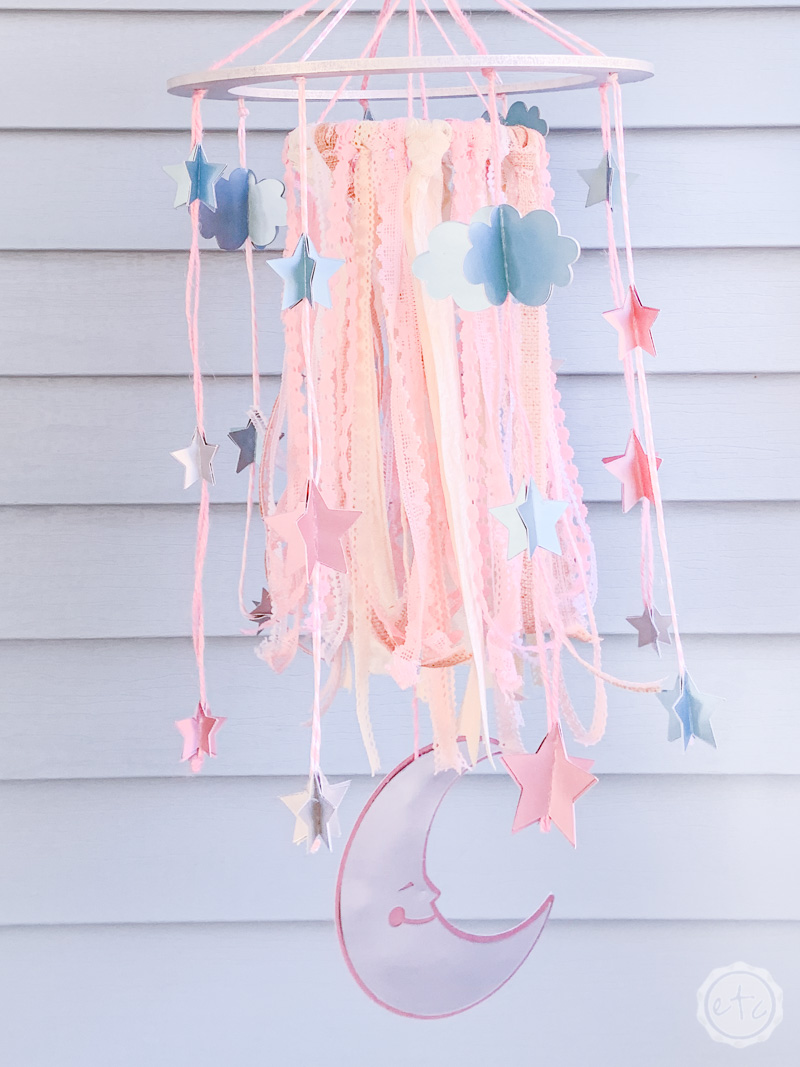
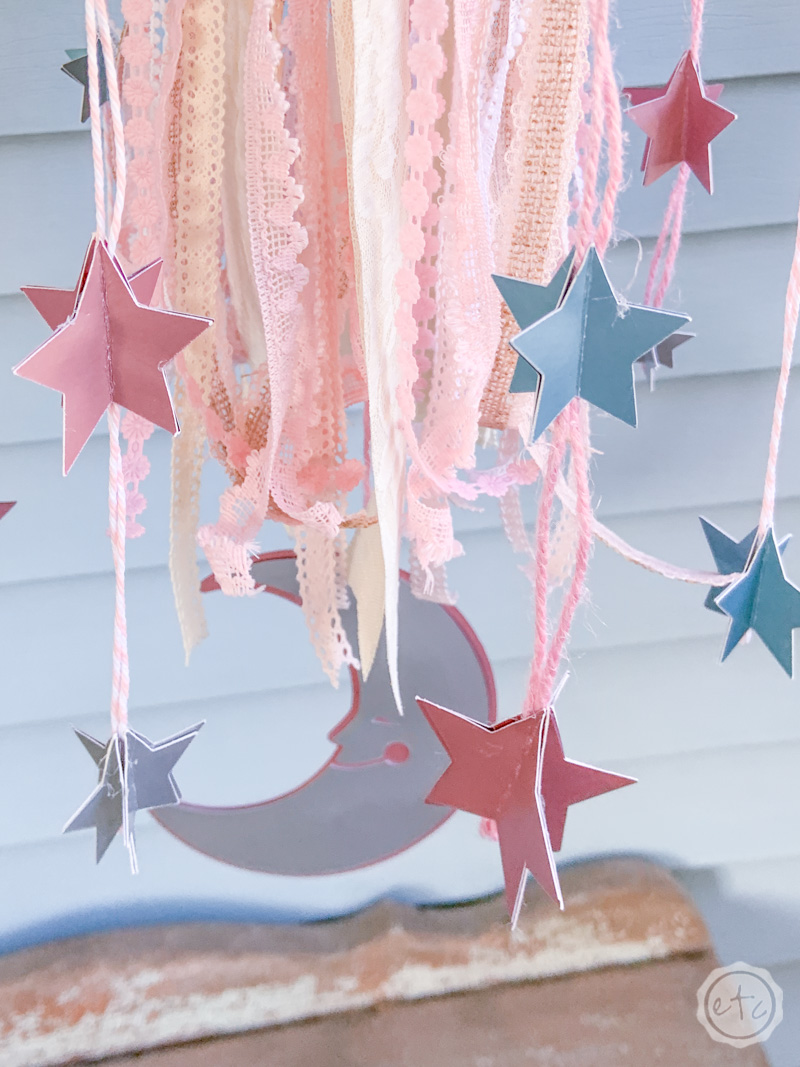
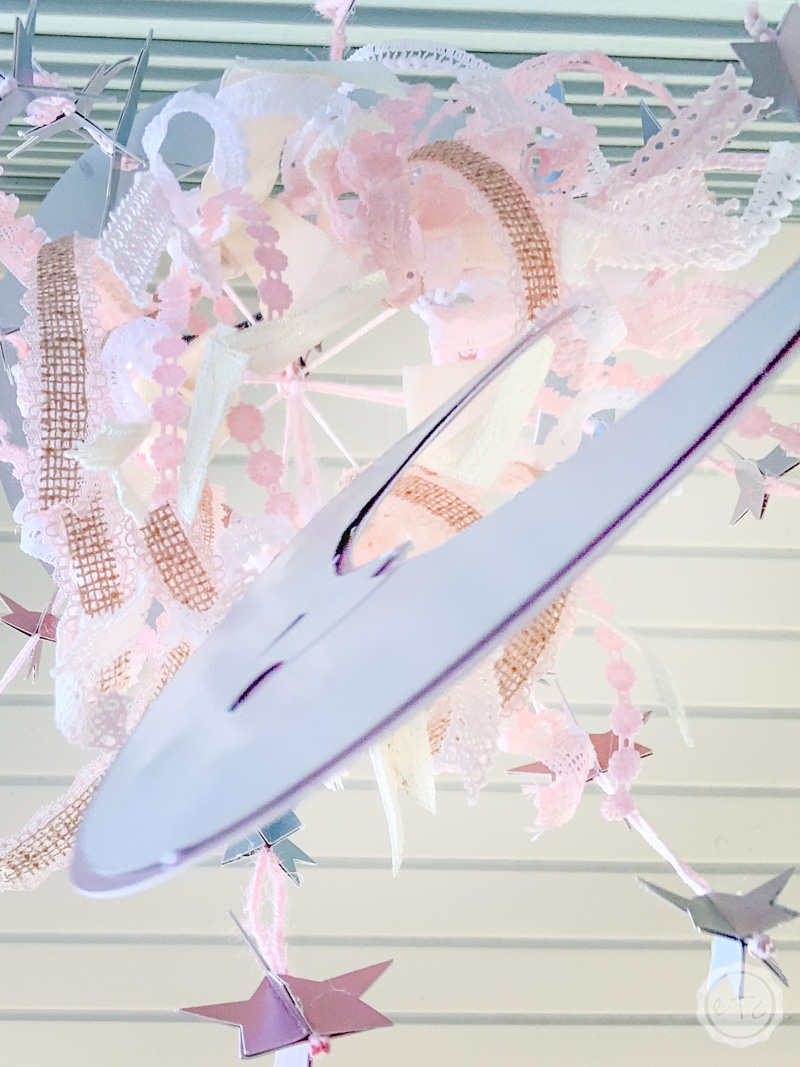
Once my ribbon ring was finished I placed it in the center of the floral and craft ring with my moon cut out in the very center. I staggered the whole thing so that the moon was the longest and then the ribbon ring, stars and clouds.
Once I had everything hanging in the right formation I simply knotted allllll the jute at the top. Then I cut off all the extra jute from the top of the knot leaving only 1 loop to hang my mobile. I wrapped the knot in a spare bit of ribbon and hot glued it in place so that it looked finished and volia!
You’re all set! Ready for the final reveal?
Step 6: Hang and Enjoy!
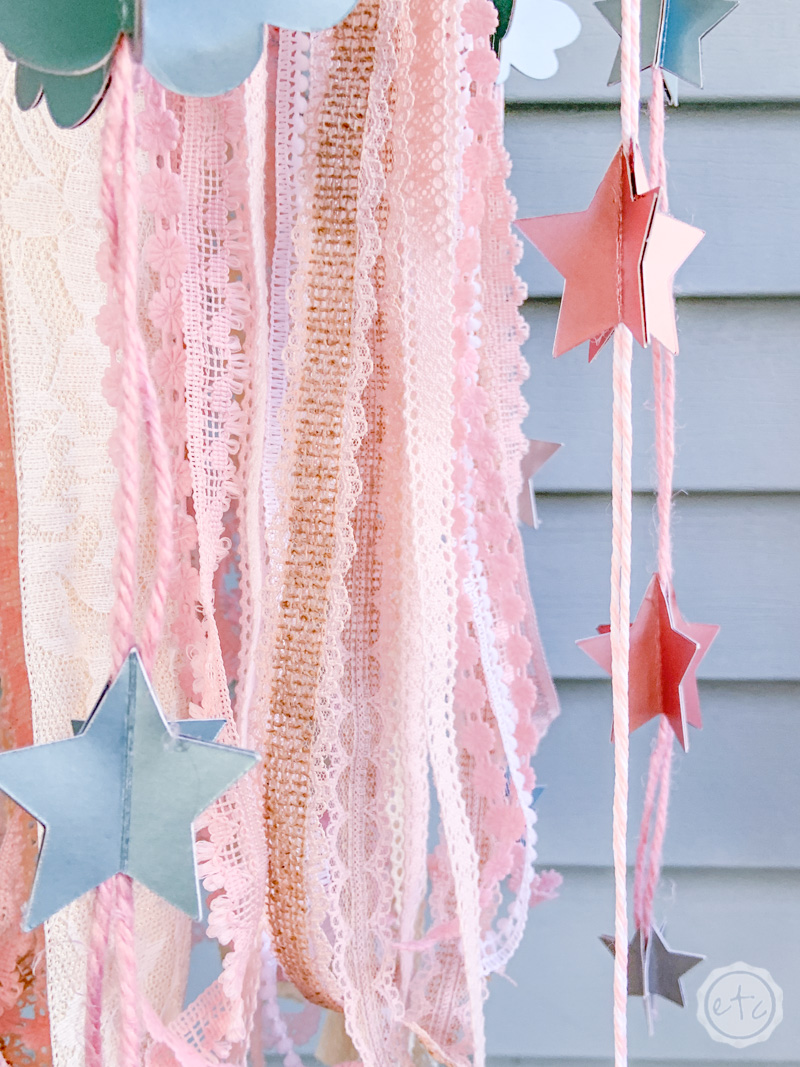
I realllly like how sweet this little guy turned out! The three dimensional stars are adorable and that little moon is just too cute.
Of course, I think the ribbon ring is my favorite which is a little ironic.
My mom is too much of a perfectionist and doesn’t love how all of the stars lined up but I think that’s user error lol. I’m not great at lining up the little stars before the hot glue set! Either way I think it turned out wonderfully… what do you think?
Psst… need help setting up your Cricut Maker? Check out this post!
Don’t forget to pin!
Want to take a look at the rest of the Cricut line up?
Get Your FREE PDF Guide!

Don't forget to snag your free PDF Guide to buying your first Cricut!


