


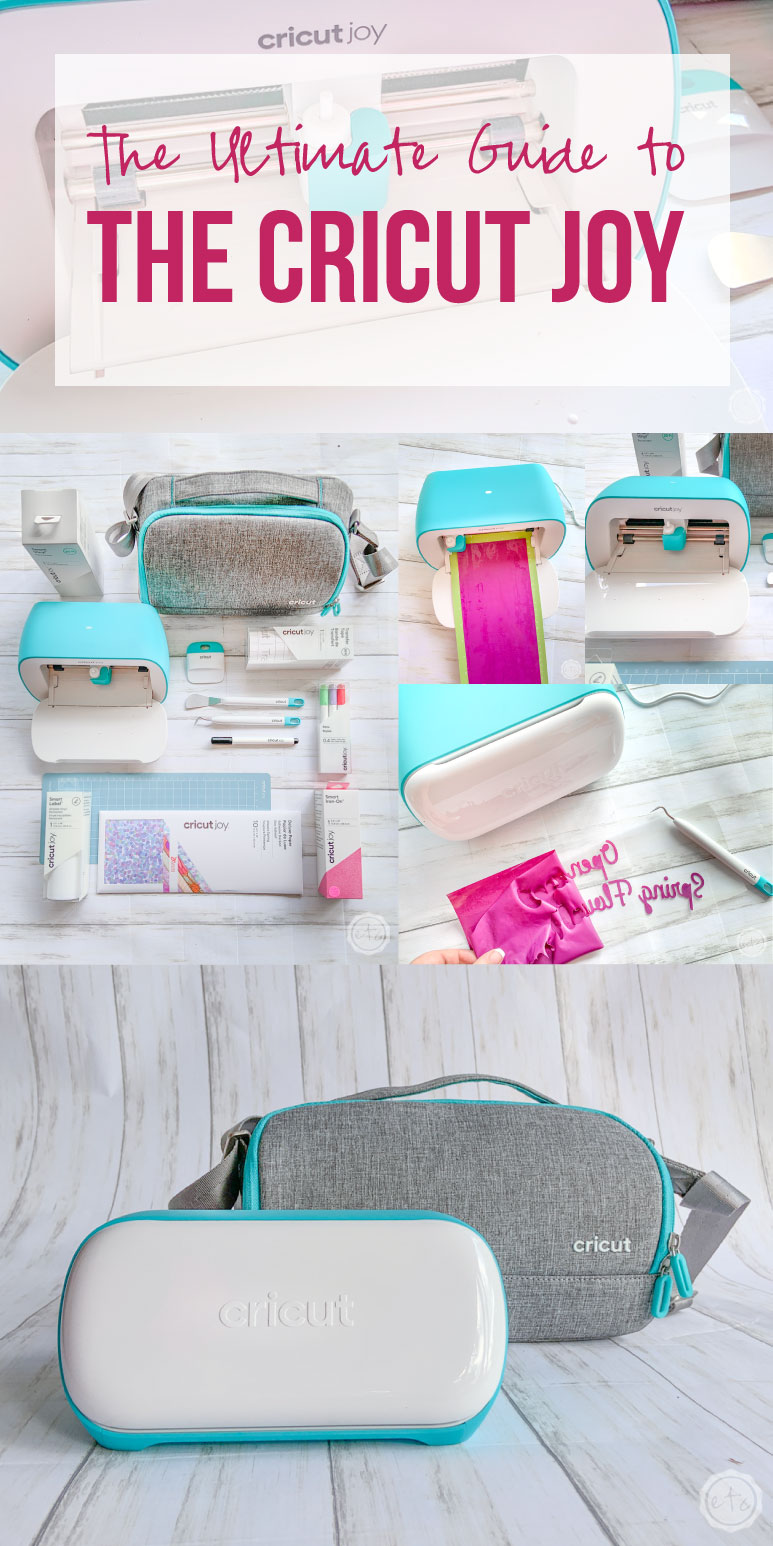
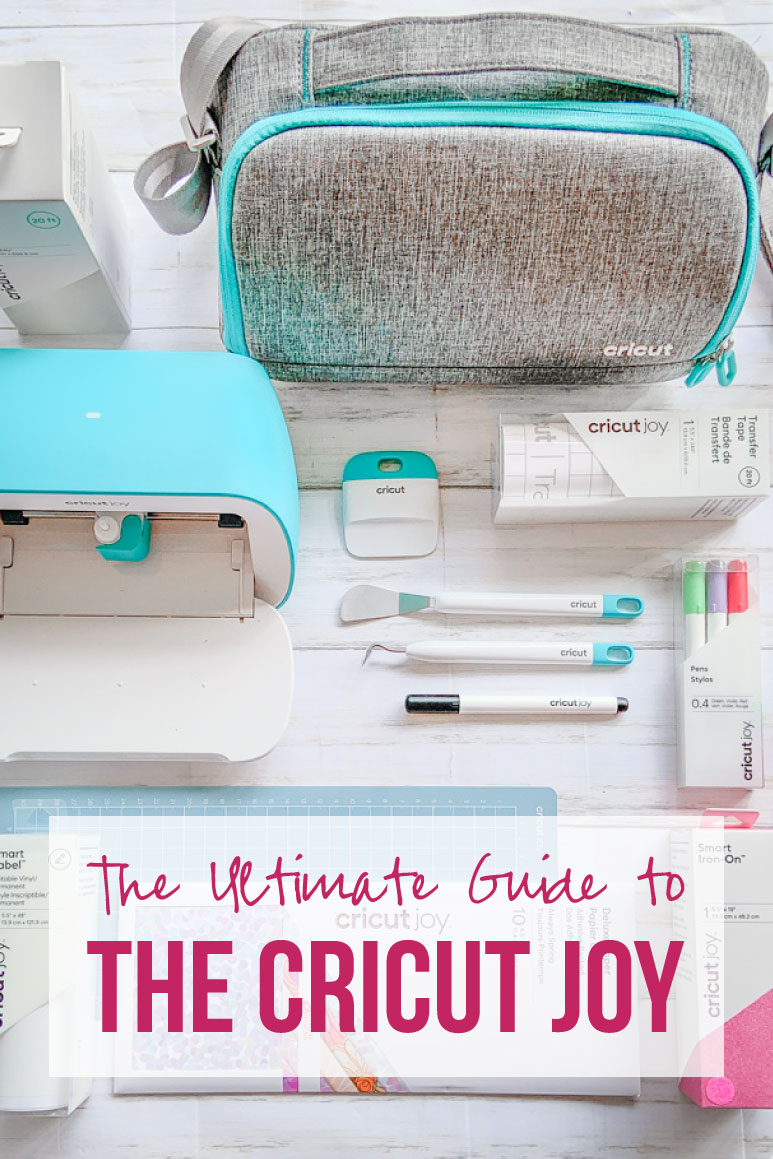
Well y’all there is a new sheriff in town… or maybe a deputy? It’s tiny, it’s adorable and everyone’s wondering what they can use it for… the Cricut Joy.
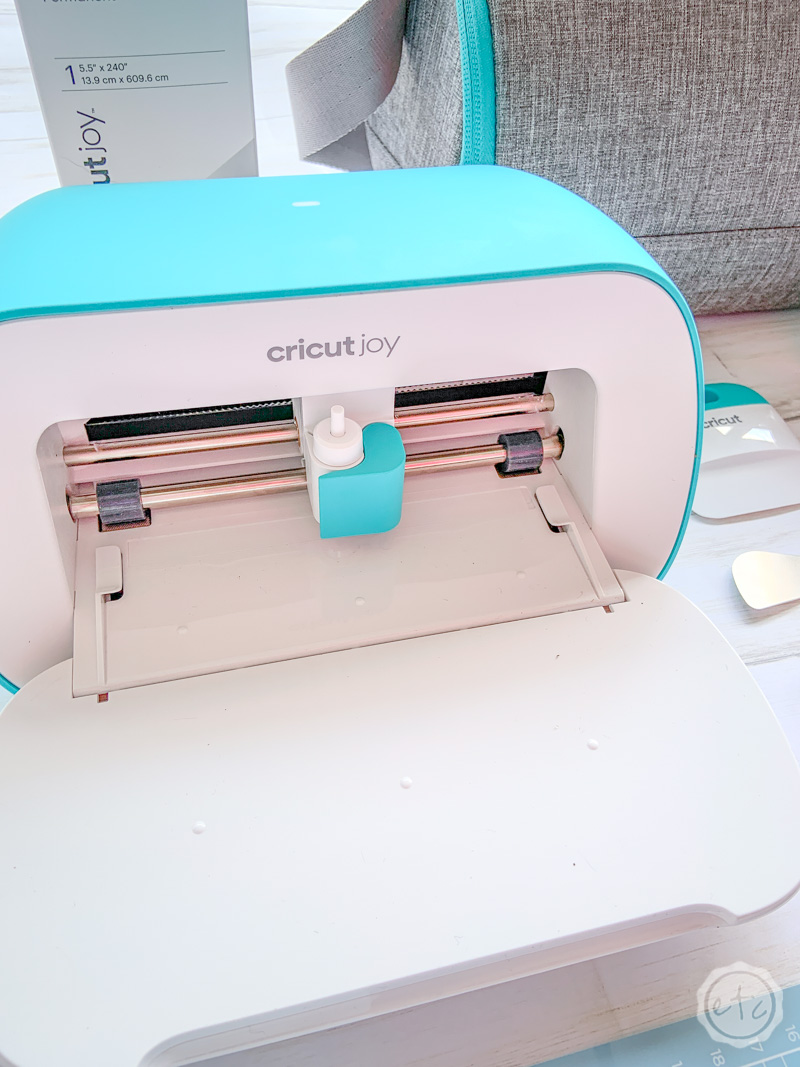
This little cutting machine is super small (about 8.5 by 6 inches… you can easily fit it in the palm of your hand) and only uses a standard fine-point blade. So the question remains: what is it? do I need it? what can I use it for?
Especially if you already have a larger crafting machine like the Explore Air 2 or the Cricut Maker crafters everywhere (myself included) are looking at this little tiny bundle of joy and wondering if it has a place in their craft room.
We’re going to go over all of that today.
What is the Cricut Joy?
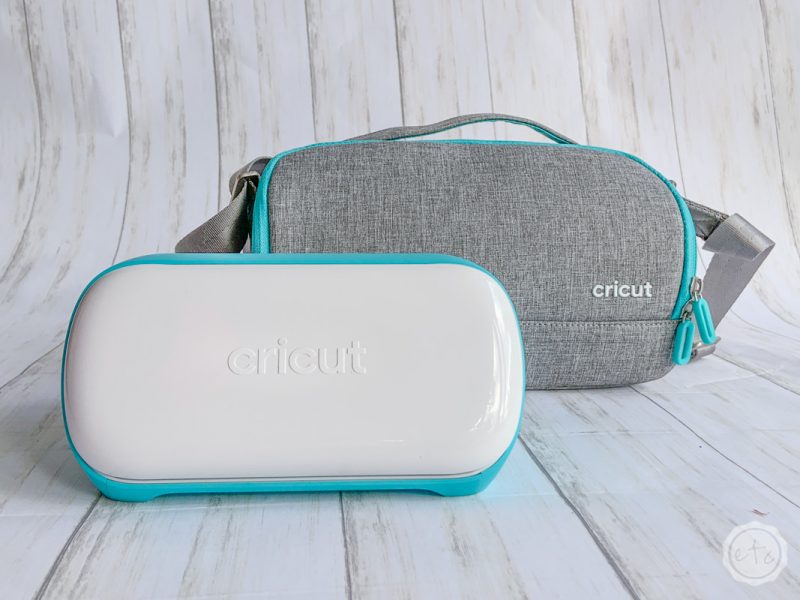
It’s a tiny cutting (and writing!) machine that can pack a lot of cutting abilities into a small space. It runs solely on bluetooth and only uses a standard (fine) cutting blade so it’s a smaller version of Cricut’s larger machines.
As of right now it’s only available in a blue color and can be purchased from Cricut, Amazon, Michaels, Wal-Mart and Target.
How much does the Cricut Joy cost?
Now we’re getting into the juicy stuff! Of course, there are bundles where the Joy can be bought for less moola (this bundle includes the machine, mats and materials for only $189 if you’re already a Cricut Access subscriber) but if we’re simply talking about the machine here’s the price break down.
- Cricut Joy $169
- Cricut Explore Air 2 $199
- Cricut Maker $249
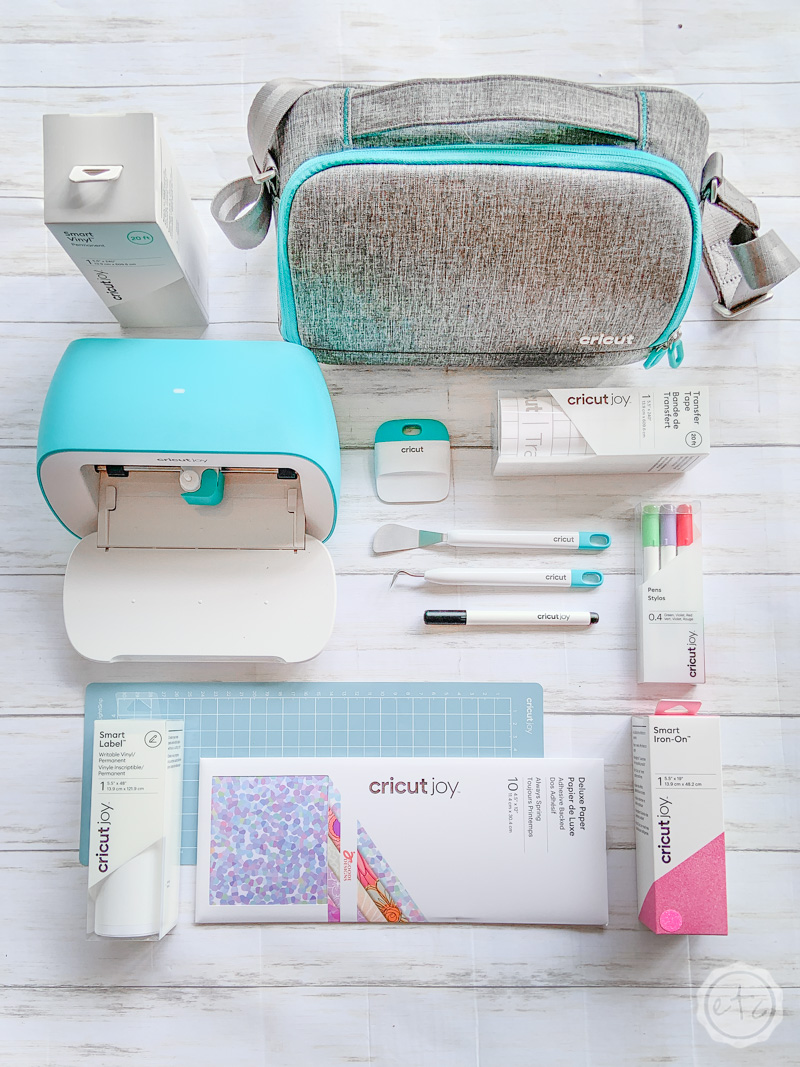
What Materials can I cut with the Cricut Joy?
- Iron-On
- Cardstock
- Vinyl
- Paper
- Smart Materials
- Infusible Ink Sheets
- Cardboard
- Poster Board
- Cardstock
- Faux Leather
- Foil Acetate
- Window Cling
What can I make with the Cricut Joy?
- Cards
- T-Shirts
- Signs
- Labels
- Stickers
- Window Clings
- Bags
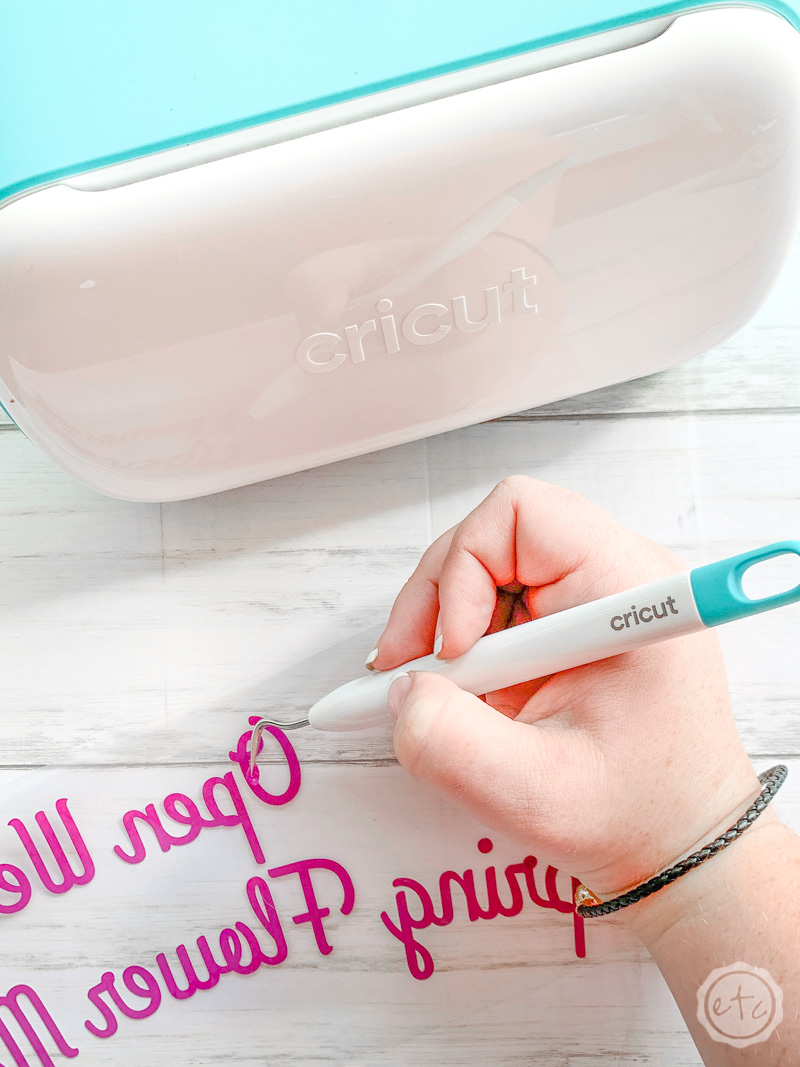
*Like the Spring Flower Market Sign below? Follow the full tutorial to make your very own!

Do I Need the Cricut Joy if I already have a Cutting Machine?
Short answer: No. If you already have an Explore Air 2 or Maker the Joy cannot add any new functionality to your craft room.
If you’re already an experienced Cricut user with one or more Cricut machines in your craft room then you may not need the Joy at all!
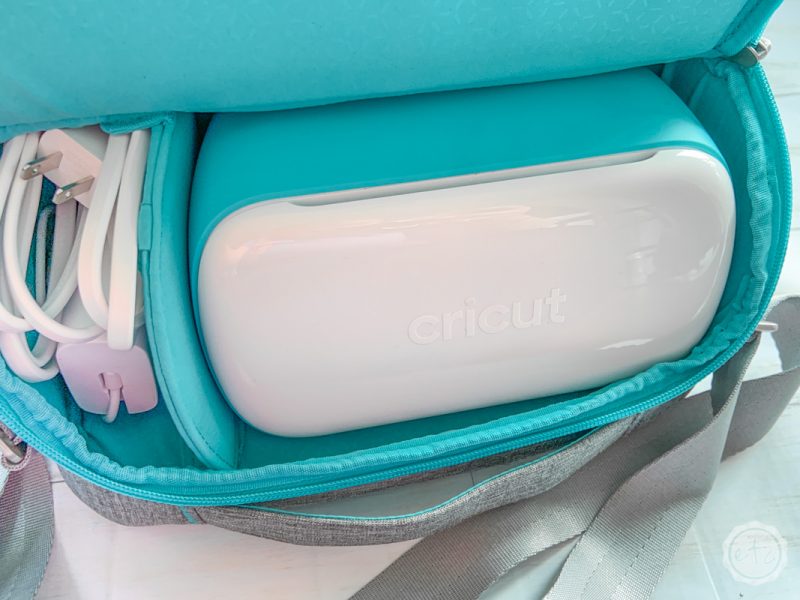
The only reason I WOULD add the Joy to your arsenal (if you already have a cutting machine) is if you’re looking for a machine that can easily travel with you or to keep in a second location for easy use.
Otherwise I would skip the Joy all together and simply use your existing cutting machine.
Who is the Cricut Joy Good For?
The Joy definitely has it’s limitations but it also has it’s perks… mainly that it’s portable! I can see this machine being useful for people on the go, small craft rooms (like in an RV) that don’t have a lot of space, teachers looking to make quick projects in their classroom, card makers, people at craft shows…
Basically anyone with limited space, anyone who needs a portable machine or anyone with a specific craft/project that they’re making multiples of.
If you’re a card maker then this little machine is the perfect companion for your craft room.
Or if you’re not a crafter at all… but you’re all about organization. This little machine would be perfect in an office (or kitchen!) to make custom labels on demand.
Is the Cricut Joy a Good Starting Machine?
Here’s the scoop… yes and no.
Hear me out!
The Cricut Joy is a great starting machine, it’s easy to use, easy to learn and doesn’t take a lot of effort to setup. If you’ve never used a cutting machine before the Joy will make the learning process easy as pie… smooth as butter… all the things.
BUT unless you plan to stick to vinyl, iron-on or paper the Cricut Joy will quickly limit you in your crafting. If you’re a crafter once you’ve learned how to use the Joy chances are you’re going to want to move on to bigger and better things (felt, chipboard, poster board, magnets, wood!).
So my answer is this: if you’re looking to cut basic materials than the Cricut Joy is a great starting machine. But if you’re looking to add a machine to your craft room with a bit more versatility skip the joy and buy a machine that can do those things… even the Maker doesn’t have a huge learning curve and you’ll be happier in the long run.
Ready to take the leap but not sure which machine is right for you? Check out my Explore Air 2 and Maker comparison before pulling the trigger. I go over the pro’s and con’s of each machine and even have an easy to read check list of each machine’s features so you can decided which cutting machine is perfect for you.

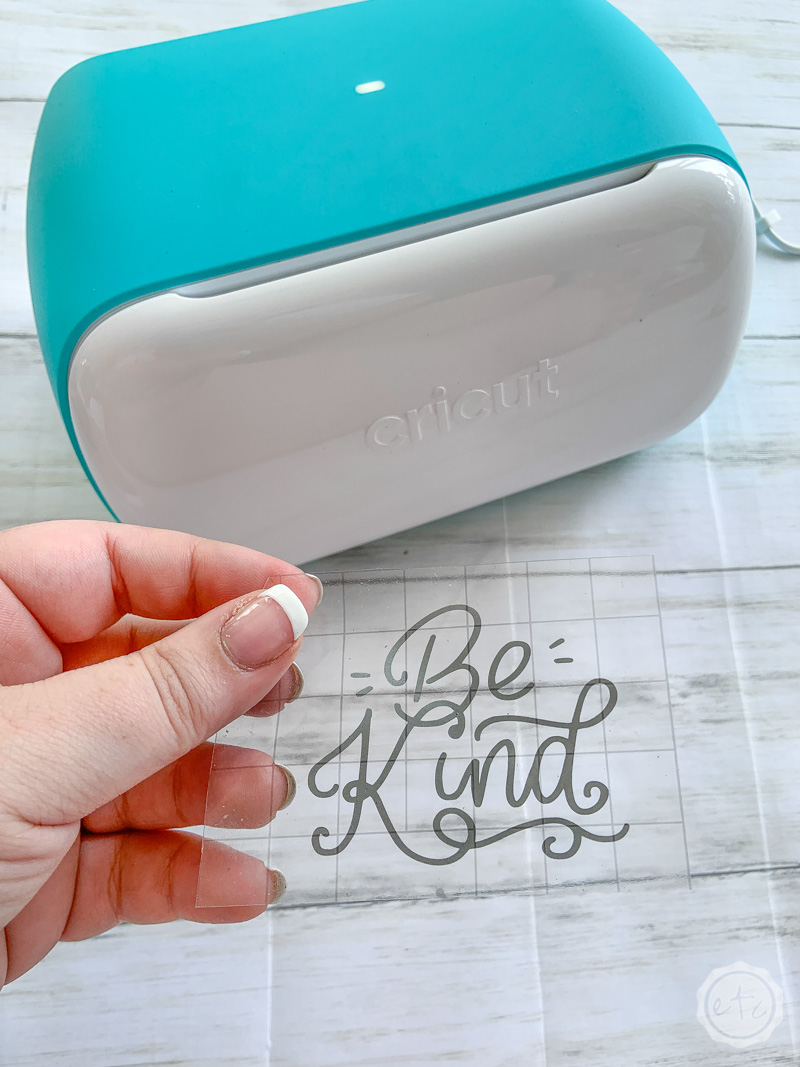
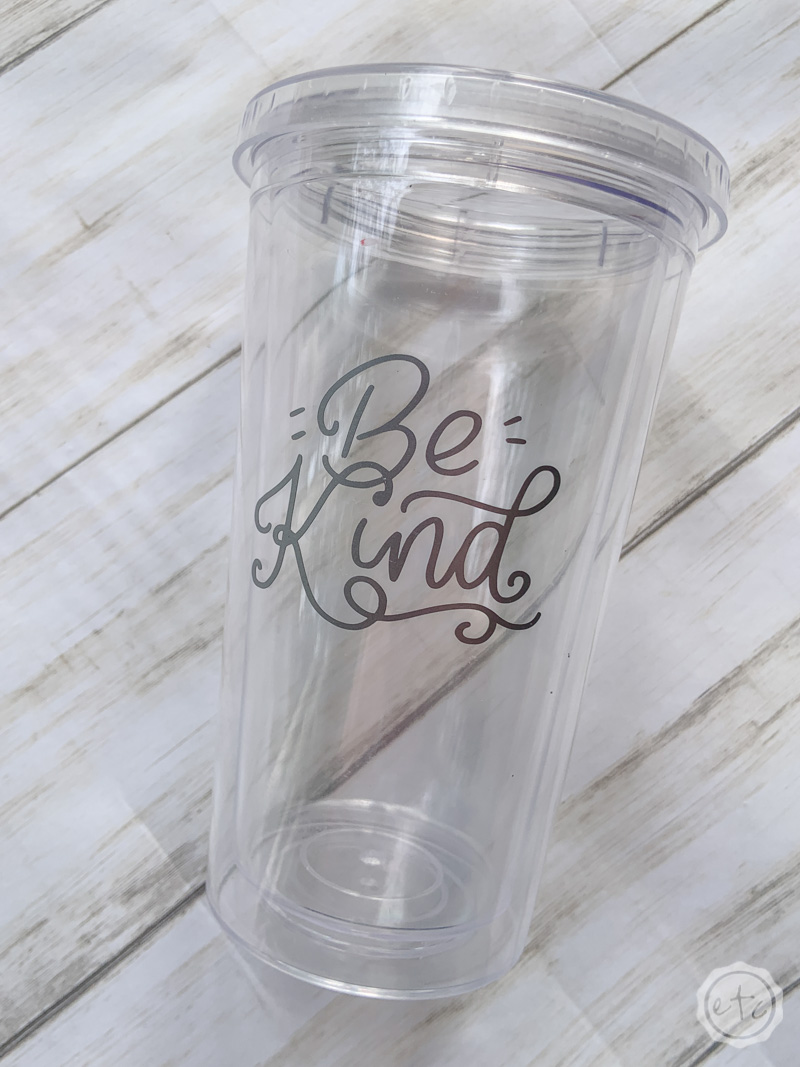
Cricut Access Project: Be Kind Tumbler
Now that we’ve gone over all the pro’s and con’s of picking the Cricut Joy let’s go through a fun Cricut Access project to see how it works! This is a cute “Be Kind” file I grabbed from the Access Library to whip up with my Joy. Just search “Be Kind” in the Access Library and they should pop up!
Since this is a basic vinyl project it should be pretty easy to make (we’re talking basic Cricut skills here y’all) but I really want to give this whole Smart Vinyl thing a try… I mean no mat sounds awesome!
Ready to get started?
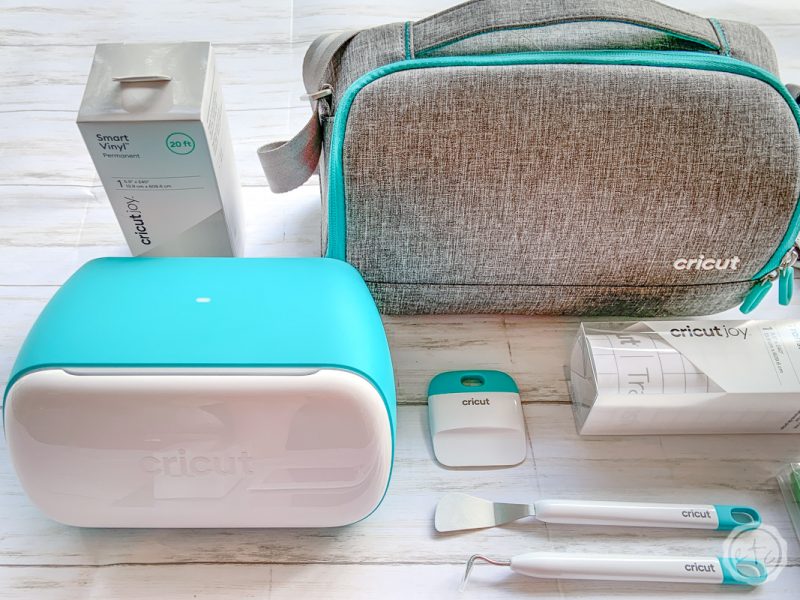
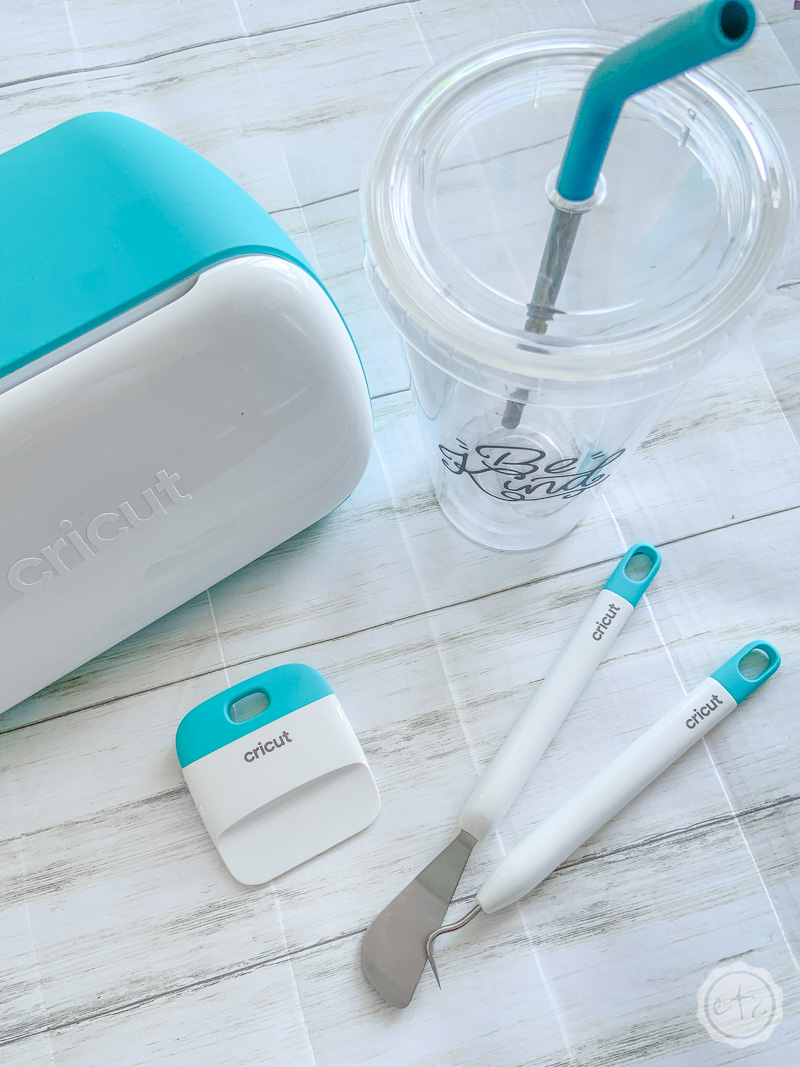
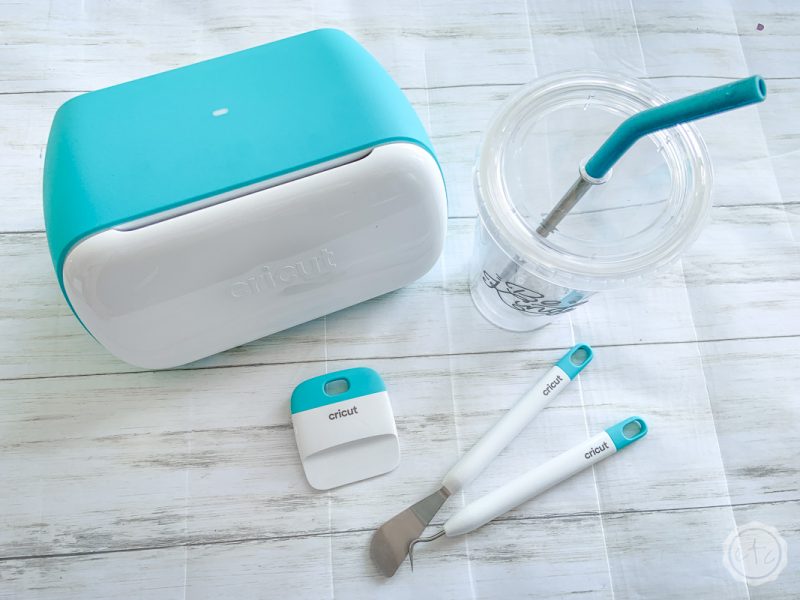
Supplies:
- Cricut Joy
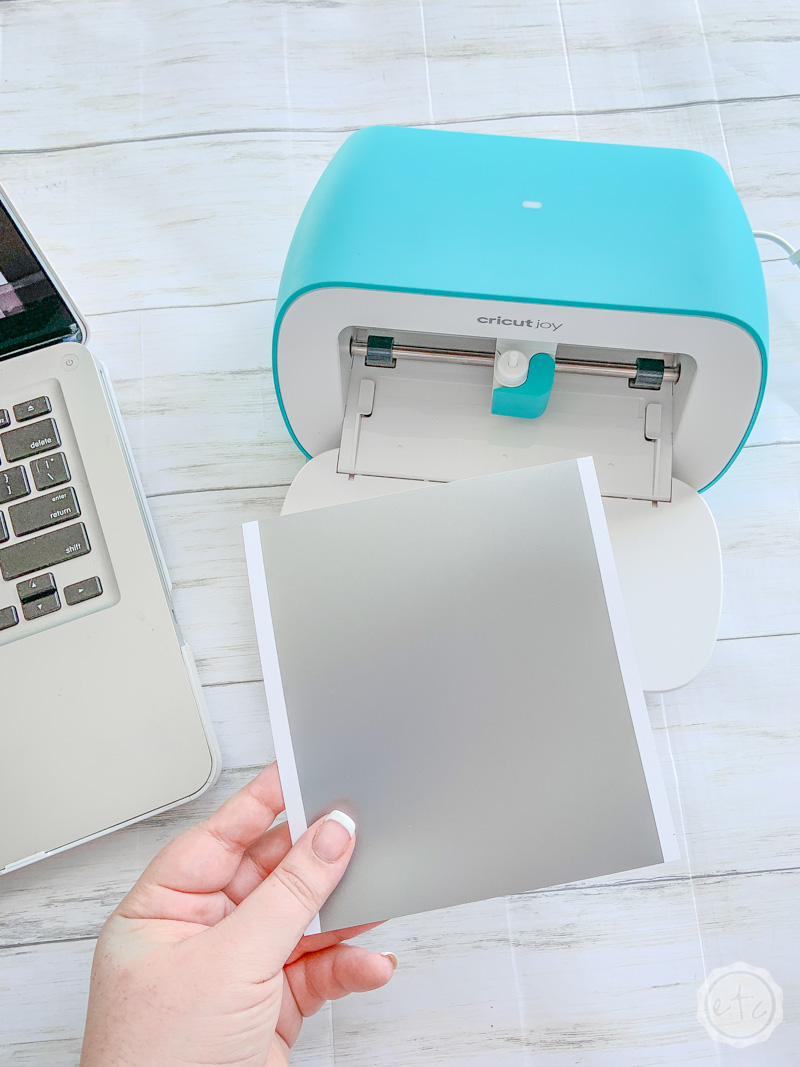
- Smart Vinyl (I’m using the sample from our Cricut Joy Instruction Booklet)
- Transfer Tape
- Weeding Tool
- XL Scraper Tool
- Tumbler
So you’ve bought a Joy but you haven’t used it yet? If you need a little help setting up your machine I’ve got you covered! Check out this post: Cricut JOY 101: Step by Step Unboxing and Setup and then come back to make the access project!


Step 1: Cut Your Design
Alright y’all ready to rock? Start by opening your project in Cricut Design Space and making sure that it’s the proper dimensions. Technically this little “Be Kind” file is for a sign so we’ll need to scale it down to fit onto a Tumbler.
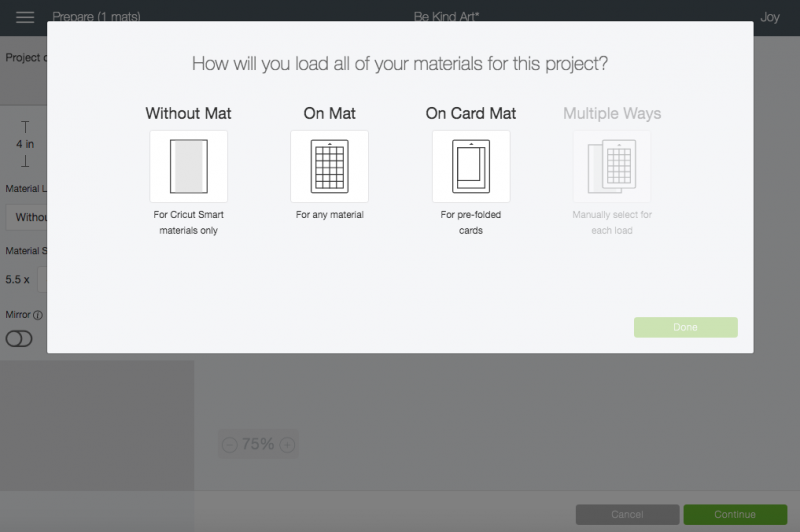
Once you’ve resized your file (about 2.5 inches across should do it) make sure you have your Cricut Joy selected in the top right corner and click make it. This will take you to a special screen where you can pick how you’re going to load all of your materials for this post: without a mat, on mat, on a card mat or multiple ways.
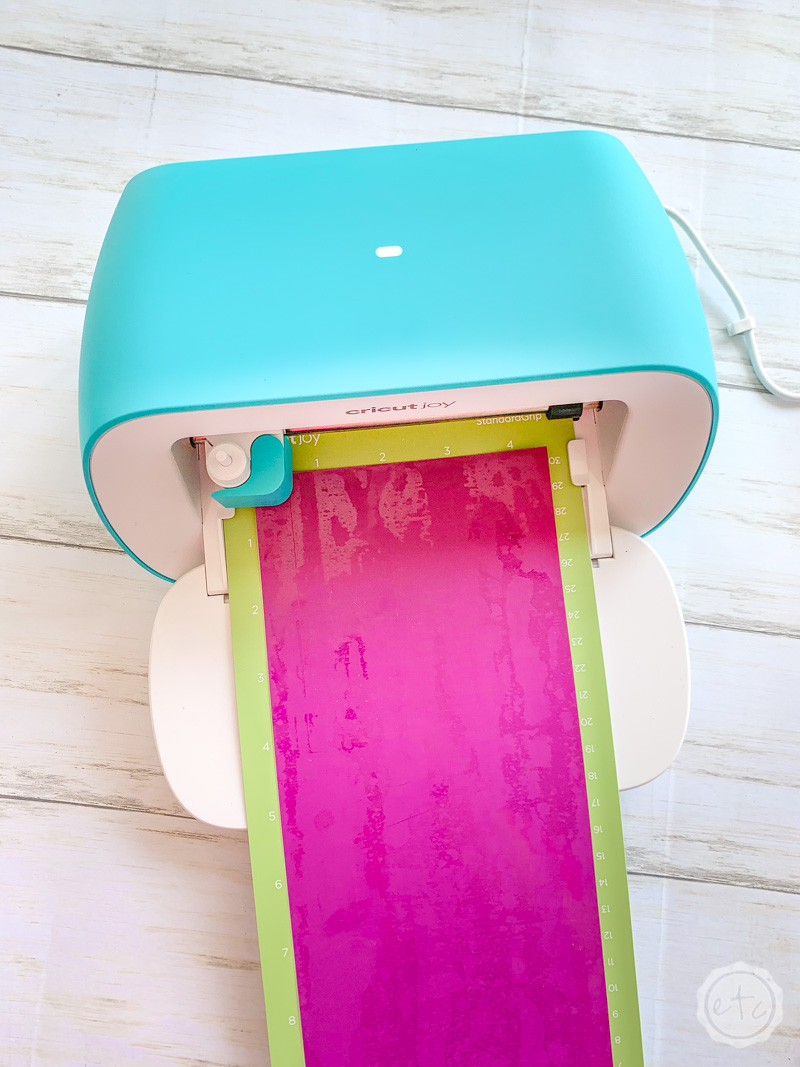
Since we’re using smart vinyl for this project we’ll pick without mat and then hit continue. This should take you to the start screen where you can select permanent vinyl as your material.
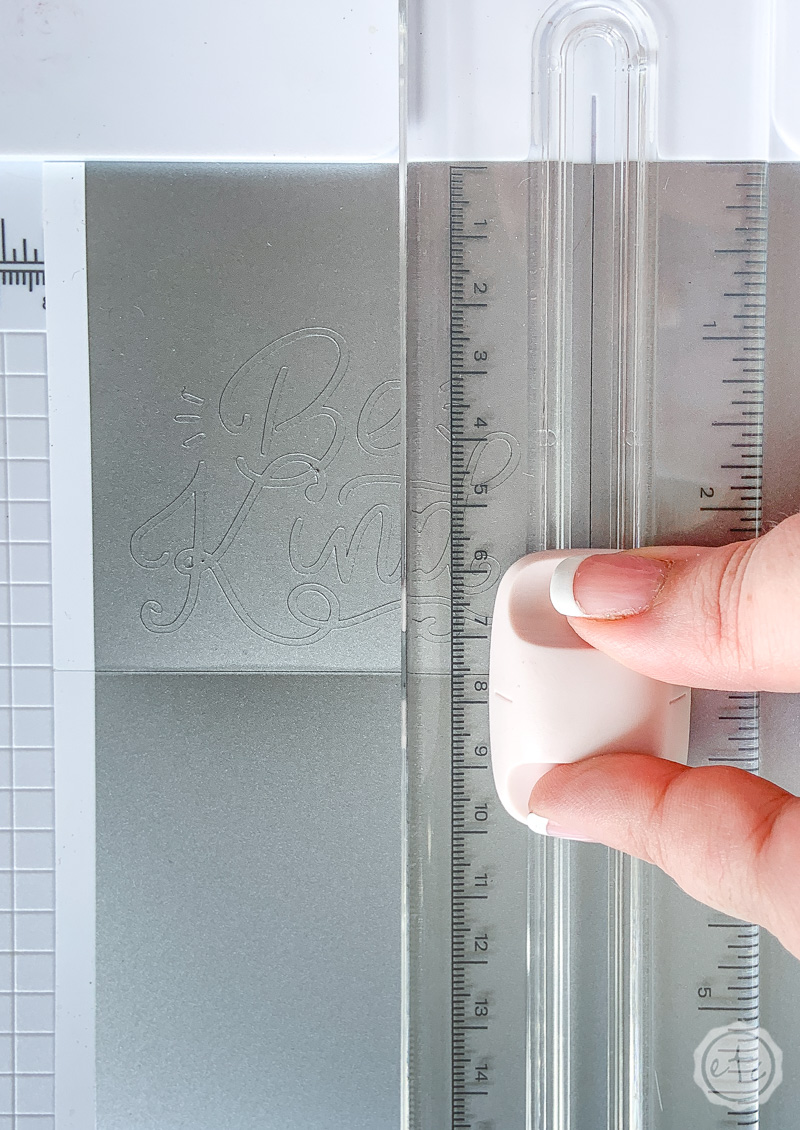
Since the joy only has one blade (the standard fine point blade) once you’ve selected your material you can load smart vinyl and hit go!
Easy peezy… even if it is strange going matless!
Just make sure to cut your design off the roll (or in this case sample vinyl) when you’re done so that you can use the scrap vinyl for another project later.


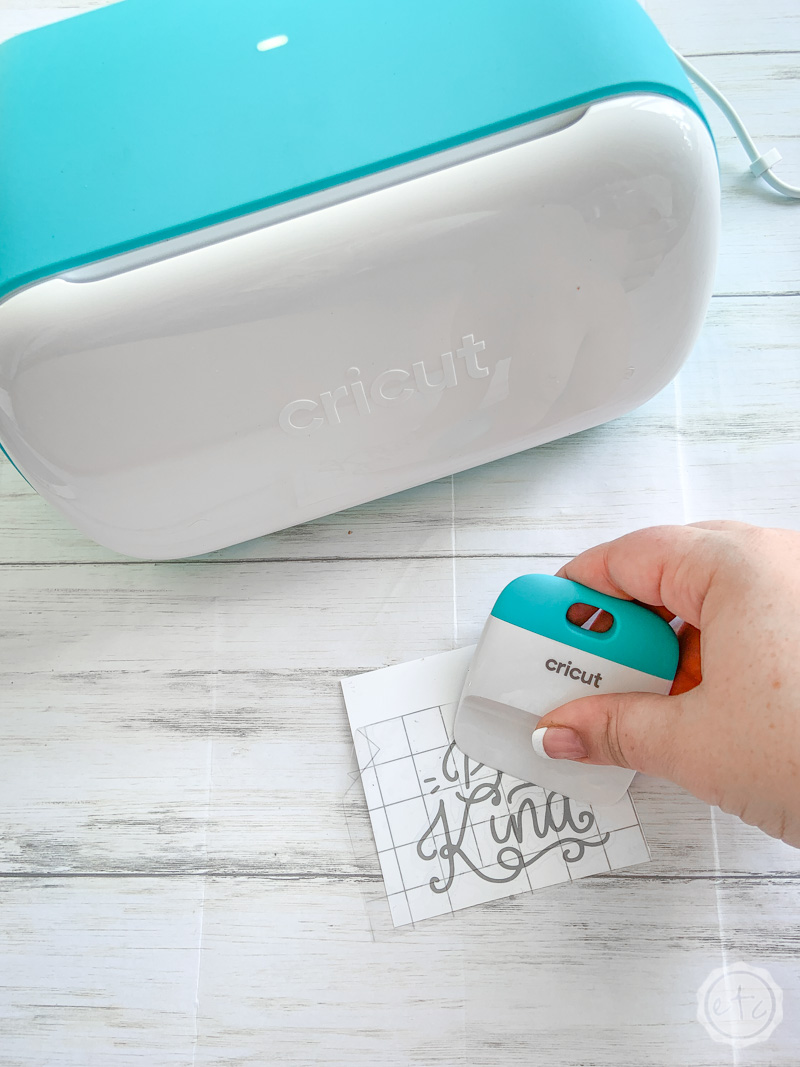
Step 2: Weed Your Design & Apply Transfer Tape
This is a pretty small image so the cutting shouldn’t take that long. Mine only took a minute or so to cut out the entire design.
Once it’s finished you can unload your vinyl and cut it off the roll. Then all that’s left is the basics: weed all the negative space so that you’re left with the “Be Kind” image left on your vinyl.
Then cut a piece of transfer tape and smooth it down over your design so that you’re ready to move it to your Tumbler.
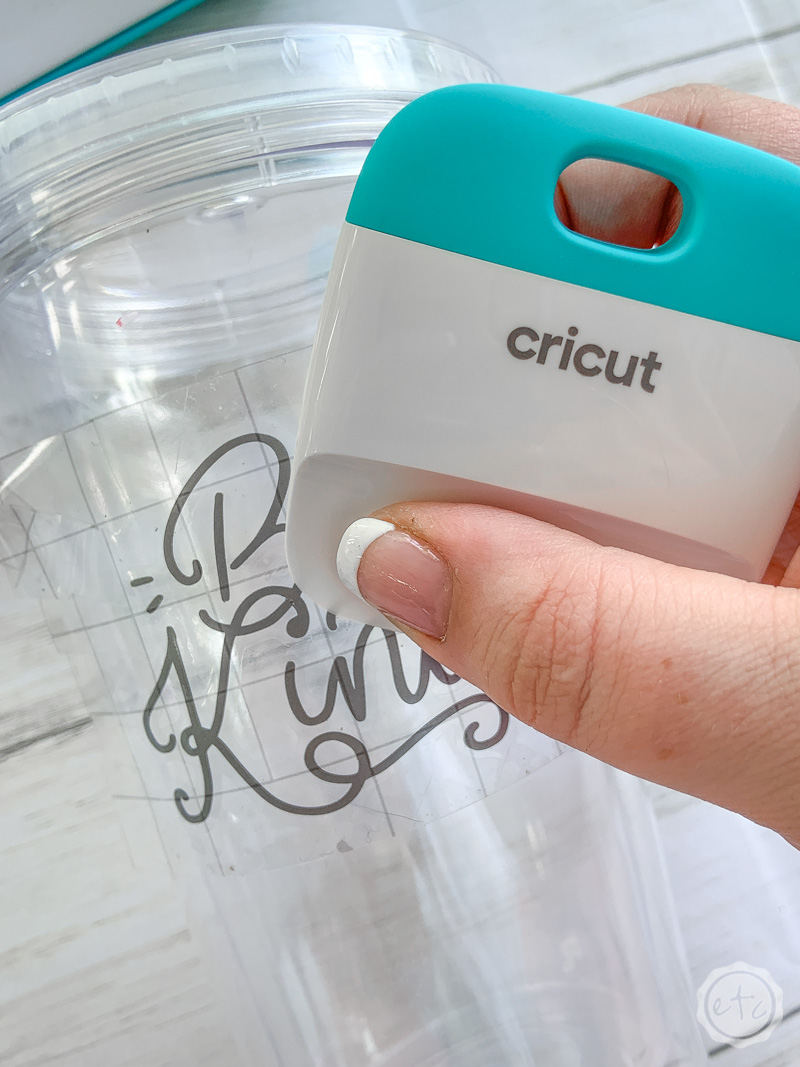
Step 3: Apply Your Design
Ready for the last step? Go ahead and lay your transfer tape (with your design) down on your Tumbler… then smooth it down so that all of the vinyl is firmly attached to the Tumbler.
You can use your fingers to smooth it out and then your smoothing tool to firmly press it into place. Since your Tumbler is curved you’ll want to go slow so that all of the vinyl curves around the Tumbler without crinkling.
Now peel the transfer tape off and volia! Finished!

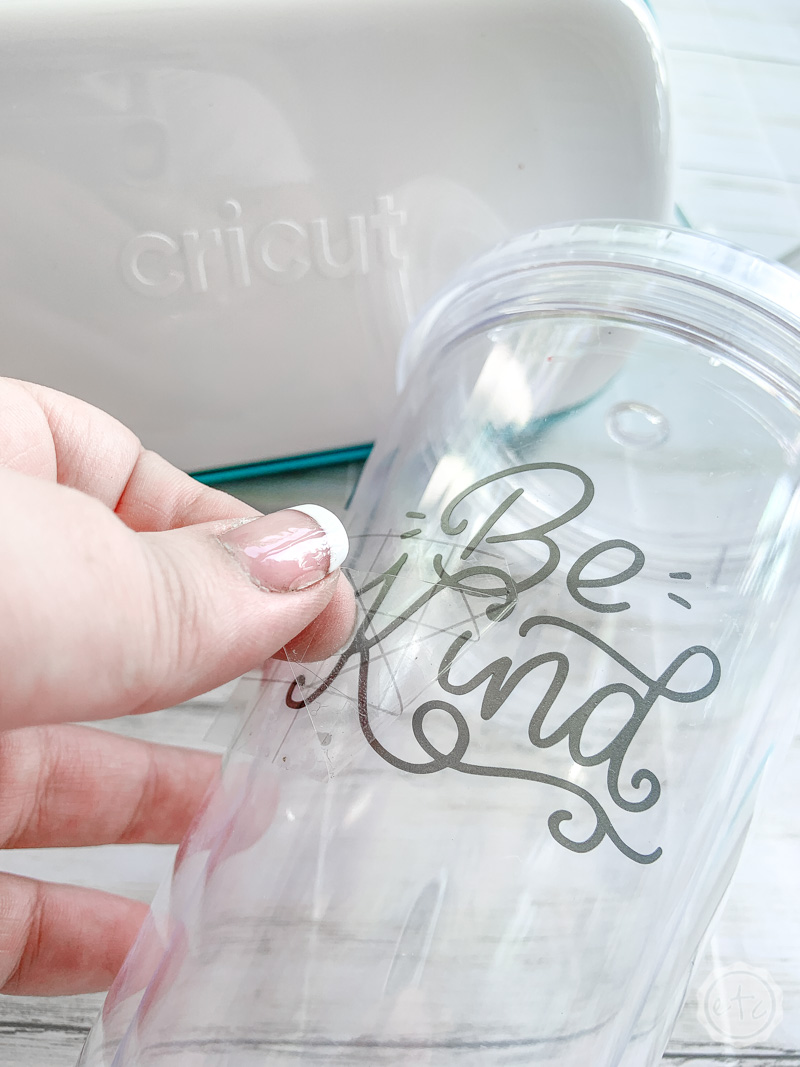
Just keep in mind that even permanent vinyl on a tumbler won’t stand up to a dish washer (forever… I’ve heard of vinyl making it many many months in a dish washer before coming off… and I’ve heard of vinyl coming off the first time in a dish washer).
The safest bet is to hand wash this puppy… or to clear coat the entire tumbler with a coat of resin. But that’s an entirely different project.
For me, I don’t mind when my vinyl comes off my tumbler… it just means my tumbler is ready for a new design!
Looking for a walk-through on any other Cricut products? I’ve gone over alllll the basics here:


[…] can cut all kinds of materials with this baby (vinyl, iron-on, window cling, paper… find the full list of materials here on my Ultimate Cricut Joy Guide) and the standard fine point blade is so little and cute (just like the […]