


Did y’all know that you can put infusible ink on aluminum? I had no idea… I was so surprised when I found out… how is this the best kept secret?!
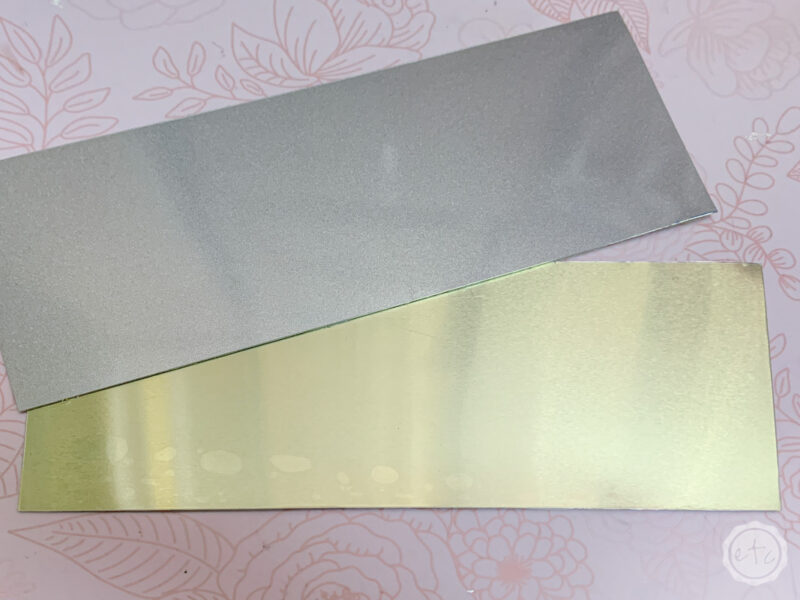
Of course, there are a few stipulations… infusible ink won’t bond to just any aluminum it has to be cricut brand aluminum. The aluminum has two sides one for engraving and one for infusible ink… just think of all the possibilities!
I wanted to try this out so I grabbed a pack of aluminum and designed a little farmhouse sign to test it out.
Let’s get started!
Supplies:
- Cricut Maker
- Fine-Point Cutting Blade
- Cricut Strong Grip Mat (that’s the purple one!)
- Cricut Easy Press 9 x 9
- Easy Press Mat
- Heat Resistant Tape
- Cricut Aluminum 8×8 Sheet
- Cricut SVG Files
- Black Infusible Ink
- Knife Blade
- Brayer
- Painters Tape
- Acrylic Ruler
- True Control Knife
- Glue Dots
- Tiny Wood/Glass Sign
Step 1: Cut the Aluminum
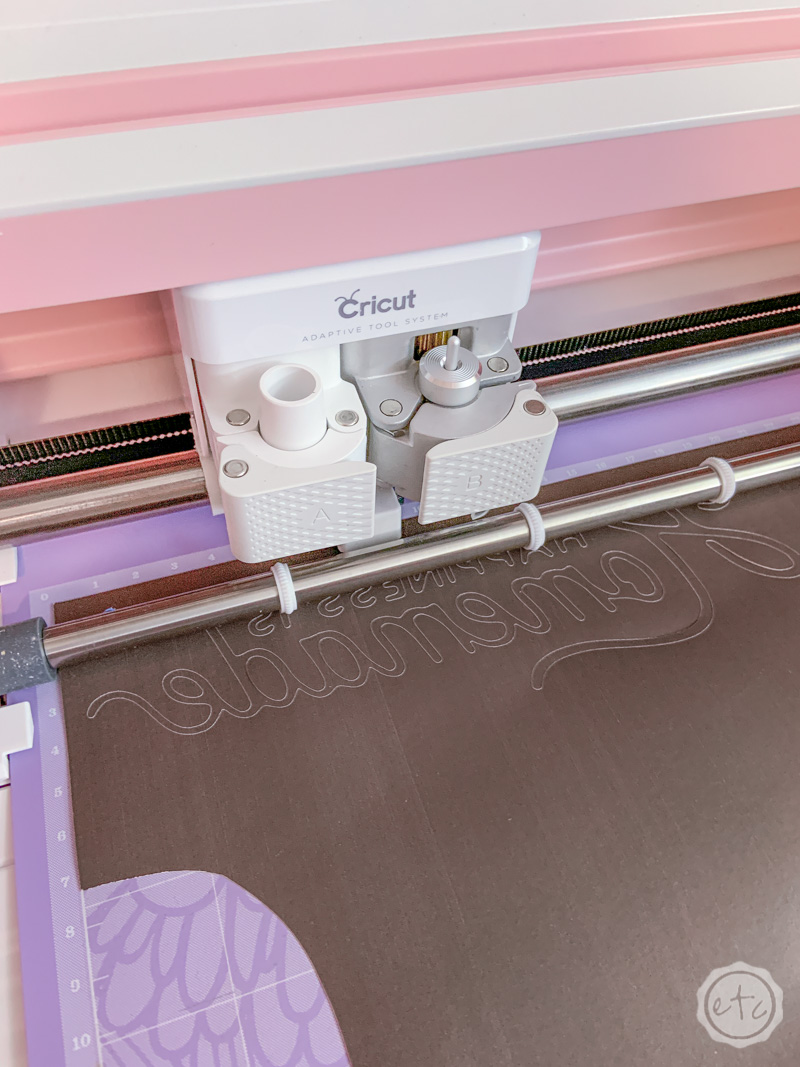
Okay so we’re going to start with a little cheat… your Cricut doesn’t actually cut aluminum but we’re only cutting a straight line so we’re going to hack it. If you don’t need to cut your aluminum you can skip this step but I have a pretty little sign blank I wanted to use and my aluminum just needed to be cut!
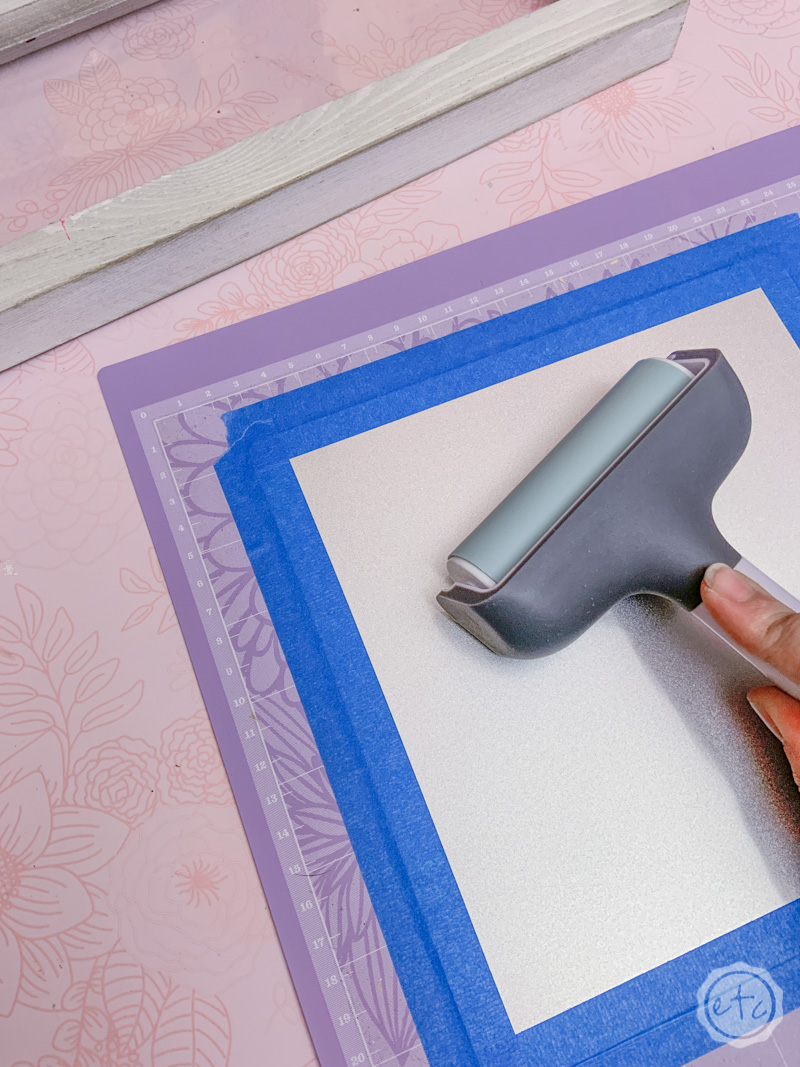
So go ahead and treat the aluminum like you would basswould… tape it down in the left hand corner with painters tape and then press it down firmly with the brayer.
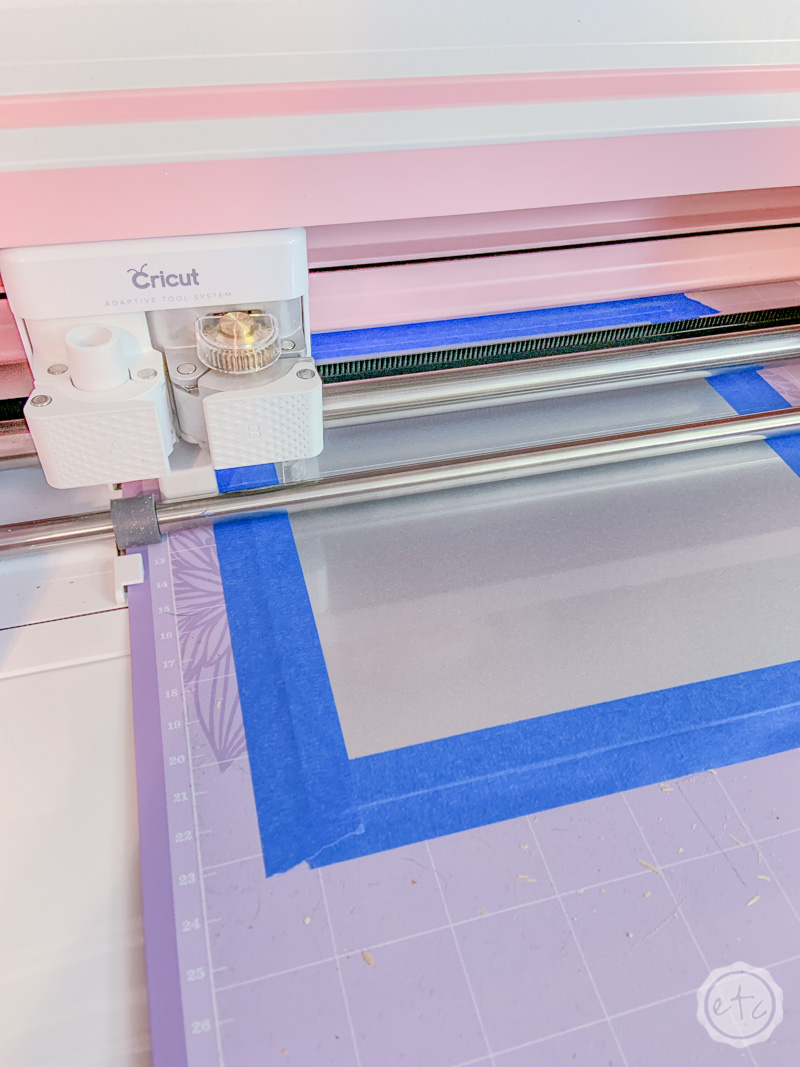
I drew a single line across design space and set it to cut… then I selected “thick basswood” as my material. The cricut will typically do a few cuts across the aluminum before saying it can’t cut anymore… that’s ok, a few cuts are all we need!

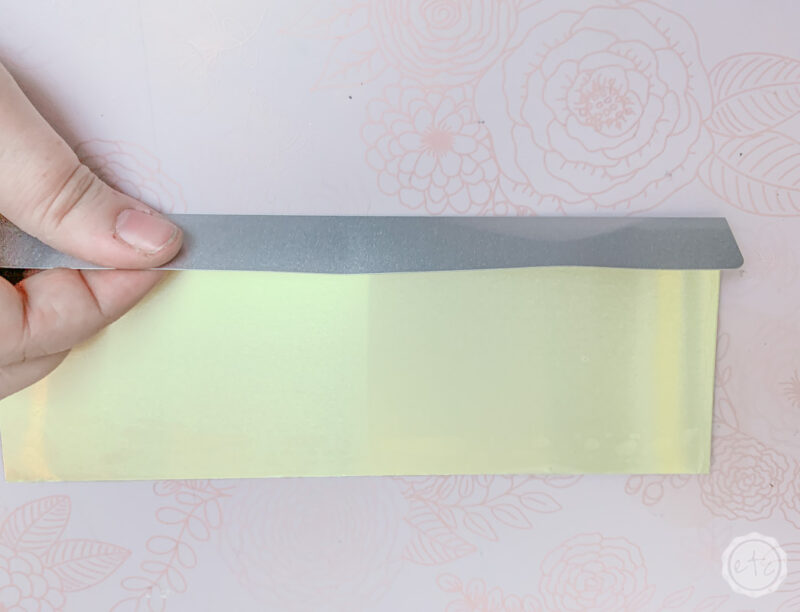
Now that we have a straight cut across our aluminum we can easily finish the cut our selves! Take your true control knife and acrylic ruler and cut through the protective film on both sides of the aluminum.
Remember that the infusible will only bond to the side with the clear protective film (the gold side is only for engraving) so don’t take the film off just yet… we still need it.
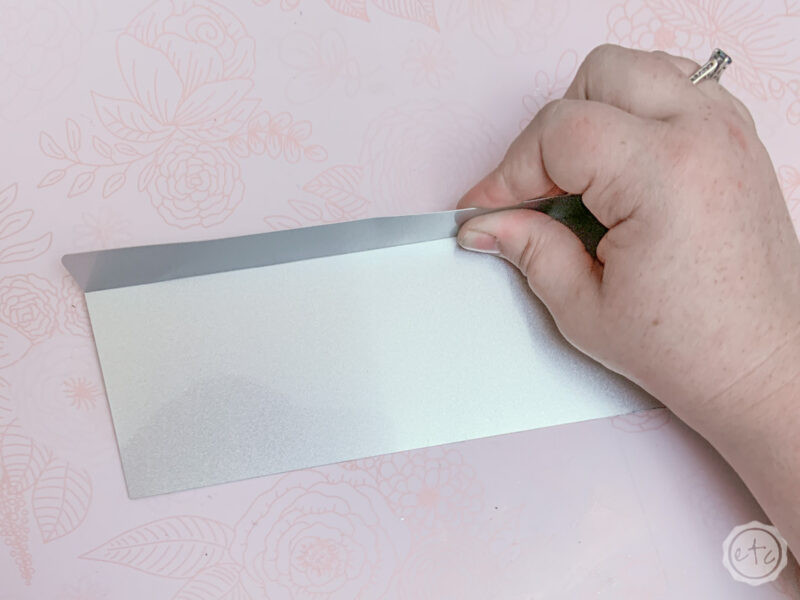
Instead just take the aluminum and slowly bend the extra portion backwards away from the cut. Once you’ve bent it all the way in one direction bend it back alllllll the way in the other direction. Keep going back and forth until the two pieces separate.
Volia! Now your aluminum is cut in two!
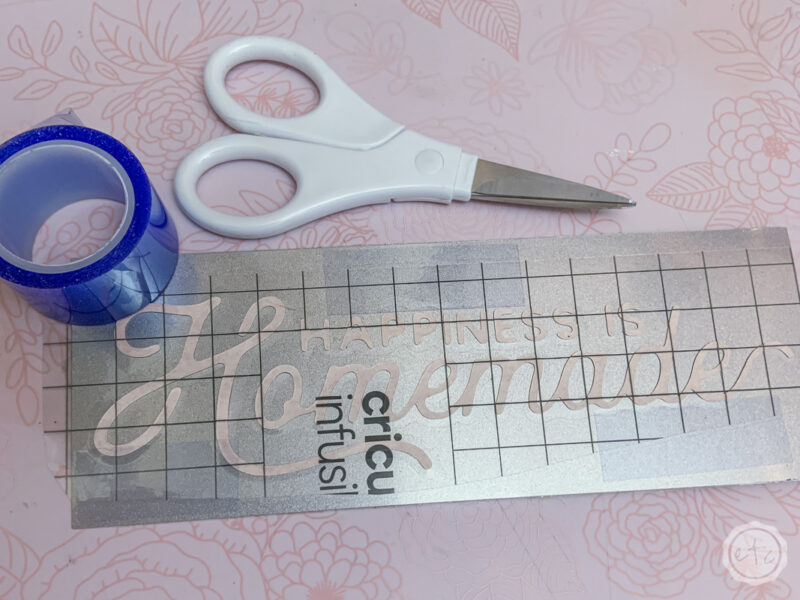
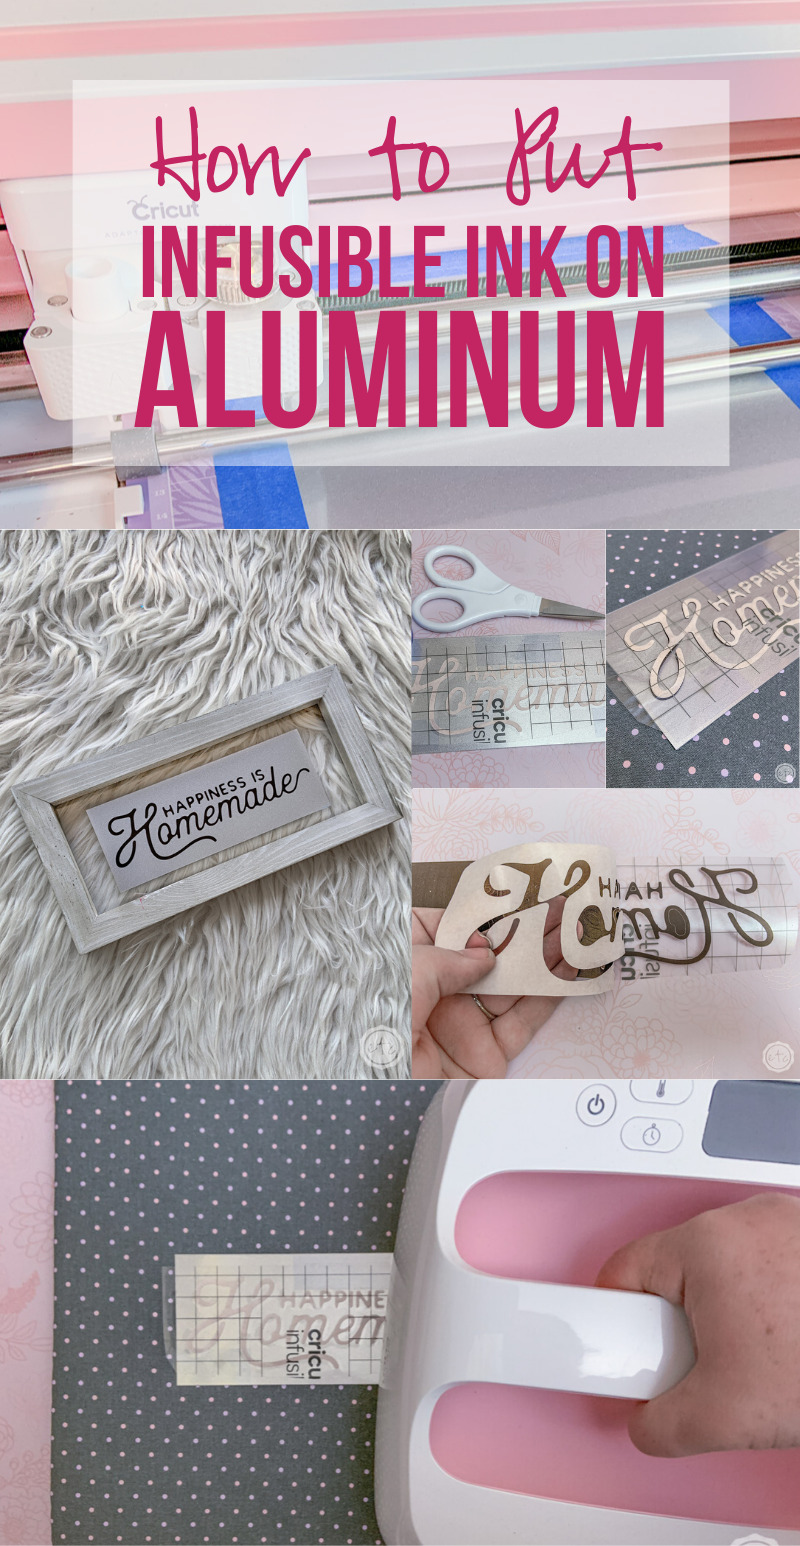
Step 2: Cut & Weed your Infusible Ink
Now it’s time for the magic! Grab your SVG down below, upload it to design space and click make it!
Remember that you’ll need to mirror the design for infusible ink… and that infusible ink sheets are ink so make sure to handle them with clean dry hands to avoid messing up the ink.
Just take a look!
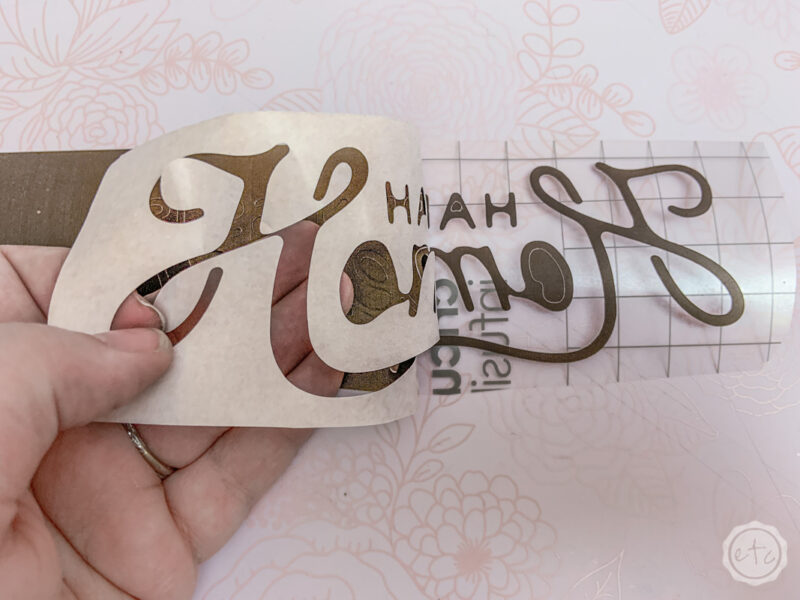
Once your design is cut out remove the extra material from the backing. Since infusible ink is thick you can remove the negative material with your fingers… you don’t even need a weeding tool!
Easy peezy.
Step 3: Prep Your Infusible Ink & Aluminum
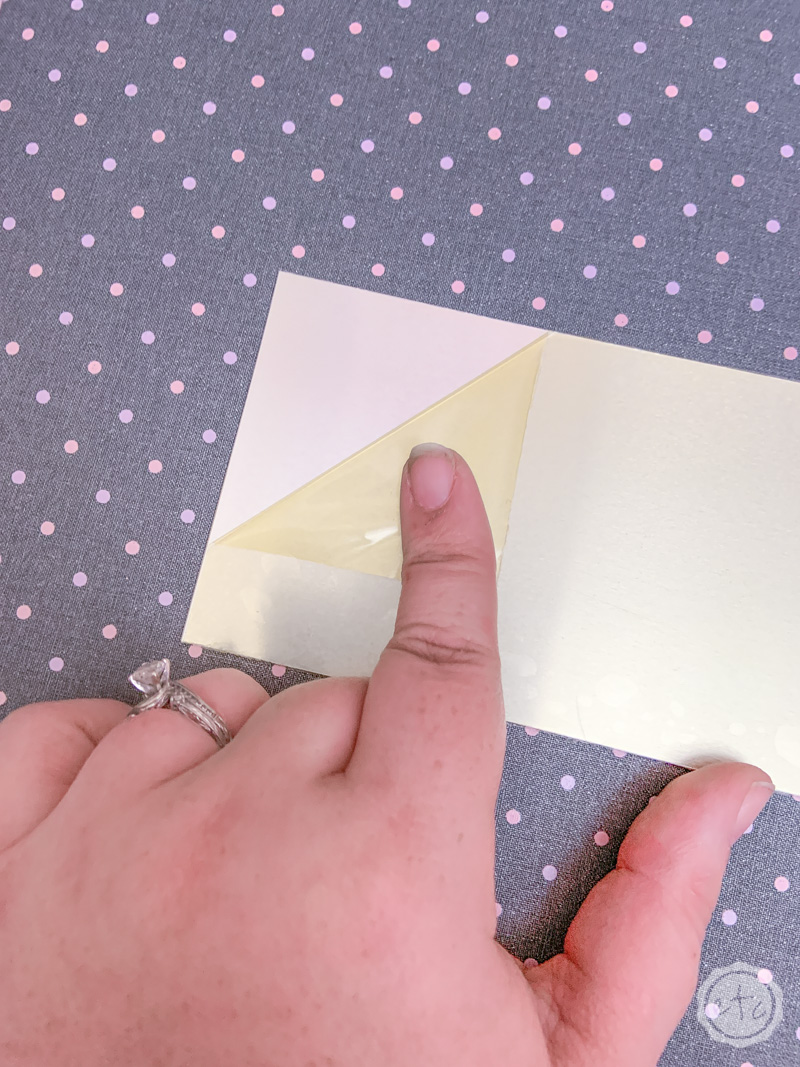
Ready to heat this baby up? Go ahead and plug in your easy press and set it to 385 degrees and 40 seconds. Then peel the protective film off both sides of your aluminum sheet!
Once you’ve taken off the film you can smooth your little infusible ink sheet onto the aluminum. The carrier sheet is fairly sticky so it will stick by itself but you want to make sure the infusible ink sheet doesn’t move at all during the heating process so use a little bit of heat resistant tape to secure the design to the aluminum sheet.
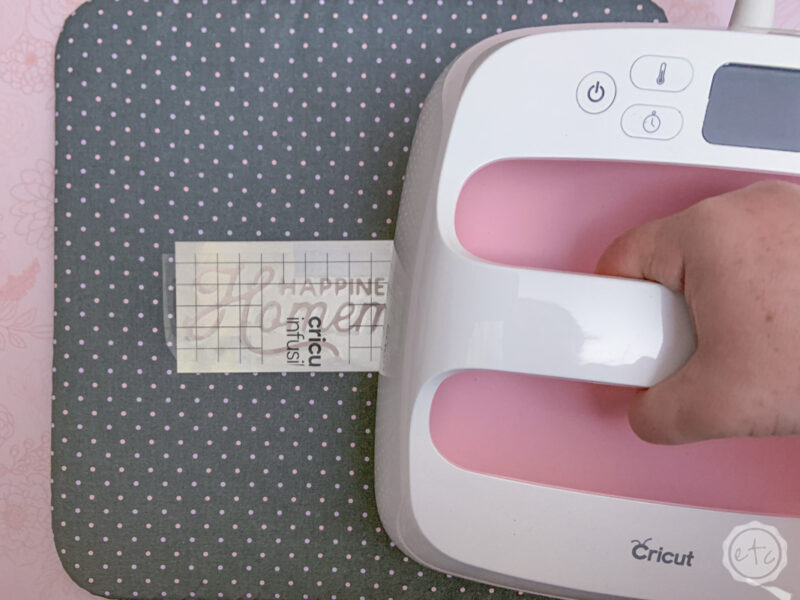
Once the design is taped down and your easy press is hot you’re ready to rock! Put your freezer paper down over your design (to protect your easy press) and then carefully place the easy press down over the whole sandwich.
Set it down, hit the go button and then let it sit. You don’t want to apply any pressure while the 40 second countdown is going so gently put it in place and then let it be. Once the timer goes off gently lift the easy press up and put it back on the stand.
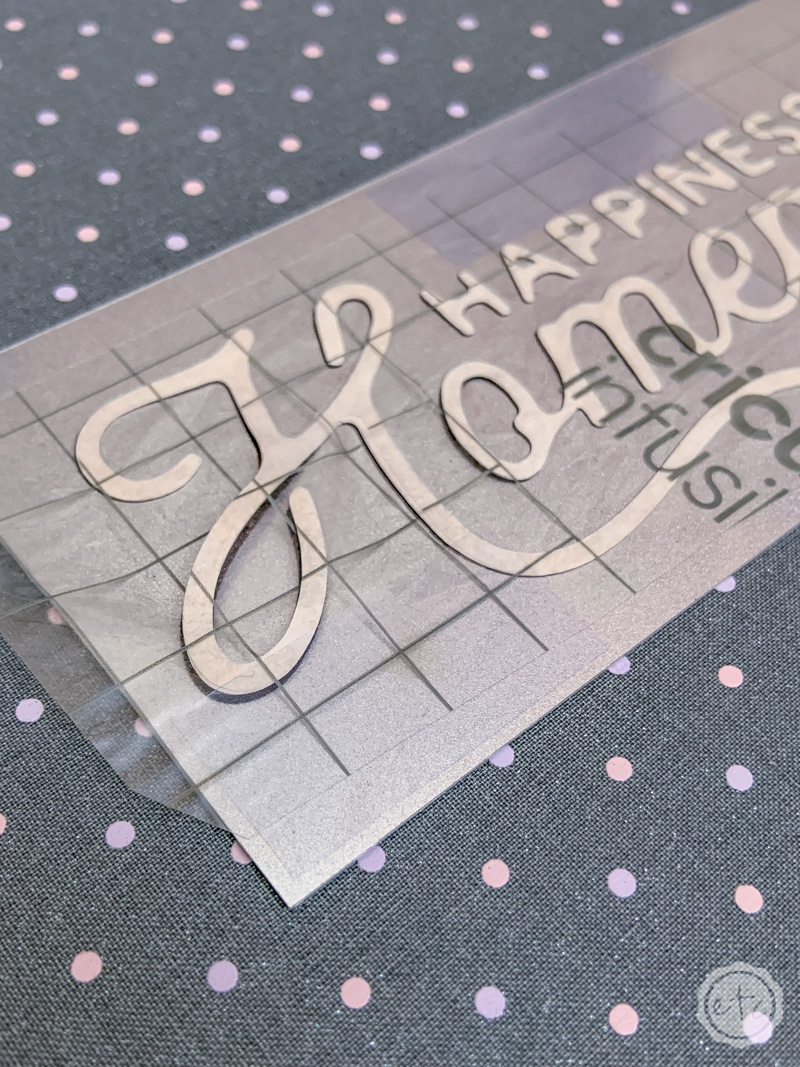
You can see the infusible ink sheet has already lifted off the material! How cool is that?
The aluminum is super hot at this point so leave it alone for a couple of minutes to cool down… then remove the carrier sheet!
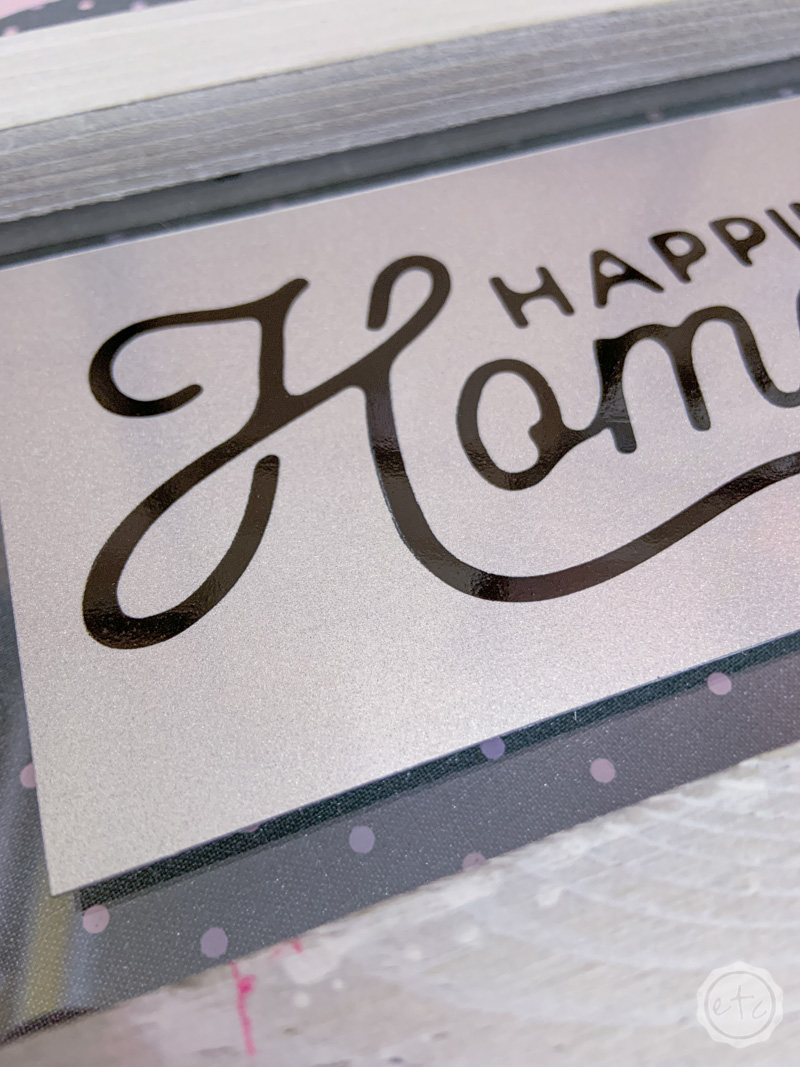
Beautiful darling!

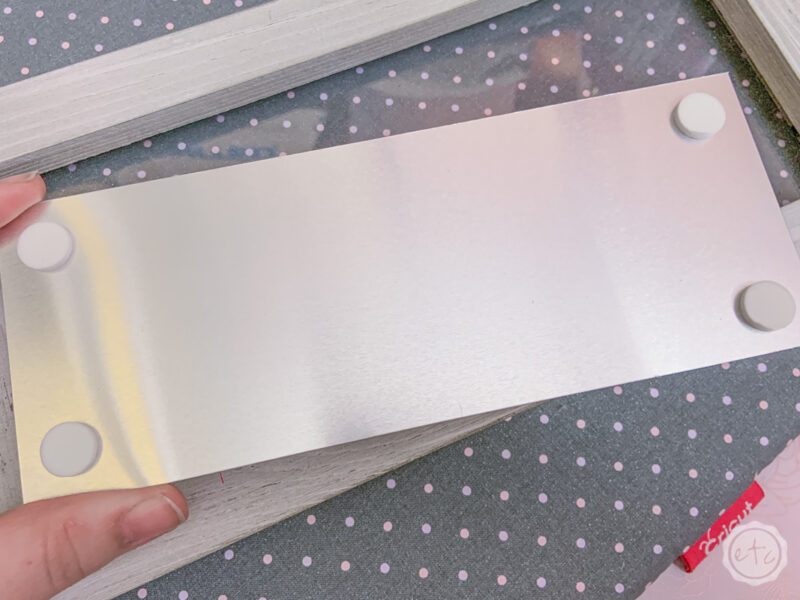
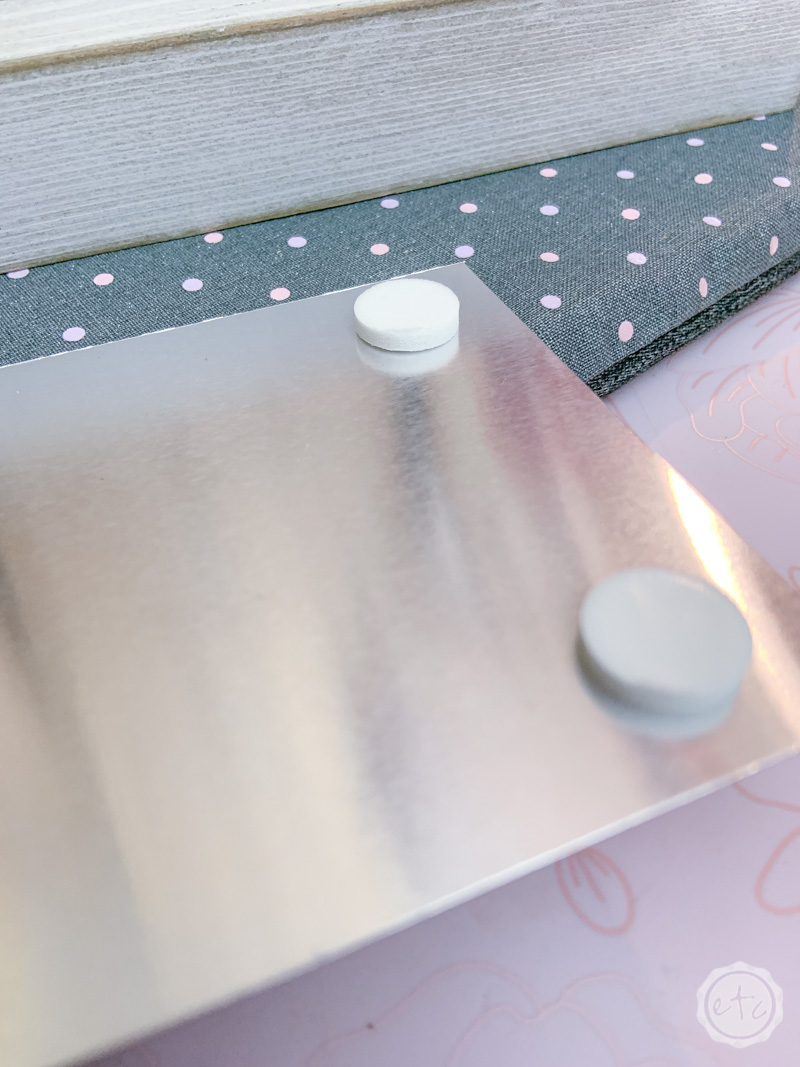
Step 4: Put your Aluminum on the Frame
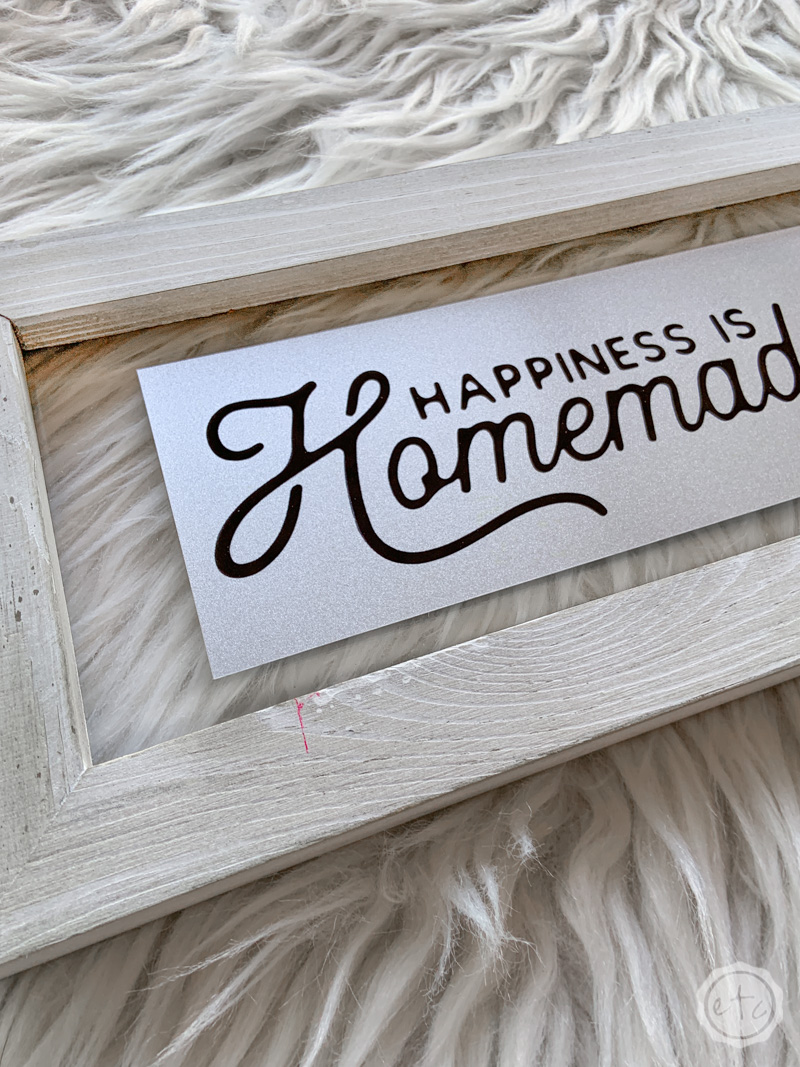
The little aluminum piece is adorable on it’s own but I thought it could use a little extra pop… so i added a few glue dots and glued it to a sign blank I had in my craft stash!
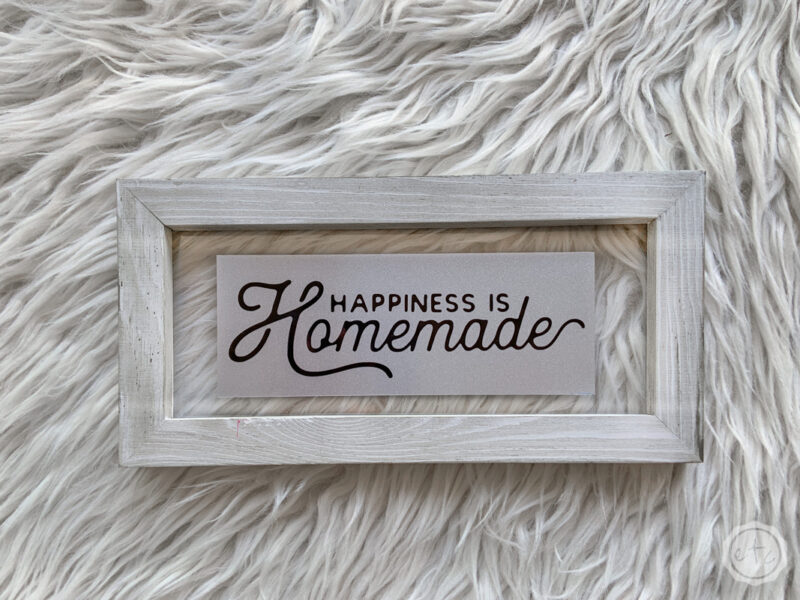
Just look how the frame makes the aluminum sign pop!
I love how it turned out!
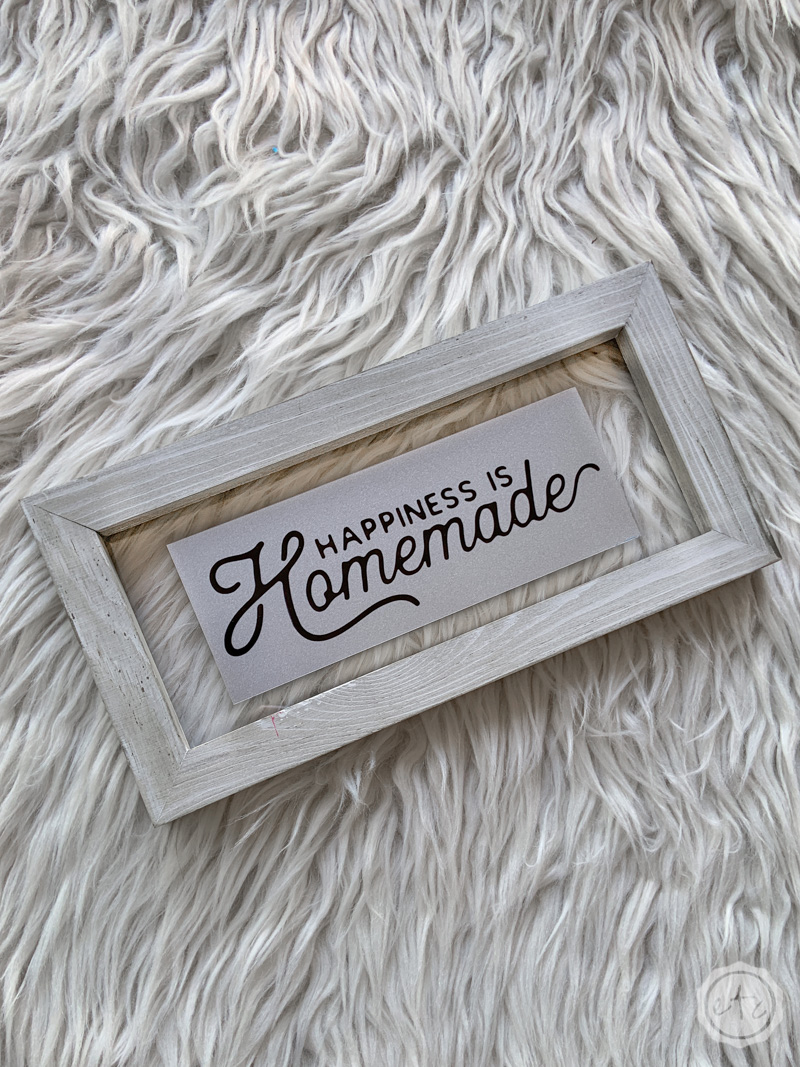

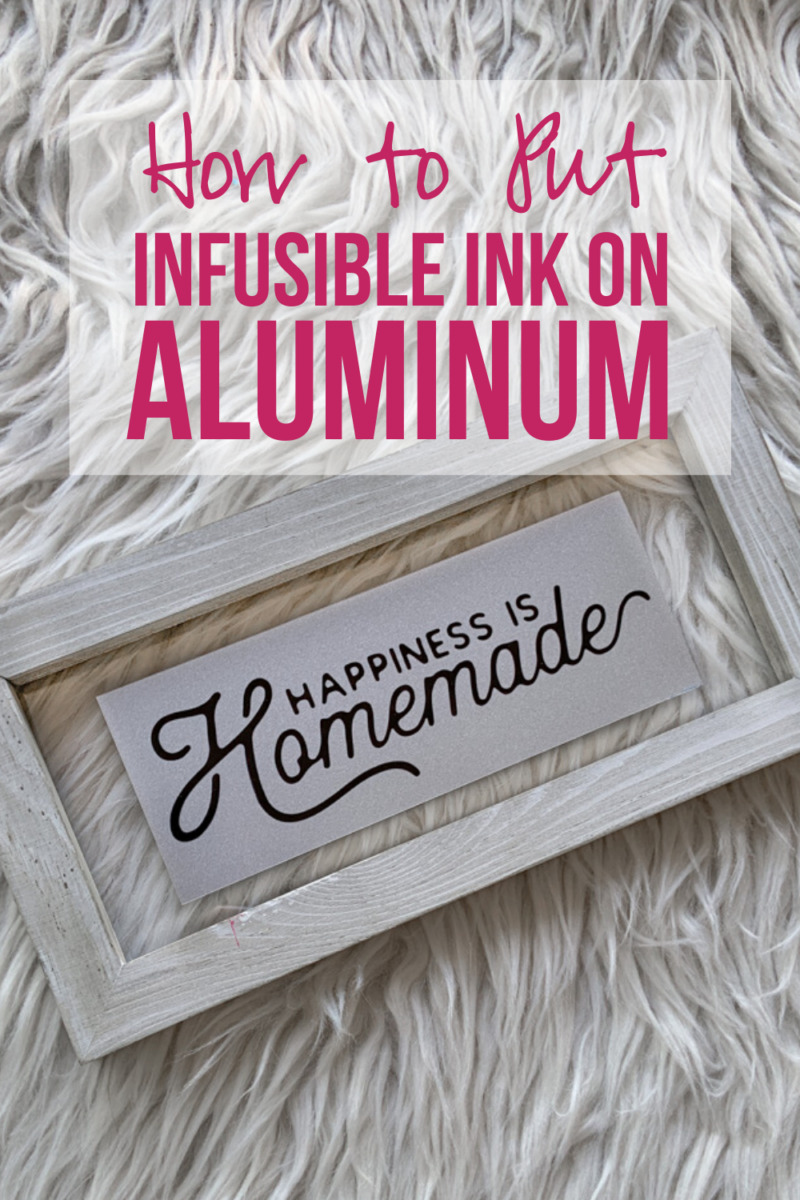


[…] add a little embellishment (like this adorable aluminum “be a pineapple” sign or this little farmhouse “Happiness is Homemade” sign and you’re good to […]