
This post is sponsored by Cricut, all opinions are 100% my own! I have also included affiliate links for your convenience… enjoy!

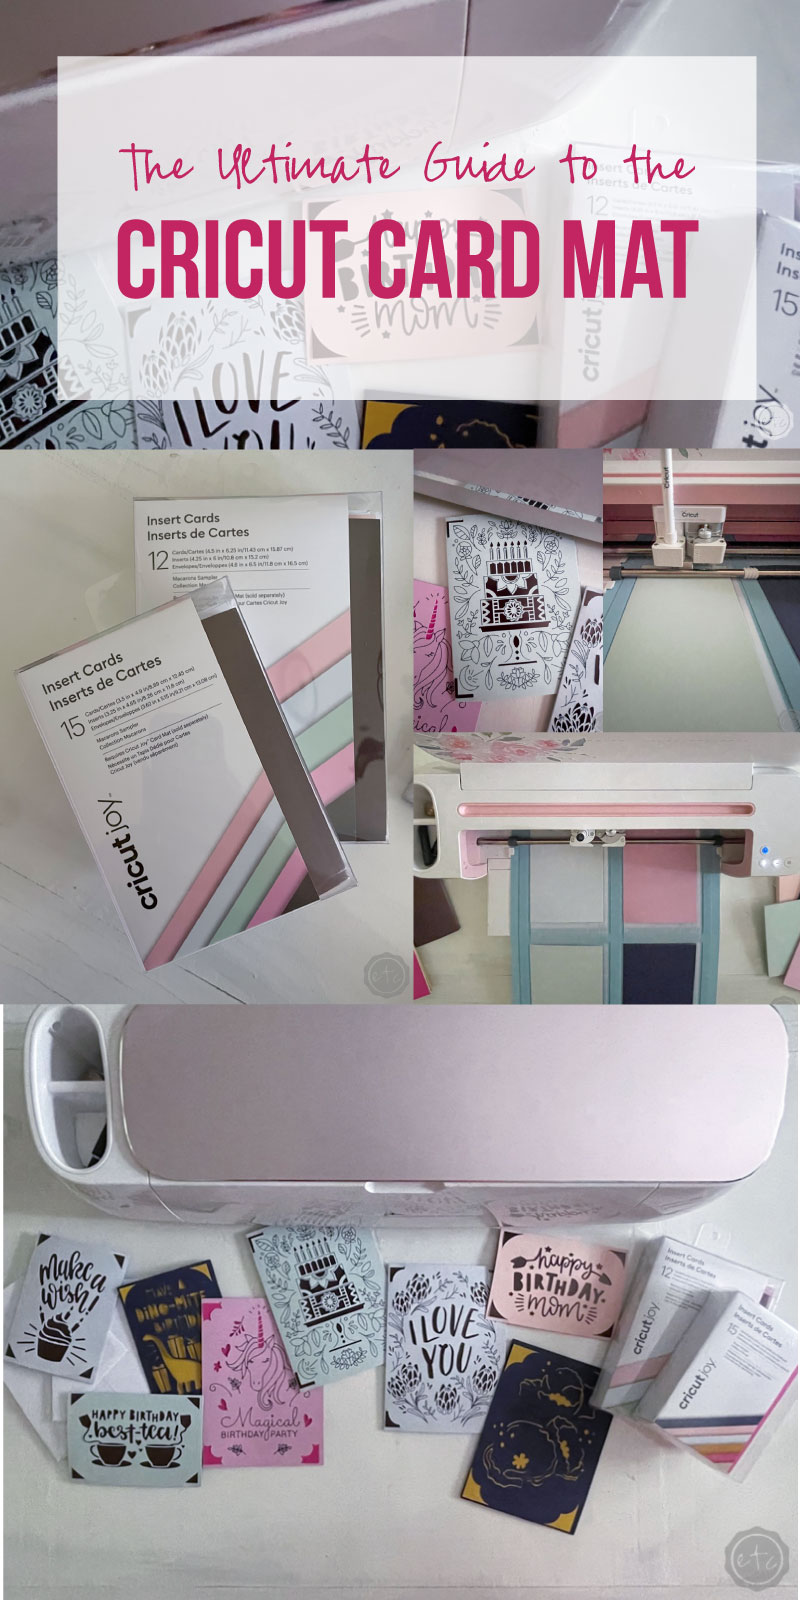
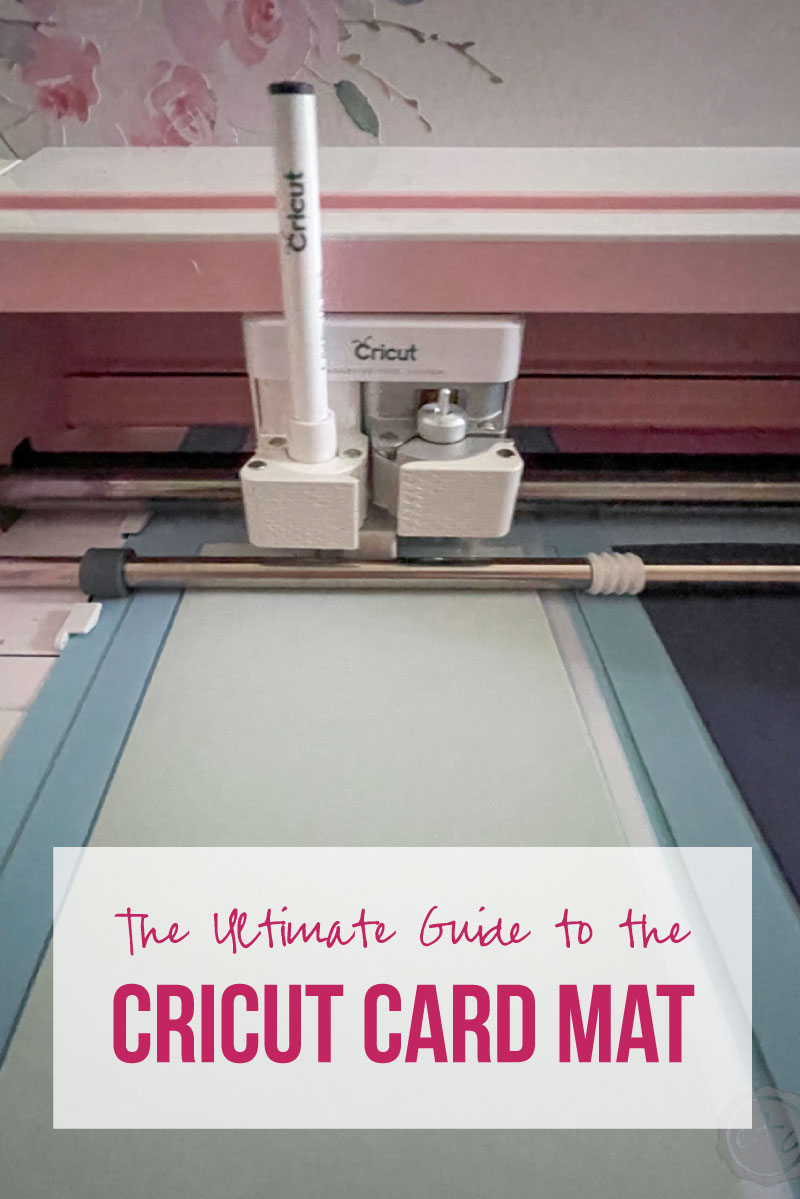
Today we’re diving into the wild world of cricut cards! There are so many options when it comes to making a card with your Cricut but the most straightforward way is to use a Cricut Card Mat. They come in two sizes (one for your Joy and one for the larger Maker and Explore series) and allow you to make greeting cards easy peezy lemon squeezy.
There’s even hundreds of card designs to choose from in the Cricut Access Library.
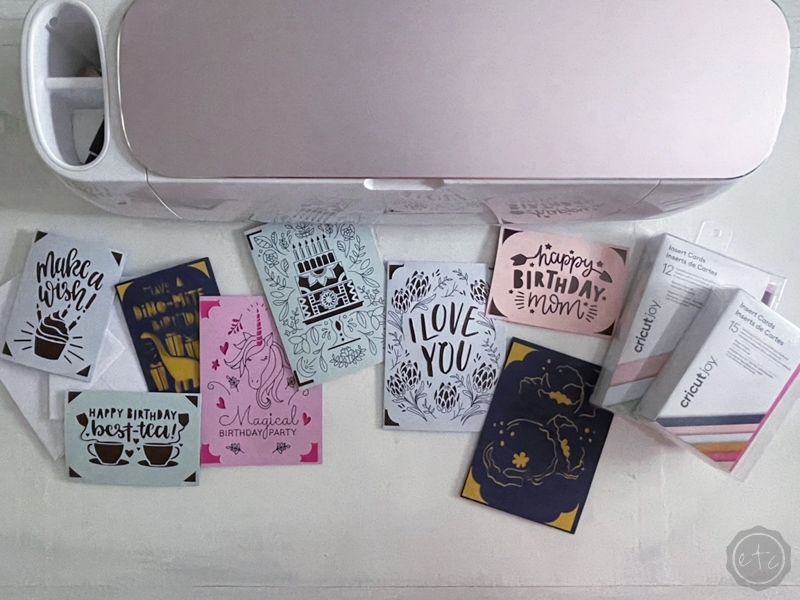
So let’s get started by answering your questions about Cricut cards… then we’ll dive in with a real life example. I’ll show you how to use the Cricut Card Mat to make 8 different birthday cards in 32 minutes.
Yes… I counted.
Table of Contents:
- Can you make cards with Cricut?
- What do I need to make cards with Cricut?
- What does a Cricut card mat do?
- Can you make cards on the Cricut Maker without card mat?
- What machines work with the Cricut Card Mat?
- BONUS Cricut Access Library Project: DIY Cricut Birthday Card
Can you make cards with Cricut?
Yes! There are so many different options for making cards with your Cricut! Whether you’re making an insert card (like the ones I show you how to make below) or you’re cutting your own card design out of cardstock there are a million possibilities.
I’ve even seen amazing pop-up cards made exclusively with the Cricut!
Remember… at the end of the day your Cricut is a cutting machine. Which means it’s perfect for paper crafts! And making cards (whether we’re cutting or drawing) is essentially an extension of paper crafting.

What do I need to make cards with Cricut?
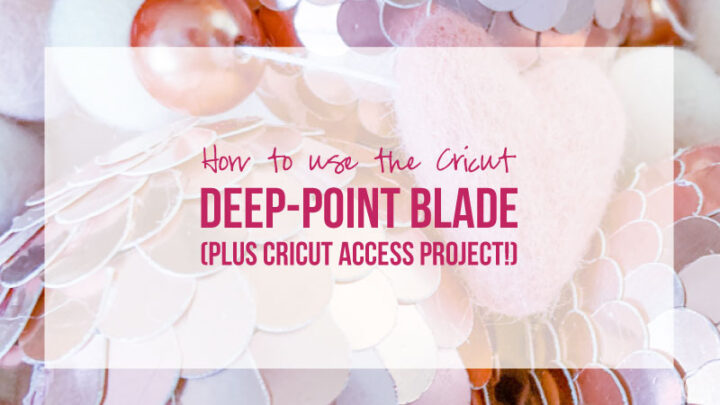
It really depends on WHAT type of card you’re looking to make. You can even make amazing foil cards with Cricut’s new foil cutaway card packs! But while the possibilities are endless depending on what you’re looking to create if you’re looking to use the Cricut Card Mat there are a few basics you’ll need.
- A Cricut Machine
- The Cricut Card Mat
- Cards (Either Insert Cards or Cutaway Cards)
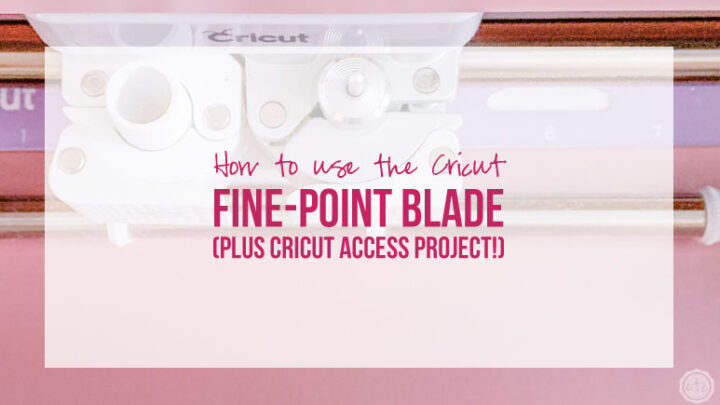
- A Fine-Point Blade
- A Spatula Tool (to help you remove the cards)
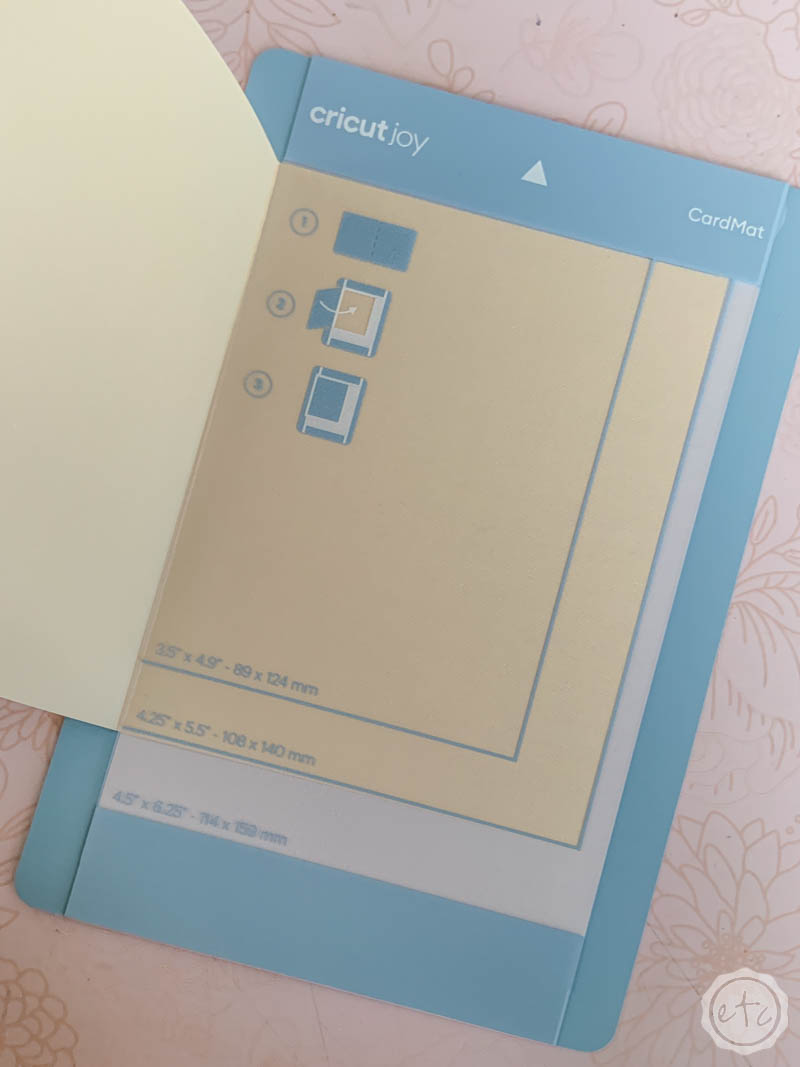
What does a Cricut card mat do?
So why do I need a special mat? Why can’t I just use my regular cutting mat.
It’s a trick question… you CAN use your regular cutting mat (I’ll go over how in a minute) BUT the Cricut card mat makes things so. much. easier.
Basically the card mat has 2 huge advantages. It allows you to cut cards of any size or shape without aligning things in Cricut Design Space. If you always place your card all the up and flush into the pocket and select the proper card size in the design space app then you will always have a properly aligned, properly sized card. Whether you’re cutting a large card or a small one… square or rectangular!
That saves sooooo much time.
The second benefit is the unique pocket design of the cricut card mat. It allows you to tuck the inside layer of your card behind pocket. This means you can cut designs out of the front of your card and only the front of your card. To achieve this same effect with a normal cutting mat you would have to bond the entire card to the mat which means that inside layer of the card will potentially curl when you remove it.
It is cardstock after all.
Can you make cards on the Cricut Maker without card mat?
Yes! You 100% can… like I said in the last question you can 100% open your card and affix the entire inside to your card mat… move the design over to cut on the front of the card… then carefully remove the entire thing from your sticky card mat in a way that keeps it from curling.
Then score your card and fold it.
It’s 100% possible… and not horribly difficult. BUT if you’re planning to make a lot of cards or want to whip one up in a few minutes because you once again forgot a card as you’re heading out the door to your mom’s birthday party (true story… been there, made that). Then the card mat saves you ridiculous amounts of time.
It’s the answer to the work smarter, not harder question.
What machines work with the Cricut Card Mat?
There are two! A smaller version specifically for your Cricut Joy and a larger version that works with your Maker, Maker 3 and Explore Air family. The Joy mat is smaller (to fit the Joy… duh) and can only make one card at a time.
You can see it in action here if you’d like! I used it to make a card for my mama last year.
The Card Mat that we’ll be using later in this post fits the larger machines and is capable of making 4 cards at the same time. Which is a huge time save if you’re making multiples of something… “Will you be my Bridesmaid?” cards anyone?
I wish I had this card mat when I helped my bestie whip 8 of those up!
Cricut Access Library Project: DIY Cricut Birthday Card
So now you know alllllll about the card mat and you’re probably thinking “stop talking and show me how to make a card already!” I mean… that’s what I would want! So let’s jump right in and I’ll show you how to make your very own Cricut card.
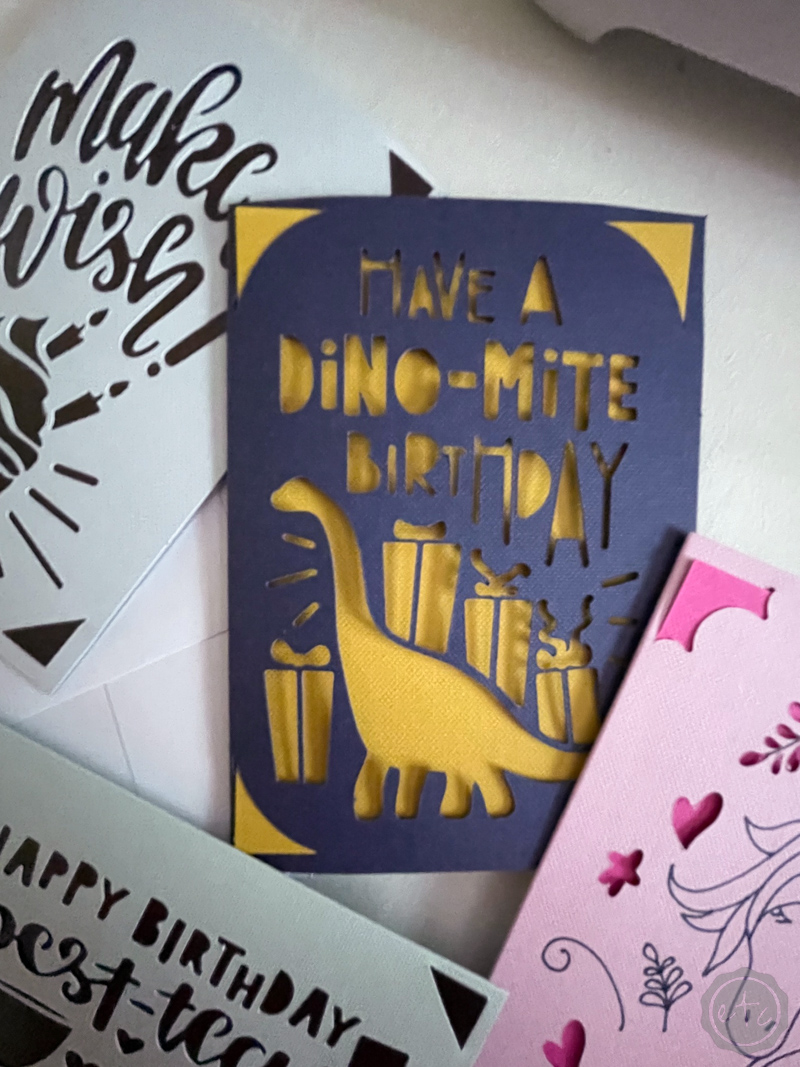
In this case I needed to make a birthday card for a friend and decided… if I’m making 1 I might as well make 8. That way I can show you how to cut 4 different designs at once. AND we’ll make 4 larger cards and 4 smaller so that you can see exactly how the different sizes interact with the card mat.
Let’s do it!
Supplies:
- Cricut Access
- Cricut Maker
- Fine Point Blade
- Cricut Card Mat
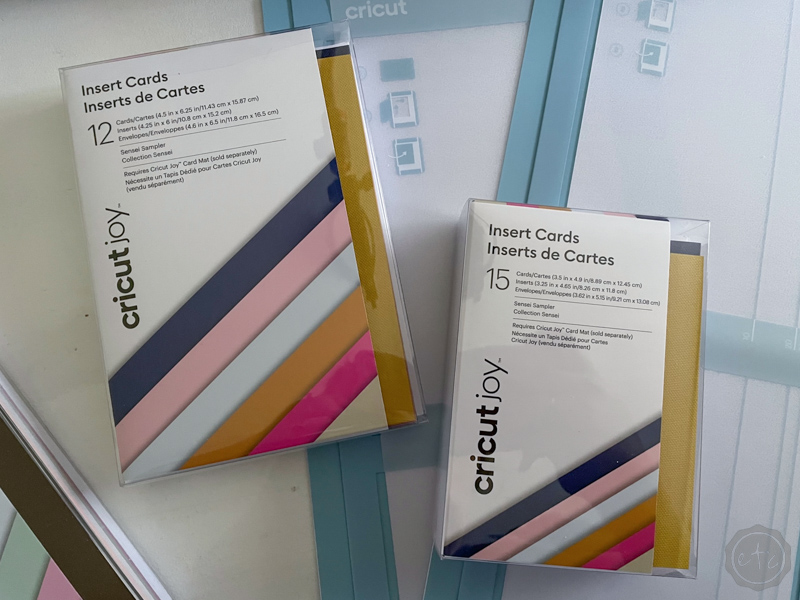
- Insert Cards
- Black Pen (0.4 and 1.0)
- Spatula Tool

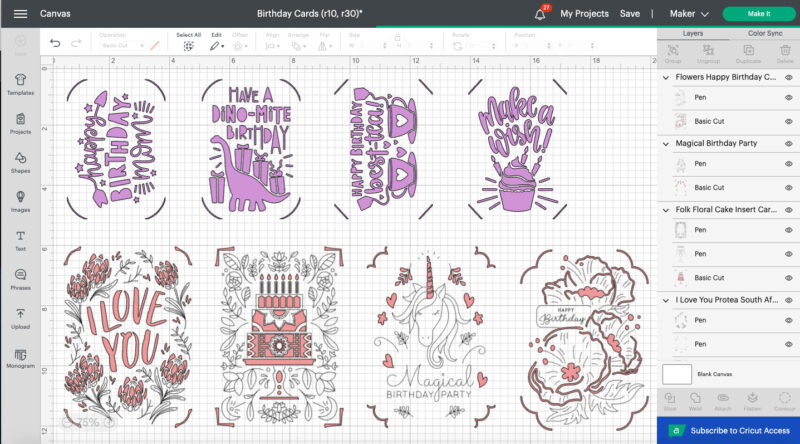
Step 1: Select your Card Designs
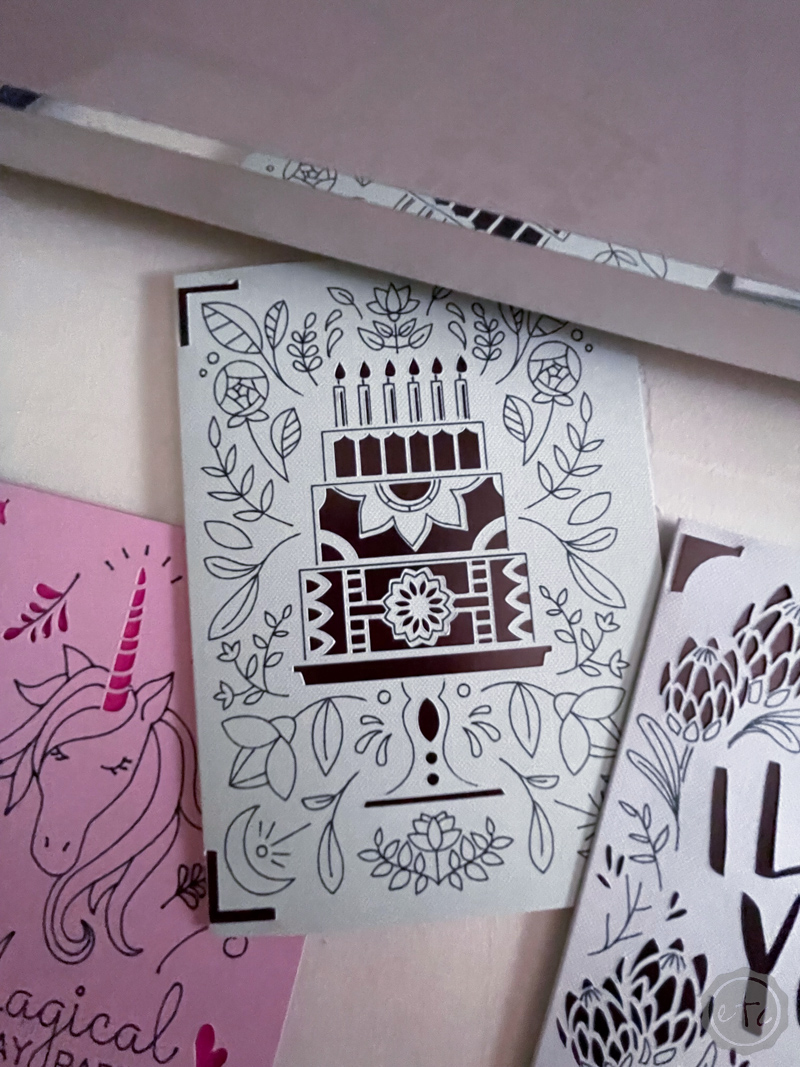
Let’s start by searching the Cricut Access Library for birthday cards we like and adding them to our canvas. I simply copied the files from each of the Access projects and added them to a new canvas… this way I can cut all 4 designs at once and utilize the four spaces on our card mat.
It’s a pretty simple copy and paste kind of situation but you will have to make sure all 4 cards are the same “color” as your Cricut will sort projects by color when determining which cutting mat to place them on. So 4 pink cards with different designs will go on the same cutting mat… while a pink, blue and two yellow cards will go on 3 different cutting mats.
If that sounds confusing you can check out my post on How to to Add 4 Different Card Designs to your Cricut Card Mat for step by step instructions.
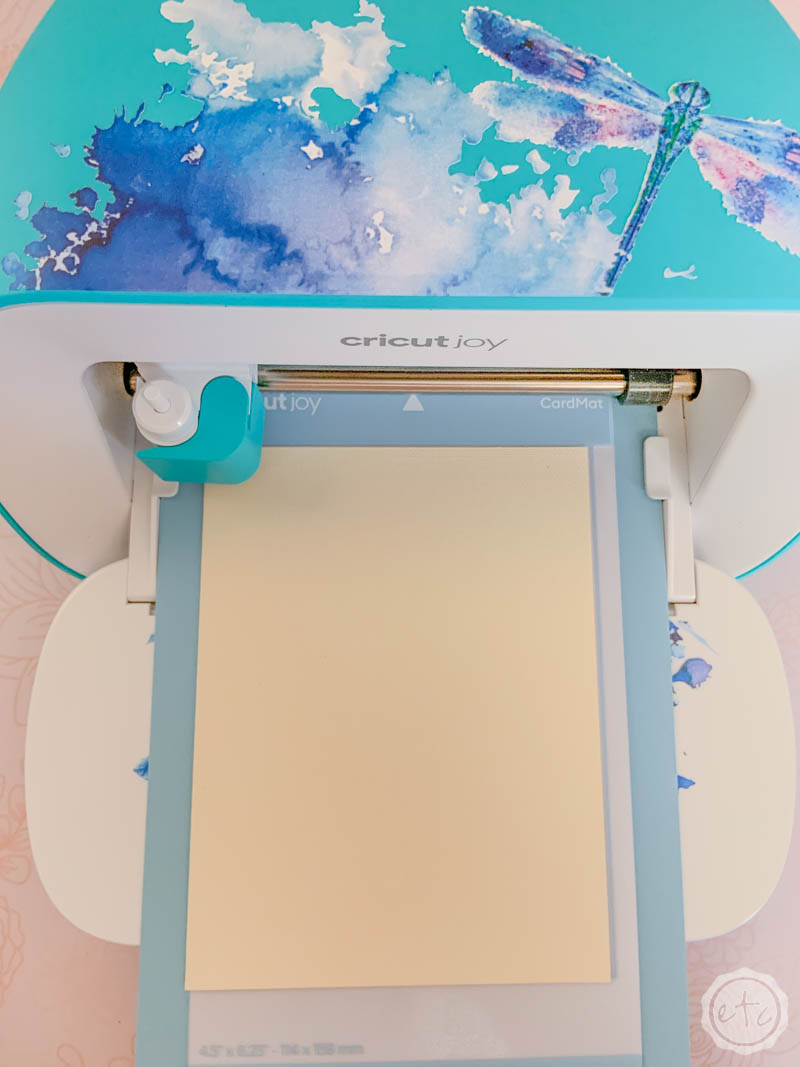
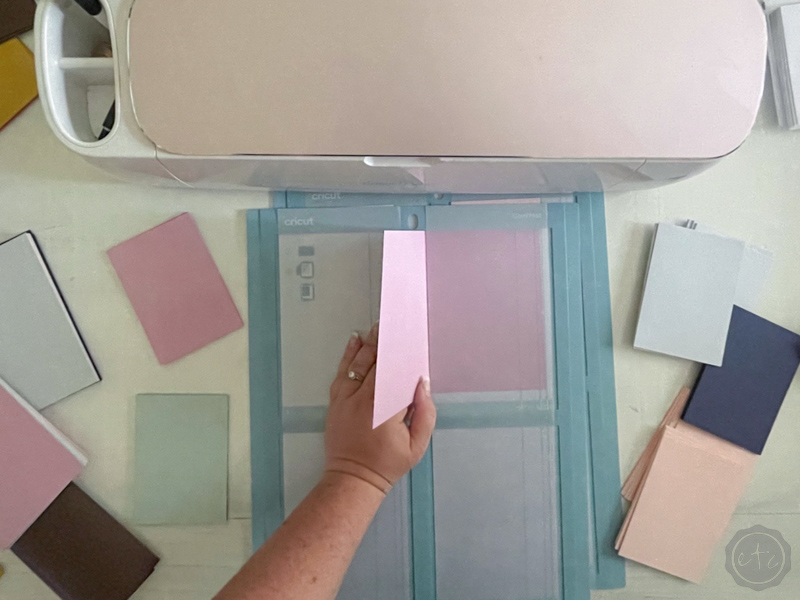
Step 2: Place Cards on your Card Mat
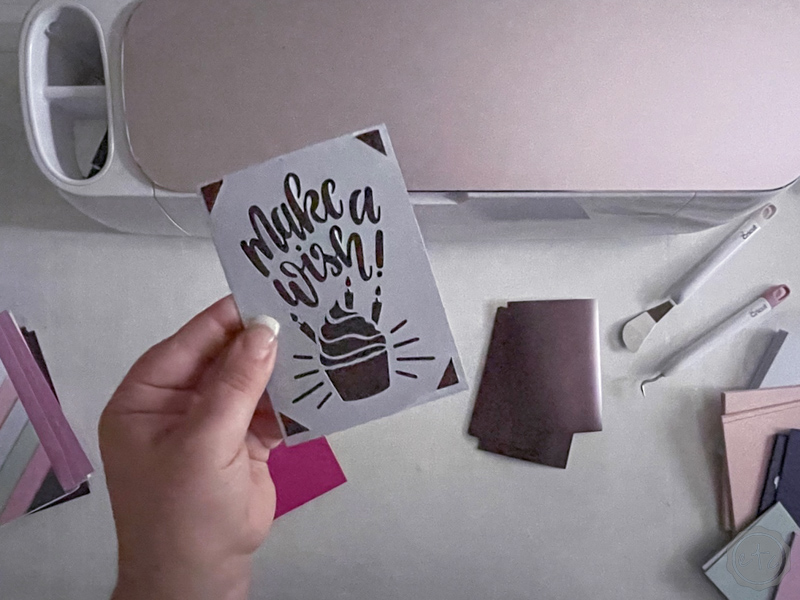
Now that we have our card designs ready to go let’s get our cards prepped as well! Select which color you’ll use for each design and place it on the card mat. You’ll want to slide the back portion of the card into the pocket of the card mat. Then remove the protective cover to reveal the sticky cutting mat… and carefully smooth the front of your card down onto the sticky cutting mat.
This will hold it in place while you’re cutting or drawing onto the top surface.
We don’t want our card to be slip sliding around while the Cricut is trying to cut out “Happy Birthday Mom!”

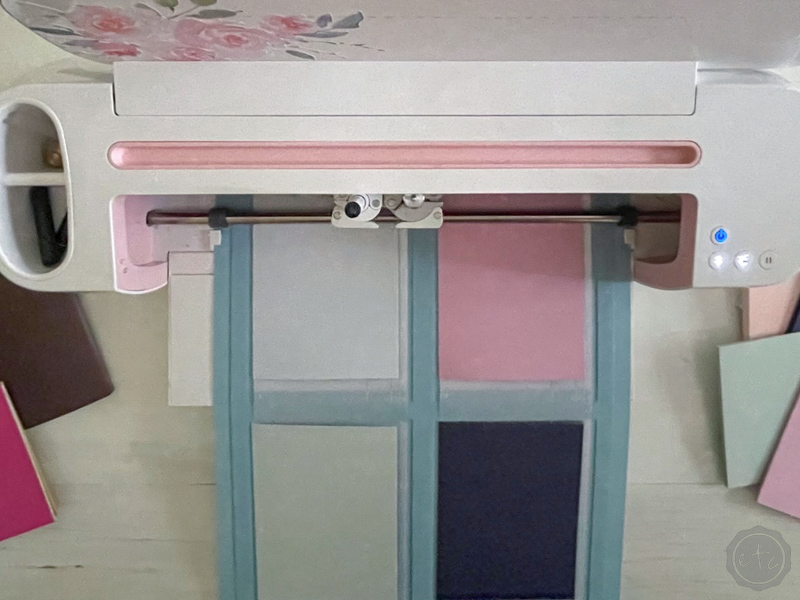
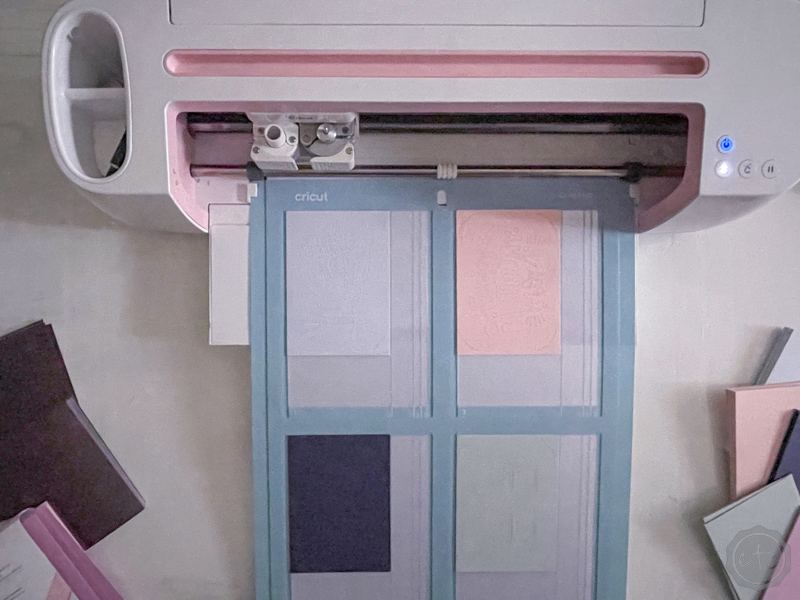
Step 3: Load your Cricut
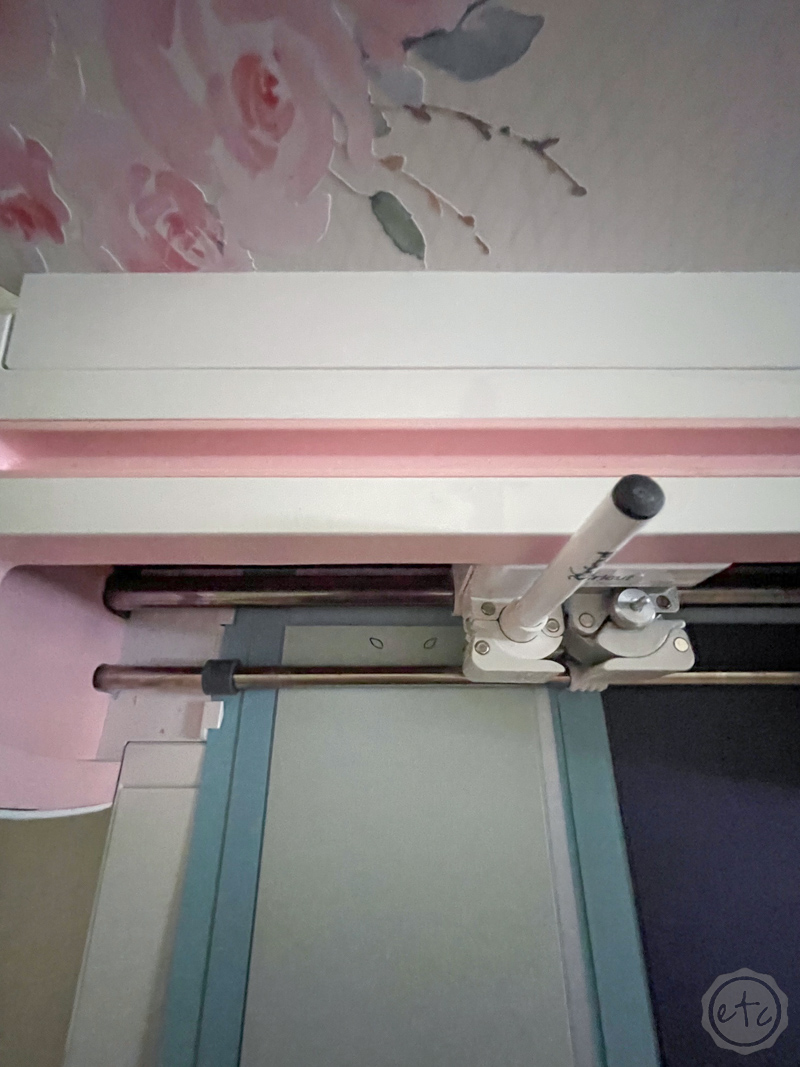
Now that everything is prepped we can go ahead and load our Cricut. If you’re doing a cut only card mat you’ll simply need to load your fine point blade and your card mat. BUT if you’ve selected 4 cards with a cut and draw design you’ll need to load your pen into tab A and your fine point blade into tab B.
Simply open your pen and place it in tab A with the arrow facing forward… now press it down until the arrow disappears and you hear a click. Perfect! Now close the tab A mechanism to lock the pen in place and you’re ready to roll. Go ahead and hit make it and your cards will start to appear before your eyes!
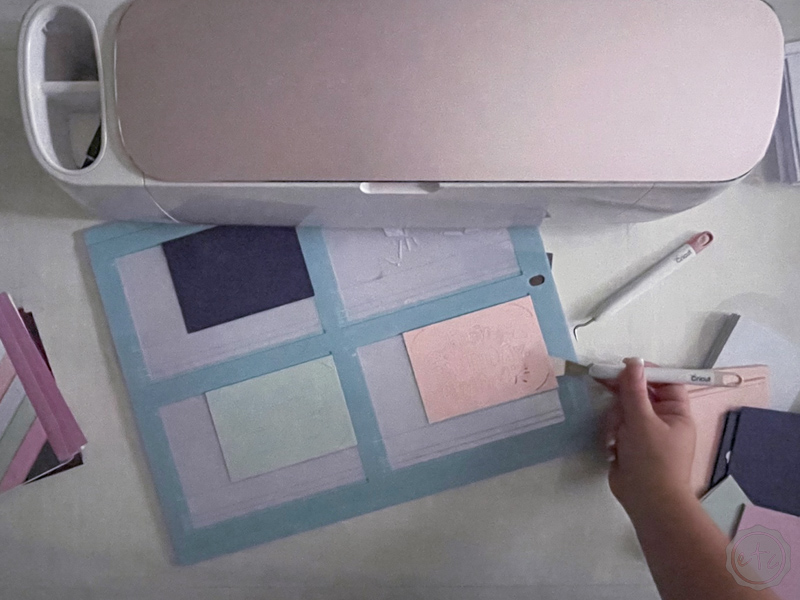
Step 4: Carefully Remove your Cards
The cricut cuts and draws so quickly that removing the cards is the most time consuming part of this project! Once your Cricut is done cutting your cards go ahead and remove the card mat from the machine.
Now use the spatula tool to carefully lift the front flap of each card off the sticky card mat. Be careful and go slow as some of the more intricate cards need to be freed from the card mat one area at a time. This is essentially the “weeding” of your card as we’ll leave a lot of the negative bits and bobs from your card design behind on the cutting mat.
Once your card is free you can go ahead and remove any remaining pieces from that negative space… and then move on to the other 3 cards on the mat! Free all the cards!
No card left behind!

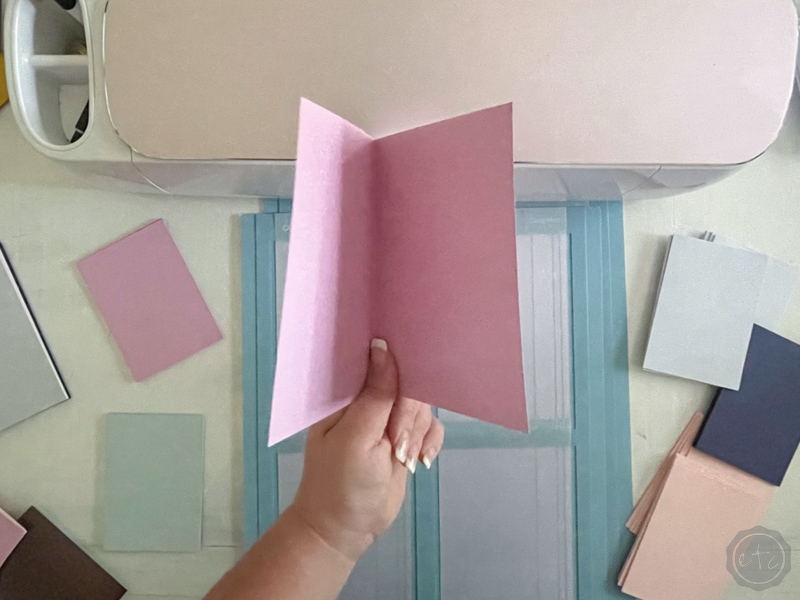
Step 5: Add the Insert Cards
We are so close to finished now… I can taste the success.
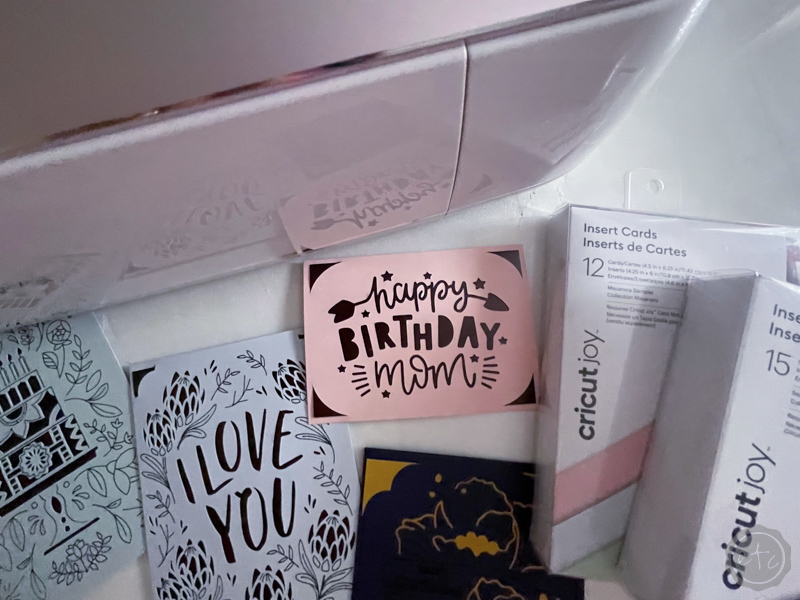
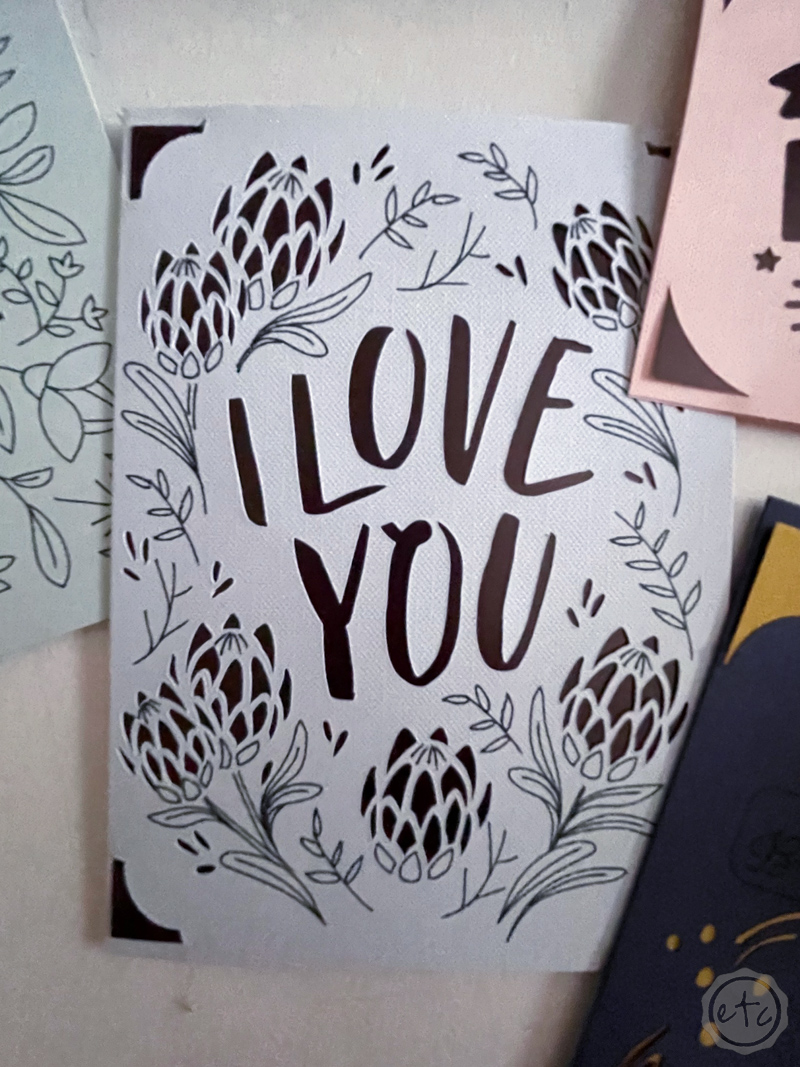
Once your cards are all free of the card mat you can add your insert cards! Depending on the pack of insert cards you purchased you may have a couple coordinating colors to pick from or you may have one color that coordinates with all of the cards in your box. Either way pick your favorite color and we’ll add it to our card.
To do this you’ll open your card and insert the four corners of your insert card into the four slots on the corners of your card. Kind of like a gift card in a gift card holder.
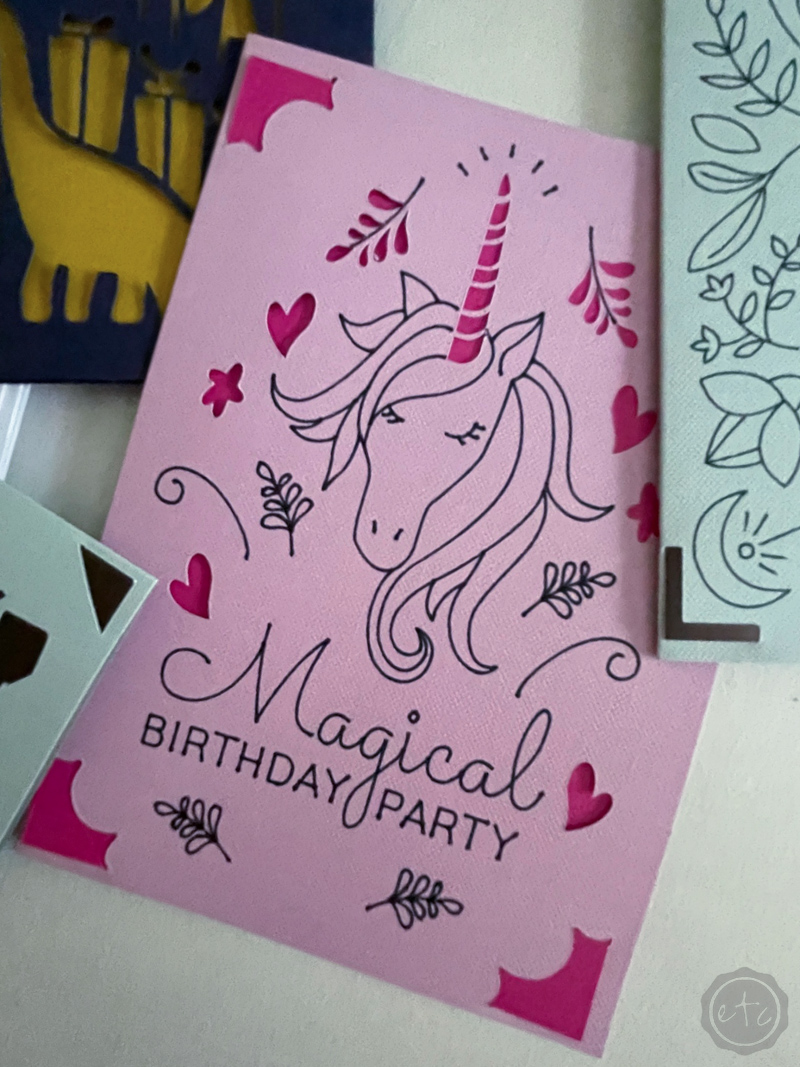
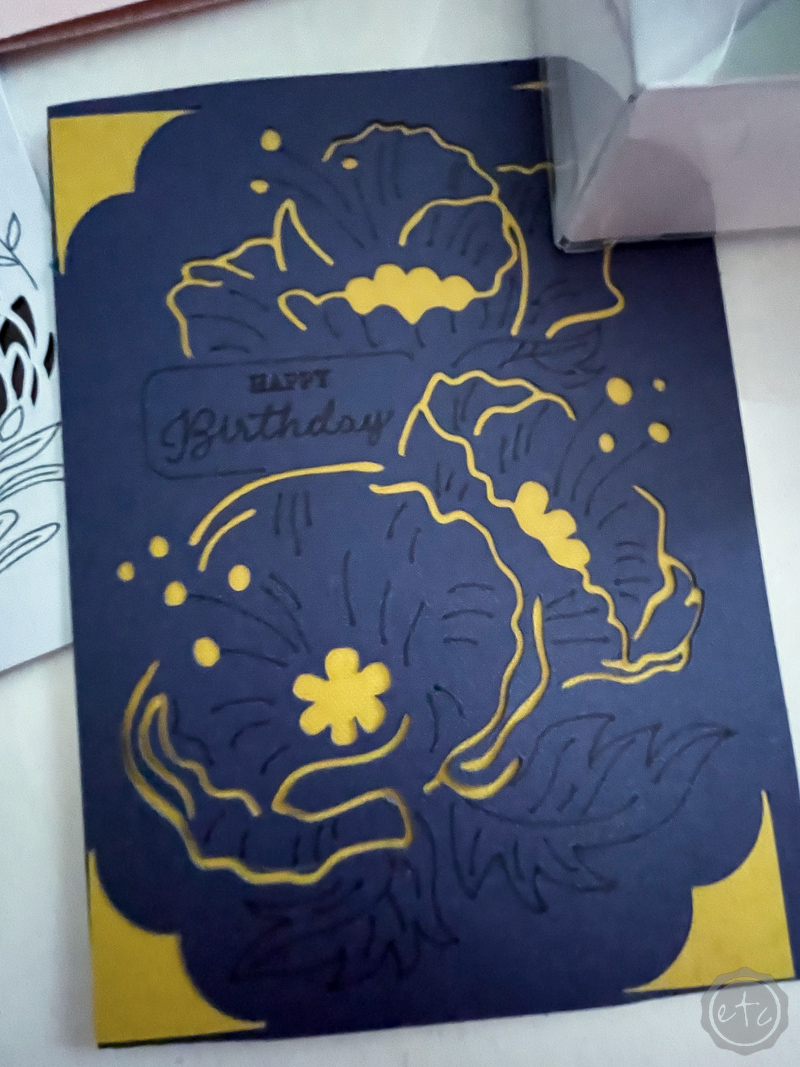
When it’s done properly the color of the insert card will be visible through the cutouts made in the front layer of your card.
Beautiful darling!
Step 6: Enjoy!
Now all that’s left is to address your card and hand them out to family and friends!
I love that this entire project took less than an hour from picking designs to cutting and drawing the actual cards… and now I have 8 birthday cards to give to my loved ones whenever the need arises. That’s even better than making a card as I run out the door for the next party.
I’m prepared!!

Looking for a walk-through on any other Cricut products? I’ve gone over alllll the basics here:


Leave a Reply