
This post is sponsored by Cricut but all thoughts, opinions and adorable cricut gamer mugs are mine.

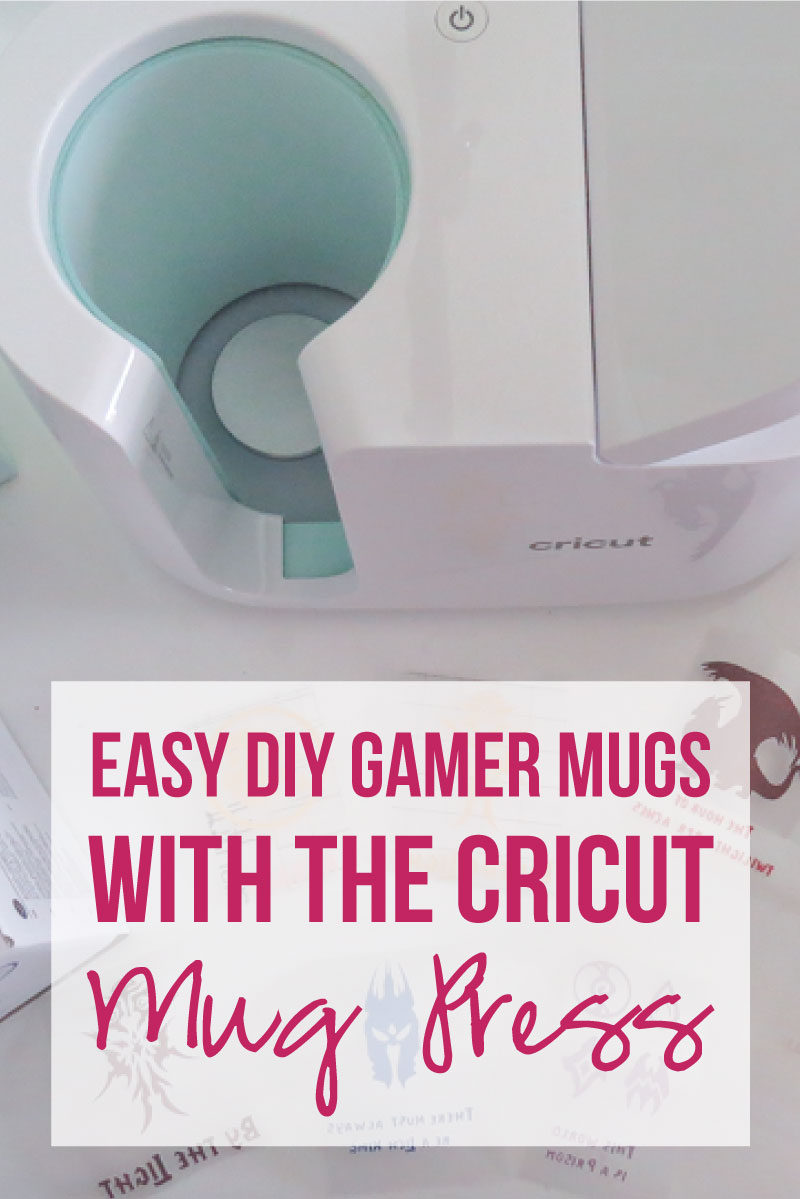
Ever since Cricut released their new Mug Press I knew exactly what I was going to do with it… make fun gamer mugs for my brother! Basically my brother love coffee and he loves World of Warcraft (which I know nothing about) BUT I know that custom gaming gear can be hard to find.
And no one wants 20 mugs with the same, old, tired logo on them.
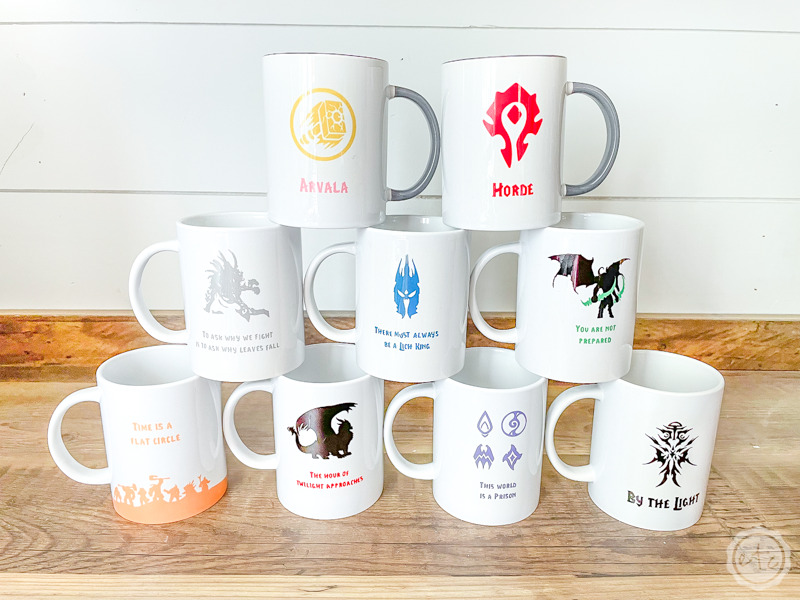
So instead I set out to make 2 fabulous, custom mugs with his name and class on them.
Somehow those 2 fabulous mugs turned into 8 fabulous mugs and now a majillion years later we’re finally finished. Will has an entire set of 15oz mugs (which was critical since his current mugs are too small and cannot hold a full cup of coffee. No his coffee maker has a full cup setting and it was Will’s goal in life to use the full cup setting once again and stop the half cup setting use his old cups restricted him to.)
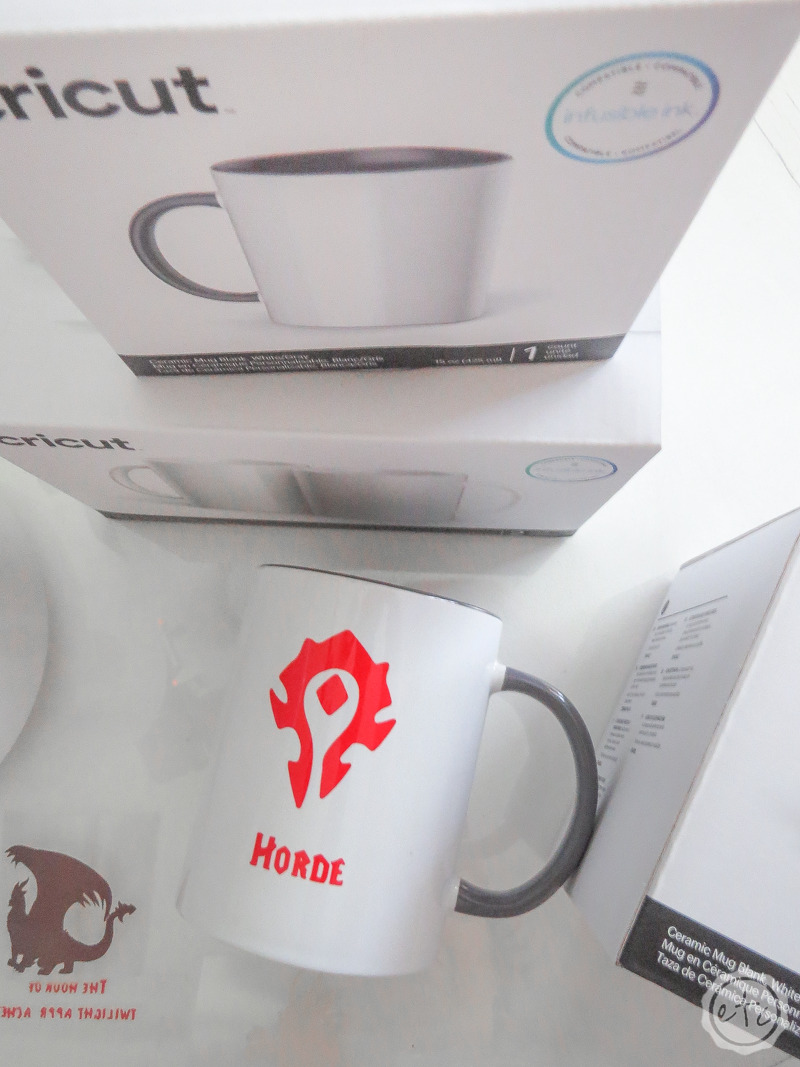
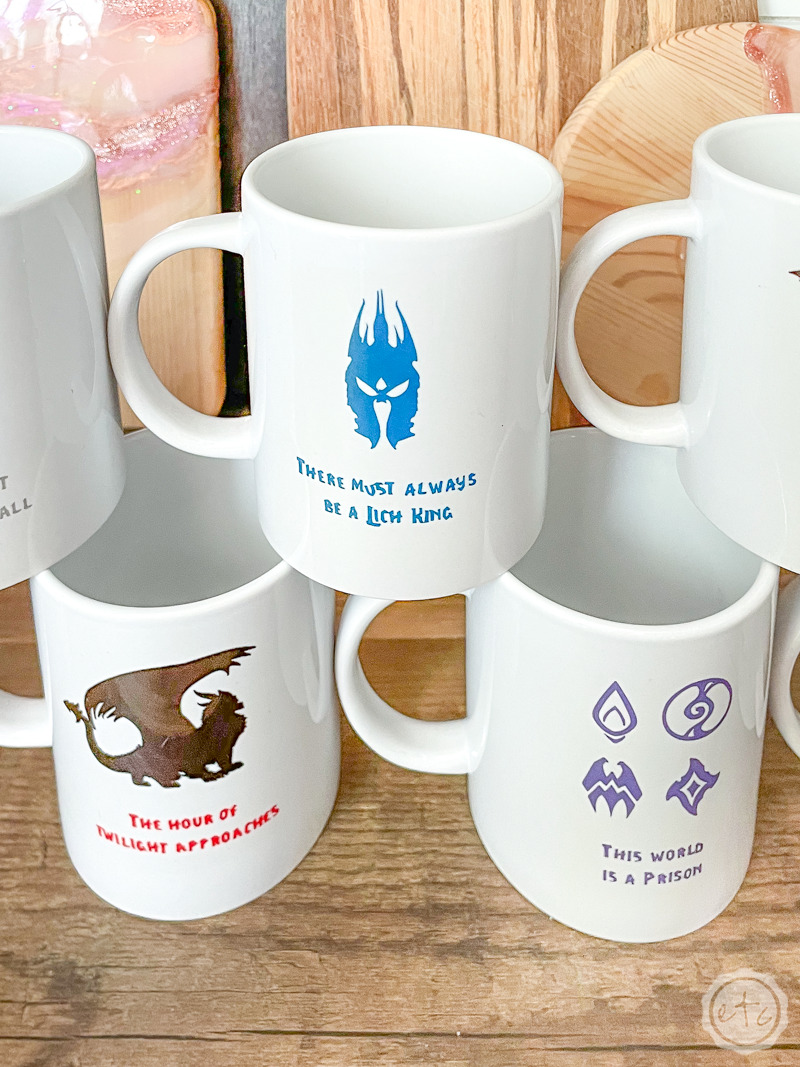
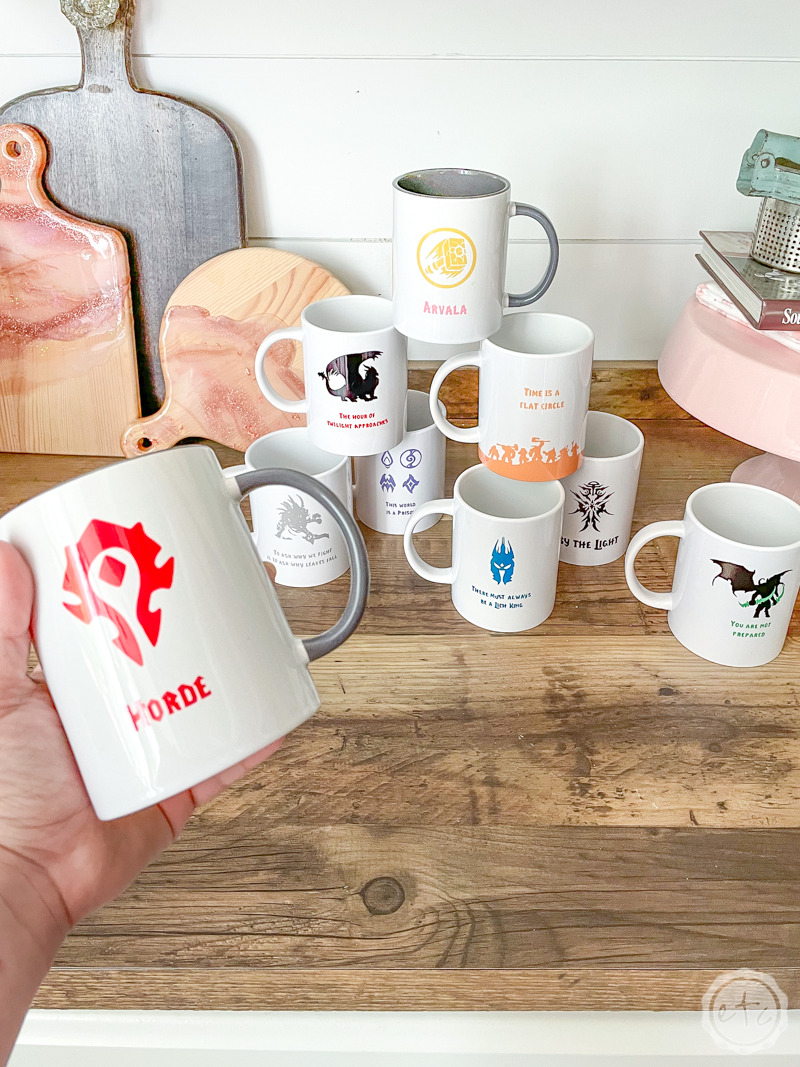
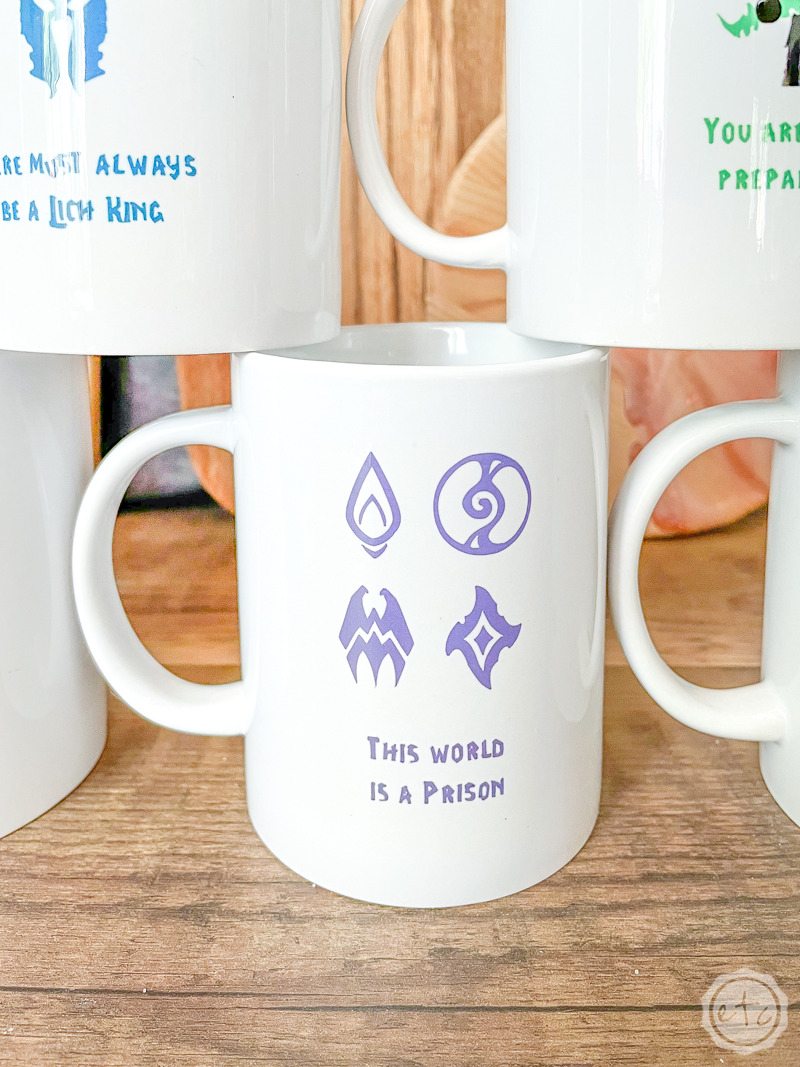
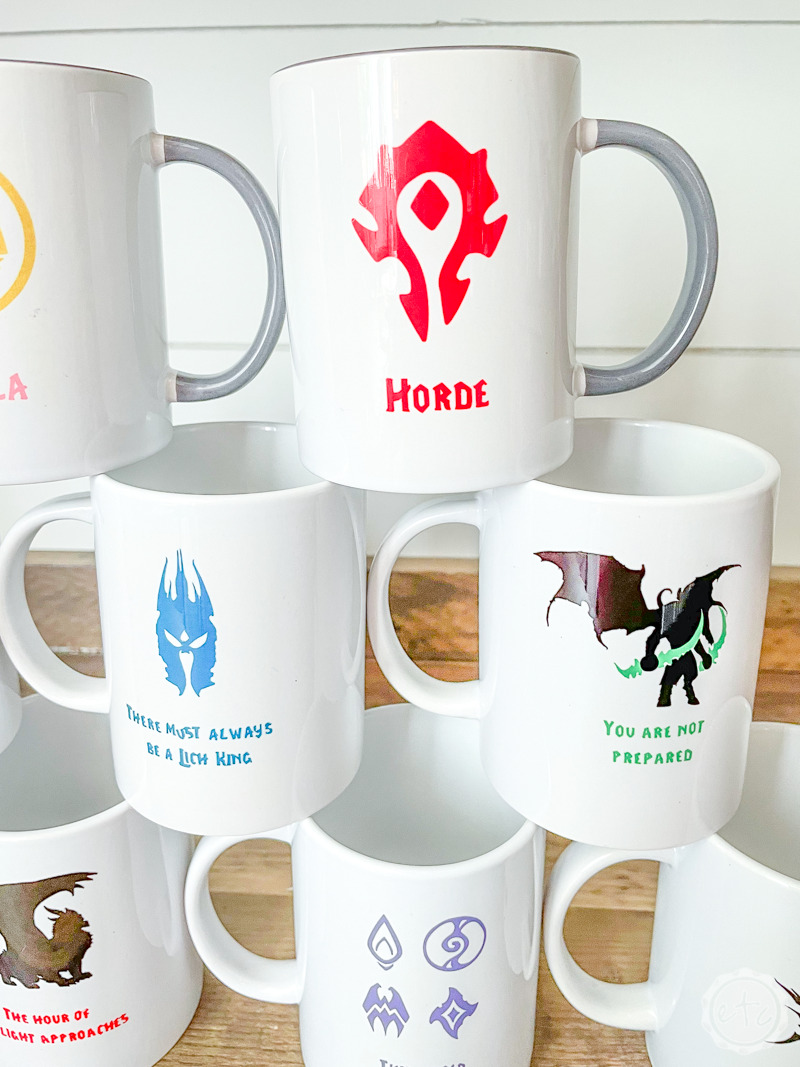
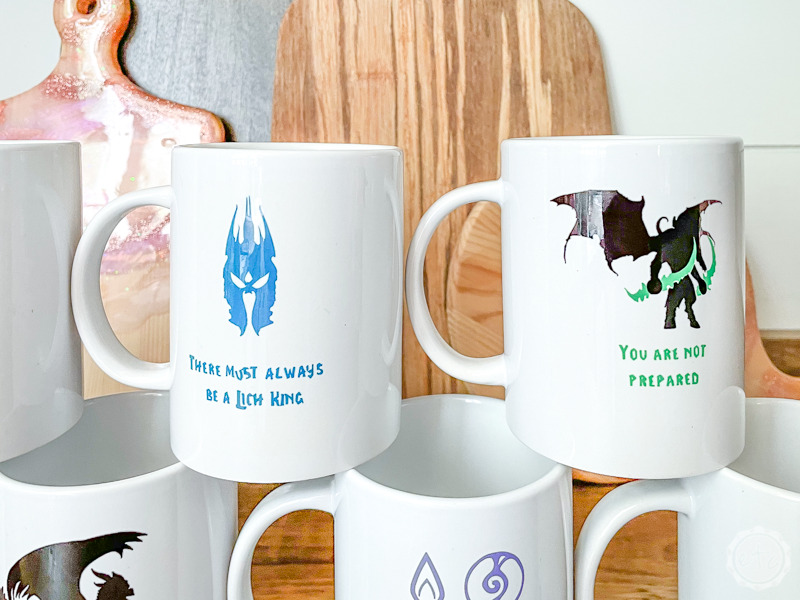
And while designing these 8 fabulous mugs was a bit of a challenge (some of these WOW monsters have a lot of little details) he now has 2 main mugs with his class/name and guild on them) the other 6 mugs correspond to 6 of the expansion packs big bads… complete with their favorite quote.
All of this gaming mumbo jumbo means that you can use the Mug Press to make 100% custom gifts for the people in your life. So Will gets a mug with a Lich King on it (whatever that is) and maybe the gamer in your life would appreciate a set pertaining to their favorite obsession (hello animal crossing!) but the best part is that you can make each gift as unique and awesome as the person it’s for.
And that’s what it’s all about.
Ready to get started?

Supplies:
- Cricut Joy
- Cricut Joy Cutting Mat
- Cricut Mug Press
- Cricut Access
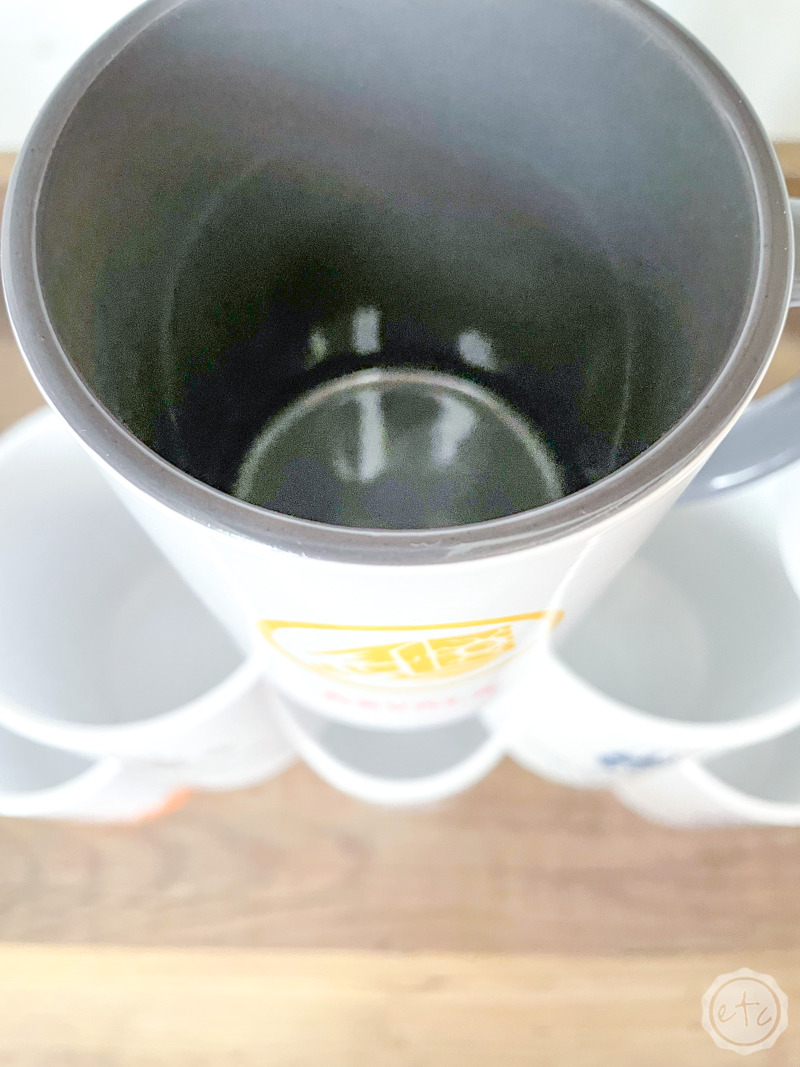
- White Cricut 15oz Mugs
- White & Gray Cricut 15oz Mugs
- Infusible Ink (Gray, Purple, Blue, Pink, Black, Orange, Green, the Yellow in this Pack)
- Heat Press Mat
- Heat Resistant Tape
- Brayer
- Weeding Tool
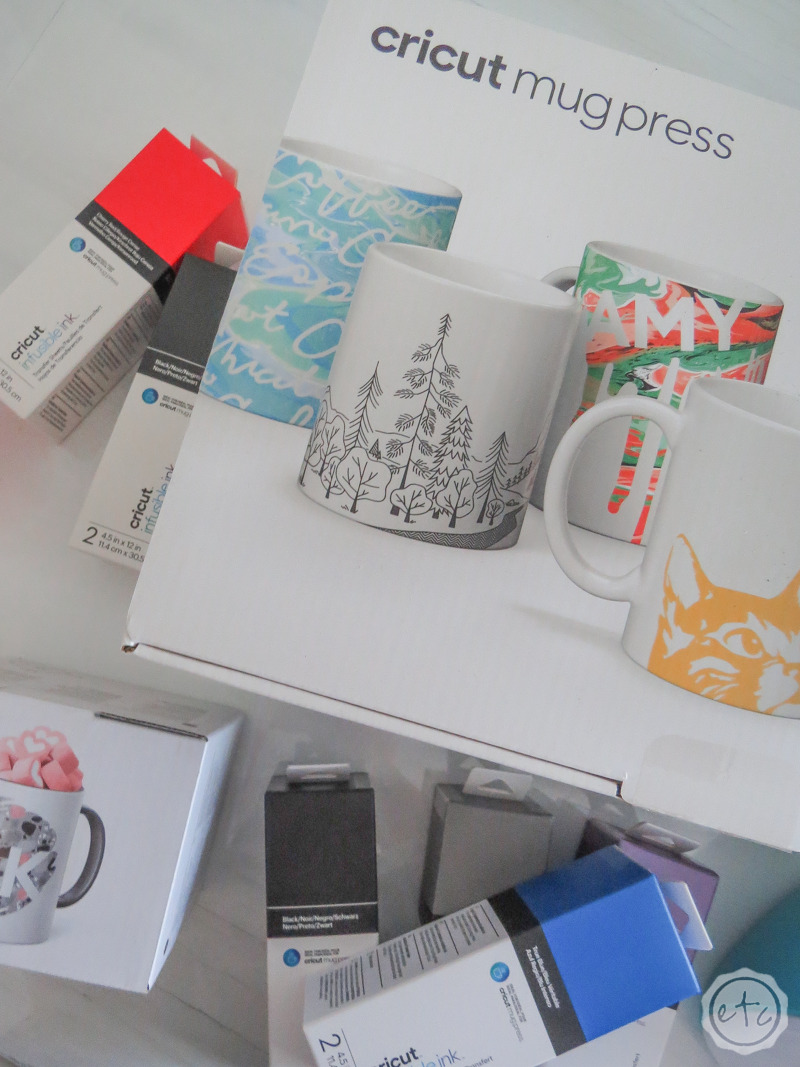
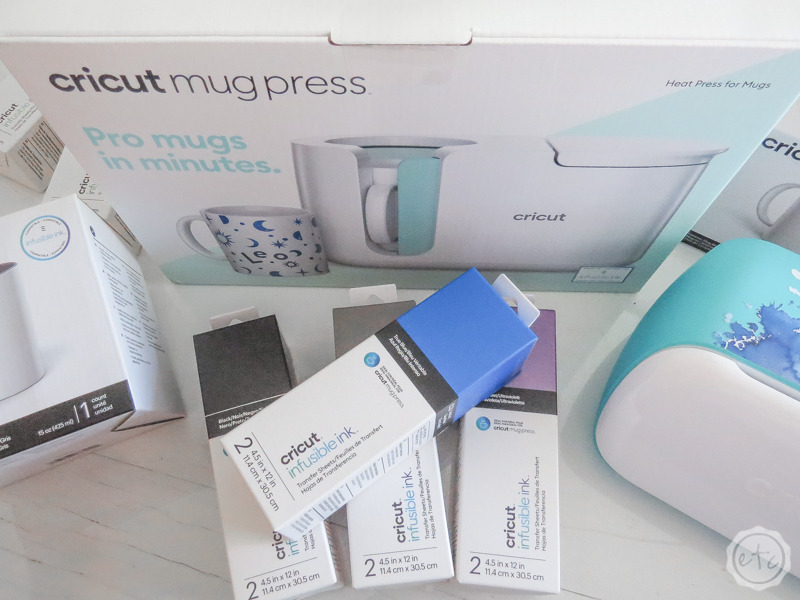
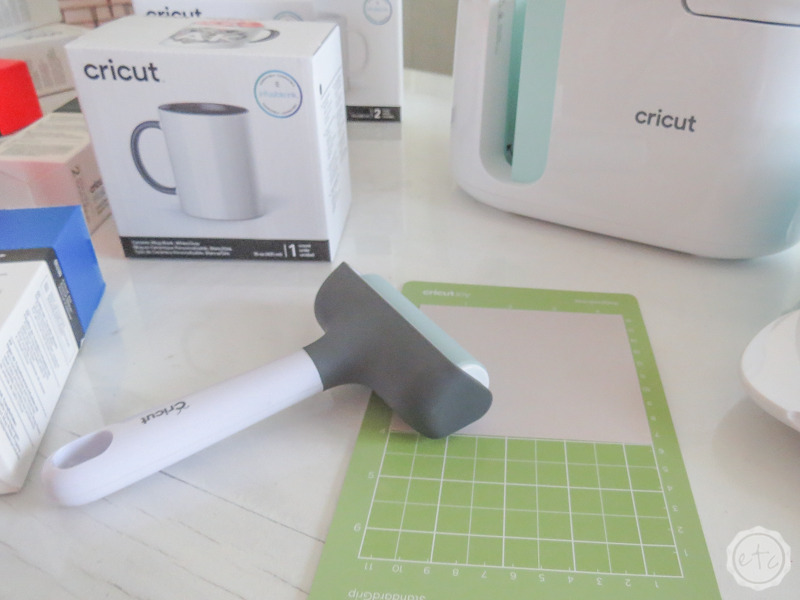
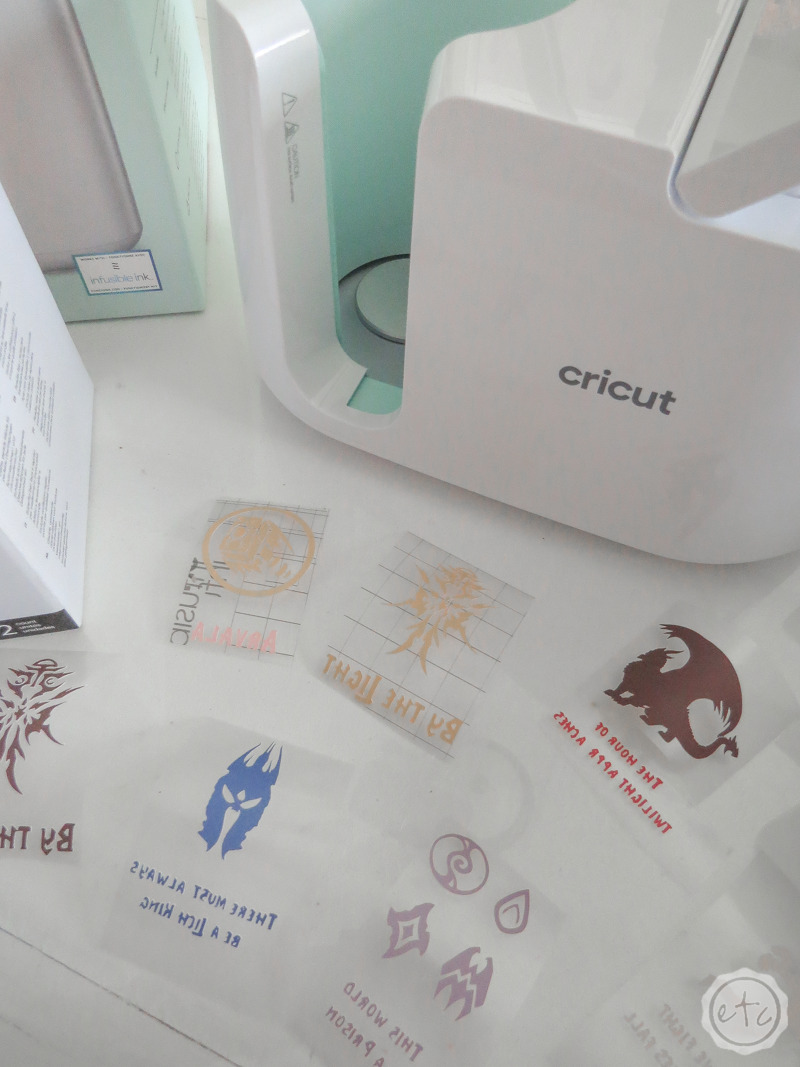
First up we have to gather all our supplies.
In my case that meant all. the. infusible. ink. colors. Because why make custom mugs with different monsters if they can’t correspond to the specific colors of that expansion?
Of course, while these mugs took a while to put together (designing, picking out all the colors, buying all the colors!) it was totally worth it. Just keep two things in mind: we’re not going to use all the infusible ink for this project so we’ll have plenty left over to make more mugs in the future (… hello animal crossing!) plus infusible ink means that these mugs are going to LAST.
It’s not like we’re putting vinyl decals on these mugs that will eventually come off. No, infusible ink will literally fuse to the mugs so we’re investing a little time into these because they’ll last.
Luckily Will has been obsessed with WOW for over a decade so he should appreciate these World of Warcraft coffee mugs for many years to come… although he’s probably going to want more mugs as even more expansions come out.
I guess I’ll just whip up another mug when that happens.
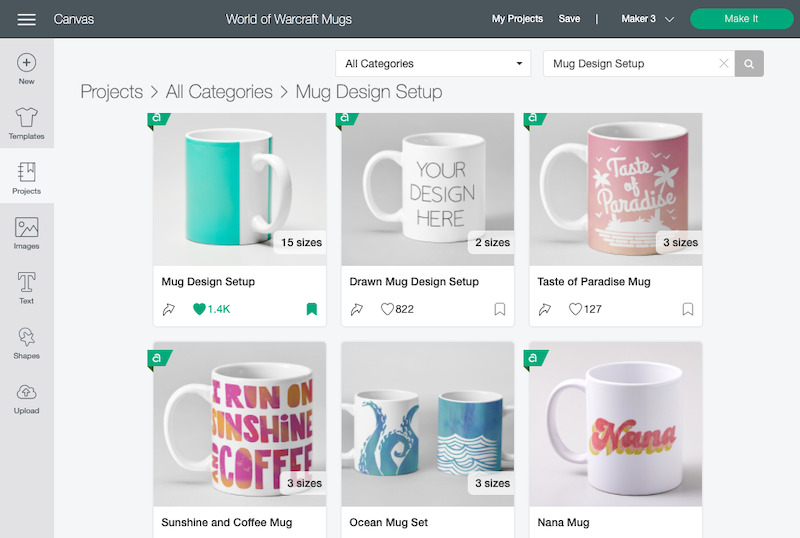
Step 1: Upload your Design Files
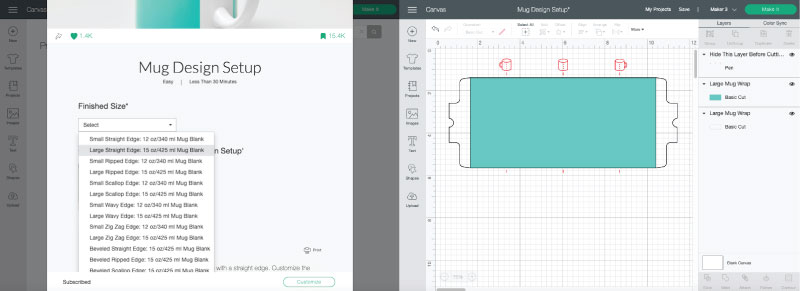
When it comes to making your first mug Cricut has your back… simply head over to the Cricut Access library and search for “Mug Design Setup” this will give you a great template to start with. That way you can put your files directly onto each “mug” and make sure they’re the right size.
I decided to do icons/images instead of wraps but if you wanted to do wraps that option is there for you as well… easy peezy!
In my case I simply grabbed the overall template as well as the placement guide (the outer black silhouette and the red cups/lines) and pasted them 8 times for my 8 different mugs. Then I started to add my text & images for each mug directly to the design.
Since these little gamer mugs had so much detail I used a combination of files I designed myself and uploaded as an SVG (follow this tutorial if you need a SVG upload refresher), files I bought off Etsy for the purpose of saving myself time (if you’re looking for files to purchase make sure you’re searching for SVG’s so that they’ll upload properly) and of course the World of Warcraft font which I purchased and used to make all the little quotes. All in all it turned out beautifully.
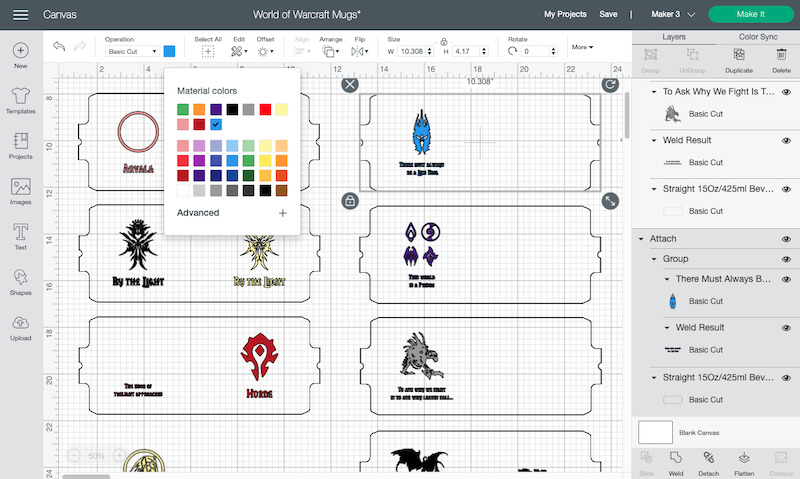
Once my designs were finished I color coded them to the vinyl they’d be cut out of… so that when I go to cut these bad boys they’re already set to go on individual sheets.
If you’ve never changed the colors before it’s very easy. Simply select which design you want to color and then hit the little color icon in the top toolbar. It’s a little square to the right of the operation tab that shows the current color. This will give you a whole bunch of color options to change it to! Pick the one you like and you’re good to go.

Step 2: Cut your Design Files
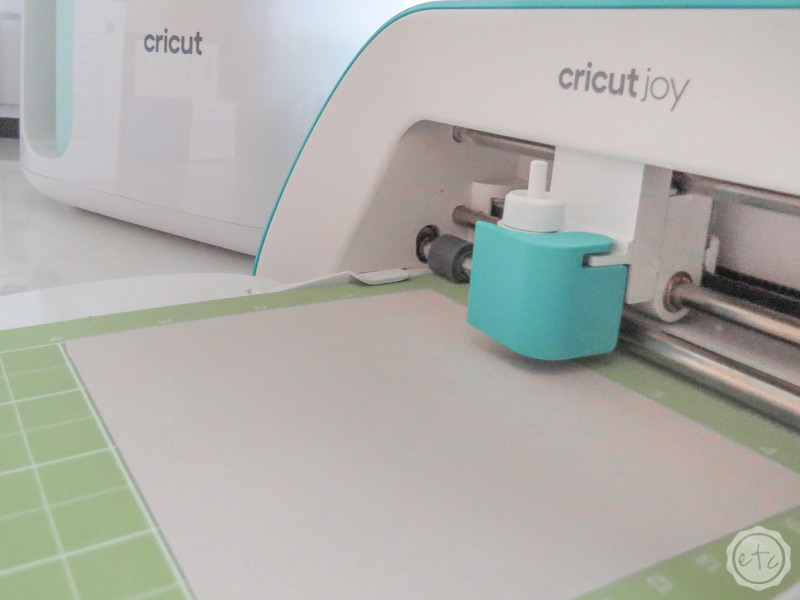
Now that our design files are good to go let’s get to cutting! Since these mugs are pretty small I actually grabbed my Cricut Joy for this project.
I figured it would be easier than pulling out one of the larger machines.
Especially since I have 7 different colors to cut for this project!
Either way let’s start at the beginning and work our way through each color.
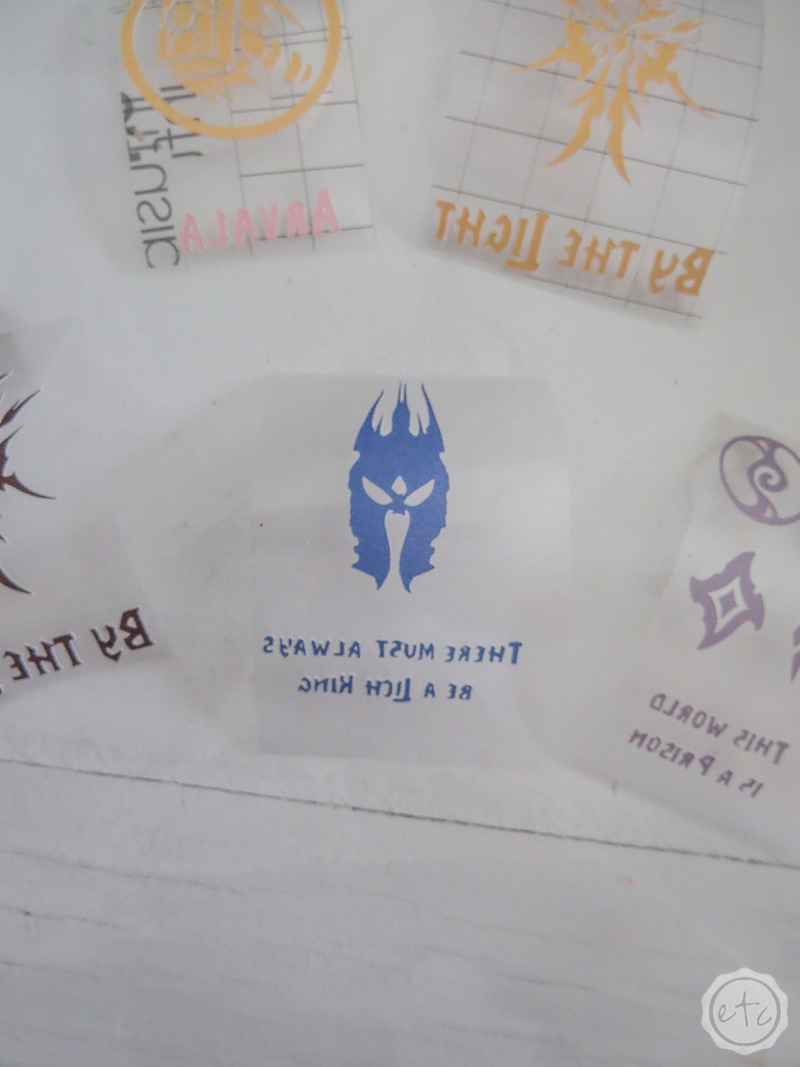
Since we’re using infusible ink we’ll need to mirror each design and then cut our infusible ink and add it to a cutting mat. Make sure you’re using clean, dry hands since infusible ink is actual ink so getting it wet or scratching it will effect the way it looks on the final piece.
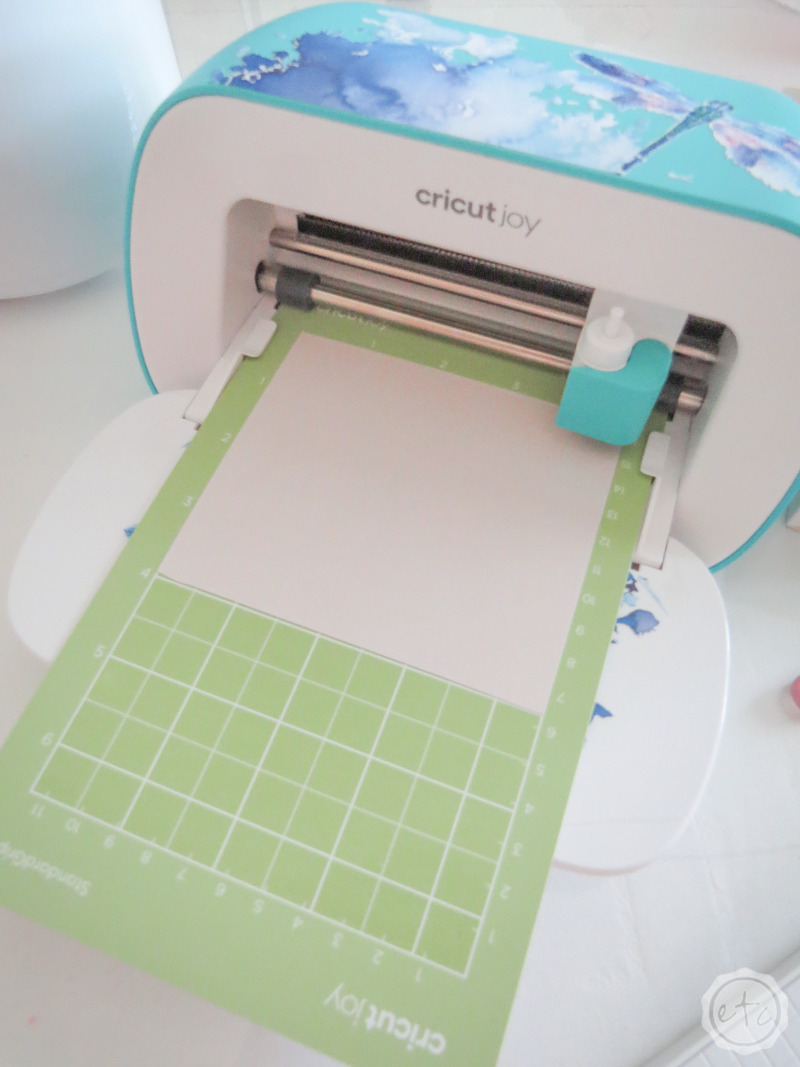
Then load your cutting mat into your Joy and cut, cut, cut!
It will take a minute but if you can work through all 7 colors you’ll be ready to move on to the next step.

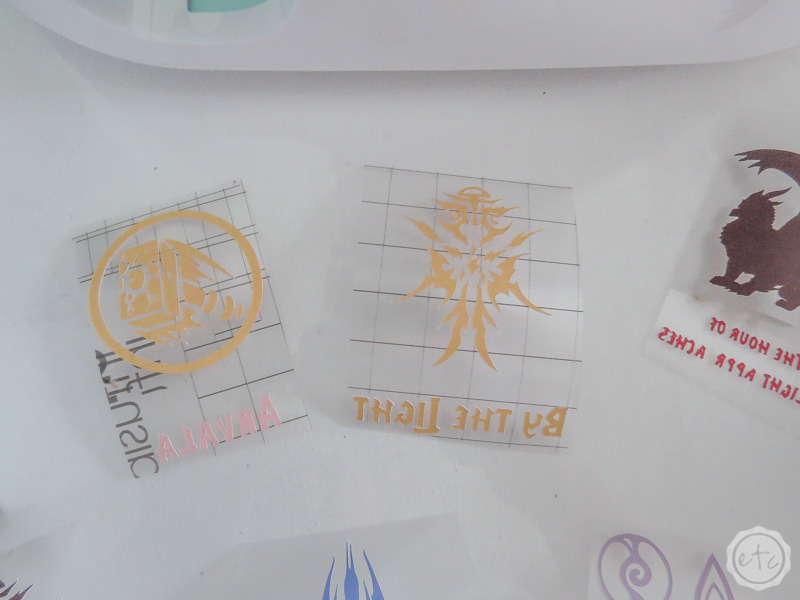
Step 3: Weed all the Designs
Weeding! When it comes to most Cricut projects weeding is removing the negative space and leaving your design. That is the same for infusible ink… but infusible ink scratches and tears easily so instead of a weeding tool we’re just going to use our fingers.
Start by removing the background and then anything that’s not part of the main design.
Typically you’ll start by bending your piece to make it easier to weed but when you’re working with such tiny letters I find that bending your piece only makes the little letters flutter off your piece like confetti out of a pinata.
Instead work your way carefully around each letter (sometimes holding the letters down so they can’t go anywhere) and remember that all of this work will be worth it since your mugs will last f-o-r-ever!

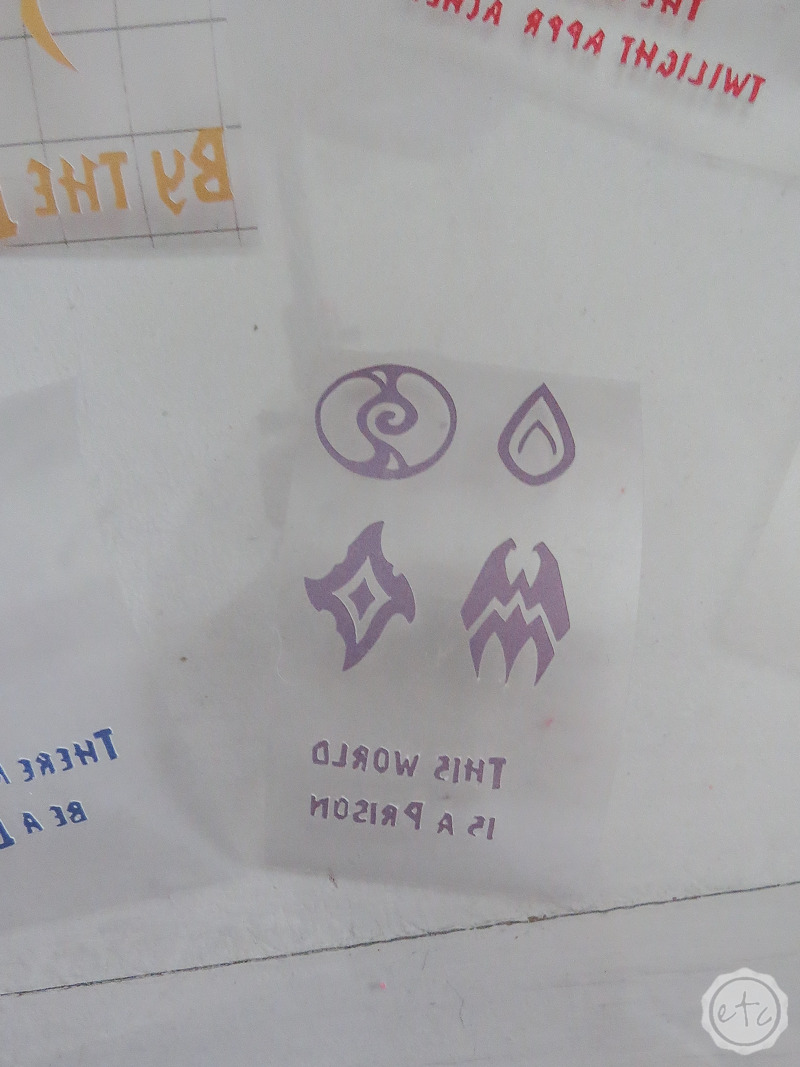
Just a little reminder that infusible ink can only be heated once… so any of your designs that have multiple colors (like the black dragon with the red words) will need to be combined onto one carrier sheet before you put it in the mug press.
In this case it was pretty easy… I simply picked up the black dragon and put him down on the carrier sheet above the red words. But can you imagine moving a whole row of tiny letters?
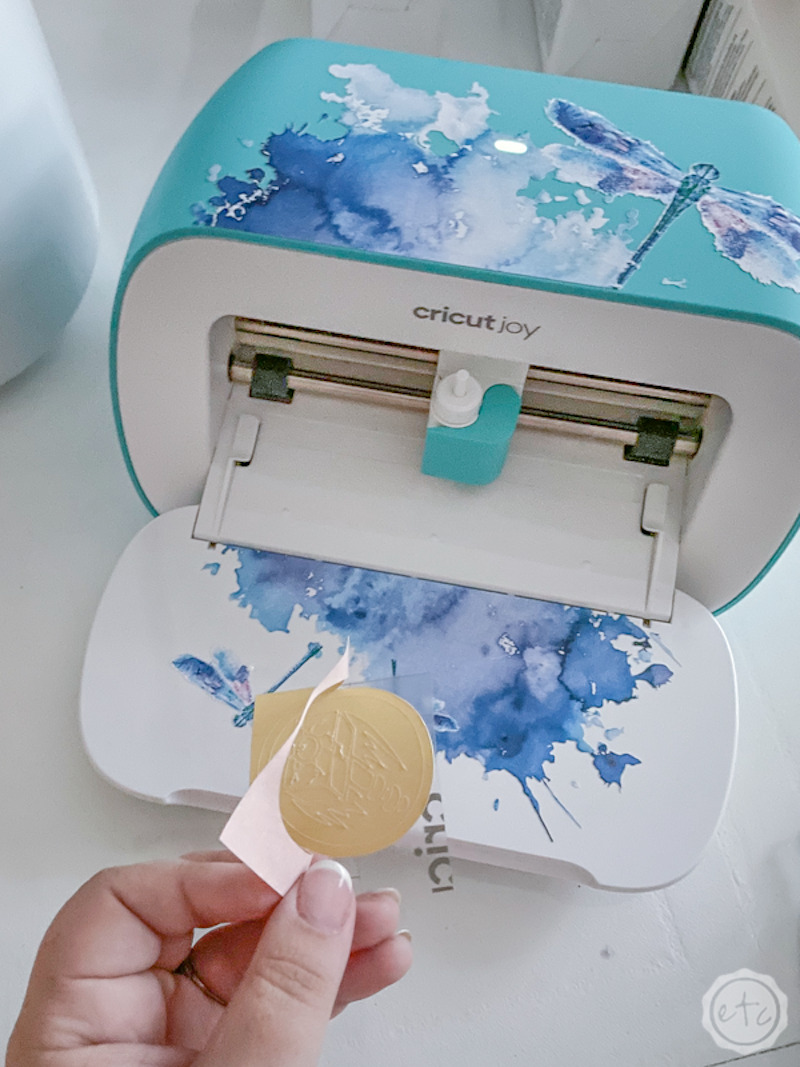
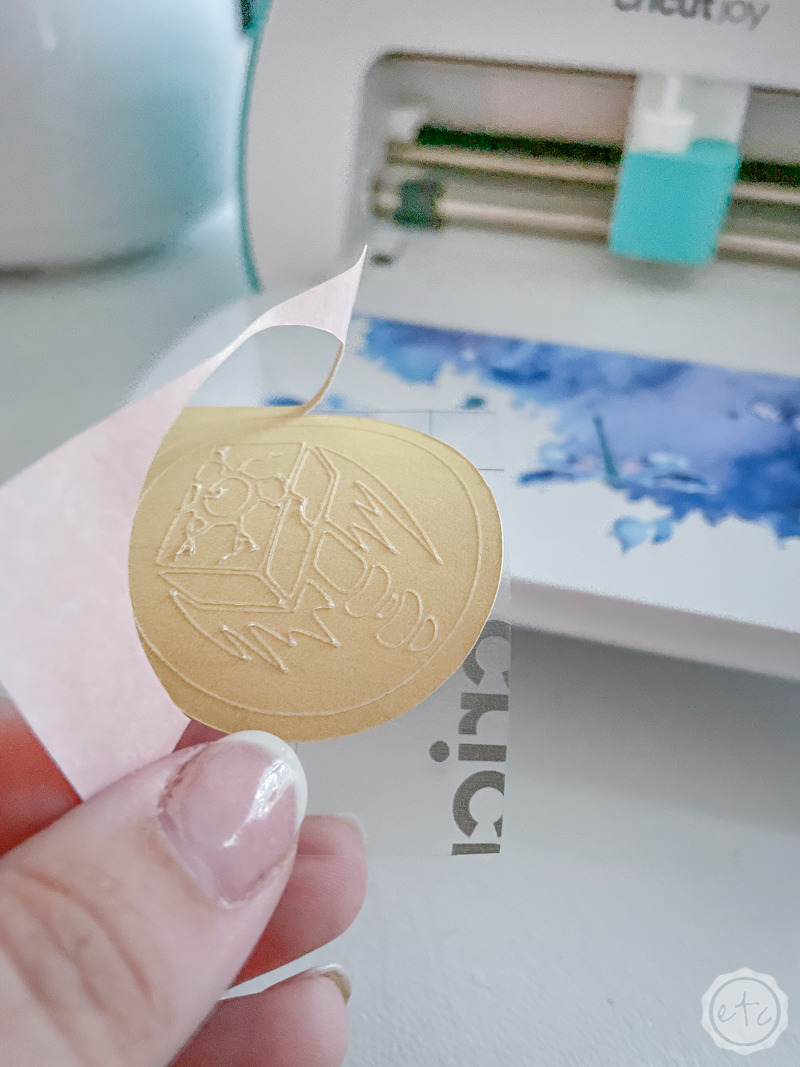
In that case I’ve found that cutting around your design and then putting the whole carrier sheet in place works just fine. For example, I cut around the entire yellow circle and hammer then placed it on the carrier sheet above Arvala. That way I didn’t have to move the letters to Arvala or all the little pieces of that hammer.
Score!
Step 4: Apply your Infusible Ink to your Mugs
We are soooooo close to using the mug press! In fact this is the last step before we can pop this baby in the mug press to heat up… so hit the button now to start warming up your mug press.
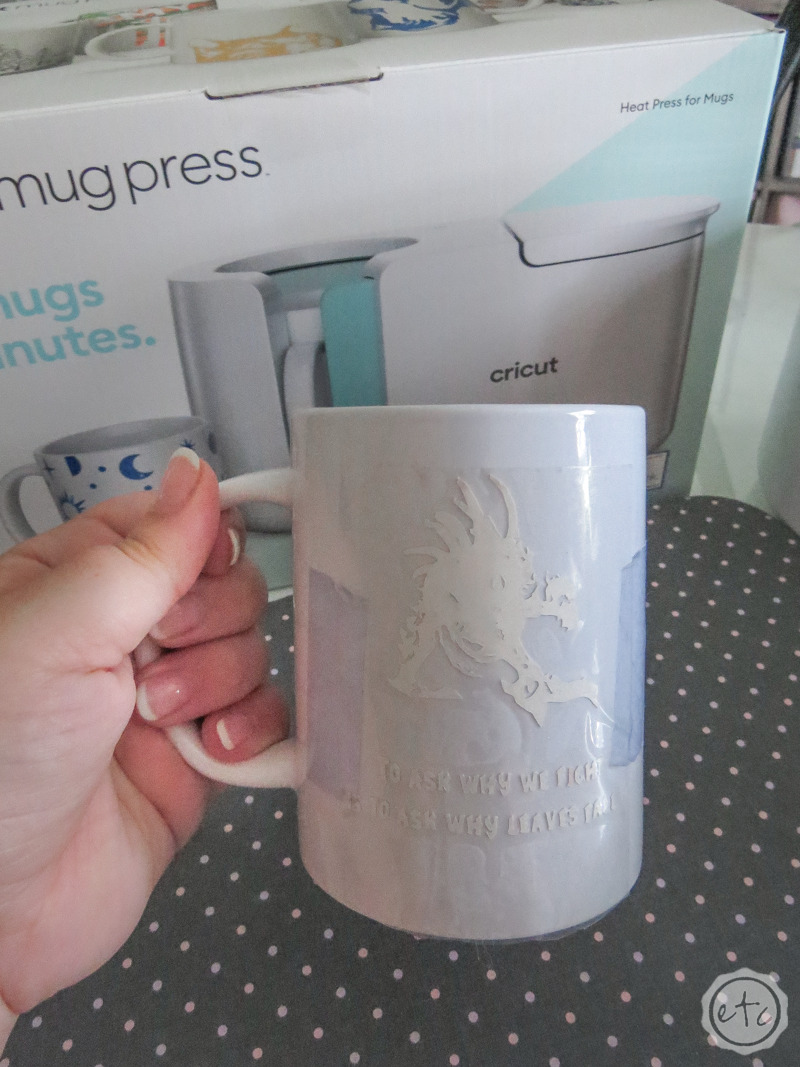
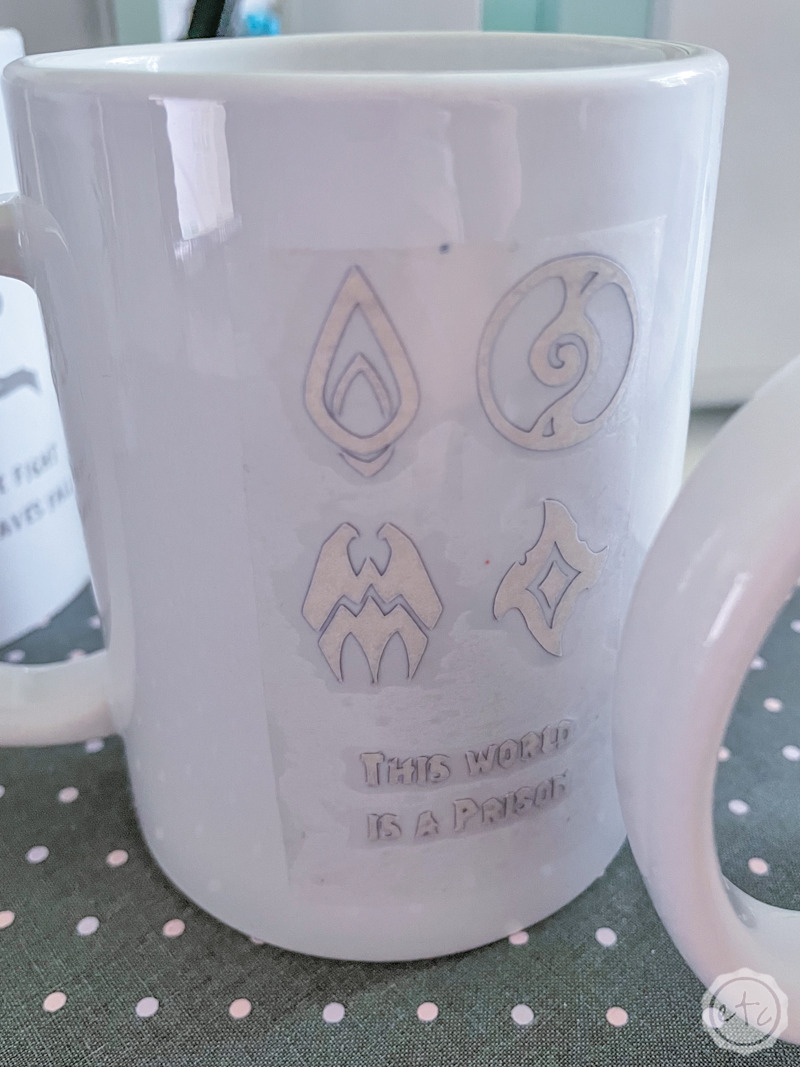
Then crack open that nice, fresh mug box and make sure that your mug is lint free (use a lint roller to make sure). Then grab your first infusible ink decal and start to line it up.
Remember that if you’re a lefty you’ll want the handle on the left of your mug and if you’re a righty you’ll want it on the right. Since Will is a lefty we’re going to hold the mug with the handle to the left and then line up our decal in the middle of the space. Make sure it’s an equal distance from the top and bottom and super straight.
Then start to press it down and smooth it out from the middle. The carrier sheet is sticky but I put a piece of heat resistant tape on either side since I wanted to double, triple check that my design didn’t move.
Excellent!
This is also the best time to make 100% sure that your design isn’t missing any pieces… if you are you’ll need to re-cut and apply them to the decal now because you can only heat up your design once. So any missing pieces will just be… missing.
Step 5a: Setup your Mug Press
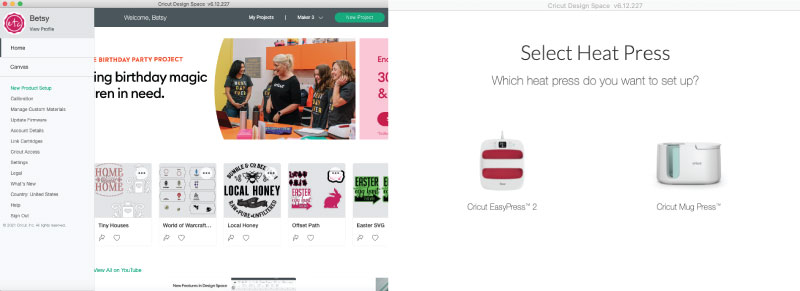
If you’ve never used your Mug Press before you’ll need to activate it before you can start using it. Luckily that’s easy! Within Cricut Design Space just click the left hand menu and then select New Product Setup. That will pop up an entire new page that lets you pick what type of device you’re setting up.
In our case we’ll select heat press and then cricut mug press.
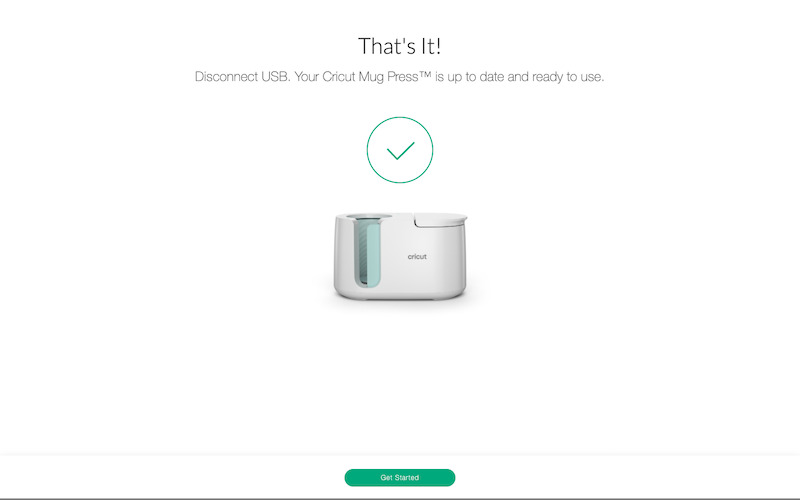
From there it will walk you through the steps… mainly plugging everything in and syncing. Then you’re good to go!
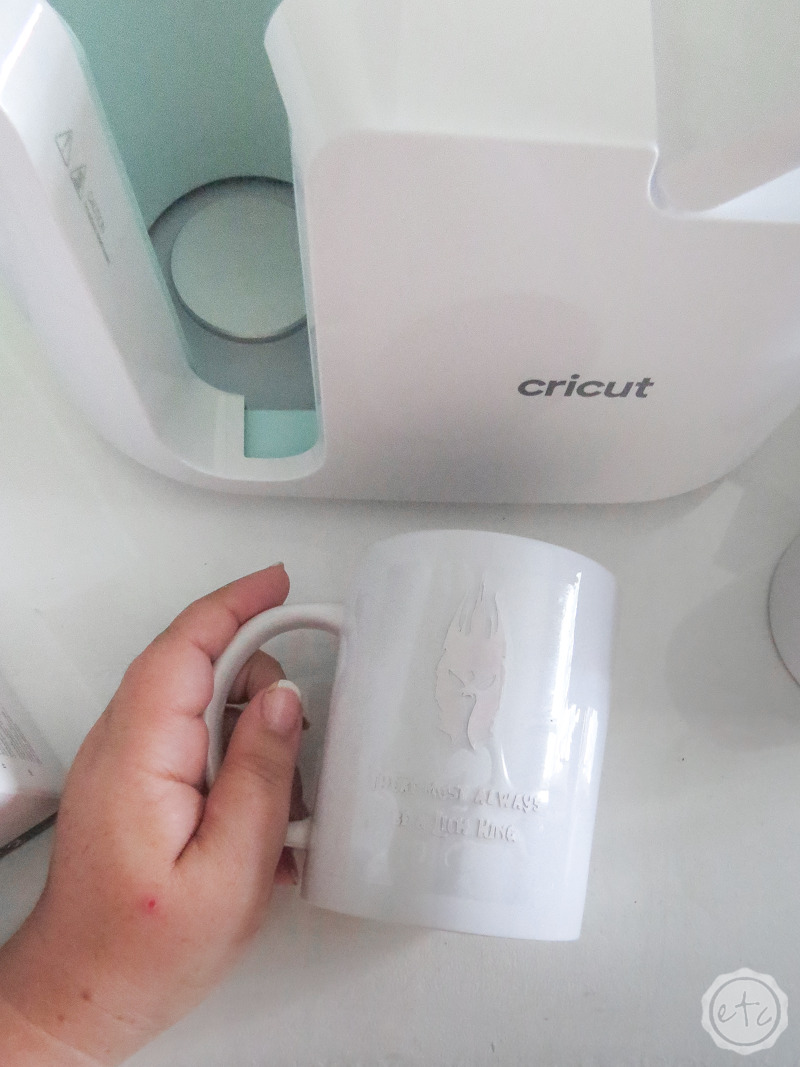
Step 5: Use your Mug Press to Apply your Design
Ready for the fun part?
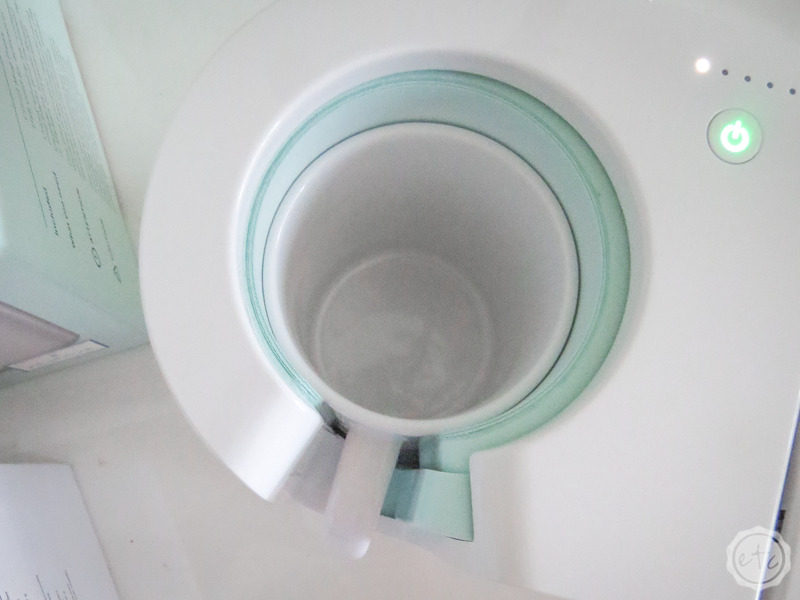
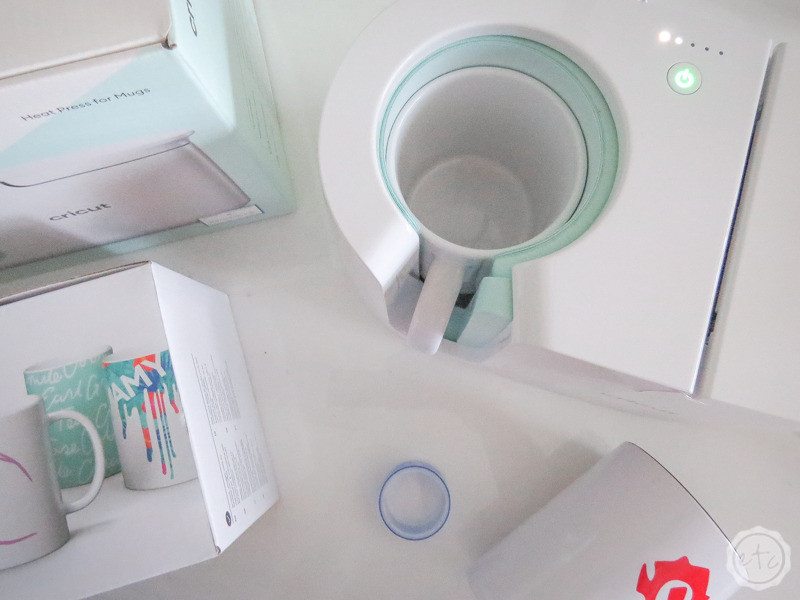
Putting your mug in the mug making machine! Once it’s heated up go ahead and put your mug down inside. Be careful because the inside is hot, hot, hot… I like to tilt my mugs and then slowly lower them down making sure not to touch anything but the handle.
Once they’re down at the bottom make sure to position your mug so that the entire decal is covered… and then press the lid closed!
The mug press will close so that it’s snuggly holding your mug and heat the mug on all sides. If you watch the lights on the top of your mug press it will show you how far in the process it is but the thing I love about this particular heat press is that there’s no settings or buttons you have to mess with.
It will automatically time the process and let you know when it’s done!
So just keep setting up your mugs and when the press is done (and all the lights are lit up) a little chime will sound letting you know it’s done. Then just lift the lid and carefully use the handle to pull the mug straight up. Set it aside on a heat resistant mat to cool off… it’s very very very hot so don’t touch it!
Then load your next mug… you got this!
Step 6: Let your Mug Cool… then Remove the Decal!
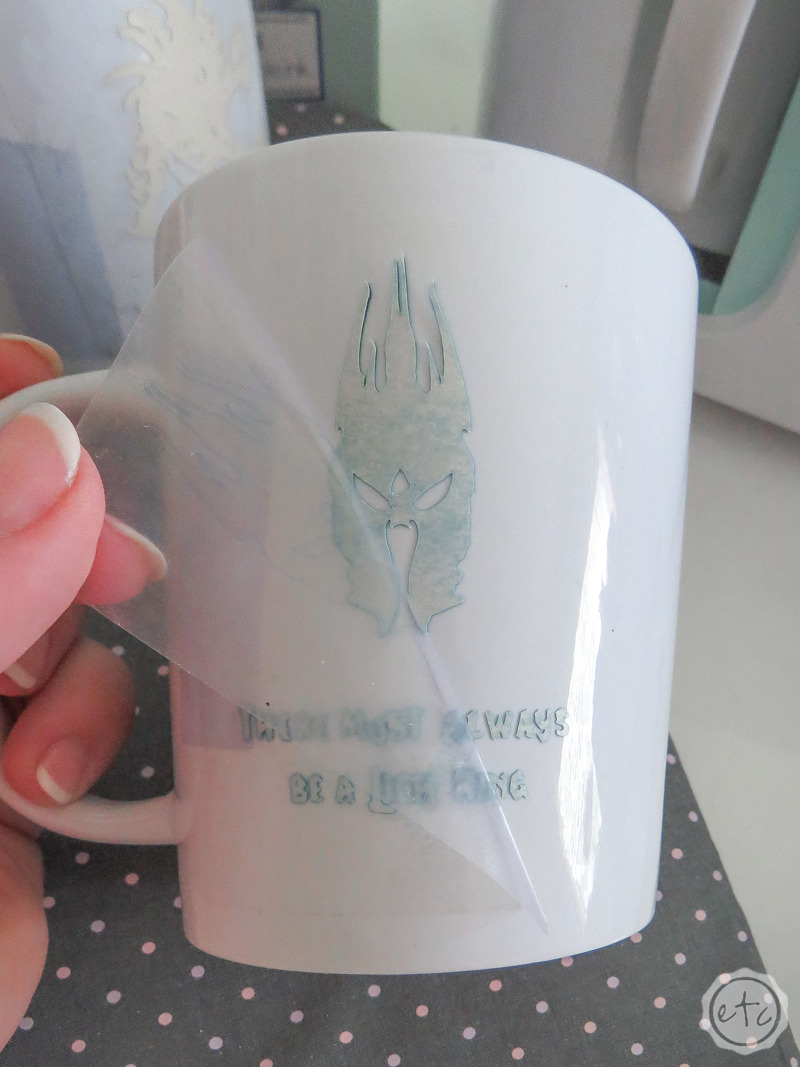
Once your mug is cool to the touch it’s time to remove the decal. I find that slipping your finger or a weeding tool under the carrier sheet is the easiest way to remove the entire decal… then you can pull that heat resistant washi free. Plus? The heat resistant washi is good for a few uses so slap it on another mug and get ready to go!
Once you’ve taken the carrier sheet off your infusible ink sheets may come off really easily or you may need to use your fingernail to *ahem* persuade them to come off. Either way is fine just don’t use a weeding tool since it will scratch the newly heated ink.
Don’t ask me how I know that. I’ll deny it.
And that’s it! Rinse and repeat until all your mugs are done and then wrap everything up with a bow to give to the gamer of your choice!
I’ll let you know how Will likes them… so far he’s been too busy playing WOW to come and get these bad boys.


Leave a Reply