

I have weeded countless sheets of vinyl over the years with… let’s say varying degrees of difficulty. In all honestly I’m fairly blind so seeing the cut lines on a vinyl design is not very easy on the best day.
This little “Bless This Mess” sign used white vinyl which was almost impossible to weed on it’s own… even moving directly under a lamp didn’t help much.
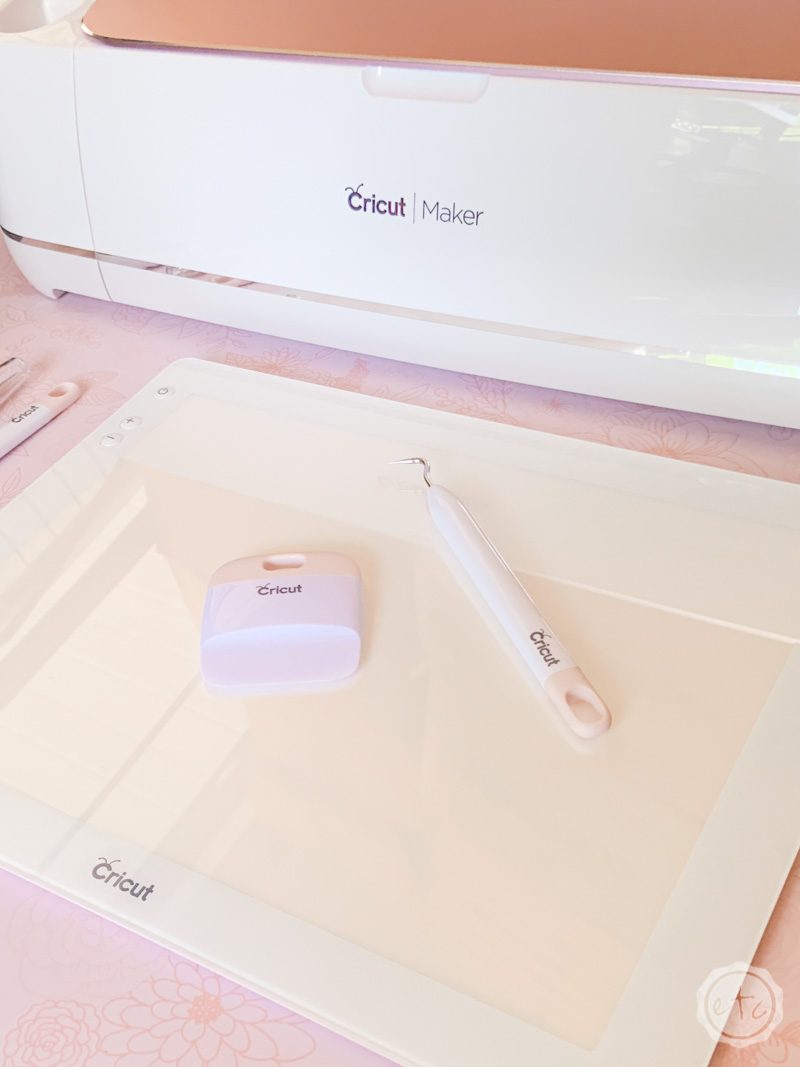
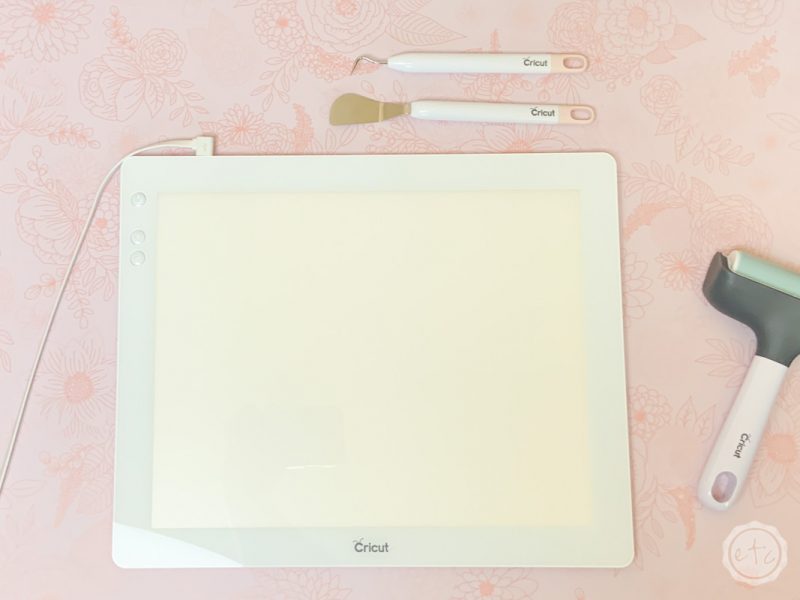
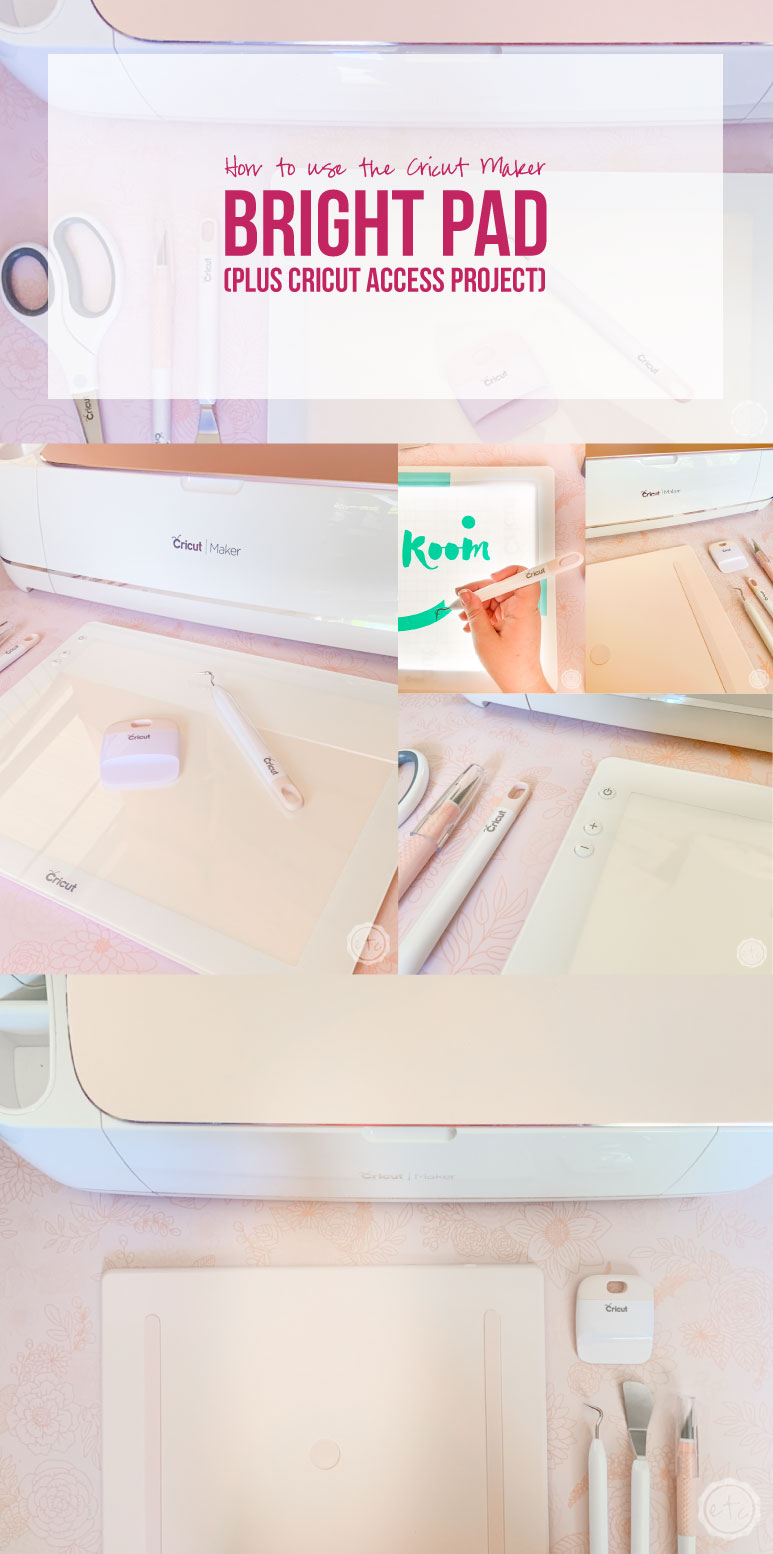
I’ve used countless light tables over the years but most of them are big, bulky and a little hard to use in my small craft room… even harder to use when I have the urge to move from craft room to living room to office when I’m working on different projects! Which is why I was so excited when I finally picked up this sweet little Bright Pad.
I was absolutely thrilled to give this baby a try but the question is… does it help? Will it make a difference? Is weeding on a BrightPad truly easier? DO I NEED IT?
We’re going to answer all those questions and then do a quick little project! So that you can get a great idea of whether or not a Cricut BrightPad is your favorite new tool!
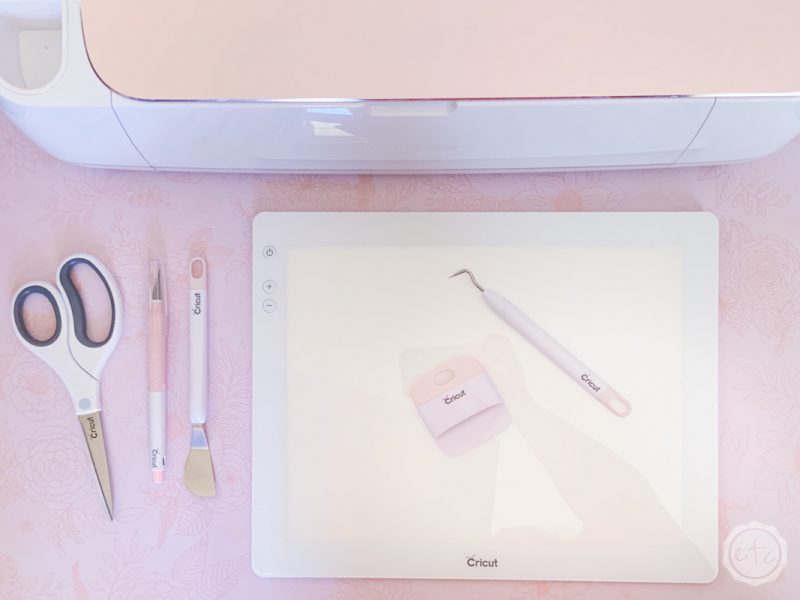
What is the Cricut Bright Pad?
The Bright Pad (at it’s core) is a lightweight light table in the form of a tablet. This particular “light table” has 5 different brightness settings and is lightweight and portable.
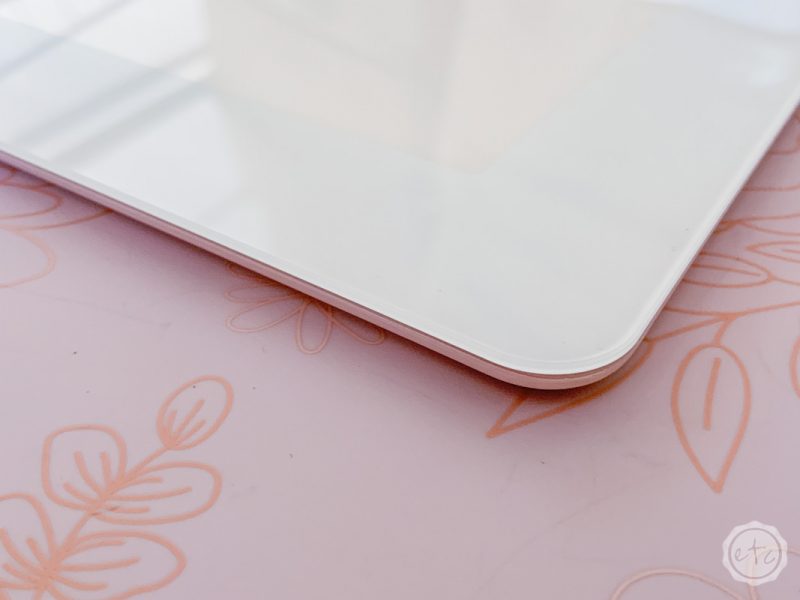
It has a non-slip base which is killer when it comes to weeding projects or working with beads (slippery beads on a slippery light table? Can you say nightmare?). It makes crafting easy and eye strain a thing of the past… which is great because like I said #blindgirl.
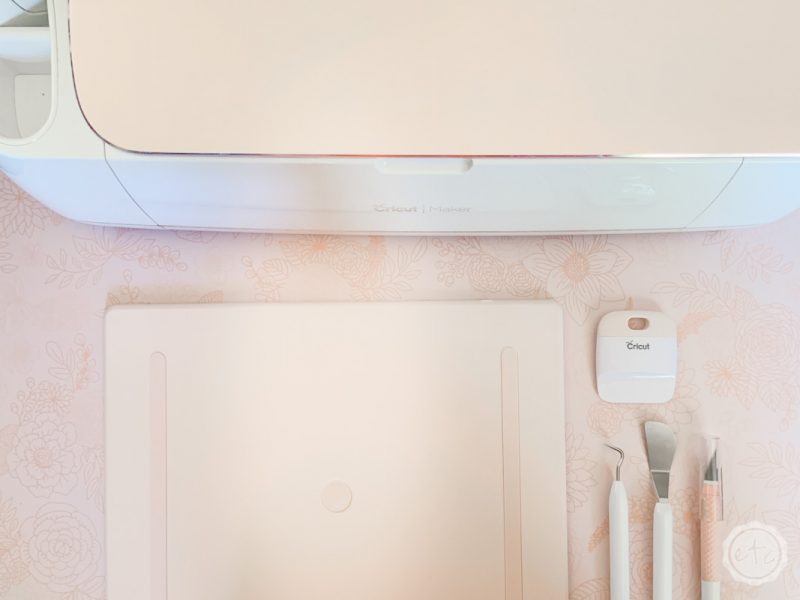
Of course, my favorite part are the different colors… I know it’s a little thing but I really like being able to match all of my Cricut accessories! Which means I picked the rose colored Bright Pad. (Hey Cricut if you’re listening I need every. single. accessory. in rose… ok? thanks!) It also comes in mint, blue, and lilac.
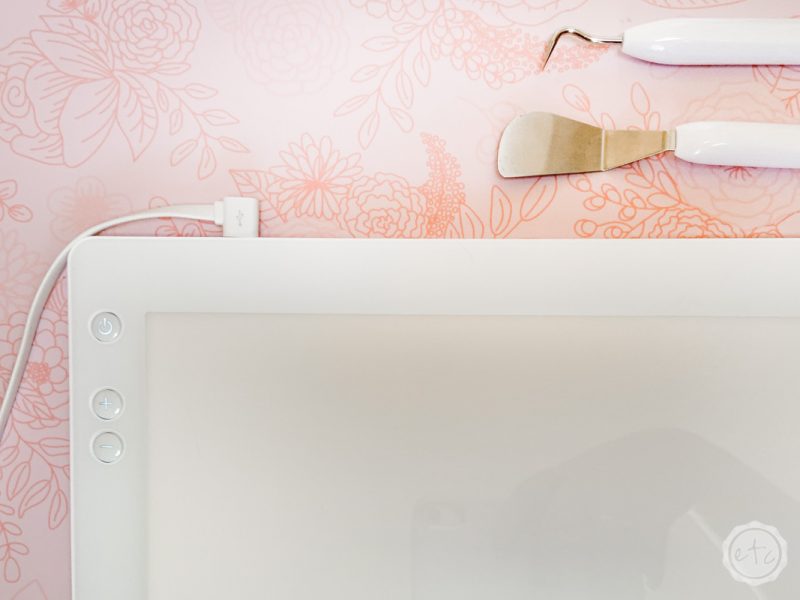
In my eyes one of the main downsides of the Bright Pad is that the usb charger is non-negotiable. It literally has to be plugged in to work… you can’t charge it and then go sit under a tree to weed vinyl in the park (not sure when I would do that but darn it I want the option!).
My work desk is just a liiiiitttttlle to far away from the nearest plug to make this cord thing convenient and since moving my desk (or the wall outlet) in my room isn’t really an option a handy dandy portable charger is the perfect solution. The usb cord is just that… a usb cord so I plugged it into the portable charger I take on my cruises and volia! Portable Bright Pad.

What can I do with the Cricut Bright Pad?
Okay so we all know the big one: weeding vinyl. To be honest that’s like 90% of my Bright Pad’s life. Mainly because I weed a lot of vinyl! But they’re are so many other uses!
- Weed Vinyl
- Trace Images
- Trace Lettering
- Piece Together Quilt Squares
- Work with Beads
- Work with Metal Pieces
- Jewelry Making
- Painting without Pencil Lines
- Creating Baking Pieces
What can I make with the Cricut Bright Pad?
- Vinyl Signs
- Glitter Vinyl Banners
- Iron-On Pillows
- HTV T-Shirts
- Tracing Bullet Journal Spreads
- Tracing Coloring Pages
- Tracing Hand Lettering
- Beading Planner Bookmarks
- Frosting Designs for Cupcakes
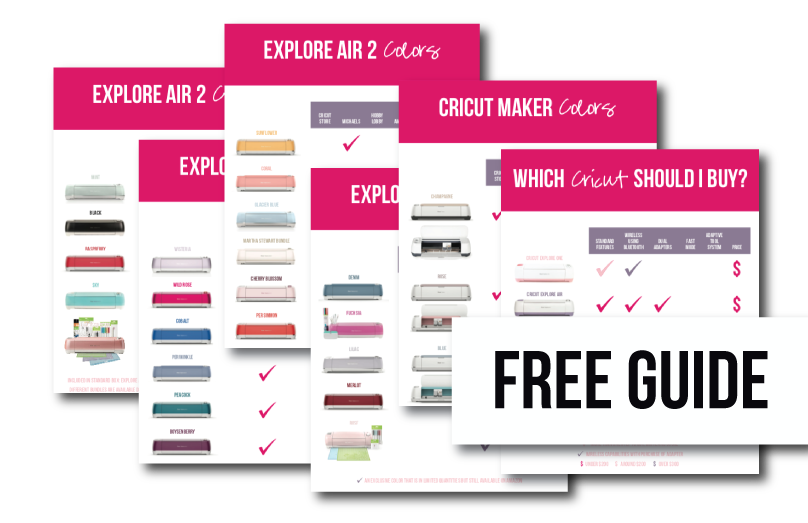
Need help picking your perfect machine? I’ve got you covered!
Pros: Size & Surface Area
When it comes to this little Bright Pad it really is portable. While I’m not thrilled with the usb cords functionality I love the size. It’s 9 x 11.5 which is basically the same as a letter sized piece of paper. It’s slender enough to slip in a back pack for crafting on the go but large enough to work on.
Of course, if you’re use to an actual light table that’s a couple of feet wide this baby is tiny in comparison. Most of us aren’t working on such a large scale though so this little Bright Pad
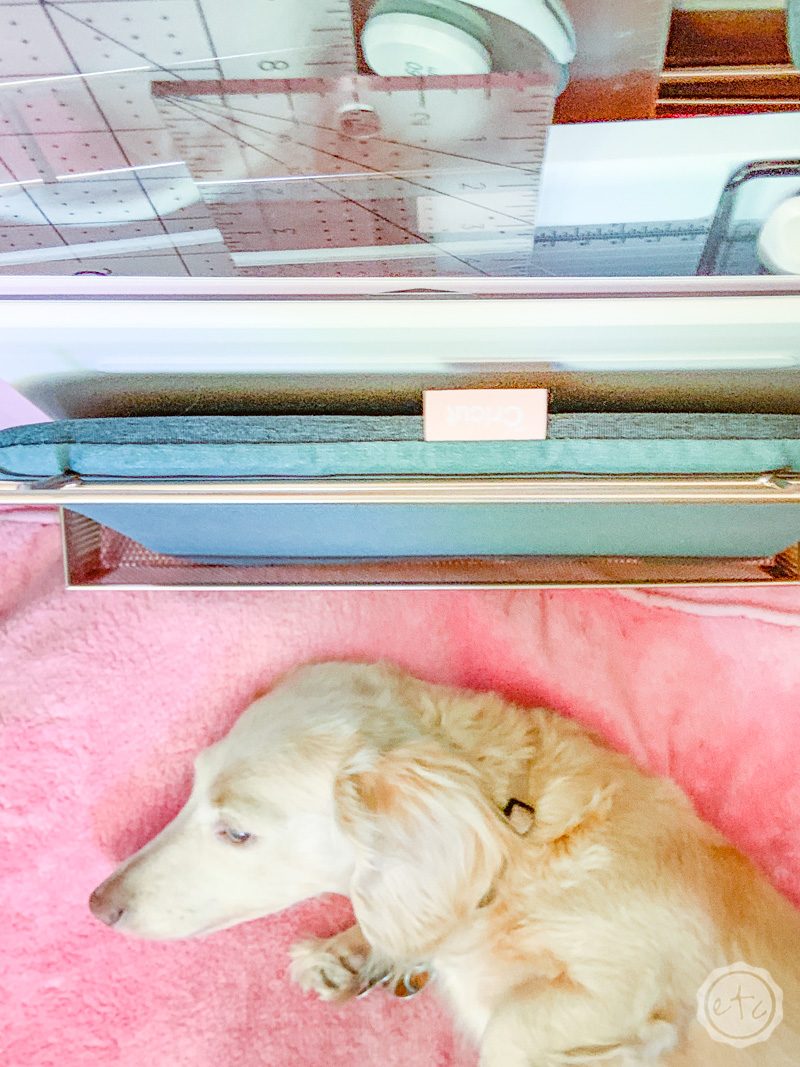
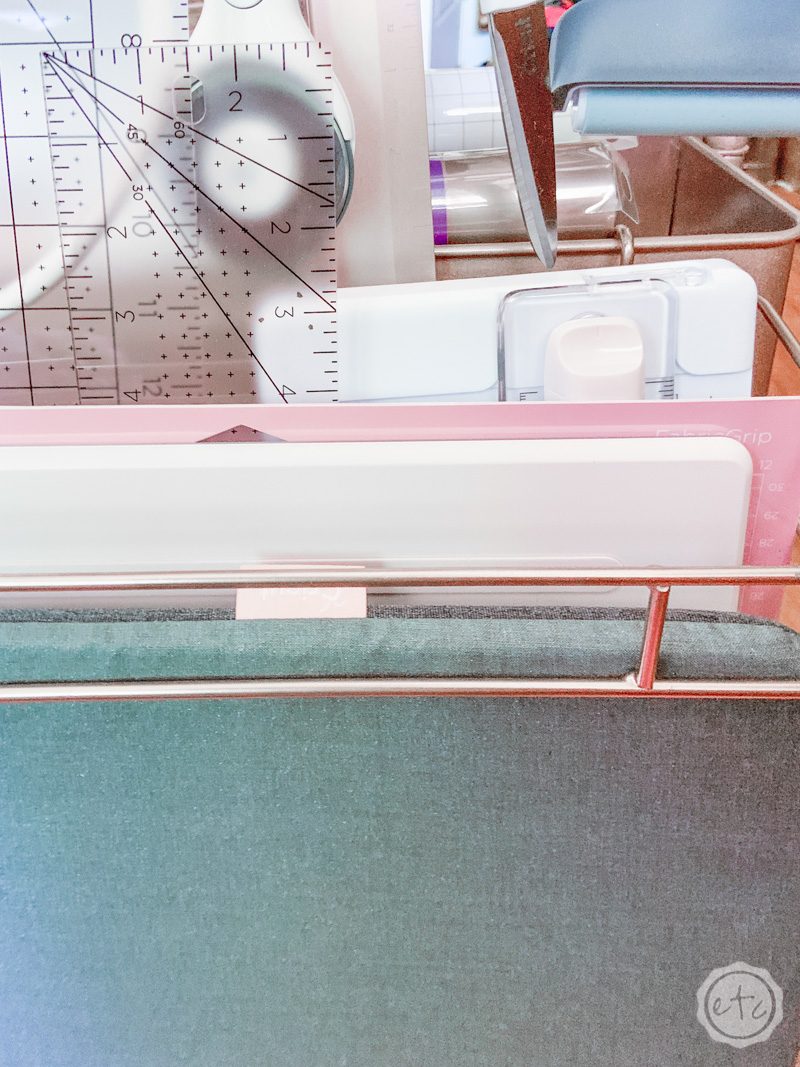
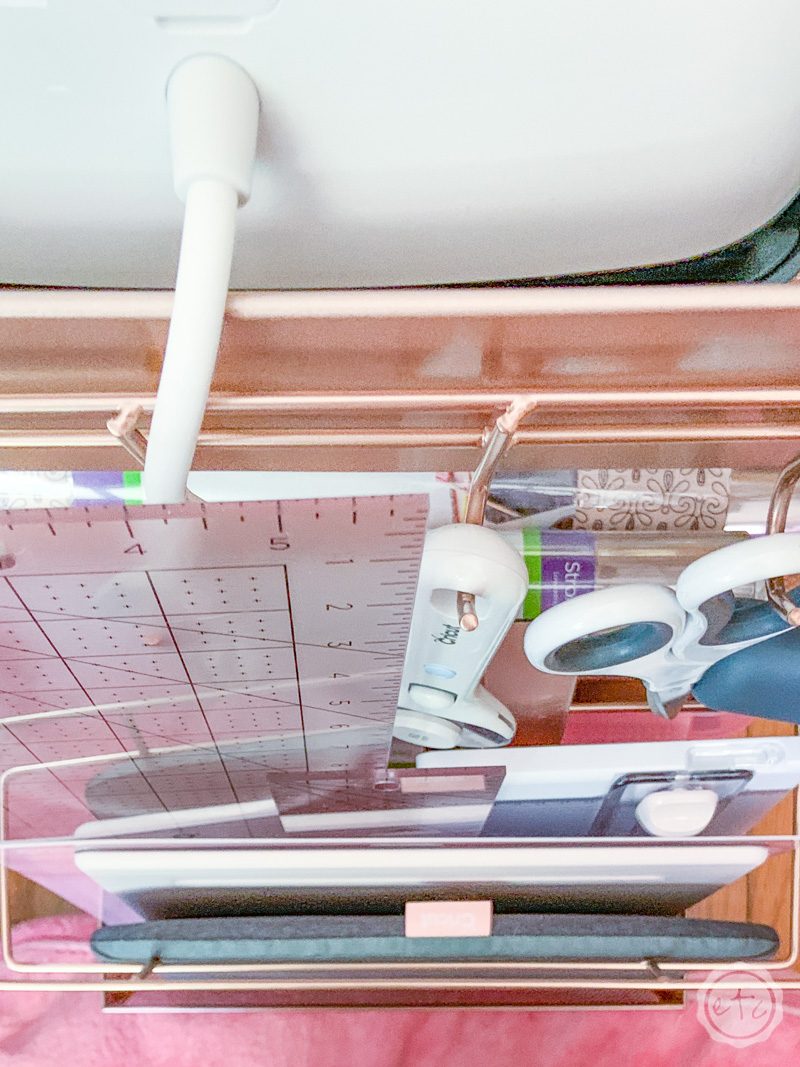
It’s the perfect size to slip into the little shelf on the side of my 3-tiered cart. I was afraid the Bright Pad would be too wide but it slips right in place between my cutting mats and Easy Press ironing pad. Which makes storage a breeze!

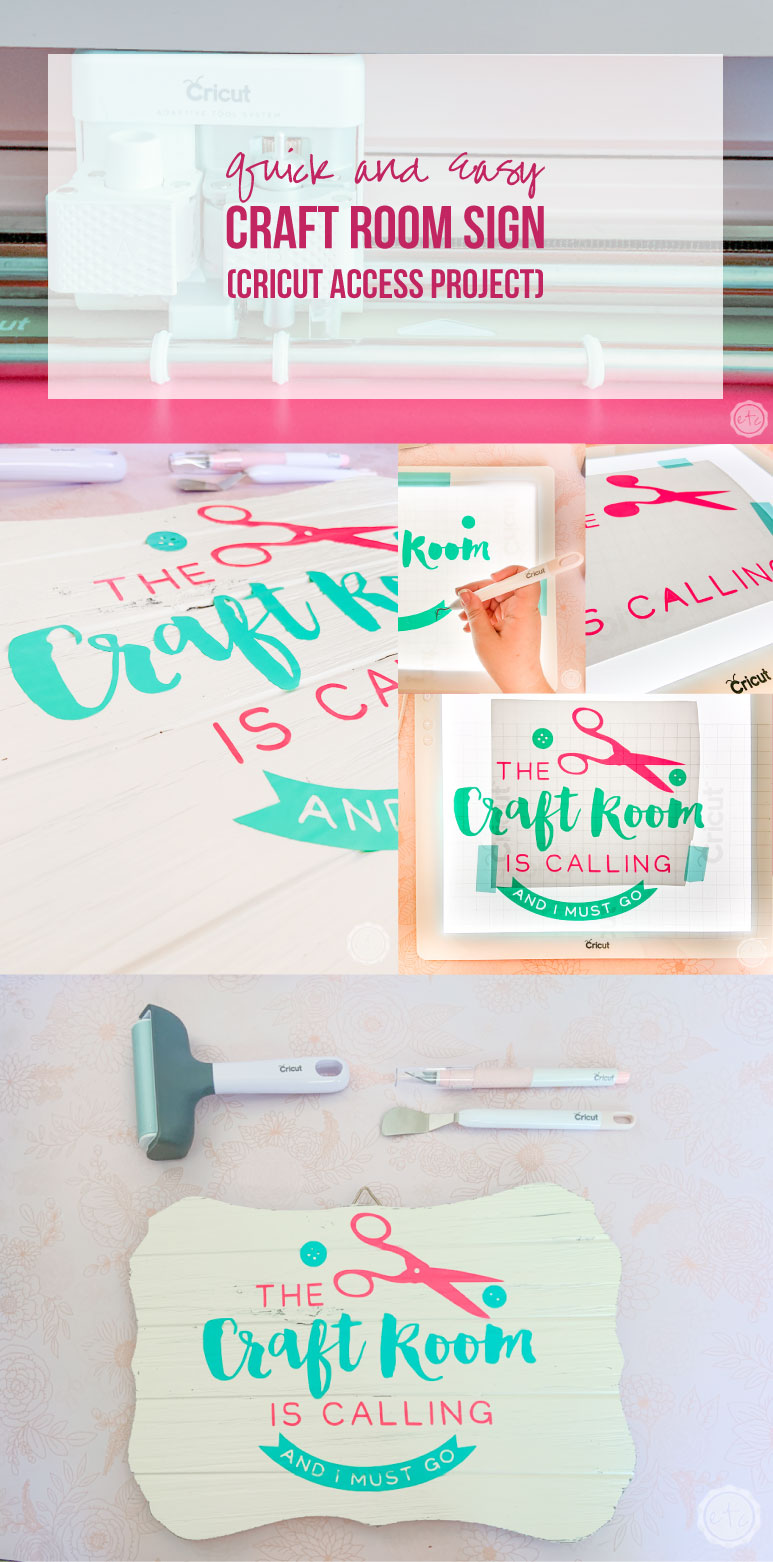
Cricut Access Project: The Craft Room is Calling and I Must Go Sign
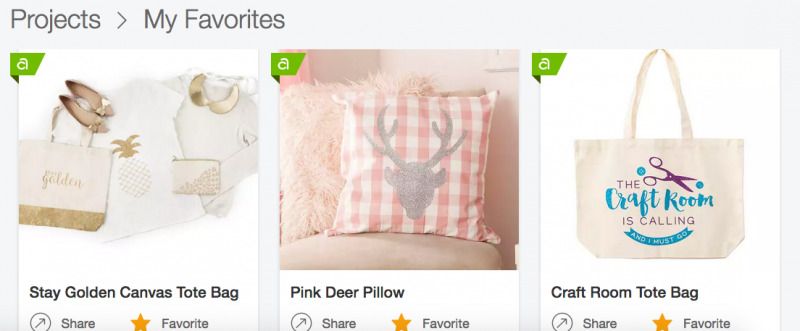
I learn best by doing so I decided to open Cricut Access and pick a fun knife blade project to test this baby out on. I had a really hard time picking since my only criteria was “vinyl for weeding” and there are a million different vinyl projects!
I kept looking at the projects and saying “I can’t make that, I don’t have a onesie!” also… I don’t need a onesie! So I decided to pick a design that I loved and put it on a sign! Hey… vinyl is vinyl right?
So I picked this fun “The Craft Room is Calling and I Must Go” tote bag and made it into a cute sign for my craft room instead. Score!
Supplies
- Cricut Maker
- Bright Pad
- Cricut Access File: The Craft Room is Calling & I must Go
- Fine-Point Cutting Blade
- Standard Cutting Mat (that’s the green one! Even though I used the fabric mat for this project)
- 2 Colors of Vinyl
- Wooden Sign or Tote Bag
- Transfer Tape
- Standard Tool Set
- Brayer
- Washi Tape
Psst… need help setting up your Cricut Maker? Check out this post!
Step 1: Cut Your Vinyl
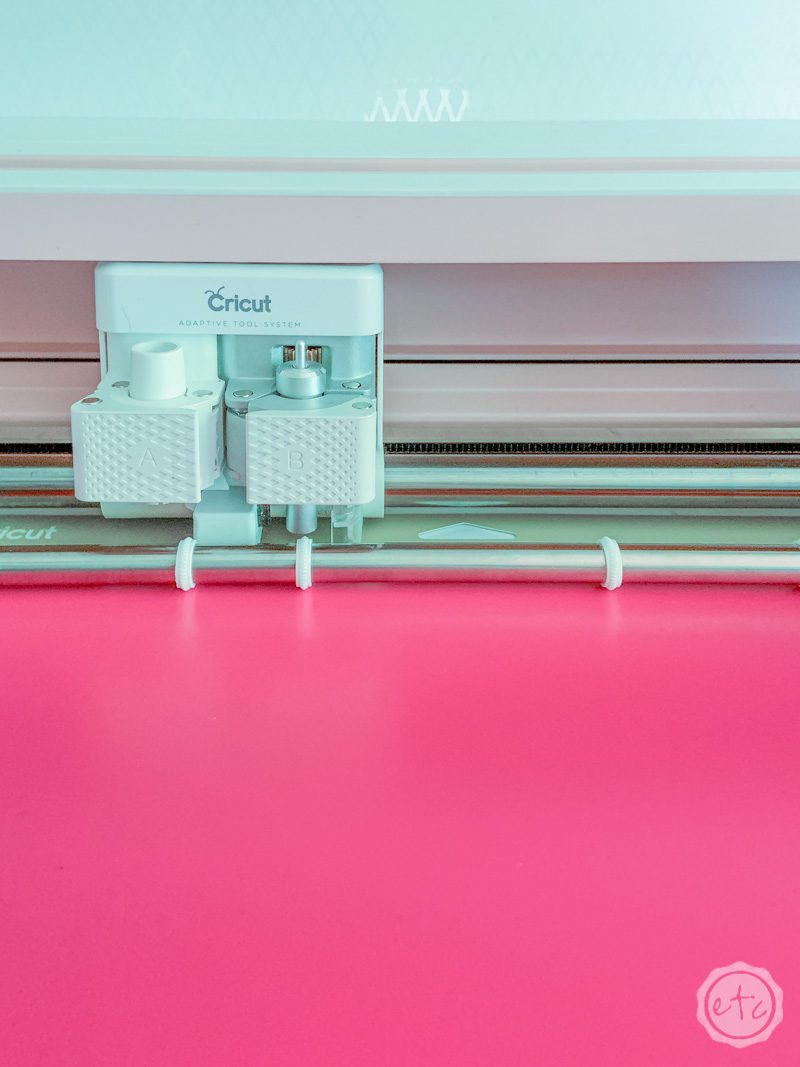
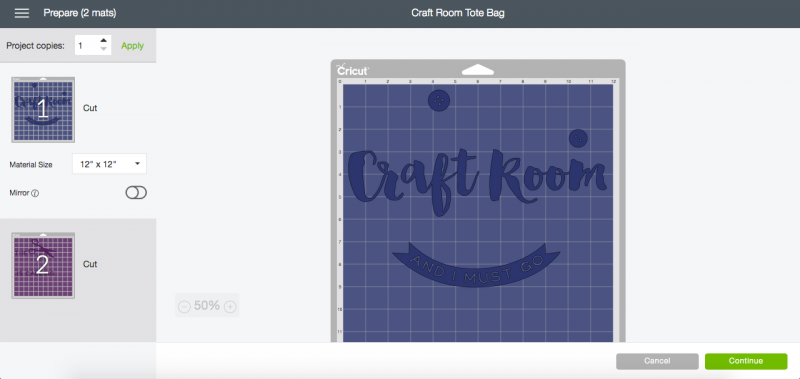
My favorite part about using a Cricut Access Project? They’re ready to go! All you have to do is hit “make it” and then follow the prompts. In this case you’ll load two mats: one with your hot pink vinyl and the other with your turquoise.
Since we’re working with vinyl I simply loaded two different standard grip mats without trying to cut down the vinyl and make them both fit on one mat. The pieces for each color are attached so that they’ll cut out in the exact configuration you need with the spacing already setup. Which makes it super easy to layer the two mats together once they’re cut… but means it’s best to cut each color separately on their own mat.
Step 2: Weed Your Vinyl
Alright y’all now it’s time to play with the Bright Pad!
Go ahead and remove the background vinyl from your image so that you have only the design and the smaller negative pieces you need to weed. Typically you can just pull this background vinyl right off but go ahead and place it on the Bright Pad if you want a little help seeing the letters (I’ve been known to accidentally rip the tails of letters off at this step so the Bright Pad was actually really helpful).
Once you have all the background vinyl off you can use a bit of washi tape to hold your design in place. The Bright Pad has a non-slip backing so that it doesn’t slip around on your work surface but let’s face it that surface is still slippery… a bit of washi will hold your design in place without leaving behind residue.
Now it’s time to get to weeding!
Here’s a side by side look at how the design looks normally (on the left) and with the Bright Pad turned on (on the right). I’ll be honest… at this distance you can’t see a darn difference can you? Those illuminated cut lines are realllly hard to photograph.
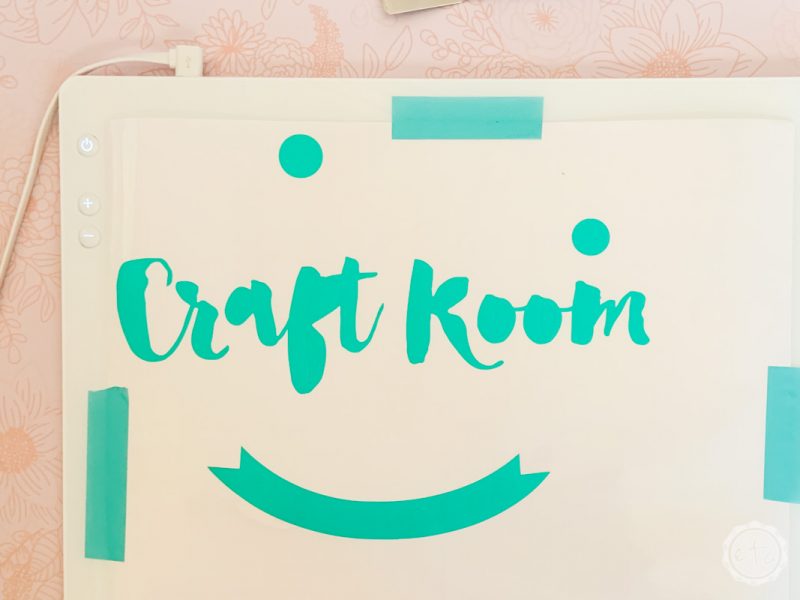
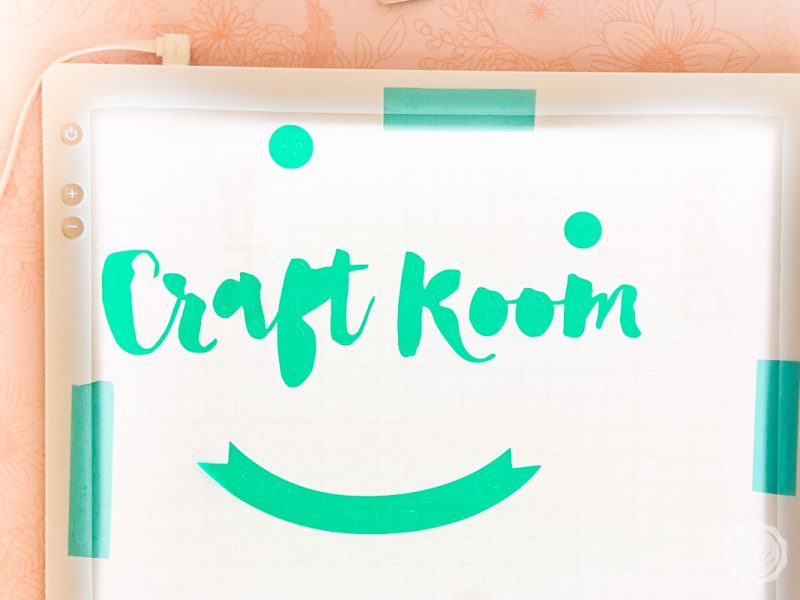
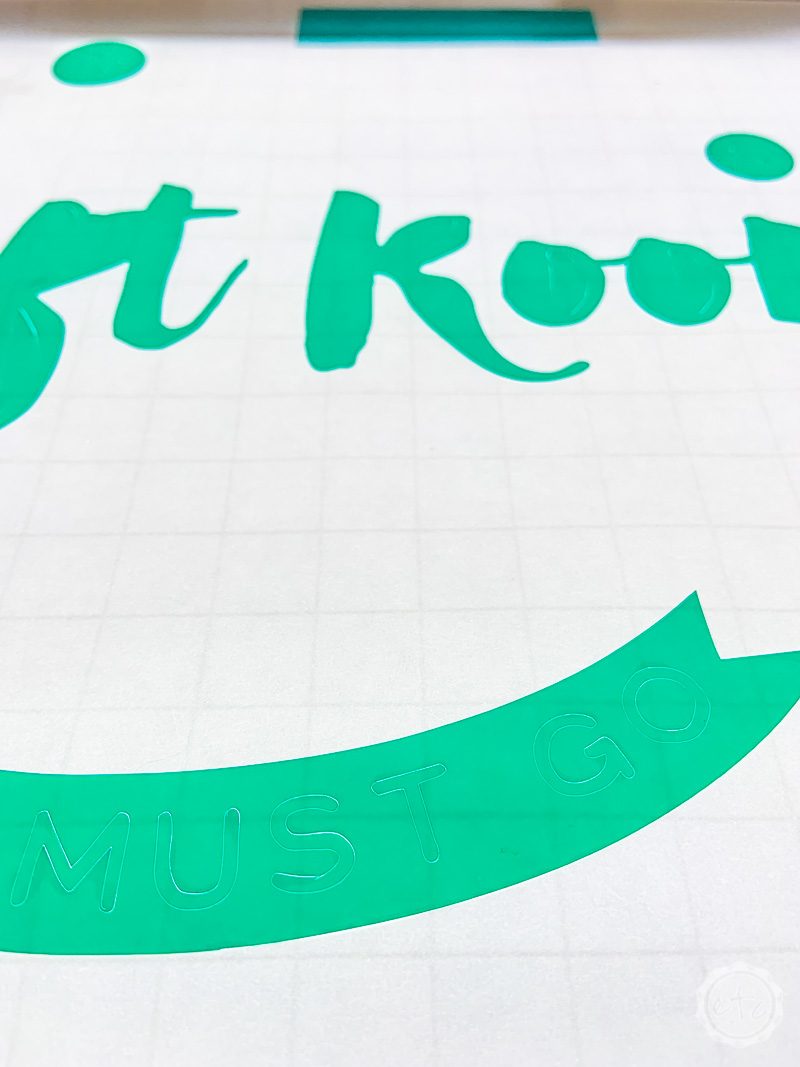
Don’t worry… once you start weeding and you’re closer to the Bright Pad you can see the cut lines perfectly.
Take a look!
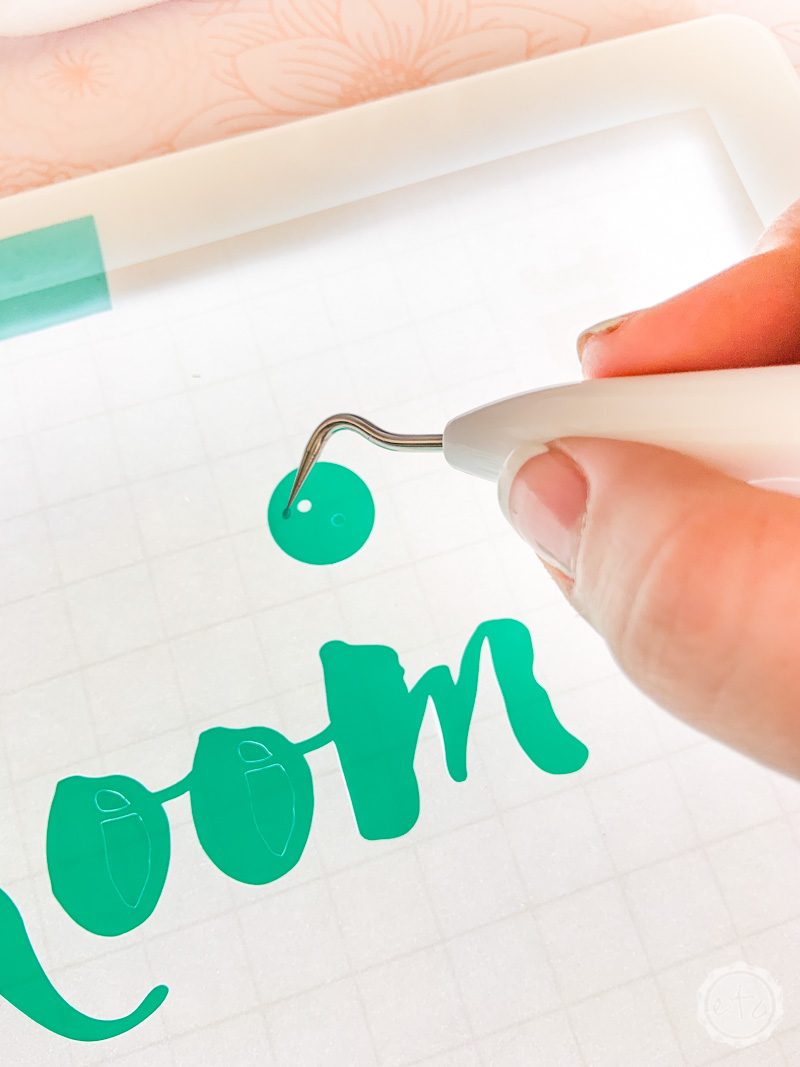
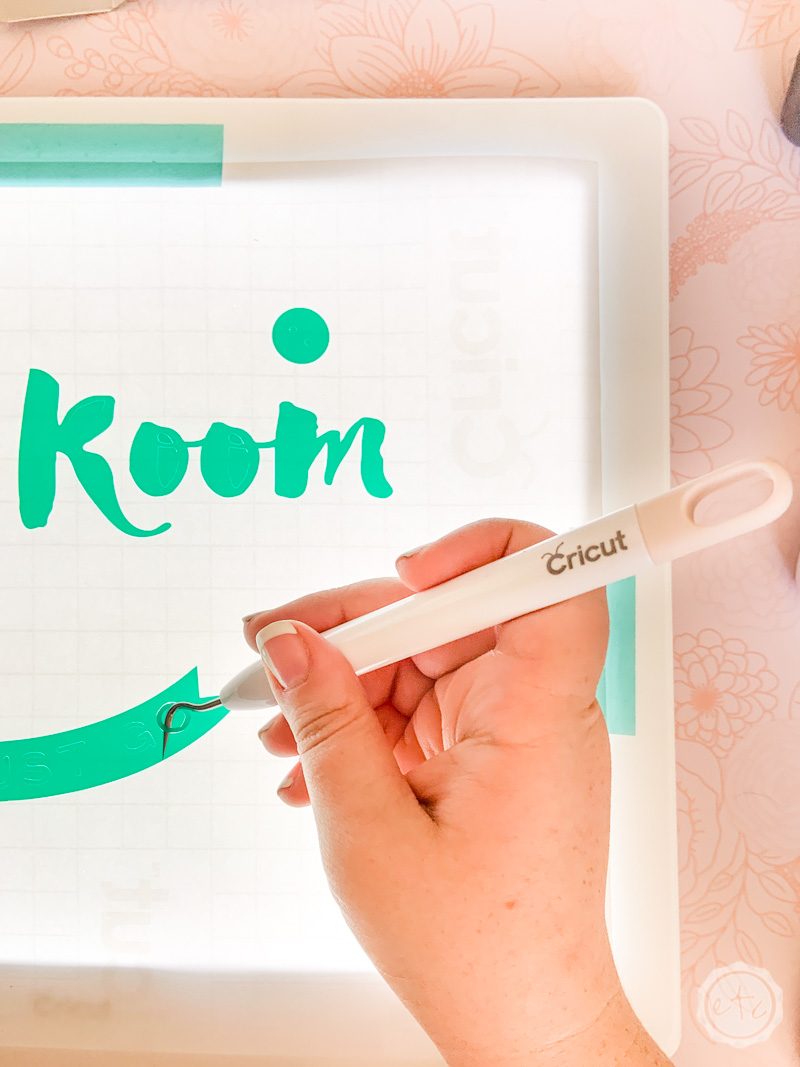

The Bright Pad made such a big difference. I could actually see the little negative pieces like the holes in the buttons and the small parts of the e.
There’s actually a cut out in the middle of the scissors I didn’t even see in the design on my computer that the Bright Pad caught!
I played around with the settings (there are 5 different light settings on this bad boy) but I didn’t see much of a difference between them in terms of cut line visibility. I can’t wait to try this baby out with different materials to see how it does… I really want to give it a try with the white vinyl that gave me such trouble last time!
One last tip that I read on the Cricut website is to use the Bright Pad without bright lights around you. Apparently the cut lines are easier to see in a dimly lit room. I almost always work on my projects without the overhead lights on… in natural daylight (so that I can take blog photos) so I didn’t notice a problem but if you’re having trouble seeing the cut lines on your Bright Pad try turning the overhead lights off.

Step 3: Layer the Two Designs Using Transfer Tape
If you’ve ever used transfer tape you know that it’s a game changer. Such a simple solution that makes a huge difference.
This isn’t a transfer tape tutorial so we’ll just hit the basics: Lay your transfer tape over your design and use your brayer to smooooooooth the tape onto the vinyl. Then slowly peel the transfer tape up leaving the background behind and the vinyl design on your piece of transfer tape.
This way all of your vinyl pieces stay perfectly aligned as you move them over to your sign!
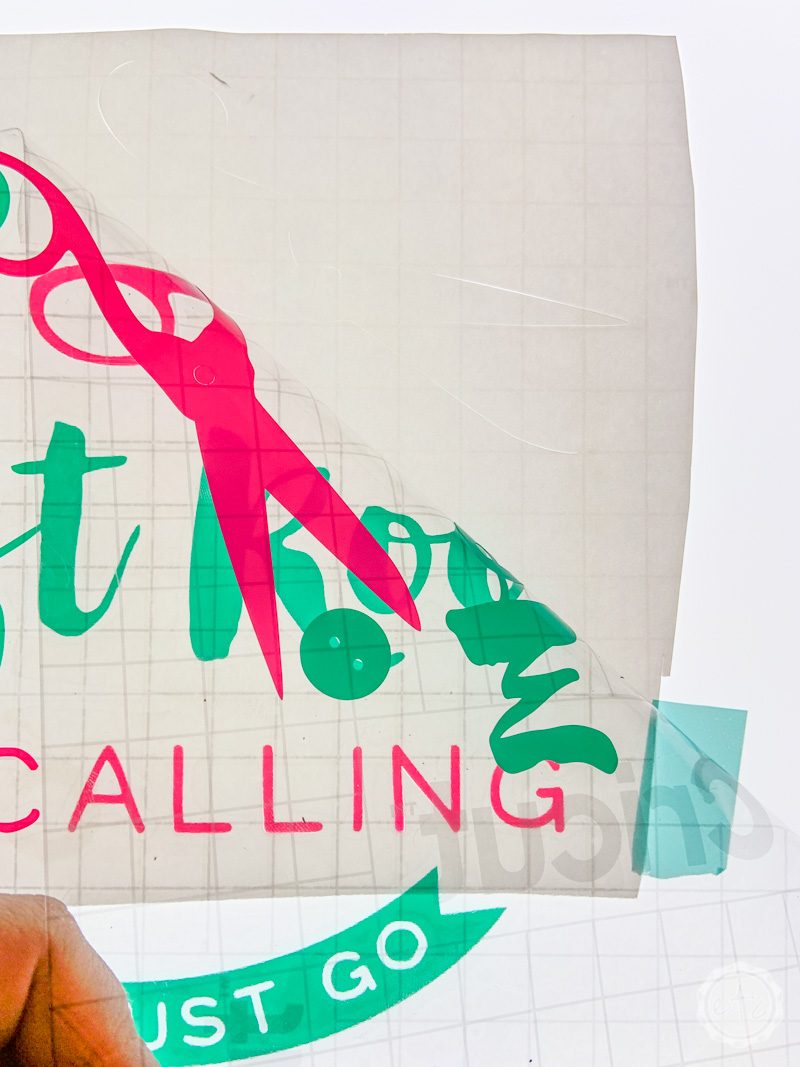
Of course, in this case we need to layer our two colors of vinyl together before we put them on our sign. So after picking up the turquoise pieces of vinyl with the transfer tape go ahead and and lay your transfer tape carefully off to the side so that you can weed the hot pink.
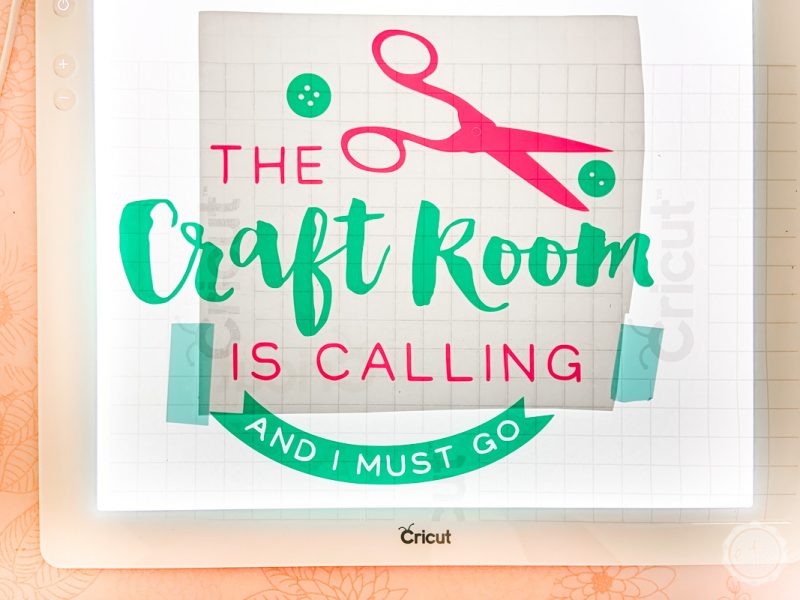
Then you can lay your transfer tape (with the turquoise design) over the hot pink vinyl using the Bright Pad to line up the grid lines on the transfer tape with the grid lines on the back of your vinyl background.
That way everything’s straight
Step 4: Apply Your Design
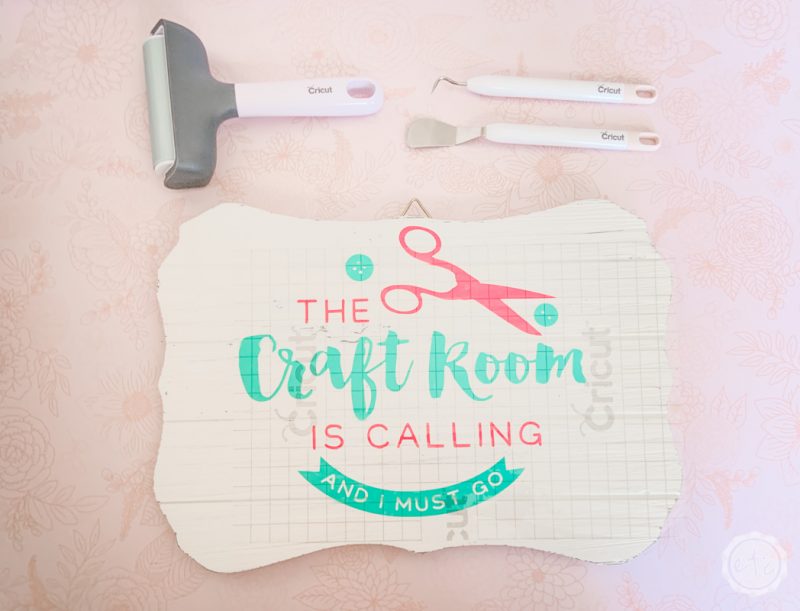
Now is the fun part! Go ahead and lay your vinyl design onto your sign using the grid lines on your transfer tape to line the whole thing up straight as an arrow.
Then use the brayer to smooooooth the design down onto your sign. You want a really good bond so that when you remove the transfer tape the design stays in place.
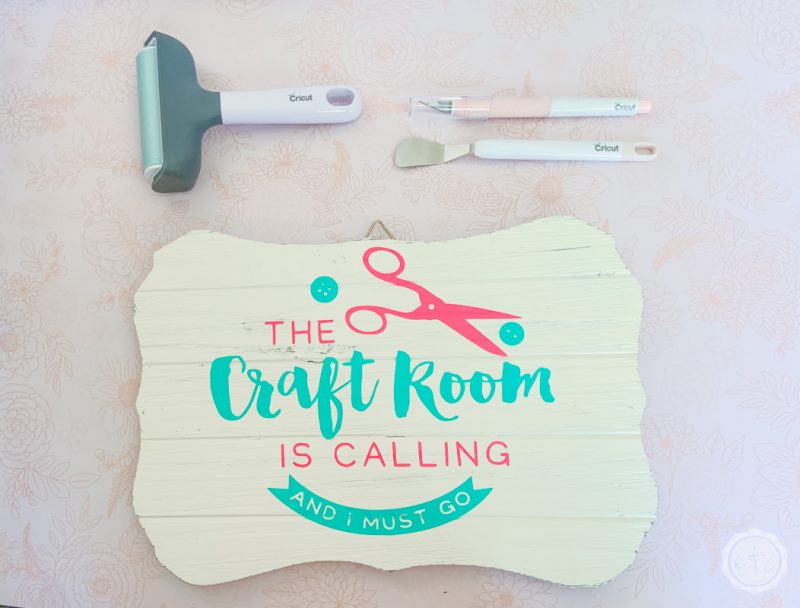
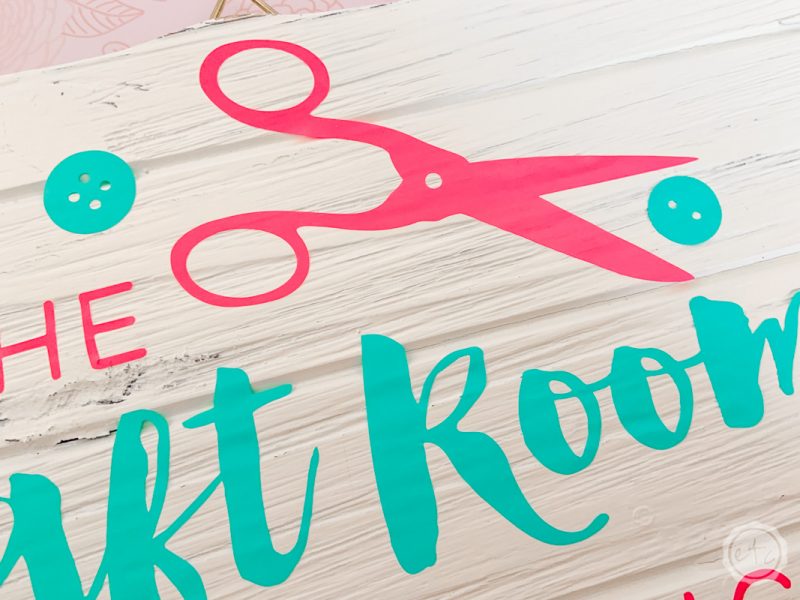
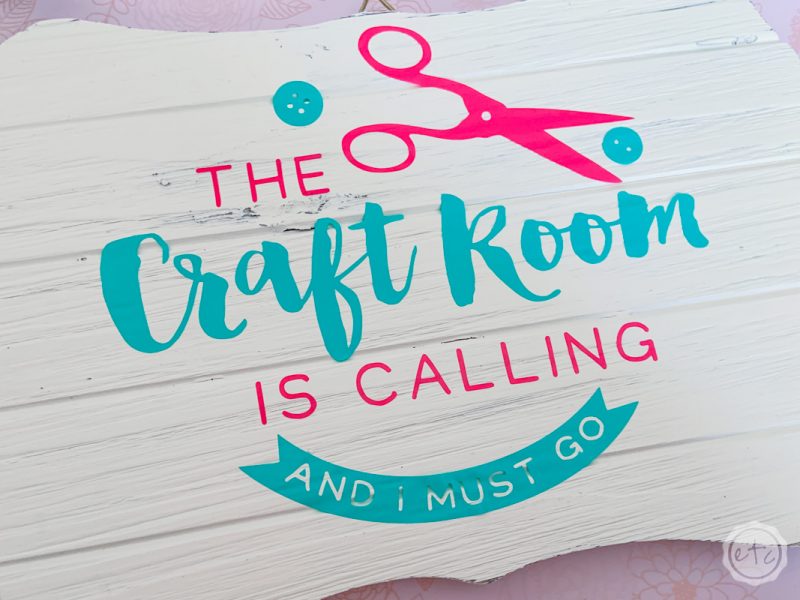
Once the vinyl is smoothed on go ahead and start pulling off the transfer tape. Start by pulling one corner and go slowly across the entire piece. The vinyl will usually stick to the surface of your sign like white on rice but if your sign is a little rough or porous (like mine is) just watch the letters as you pull the transfer tape and smooth them down as you go.
Easy peezy!

Don’t forget to pin!
Want to take a look at the rest of the Cricut line up?
Get Your FREE PDF Guide!

Don't forget to snag your free PDF Guide to buying your first Cricut!










Leave a Reply