

This is a sponsored conversation written by me on behalf of Cricut. The opinions and text are all mine.

It’s time for a fun deep dive on one of our fun Cricut Maker tools. Today we’re looking at the Scoring Wheel… and it’s fun new scoring abilities.
Before the Cricut Maker we had the scoring stylus but with the new wheel we have so many possibilities. Of course, as a graphic designer who spent many nights scoring college projects late into the night I’m only sad this little baby wasn’t rolled out sooner.
The Maker would have made my college projects so much easier… and way more professional. I mean back in college I didn’t even have an actual scoring board but used a butter knife I lifted from the cafeteria to smooth down the scoring folds.
I’ve since bought my very own set of kitchen utensils but the scoring wheel keeps me from using them for craft projects… at least for scoring projects. So here’s the 411… the full scoop. First, I’ll go over all the things you need to know when using the scoring wheel… then we can have fun making the access project at the bottom of the post!

What is the scoring wheel?
The scoring wheel is Cricut’s answer to your scoring needs. It works exclusively with the Cricut Maker (no you cannot use it with earlier machines such as the Cricut Explore Air 2) and gives you crisp creases in one pass.
It comes with a QuickSwap™ Drive Housing and two Scoring Wheel Tips. The tips are labeled easily as 01 and 02 so that you can switch them out depending on how many scoring lines your project needs. The new and improved scoring wheel has up to 10X more pressure than the Scoring Stylus which means it’s AWESOME.
You’ll use the single scoring line for things like cardstock and the double scoring line for thicker materials that tend to crack or have a bit more bulk. That way they’ll lay flat when you fold them over the scoring lines.
What can I make with the scoring wheel?
- Boxes
- Rosettes
- 3D Structures
- Wearable Art
- Wall Decor
- Cards
- Gift Tags
- Jewelry
- Party Decor
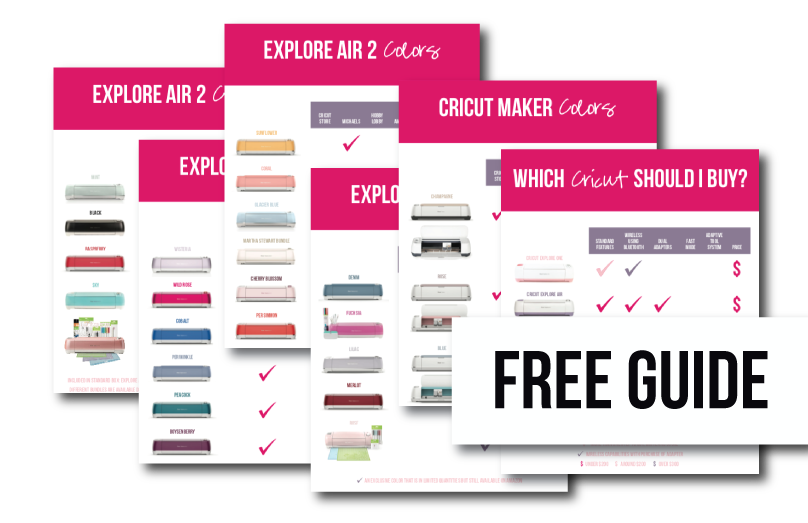
Need help picking your perfect machine? I’ve got you covered!

How Do I Change the Tips?
Depending on your project you may need one score line or a more intense double score track. The score tips are easily marked and even easier to switch out.
Simply push down the toggle on the top of the scoring housing and pull the score tip off the bottom of the housing. Then replace the score tip with the other score tip (there’s only two!) and un-press the toggle. Easy peezy.
Depending on your material Cricut Design Space will tell you which score tip is needed so that you can pick the perfect option. Score!
(See what I did there? Puny).


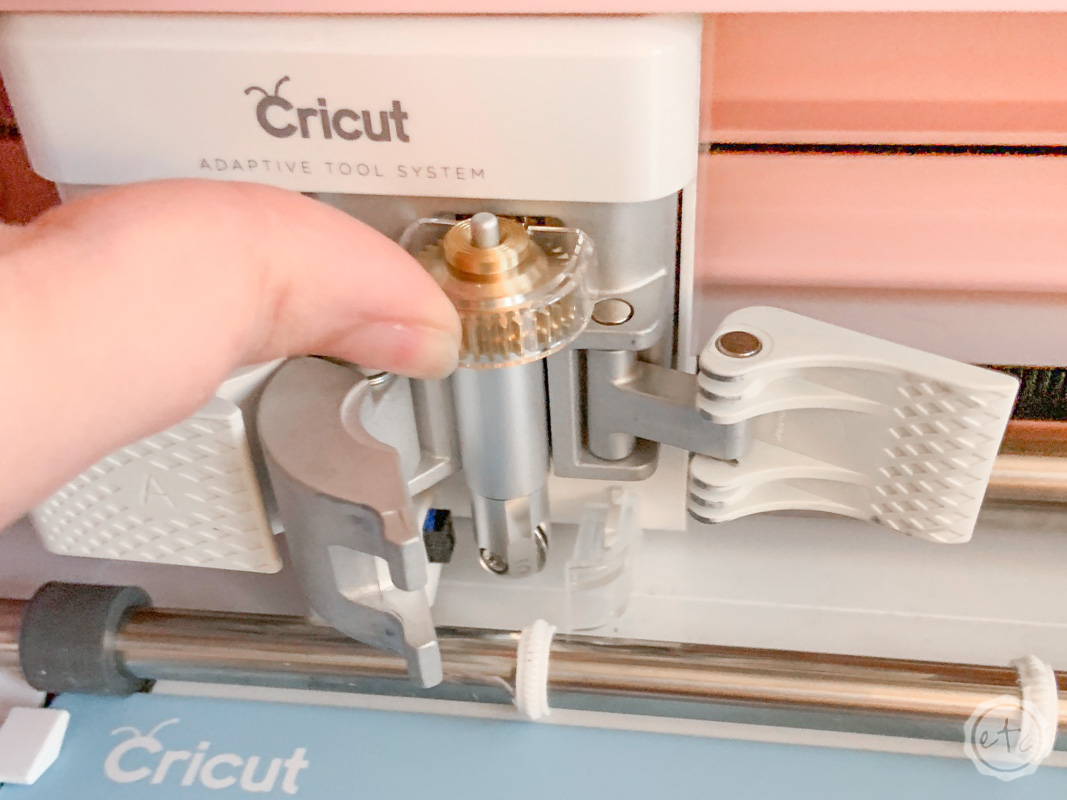
How Do I Load the Scoring Wheel?
While most Cricut tools simply sit in the little housing on the machine the Scoring Wheel has a gear like wheel at the top that interlocks with the machine. This actually makes loading the scoring wheel very simple… you simply fit the gear wheel on your scoring wheel and the gear on your Cricut housing together!
Open slot B and fit the two gears together… then close the little housing tight over the scoring wheel and you’re ready to roll.
Easy peezy lemon squeezy.


Cricut Access Project: Decorative Box
I learn best by doing so I decided to open Cricut Access and pick a fun scoring wheel project to test these babies out on. Since my only criteria was using the scoring wheel I actually typed “scoring wheel” in the search bar at the top of the page and scrolled through the options until I found one I loved.
There were plenty of awesome options but I decided to go with this fun Paris Map Heart Box. The directions called for an embossing folder that works with the Cuttlebug but I decided to use a cute map vellum that I had on hand instead… to me that’s the best part of crafting. Two people can make the exact same project but have it turn out completely differently.
Supplies:
- Cricut Maker
- Scoring Wheel
- Cricut Access
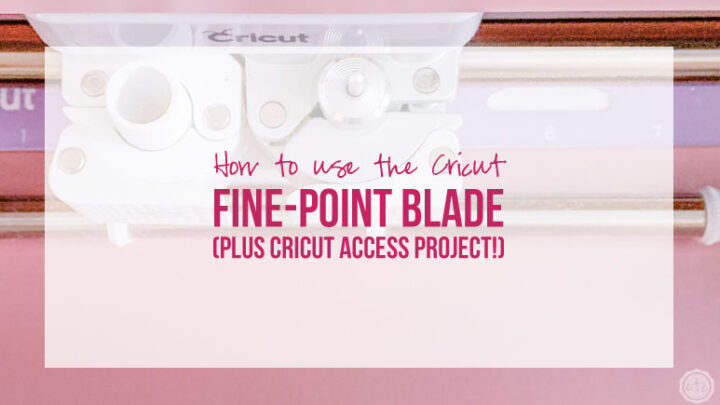
- Fine-Point Cutting Blade
- Standard Cutting Mat (that’s the green one!
- 2 Sheets Glitter Cardstock & 1 Sheet Solid Cardstock
- 2 Sheets Map Vellum
- Double Sided Tape
Psst… need help setting up your Cricut Maker? Check out this post!


Step 1: Cut and Score Your Cardstock
Alright y’all so the first step for this little box is to hit “make it” on the cricut design space project and cut out all of our pieces! Design Space will actually tell you when to switch out the scoring wheel for the fine point blade… just make sure to set the material for each piece.
Especially since the vellum and cardstock we’re using are drastically different weights!
That will let the Maker know how much pressure to use for each piece.
Want an inside look? Take a quick peek at the project!

Step 2: Adhere Your Vellum to the Inside of Your Box
Since this little box features little heart cut-outs we have to use a bit of double stick tape (or glue!) to make sure our vellum doesn’t go flying about. Luckily this is pretty easy. I used a piece of double stick tape here and there to place all four pieces of vellum inside the wall panels and smaller pieces to adhere the vellum to the top of the lid.
Since the Cricut cut out the base of our box in two pieces I also used a bit of double stick tape to put the sides together and to line the inside of the box with the glitter cardstock cut outs the design called for.


Step 3: Fold Your Box!
This little box is almost complete. All we need to do now is tuck all the little flaps on the bottom together to form the base of our box. The lid of the box is even easier with a simple fold over and another bit of double stick tape.
Didn’t this little guy turn out cuter than a button!?
I absolutely love how easy the scoring wheel made this project. Lets face it… folding all those creases isn’t exactly difficult but the scoring wheel makes the lines crisp and clean. Which makes our little box look so professional!


How much did you love this project? I think the little box turned out amazing and I can’t wait to see what else I can do with my little scoring wheel. In the meantime I’m hard at work looking at each and every tool in the Cricut arsenal!
Don’t forget to pin!


Want to take a look at the rest of the Cricut line up?


[…] an option before (since it would just snap when you tried to fold it) but the Maker’s new scoring wheel makes it easy to make clean […]