
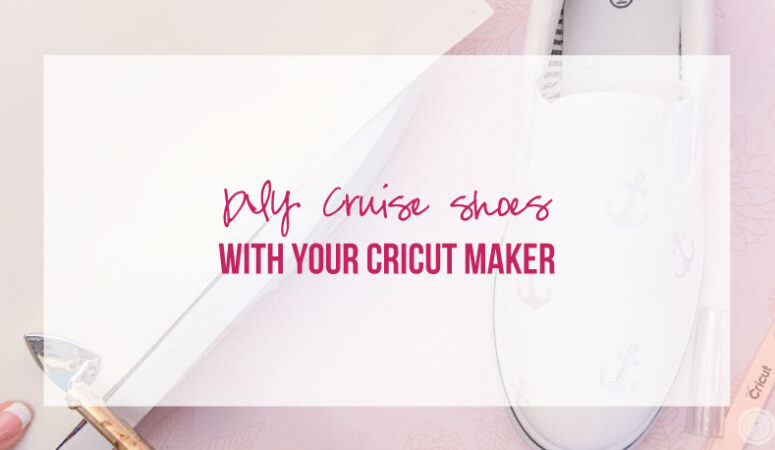


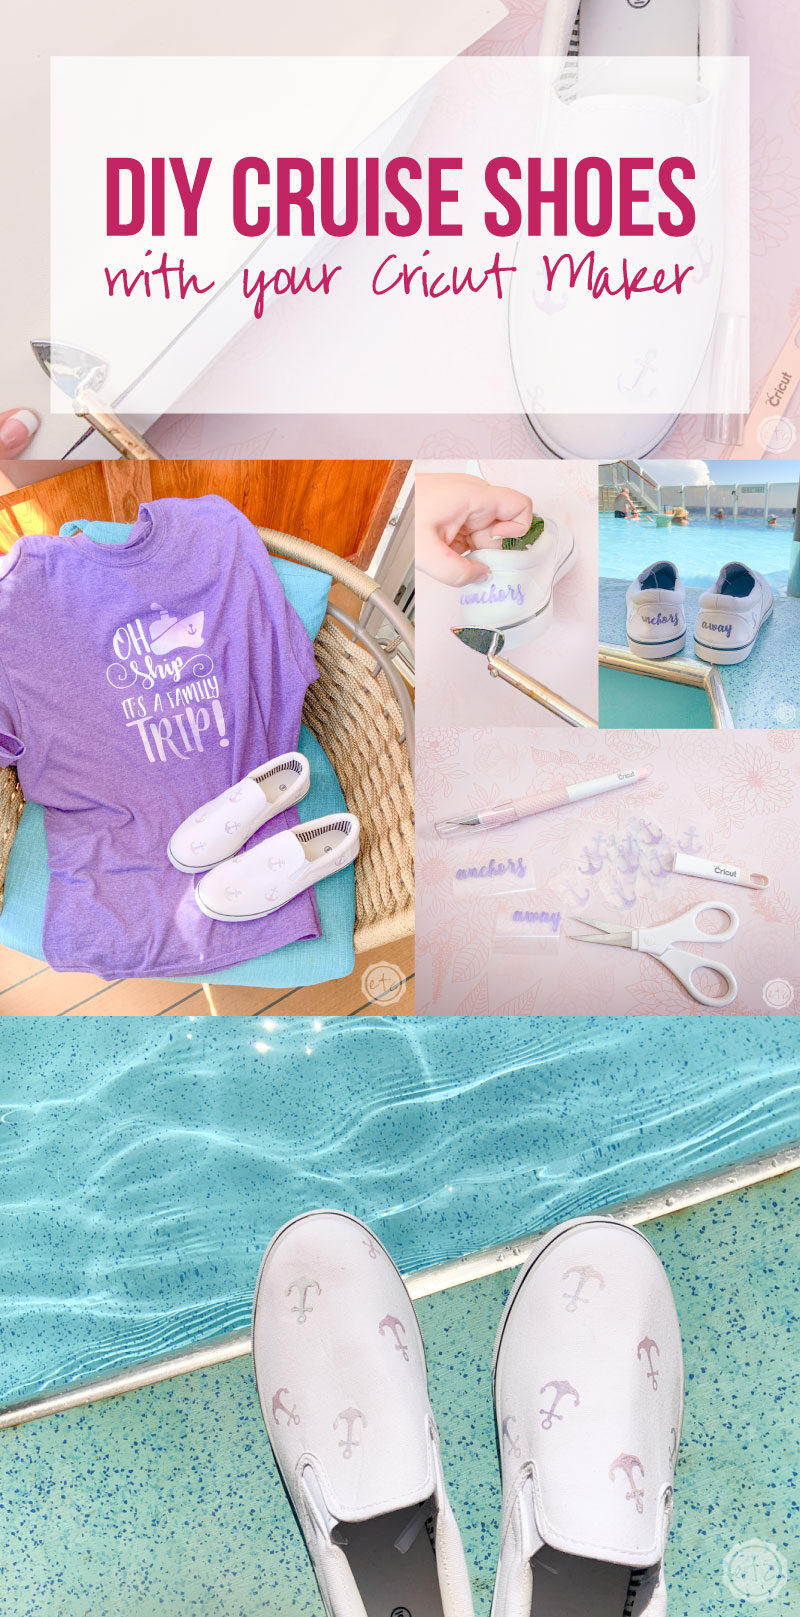
Going on a cruise is the best: it’s a relaxing week and a fun adventure all rolled into one! Of course, packing your suitcase is half the fun… you’ll be stuck on a ship for a week so if you don’t pack it: you won’t have it!
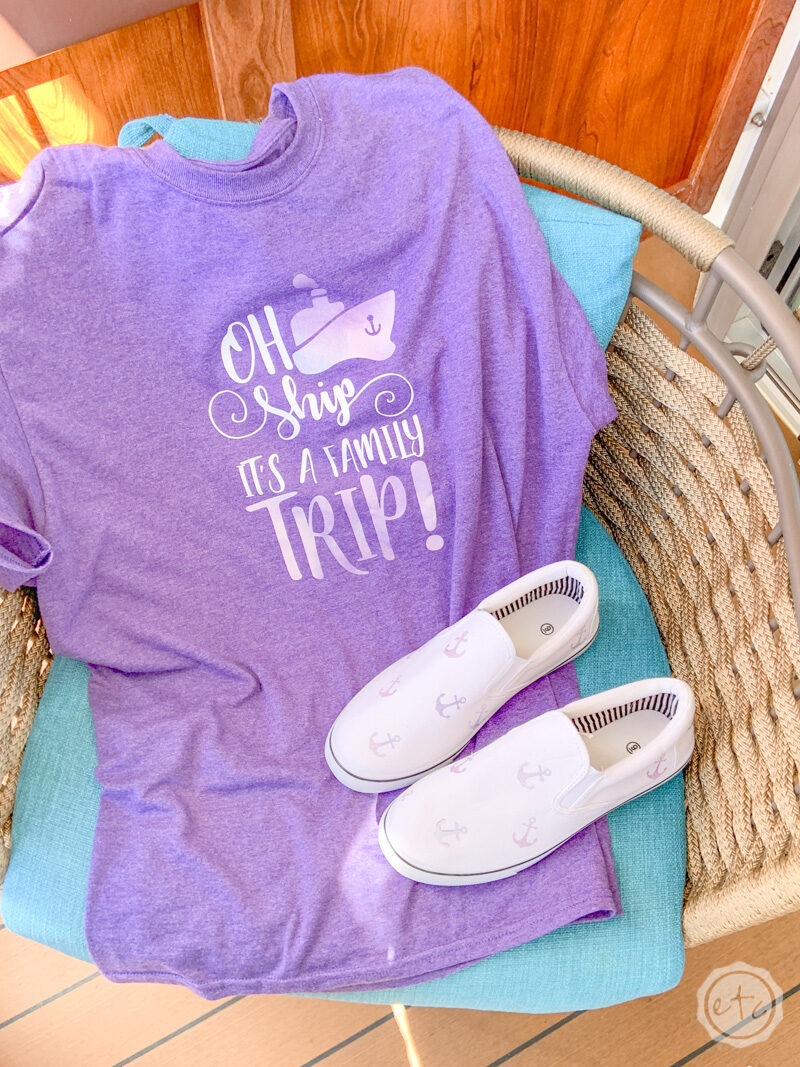
Cute outfit? Check! DIY cabin door sign? Check! Extra phone cable? Check! Matching family cruise shirts? Check! Swimsuit for the pool? Check! Comfy shoes you can wear while matching your cruisewear? That’s where this post comes in!
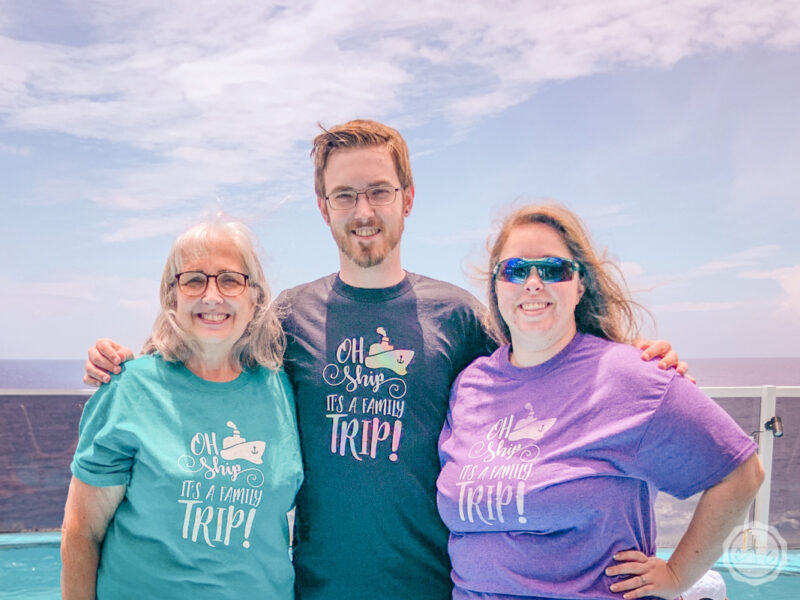
Every time we cruise I am surprised by the amount of people wearing cute family cruise shirts…. I guess the family that cruises together stays together? And if you’re going on a cruise you’re outgoing enough to wear a fun cruise shirt? Either way they are ALL OVER THE PLACE!
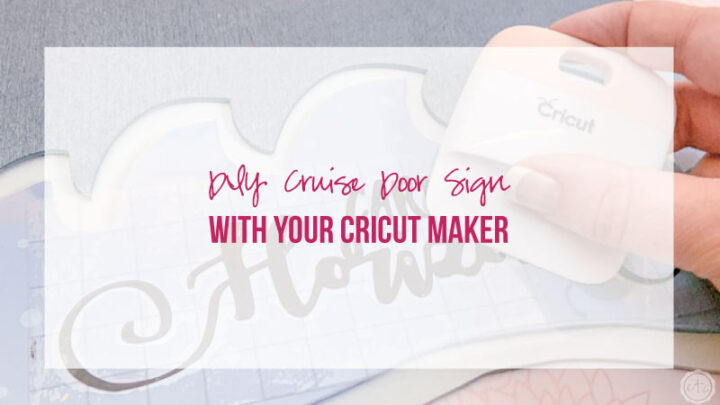
Looking for more Cruise DIY’s? Check Out These Projects:


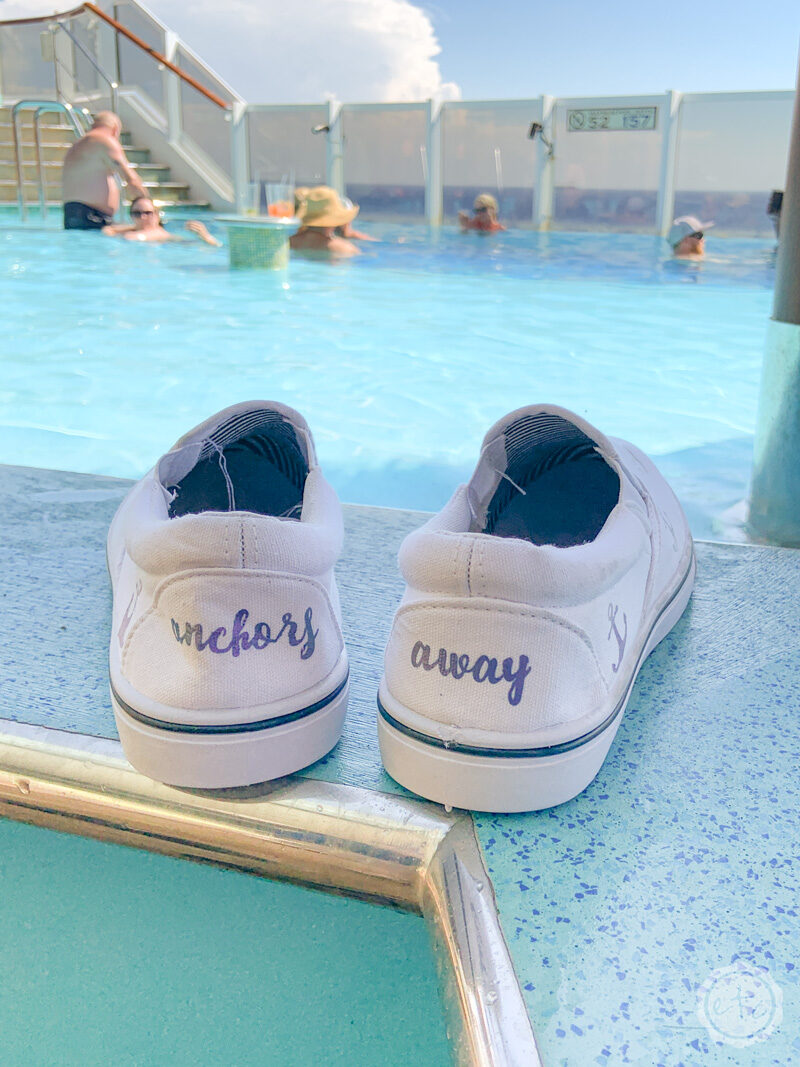
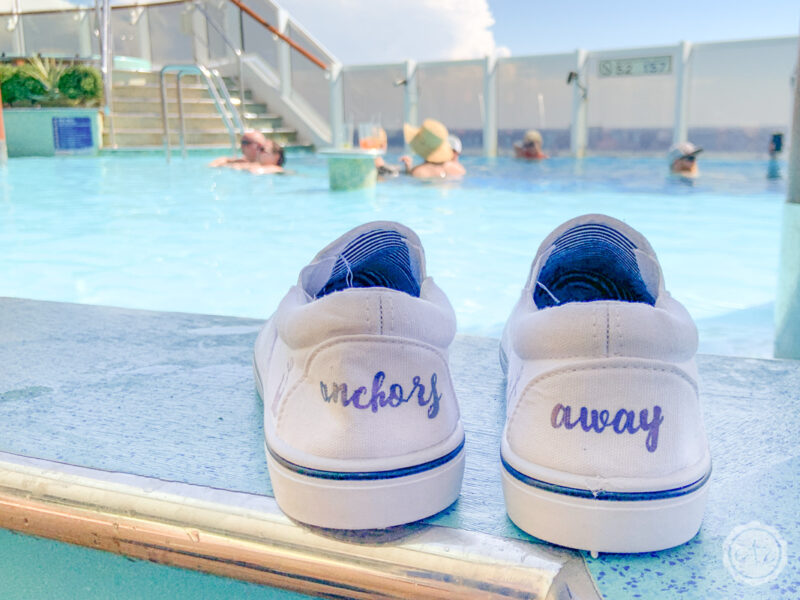
So we whipped up a few fun family cruise shirts for our last big adventure… and then I promptly realized we could make matching shoes. Because why wouldn’t I need cute anchor based cruise shoes to complete my outfit?
Regardless of what your cruise wear looks like these little anchors away slip-on’s will match perfectly (although if you DIY your own cruise shirts you can literally use the same vinyl on both projects to make them match!)
Supplies:
- Cricut SVG Files (FREE at the Bottom of this post!)
- Cricut Maker
- Fine-Point Cutting Blade
- Standard Cutting Mat (that’s the green one! Even though I used the fabric mat for this project)
- True Control Knife
- Indigo Sky Patterned Iron-On
- Metallic Lavender Iron-On
- Slip on Shoes
- Tiny Craft Iron (this is the one I have!)
- Easy Press Mat
- Protective Iron-On Sheet
- Kitchen Towel (something to stuff your shoe with!)

Step 1: Cut Your SVG Files
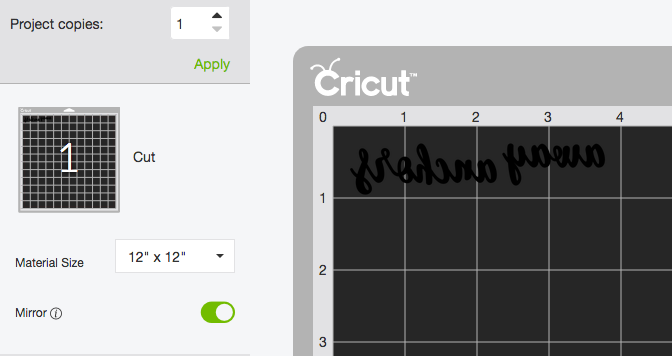
Ready to jump right into the project? Grab your cut files from down below and upload the SVG’s into Cricut Design Space (if you need help check out this post on how to upload SVG files into Design Space).
Luckily this is a pretty easy project so short of cutting out the words (anchors away) in the metallic lavender and the anchors in the indigo sky pattern this step is pretty straight forward!
Load your iron-on onto your mat shiny side down (top down y’all… we want the clear layer to be against the mat and the actual iron-on to be on top (upside down but on top)). Make sure you turn the “mirror” option on so that your iron-on cuts properly and you’re good to go!
I have “sportsflex iron-on” in my favorites material list so I click that for my materials, load my mat and get to cutting… easy peezy! (FYI I used a green standard grip mat and my normal fine point blade since this iron-on is a fairly standard vinyl weight).

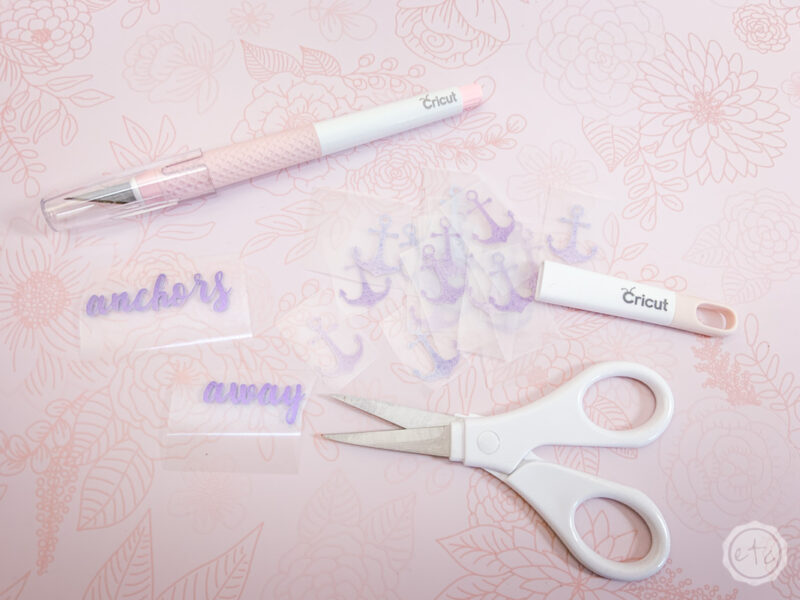
Step 2: Weed and Cut Your Images
Alright y’all now we need to get our little weeding tool out so that we can weed our iron on! When we’re allllll done we’ll have a bunch of little anchors and the words “anchors away” all cut out and weeded perfectly!
Since we’ll be scattering these all over our little shoes I quickly cut all of them apart so that we’ll be able to add them wherever we like! Easy peezy y’all… cut and go, cut and go!
Step 3: Apply Your Decals!
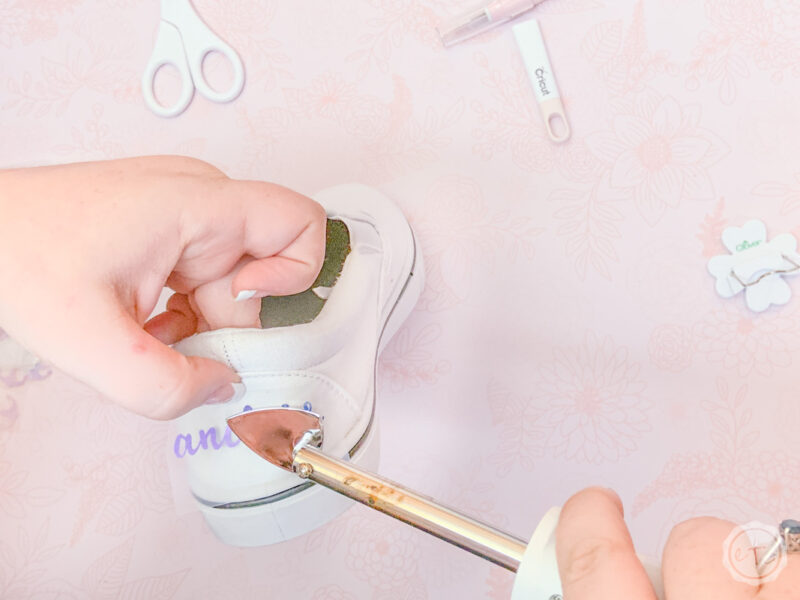
Alright y’all are you ready for the fun part?! Actually putting our little decals on our shoes!? Start by plugging in your little craft iron and let it heat up… but be careful with this little guy!
It works wonderfully for small spaces (I don’t think I could have gotten the letters on this pencil bag to stick with my large easy press without destroying the entire pencil bag!) BUT it has absolutely no safety control. The entire metal wand gets HOT and if you touch it… bad things happen.
So be safe, only touch the handle and plug it in when you know it won’t be messed with by little fingers or furry paws (I had to lock my cats out of the craft room since lily seems to think it was a toy).
Once your little craft iron is plugged in and ready to rock (it typically takes about 5-10 minutes to get hot) you can start applying your decals.
Place your decals down and then start by applying your craft iron at one side… hold it in place for about 10 seconds and then move to the next letter and hold for another 10 seconds… moving all the way across the word until all the letters are bonded.
Tip 1: Add a kitchen towel, small can of beans, bean bag… whatever! to the inside of your shoe so that your iron has something to press against instead of your fingers. I found that a small kitchen towel rolled up and held in place worked great for the back of the shoe while a small can of artichoke hearts stuffed into the body of the shoe worked best for the top and sides.
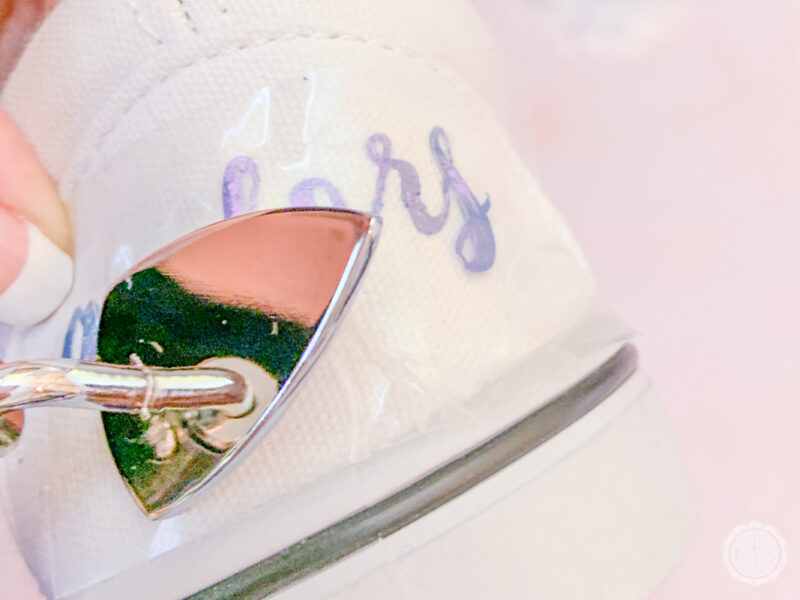

IMPORTANT Tip #2: USE THE PROTECTIVE IRON-ON SHEET
Okay so that’s a little dramatic but I wanted to make sure everyone saw this tip!! I have never used the protective iron-on sheet unless it was for layering vinyl but boy did it come in handy on this project.
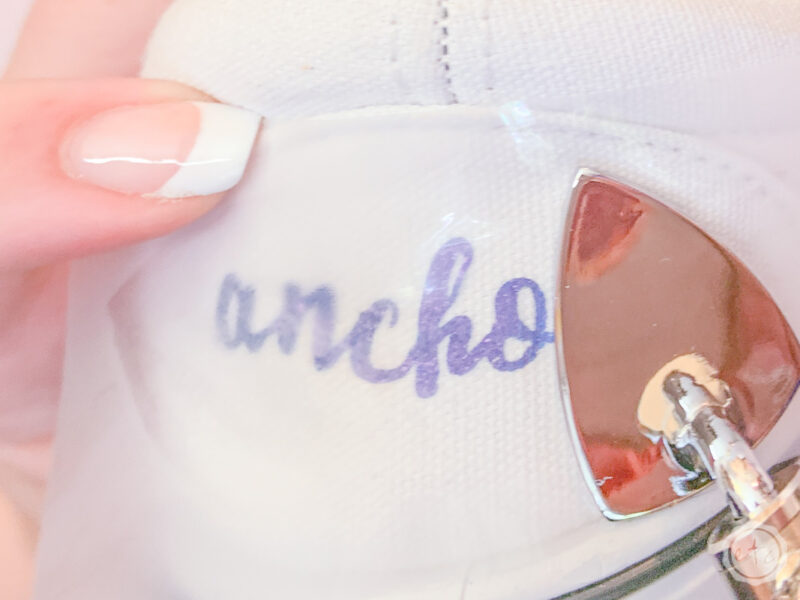
I learned the hard way that these little tiny vinyl pieces with their little tiny clear plastic covers do not work well with my craft iron. I’m not sure if the clear plastic covers are too small to work properly or if the craft iron gets too hot but I’ve used the craft iron with larger decals with no problem so I think it’s the combination of: hot craft iron + tiny plastic covers = hot mess.
Anyways I learned the hard way that placing the craft iron directly onto the plastic cover for the words on the back of the shoes resulted in the plastic covers shrinking and curling in a way that made the vinyl letters stretch and tear before they could bond to the shoe. Rendering my plastic covers useless and my words torn and sad. I had to re-cut them so that I could start over.
What worked better was taking the protective iron-on cover and placing it over the words first (I took off the plastic cover so that it wouldn’t have a chance to curl… and since this project was fairly simple that worked). Then I simply used my craft iron and the protective cover instead of the craft iron and the plastic cover. Easy peezy.
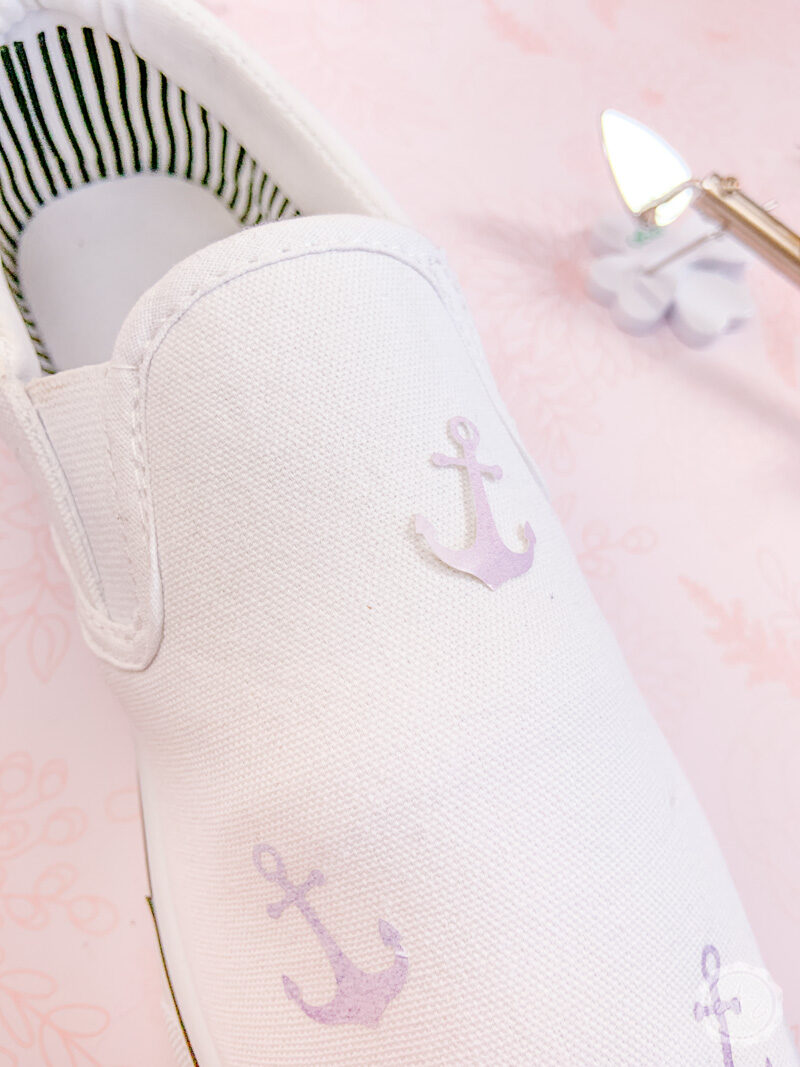
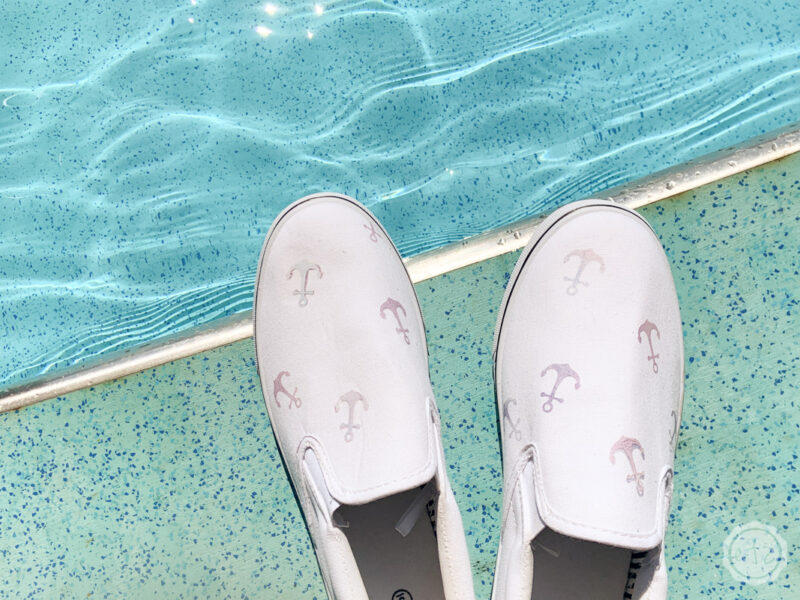
Ready for the little anchors?
For these little decals I went ahead and placed most of the anchors on the shoe so that I was happy with the spacing. Then I added the protective iron-on covering and used my little craft iron to bond them to the shoe… 10 seconds at a time and then on to the next one!
Make sure to add anchors all the way around the shoe to the heel… and if you need to cut one in half to add just the top or the bottom that works too!

This little project was super quick and easy (once I realized I needed to use the protective iron-on sheet with these tiny little decals!). PLUS I absolutely loved how they turned out… they were so cute with my cruise shirt and were a huge hit at the pool.
I can’t wait to see how yours turn out! If you make this project leave a pic below so we can all see how cute they are!
Enjoy!


Leave a Reply