


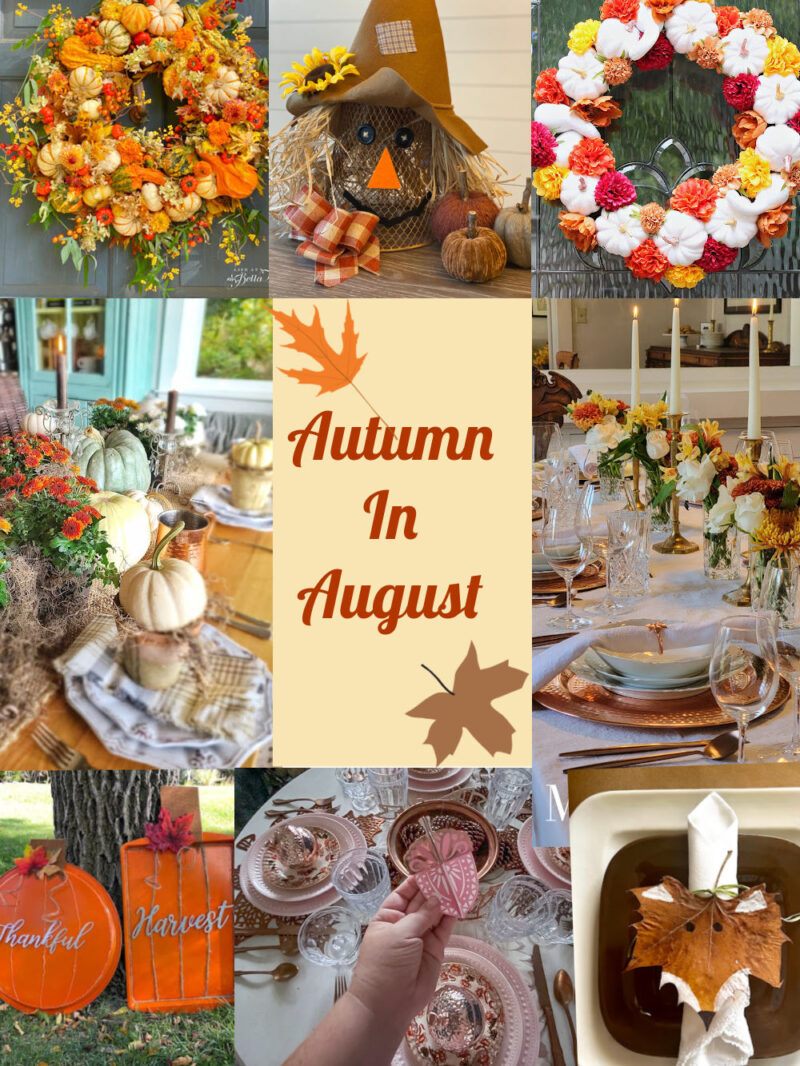
It is still hot, hot, hot in Alabama but I hear in other parts of the world fall is starting to appear! Cooler days and cooler nights… sweater weather! I mean… we only have a few days a year that qualify as sweater weather here in the south but that just means we have to rely on our fall home decor to really set the mood. So today I’m joining several blog friends to whip up a little easy fall home decor… a little Autumn in August if you will!
This is Fall Decor 2022 baby!
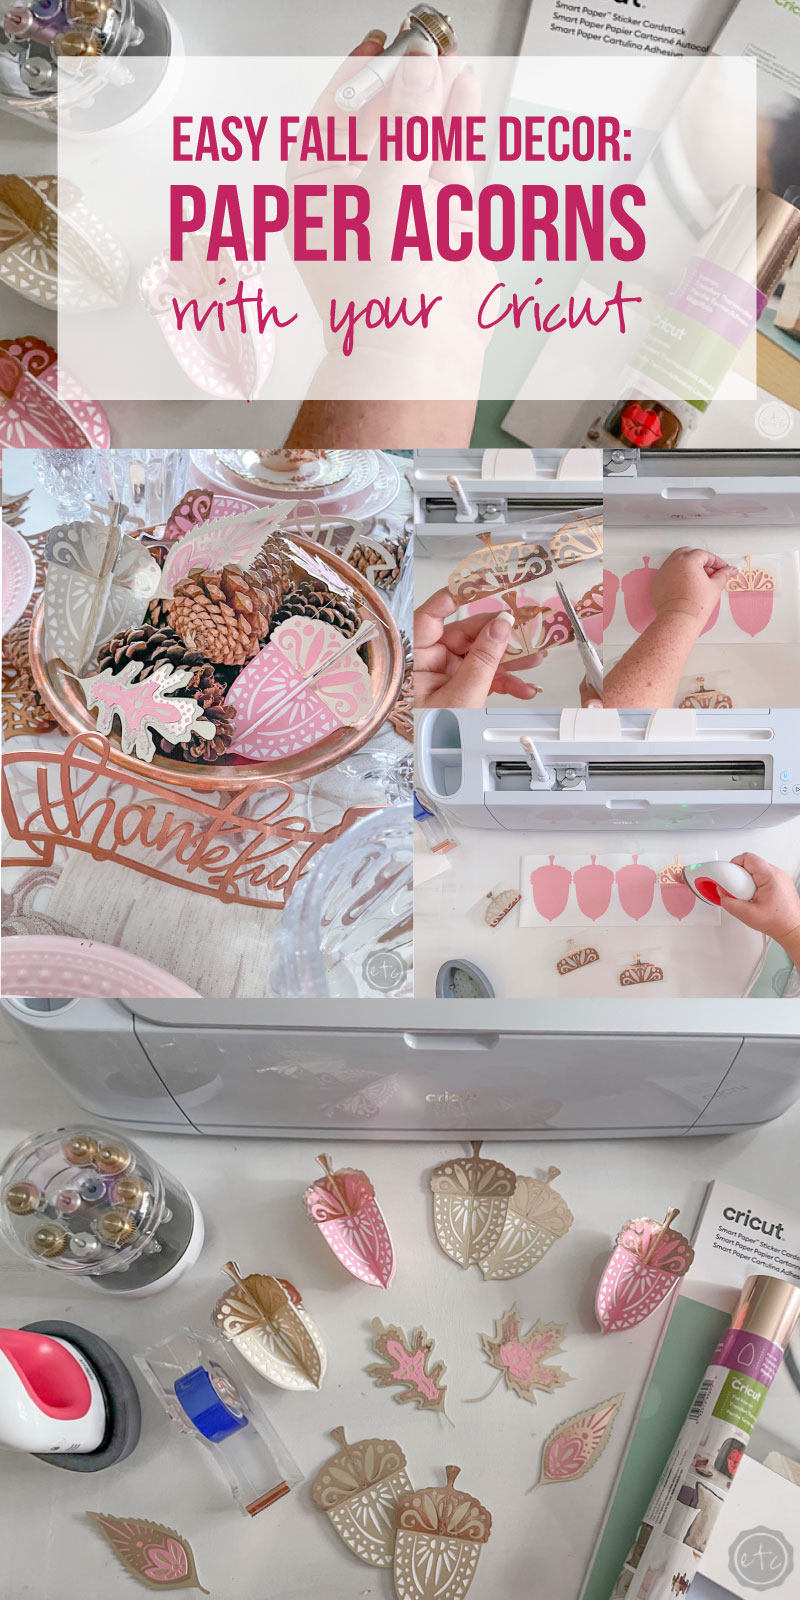
I’m breaking out my Cricut to share a few fun fall paper acorns that you can make with your Cricut… I’ll be using mine as a centerpiece for this years fall table. But if you’re looking for even more fall decor head over to Design Morsels to check out her Easy Fall Leaf Napkin Ring. It is SOOOOO cute!
And if that still doesn’t fill your cup to the brim with autumn cheer (is that a thing? I FEEL like that should be a thing) you can check out the other 6 fun projects in our Autumn in August collection. Then we’ll jump headfirst into our fun fall paper acorns!
Check it Out:
Chas Crazy Creations – Super Easy Dollar Tree Pumpkin Crafts on a Budget
Celebrate And Decorate – Dollar Tree Home Decor
Life At Bella Terra – Fall Wreath Ideas and Inspiration
Mantel & Table – A Simply Beautiful and Bright Copper Tablescape for Fall
Blue Sky At Home – How To Make a DIY Pumpkin Wreath
Ship Lap and Shells – 6 Home Décor and DIY Project Ideas to Get You Ready for Autumn
Happily Ever After Etc – Easy Fall Home Decor Paper Acorns With Your Cricut
Design Morsels – An Easy Fall Leaf Napkin Ring
Supplies:
- Cricut Access
- Maker 3
- Fine Point Blade
- Scoring Wheel
- Scoring Stylus
- Fabric Grip Mat
- White Kraftboard
- Smart Sticker Cardstock in Pastel
- Rose Gold Iron-On
- Mini Easy Press
- Easy Press Mat
- Weeding Tool
- Scissors
- Brayer
Fall Decor 2022: Easy Cardstock Acorn Tutorial
Step 1: Cut your Design Files
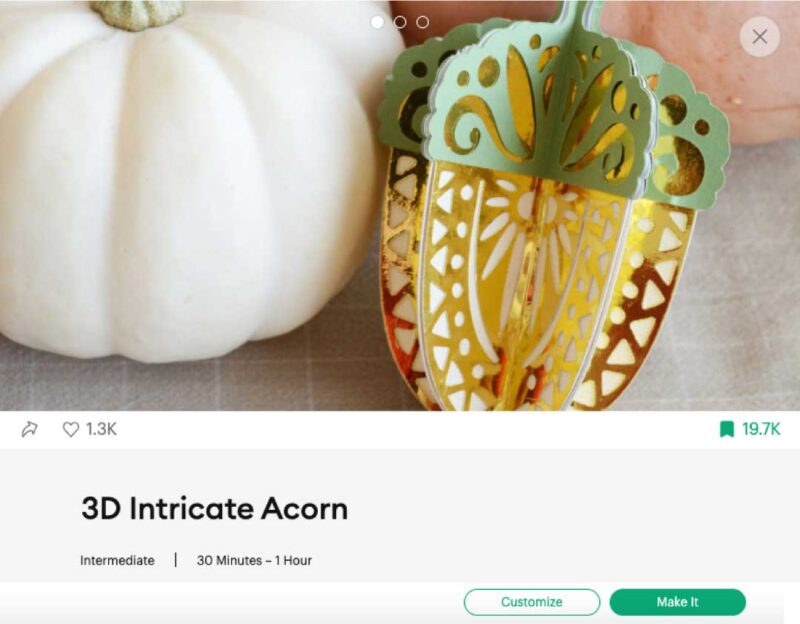
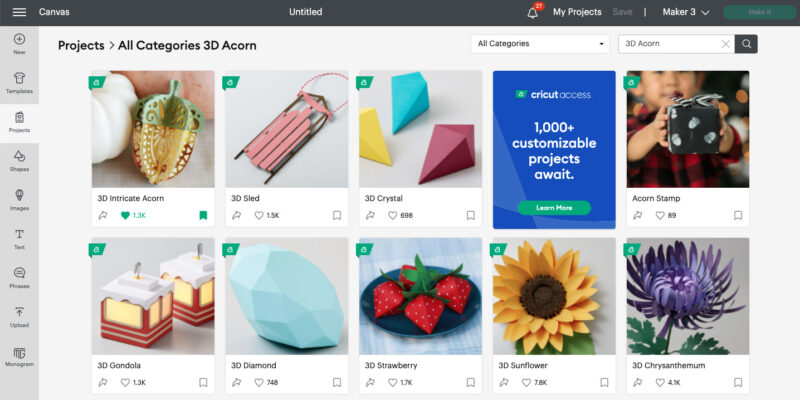
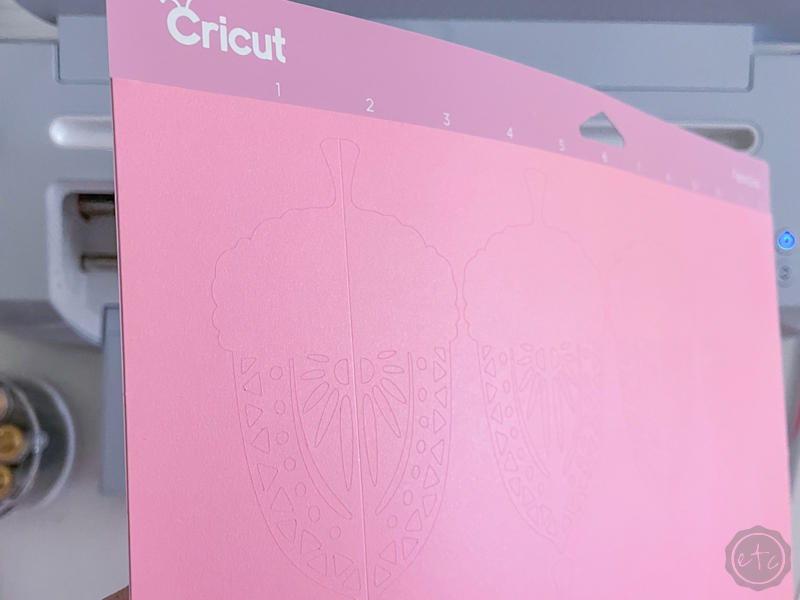
As always the first step in any Cricut project is to open Cricut Design Space! This particular project comes straight from the Cricut Access Library so you don’t even have to upload an SVG. Simply head to the library and type 3D Acorn into the search box… then select this 3D Intricate Acorn cut file by hitting customize.
This particular project has 3 layers a top layer that is green in the design file, a middle layer (the acorn body) that’s brown and the bottom layer which is cream. You can use different (more traditional fall colors) but I’m sticking with my very own color palette of pink, rose gold and cream.
Because that’s what I like… and what’s the point of making your own fall home decor if it isn’t exactly how you like it.
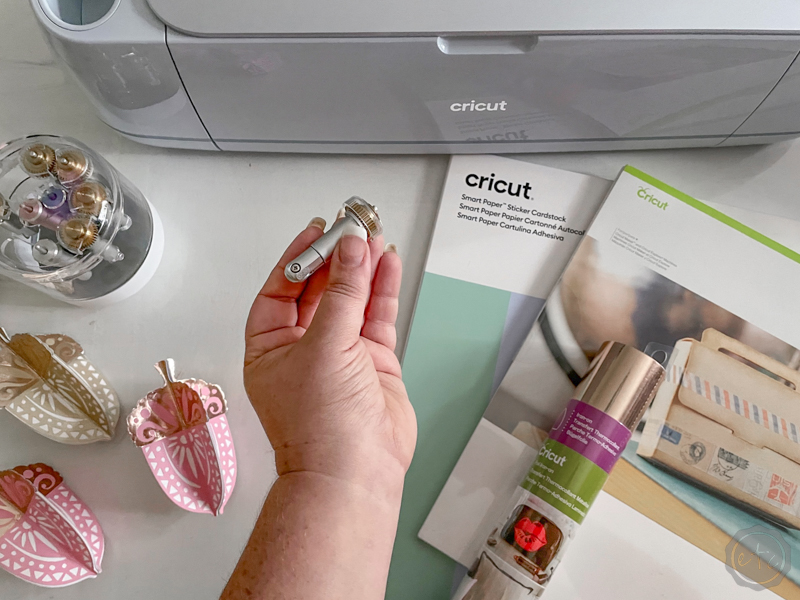
I’ll be using a white kraft paper for the bottom base layer of the acorn, pink smart sticker cardstock for the middle body of the acorn and a shiny rose gold iron-on for the acorn top (or the hat as I keep calling it… because apparently in my world acorns have hats).
You can load all of these materials one by one onto the cutting mat and you’ll be good to go… just a quick note. Each layer has a score line so that we can fold our pieces when it comes time to assemble the acorn. Unfortunately smart materials aren’t compatible with the scoring option so I went ahead and turned off the score lines on each of the brown acorn layers. If you’re using a regular cardstock (instead of the sticker cardstock) you can leave the score lines on.
Other than that you’re good to go! Hit make it and follow the instructions on the screen for which layer to load into your Cricut and which tool to place in the machine. You can also watch the video up to see me work my way through the cut list. Moving on!

BONUS TIP: Design Space will tell you exactly which tool to use but just remember that when working with 3 different materials (smart sticker paper, kraft board and iron-on) you’ll need different tools for each one. So while we might use the fine-tip blade for all three materials you’ll need the scoring wheel with the double line attachment to score the kraftboard and the scoring stylus to score the iron-on. We’re skipping the score lines on the smart sticker cardstock but if you were to score regular sticker paper or standard cardstock you would need the single line scoring wheel. So pay attention to design space to ensure you’re using the right tool for the job!

Step 2: Weed the Design
Ready for the fun part?! I don’t know why but weeding is always strangely satisfying… as long as there isn’t too much of it. Which is why this project is great… you won’t need to weed everything! The sticker cardstock and kraft board will peel apart like butter but the iron on will need a little attention. Use your weeding tool and carefully pull all the little details out of those *ahem* acorn hats.
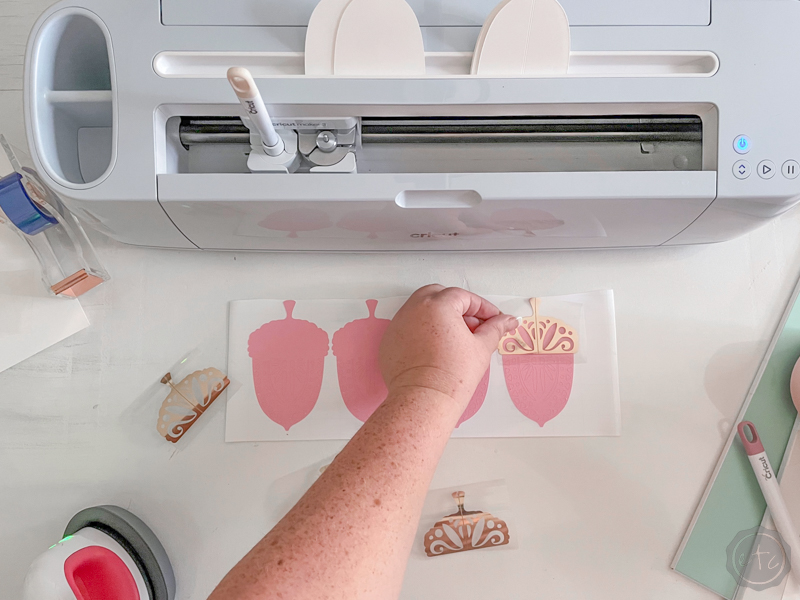
Once the acorn tops are weeded go ahead and cut them apart… you can also remove the acorn backs (the white kraftboard pieces) completely from their backing. For our pink acorns (the body of the project) I simply removed the excess sticker paper from around the acorns leaving the main body on the backing paper. We need to to add our iron-on to the sticker paper so leaving the backing paper in place just adds a bit of added protection to our work surface from our easy press. Once you have all 3 layers weeded and separated we’ll move on.

Step 3: Add the Acorn Tops to the Acorn Body with your Mini Easy Press
If you didn’t know you can literally add iron-on to cardstock. I don’t know why but that always blows my mind! Grab your mini easy press and plug it in. Click that little button until there are 3 little wavy lines heating up the handle and then leave it to heat up.
Now we’ll start to line these babies up. I did each acorn hat (it’s a thing now… just get use to it) one at a time so they didn’t shift and cause problems. It’s super easy though… just line up your iron-on acorn hat with the matching silhouette of the acorn body (the pink smart cardstock sticker paper layer) and press the clear carrier sheet down until it’s “stuck in place”.
That clear protective carrier sheet for your iron-on is a little sticky but not like vinyl or an actual sticker. So it will stick to the acorn body but not for long. Line it up, press it into place and then grab your easy press… it should be nice and warm by now.

Carefully use your mini easy press to iron each acorn hat into place. You’ll want to use the tip or edge and try not to place your easy press directly onto the sticker paper. Instead stay on the clear protective iron-on backing making sure to firmly press down every single inch of the acorn hat. ALLLLLLL the little acorn hat details.
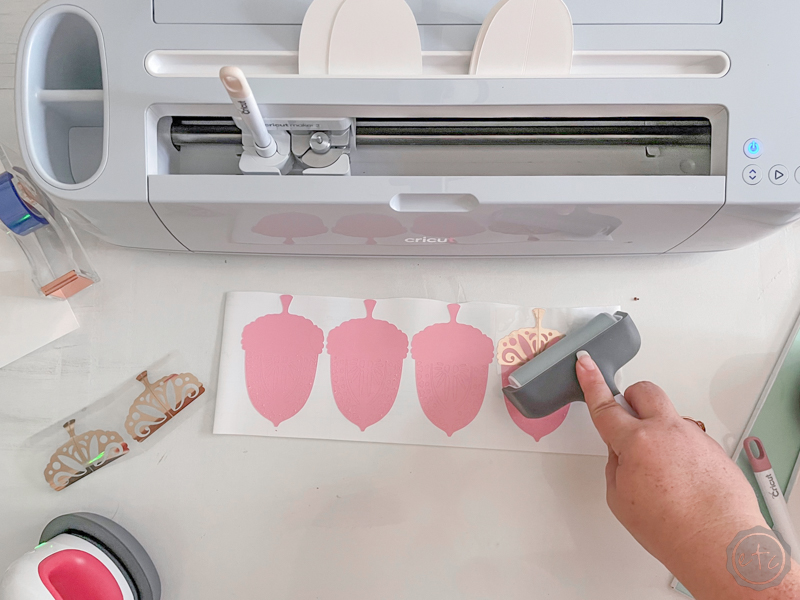
Then once you’ve one over the entire rose gold acorn top layer use your brayer to really bond the two pieces. I do this by simply rolling firmly over the entire acorn hat a few times. Then leave the clear protective backing in place and move on to the next acorn top.
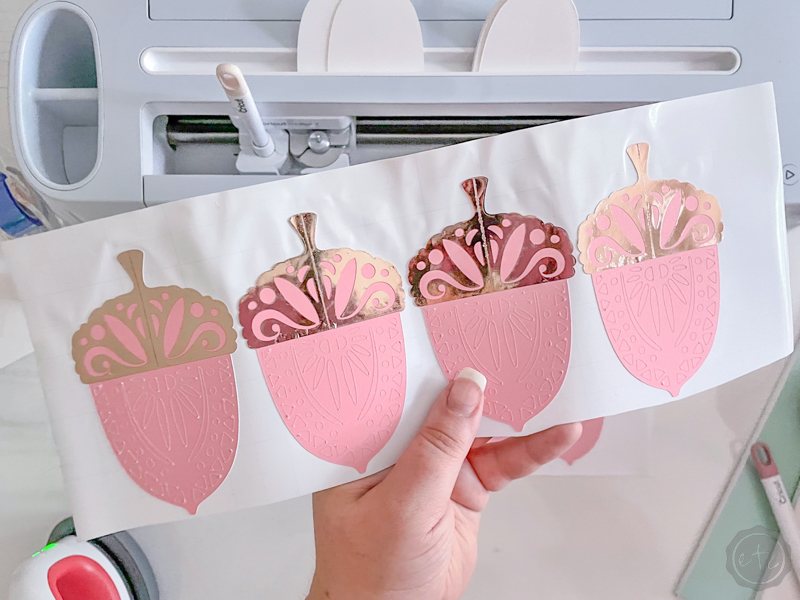
You want to wait until you’ve done allllllll the acorn tops to remove the clear protective backing. Not only will this help to protect the adjacent iron-on from your easy press as you work (you never want to place your easy press on uncovered iron-on) it will also allow each acorn top time to cool down. This iron-on is a cold peel variety so once it’s cooled down you can remove the protective cover and it will be perfect and super smooth.
How cool is that?
My desk is protected by plexiglass so using my easy press on it for a couple seconds doesn’t hurt it (I don’t know that I would try using my larger easy press directly on the plexiglass but the mini is fine). I find that when adding iron-on to paper a hard surface underneath helps it to bond. IF YOU DON’T HAVE a protective material on your work surface then make sure to use an easy press mat. You can still use the brayer to bond the materials on a harder surface but you don’t want to scorch your desk or burn… anything. Be safe y’all!

Step 4: Add the Kraft Board Layer (the white backing of your Acorn)
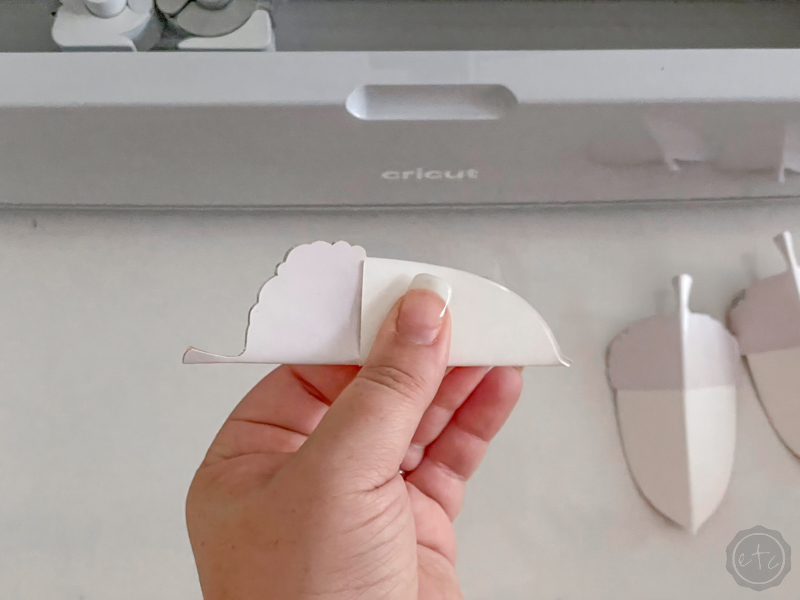
Ready to add our kraft board? Let’s fold everything first! Start by folding all of the acorn backs (the white kraft board layer) on the score lines… then fold all of the acorn bodies (now with their attached rose gold acorn tops) in half. Folding the acorn bodies is the hardest part since they don’t have score lines but it’s not difficult… I started by cutting each acorn apart while leaving it on the backing. Then I folded the acorns in half matching the left and right side up to the curve of the acorn. Then I creased the acorn in half.
If you’re having trouble seeing the curve of the acorn to match the right and left side you can peel part of the backing down to better match the sides. Check out the video above if this is confusing and I’ll show you how to do it!
Now that your pieces are scored go ahead and remove the acorn body/top from it’s backing completely. At this point make sure alllll the little cut outs are “weeded” and your acorn body is ready to go. Then line it up with the acorn back and stick it on. This is where the smart sticker cardstock comes in handy… you can literally just stick the acorn body to the acorn back.
Boom. Done.
It’s so much easier than standard cardstock… I found that out with my fun mermaid tail drink stirrers that I whipped up with a little smart sticker cardstock for last summer’s fun and whimsical mermaid tablescape!
Of course, if you’re working with regular cardstock you’ll have to use a gluestick, double sided tape or equally awesome sticker making machine to make your acorn body sticky and then bond it to the acorn back.
Once all 3 layers are bonded use the brayer to really bond them together… and then fold the whole thing on the score line and reinforce that crease.

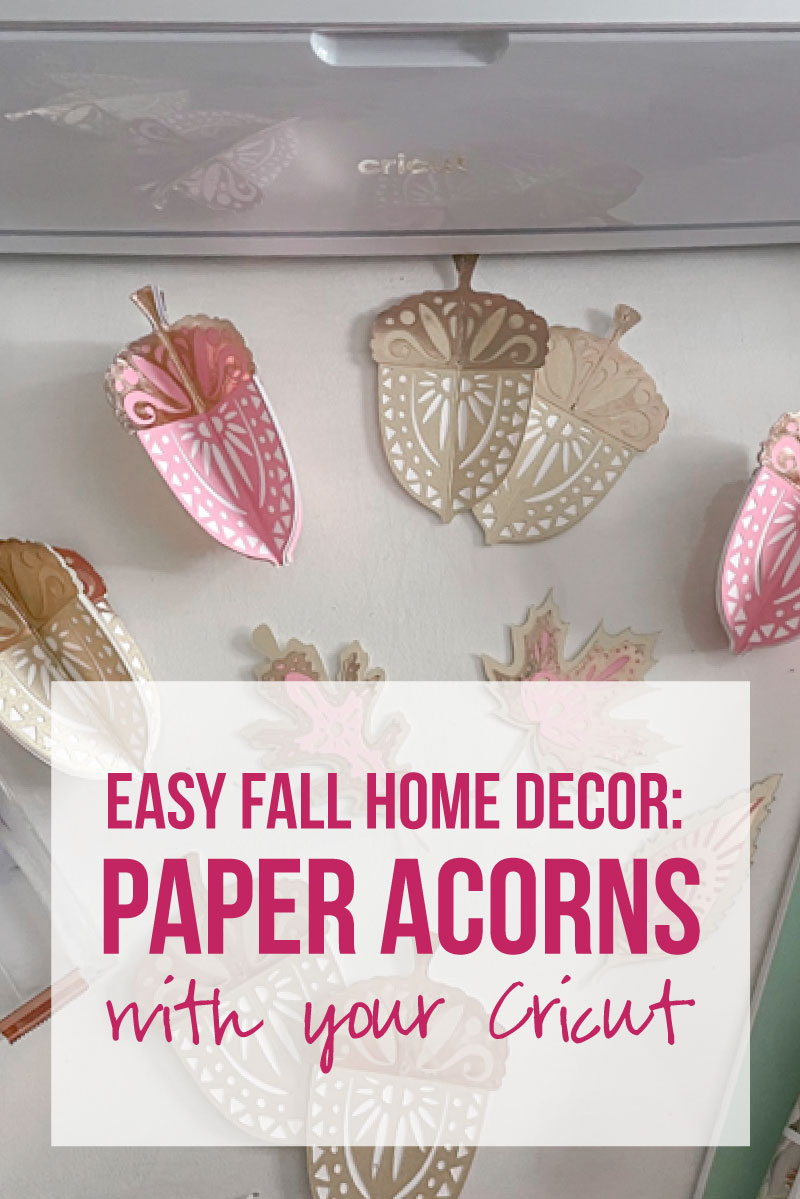
Step 5: Assemble the Acorn!
This is kind of like in Endgame when Captain America shouts “Avengers Assemble” except it’s me, alone in my craft room and no one charged the enemy when I said it. My little acorn didn’t even jump together on it’s own.
It made me laugh though!
In all seriousness… assembling your little acorn is pretty easy. The top is exposed sticker paper so it’s good to go. We’ll have to add a bit of double sided tape to the bottom (or run the entire thing through your sticker maker… which is what I figured out on later acorns). The double sided tape works but the sticker paper covers the entire acorn back from edge to edge meaning the seal is 100% when you assemble all the pieces.
WHICH IS AWESOME.
Avengers assembling levels of awesome.
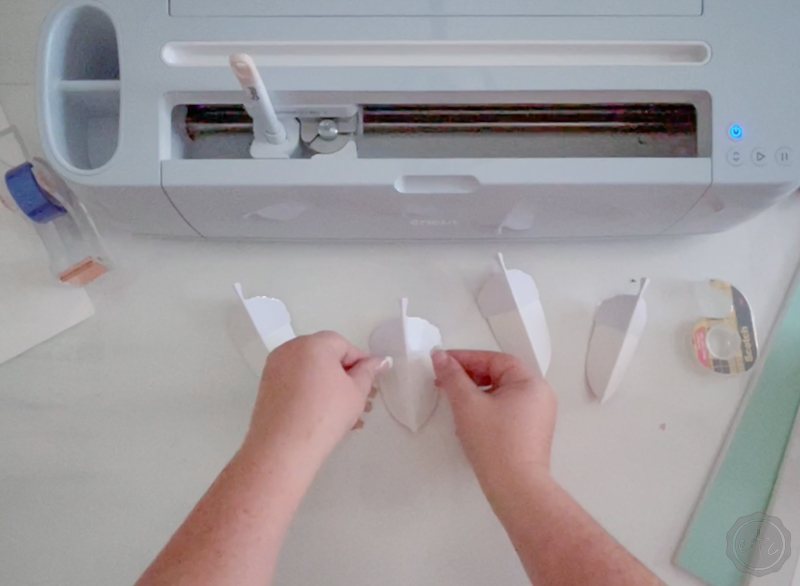
Either way once your acorn piece is sufficiently sticky you can start to assemble your acorn. Start by lining up the edges on 2 sides and pressing them together. Back to back… all the way from the top stem on the acorn hat to the very bottom of the acorn.

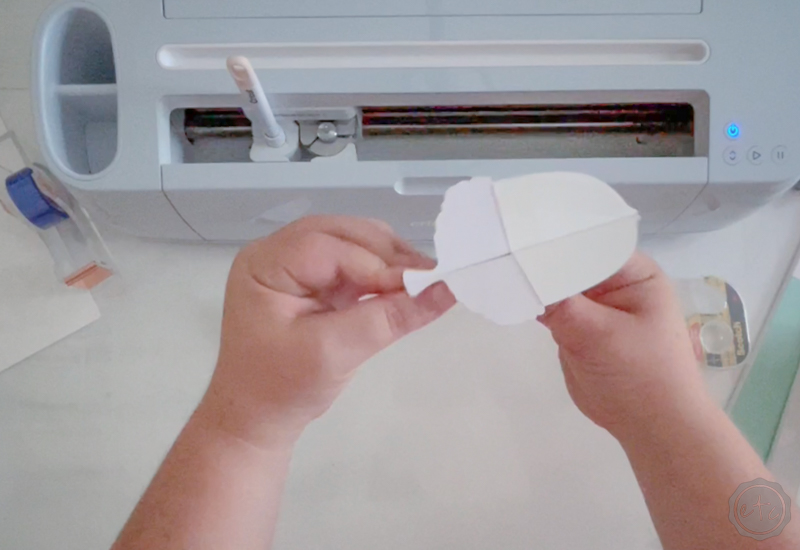
You’ll be left with a flat (sticky) exposed side on your half of the acorn… just keep adding acorn pieces until you have all four sides put together. This isn’t a difficult process but if you did use the super awesome sticker maker machine you’ll want to be careful not to stick things down until they’re lined up.
Otherwise they can be hard to get apart.
I may or may not know that from experience.


Step 6: Enjoy
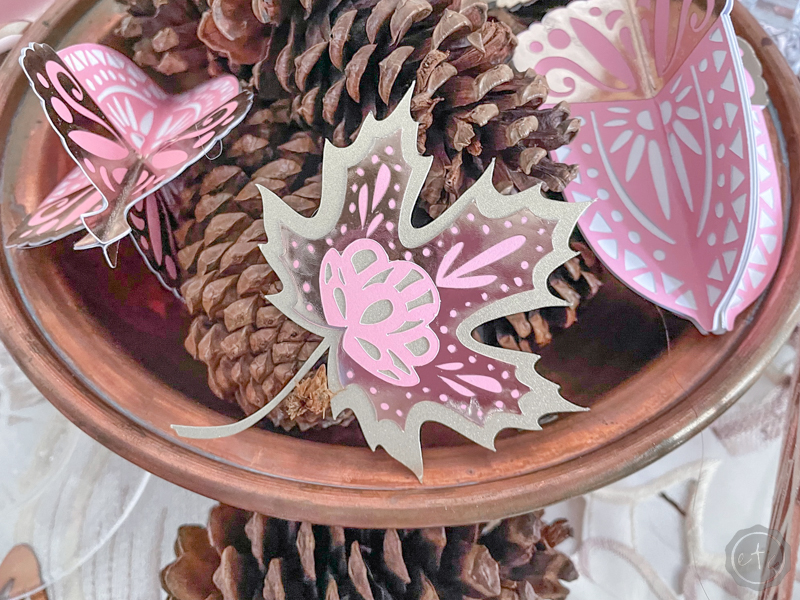
And that’s it! Now you have a sweet little acorn! Repeat the process until you have sufficient acorns for your acorn assembly needs. PLUS if you’re working on a centerpiece for a fun fall table like I am you can whip up the pretty paper leaves from the matching cut file in the Cricut Access Library. These are flat so I’m not going to walk you through making them… it’s exactly the same as the acorns but without the 3-dimensional aspect.
So easier.
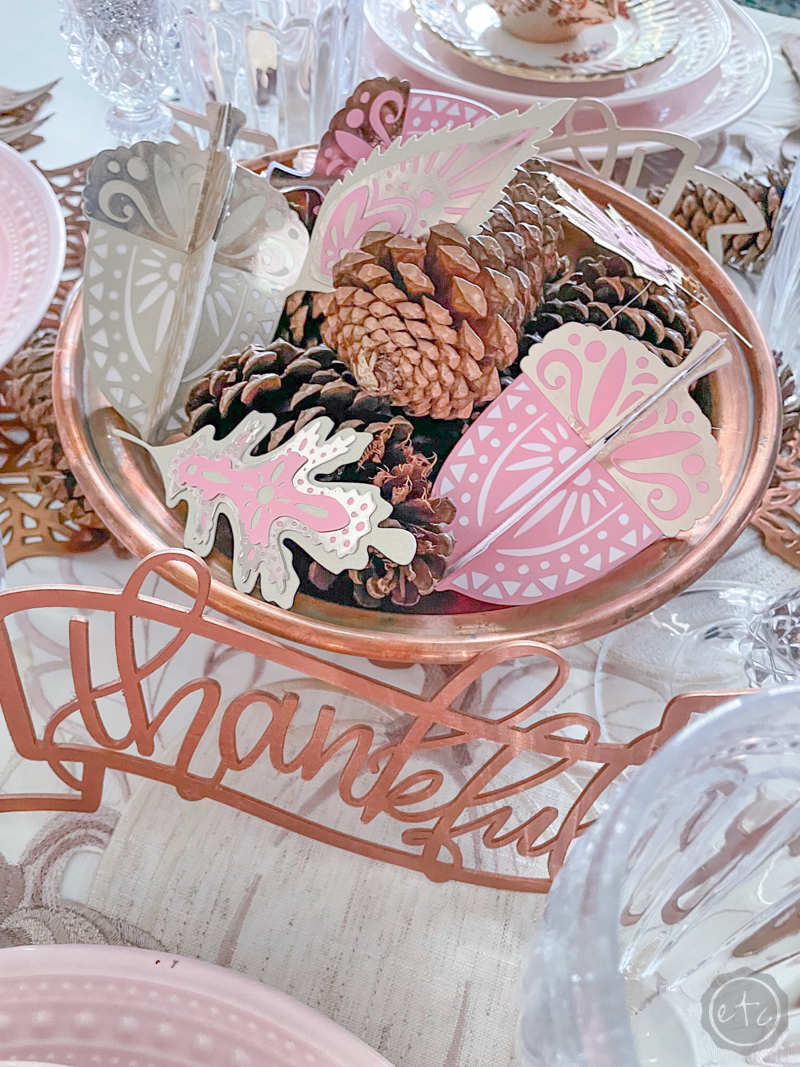
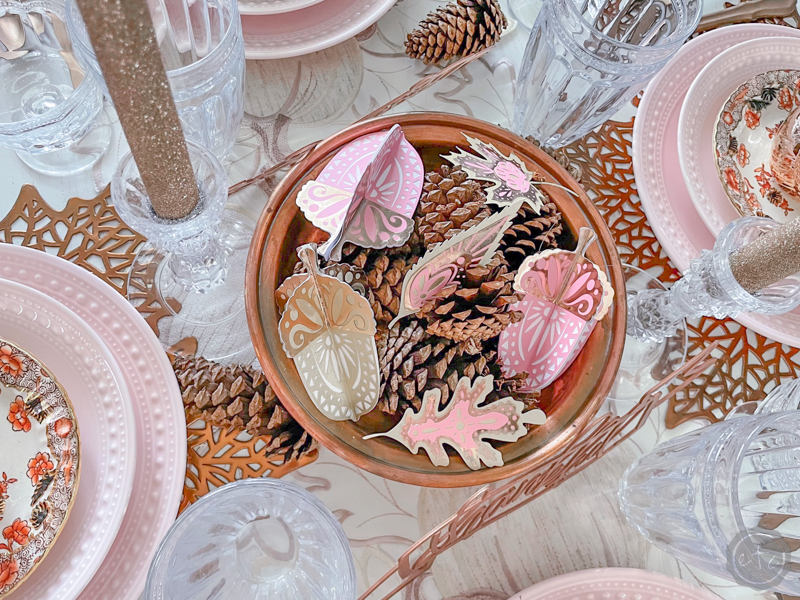
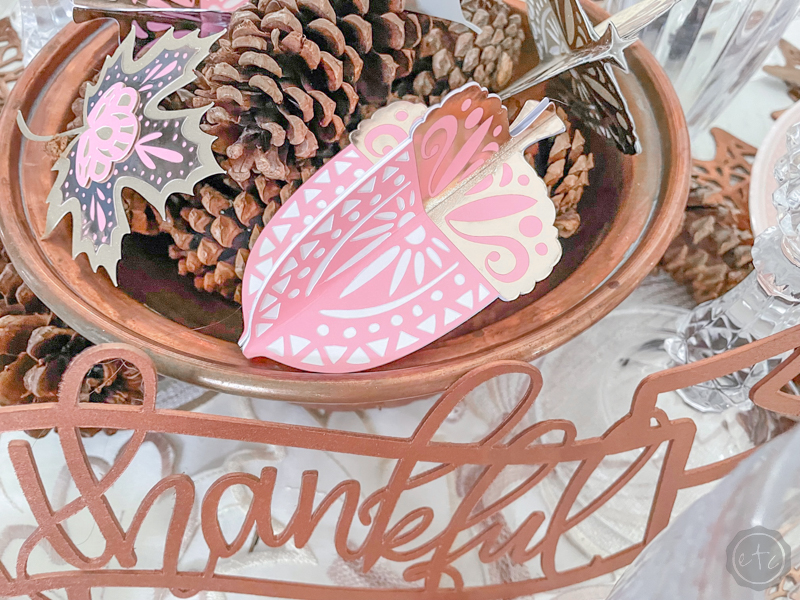
Either way I hope you liked this project (I know I did!). Don’t forget to check out alllll the fun details of this Copper and Blush Fall Table where I used our brand new acorns as the fabulous centerpiece. In the meantime here’s a sneak peek at how my centerpiece (complete with acorns and leaves) turned out!
See if you can spot the wooden basswood thankful swags I made with my Cricut for last years Thanksgiving table… I love to combine as many of my own projects into my tablescapes as possible!


Just in case you forgot about all the fun Autumn in August projects my friends put together here’s the list again… feel free to check out allll the projects. They’re not as pink as mine but they’re still pretty cool!
Especially Andrea over at Design Morsels sweet little foxy napkin rings… not only is she our amazing host for this fun little group collaboration she made foxes into napkin rings. OUT OF LEAVES.
I kind of love it!
ENJOY!
Chas Crazy Creations – Super Easy Dollar Tree Pumpkin Crafts on a Budget
Celebrate And Decorate – Dollar Tree Home Decor
Life At Bella Terra – Fall Wreath Ideas and Inspiration
Mantel & Table – A Simply Beautiful and Bright Copper Tablescape for Fall
Blue Sky At Home – How To Make a DIY Pumpkin Wreath
Ship Lap and Shells – 6 Home Décor and DIY Project Ideas to Get You Ready for Autumn
Happily Ever After Etc – Easy Fall Home Decor Paper Acorns With Your Cricut
Design Morsels – An Easy Fall Leaf Napkin Ring


I’m laughing so hard at your Avengers reference. This is a great tutorial. I had no idea a cricut could make something like this. Really neat looking. Thanks for hopping with us.
I don’t know why but that hit me as funny too… I just had to put it in the post! This is why I shouldn’t write at midnight. I may or may not start spontaneously singing about “acorn hats” in the video too… this project brought out my silly side. Thanks for hosting the hop, it was a lot of fun! I really enjoyed seeing everyone’s projects!
Wow – these are so cool Betsy! Makes me totally want to get a Cricut and take a month off to play with it! In the meantime, I’m thinking of something similar I could do with scissors. Thanks for the fabulous tutorial – it’s so fun to hop with you!
Oh man a month off to Cricut sounds like a dream! I can only imagine all the things I could do in a month… maybe one of these days I’ll go crazy and do a monthly challenge with one Cricut craft every day. That would be epic! You’re totally right though… you could make a very similar project with scissors.
This is seriously the cutest idea for fall Betsy! You are making me wish that I was a really crafty, creative DIYer that knew all that there was to know about a Cricut. I only wish you lived closer so you could help me learn how to use one. I’m so inspired by your project.
Thanks Kim, I’m so glad you liked it! I find that there isn’t much you CAN’T make with a Cricut if you think about it hard enough. But it gets sooooo much easier with practice… trust me, I literally left my Cricut wrapped up in the box for a YEAR when I first got it because it was so intimidating. One day we’ll Cricut together and then you can make all. the. things!
Betsy, these are AMAZING! I have a cricut and even I had no idea that you could make something like these with a cricut!! I still need a Betsy cricut tutorial weekend retreat! You amaze me! I do hope you are feeling better!!
Thanks Chloe! It’s amazing what you can make with a Cricut once you get into it! I can’t wait to Cricut with everyone… craft night weekend retreat! I’m feeling much better… still foggy but mobile. I’ll take it!
Avengers lol Awesome. I really love these and now I want a Cricut machine, but you’ll have to give me some 1:1 coaching. The possibilities seem endless with all of the things you can make. You’re so creative! Wonderful hopping with you.