If you’ve ever tried to cut felt or fabric with your Cricut Explore Air 2 you know exactly how exciting this little rotary blade truly is! It cuts through bonded and not bonded fabric without any trouble… a knife through butter y’all!
I have tried all the tricks to cutting felt with my Explore Air 2 and even with allllll the preparations it’s hit or miss whether or not you’ll get clean cuts and beautiful pieces. The rotary blade makes it super simple because it just works!
Trust me… I’ve tried it!
Since the rotary blade comes with your Cricut Maker it’s the piece of the new adaptive tool system I’ve had the longest… and I’ve been busy as a bee crafting away. So here’s the 411… the scoop. All the good stuff you need to learn in order to learn in order to understand what the rotary blade is and what it can do.
Once you’ve learned what it can do you’ll be able to try it out by making the access project at the bottom of the post!
What is the Rotary Blade?
If you’ve been sewing for any amount of time you’ve probably used a rotary cutter… and if not it’s the little blade that looks like a pizza cutter… but for fabric! Rotary blades are round (like a wheel) so that they roll… a long continuous rolling motion that cuts fabric like butter.
That rolling motion is what keeps the fabric from ripping or tearing which tends to be a problem with traditional blades… so it’s about time Cricut came out with a rotary blade that can be used in the machine!
A rotary blade for your Cricut is like taking a normal rotary blade and turning it into a magic wand. Think about all the precision cuts your Cricut can make that aren’t humanly possible… and now you can make them with fabric! I showed my mom an entire quilt topper cut out on a Cricut and her eyes grew as wide as saucers as the sewer in her started to understand.
When you’re sewing having precisely cut patterns is sooooo important… but humans can only cut so perfectly. The Cricut though? Its a machine so you get perfect cuts every time. Mind Blown.
While the Explore Air 2 can cut fabric it’s not the same… the fabric has to be bonded and the fine-point blade still has a tendency to rip or tear at the fabric in a way that the rotary blade doesn’t. I’m telling you it’s magic.
Of course, the second part of cutting fabric is holding it in place… which is where the new Fabric Grip Mat comes into play. It can withstand the force of the rotary blade and is super sticky so that your fabric doesn’t shift during cuts. I use the brayer tool to roll my fabric or felt directly onto the Frabric Grip mat for a super secure bond… the fabric super team if you will: rotary blade, fabric grip mat and brayer!

What can I cut with the Rotary Blade?
- Bonded Fabric
- Un-Bonded Fabric
- Bonded Felt
- Un-Bonded Felt
- Cork
- Tissue Paper
- Velvet
- Printable Fabric
- Vinyl Fabric
- Jersey
- Faux Fur
- Tulle
- Suede
- Sequin Fabric
- Duck Cloth
- Lycra/Spandex
- Canvas
- Cotton
What can I make with the Rotary Blade?
- Felt Flowers
- Bags
- Quilt
- Head Bands
- Tshirts
- Pot Holders
- Blankets
- Dog Beds
- Doll Clothes
- Tee Pees
Need help picking your perfect machine? I’ve got you covered!

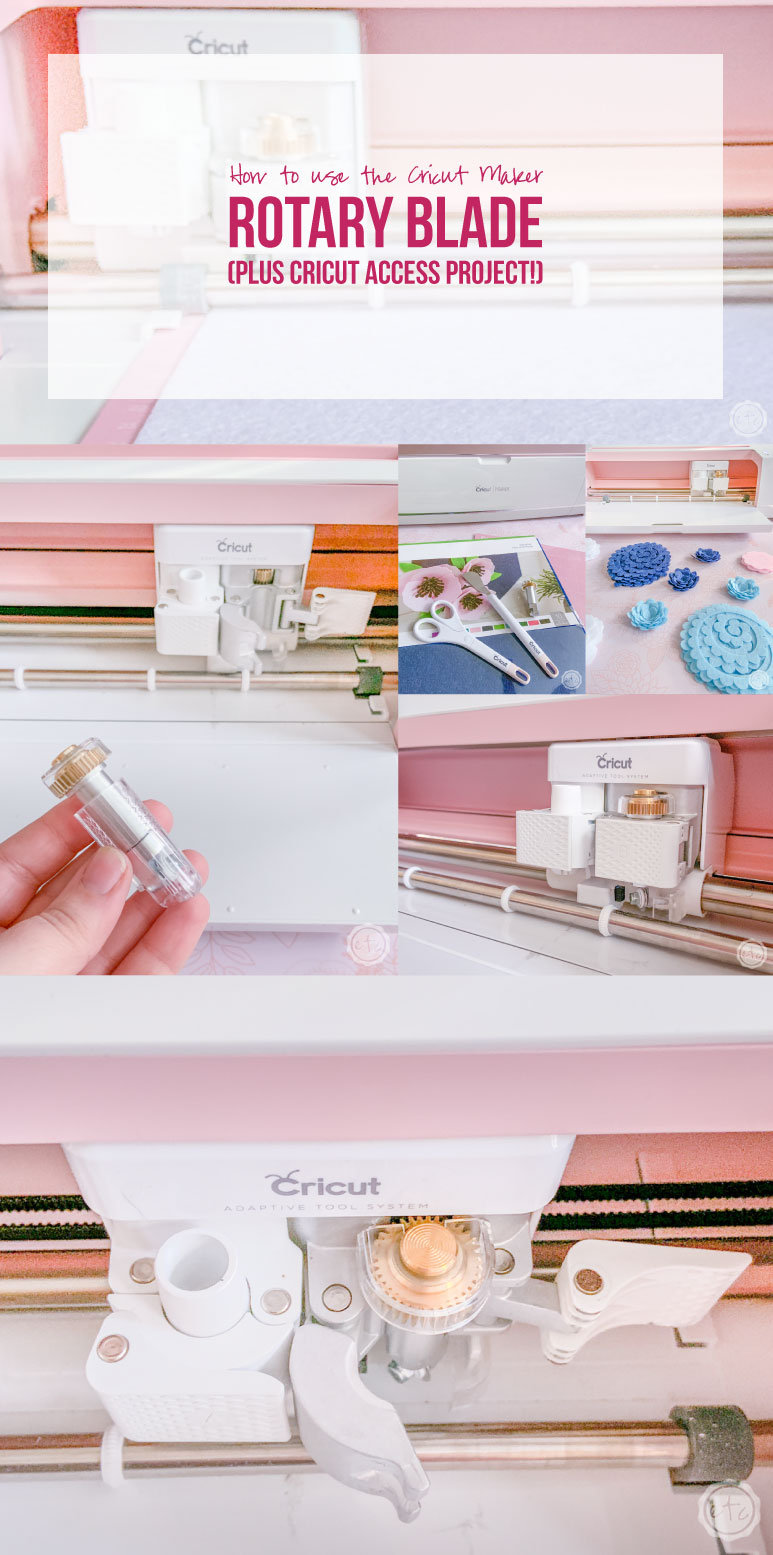
How do I load the Rotary blade?
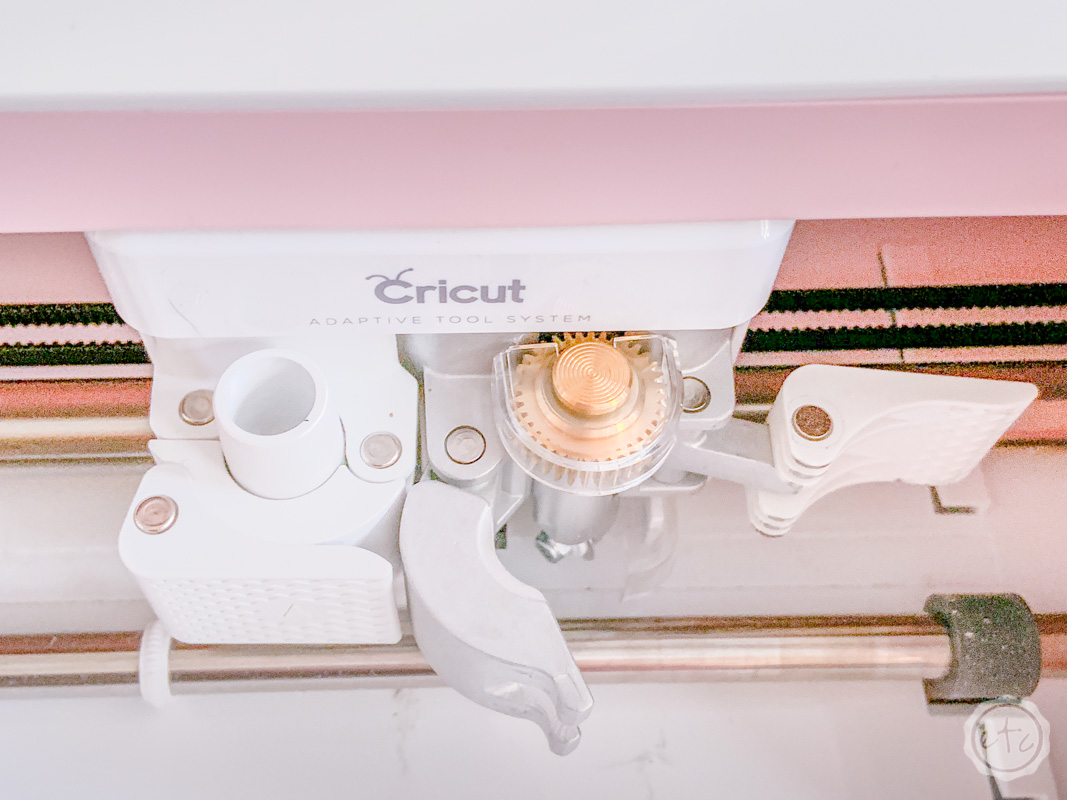
While most Cricut tools simply sit in the little housing on the machine the rotary blade has a gear like wheel at the top that interlocks with the machine. This actually makes loading the rotary blade very simple… you simply fit the gear wheel on your rotary blade and the gear on your Cricut housing together!
Open slot B and fit the two gears together… then close the little housing tight over the rotary blade and you’re ready to roll.
Easy peezy lemon squeezy.

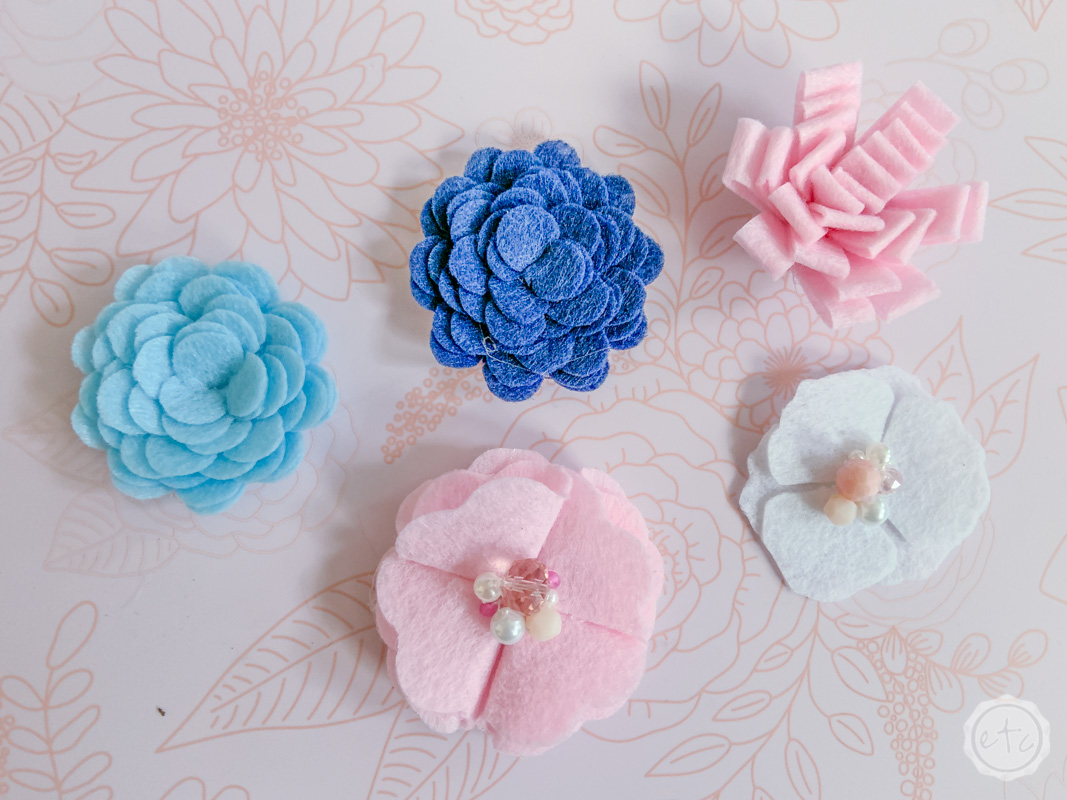
Cricut Access Project: Felt Flowers
When it came time to pick a quick and easy Cricut Access project to test this little rotary cutter out I knew exactly which one to pick! Normally I’ll pull up the Cricut Access Library and type “rotary blade” into the search bar for options but this time I simply typed in “felt flowers”…
Theoretically felt flowers area simple project that don’t take much time but I’ve had hours of frustration trying to cut these little guys out on my Explore Air 2. I use them pretty little felt flowers to make paperclips and floral swags for my planners so this was a personal victory for me!
In fact the whole process was sooooo quick and easy I have made dozens more since I first gave this a try!
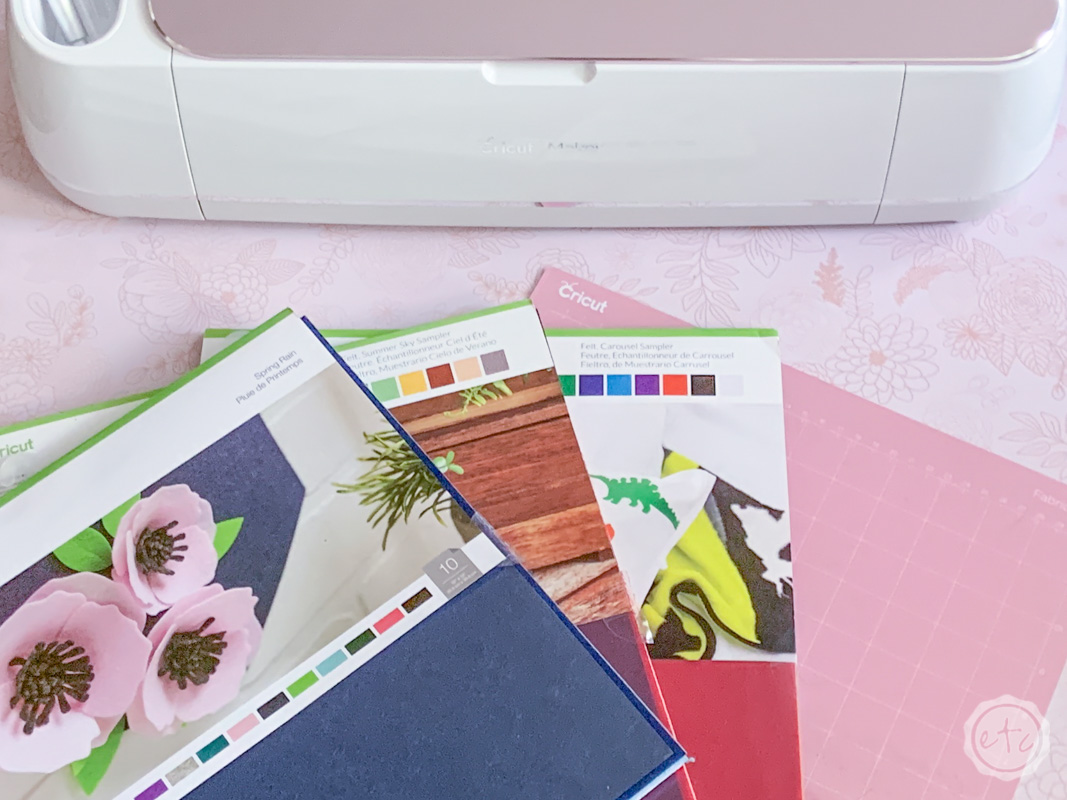
Since I wanted to make felt flowers (not a specific project) I looked through the Cricut Access projects that came up and picked the one with the largest variety of felt flowers… I figured that way we could try a few of them. Let’s get started.
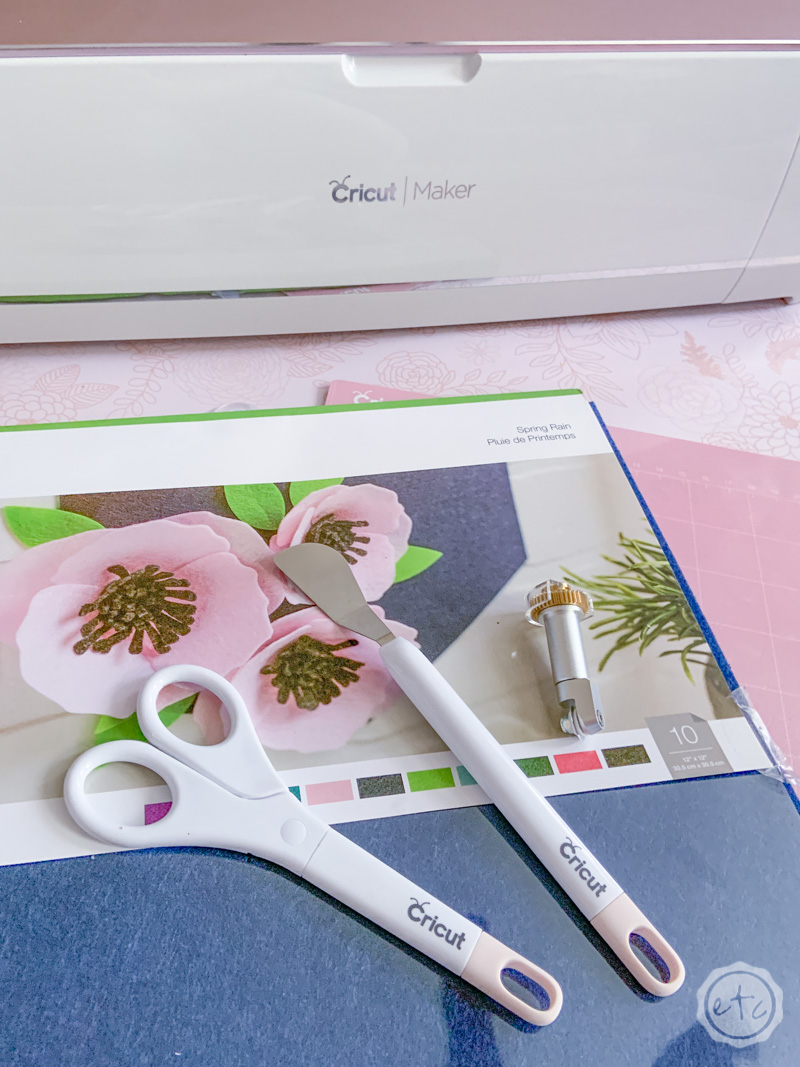
Supplies
- Cricut Maker
- Rotary Blade
- Cricut Access Cut File: Felt Flower Wreath
- Fabric Grip Mat (the pink one!)
- Cricut Felt
- Brayer
- Hot Glue and Glue Gun
- Optional: Beads, Needle, String
Psst… need help setting up your Cricut Maker? Check out this post!

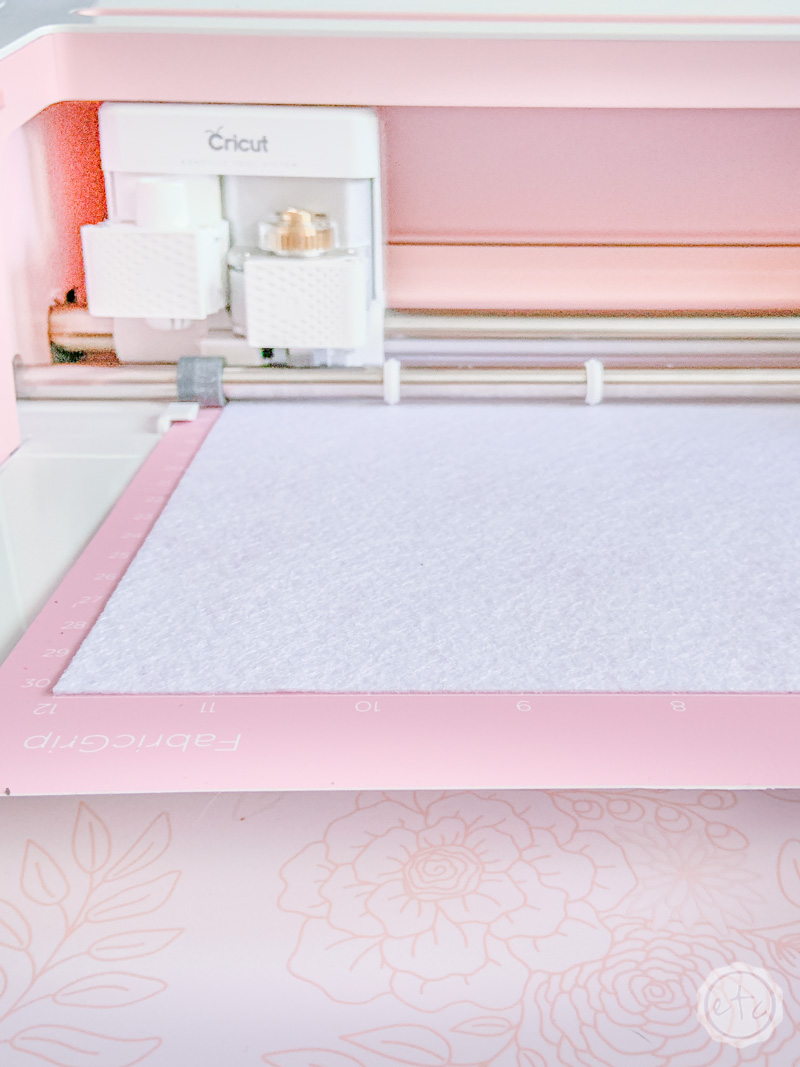
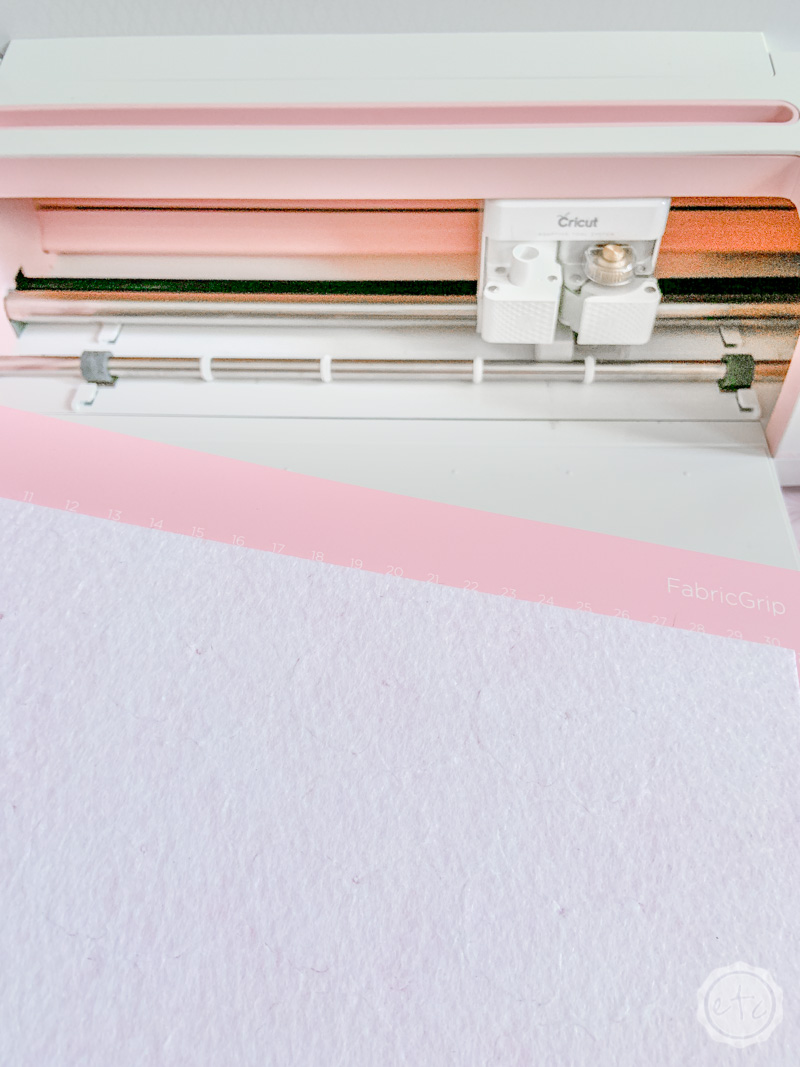
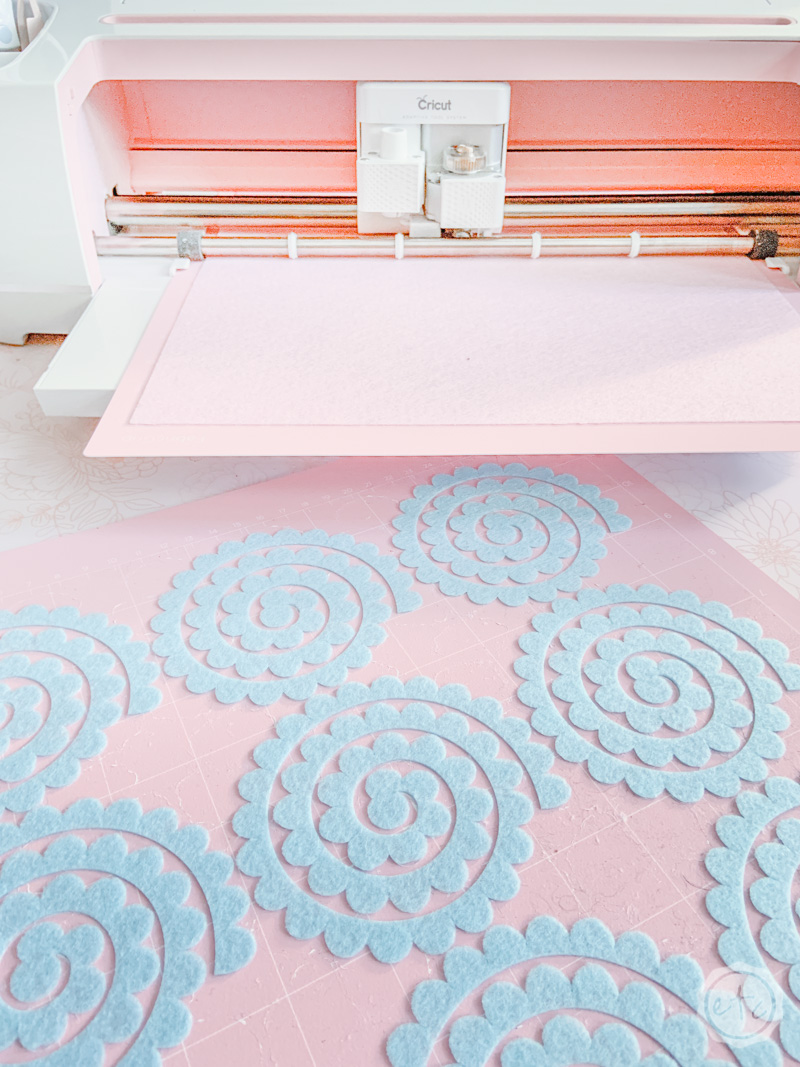
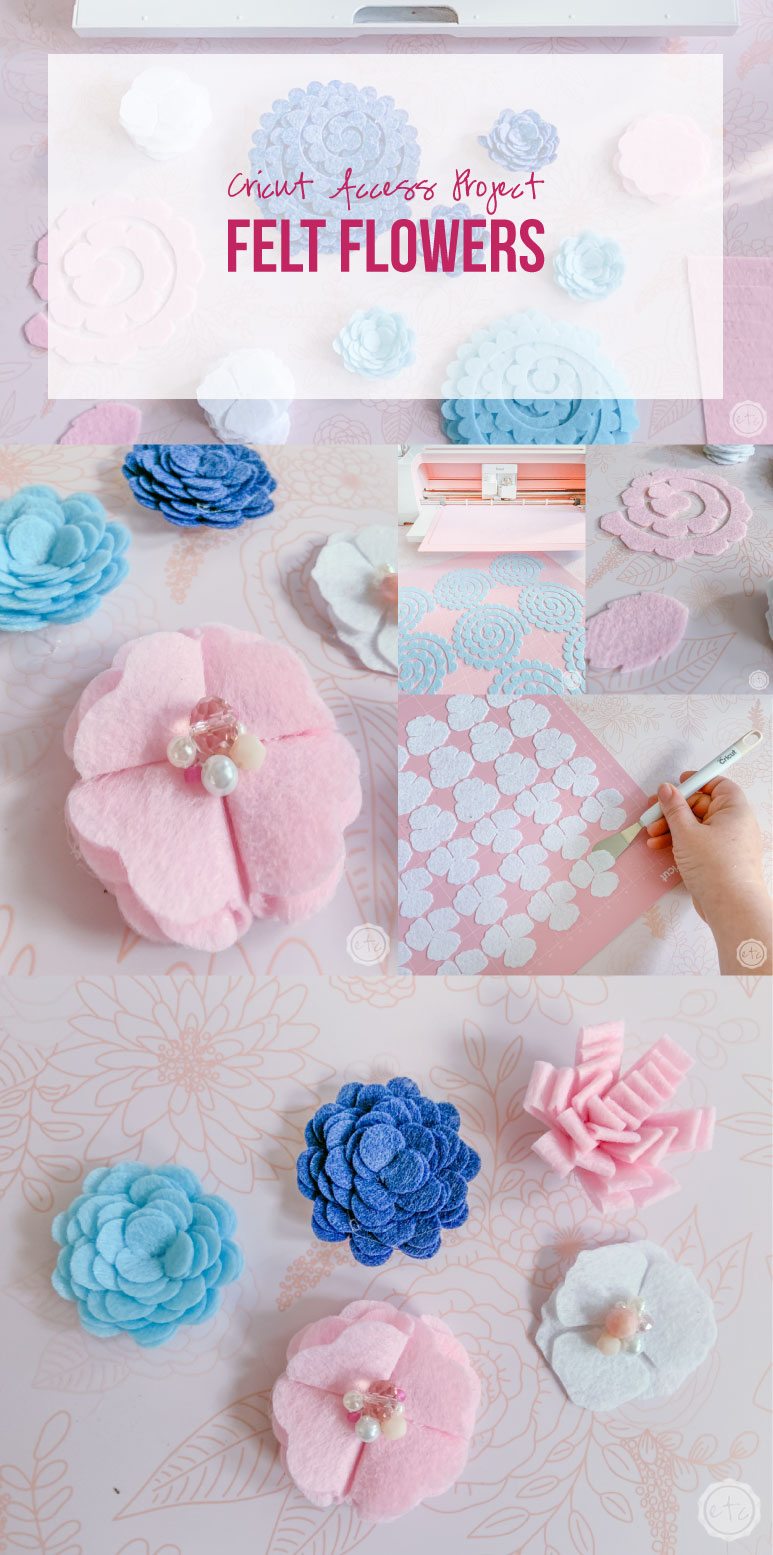
Step 1: Load Your Mat and Click “Make It”
Ready for the first step? It’s super simple! Go through your felt pack and decide which color flowers you’re going to make… then load your first mat! Make sure to press the felt down onto your fabric grip mat with the brayer so that it has a tight fit against the mat and you’re ready to go!
Ready to make your flowers?! Since I’m not making this specific wreath and I just wanted the flowers I hit customize from the Cricut Access menu. That opened the project in Cricut Design Space so that I could pick exactly which flowers I wanted to make!
I picked two flowers to start with and copy/pasted them to make enough to fill an entire mat.
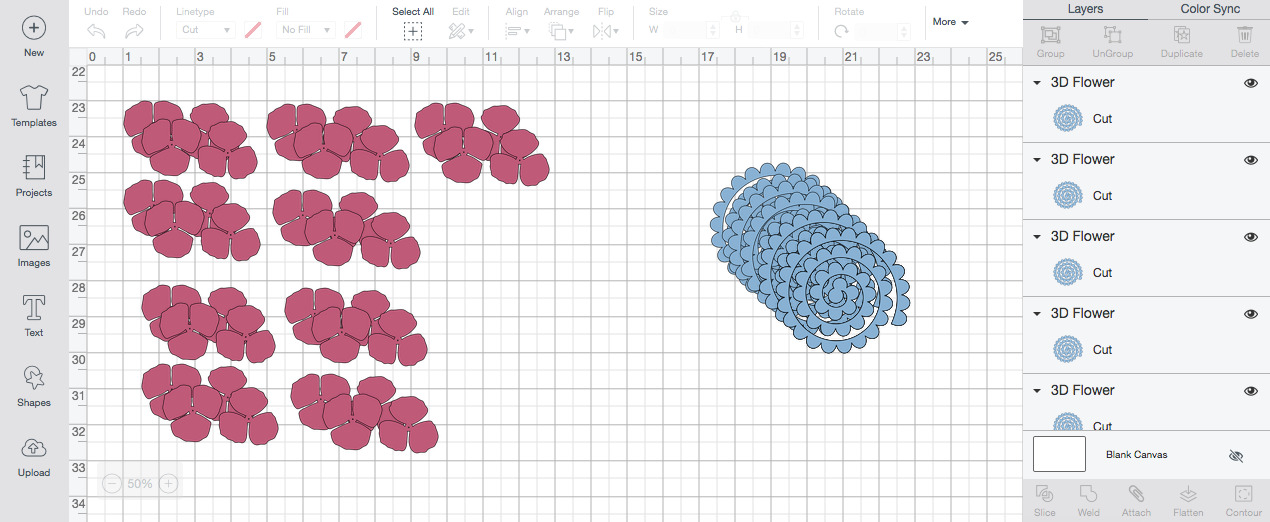
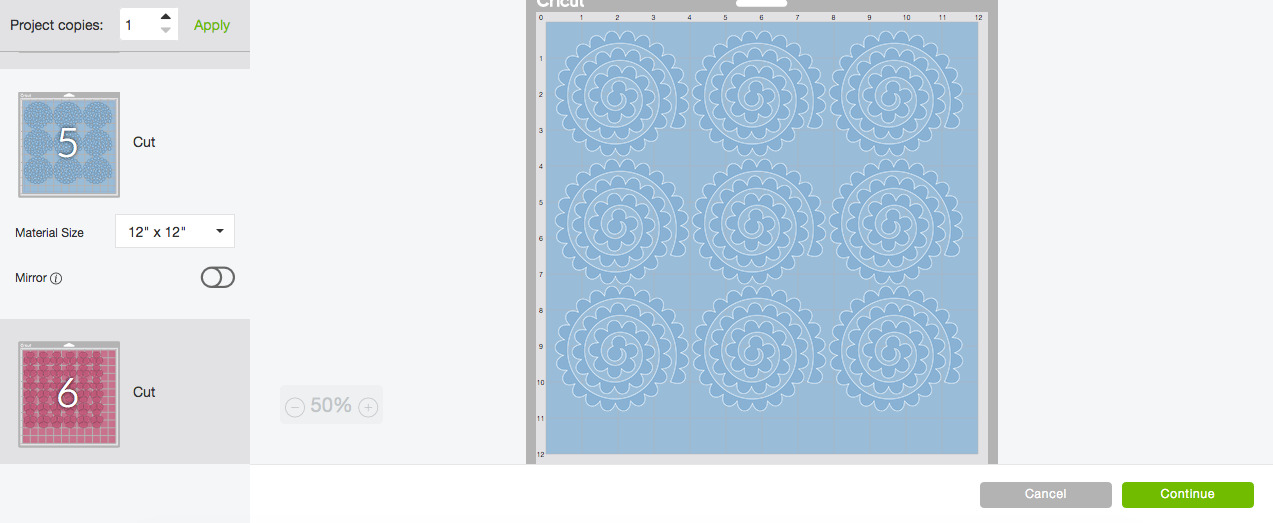
Hint: There are two ways to fill an entire mat… section off a 12 x 12 mat in Cricut Design Space and see how many flowers fit inside of it! OR simply hit copy and paste several times and then hit “make it” Cricut Design Space will automatically sort the shapes into the best order to fit them onto the mat. Then you can simply cut the mat with alllllll the flowers!
Ready? Hit “make it” and watch your rotary blade cut out allllll the pretty felt flowers.
Step 2: Weed Your Flowers and Remove them From the Mat
Ready for the fun part? When you pull your first mat from the Maker it doesn’t look much different then when you loaded it. Can you even see the cut lines on the image above? Start on one corner and pullllll the felt… as it pulls from the mat you’ll see the images of little flower shapes being left behind.
Take a look!

The rotary cutter does a great job so I didn’t worry too much about breaking the flowers as I pulled off the negative felt. It is definitely a satisfying feeling!
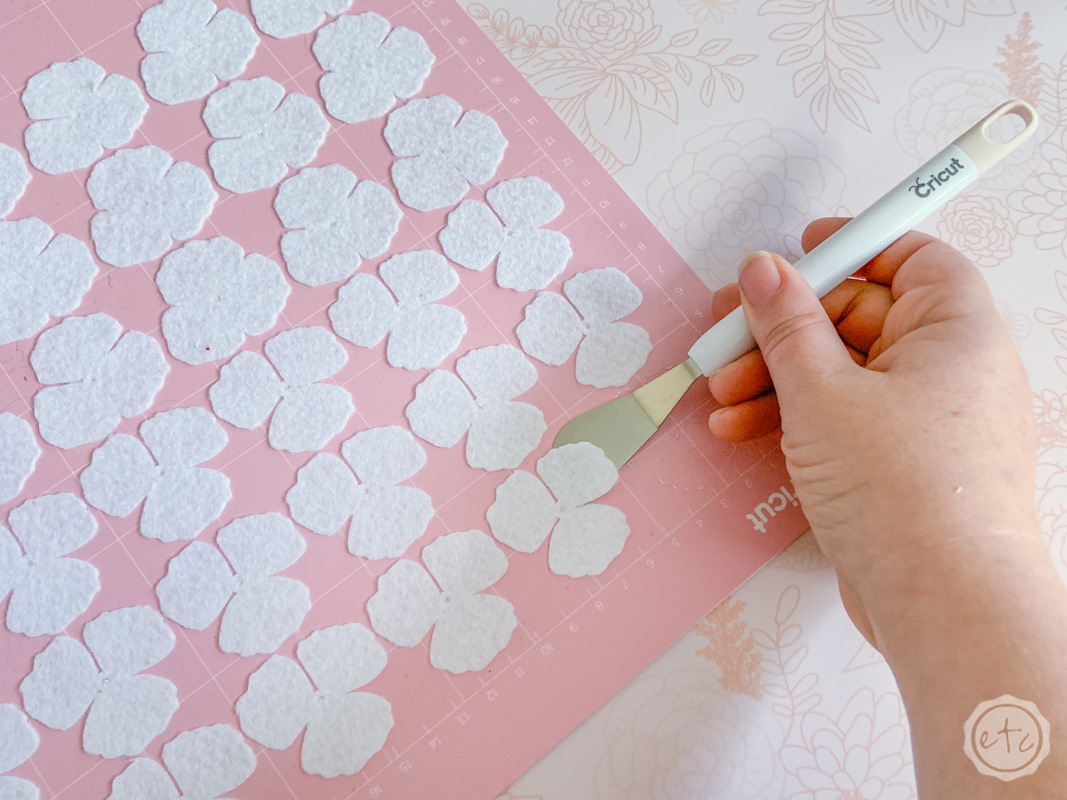
Once you’ve pulled the negative felt you’ll need your little spatula to gently lift off each of the flowers. These pieces are smaller so start at the edge and work inwards. I found that the rotary blade pressing down as it cuts creates a kind of seal around the edges of each flower. Once you get underneath that seal with the spatula the insides of the felt flowers come off quite easily.
They are felt though and prone to getting felty when taking them off the adhesive so going slow will help to prevent that. Work too quickly and they’ll all be fuzzy on one side!

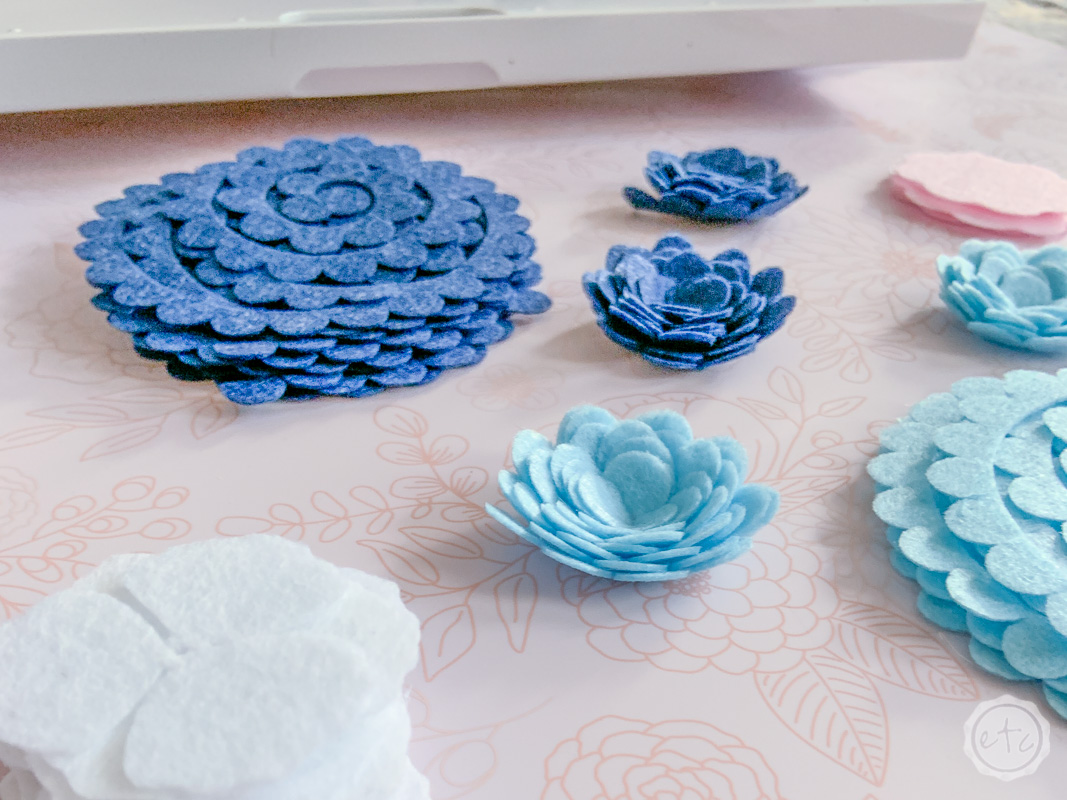
Step 4: Hot Glue them Together
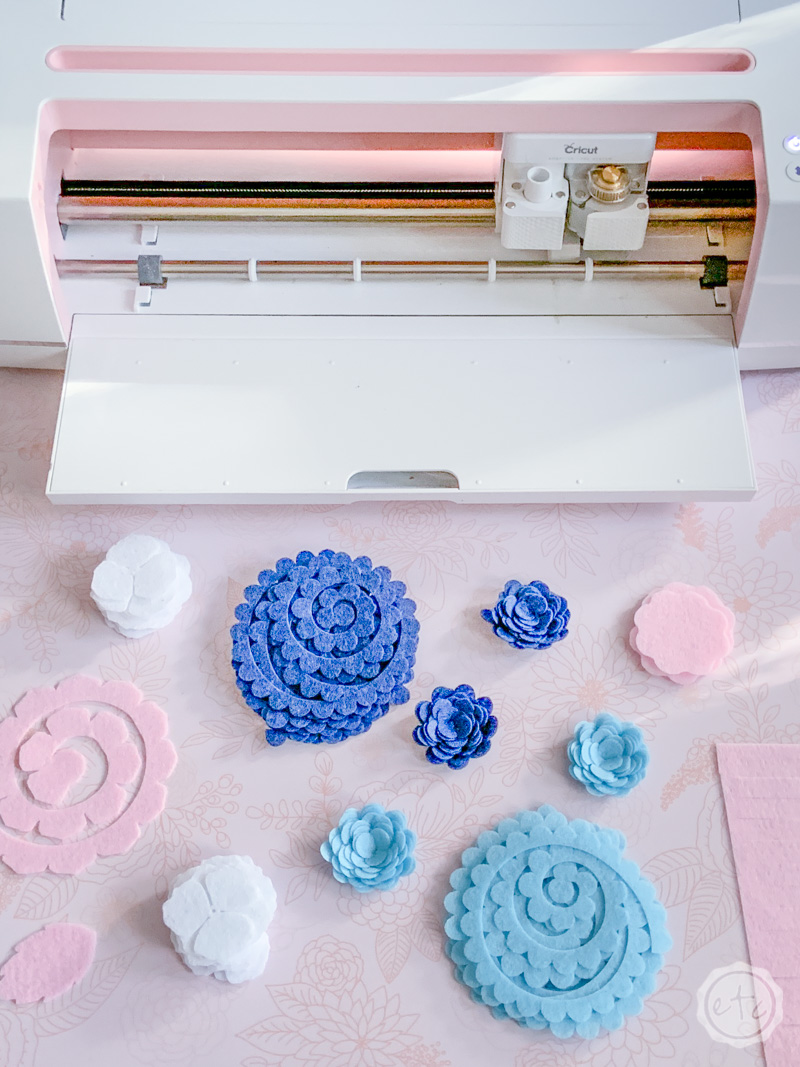
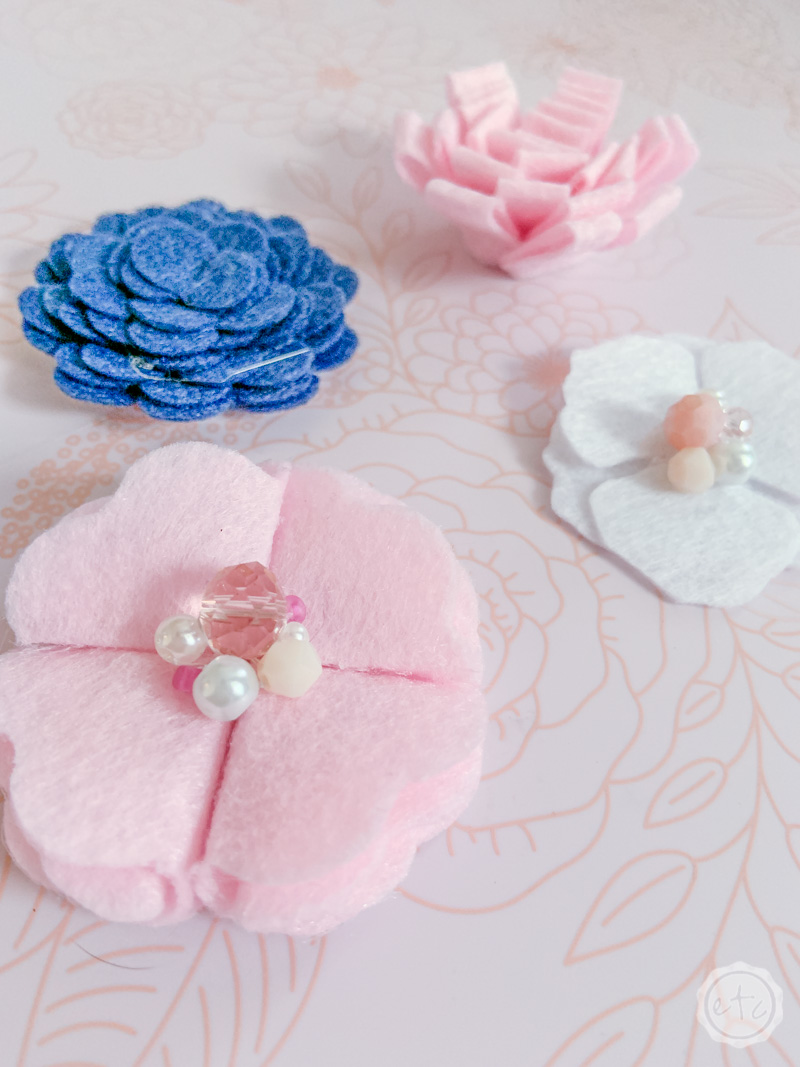
Alright y’all now it’s time to make a few flowers! There are several different flowers to choose from but the general idea is the same… make the flower and then glue it together!
The felt actually stays together really well so it was easy to coil the flowers completely and then turn them over and glue the backs together.
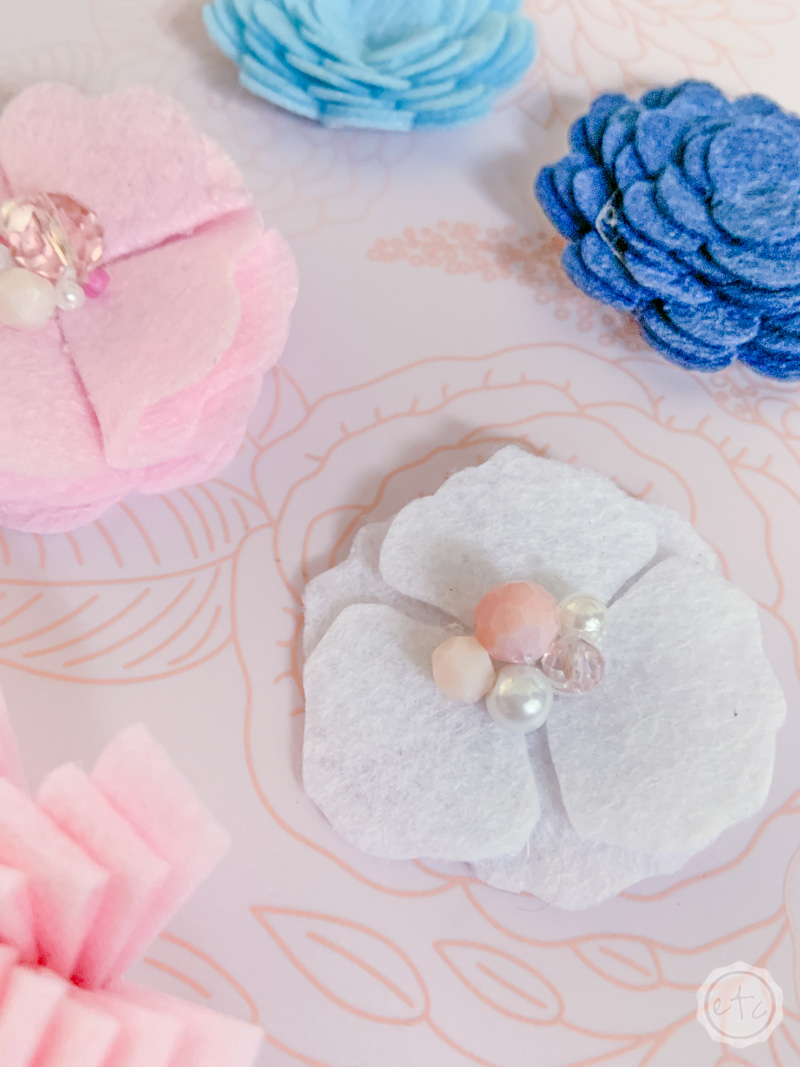
The little white flowers come in two layers… so a dot of hot glue in-between the layers will hold them together. Easy peezy lemon squeezy!

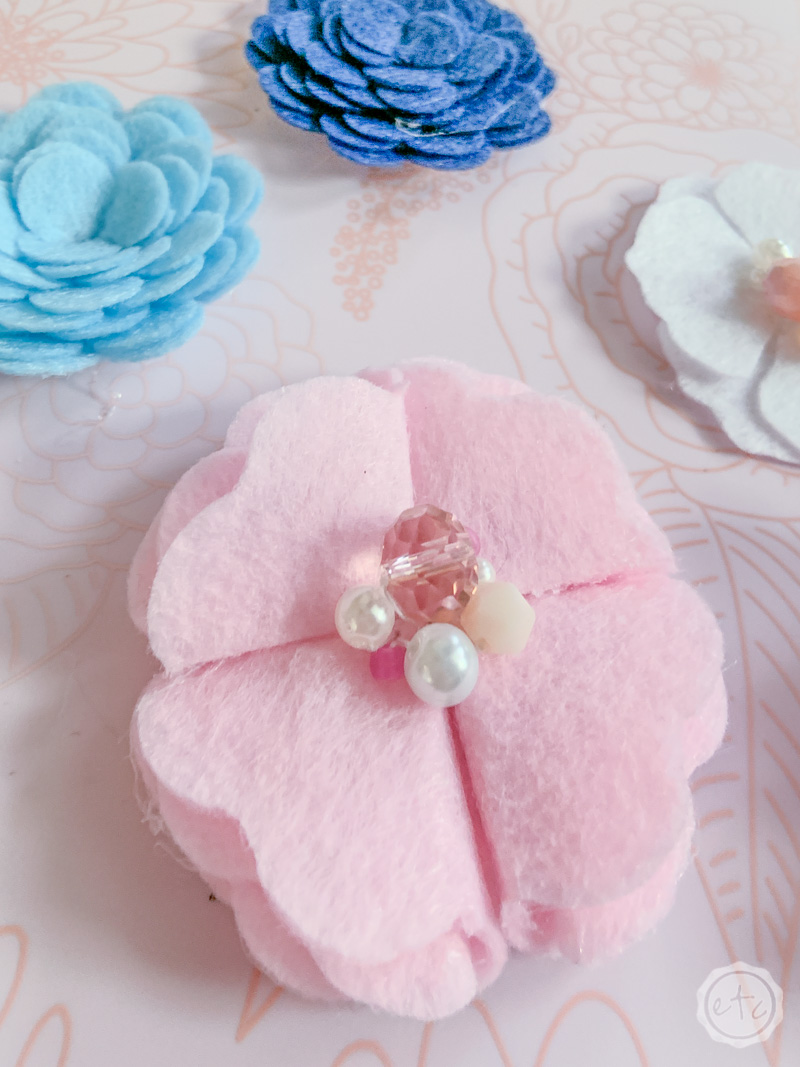
Step 5: Add Beads to the Center (Optional)
Okay this part is completely optional… the little felt flowers look just as pretty on their own! Some of them look even cuter with a middle though. I’ve seen strips of felt rolled up and glued into the center, buttons glued into the middle or even little circles of different colored felt.
My favorite? A few pretty little beads!
You can hot glue the beads into place but I find that the hot glue shows when you try to use the teeny tiny seed beads… so a bit of string and a needle does the job just as well.
Sew the larger beads in place first and then the smaller ones… take a look!
Don’t forget to pin!
Want to take a look at the rest of the Cricut line up?