

It’s Sunday which means one thing in this house… Game of Thrones baby! I can’t believe it’s the final season, I’m really not sure what I’ll do in four weeks when the show is over.
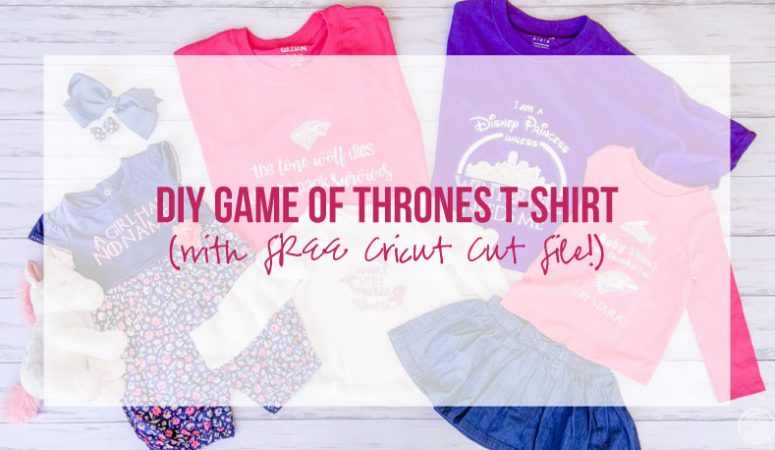
I suppose I’ll watch the show over from the beginning again… Game of Thrones marathon anyone? In the meantime I decided to whip up a few fun game of thrones inspired t-shirts for the final season. Now I have a cute shirt to wear while watching the final episodes… and so do my bestie and her daughter!
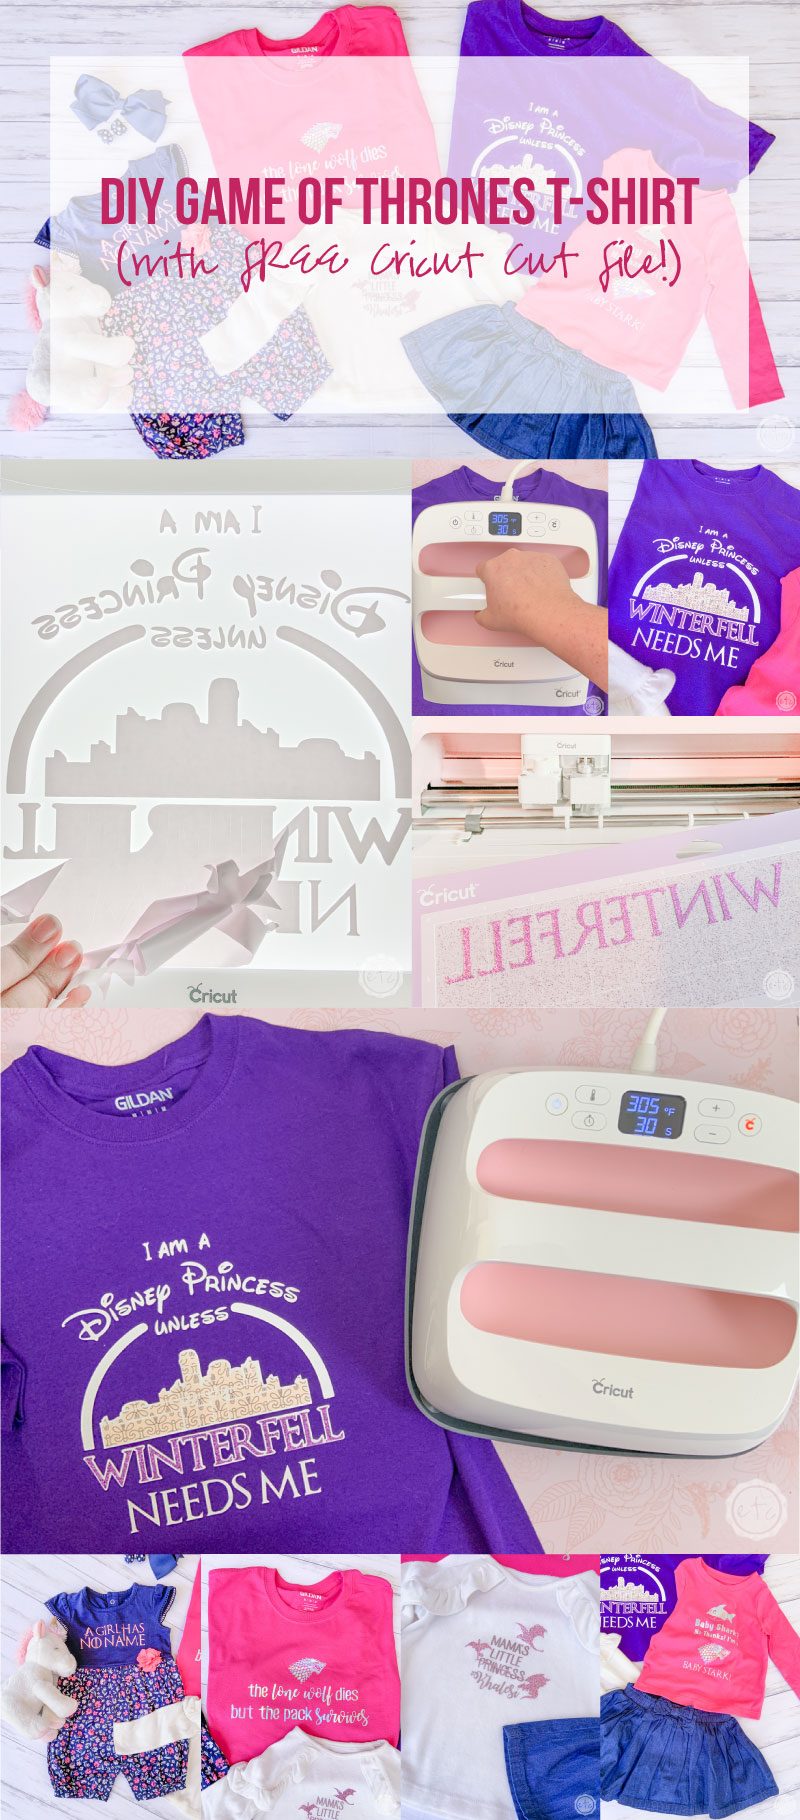
If you love making t-shirts (or hoodies, tote bags, signs… I can think of so many fun places to put these decals!) you will LOVE the game of thrones inspired cut files I have for you today!
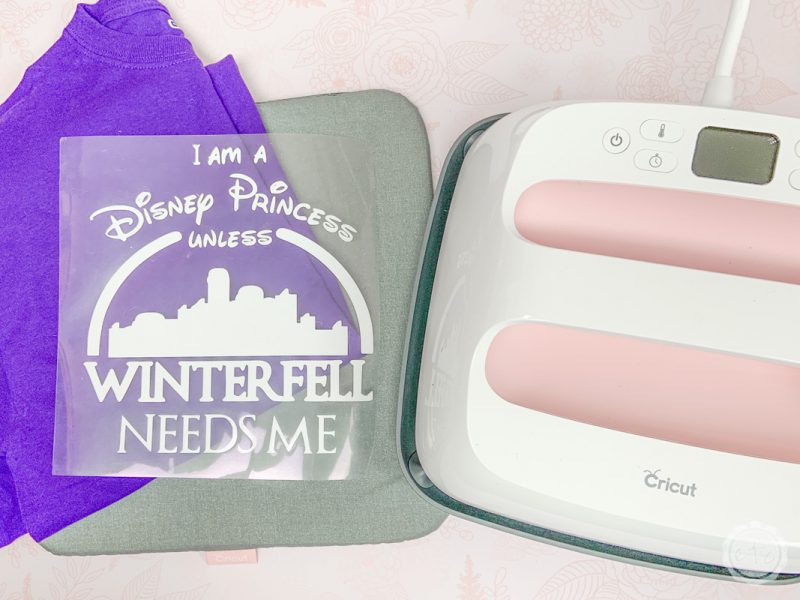
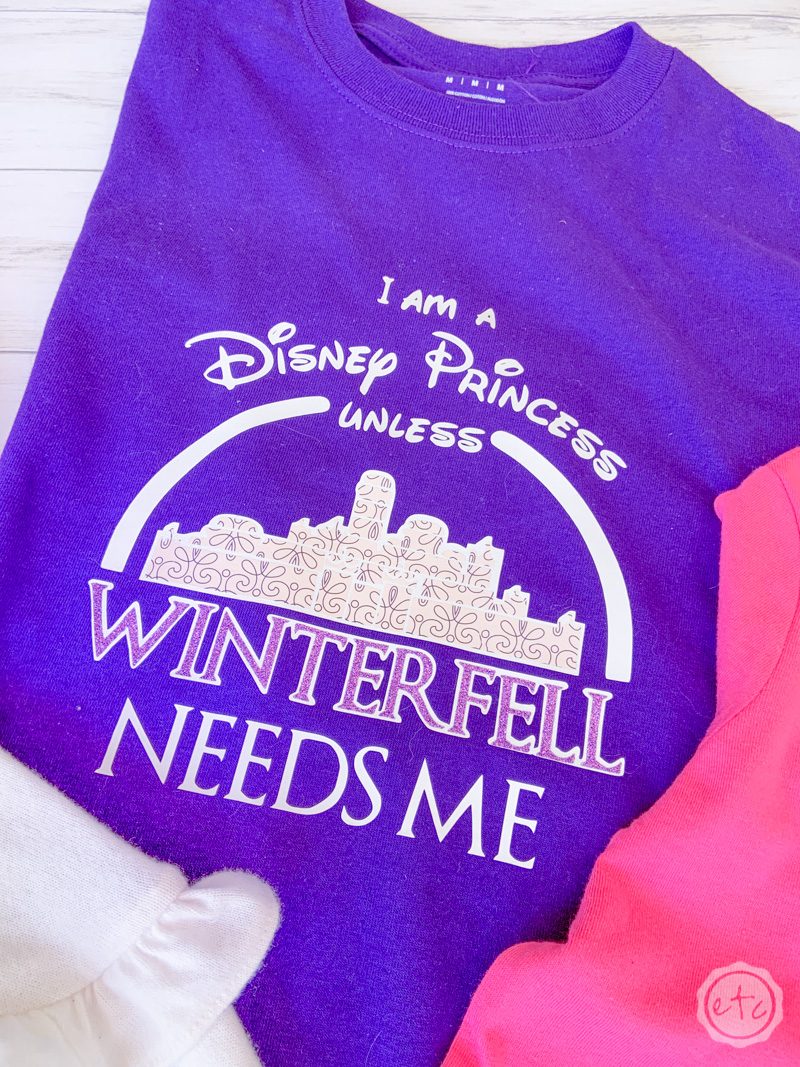
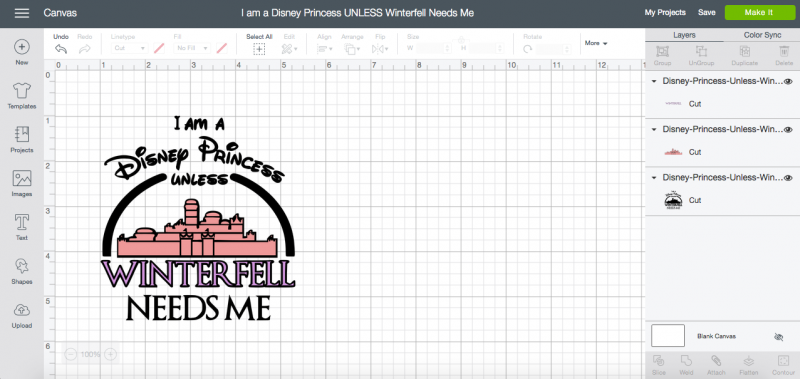
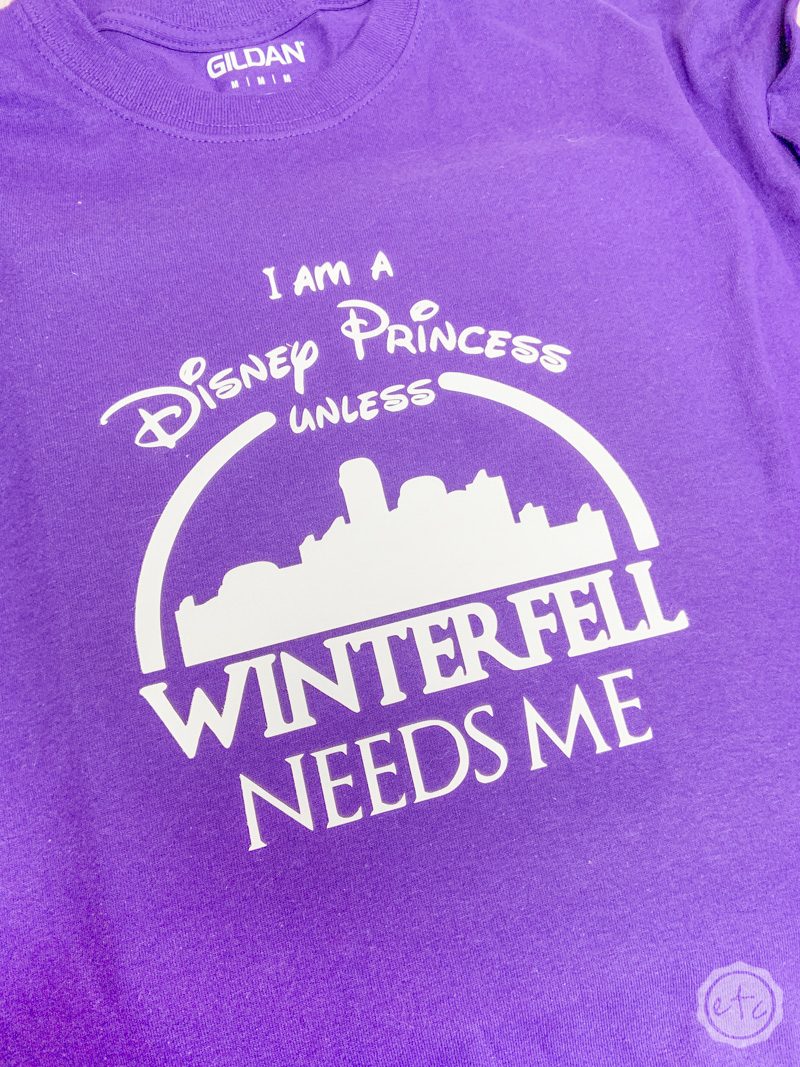
I have a super cute freebie for you: I’m a Disney Princess unless Winterfell Needs Me! Grab the cut files for free at the bottom of this post and let’s get started.
I love how this little t-shirt turned out but layering iron on is intimidating for a lot of people. I wanted the design to stand out though so I decided to do a white background for this shirt so that the design would pop off the t-shirt… then topped it off with a patterned castle (with the chantilly iron on sampler!) and a glittered iron on for Winterfell!
Don’t worry, layering iron on is pretty simple and I’ll walk you through it!
Let’s get started putting this baby on a T-Shirt!
Supplies:
- SVG Cut File (for FREE at the Bottom of this Post)
- Cricut Maker
- Fine-Point Cutting Blade
- Standard Cutting Mat (that’s the green one! Even though I used the fabric mat for this project)
- Cricut Easy Press 12 x 10
- Cricut Easy Press Mat
- White Sports Flex Iron On
- Purple Glitter Iron On
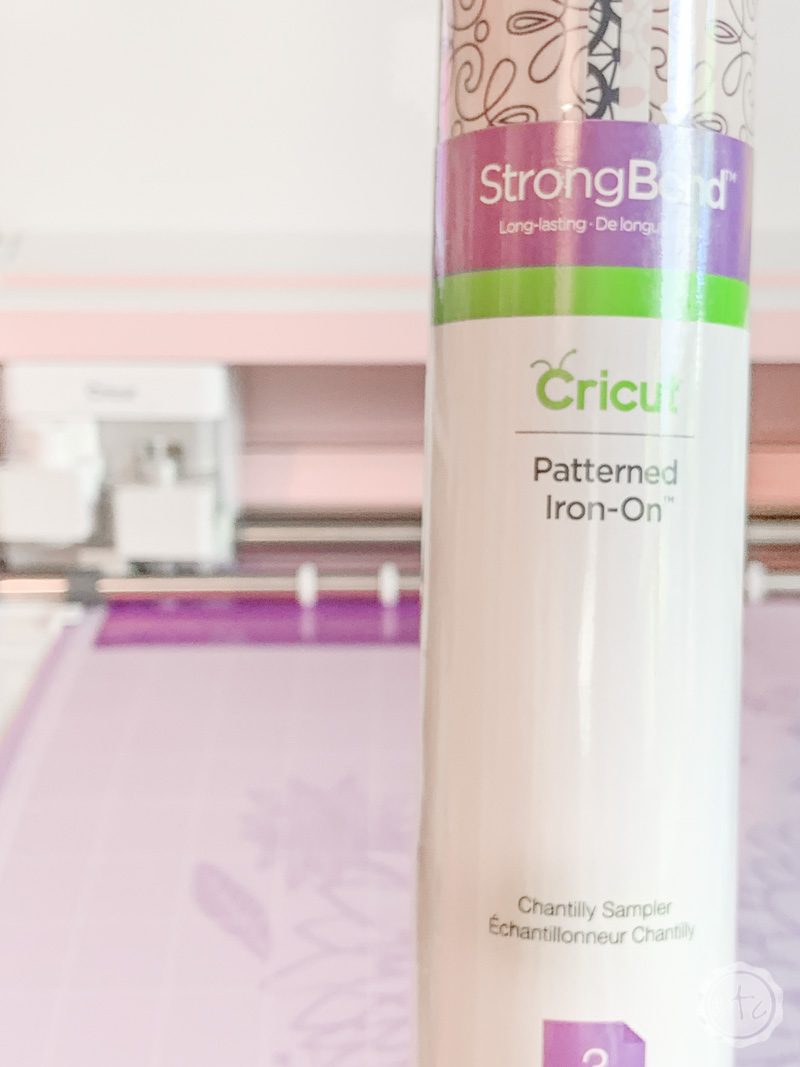
- Chantilly Lace Iron On
- Brayer
- Weeding Tool
- Cricut Iron On Protective Sheet
- Cricut Bright Pad (Optional but I LOVE mine)
- T-Shirts!
Size Your File
Alright y’all… the first step is always the easiest! You can grab the svg cut file for free at the bottom of this post and then open it in Cricut Design Space. Then all you need to do is cut your iron-on!
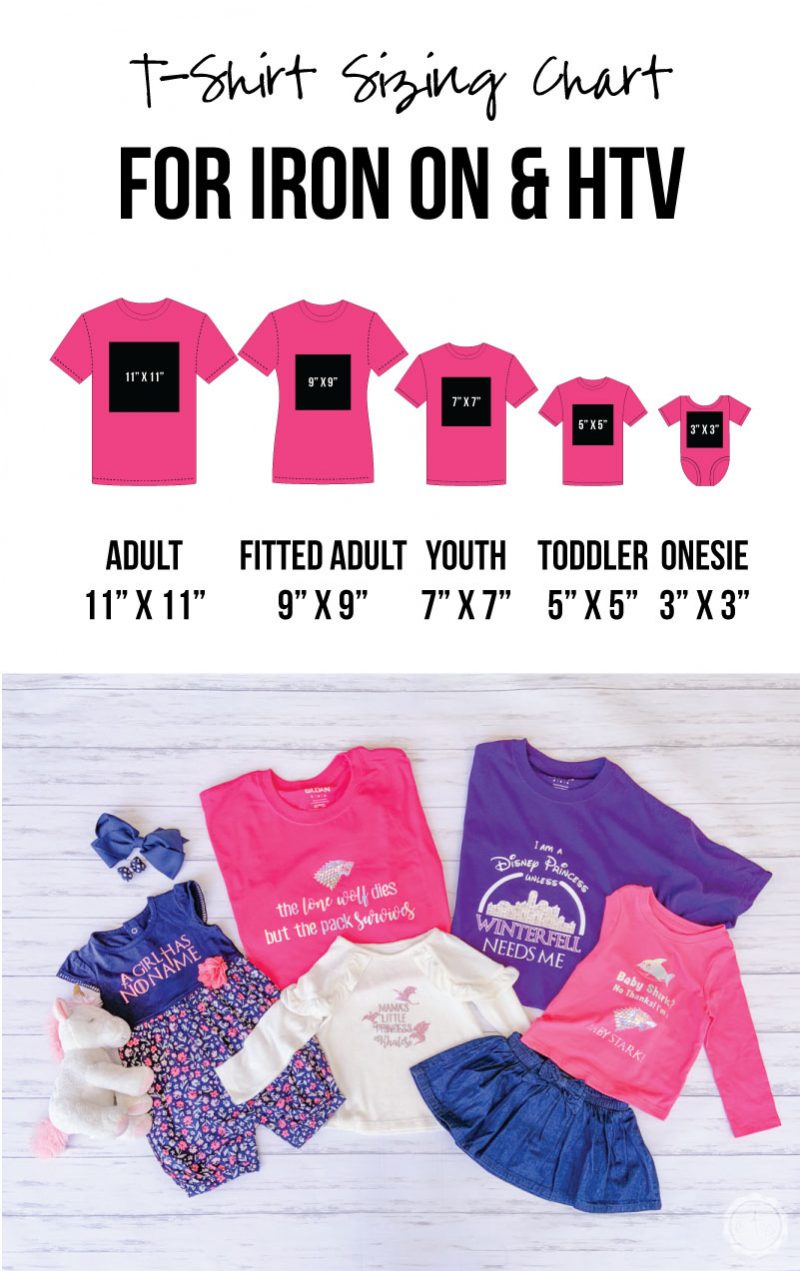
A couple tips… depending on your t-shirt you may need to re-size the cut file before hitting go. A decal for an adult sized shirt will be way to small for a little 2T child sized shirt! I’ve got you covered with my recommended sizes (check the chart below) but I always measure my actual shirt before cutting… just to make sure the decal is the right size.
Once you have your decal set to the right size it’s time to cut! Size your decal and click make it! We’re ready to rock!
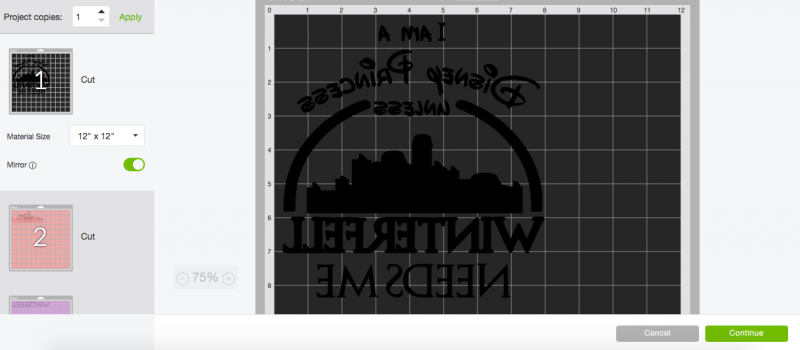
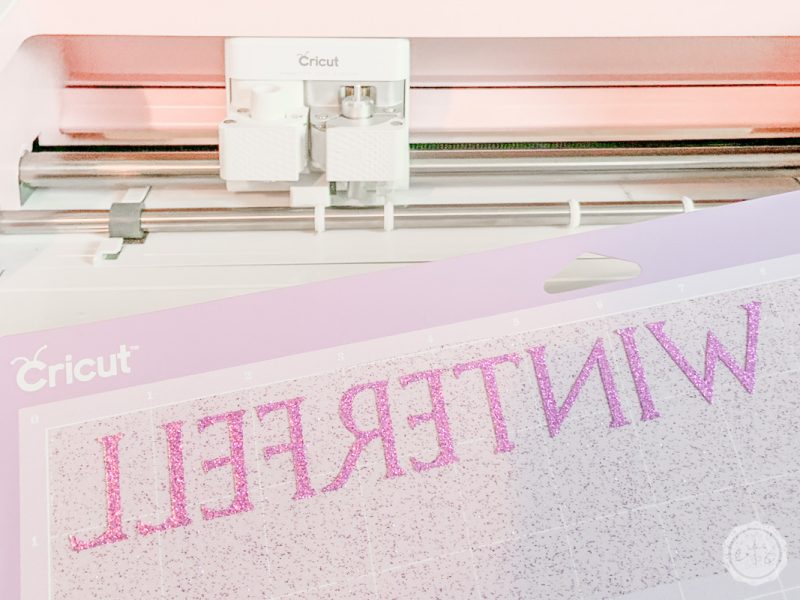
Mirror Your Design
Once you click “make it” you’ll have the chance to review your mats. Make sure to click the little “mirror” toggle on the left so that your design will flip around.
All your little letters will turn over and be backwards!
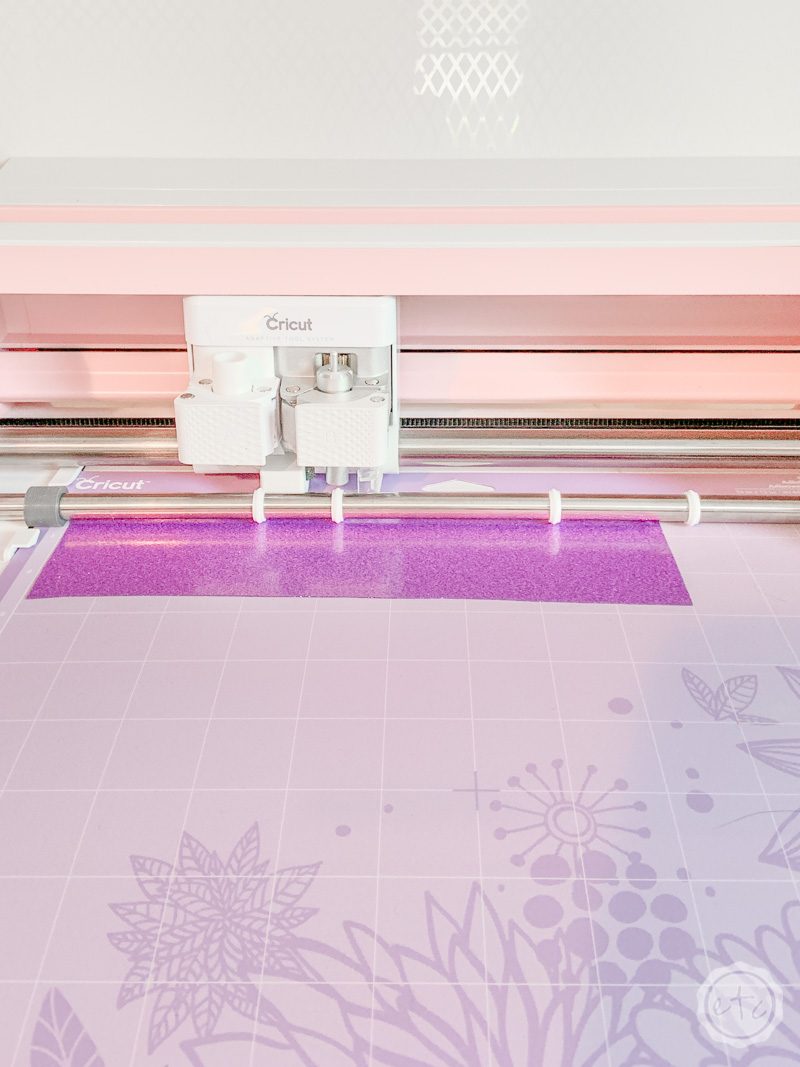
Load Your Mat
Now we’re ready to rock and roll. When it comes to iron on there is a definite top and bottom… there is a thin layer of clear film like plastic over the top of the iron on (think of this as a built in transfer tape!).
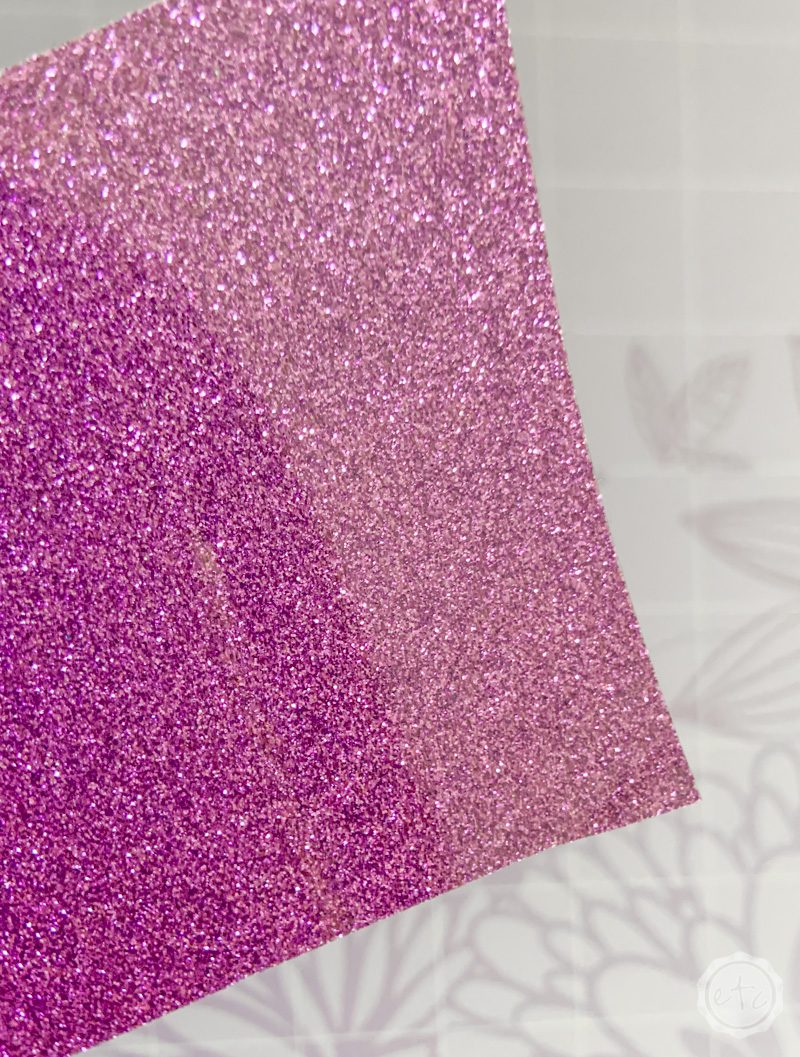
You’ll want to place the iron on top (SHINY SIDE) down against your cutting mat. Typically that thin clear plastic makes the top shiny so look for that shiny layer.
See? SUPER SHINY!
Go ahead and load your first mat go ahead and hit cut… this is a fairly simple design so it should cut super quick.
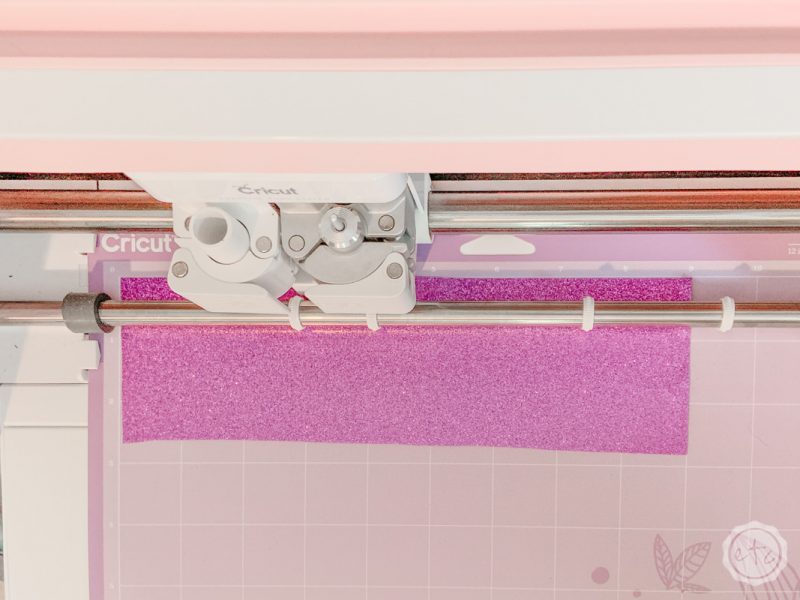
Since this file has 3 separate colors (for the 3 different layers of iron on) your cut files will ask for 3 separate mats. A little tip? Since some of these iron on pieces are so small I used the same mat for the glittered winterfell mat and patterned castle mat… when it comes time to load your second mat simply flip your same mat 180 and place the iron-on in the left hand corner.
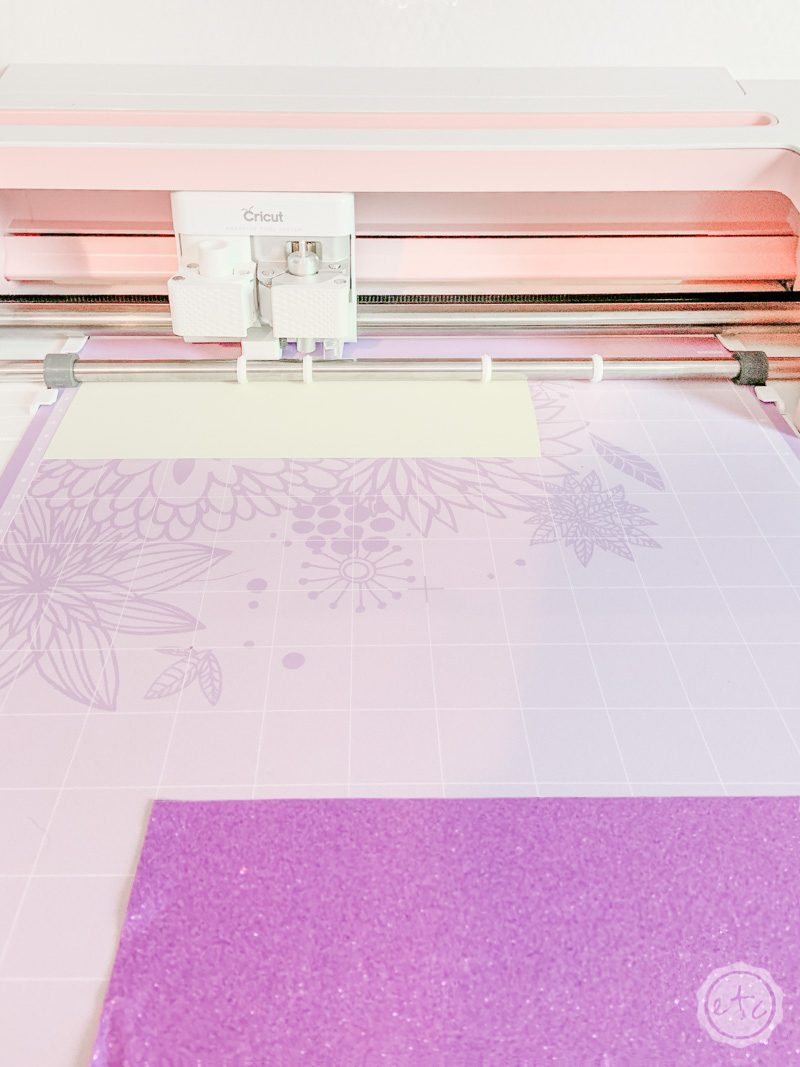
Then you can load a second mat with the larger white piece of iron on needed for the main decal.
TIP: We’re using 3 separate types of iron on for this little shirt: sports flex, glitter and patterned. They work together but they are different thicknesses so make sure you change the settings for the material portion before hitting go on each new mat.
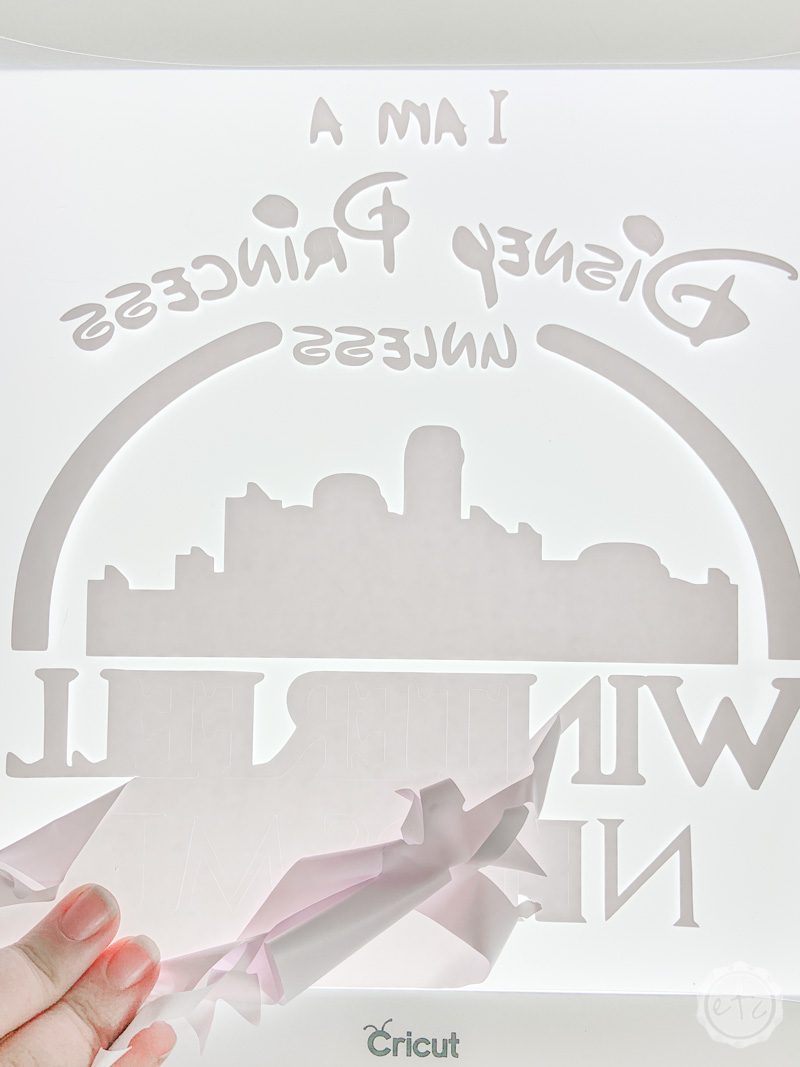
Weed Your Design
Once all 3 files (both mats) are cutmake sure to weed all the excess iron on material off your design leaving the clear plastic film and the words for your design.
Some of the design (like the purple glitter piece with the “Winterfell” writing) has very little negative space to weed so I simply pulled the excess material off right on the cutting mat. Easy peezy lemon squeezy.
The larger white design is a bit trickier though… the white on white makes those cut lines hella hard to see. I had a REALLY hard time weeding white vinyl for my “Bless This Mess” sign over the holidays… that white vinyl was actually the project that prompted me to go out and buy a Cricut Bright Pad so I was THRILLED to try it out with the white iron on in this project.
Let me tell you… so. much. easier.


Iron the Design onto Your T-Shirt
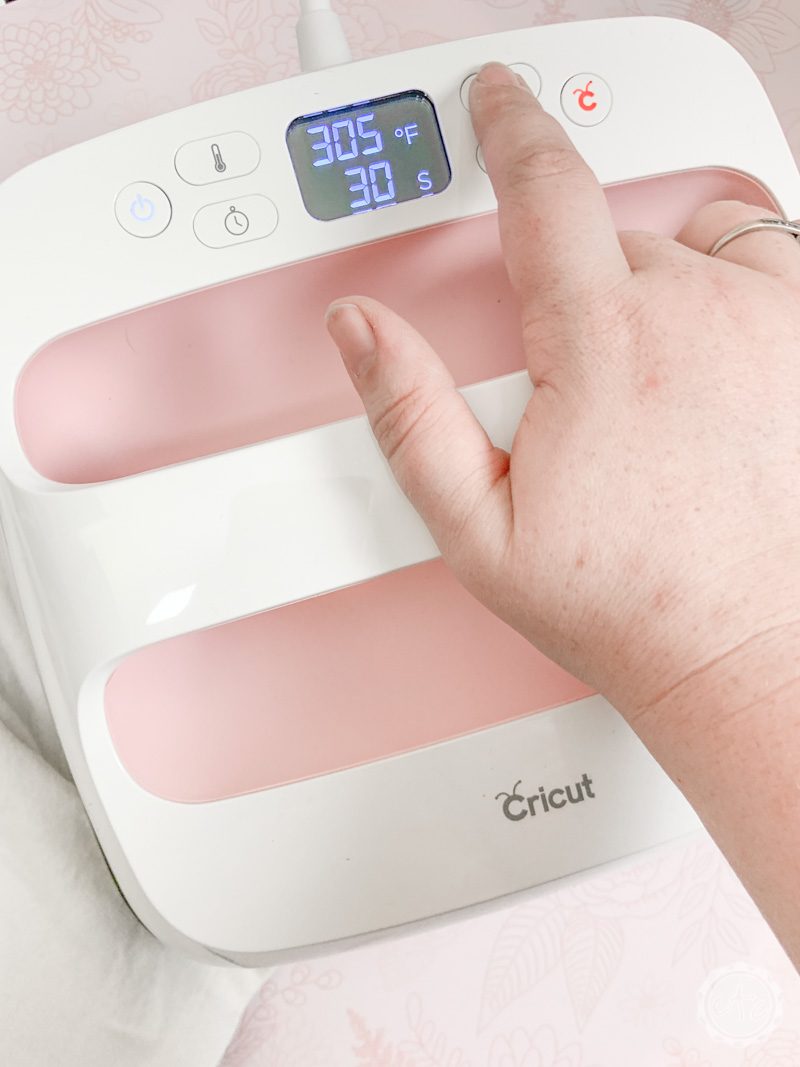
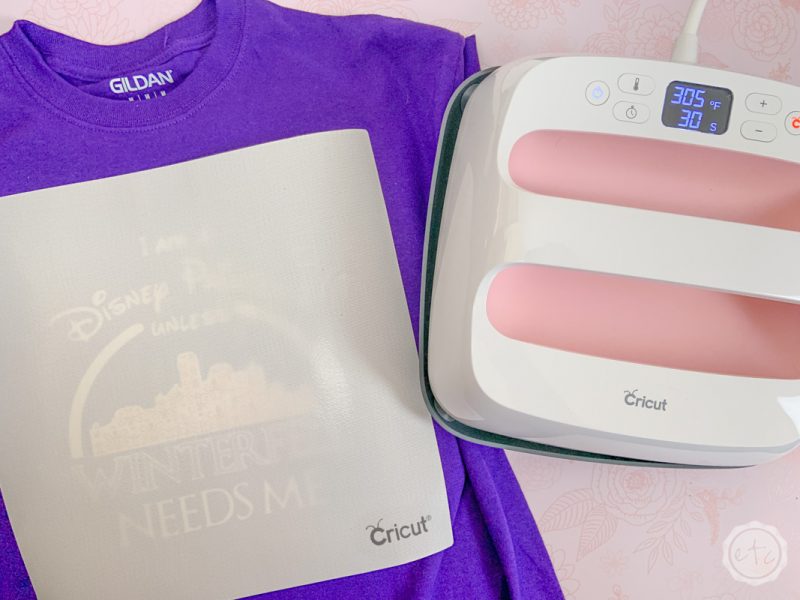
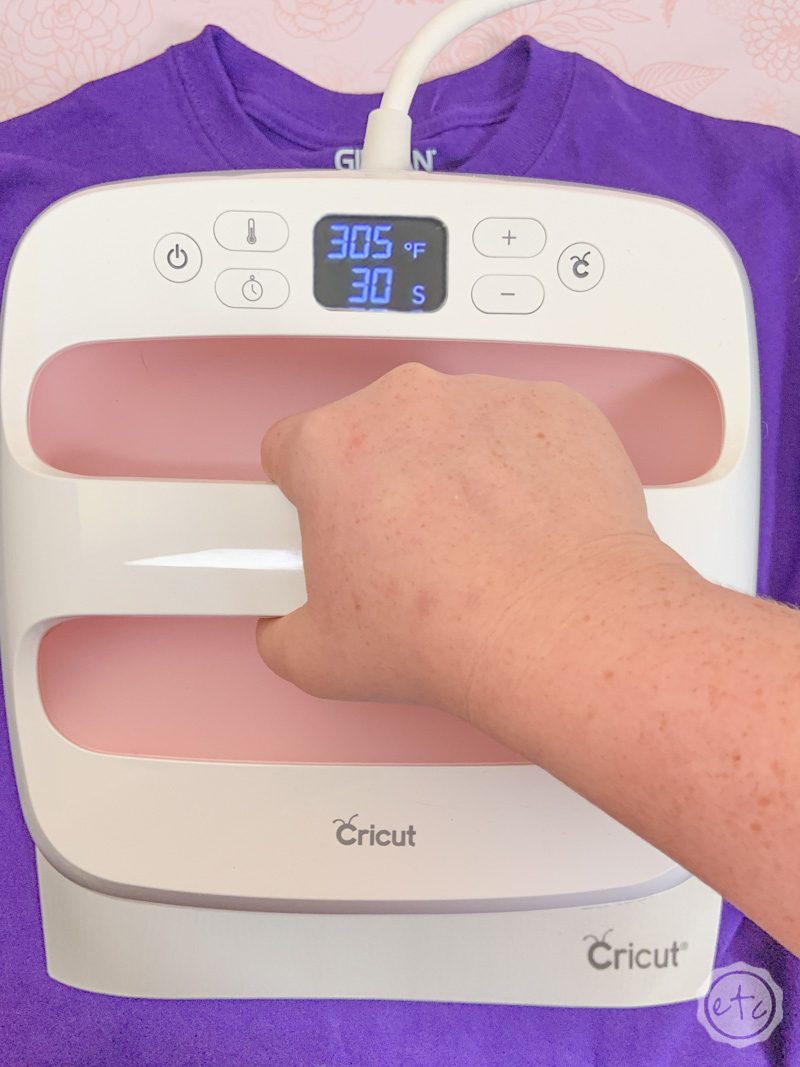
Now it’s time to iron your design onto your shirt! Go ahead and turn your Easy Press on and set it to 305 degrees for 30 seconds… that will take a few minutes to heat up so go ahead and set up your t-shirt in the mean time.
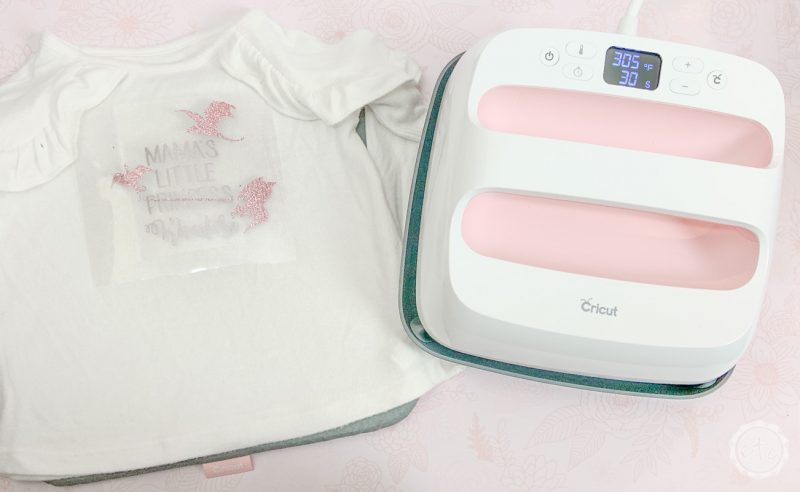
I like to set out my mat and make sure my shirt is in the middle of the mat with the design area centered in the mat. This makes it super easy to add the iron on.
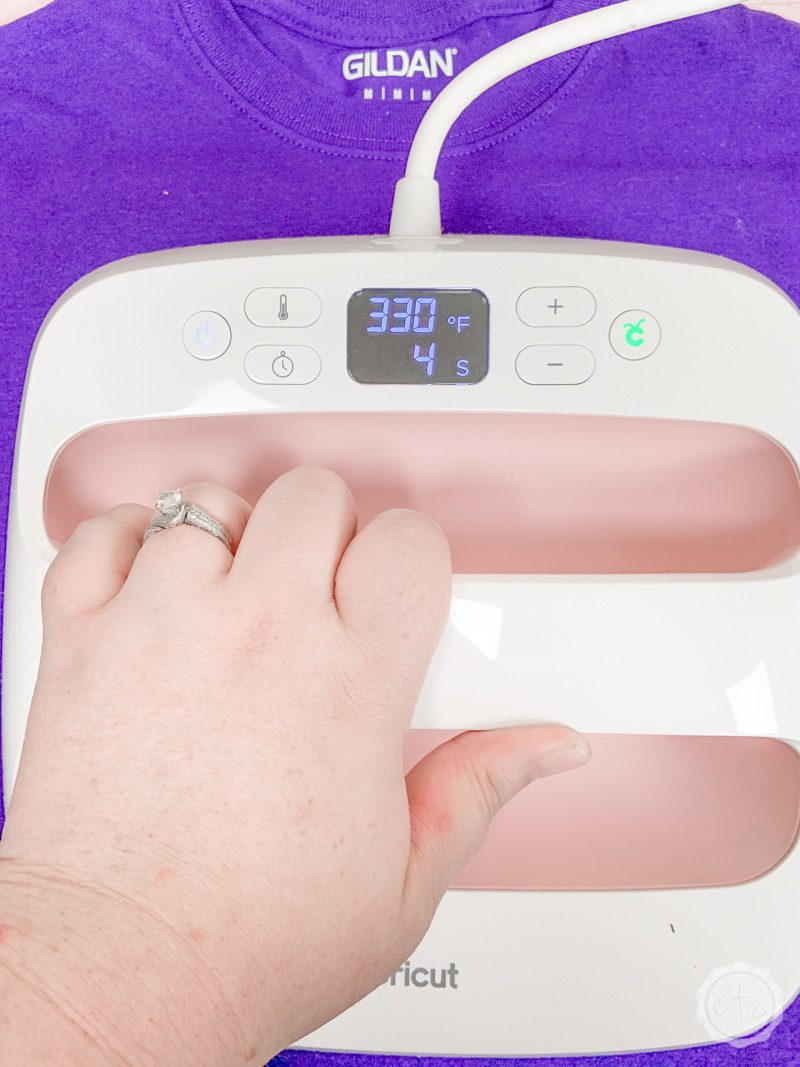
Tip: If you haven’t used an Easy Press before here are the highlights. When you turn it on the little Cricut button on the right will be red. You’ll press the temperature button on the left and use the arrows on the right to adjust the blinking temperature to 305. Then press the clock button on the left and use the same arrows to adjust the blinking time to 30 seconds. Now we wait… when the easy press is ready it will beep and the little Cricut logo button will turn green letting you know it’s ready!
Start off by pre-heating your shirt… place the easy press in the area where the design is going to go and use it like an iron. There isn’t a set time that’s required but I find the best results when I heat up the shirt for about the same time as I’m going to iron on my design. So in this case 30 seconds.
Now go ahead and line up your iron on… on the shirt! I recommend about 2 inches down from the neck on the average adult shirt… and about 1 inch down from the neck on toddler or baby shirts. Now your Easy Press is ready to rock and you have your design in place so it’s time to iron this baby on.
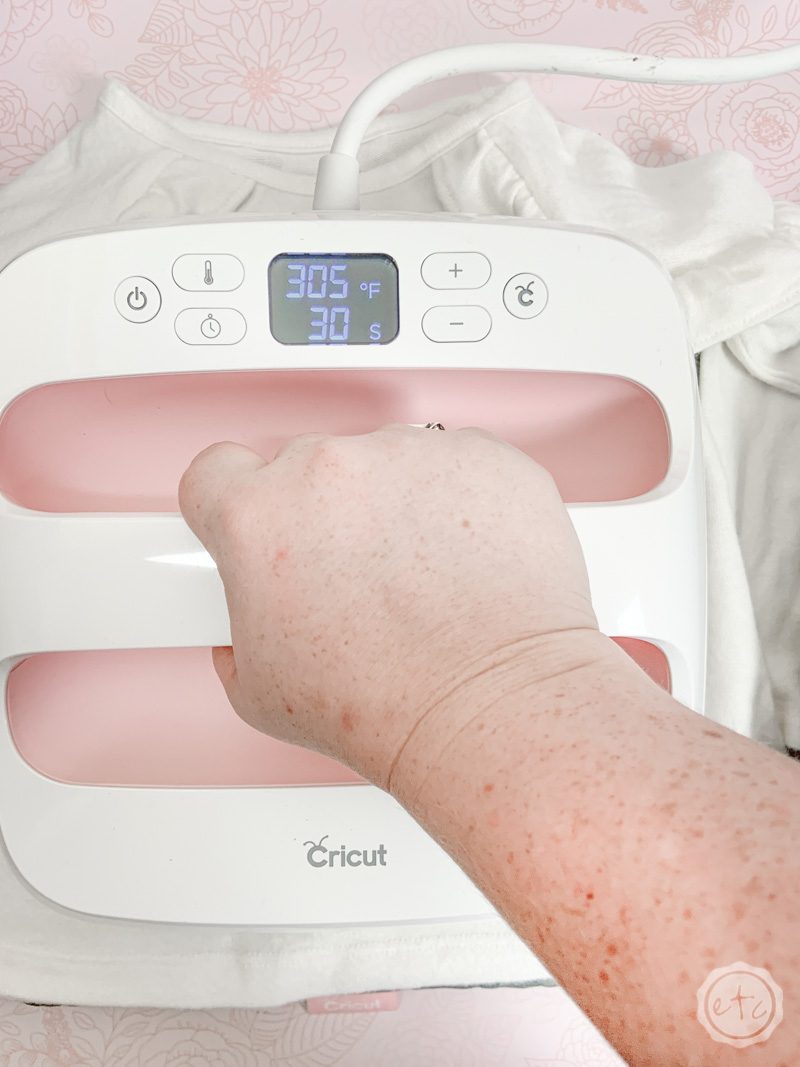
Place the easy press on your shirt making sure it covers the entire iron on design (or as much of it as possible)… then press that green cricut logo button. The timer will start to count down from 30 to 0… so all you need to do is grasp the handle firmly and press down for the entire 30 seconds.
Next turn your shirt over and do the exact same thing to the BACK of your shirt. Make sure to line up the easy press so that it’s in the middle of the heat mat and iron on design. Then hit that green cricut logo button and press for 30 seconds!
Once you’ve ironed the front and back of the white iron on design go ahead and put the easy press back on it’s stand. Don’t turn it off though since we’ll need it for the next two layers of iron on.
Now you’ll want to wait a second before peeling off the clear film from the iron on. You want to wait until the plastic film is warm (not burning your fingers but not completely cool) to start peeling. I usually count to 10 and then check to see if it’s ready.
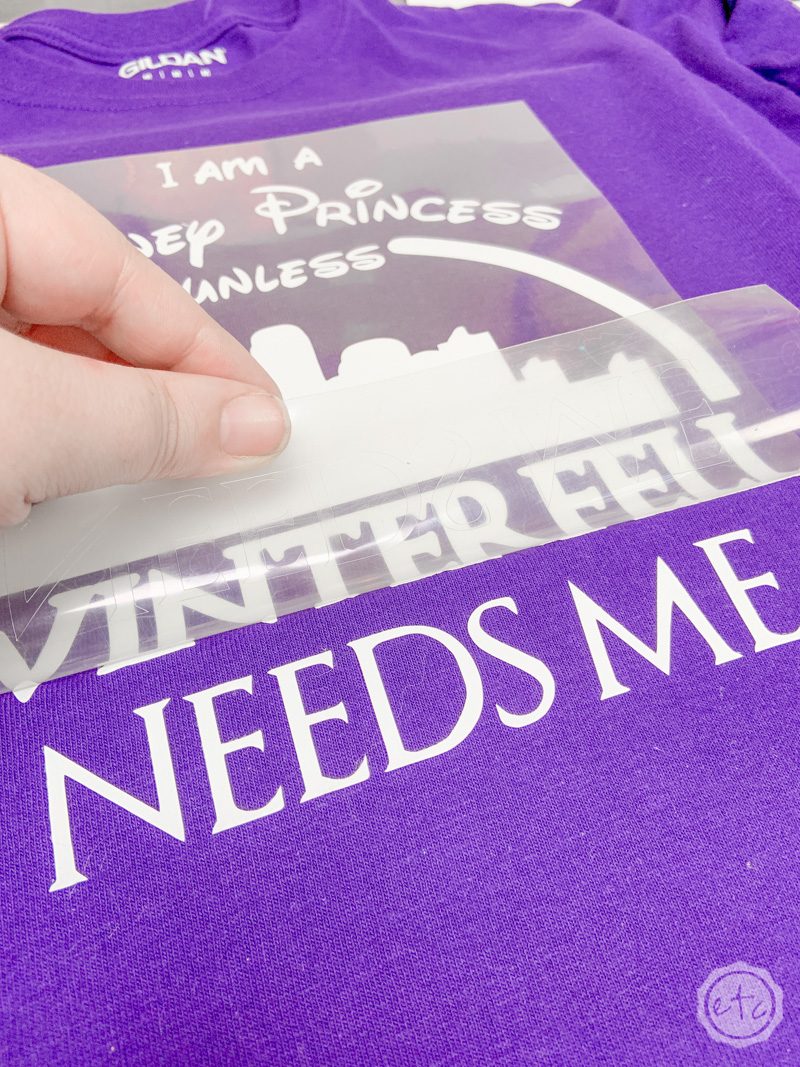
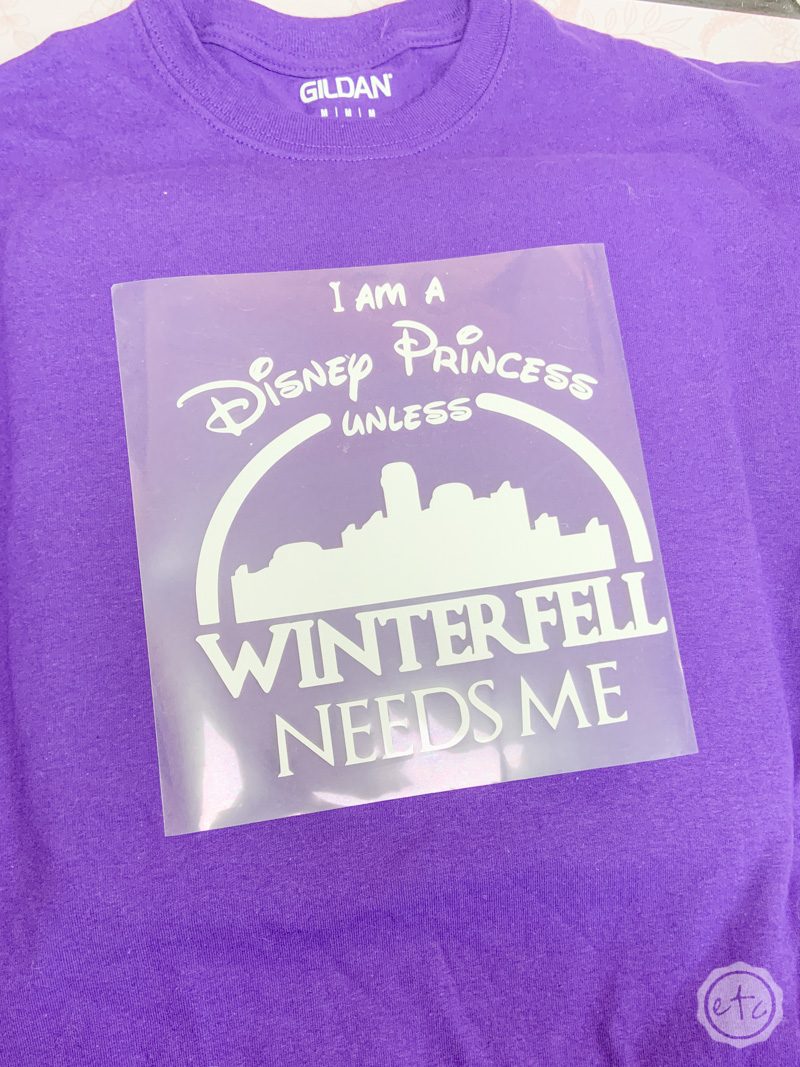
Now it’s time to move on to iron on layers 2 and 3! Because these two layers go side by side and not on top of each other you’ll be able to do them in one go. Arrange both pieces on your t-shirt and then top the whole thing with the cricut protective iron on sheet.
Otherwise you will melt alllllll the white iron on that is not covered by a protective plastic film.
Once you have the protective sheet in place you can use your easy press the exact same way we did for the white iron on. Place it on your shirt (making sure to cover alllll the pieces of iron on we’re trying to heat up!) and click that cricut logo button. Press firmly for 30 seconds and then turn the whole shebang over and heat it from the back for 30 seconds (leaving the protective sheet in front of the iron on material).
Now you can let the iron on pieces cool down for 10 seconds before peeling off the plastic film for the finished product!
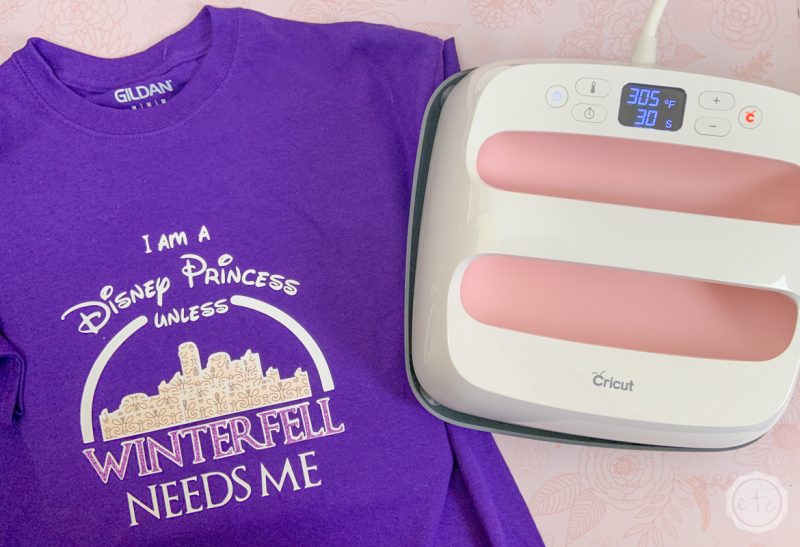
I am SOOOOO in love!
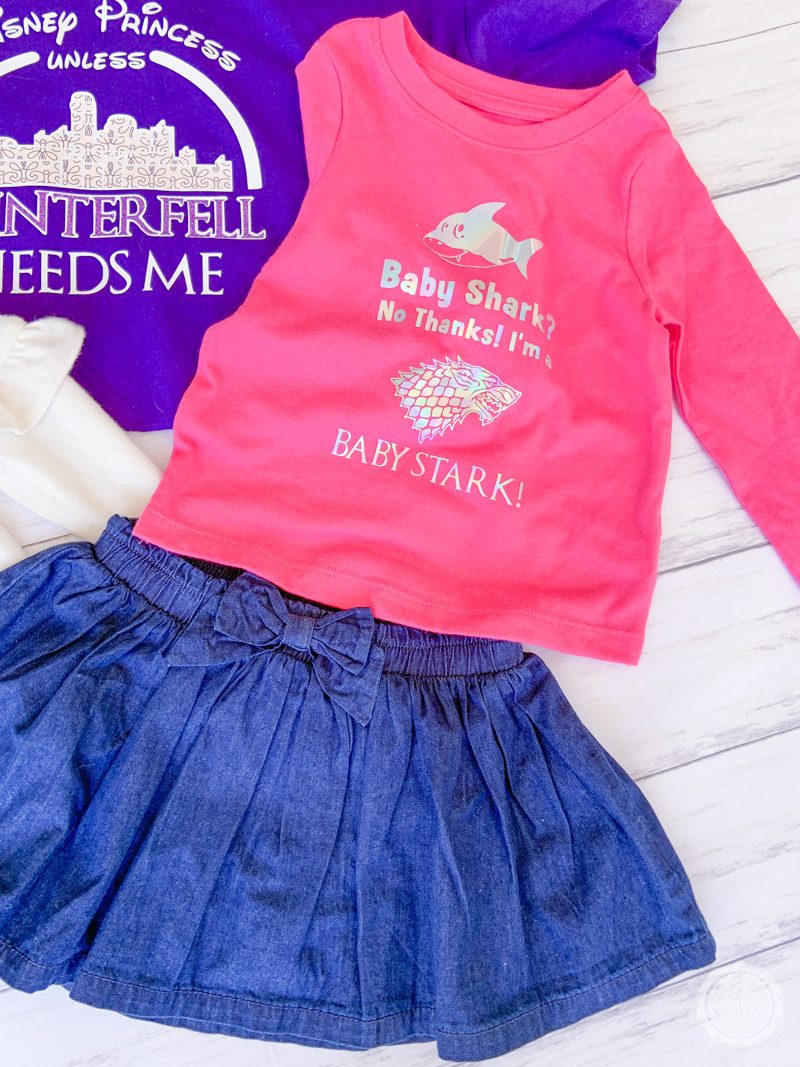
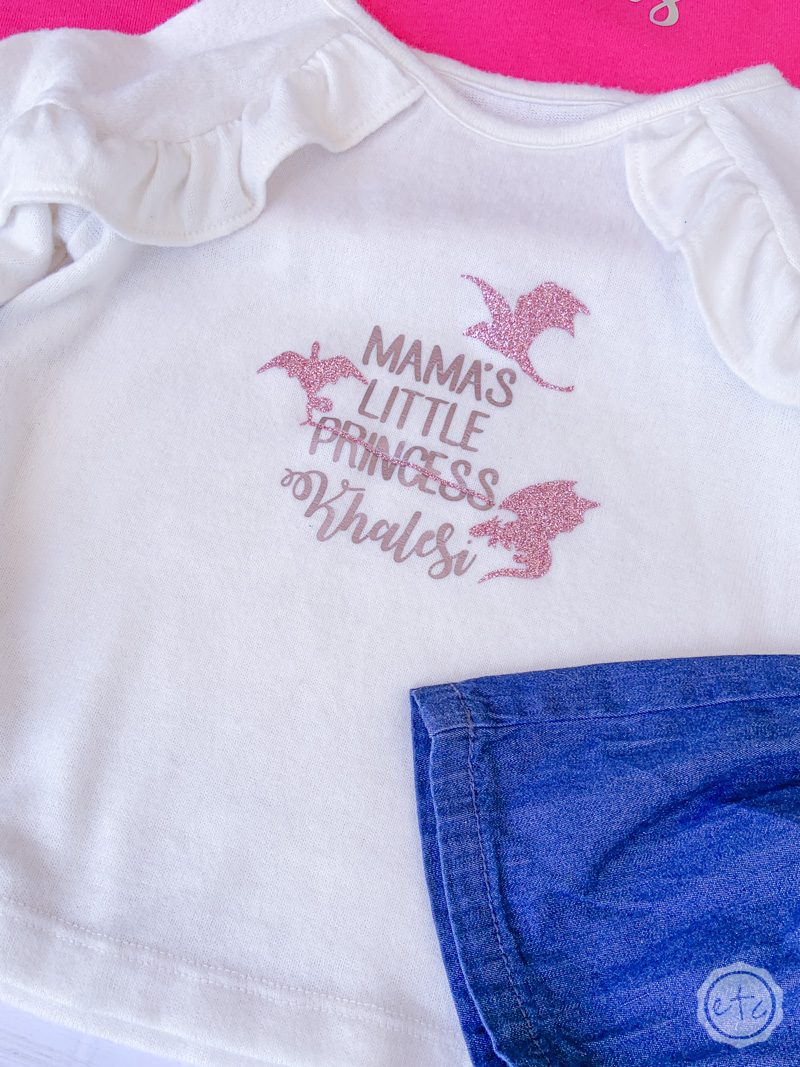
Of course, I couldn’t stop there! Once your easy press is heated up and the cricut gears are turning it is super simple to crank out a bunch of these! I whipped up 4 more so that we all had a little something Game of Thrones to wear tonight.
Take a look!

I just can’t wait for 8pm… I’m not sure if I’m emotionally ready for this. If you’re reading in the future you already know what happens! Who lives? who dies! WHO SITS ON THE THRONE!!!!
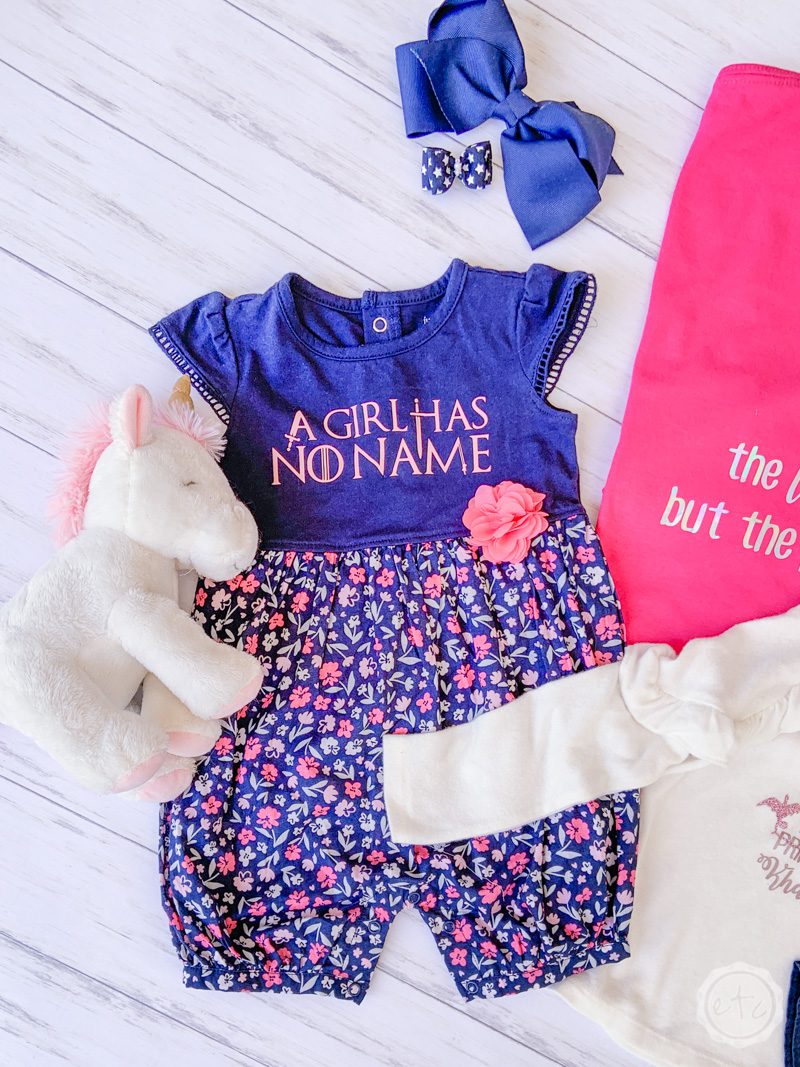
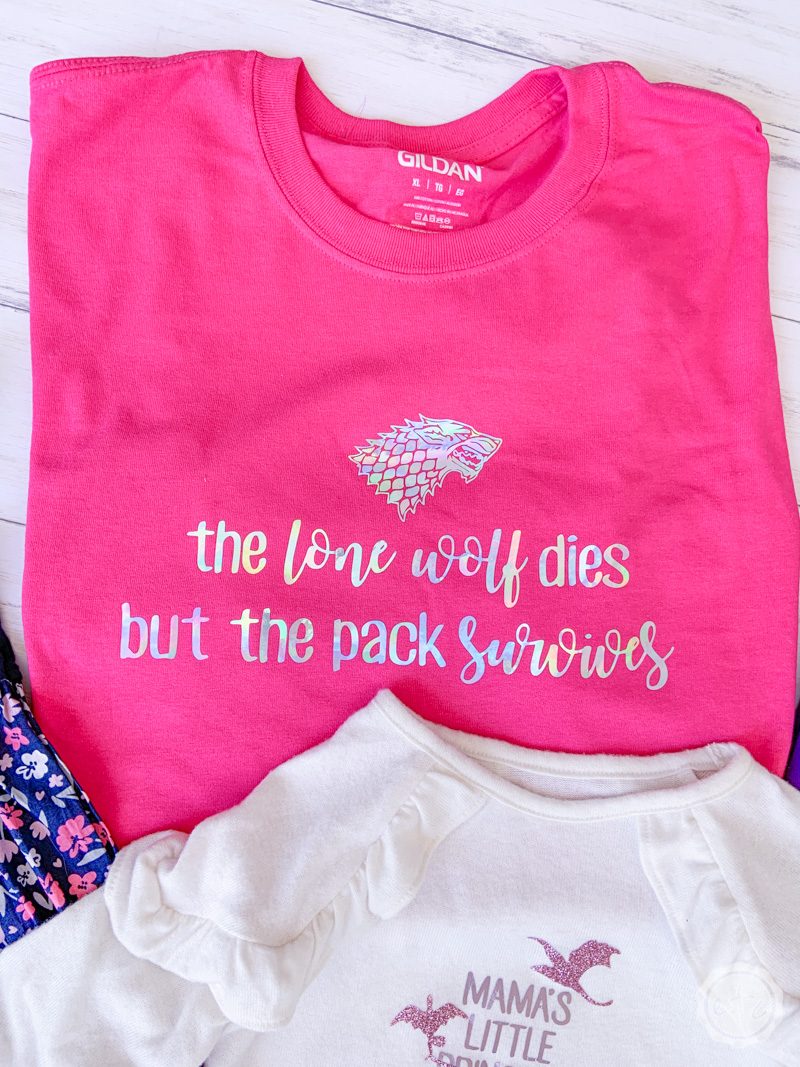
I am not in the future so I’ll just soothe myself with pretty t-shirts. I’m wearing the pink one that says “the lone wolf dies but the pack survives” tonight… and a second friend of mine has asked for a big persons version of the “A Girl Has no Hame” romper. Luckily vinyl is easily re-sized (isn’t that the best part of cricut? You can make a child sized t-shirt in adult size easy peezy lemon squeezy!) so I’ll take that cut file and whip her up a t-shirt before the show starts. You can grab the “I am a Disney Princess unless Winterfell Needs Me” cut file for free at the bottom of this post but if you want all 5 files you get them here!
Which one are you whipping up for the finale?