

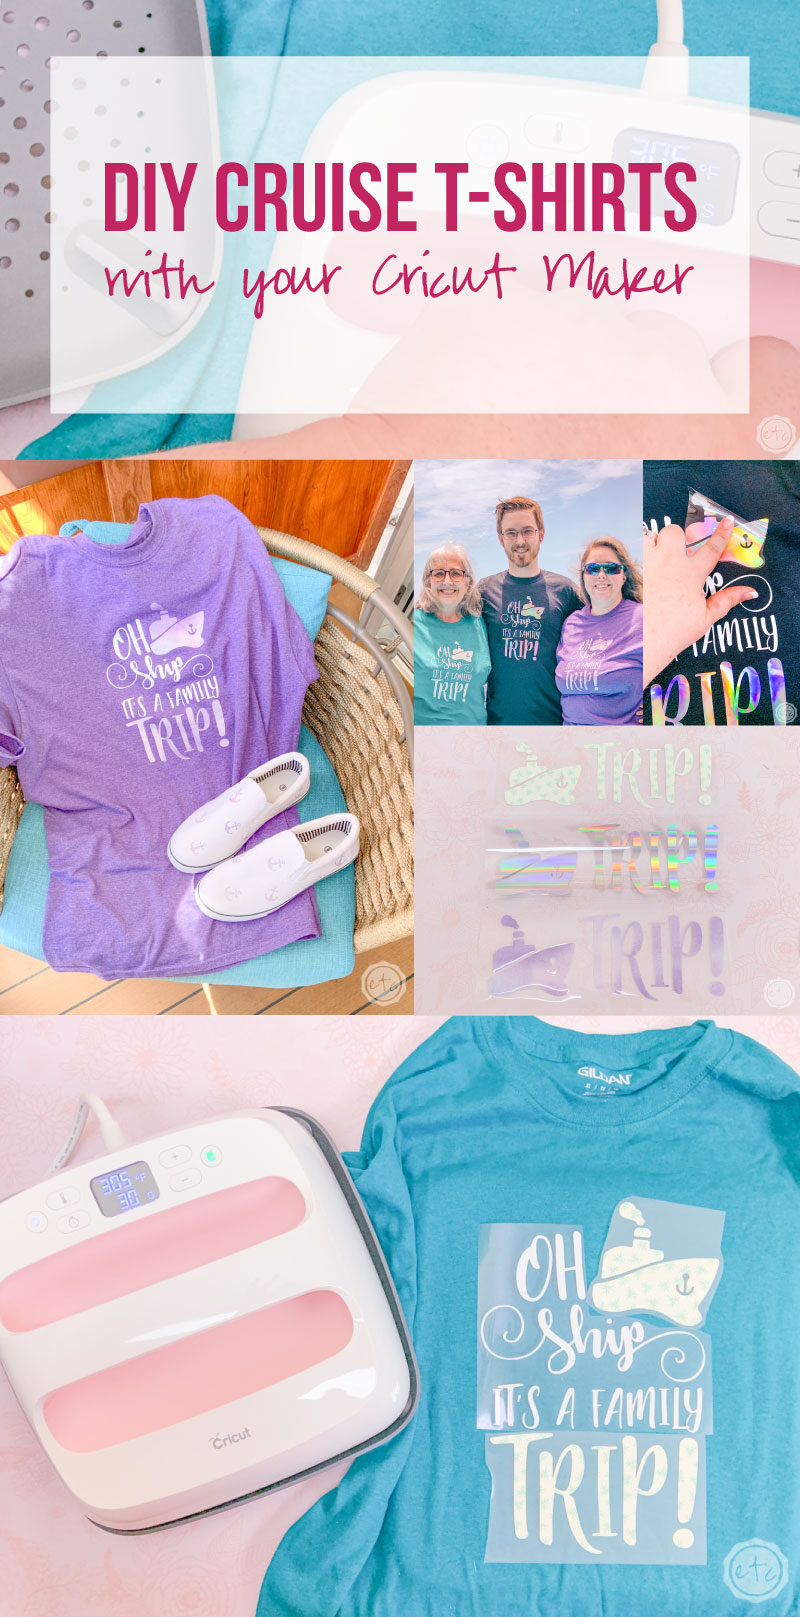
Getting ready to board a cruise ship with your whole family? Dying to get matching family cruise shirts but don’t want to spend a small fortune? Luckily t-shirts are super easy to make these days… and with the free svg cut files at the bottom of this post you’ll be able to whip up shirts for your entire family!
Easy peezy lemon squeezy!
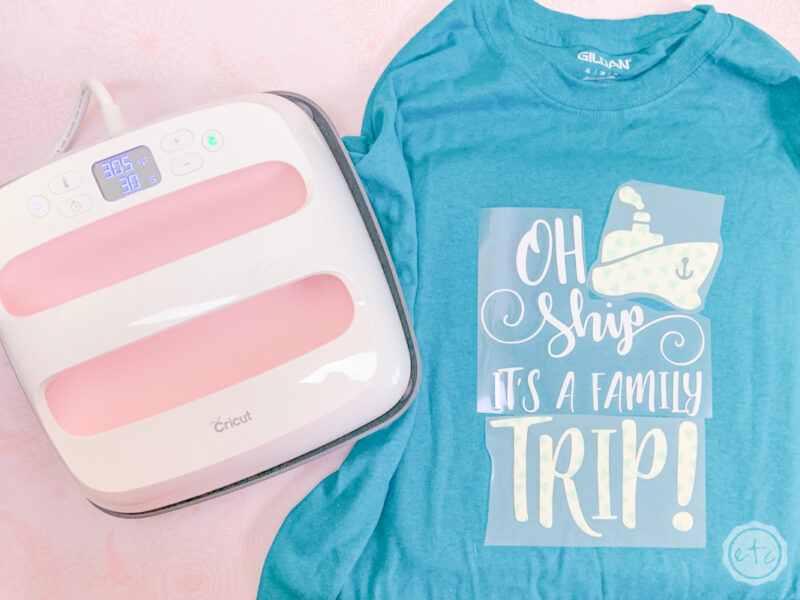
Let’s get started! If you’ve made t-shirts in the past you probably have all the necessary supplies… but if not I’ve made you a nifty little supply list. The basic jist is cricut, cricut tools, t-shirt, iron-on… and you’re ready to rock!
Supplies:
- Cricut SVG Files (FREE at the Bottom of this post!)
- Cricut Maker
- Fine-Point Cutting Blade
- Standard Cutting Mat (that’s the green one! Even though I used the fabric mat for this project)
- Cricut Easy Press 12 x 10
- Cricut Easy Press Mat
- Blank T-Shirt
- White Iron-On
- Coordinating Patterned Iron On (Black Shirt: Holographic Iron-On, Teal Shirt: Party Time Pastel Iron-On Purple Shirt: Indigo Sky Iron-On)
- Cricut BrightPad

Step 1: Cut Your SVG Files
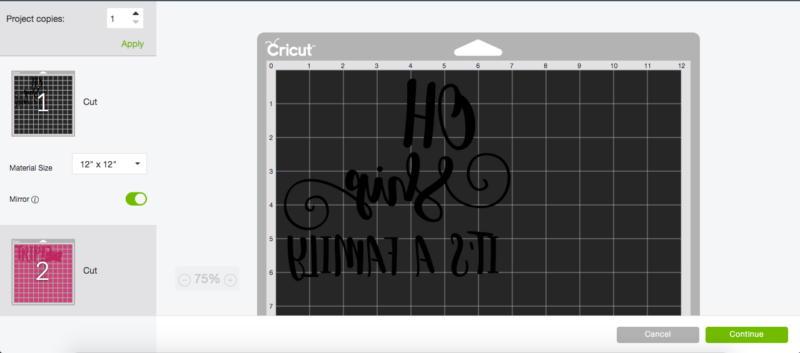
Ready to jump right into the project? Grab your cut files from down below and upload the SVG’s into Cricut Design Space (if you need help check out this post on how to upload SVG files into Design Space).
Load your iron-on onto your mat shiny side down (top down y’all… we want the clear layer to be against the mat and the actual iron-on to be on top (upside down but on top)). Make sure you turn the “mirror” option on so that your iron-on cuts properly and you’re good to go!
I have “sportsflex iron-on” in my favorites material list so I click that for my materials, load my mat and get to cutting… easy peezy! (FYI I used a green standard grip mat and my normal fine point blade since this iron-on is a fairly standard vinyl weight).
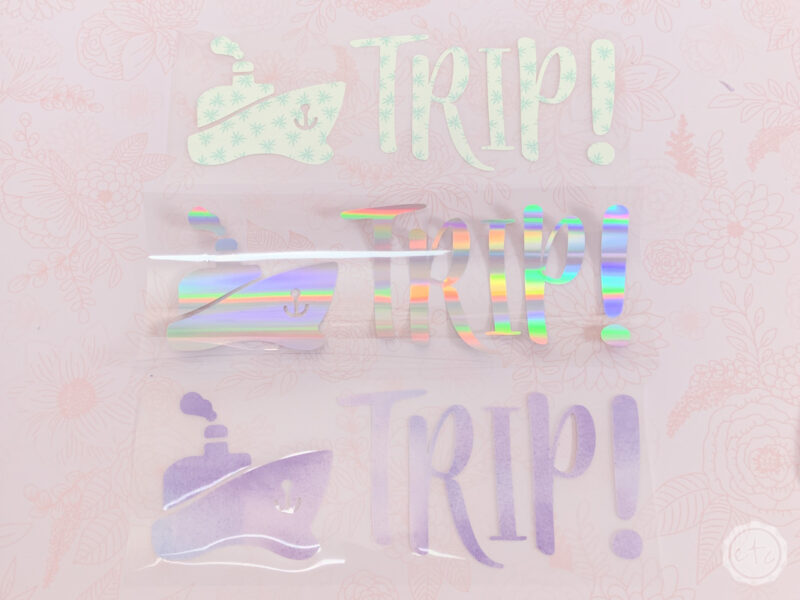
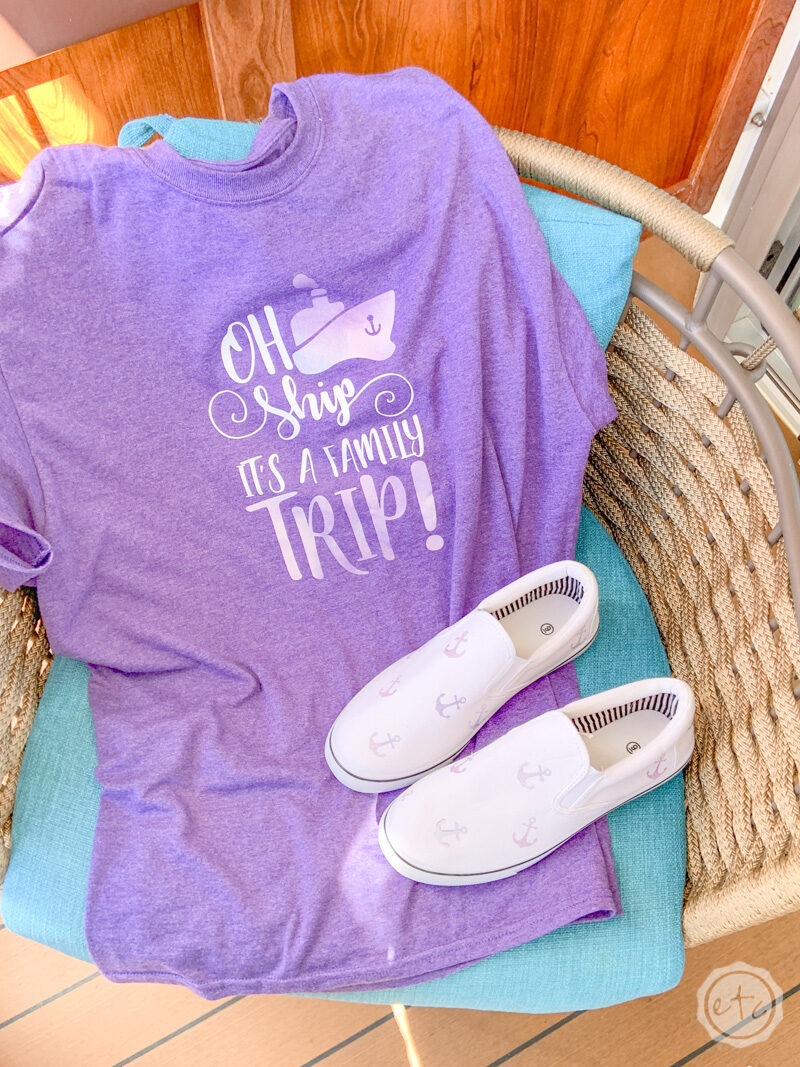
Since these are family shirts you have two options: make them all 100% identical with the same color shirts and patterned vinyl (that holographic iron-on is KILLER!) OR make each shirt the same design but with different colors for each person.
Which is what I did since our little 3 person fam isn’t huge and my bro wanted a different color than my mom. If you’re making 30 of these it would be easier to just up the project copies to 30 and make them all identical.
Since I used different patterned vinyl for the ship icon and the word “trip” I had to cut that mat 3 separate times with the different colored vinyl… but the main words “oh ship it’s a family” were all cut out of white so I was able to simply cut that mat one after the other… alllllll with white vinyl.
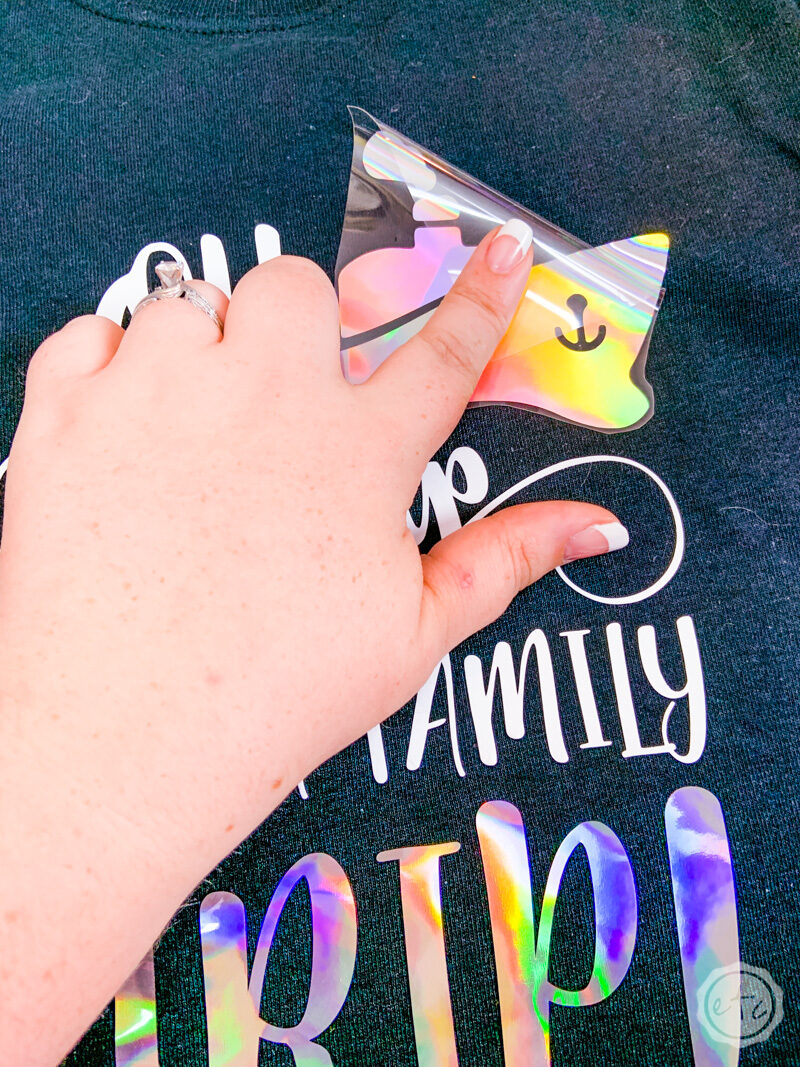
Step 2: Weed Your Vinyl
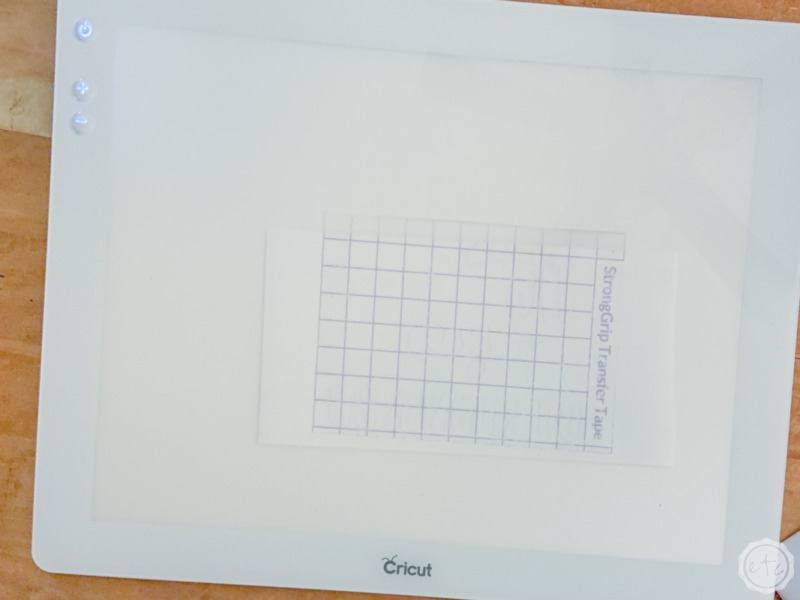
Once all of your vinyl iron-on is cut it’s time to weed all of the negative spaces… easy peezy! The “ship” weeds super quick and even the patterned vinyl is pretty easy. I have to get out the bright pad for the white iron-on though. Every. Single. Time.
I swear the white iron-on is my arch nemesis. It is horrible to weed… you can hardly see the difference between the positive and negative images. It’s like the cut lines don’t even exist.
I typically don’t even need my bright pad for weeding… I bought it specifically for weeding white iron-on after spending an hour weeding white iron-on for a cute “bless this mess” sign with 3 words!
Just take a look at the difference between the image above where the cut lines are not even visible in the white iron-on and the white iron-on on the bright pad below.
Boom.

Step 3: Apply the Iron-On!
Ready for the fun part?! Time to actually put our iron-on…. on the shirt! Start by setting your easy press to 305 and 30 seconds… which is the perfect settings for t-shirts!
Then set out your t-shirt on top of your easy press mat and pre-heat the shirt. If you’re not sure what that means it’s simple… put your easy press onto the shirt without the iron-on and press down for a full cycle (30 seconds) that will warm up the shirt so that it’s ready to accept the iron-on.
Now use your scissors to cut the excess clear plastic cover away from your design so that you can fit it all on the shirt in one go and don’t have to keep coming back for multiple layers.
Once you have your design set up straight and pretty on your shirt hit that easy press button and hold your easy press down with firm pressure for the full 30 seconds. Depending on the size of your decal you might need to to do a second round by moving your easy press down a bit (if you have the middle size easy press like I do and the decal is bigger than your easy press).
Once you’ve gone over the entire decal on the front flip the shirt over and do the same thing from the back of the shirt (leave the protective covers on!). This way the decals are heated evenly from both sides… you’ll get great results.


Ready for the fun part? Once you’ve hit the iron-on from the front and the back hold your shirt up and let it cool down for about 20 seconds. I may be psycho but I think I get better results when I hold the shirt in front of me and let the air cool it down from both sides then when I leave it on the hot easy press mat to cool down.
Once the shirt has cooled slightly you’ll do a warm peel of the vinyl. Pull the protective covering off by rolling it backwards away from the decal. The iron-on should stay firmly on the shirt!
If for some reason as you roll the protective cover away the iron-on decal is not bonded fully simply place the protective cover back down and hit it with the easy press again.
Just make sure to NEVER use the easy press directly on top of your iron-on. If you’ve already taken off the protective covering from the little ship and now your words aren’t bonded you’ll need to add a protective covering (I like this protective iron-on sheet since it covers everything) before hitting it with the easy press again… otherwise the easy press will MELT the exposed iron-on completely ruining everything and making you cry.
At least that’s what happened when I did it.
Luckily I’ve never had that problem when using my easy press on t-shirts… these settings seem to work every time! Making life much easier!
I had a heck of a time with my little sign though…
Ready for the grand reveal!?


Looking for more Cruise DIY’s? Check Out These Projects: