


After deciding which Cricut Machine is best for you (still confused? Check out our full comparison post here) the next step is often deciding which Cricut accessories you absolutely must have. Let’s face it if money grew on trees it would be a simple solution… one of everything please! But in a realistic world we have to narrow it down. Which means picking our absolute favorite beginner must have Cricut Maker accessories.
Of course, I’m not alone in wondering which tools are best for a beginner. A sweet reader named Kenya recently wrote in asking for advice on which accessories she should buy with her new Maker.
Hi Betsy!
My gosh my Cricut desire is rising exponentially seeing all of these projects! All the heart eyes… all these projects using a Cricut makes me want one! I think I’ve decided on the Cricut Maker but I want to make sure I have all the tools I need to get started. What would you recommend I buy with my Maker?
Thanks
-Kenya
Well Kenya I always always always recommend buying a bundle (this is the one I have!) but the even the bundles don’t include E.V.E.R.Y.T.H.I.N.G so here are my top must haves for working with your very first Cricut. (If you’re completely overwhelmed at this point and don’t even know what a Cricut is head over to this post and start at the beginning!)
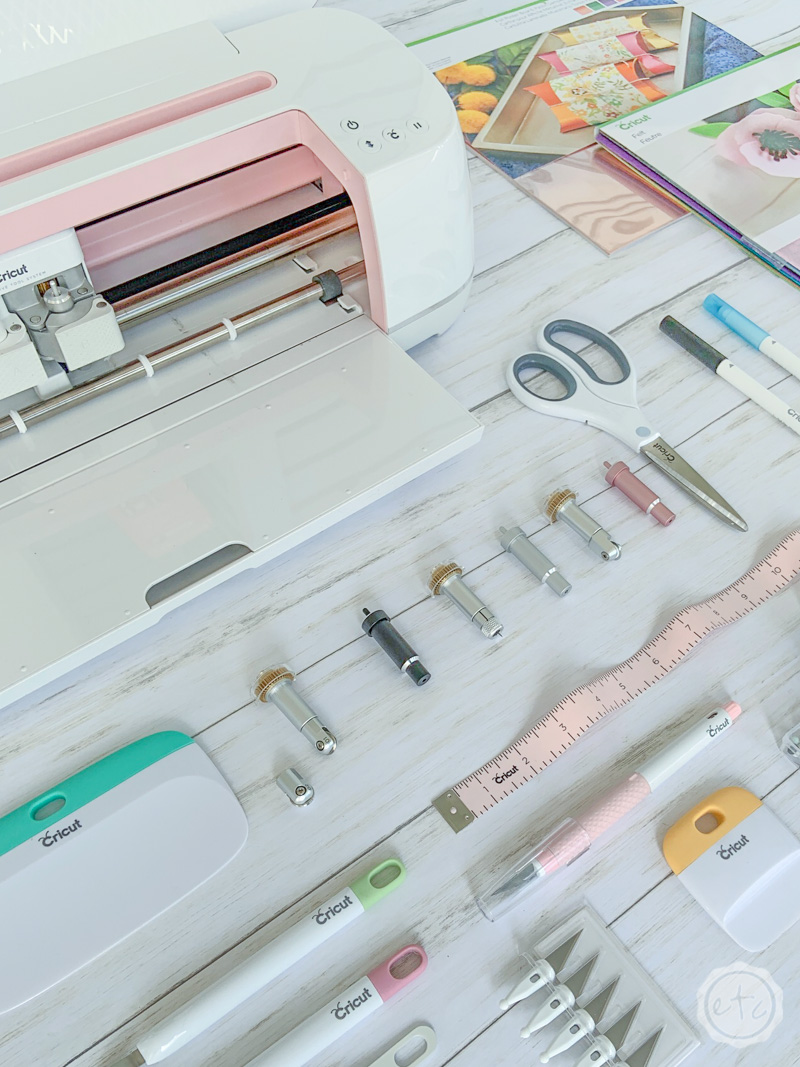
Top 5 ABSOLUTE Must Have Accessories
Set Yourself Up for Success: My Favorite Non-Necessary Cricut Tools
Cricut Easy Press 2 and Easy Press Mat
Ready for the full breakdown? Here’s my favorite part about each of these fun Cricut Tools!
You know I can’t get away with a quick bullet point style list. If you’re wondering why you need each and every one of these tools here’s the answer!
Get ready for a long post y’all!
Although I’ve put large headers over each tool so you can jump right to your favorite if you’re looking for something specific. *wink wink*
Ready to get started?

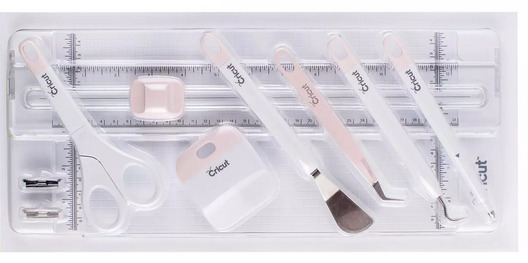
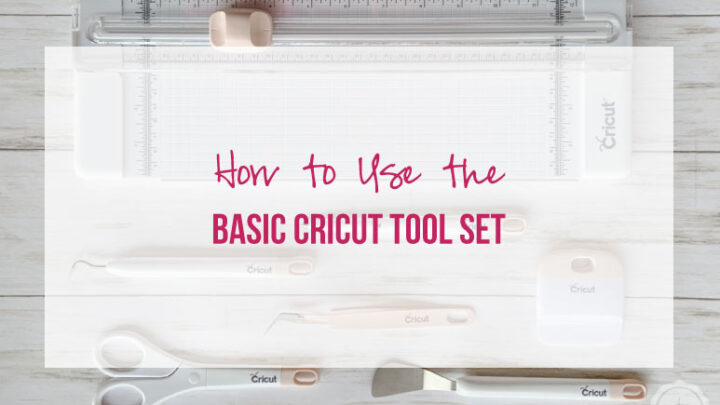
Essentials Tool Set
If you buy annnny kind of bundle you’ll receive a tool set. What is included in that tool set just depends on your bundle! Regardless more tools are always the best solution.
I always find myself using multiple weeding tools when working on a project!
This essential set includes a paper trimmer which is great for cutting down vinyl or paper before loading them onto the cutting mat. I could be wrong but this little took kit is the only one I know of that incldues the paper trimmer… so it’s automatically my favorite. It also has a pair of scissors, spatula, reverse tweezers, a weeding tool and the scoring tool.
Of course, my favorite part of this tool set is that it comes in fun colors to match your machine. I obviously picked the rose kit so that it matches my pretty rose maker.
Alll the rose tools y’all… that’s my goal!
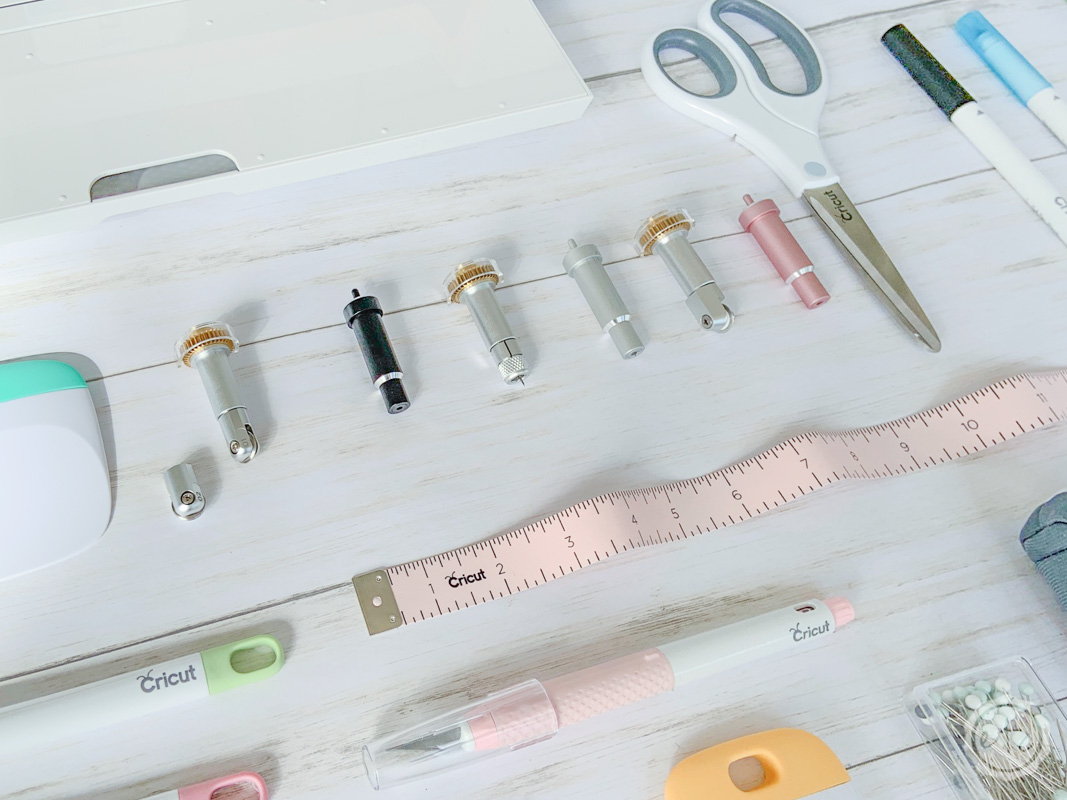

Knife Blade
For some strange reason the knife blade was not included in my Cricut Maker bundle. The rotary blade and fine point blade and included but all of the other blades have to be purchased separately… which is great but I was excited for the knife blade darn it!
One of the best features of the Maker is it’s ability to cut through thicker materials and I was READY to cut chipboard and balsa wood. Which means the knife blade was the first extra accessory I loaded into my cart.
Looking for a bit more info? I go over a full in-depth review of the knife blade here.


True Control Knife
This may be my absolute favorite knife ever. I’ve used exacto knives for years… like most of you have. Up until this little knife I still used the standard silver exacto knife I stole from my dad’s work room for crafting as a teenager. Is that just me?
I ordered this baby on a whim with the rest of my bundle… because (you guessed it!) I just couldn’t resist the rose color. Now that I have it I am amazed. It is so easy to use… the knife is sharper than anything I’ve ever used. My absolute favorite part is that this little guy doesn’t roll. Even when I was laying out the tools for this little photo shoot all the pens and blades would. not. sit. still. but the true control knife was stationary as ever.
Plus it has a handy blade switch out feature so you can switch the super sharp blades without touching them. Which is kind of handy when it comes to clumsy people like me. *wink wink*


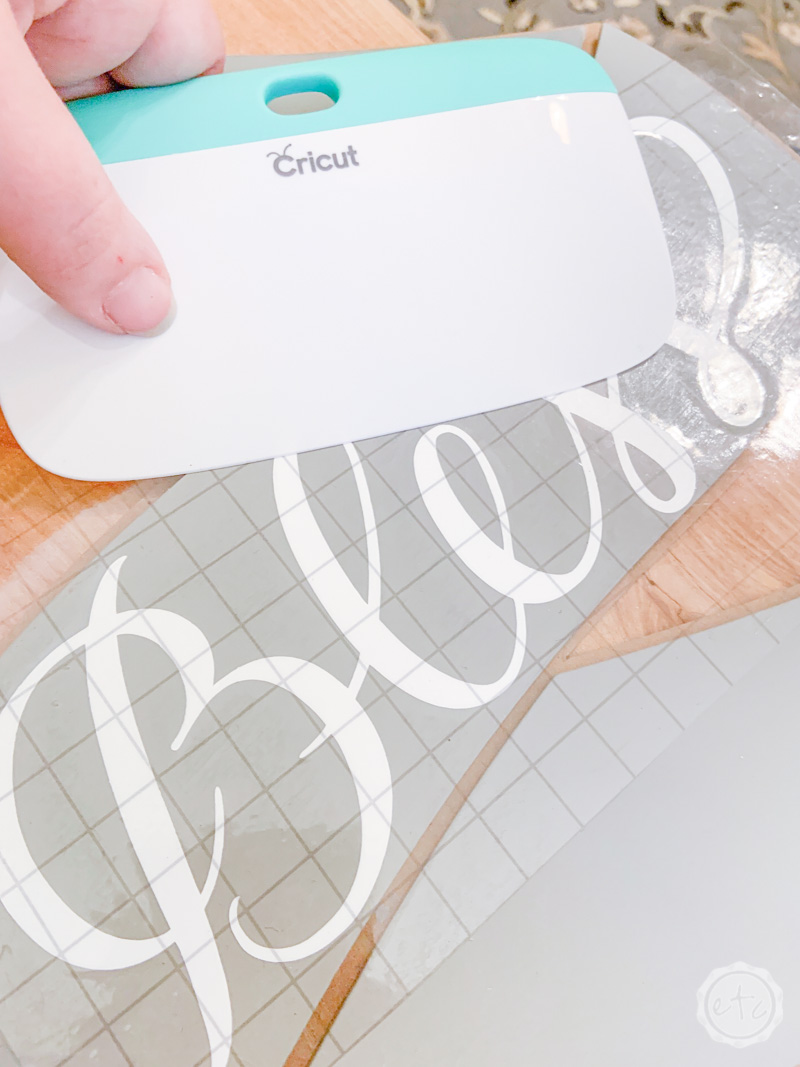
XL Scraper
So this little guy is a game changer. I was so not a believer and I did without for many many many years…
I recently picked one up and found out why everyone loves it so much! I was doing vinyl projects with the regular scraper and having to go over, and over, and over my vinyl to get it to stick to the transfer tape or the surface of my project.
I couldn’t understand what I was doing wrong since everyone makes vinyl and transfer tape look so easy! I sat on the floor in my living room with my little scraper for about 2 and a half hours to transfer all the words on this menu board… which is not a lot of words. Then I picked up this XL scraper and everything makes sense now. I think it’s because it’s wider so you can cover more surface area while putting more pressure but I haven’t had any problems using transfer tape to pick up my vinyl letters.
The letters on this fun little “Bless This Mess” sign? Took about 10 minutes from start transfer tape to finished on the sign. SO. MUCH. FASTER.
I’m a believer.


Extra Mats
When you first start out you think “oh I’ll just get one mat and it’ll work for everything” and that’s true to a certain extent. If you’re just doing vinyl? You can use the same mat for everything. Just doing fabric? Same mat for everything! You get the jist…
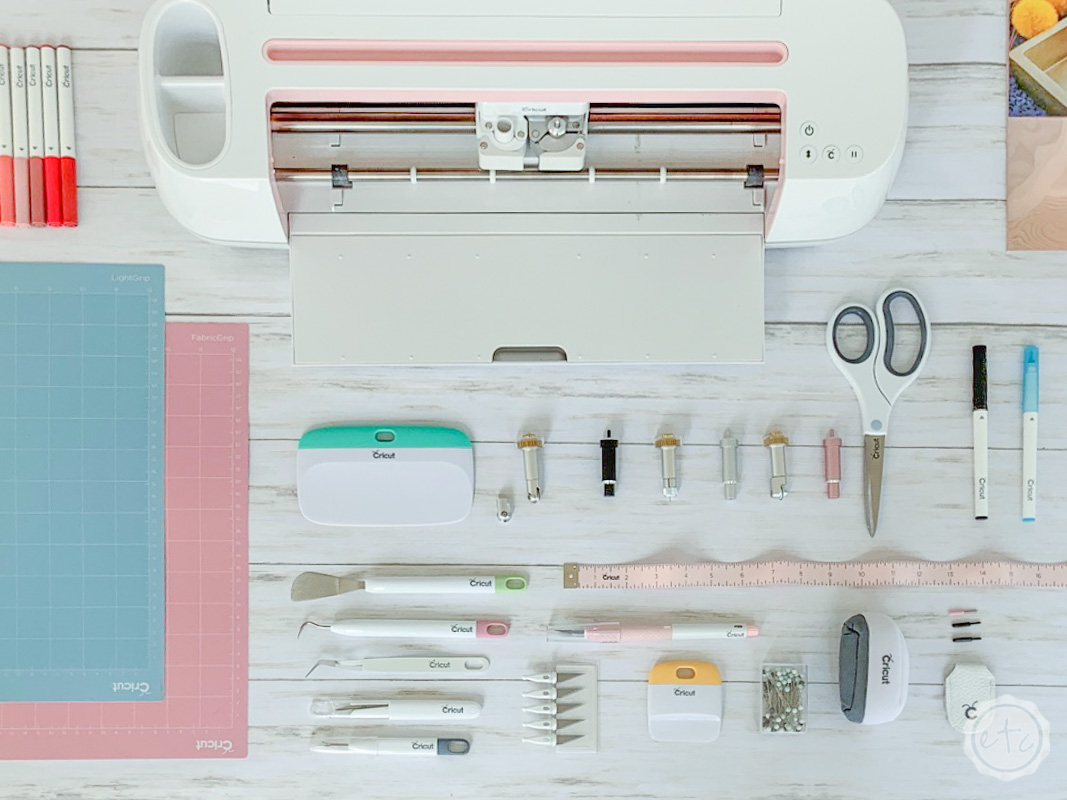
There are four different types of mat (strong grip, standard grip, light grip and fabric grip) if you’re going to be doing different projects I recommend having at least one of each… since you never know when you’ll need something.
Of course, once you find your favorite mats (I basically use light grip or strong grip for everything I do although the others come in handy every now and then!) I recommend having extras of those. Not because you run through them so quickly (although you will use them up and then need to clean and re-stick them after a while) but because larger projects will ask for several mats.
You can load and unload one mat continuously or you can have several mats loaded so that when the machine is done cutting the first mat you simply load in the second. This is my favorite way of working since I prefer to weed directly on the mat.
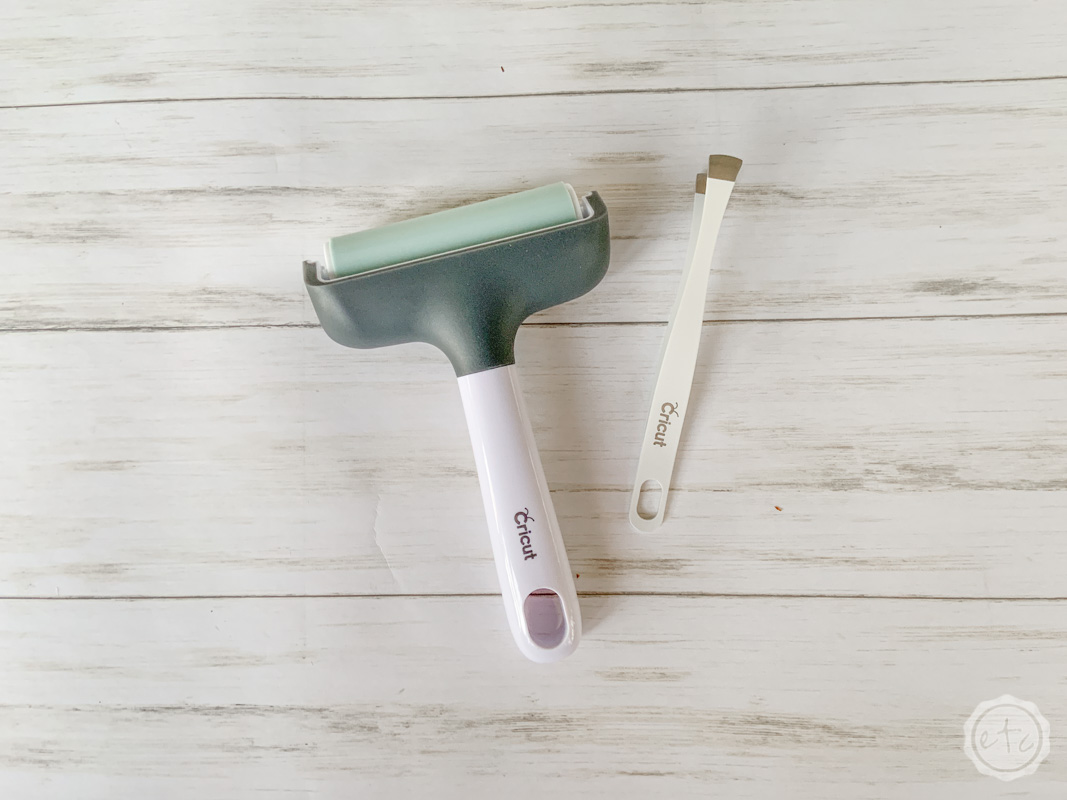

Brayer
This is my favorite new tool. The XL Scraper is bomb when it comes to vinyl and paper but when it comes to thicker materials? Leather? Chipboard? Fabric? Felt?
This little brayer (what the heck does the word brayer even mean!?) is the best. It helps apply even pressure and is so much easier than the scraper to help load your mat. Plus it’s so much fun to use!

Self Healing Mat
I don’t quite understand the mechanics of a self healing mat but that doesn’t really matter. This little mat is the perfect companion to your true control knife (exacto is so much easier to say… I need a nickname for this true control knife!).
I know it’s silly but I was using my sticky cutting mats for to cut extra materials for a while… they protect my counter from my little knife but when you’re just trying to make a quick cut (say to cut your vinyl down to size before loading your mat) the sticky on your regular mat is not exactly what you’re looking for.
This little guy is perfect for those moments and since it’s pretty you can leave it out all the time. Plus it has all the functional cutting marks you need to make things the proper size.

Weeding Tool Set
If you’re cutting a lot of vinyl this little set is a must have. It has all the tools you need to get those weird little spaces and hard to reach do dads when you’re cutting vinyl.
The standard tool set has a great weeding tool and if you don’t cut much vinyl you’re probably set with the standard tool set. These little tools are bomb for weeding though so for a bit of extra moola you’ll be set in the weeding department.
I must look like an idiot when I’m weeding since I tend to use two tools (like chopsticks?) one to hold down the positive areas of the design and one to weed the negative areas… so I love this little set.
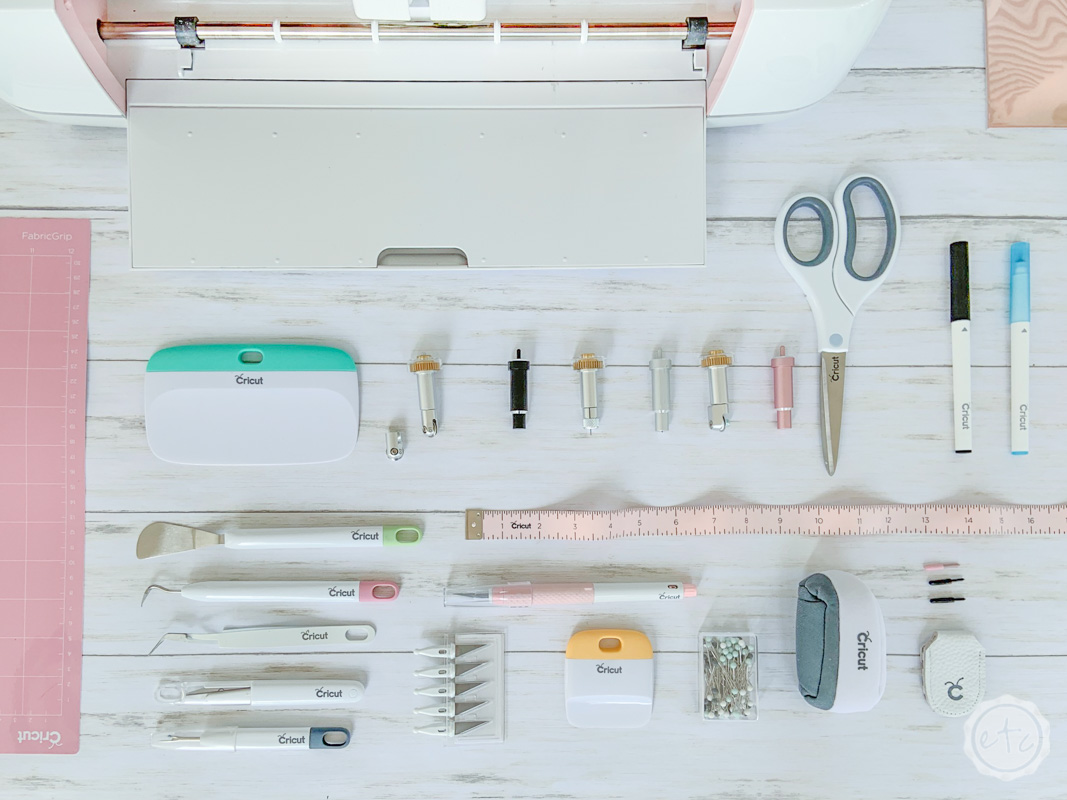

Bright Pad
Say hello to your new best friend.
This little guy is like a light weight light table… a light table in a pad. I guess that’s where they get the name. You turn this baby on and then place your vinyl over it before weeding… it lights up all the cut lines so that you can weed without straining your eyes.
I was weeding a bit of white vinyl without the bright pad and realized I never wanted to weed anything without it ever again. Even with all the overhead lights on I could hardly see the cut lines… I turned a table light on and that helped a bit but I still felt like a little old lady needle-pointing next to a table lamp in the dark!
I have only used mine for weeding vinyl but I hear it’s great for all kinds of other things: tracing designs, paper piecing quilt blocks and even working with models, jewelry and needlepoint. If we’re talking technicalities this little gal is scratch resistant which is kind of important when you’re going at it with sharp weeding tools.

Cricut Easy Press 2
Okay so when it comes to the Easy Press I was in the “that’s not necessary I can totally just use my iron” camp. For many years I lived in this camp, I liked it there. I did many projects there. But here’s the problem.
My little iron works but it isn’t made for iron-on or htv… which means it causes more problems then it solves. Your iron heats the surface of your project un-evenly which tends to lead toward some of your HTV sticking to the surface while other areas remain un-stuck. It can take many passes with the iron to completely adhere your iron-on pattern to the surface.
The Easy Press on the other hand is the bomb… it heats up to the perfect temperature across the entire surface. Which means you can guarantee that every bit of your iron-on is being adhered… less passes, less problems, less crying in the corner trying to figure out why the heck your iron-on won’t iron on.
Of course, if you aren’t planning to do a lot of iron-on projects you may not need this little baby… but remember HTV works beautifully on wood and this little Easy Press is your best solution. I have used an Easy Press several times and I cannot wait to own one… the raspberry, blue and wisteria options are less expensive but in true Betsy fashion I’m saving my pennies for the Rose version.


Easy Press Mat
This little mat is the bomb when working with your Easy Press (how many times do I say bomb in this post?). You can use a small ironing board or even a towel (I’ve done both!) but this little mat is so much better. It helps reflect the heat from the easy press back up into your project so that your iron-on is adhered from above and below.
Awesome.
Don’t forget to pin!

Want to take a look at the rest of the Cricut line up?


[…] the. options. at the Cricut Store don’t worry… I’ve written out a full post on my favorite beginner must have accessories to buy with your first Cricut… that way you’re set up for […]