

Infusible Ink is so easy to use: it cuts beautifully, you can weed it easily and it bonds perfectly with your fabric so that it can be washed over and over and never peel. Sounds like the perfect material!
Of course, while it is easy to use in so many ways the one downside is that you get one shot. With iron-on or htv you can put down one carrier sheet, heat it up, layer a second carrier sheet, heat it up… and on and on until your design is finished.
With infusible ink you can put down one carrier sheet and heat it up one time… so your entire design better be on that one carrier sheet!
Luckily it’s a pretty easy process and the results are absolutely stunning. I’ve put together a fun design that uses three different infusible ink sheets to walk you through all the steps!
Let’s get started.

Supplies:
- Cricut Maker
- Fine-Point Cutting Blade
- Standard Cutting Mat (that’s the green one! Even though I used the fabric mat for this project)
- Cricut Easy Press 12 x 10
- Cricut Easy Press Mat
- FREE Cricut SVG Files
- Infusible Ink Sheets: Ultra Violet, Galactic Stars Set
- Heat Resistant Tape
- Infusible Ink T-Shirt Blank
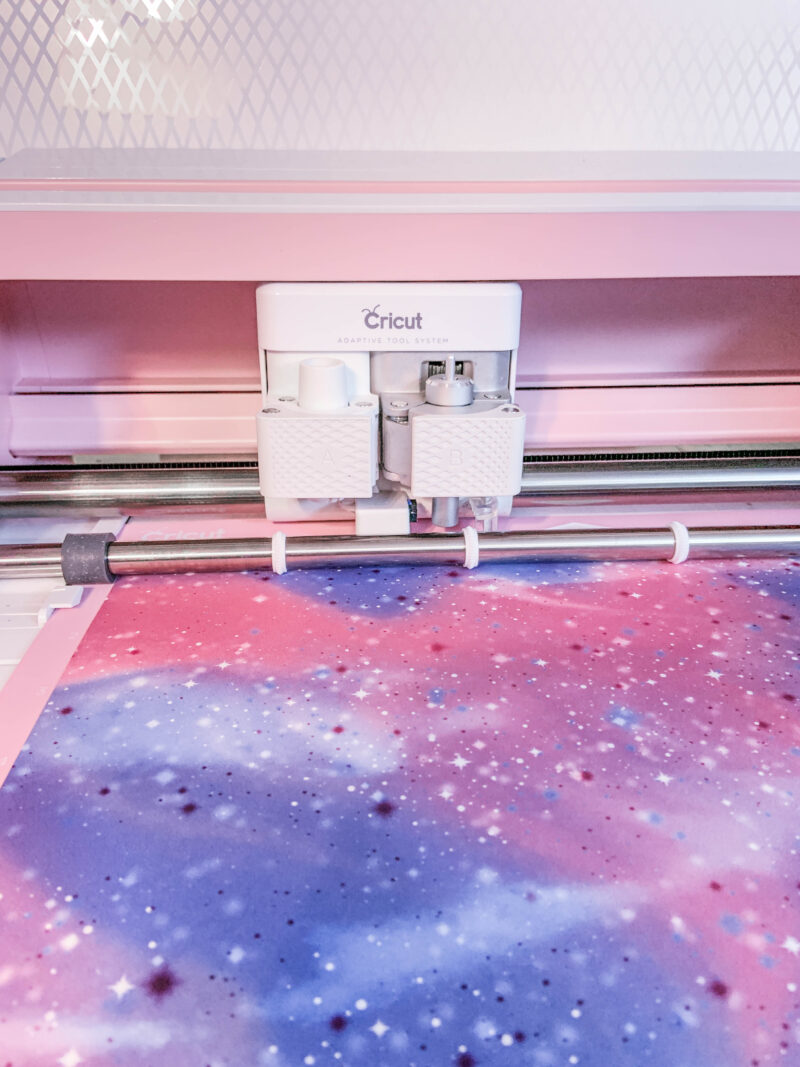
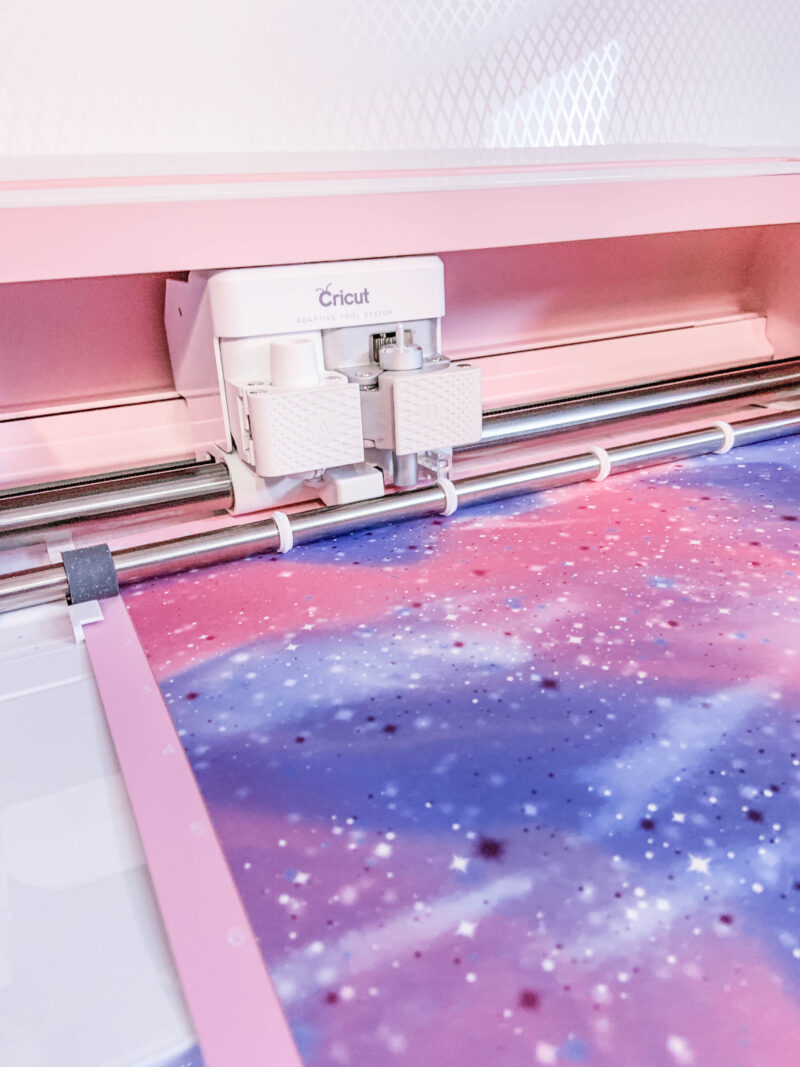
Step 1: Cut your Infusible Ink Sheets
Start by cutting your design on your Cricut Maker (or your Explore Air 2… or even the Joy (although you’d have to cut it in pieces…)). For this project I wanted to make an Outlander T-Shirt (if you’ve never seen Outlander and you’re a fan of Game of Thrones you should check it out!)… but this process will work for any design you want to use multiple infusible ink sheets for.
Of course, if you want to make this Outlander shirt you can download the FREE SVG at the bottom of this post! Then upload the SVG to Design Space and you’re ready to rock. If you’ve never uploaded an SVG to Cricut Design Space before you can follow all the steps in this tutorial.
Then simply select Infusible Ink as your material and hit make it! Cricut does a great job at reminding you of your print settings but just in case: load the infusible ink with the ink side up and don’t forget to mirror your design.
Easy peezy!
I’ve loaded all 3 infusible ink sheets onto separate mats so that when one mat finishes cutting I can load the next mat directly into the machine… I know, I know totally unnecessary but it makes things go so much quicker! This way I can weed while the machine is cutting the second sheet and not in between cuts!

Bonus Tip: Just a note for those of you who have never used infusible ink before. These sheets are literally made of ink, they basically are ink! So make sure to handle your infusible ink sheets using clean dry hands. Any water or gunk that gets onto the sheets (or scratches!) will mess up the ink leaving that portion of the transfer sheet unusable.
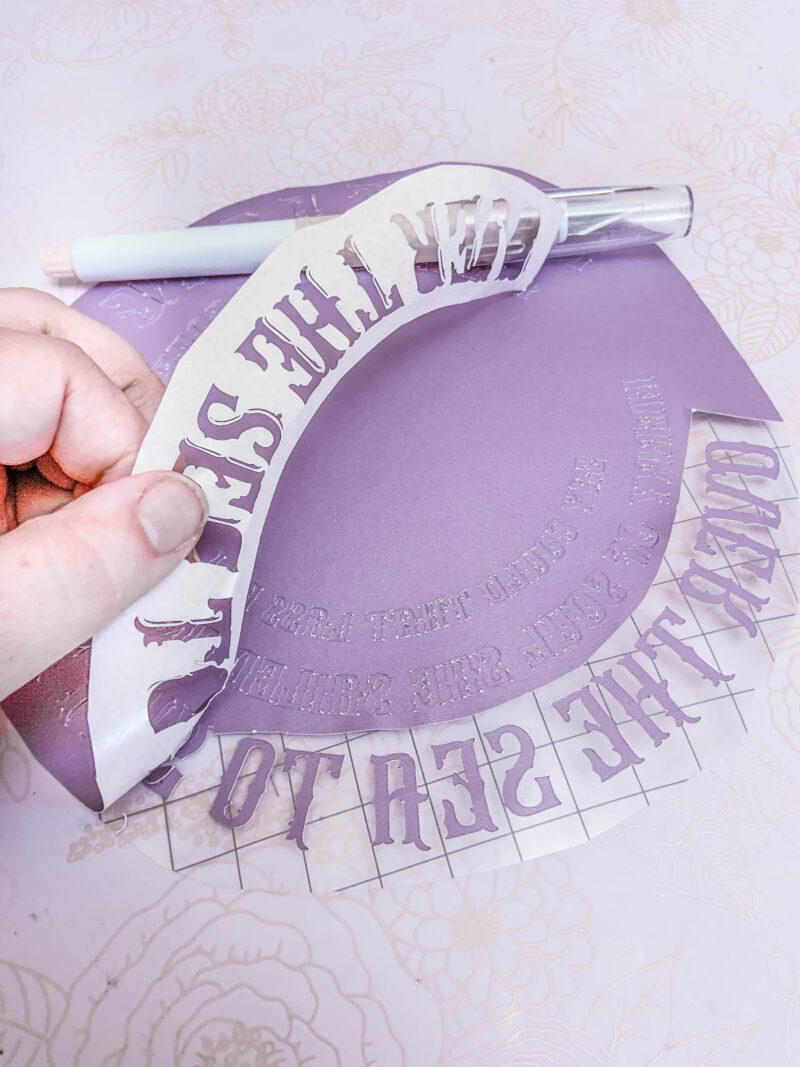
Step 2: Weed Your Decals
Now that we’ve got our first infusible ink sheet cut out and ready to go it’s time to weed the design. If you’ve never weeded vinyl (or any other material) weeding is basically the process of removing the unwanted area from our design.
We’re going to remove the background and all the little bits and bobs from the inside letters. That’s the technical name for it too… bits and bobs… surprisingly I have an actual graphic design degree!
When weeding vinyl we would use a weeding tool to remove all the bits and bobs (I’ve committed, I have to see it through now) but a weeding tool is a bit to sharp for these ink sheets. Luckily infusible ink is pretty thick… more of a cardstock weight then a paper weight. So you’ll find that all of the pieces pop right off the sheet with only a little persuasion from your fingers.
Go ahead and weed all 3 sheets (being careful not to rip anything) and then we’ll put all the designs together!


Step 3: Layer All 3 Infusible Ink Sheets Together
This is the fun part!
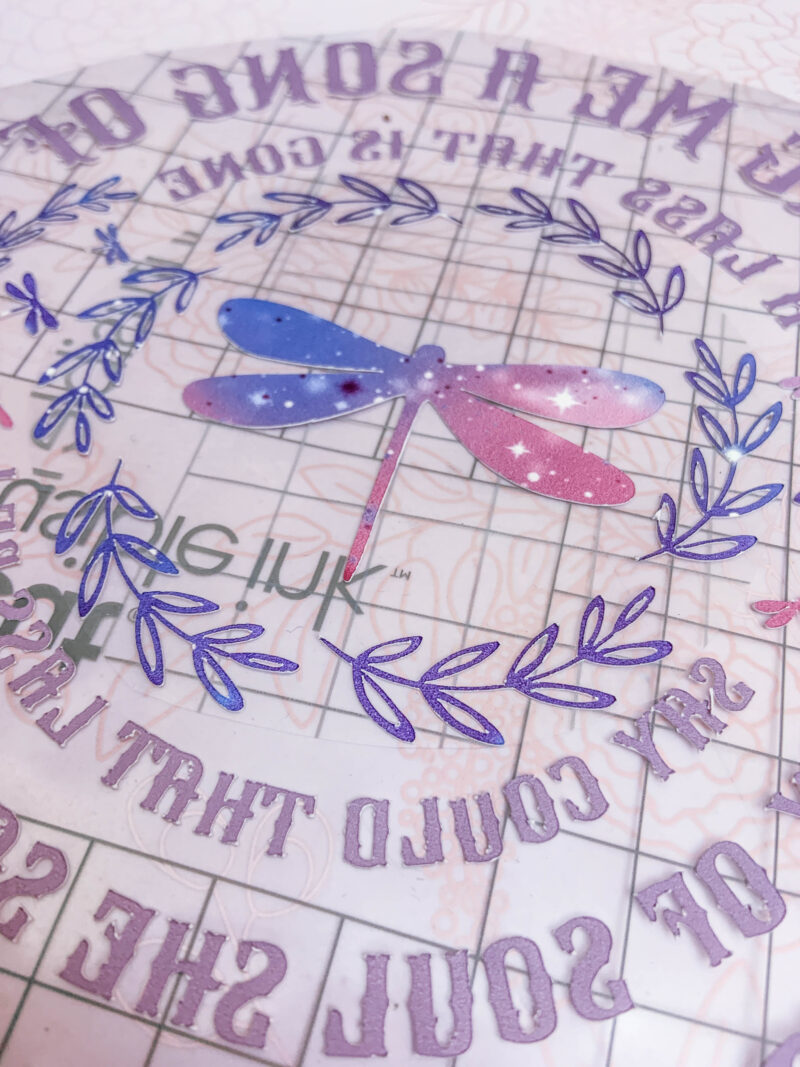
In order to use our heat press one time on 3 infusible ink sheets we need allllll of the infusible ink pieces to be on one carrier sheet. The carrier sheet is what we call the clear sticky backing that the infusible ink comes on (in case you were confused).
We’ll do this by picking our largest section as the main carrier sheet (in this case the words) and then transferring all of the other pieces to that carrier sheet.
You’ll do this by physically picking up all the little pieces and placing them down on the new carrier sheet… literally one at a time. It’s not that bad unless you have an intricate design so be conscious of that when picking your design.
In this case most of our design is already on the word sheet so we’ll only have to move the floral wreath and the dragon flies.

Bonus Tip: You don’t want to have too many layers (other wise the heat press won’t be able to heat the layers properly) but if you have a lot of little pieces on a secondary transfer sheet (that you have to move) I find it easier to cut the secondary carrier sheet out and place the whole carrier sheet on top of the first carrier sheet.
For example, the floral wreath on this design has several little pieces and they need to stay in a group in order to read as a circle. So instead of trying to move them one at a time and maintain the proper spacing I simply cut out the entire wreath and moved it onto the main carrier sheet.



Step 4: Place Design on T-Shirt
Now we’re ready for our t-shirt! Well maybe I should say we’re ready for our crafting blank… technically you could use this same technique to put infusible ink on anything! I’ve done this same process to make a reversible sequin pillow with infusible ink, you could make a tote bag… I literally have a list of 22 infusible ink crafting blanks that this could work on.
But for this project we’re using a standard gray infusible ink t-shirt.
Go ahead and set out your cricut easy press mat and lay your t-shirt on top of it… making sure it’s free of wrinkles and the area you’re applying the decal is straight on the mat.
Now we can apply the decal. Typically for a t-shirt my rule of thumb is to place the decal four finger-widths from the neck of the shirt but since this shirt has a deep v neckline I went with 2 finger-widths from the neck. Once you have the proper placement make sure your decal is straight and in the center… then smooth it out onto the shirt from the middle of the design.
The carrier sheet is sticky so it should stick fairly well on it’s own but infusible ink has to be 100% stationary when heated or you’ll get a hazy kind of halo look around your design.
The easiest way to fix this is to use a bit of heat resistant tape to tape down your design on all four sides. Now it’s not going anywhere!


Step 5: Apply the Design with your Easy Press
Now it’s time for the big daddy (big mama? she’s pink!) our 12 x 10 large size easy press! Go ahead and pull your easy press out (or roll over your cricut cart if you keep yours on top of your 3-tier cart like I do) and heat it up.
For infusible ink you’ll want to set your easy press to 385 for 40 seconds so it will take just a second to heat up. Take a little coffee break (or if you’re super cool at remembering things start to heat up your easy press when you’re applying your design to your t-shirt).
Just a side note while the machine is heating up. You can use an iron for applying iron-on or htv, but since infusible ink needs to be heated up to such a high heat (385 is high y’all) at a consistent rate for 40 seconds an iron doesn’t really work. You can’t move the iron around on infusible ink like you can iron-on. So if you’ve been looking for the perfect reason to get an easy press working with infusible ink is that reason. You need it! Check out my complete guide to the easy press line to decide which size is right for you.
Alright, now that the easy press is ready let’s rock and roll! Carefully place the easy press down making sure it covers the entire design and hit the button to start the timer. Make sure you place the easy press down in one motion and then leave it alone for the entire 40 seconds… you want the design to move as little as possible when it’s being heated.
Once the timer goes off carefully lift the easy press straight up and put it back on it’s base. You’ll notice if you look at the design that the carrier sheet will have lifted off the design leaving the link below… which is kind of cool.
At this point the t-shirt and the carrier sheet are still very hot so leave them be for a bit and don’t peel the carrier sheet off until it’s cool to the touch. You don’t want to mess up the ink or burn your fingers.
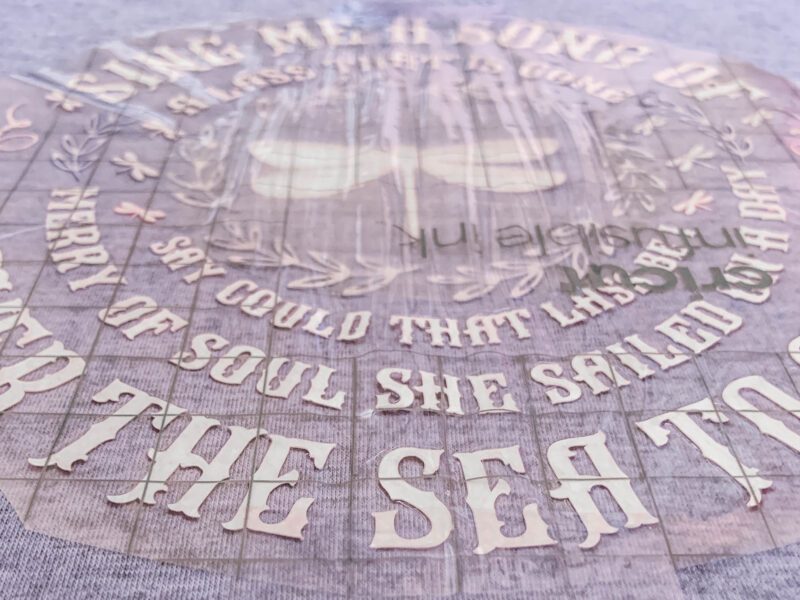

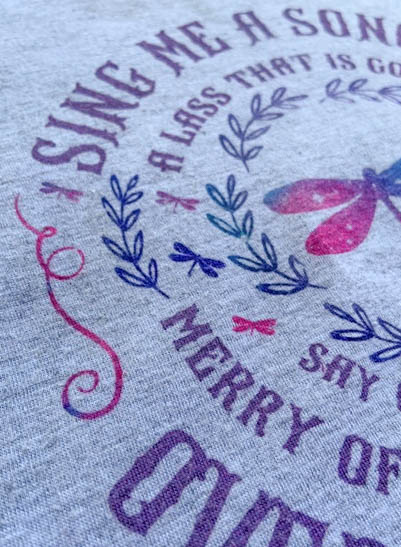
Ready for the peel? Ta-da!
This is your first peek at how amazing the design actually is! Since the infusible ink sheets are so dull before they’re heated the infusible ink sheets look like a sad lifeless version of the design… but now they should be vibrant and beautiful!
I absolutely love how this turned out.
I literally changed shirts in the craft room to put this baby on… I walked out into the backyard where my mom was gardening and she goes “I like that shirt, where’d you get it?”
I made it two seconds ago mom, thanks for noticing!



For those of you who are Pandora enthusiasts like me I realized when I was taking pictures of the design that it would go perfectly with my little enchanted garden bracelet!
I still want to add the dragonfly charm to this bracelet (then it will be perfect!) but in the meantime the little bumblebees and ladybugs on these charms are pretty darn close!
I kind of love how they look together.




Leave a Reply