


If you are looking for an adorable holiday gift I have just the project for you… DIY Holiday Pillows for your Home! They’re quick, they’re adorable and they require very little sewing. I could sew these myself if I didn’t have an in-home seamstress (aka my mama is really good at sewing)!
Of course, if pillows aren’t your jam you don’t need to worry… these little pillows are only one suggestion from our Deck the Home Blog Hop! Which means if you scroll to the bottom of this post you’ll find lots of fun and easy DIY gift ideas.
Score!
Supplies:
1/2 a yard of Fabric per Pillow
2 yards of Pom Pom Trim
Pillow Form
Sewing Machine
Needle and Thread
Scissors
Glitter Heat Transfer Vinyl
Iron
Step 1: Cut Your Pillow Pieces
This is the easiest first step! I decided to use a 16 inch pillow form so I cut two 17 by 17 inch pieces out of my fabric. The hardest part of the cutting is making sure to cut each piece straight! As usual I out-sourced all the sewing to my mama who helps me with the blog and is a much better sewer than I am.
She used a cutting mat, rotary blade and cutting guide (like this one from fiskers) to cut the pieces straight.
Step 2: Sew on the Trim
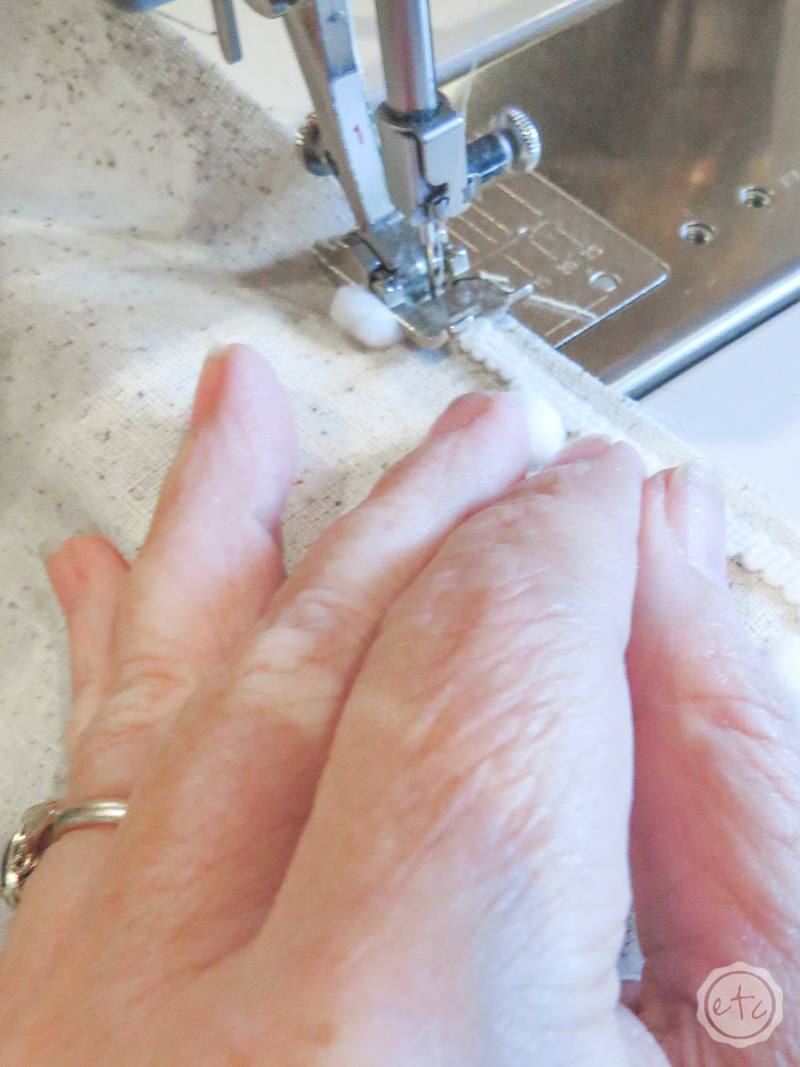
Alright so now we get started with the sewing! The first step is to sew the pom pom trim onto ONE piece of fabric. Since we’re using a burlap/linen like fabric where the front and back are almost identical it’s not a big deal BUT if you are using a fabric with a clear front and back make sure to sew your trim to the OUTSIDE or the FRONT of your fabric.
Take a look at the photo above and see how the pom pom’s on the trim are facing down in the same direction as the front piece of fabric… that way they’ll be in the correct part of the seam when the pillow is finished.
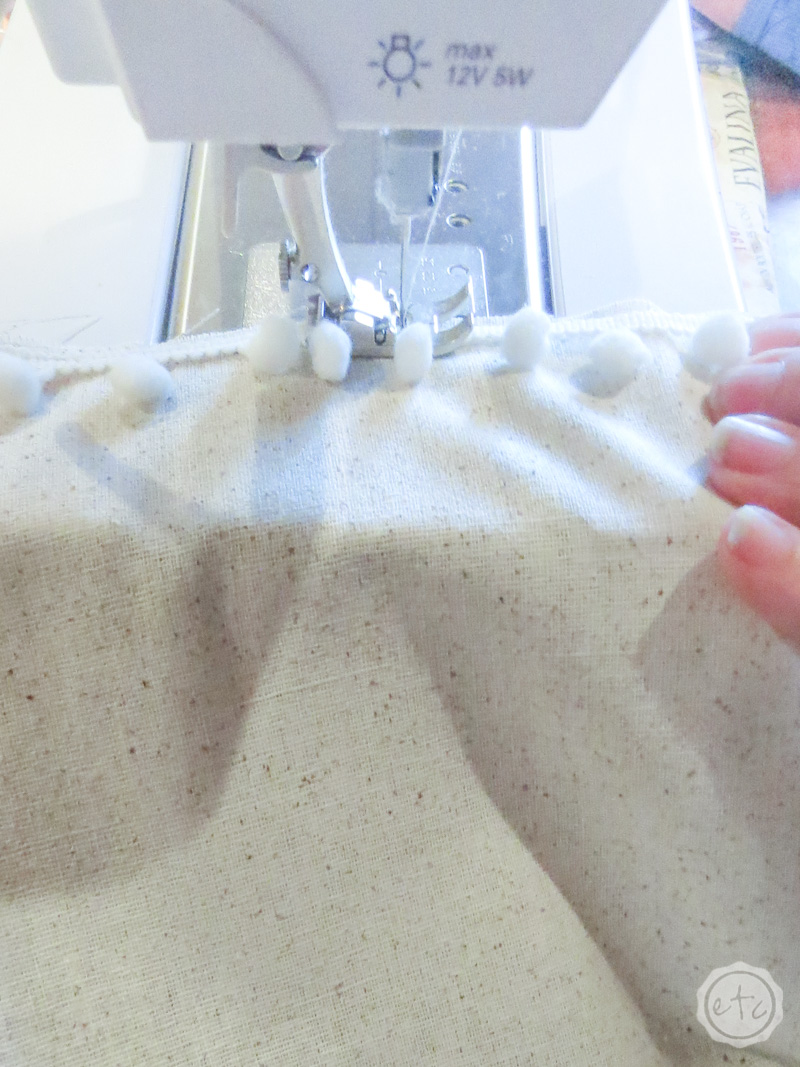
Sew the trim alllllllll the way around the pillow, all four sides, ending back where the front piece of trim started. Since your pillow piece is cut to 17 by 17 (for a 16″ pillow) you’ll sew the trim 1/2 an inch from the edge on either side. A half inch seam all the way around will give your finished pillow cover the right dimensions! Once you’ve sewn your trim all the way around we’re off to the next step!
Step 3: Sew your Two Fabric Pieces Together
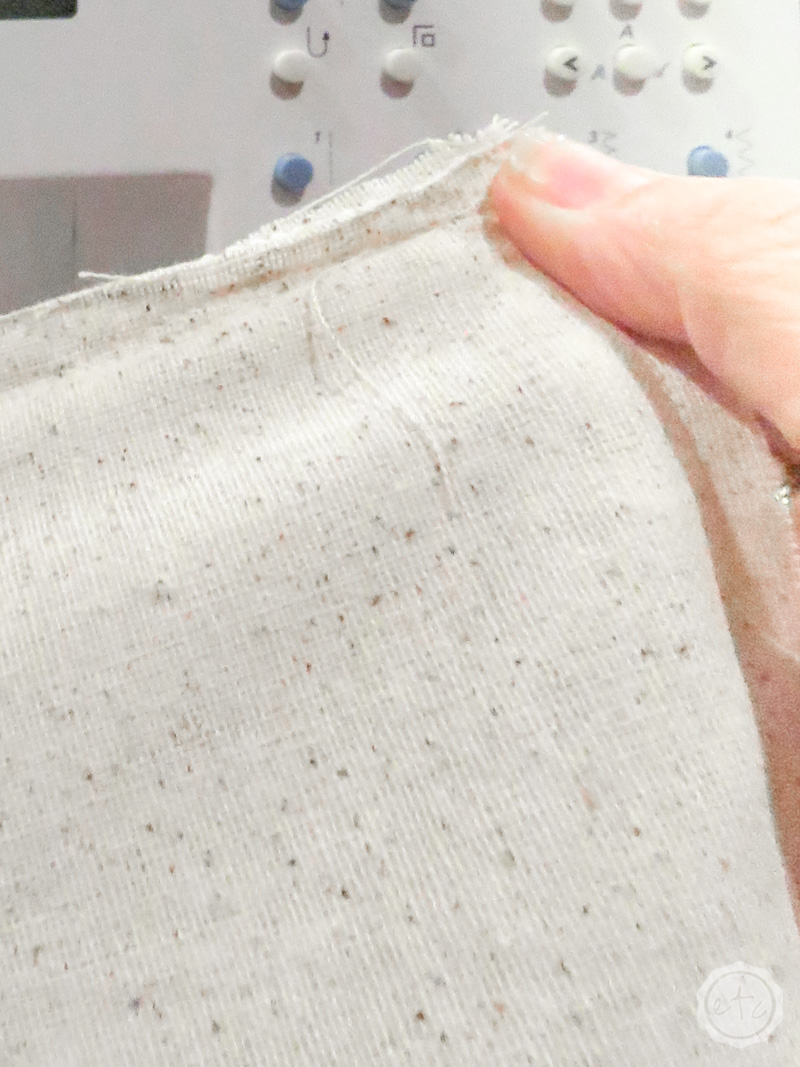
Now that your trim is sewn onto your first piece of fabric it’s time to sew the two pieces of fabric together! If you have a specific “good side” make sure that the good sides are pressed together with the trim in between.
A fabric sandwich with a trim filling. Yum!
Sew alllll the way around the pillow… but when you reach the last side leave an opening. This will allow you to turn the pillow inside out and to stuff your pillow form into the pillow cover. I tend to make the opening about 1/3 of the length of the pillow (so in a 16 inch pillow cover that’s about a 5 inch opening). Don’t worry about measuring an exact opening but you want it to be big enough to stuff with the pillow form but small enough that the opening can be hand stitched shut easily.

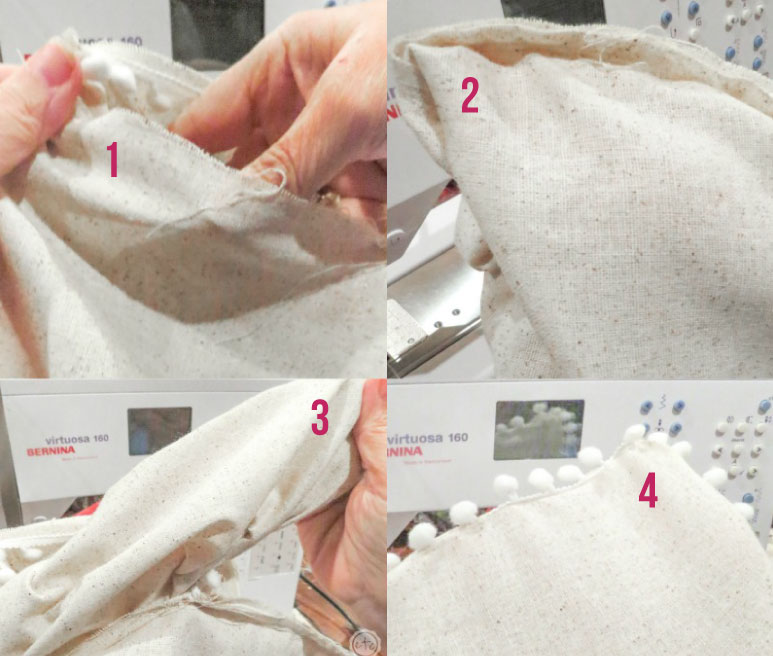
Step 4: Turn your Pillow Inside Out
I feel like we should sing the hokey pokey song here! In the mean time we’ll simply turn the pillow cover inside out.
Reach into the pillow cover (number 1 in the photo above) and grab the corner… number 2 in the photo above! Then pull the pillow cover out of the opening (number 3 in the photo above). This is the wonky part of the whole process but it smooths out quickly.
Now that you’ve pulled your pillow cover inside out smooth the whole bit out making sure the corners are straight like in image number 4.
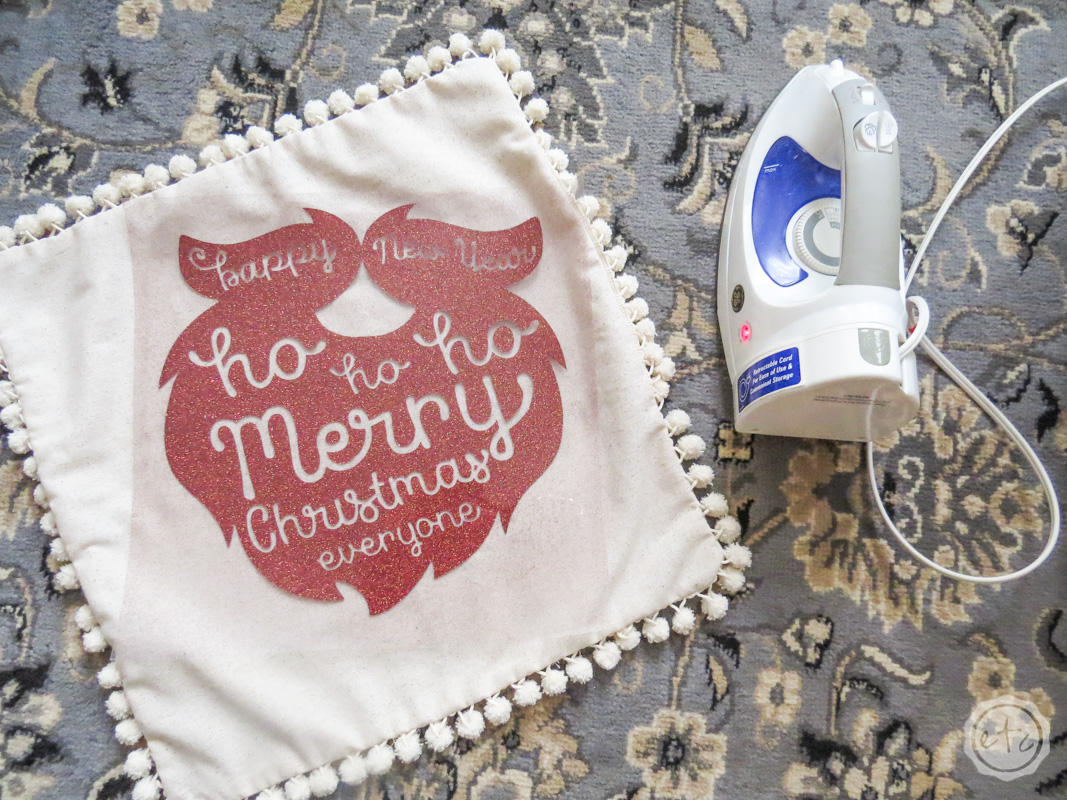

Step 5: Add your Heat Transfer Vinyl!
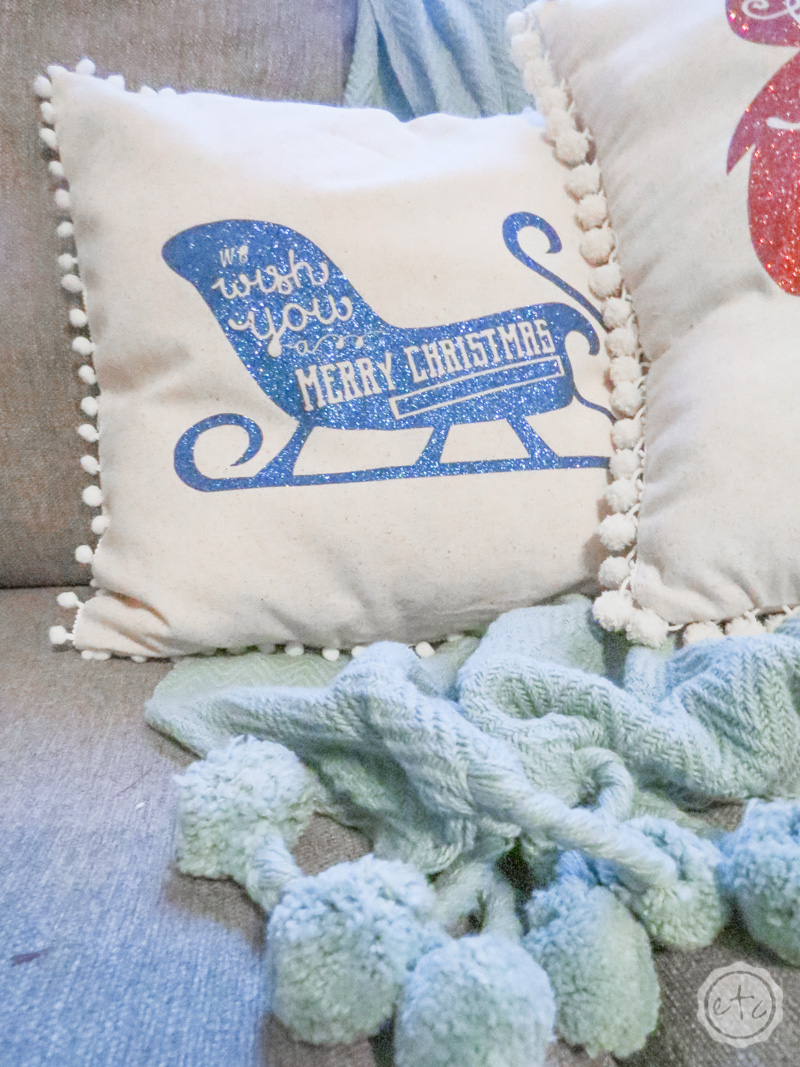
Now’s the fun part! Before you add your pillow form and close the whole thing up it’s time to add our little design. I used my cricut to cut a fun Christmas design out of my HTV (you can download the file at the bottom of this post if you want to make the same pillow).
With HTV you’ll cut out your design with the iron-on setting… make sure your Cricut is either set to mirror or your design is flipped. You’ll place the glitter side of your HTV down on your cricut mat so the Cricut will need to cut the design backwards. That when you add it to your pillow it’s right side up.
Heat Transfer Vinyl has a clear piece of plastic that kind of holds it together and acts as your transfer sheet. That clear plastic sheet should be the piece that is actually touching your cricut mat.
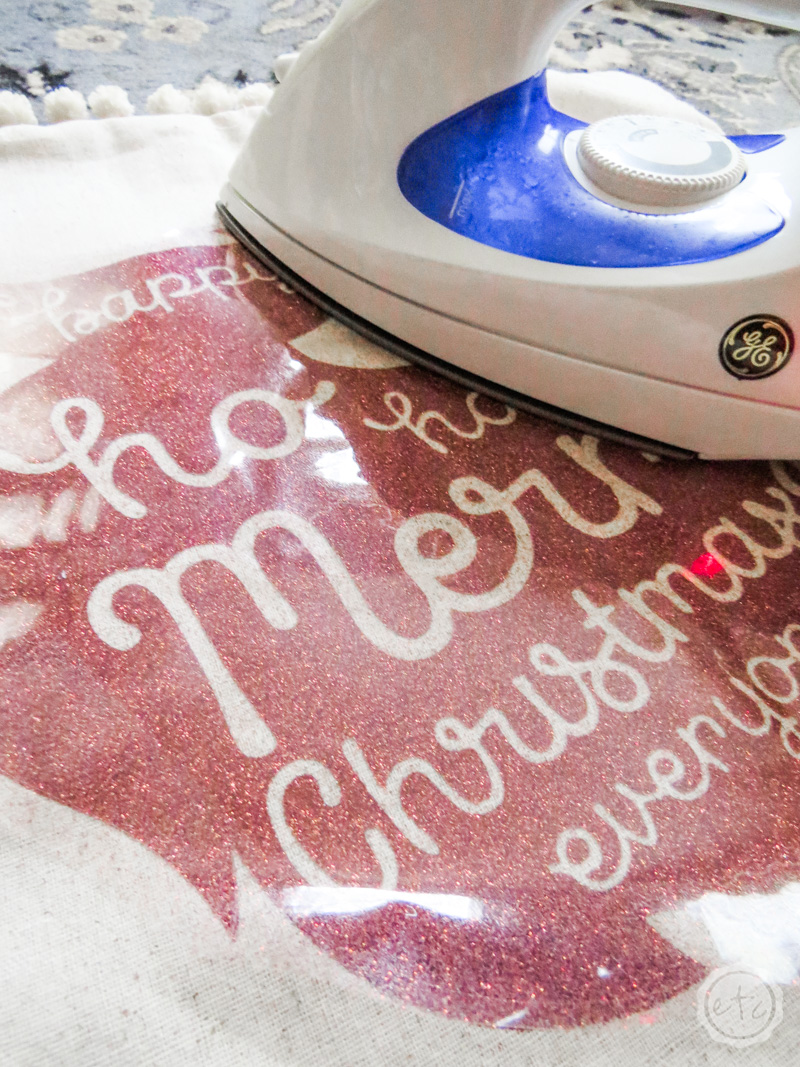
Once your design is cut out go ahead and iron it onto your pillow cover. I place my iron in one spot for about 10 seconds before moving onto the next section… all in all it only takes a couple of minutes to iron the design onto the pillow. Of course, if you start to peel the clear plastic backing off your pillow and the glitter design comes with it it’s not done!
Step 6: Stuff Your Pillow and Sew It Up
Now that your HTV is firmly adhered to the pillow you can stuff the pillow cover with your pillow form. Go slowly so that you don’t rip the stitches! A little bit at a time and your entire pillow form will be inside the pillow. Easy peezy lemon squeezy!
Once the pillow form is fully inside the cover you can sew the little opening shut!


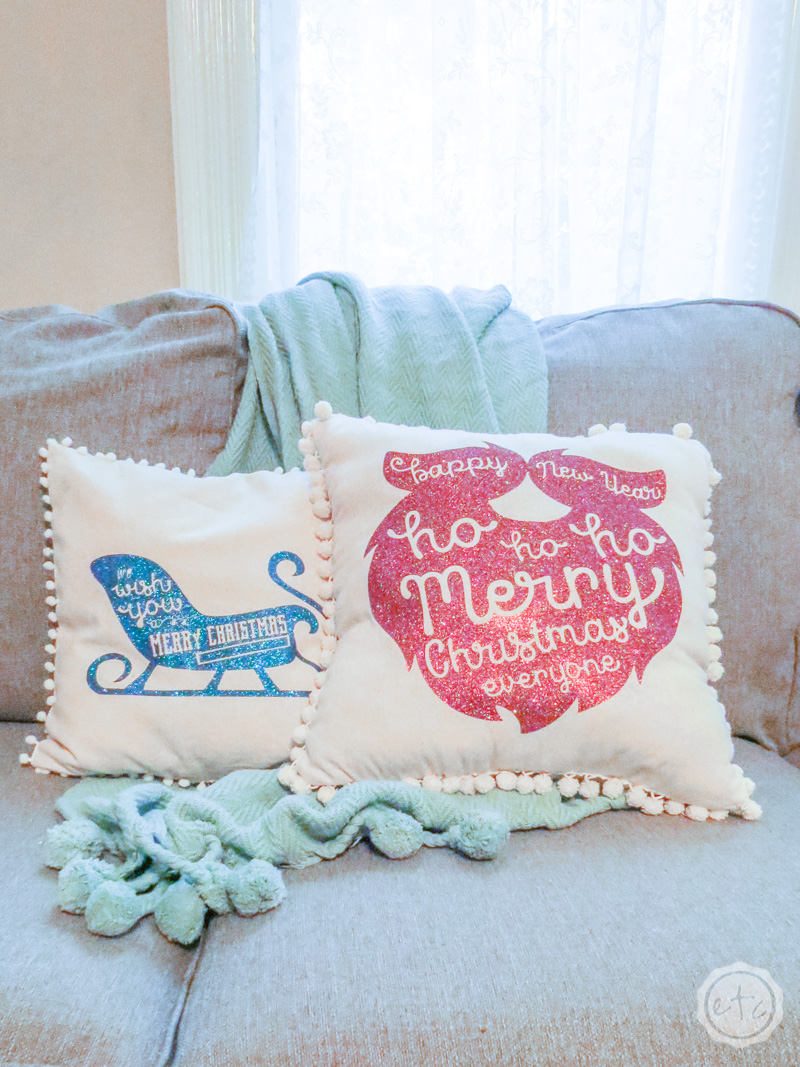
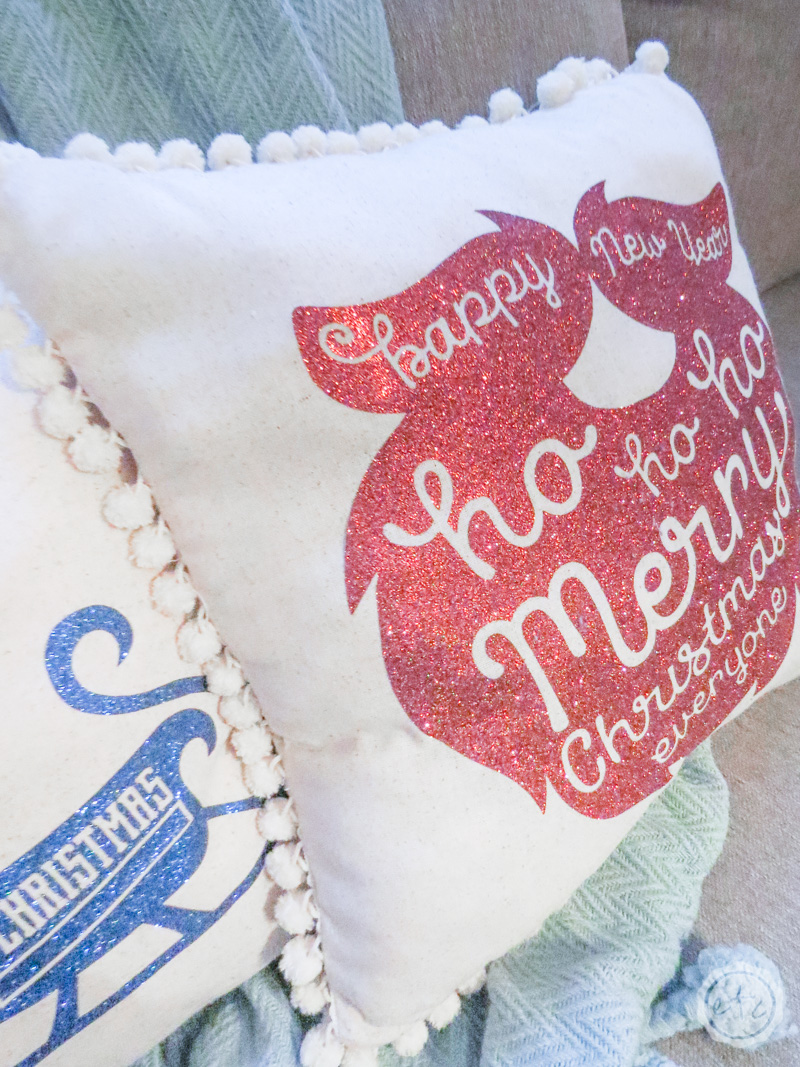
Once your pillow cover is sewn up tight you’re finished! Done! Ready to display! Or in my case give to friends. The fabric for two pillows cost me $5 and the trim was $2. Since I already had the HTV from a previous project these little pillows cost me three dollars and fifty cents a piece… which is killer for such a cute present.
See what I mean!

Of course, I’m not alone in this fun festive gift project… don’t forget the 25 other bloggers I’ve teamed up with to bring you all kinds of fun Holiday goodness! This week you’ll find fun gift ideas across all of our blogs… and we’ll have different holiday goodness for you every Sunday… for one more week. That’s five weeks of fun projects!
So here’s a few more gift ideas to tackle if you’re looking for inspiration!
Have fun looking through all of the projects… and don’t forget to pin this fun DIY Holiday Pillow project for later!


These pillows are perfect for the festive season.
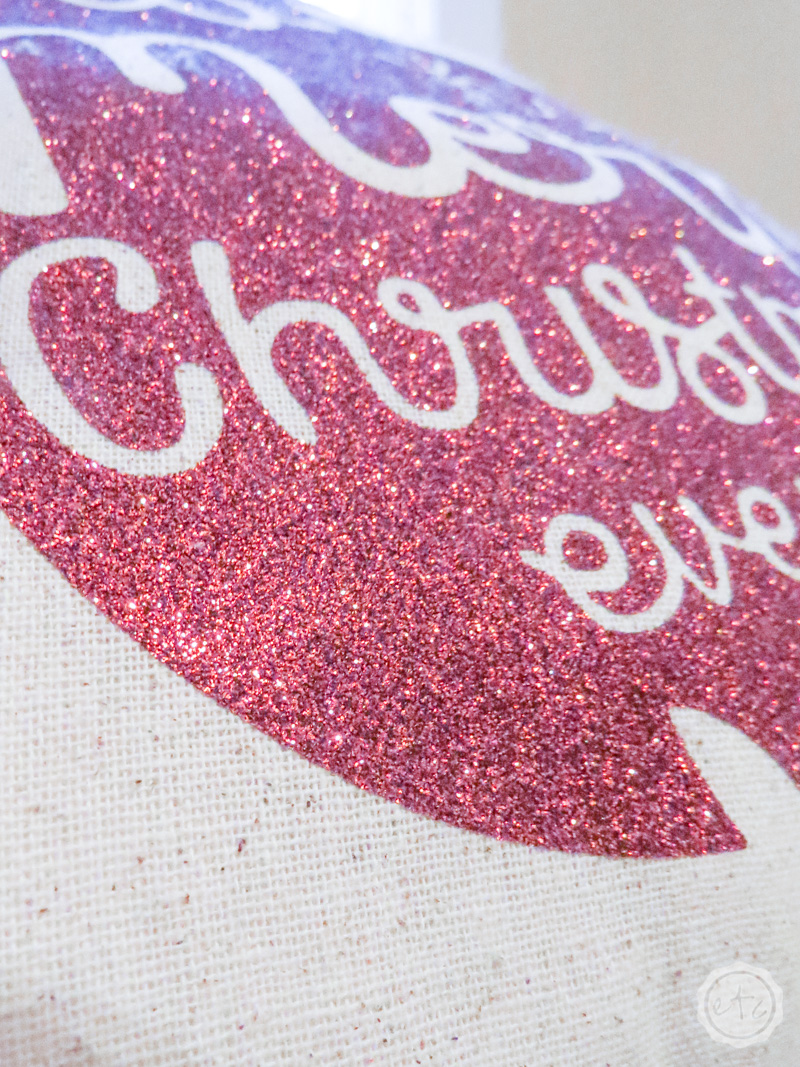
These are so cute! I love the designs you chose, and the glitter, of course. 🙂 Great job!
What a clever way to add a little sparkle in your Christmas decorating. Awesome gift!
I definitely need to step up my pillow game! Great job, these are so cute!!
Oh my goodness Betsy! Sooo cute! While I can’t sew worth beans, I sure can pick a few cheap Ikea cushion covers and glue some trim on!! Another fun gift for me!!!
These are adorable, I love the pom pom details!
Such a great idea!! I was looking for some specific holiday pillows – I didn’t think to make them myself!
I love how easy these pillows are!
I just love the pom pom trim! And that’s so sweet that your mom helped with the sewing 🙂
I LOVE the trim you added. These are too cute!! Great cut files, too!