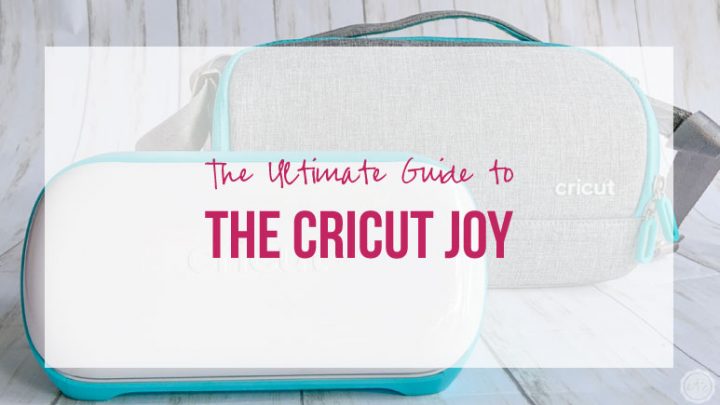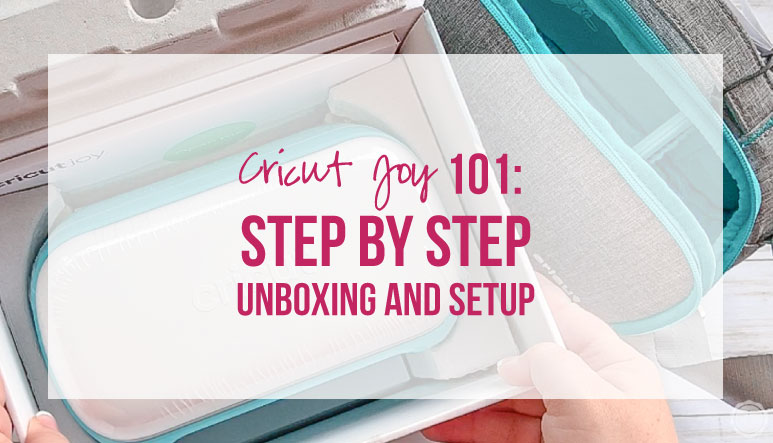


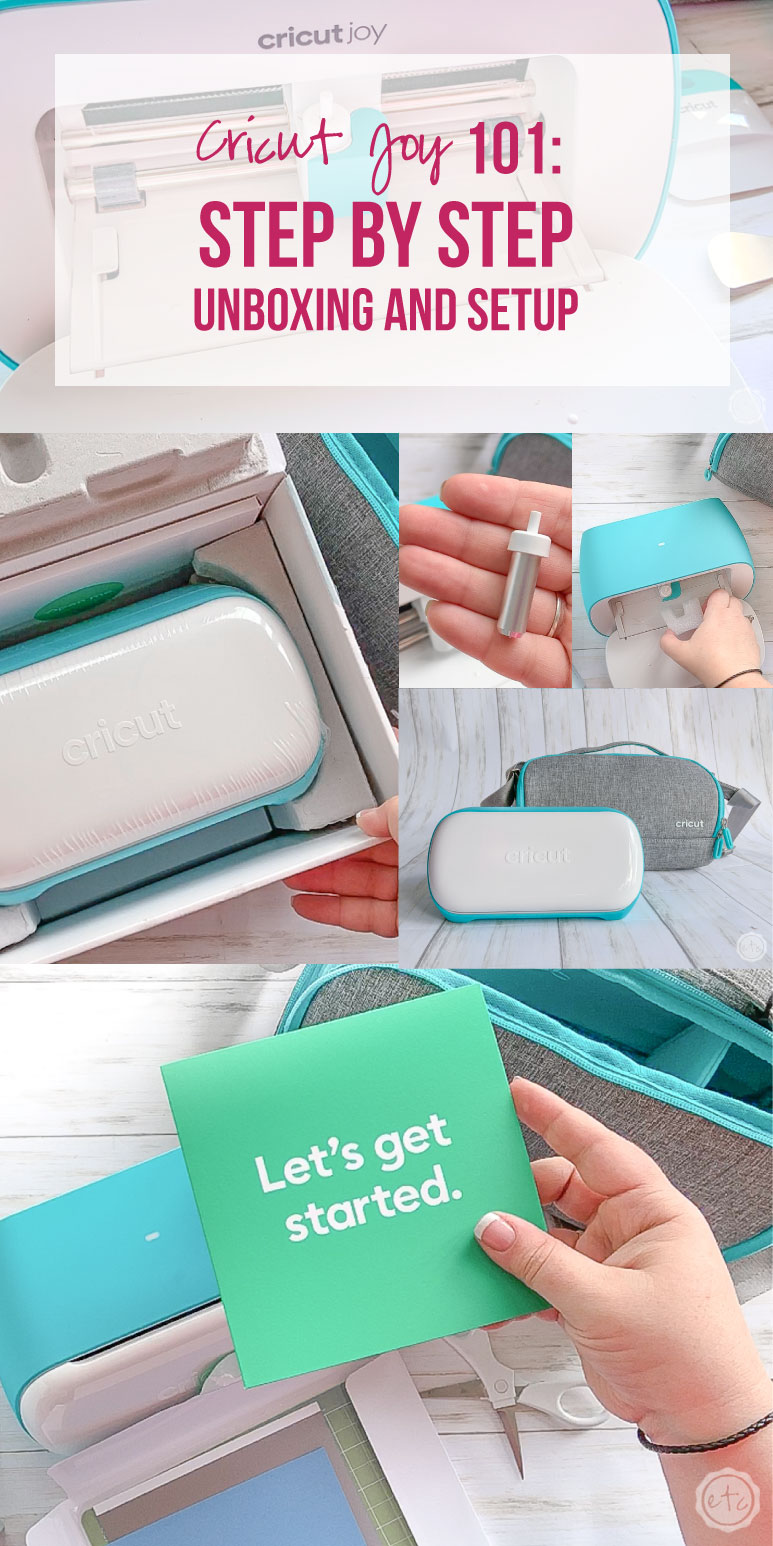
So you picked up a tiny sidekick and you’re looking to get started with your very own Cricut Joy. Luckily unboxing your Cricut Joy and setting it up for your very first project is pretty easy!
The entire process should only take a couple of minutes… from start to finish!
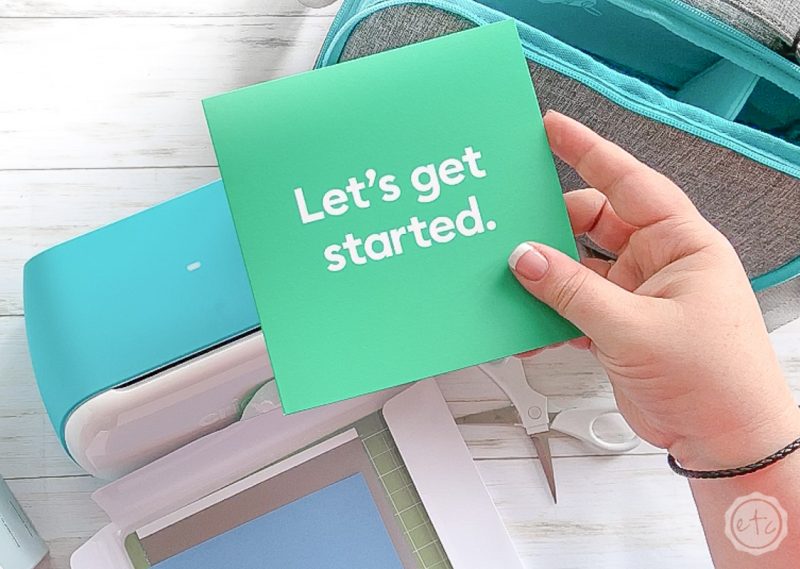
Ready to get started?

Step 1: Open the Box
This one should be pretty self explanatory! Start by opening your box and removing all the pieces inside. This shouldn’t take long… and if you’re anything like me the excitement of having a new toy means you already opened the box and took a look at everything!
Inside the box you should have 4 Items:
- Cricut Joy
- Power Cord
- Instruction Booklet (Setup Booklet, Sample Vinyl, Sample Paper, Standard Mat)
- Black Pen
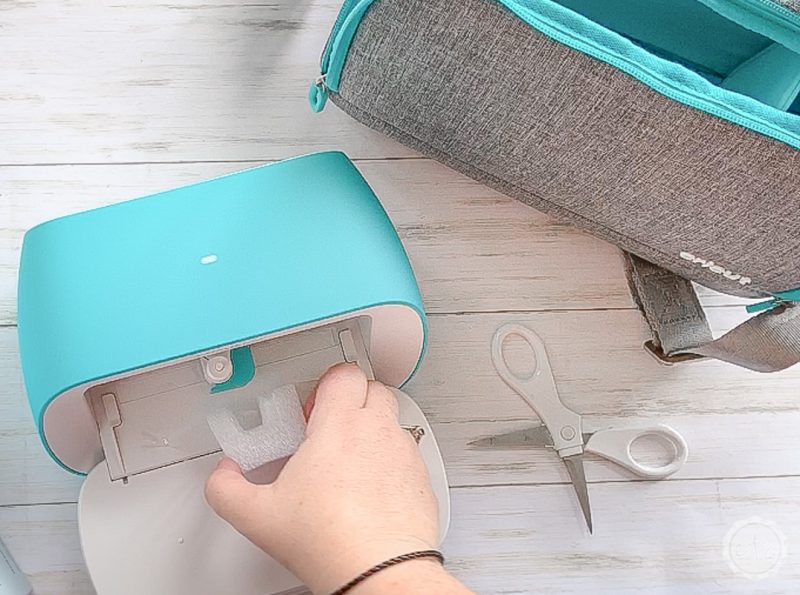
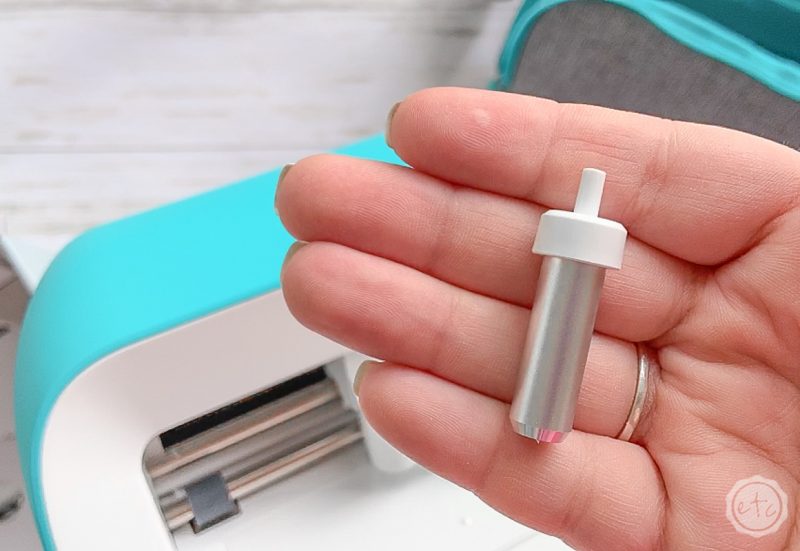
The Joy is pretty easy to un-box… and once you have it out it’s simply a matter of taking off the celophane, removing the styrofoam protector from the blade and peeling off the clear sticker that’s protecting the area under the blade.
Easy peezy lemon squeezy!
Once you’ve taken everything out of the box and removed the wrappings it’s time for the fun stuff… hooking this baby up to Cricut Design Space!
Step 2: Setup your Joy with Cricut Design Space
Alright y’all… now it’s time for the big guns. Cricut Design Space. At this point I’ve registered several Cricut products with Design Space and it’s all been pretty straight forward… but this time we’re moving off the web and using the desktop version of Cricut Design Space.
Which for some reason… freaked me out.
Luckily it’s pretty easy.
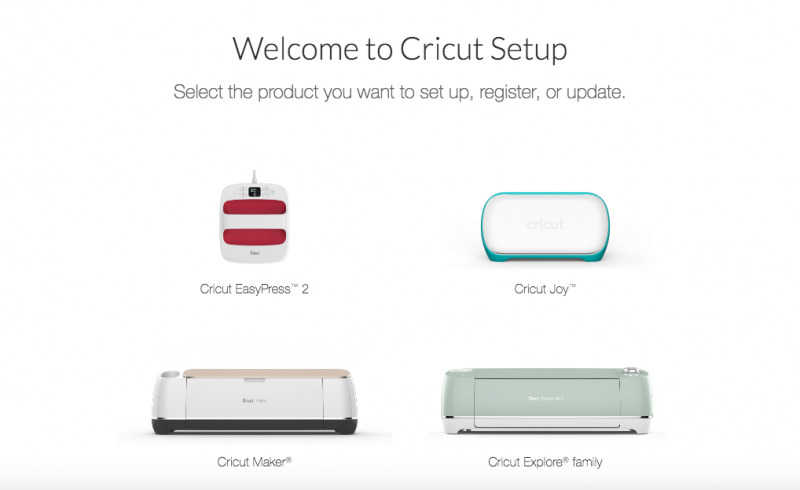
Go ahead and open Cricut Design Space and make sure it’s up to date (if your Design Space is anything like mine it wants to update every five seconds so just click yes when it opens and asks to update). This will ensure that the Cricut Joy option is available to setup when you go to the Setup wizard.
Once you’ve updated simply click the three little lines in the upper left hand corner and then select “New Machine Setup” from the drop down menu… then select Cricut Joy!
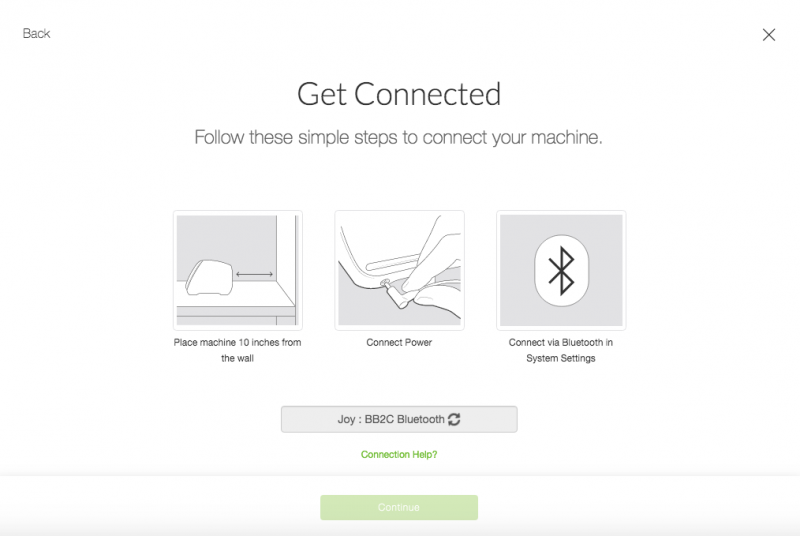
Design Space will walk you through all the steps (they’re pretty straight forward) but the main one to mention is that this little Joy can only connect to your laptop/phone/tablet wirelessly… meaning Bluetooth. So if you can’t connect via Bluetooth this is going to be problematic.
Luckily most phones have Bluetooth these days (even if your computer doesn’t) so you should be good to go.
Just keep in mind that you’ll have to connect your computer through it’s internal settings and not through Cricut Design Space.
Luckily these are pretty much the only steps: connect the power cord, connect Boothtooth from Computer to Joy and get ready to cut!
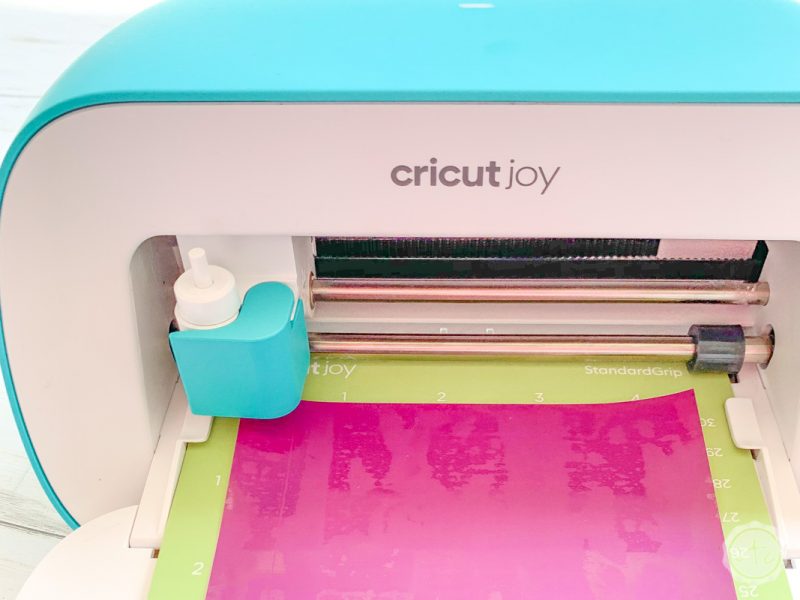
Step 3: Start Your First Project
Now it’s time to get crafting!
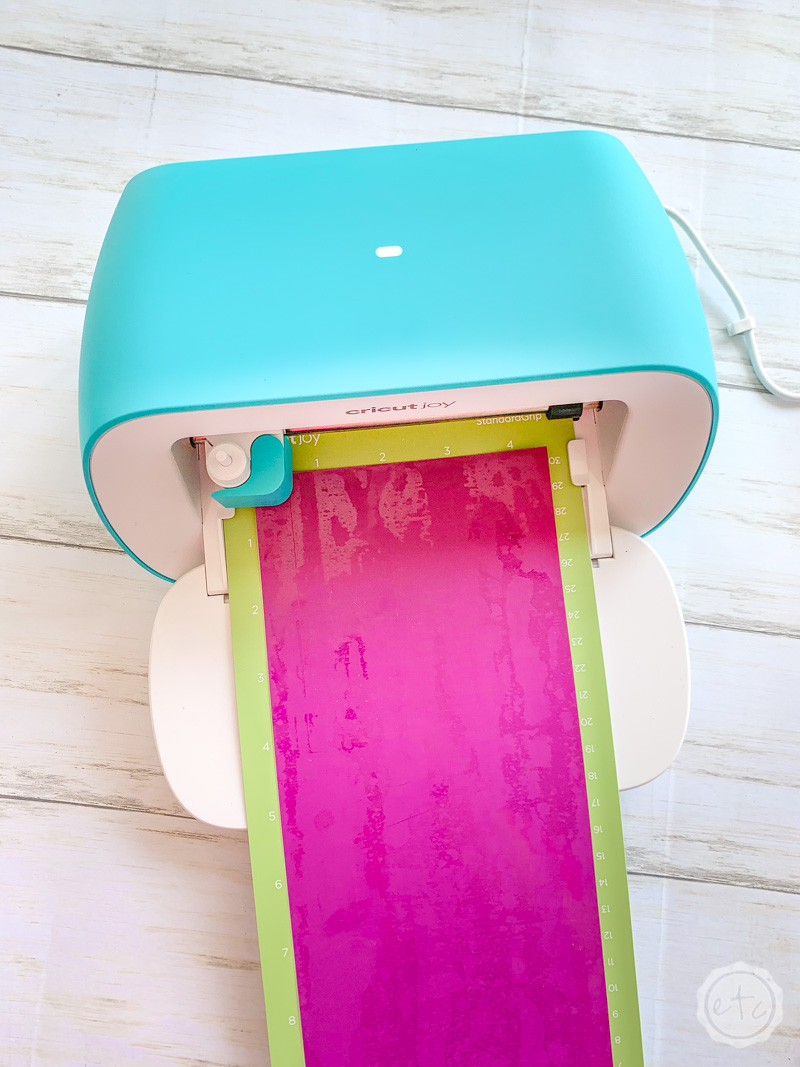
You can cut all kinds of materials with this baby (vinyl, iron-on, window cling, paper… find the full list of materials here on my Ultimate Cricut Joy Guide) and the standard fine point blade is so little and cute (just like the machine!).
I can’t wait to see what you create with it!

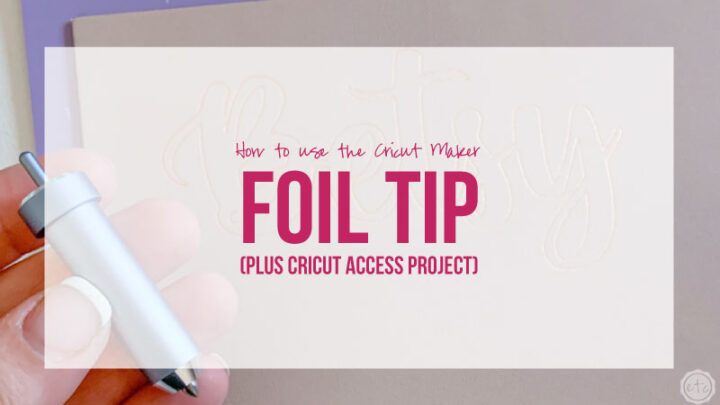
Want to take a look at the rest of the Cricut line up?