This is a sponsored conversation written by me on behalf of Cricut. The opinions and text are all mine.

Earlier this year when Cricut released the Scoring Wheel I took a look at the interchangeable system and realized… more tips are coming. This adaptive tool system is not a one and done kind of deal! Which is why it was no surprise when Cricut released not one, not two, but four brand new cutting tools.
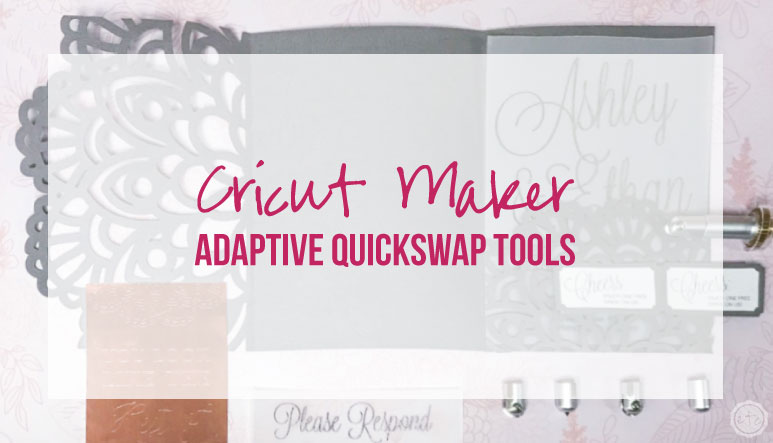
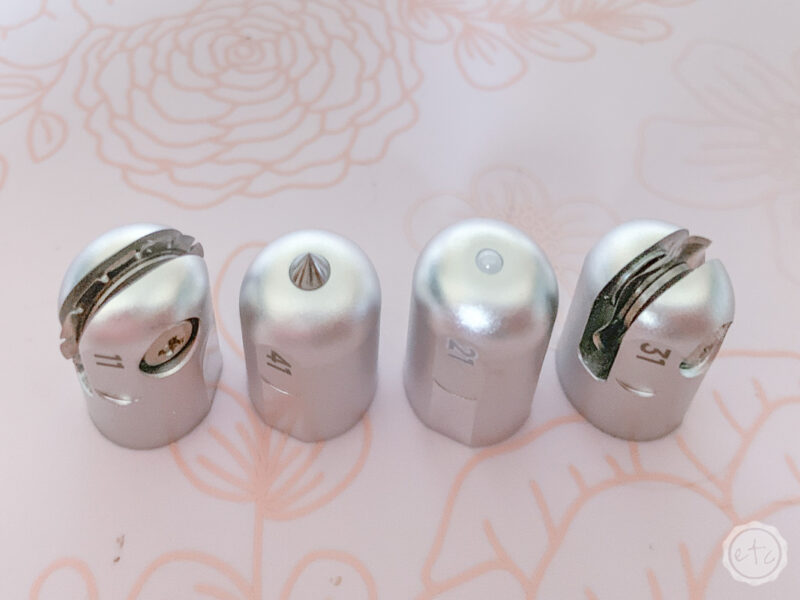
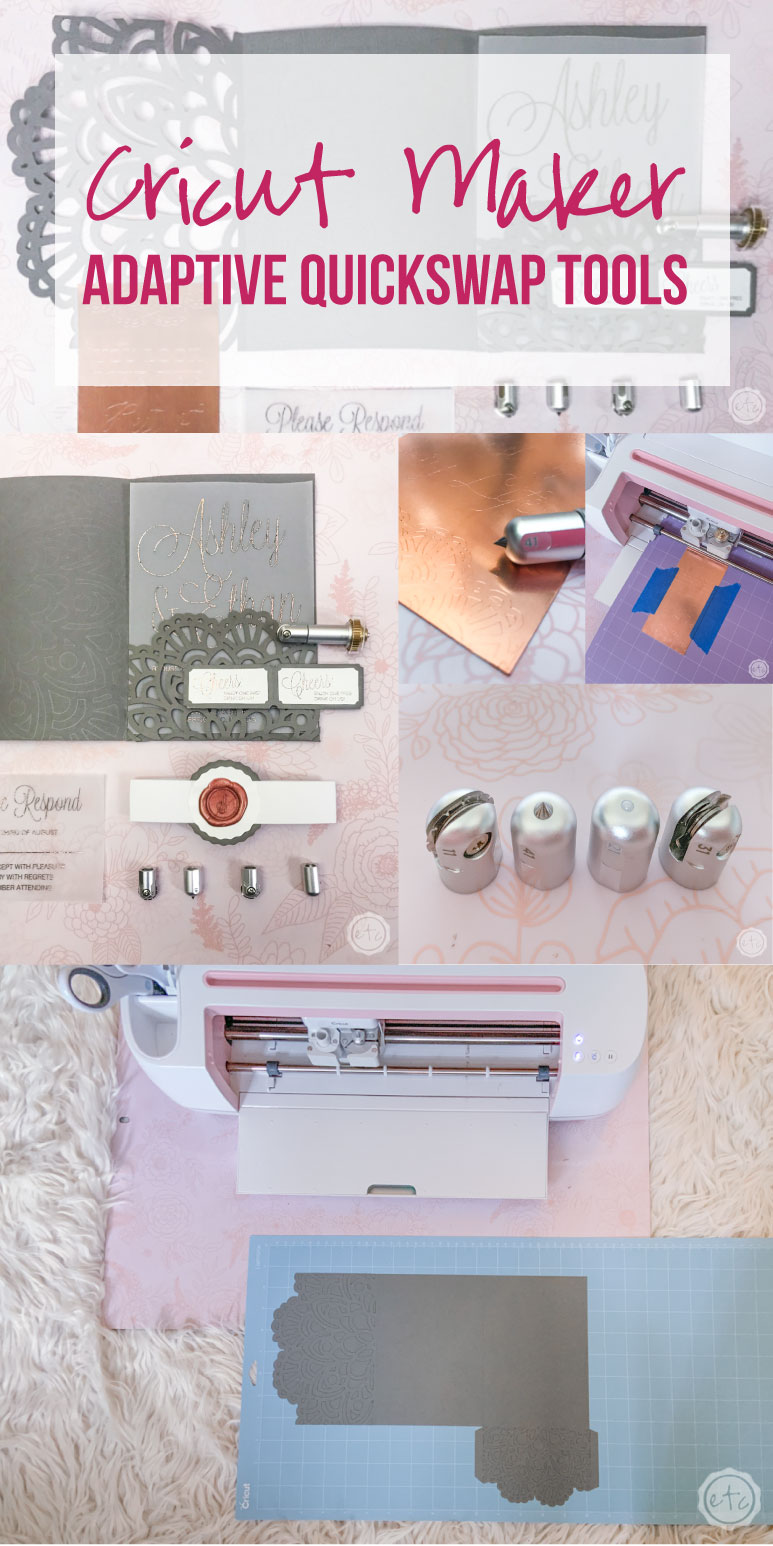
The perforation blade, wavy blade, debossing tip and engraving tip give us so many new (and exciting) ways to use our Cricut Maker!
Looking for my 3-Fold Pocket Wedding Invitation Tutorial? Scroll down and you’ll find the step by step directions for these fun affordable wedding invitations.
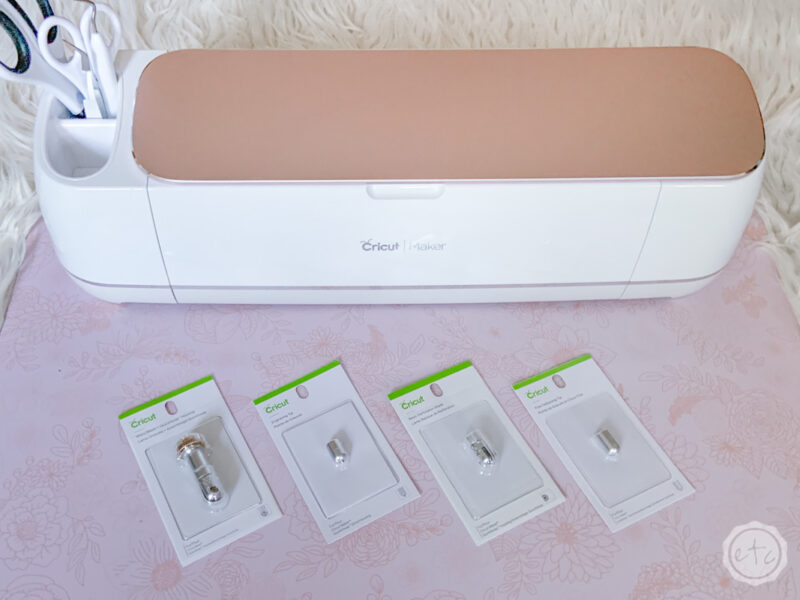
They all work with the same QuickSwap Housing as the scoring wheel. So if you already have the housing you won’t need a new one… just the tips.
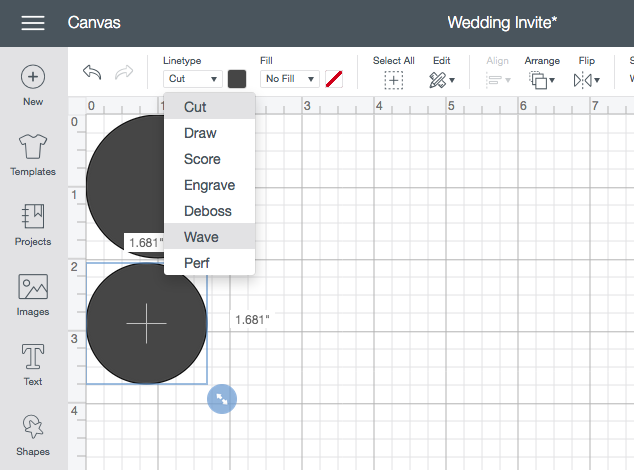
Cricut has updated their Cricut Design Space System so that you can select “Engrave”, “Deboss”, “Wave” or “Perf” instead of cut as your linetype. This will tell your Cricut Maker which tool it needs for the project.
We’ll go over each of the new tools below but if you’d rather jump right in you can find all of the tools by clicking here and checking out the Cricut Shop. Ready for a deep dive into each of the new tools?

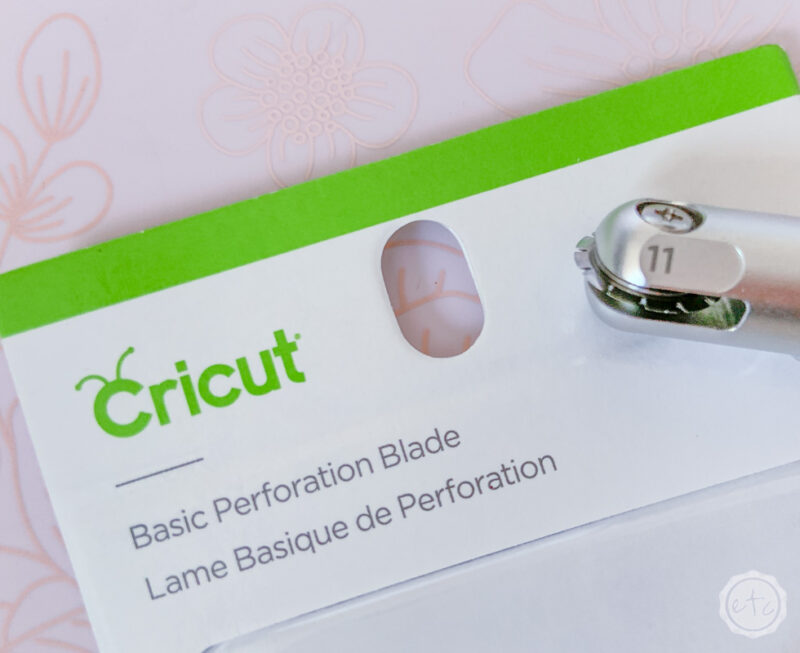
Perforation Blade
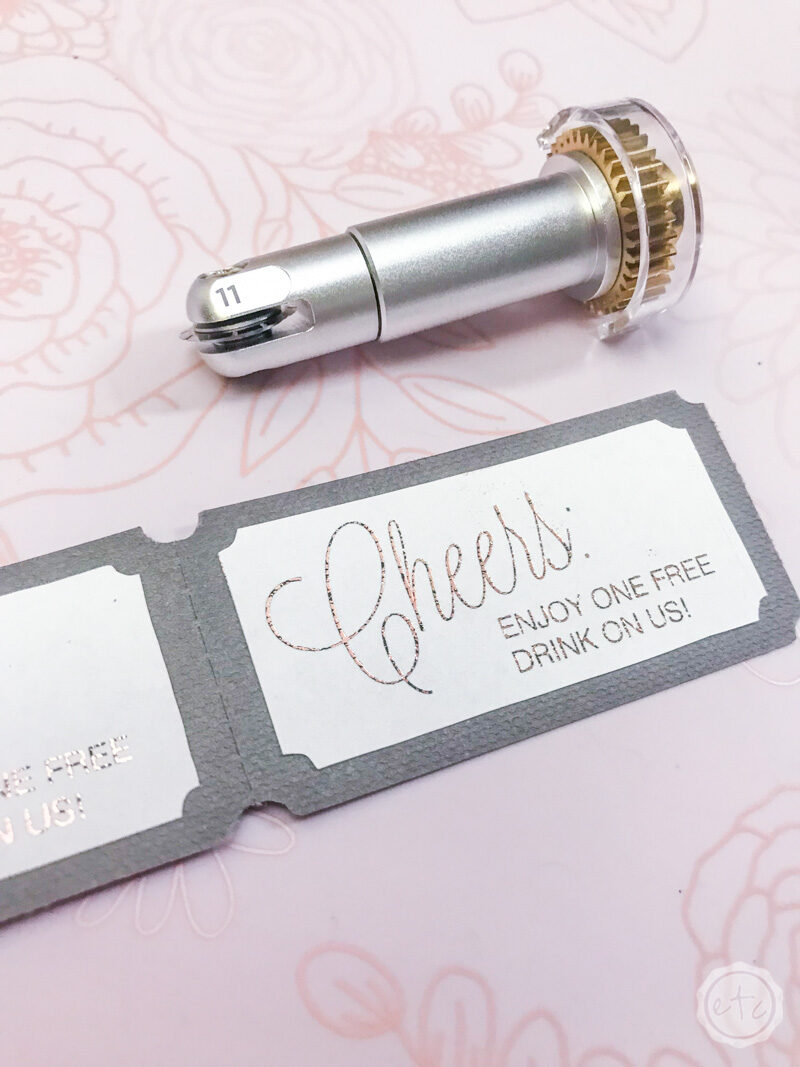
The perfect way to tear quickly and effortlessly with precise perforation cuts for a wide variety of projects. This little tool creates uniform, finely perforated lines for any design. These evenly spaced perforation lines allow for clean, even tearing without the need to fold beforehand – which is especially great for shapes with curves.
Perfect for tear-out booklet pages, raffle tickets, homemade journals, or for any project that demands a clean tear.
Materials:
- Paper
- Cardstock
- Foam
- Acetate
- Foil
- Fabrics
Get your Perforation Blade:
Engraving Tip
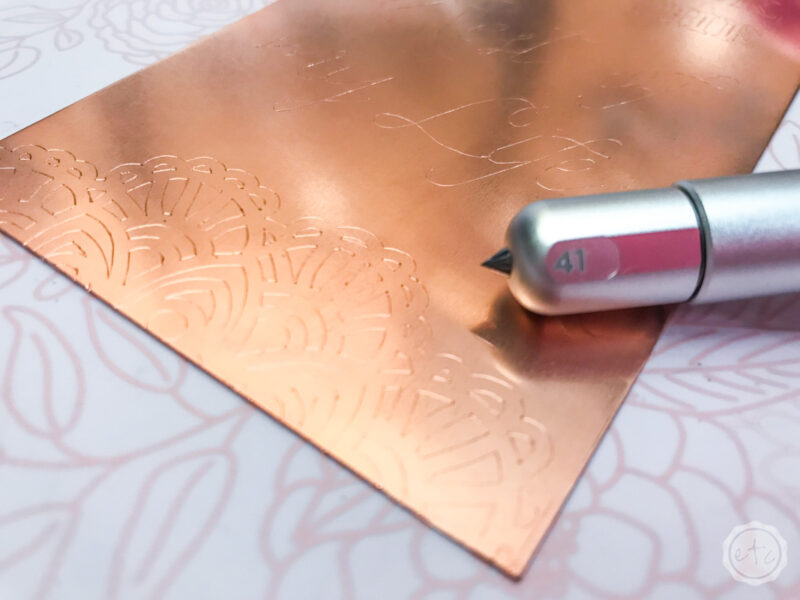
The engraving tool lets you engrave on flat, soft metals (such as aluminum and copper), leather, acrylic, and paper. With the engraving tip, you can engrave unique and permanent designs on a variety of materials for many different projects, such as intricately engraved dog tags, name plates, inscribed art, home decor, jewelry, gorgeous monograms, and heirloom-quality keepsakes.
Materials
- Flat Soft Metals
- Leather
- Acrylic
- Plastic
- Anodized or Sublimated Aluminum
Get your Engraving Tip:
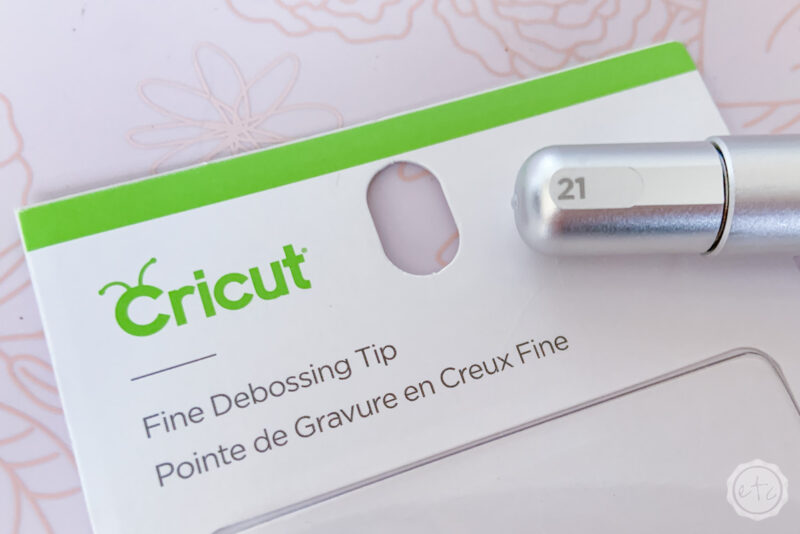
Fine Debossing TIp
The debossing tool pushes the material IN to create pretty effects — it’s the opposite of an embossing tool. With a little creativity you can deboss any design you’d like, including decorative flourishes, patterns, monograms, logos, seals, and more.
This rolling debossing ball, with a wider range of motion, gives you free reign to customize, personalize, and design with incredible intricacy. Make a dimensional wedding card, thank you card with your monogram, or add flourish to gift boxes, tags, and more.
Materials:
- Cardstock
- Foil Poster Board
- Foil Cardstock
- Foil Kraft Board
- Poster Board
- Kraft Board
- Basswood
Get your Fine Debossing Tip:

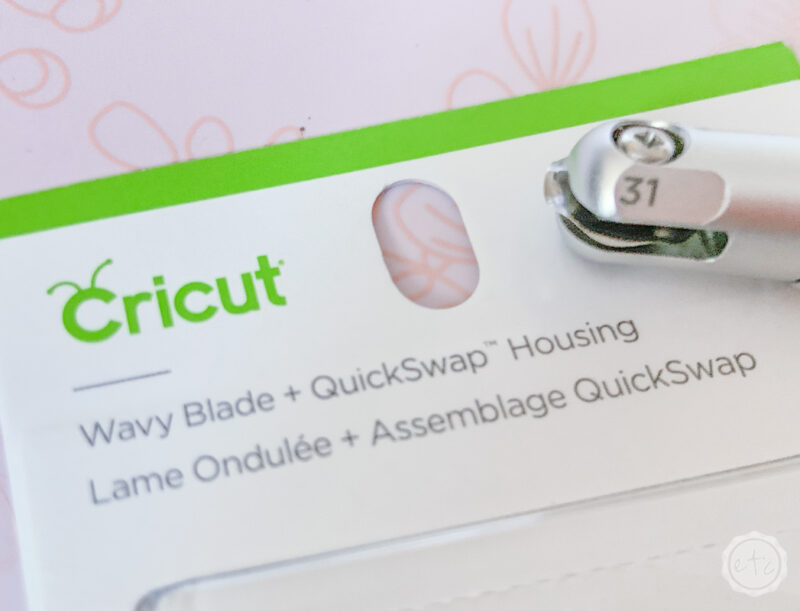
Wavy Blade
This tool will create a wavy edge rather than a straight edge to give you a decorative edge faster. This is a special sculpted stainless steel blade that lets you make original vinyl decals, iron-on designs, envelopes, cards, gift tags, and collage projects, or any time you need fabulously finished edges and stylish design accents.
Materials:
- Iron-on
- Vinyl
- Paper
- Cardstock
- Fabric
Get your Wavy Blade:
Just getting started with your Cricut? Need help picking your machine?
Not sure how to use your cutting blades or learning how to use the bright pad? Check out my “Start Here Cricut Resource Page” for posts on Cricut Design Space, Cutting Vinyl for the first time, each of the Cricut Tools as well as an entire post dedicated to helping you pick your perfect machine.
3-Fold Lace Pocket Wedding Invitation
Ready to have a little fun?! Now that we know what each of the new tools do let’s take them for a little spin. These fun affordable wedding invitations are sure to wow your guests while saving plenty of cash. They’ll take a couple of minutes to put together though… at least if you’re making hundreds of them!
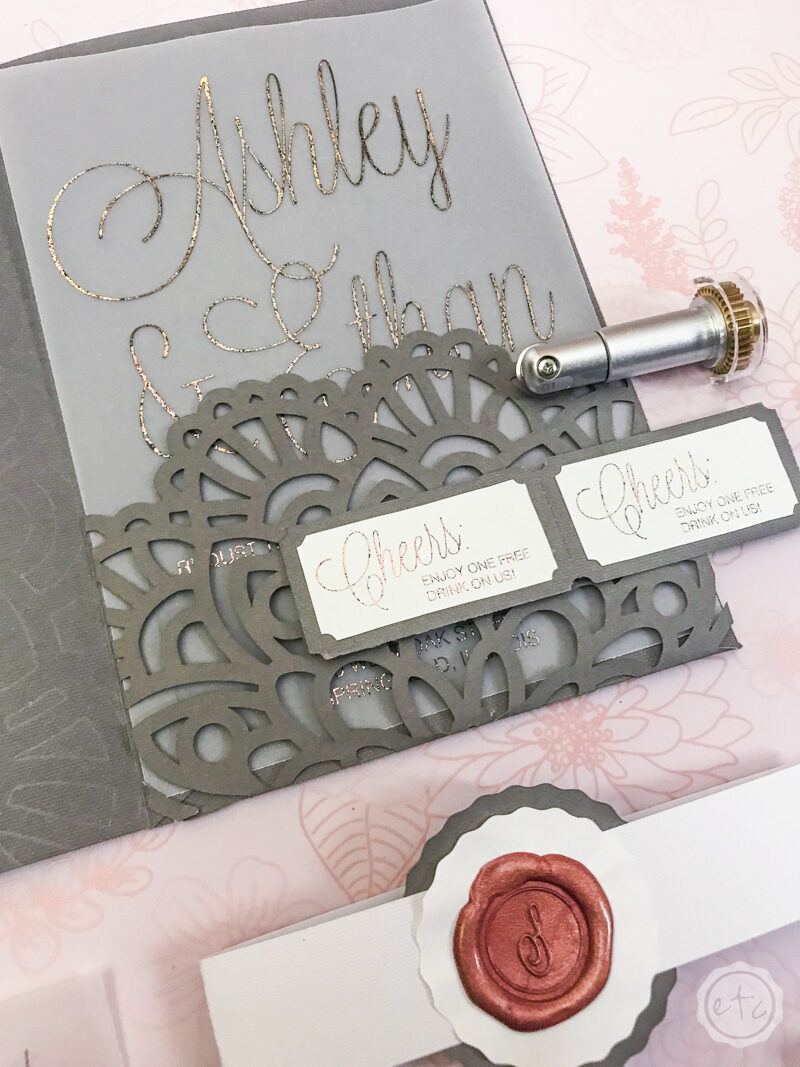
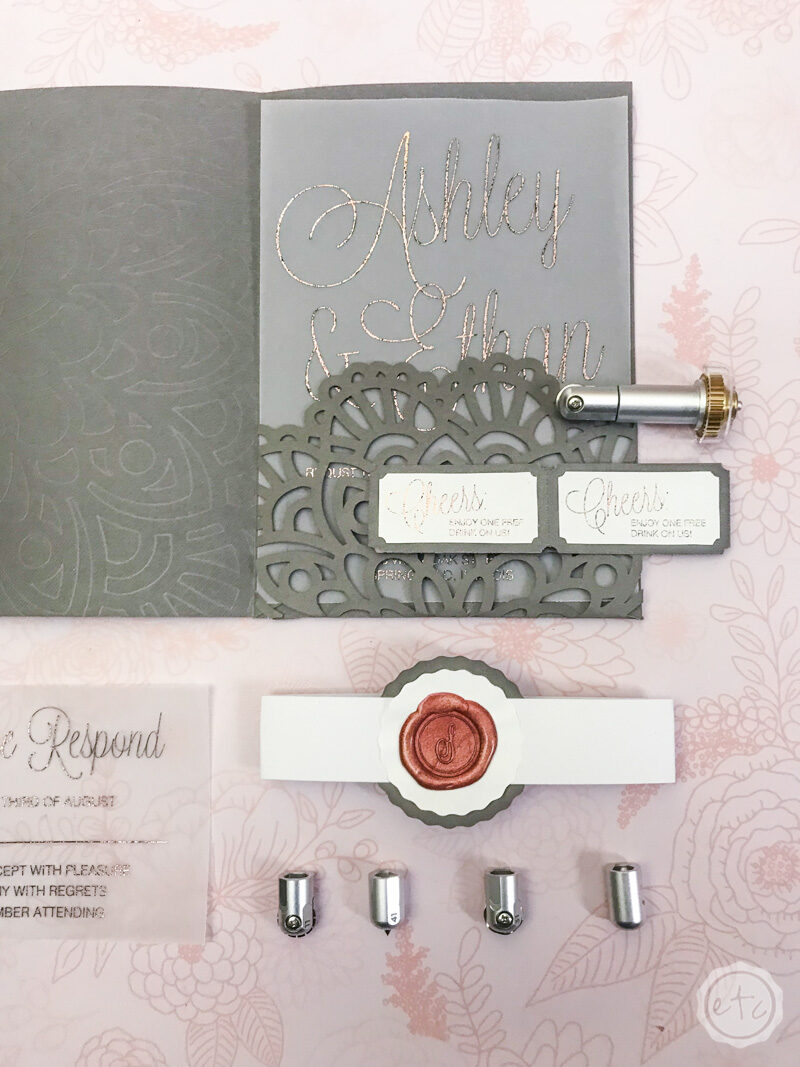
The entire pocket invitation includes: a 3- Fold Lace Pocket, Belly Band, Metal Bookmark, Drink Coupons, Vellum Invite and RSVP Card. I’ve broken out each item step by step below so if you’re not looking to make the entire set you can find exactly what you’re looking for.
Enjoy!
P.S. If you’re looking to complete the set I just made a cute FREE SVG cute file for confetti cones that match the lace on this wedding invite! Grab them here!
DIY Cricut Maker Wedding Invitations
Supply List:
- Cricut Maker
- Cricut SVG Files (FREE at the End of this Post)
- Cricut Strong Grip Mat (that’s the purple one!)
- Long Cricut Light Grip Mat (that’s the blue one!)
- QuickSwap Housing
- Perforation Blade
- Engraving Tip
- Fine Debossing Tip
- Wavy Blade
- Scoring Wheel
- Fine Point Blade
- Brayer
- Blue Painters Tape
- Double Sided Tape
- Cricut Basic Large Paper Pack 12″ x 24″
- Vellum Paper
- Multi-Color Brass Metal Sheets
- Rose Gold Wax Sticks
- Wax Stamp
- Hot Glue Gun
- Minc Foiling Machine
- Heat Reactive Foil
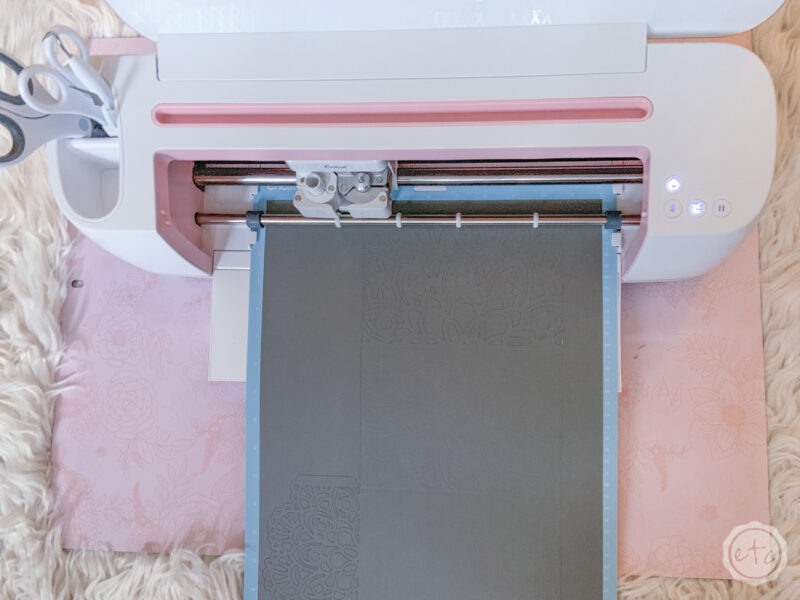
3-Fold Lace Pocket
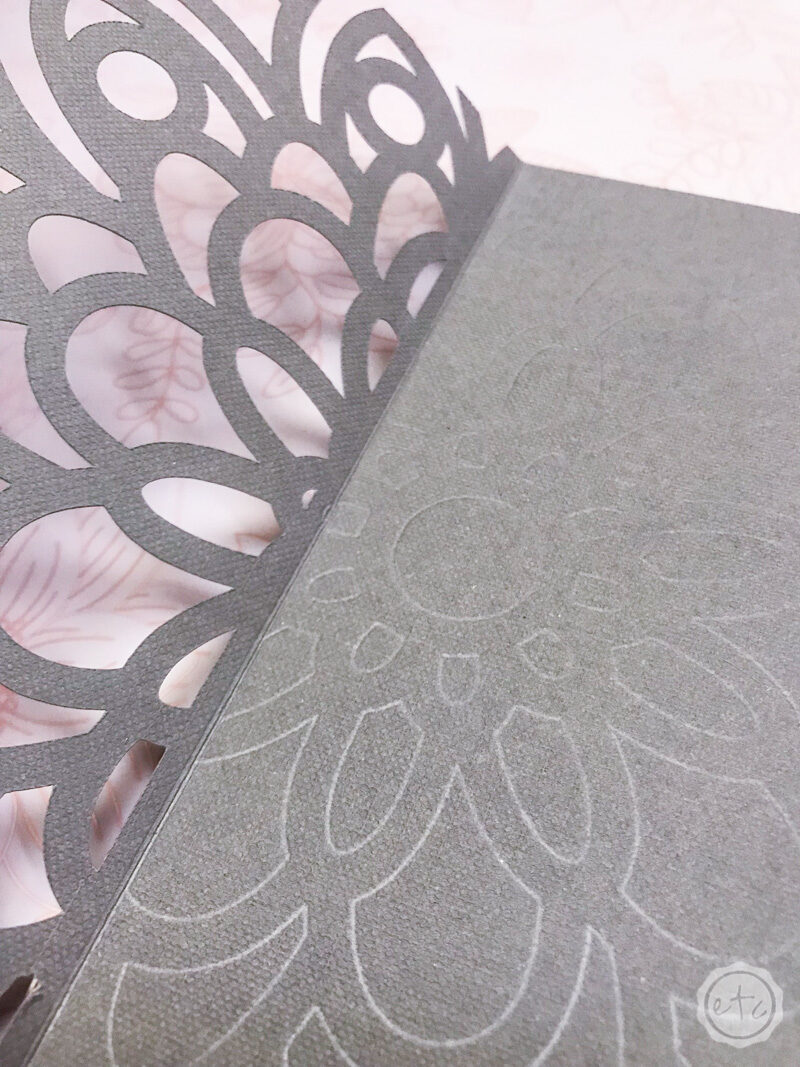
This little lace inspired pocket folder is so much fun to put together! You’ll use the standard cutting blade, scoring wheel and debossing tip for this particular project so it’s amazing to watch all of those little details come together.
Start by loading your long paper onto your long cutting mat and hitting go in Cricut Design Space. The software will prompt you to load each blade and let you know when it’s time to change from the scoring wheel to the debossing tip (and then the standard cutting blade).
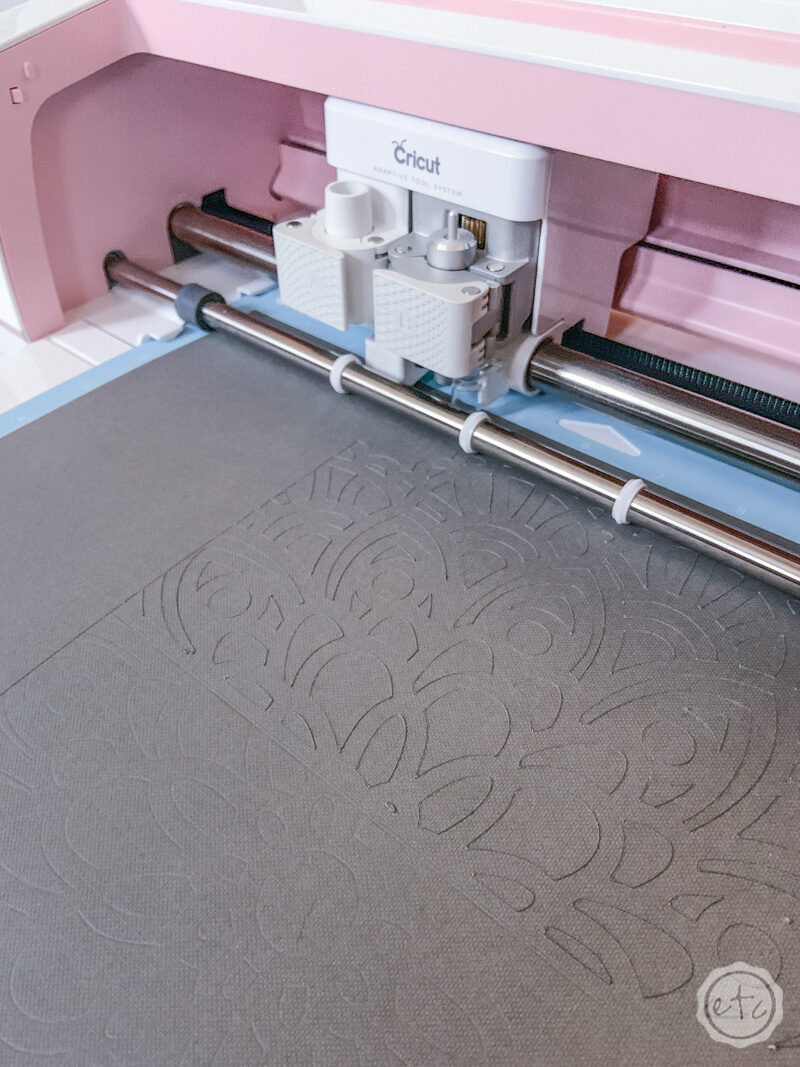
The finished pocket will be 5×7 but with all of the little lines to deboss and lace to cut out this particular piece of the invitation package takes the Cricut a minute to process.
Just imagine trying to do all of these details by hand… the process would be near impossible!
You would have to be ultra-talented and super patient.
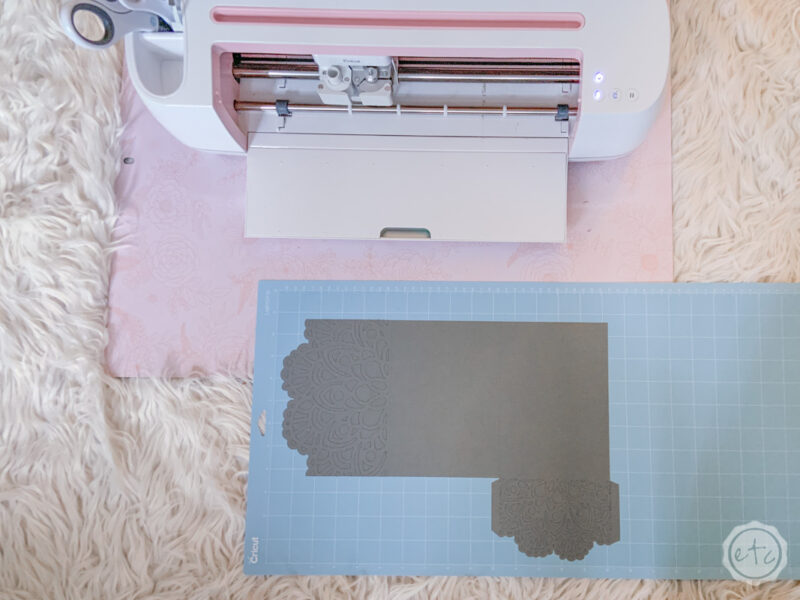
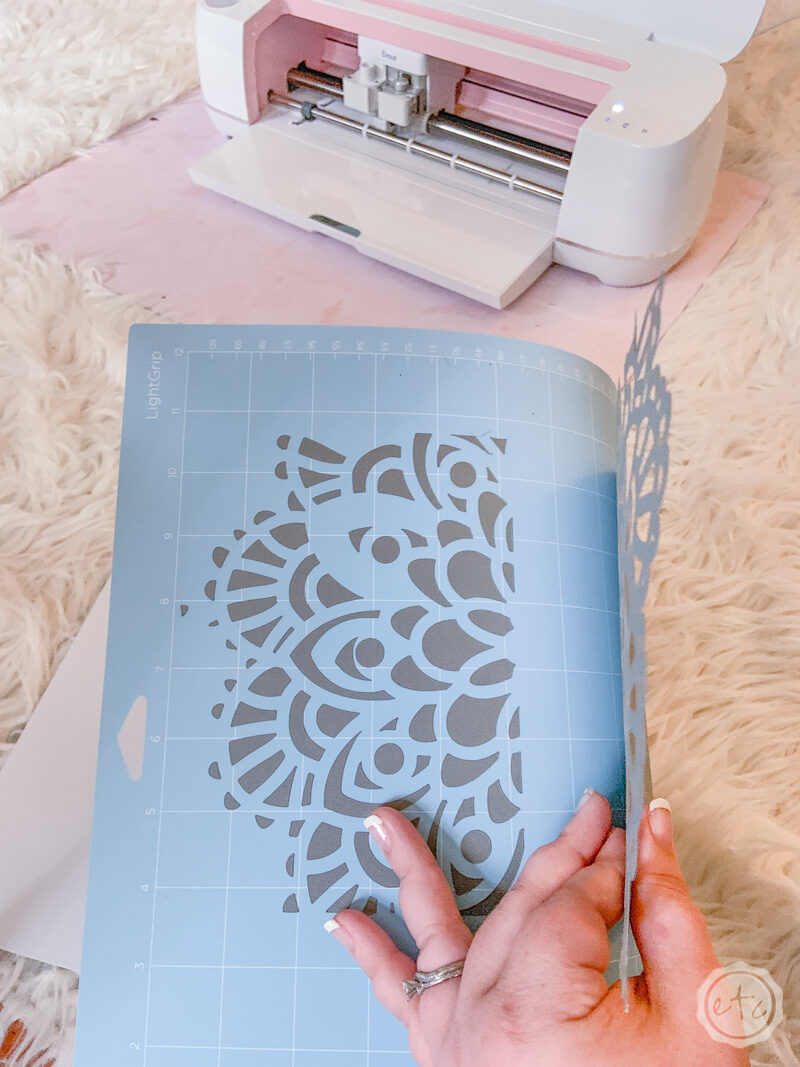
Once the Cricut is done with all three tools you’ll be able to take your folder off the cutting mat. Make sure to be very gentle with the lace cut out portions of the folder as they are delicate (and easy to rip!).
Start on one side and gently peel the cutting mat away from the cardstock. Make sure that you do not pull the card stock away from the cutting mat… that’s very important since the action of pulling will curl your cardstock and make it very difficult to get your folder to lay flat.
Just keep curling that cutting mat backwards and away from the cardstock until the entire lace pocket folder is removed from the mat!
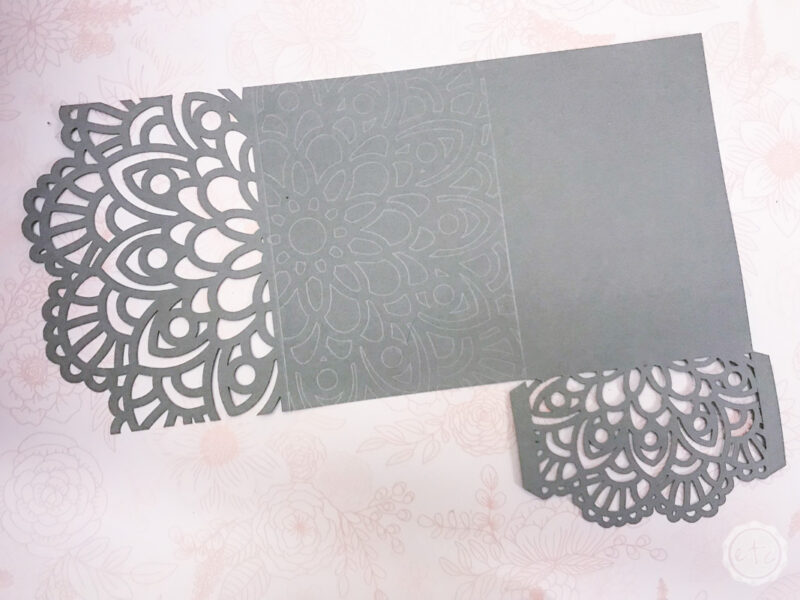
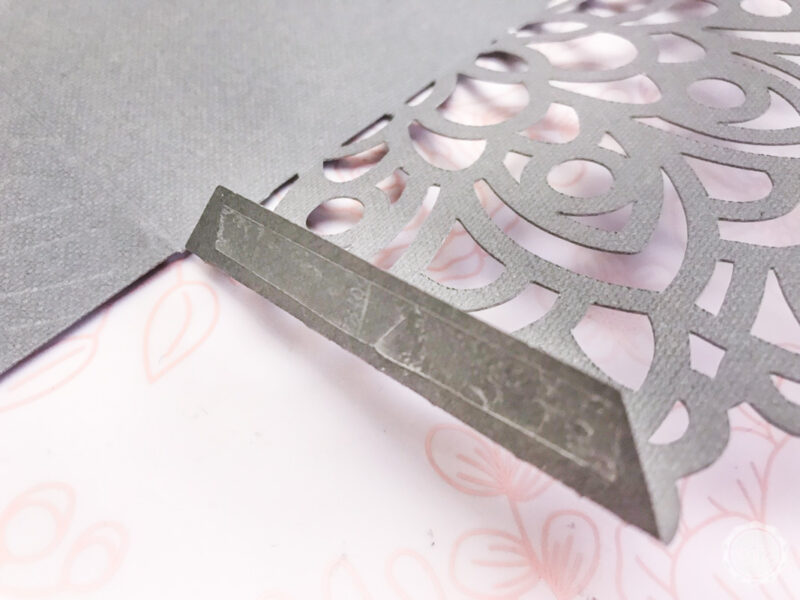
Now it’s time to make our little folder. Go ahead and fold the pocket folder on the score lines: both sides of the folder flap, the actual folder and then the 2 main folds to form the 3-fold pocket. That’s a total of 5 folds if you’re counting.
You’ll need a bit of double stick tape to securely tape down both sides of the folder flap but the rest of the pocket will be held together by the belly band!
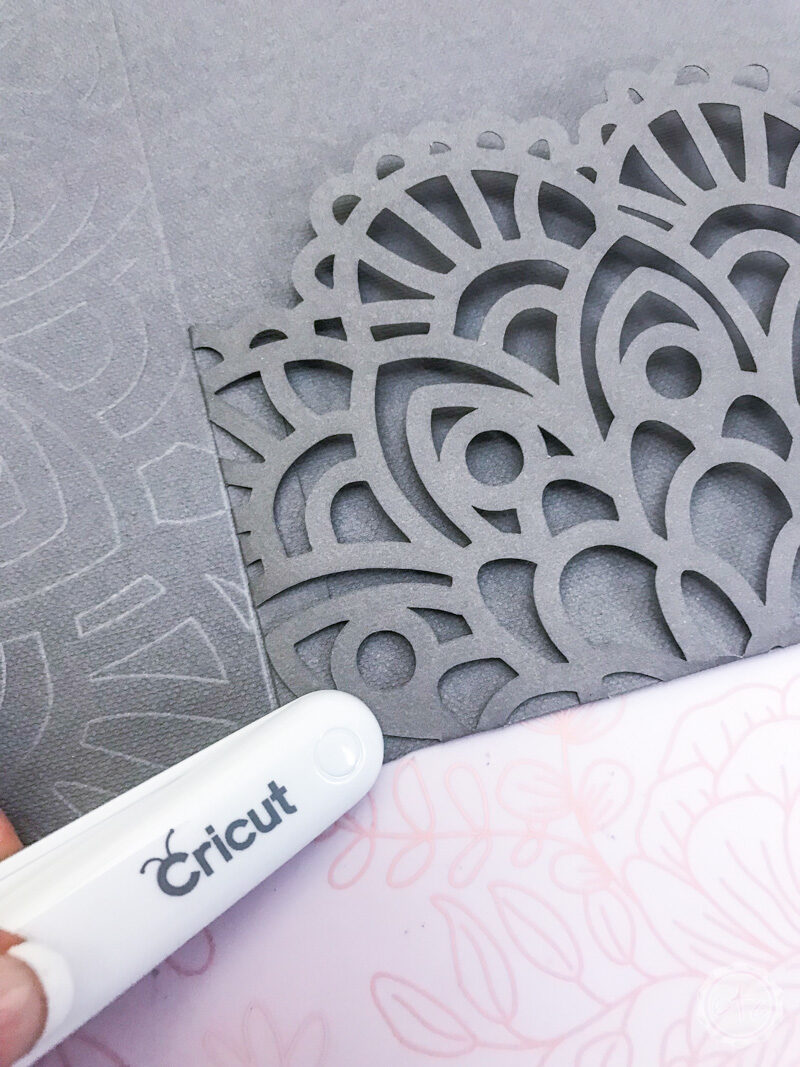
Once you’ve taped your folder in place and folded each of the scoring lines use a hard edge (I used the end of my scissors) to firmly crease the scoring lines. You want them to look crisp and professional so that hard edge will act like a bone knife and give you a beautiful finish.
Ta-da!
Beautiful darling.

Belly Band
Alright y’all this one is pretty easy. Go ahead and cut 2 circles in Cricut Design Space. I made one circle 2 inches wide and the other one 2.24 inches wide so that they’ll be able to stack.
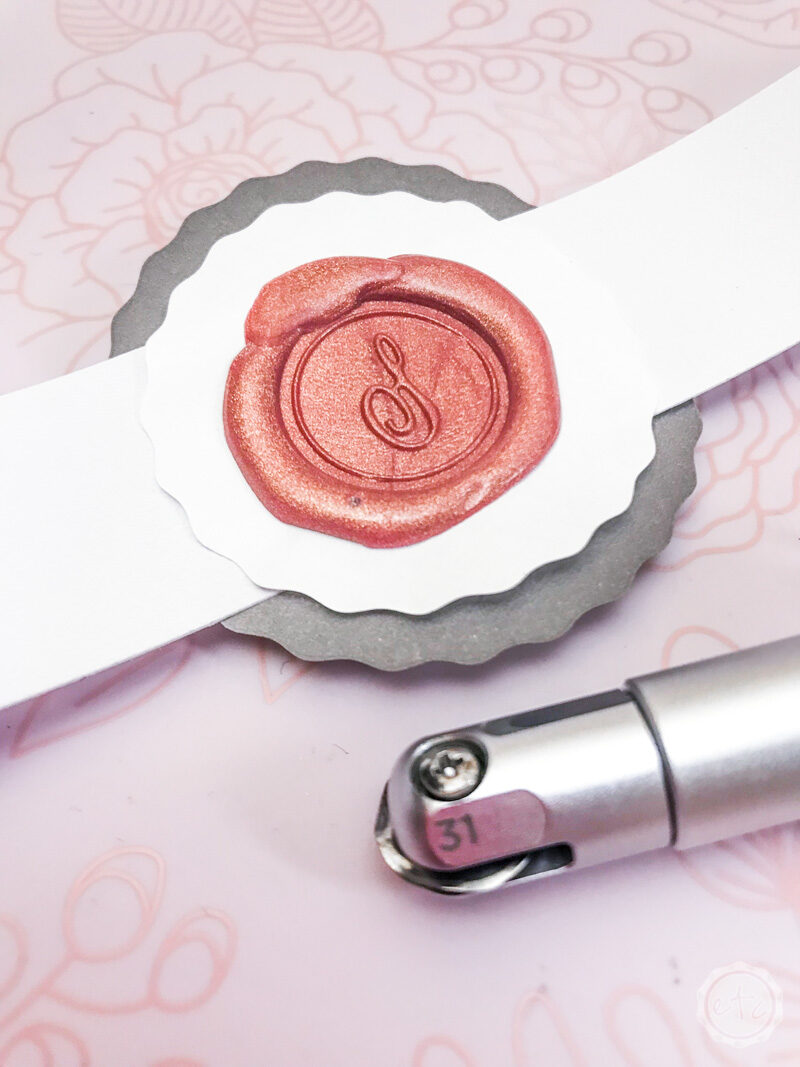
Now click linetype in the upper left corner and change the selection from “cut” to “wave”…. then click “go!“. I cut the larger circle out of the gray cardstock and the smaller circle out of the white so make sure to use colors that coordinate with your invites.
You’ll also want a piece of cardstock that is 1 inch tall by 12 inches long (to form the actual belly band). I simply cut this piece with my true control knife but you could easily have your Cricut cut it as well.

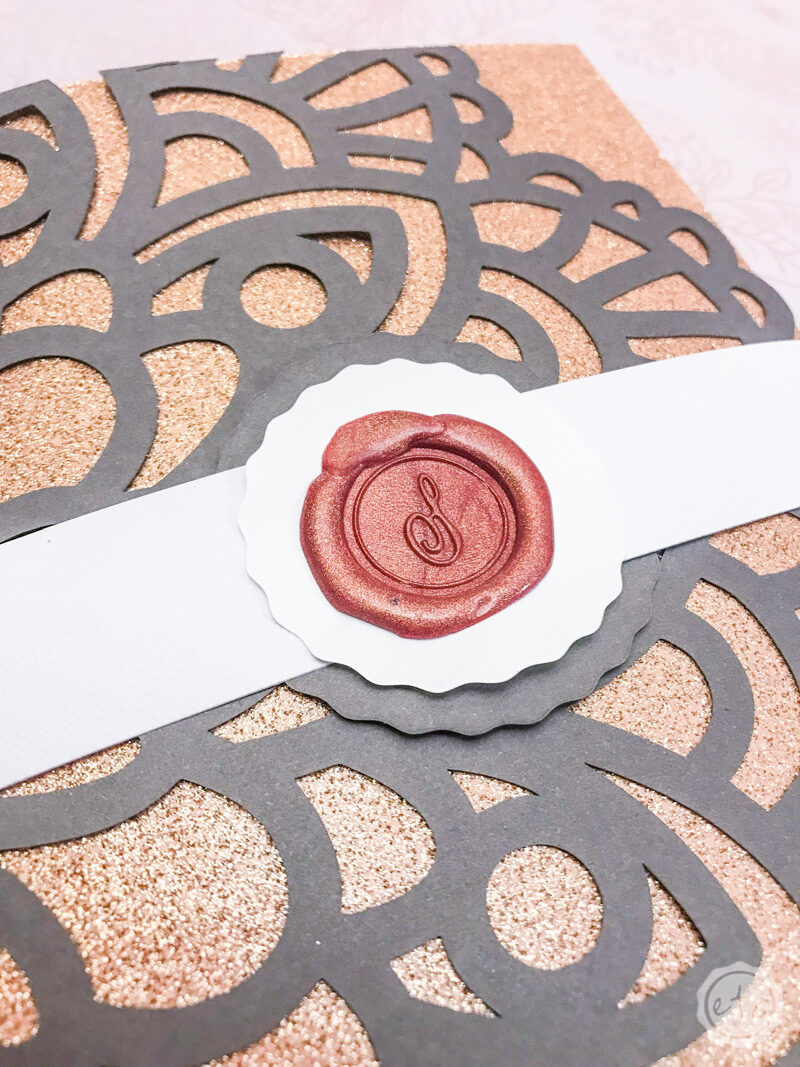
Once all of your pieces are cut go ahead and use a bit of double stick tape to assemble the belly band. You’ll place the larger circle down first, then your rectangular band, followed by the smaller circle.
Go ahead and glue the circles in the direct middle of the belly band so that you can wrap the two sides around your invitation. Then use a piece of double stick tape to secure the two ends behind the invitation.
Finish the entire belly band off with a beautiful rose gold wax seal and you’re ready to go!

Metal Bookmark
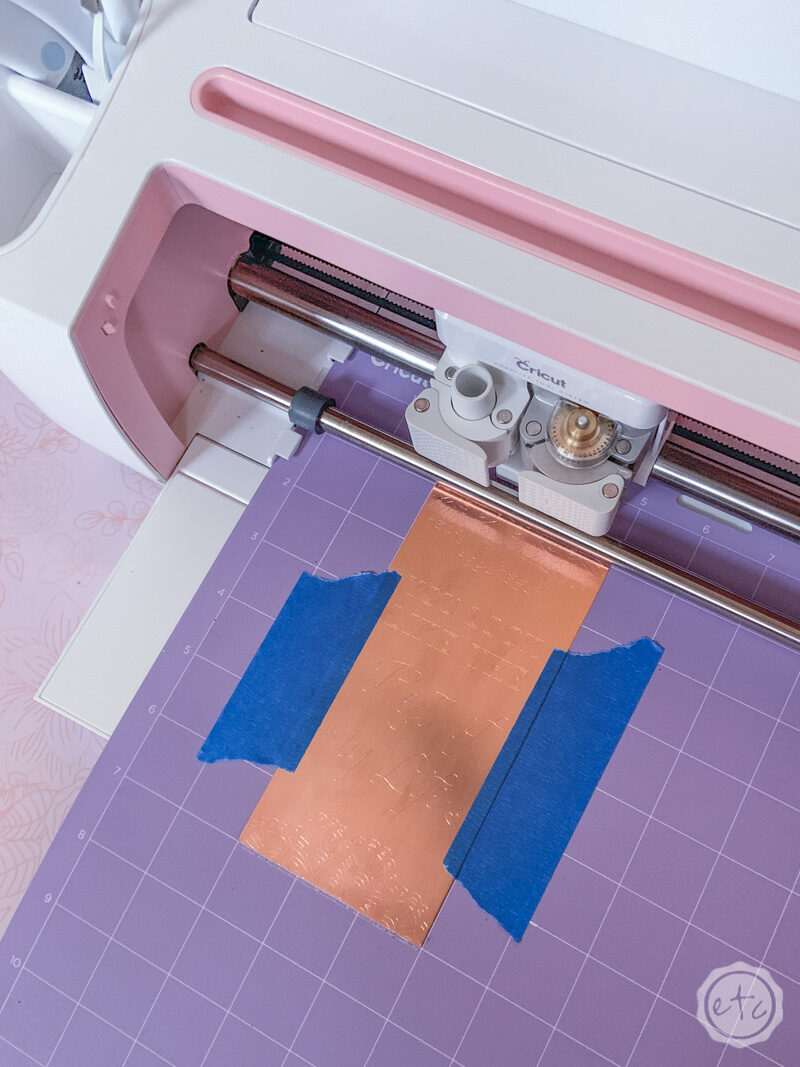
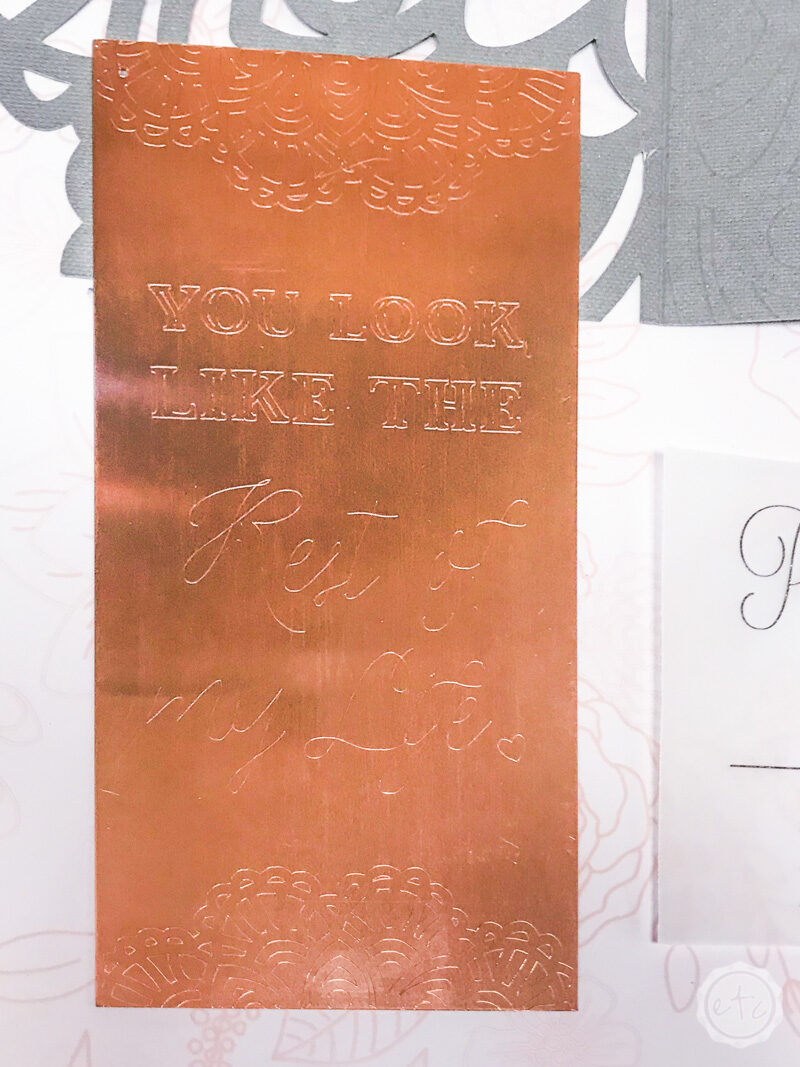
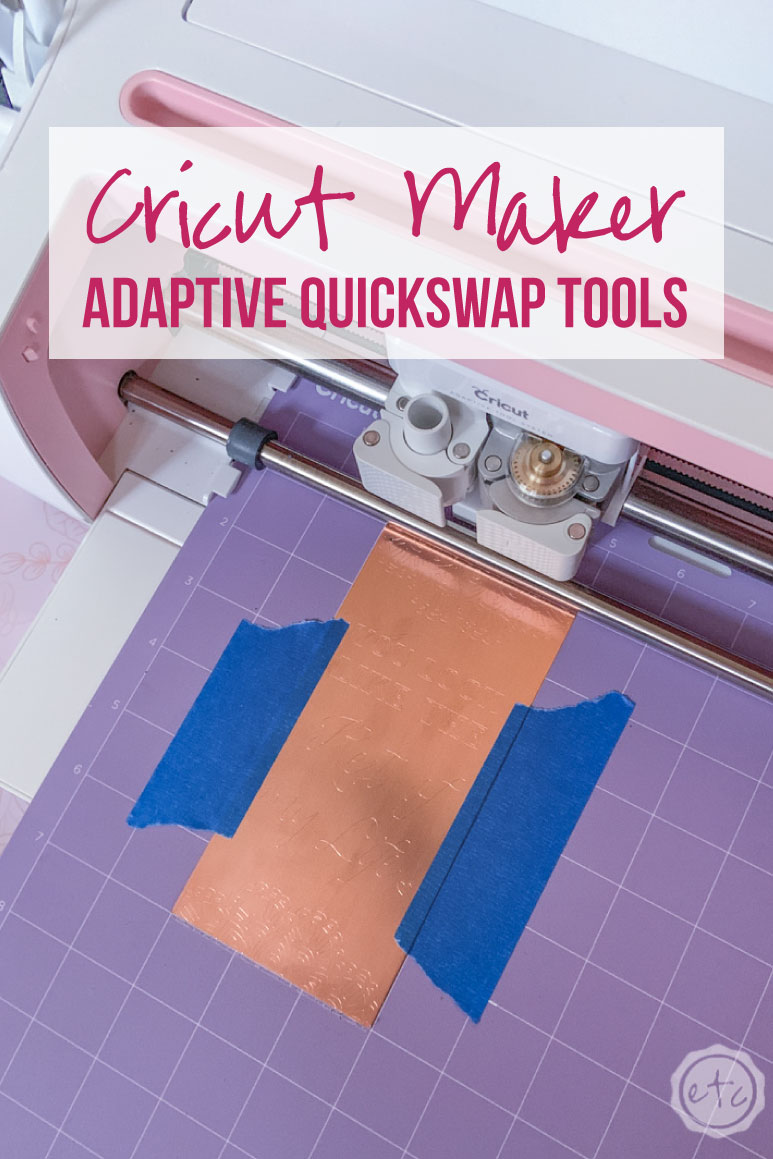
This little bookmark was the EASIEST part of the entire invitation design! Go ahead and open the SVG in Circut Design space, set the linetype to “engrave” and click go.
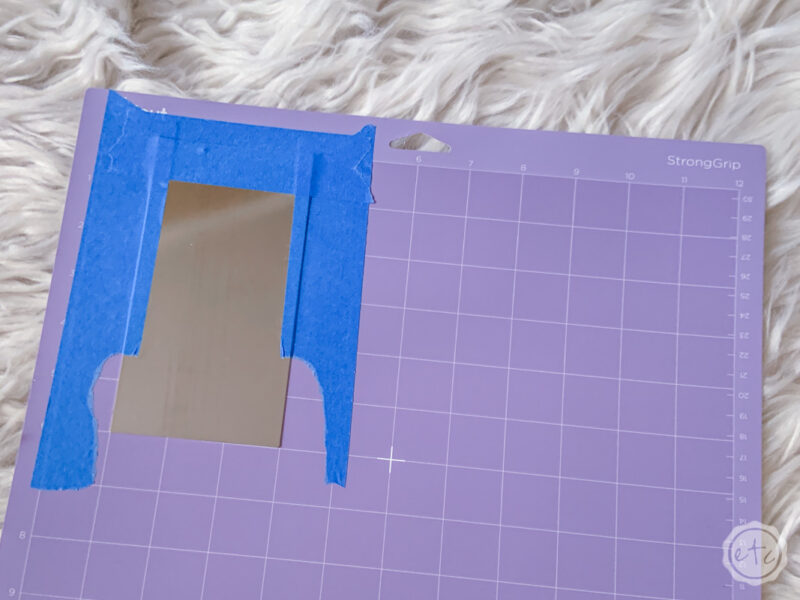
Now before you hit continue (on the prepare screen) make sure that your design is in the proper space. These little metal sheets are 3 inches wide by 6 inches tall and I wanted the design to engrave across the entire sheet without leaving any negative space.
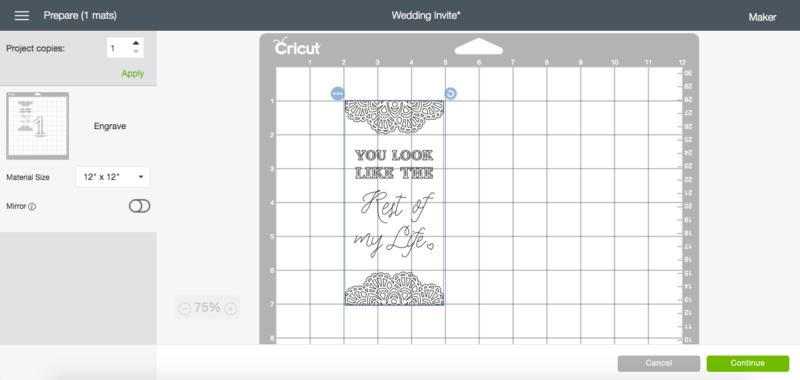
The easiest way to achieve this is to move the design down (away from the corner) and line it up with the grid so that you can make sure to load your mat in the exact same location. In this case I placed the bottom of the design on the “7” line and left side on the “2”.
Once you have your design on the screen and you blank metal sheet on the cutting mat in the exact same location go ahead and use your brayer to firmly press the metal sheet down onto the strong grip cutting mat. Then add a bit of painters tape in the negative design areas to help hold the metal in place (we definitely don’t want it to move!)
Now hit go!
Absolutely stunning.


Drink Coupons
Last but not least we have out fun drink coupons! These little guys are so much fun!
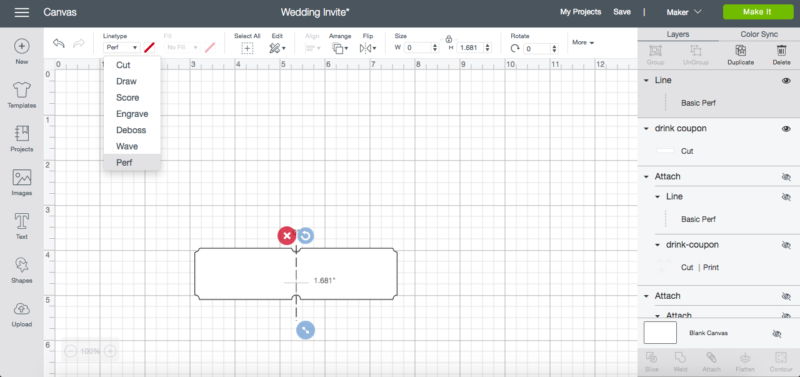
Start by loading your ticket shape svg into Cricut Design Space. You’ll leave the actual ticket shape as a cut line but we want to add a line right down the middle of these little guys that will be perforated.
Simply hit shapes on the left hand side and grab a “score line”. Position it in the middle of your ticket stub and then change the linetype to “perf”. Perfect! Now you can click go!
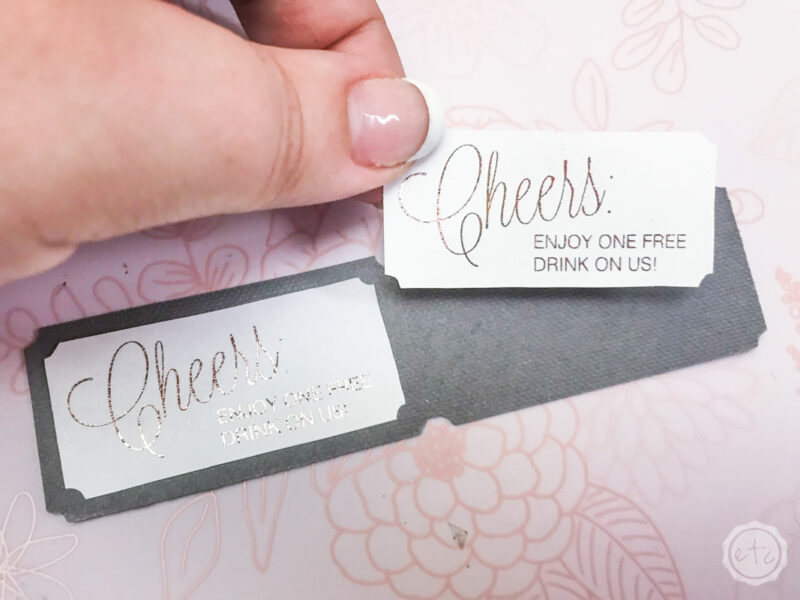
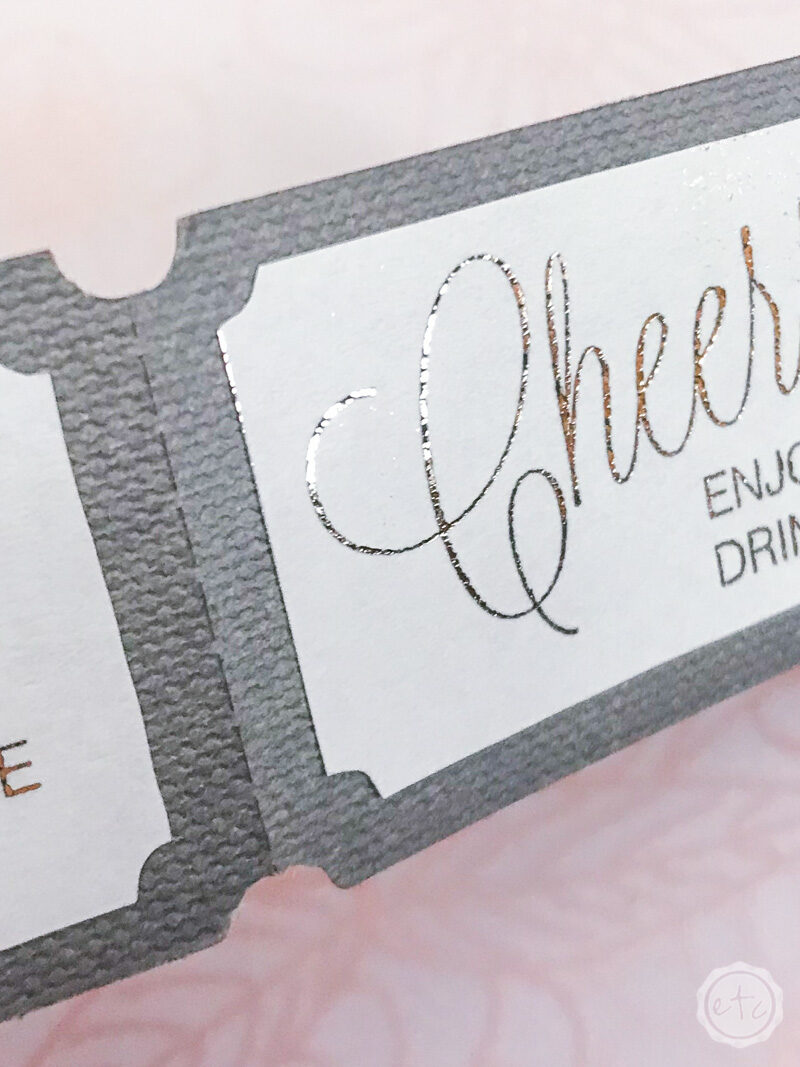
The gray background of these little drink tickets is the perforated part… then I used the print and cut feature to print the top white section.
And add foil!
Once the white section is cut you’ll use a bit of glue to add it to your drink tickets. Perfect!
Ready to see how everything came together? I am absolutely in love with how these invites turned out! All of the details are a-m-a-zing!


Want to take a look at the rest of the Cricut line up?
Get Your FREE Cricut SVG Files!

Get the Cricut Cut Files for this project!


