


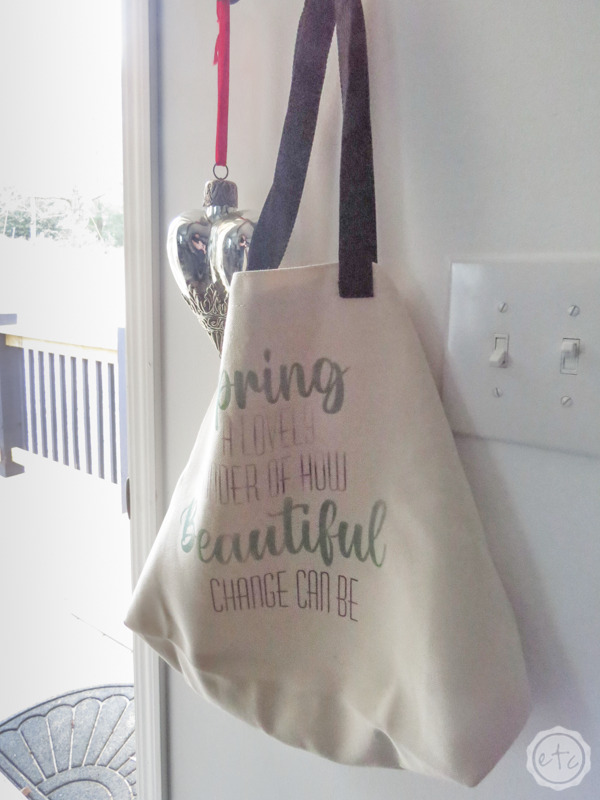
Ready for a fun infusible ink project? After I whipped up all of these fun Spring SVG’s I just had to use one… and this little bag was the perfect option!
Of course, you can use these SVG’s for just about any project you like (I was leaning towards a little metal sign before this bag started calling my name). But for today I’ll walk you step by step through cutting this little decal out of infusible ink.
Let’s get started!
Supplies:
- Cricut Maker
- Fine-Point Cutting Blade
- Cricut Standard Grip Mat (that’s the green one!)
- OR Cricut Fabric Grip Mat (that’s the one I use… it’s pink and holds everything)
- Cricut Easy Press 9 x 9
- Easy Press Mat
- Cricut SVG Files
- Weeding Tool
- Infusible Ink Transfer Sheet: Brushed Sunset
- Infusible Ink Tote Bag
- Heat Resistant Washi Tape
Ready to take the leap but not sure which machine is right for you? Check out my Explore Air 2 and Maker comparison before pulling the trigger. I go over the pro’s and con’s of each machine and even have an easy to read check list of each machine’s features so you can decided which cutting machine is perfect for you.

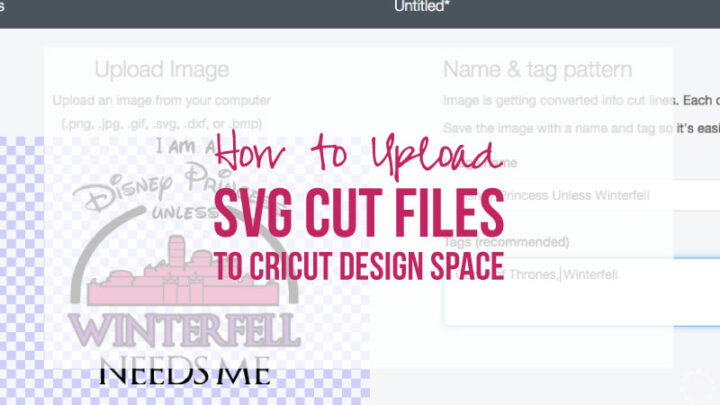
Step 1: Upload your SVG to Design Space
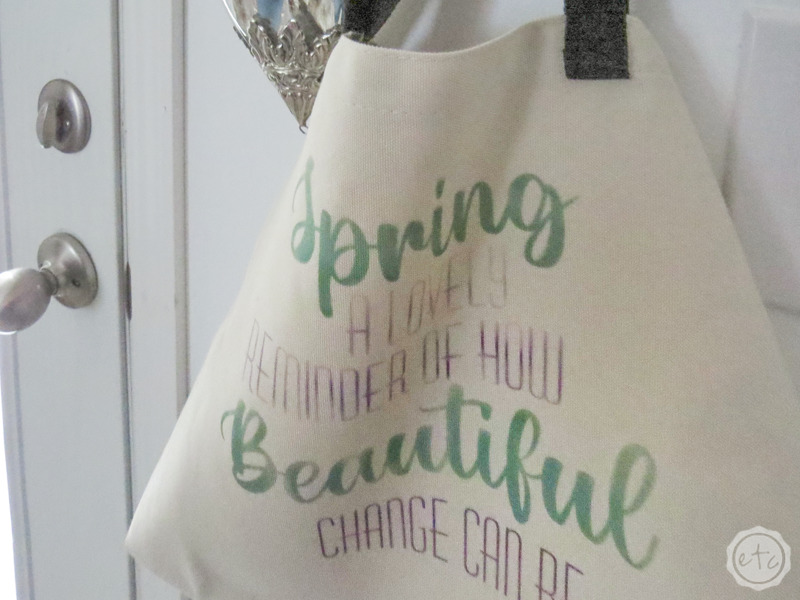
Once you’ve downloaded the files go ahead and upload them to Cricut Design Space. Then it’s just a matter of sizing your files! In this case I wanted the decal to fit in the middle of the tote bag so I resized it to 11 inches wide.
Perfect!
Since we’re using infusible ink for this project make sure that you mirror the design and select infusible ink… then you can click make it!

If you’re not sure how to upload the files you can follow my tutorial for how to upload an SVG to Cricut Design Space.

Step 2: Cut your Design
Let’s get to cutting! We’ll need a fine-point blade loaded into the machine.. and our infusible ink loaded onto the mat!
Keep in mind that infusible ink is actual ink so make sure you use clean, dry hands to handle it. Smooth it down onto your mat and use your brayer to make sure it’s really bonded to the mat. Perfect.
Once your mat is ready to roll you can load it into your Cricut and hit go. Now there’s nothing left to do but watch the blade cut!


Step 3: Weed the Design
All set?
Start by removing the ink from the cutting mat. Be careful to flip the cutting mat over so the infusible ink is face down (make sure the surface is clean and dry so that you don’t hurt your ink) then curl the cutting mat away from the material so that the material doesn’t curl.
Score!
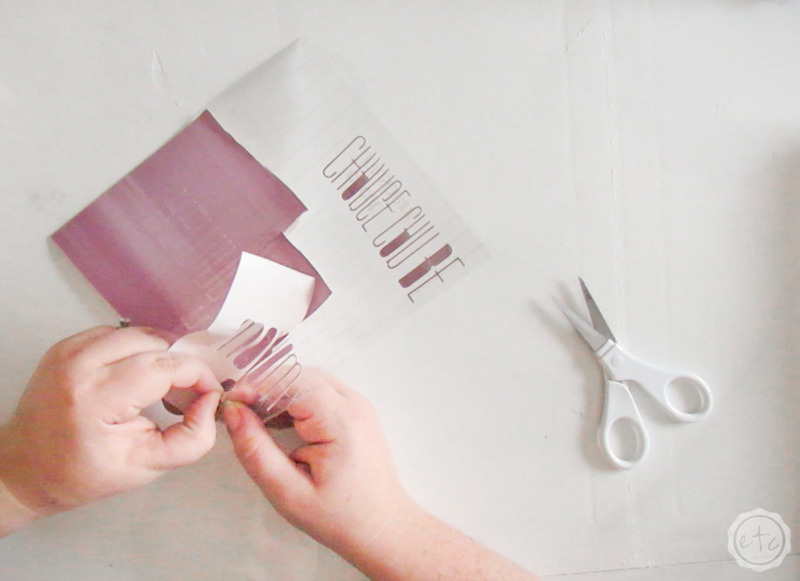
Now we can move on to weeding your design. Fortunately infusible ink is the absolute easiest material to weed… you don’t even need a weeding tool.
In fact it’s easier if you skip the weeding tool altogether (it’s too sharp and tends to rip the paper instead of weed it). Instead you can simply use your fingers to remove all the negative space… all the space outside the design and small areas inside of the o’s, e’s, b’s… you get it.
Be careful not to rip the pieces… and you can always cut the excess paper off if it gets too hard to handle.
Once you’ve weeded the entire design we can move on to the next step!

Step 4: Layer your Infusible Ink
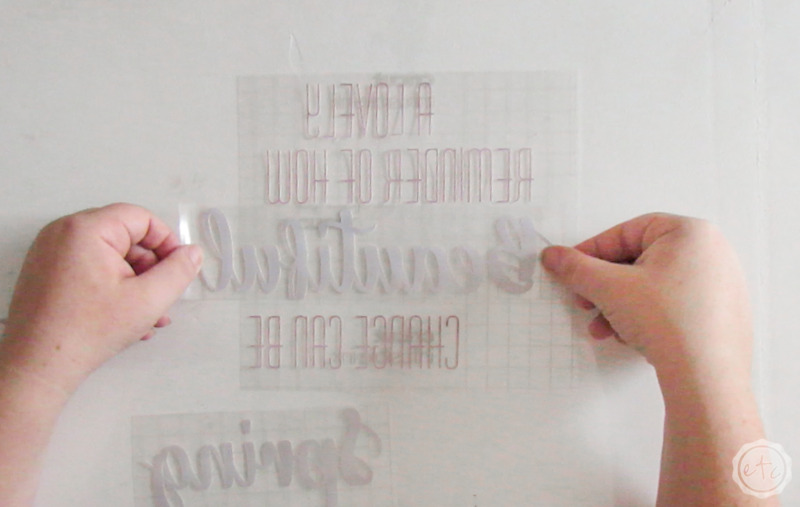
Alright y’all… here’s the thing. Unlike iron-on you can only heat infusible ink once… so you can’t do one layer (remove it) and then do the other layer. Instead you need to heat both colors at the exact same time.
Which means you need to put your entire design on one carrier sheet. You can remove the pieces and place them all together but I find it’s easiest to leave them on their original carrier sheet.
Instead of removing the smaller pieces from the carrier sheet simply cut the carrier sheet down.
Then you can carefully place the cut out pieces down and press it into the larger carrier sheet. Perfect… you’re good to go!
Everything on one carrier sheet… just like the doctor ordered.


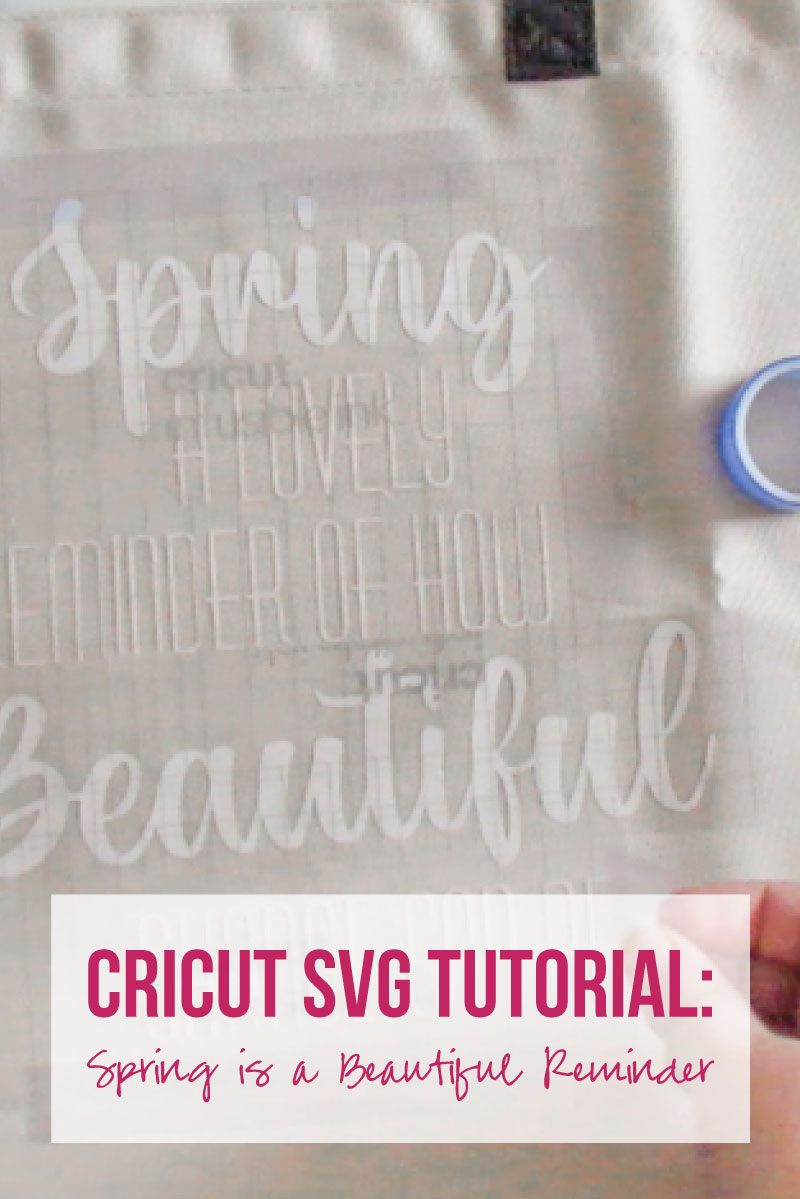
Step 5: Put your Design on your Tote Bag
We are so close to heating this baby up!
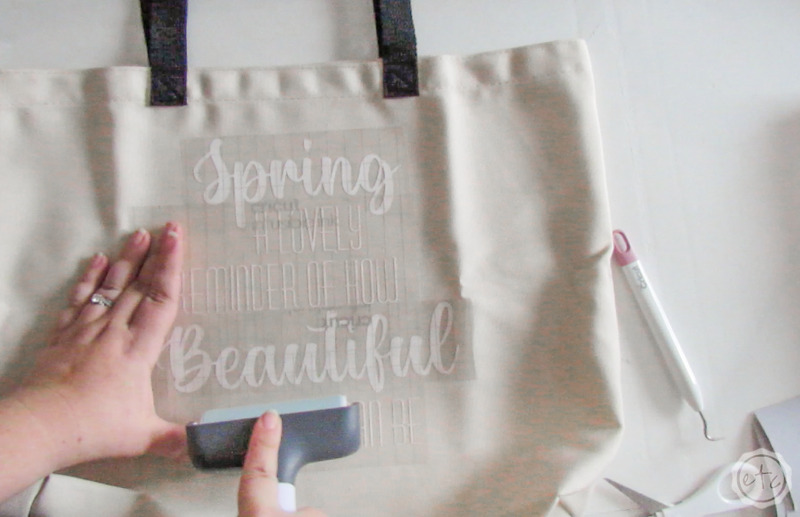
Infusible ink is easy in sooooo many ways but it’s one downside is it needs to stay 100% still when you’re applying it. So the best way to do this is with heat resistant washi tape.
Start by putting your design down and smoothing it into place. Then use your brayer to really make sure the bond is perfect… you want it to be as attached as possible.
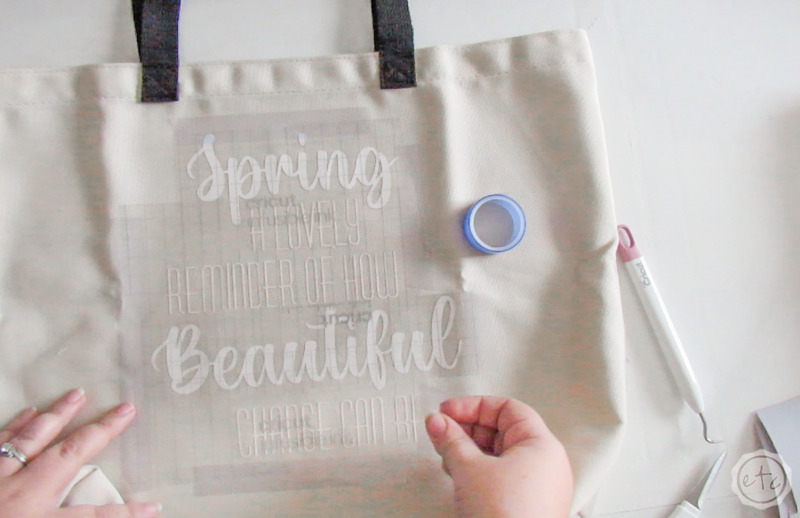
To finish the whole thing off place a few pieces of washi tape around the outside. Make sure it’s the heat resistant washi tape though… this stuff needs to be able to withstand the heat from our easy press.
Once all of your tape is applied we’re good to go. Let’s grab our heat press and fire that baby up!
Step 6: Apply your Design
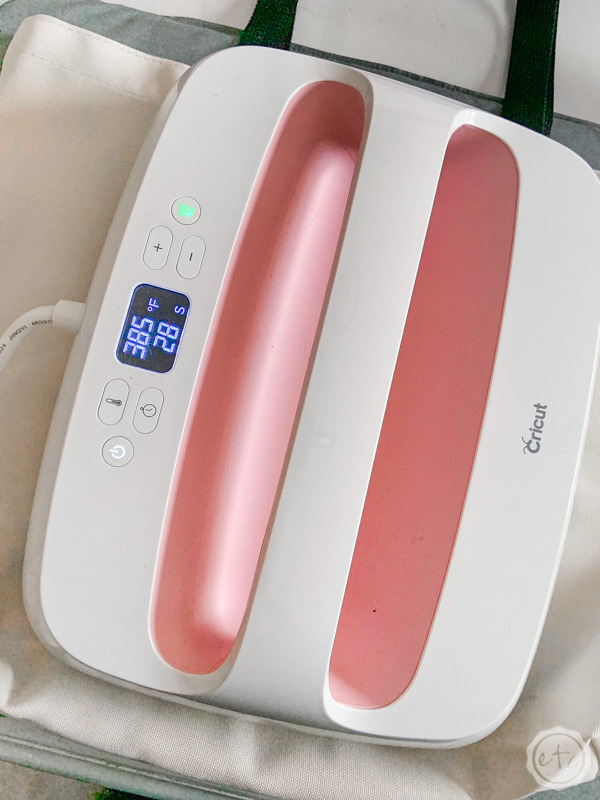
To put infusible ink on our tote bag we need to set our heat press for 385 at 40 seconds.
Once it’s warm we want to set it down directly on the design (making sure not to move or slide it around). Then hit the green cricut button to start the timer… and let go! We don’t want any pressure (or any movement!) for this project.
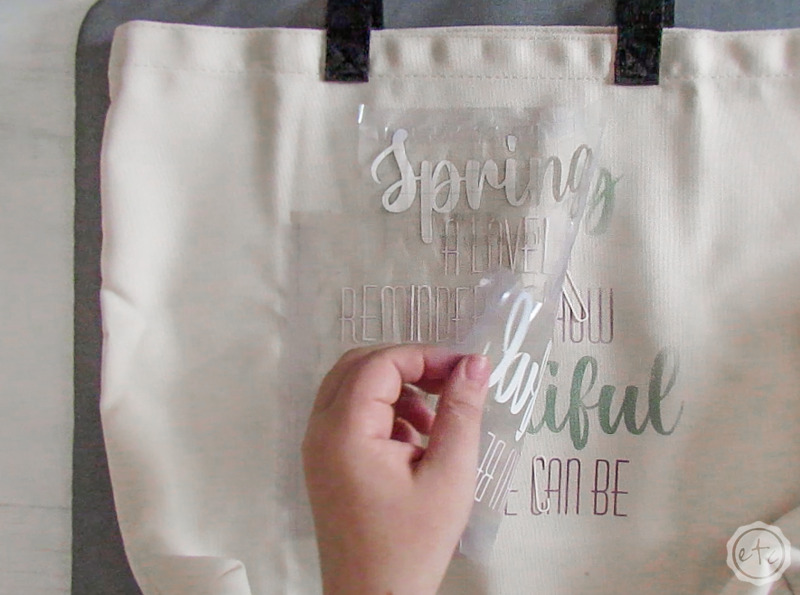
After 40 seconds you’re good to go… lift that easy press straight up and set it back on it’s base. At this point your design will be hot, really, really, hot… wait until it’s warm to the touch and then peel the carrier sheet away.
Volia!


Just one last tip before we go… infusible ink only works with certain base materials! You need a infusible ink compatible material or one that has a high polyester count.
For tote bags the og cricut tote is your best bet!
Ready for the final reveal?
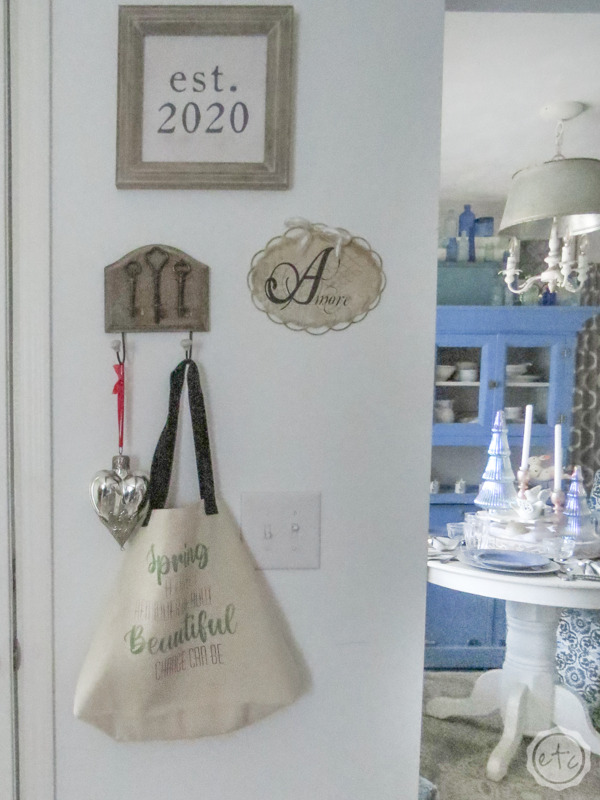

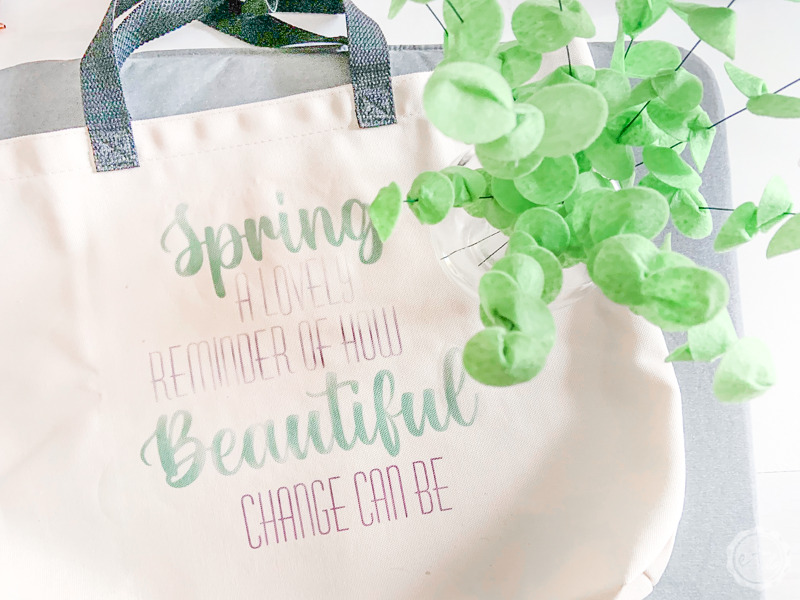
Check out the felt eucalyptus I whipped up last week to go with a few of my other spring decor… I made them with my Cricut!
Want More FREE SVG’s? Check out our seasonal collection:


Leave a Reply