


So you finally did it! You brought home your very own Cricut Maker… maybe it was a birthday present or you found one wrapped under the Christmas tree. Maybe you saved up your pennies and bought one for yourself (you go girl!) but at the end of the day we’re all at the same spot.
Opening the box. Unwrapping the machine. Putting it all together.
So if you’re looking for a quick tutorial on how to get started with your Cricut Maker I’ve got you covered. Unboxing and setting up your Maker only takes a few minutes… stick with me and I’ll have you cutting, writing and scoring with your Maker in just a few minutes.
Psst… not into reading? Scroll to the bottom of the page and check out the video where I unwrap this baby, set it up on camera and do the welcome project!
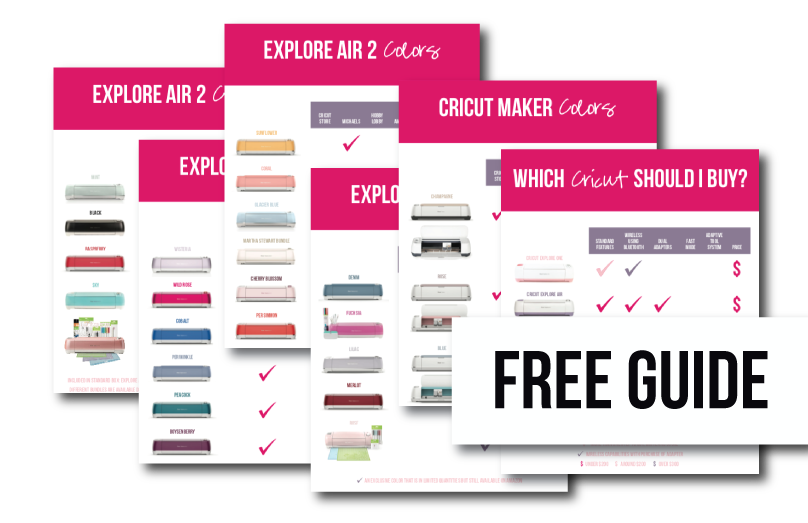
Need help picking your perfect machine? I’ve got you covered!
Step 1: Open the Box
Alright y’all, we’re starting at the beginning here. Literally.
If you purchased a bundle you’ll likely have a couple boxes but in the midst of all the boxes you’ll have a large box for your Cricut Maker. It probably has a picture of the Maker on the side! I went with the Rose Essentials Bundle and the rest of my bundle came in a separate box.
Opening the big fancy Cricut Maker box is like Christmas all over again… there’s just something about unwrapping a new Cricut that has a bit of magic in it. For us crafters it’s basically a big toy so I have to restrain myself from getting too excited when I open the box and see all the goodies inside.
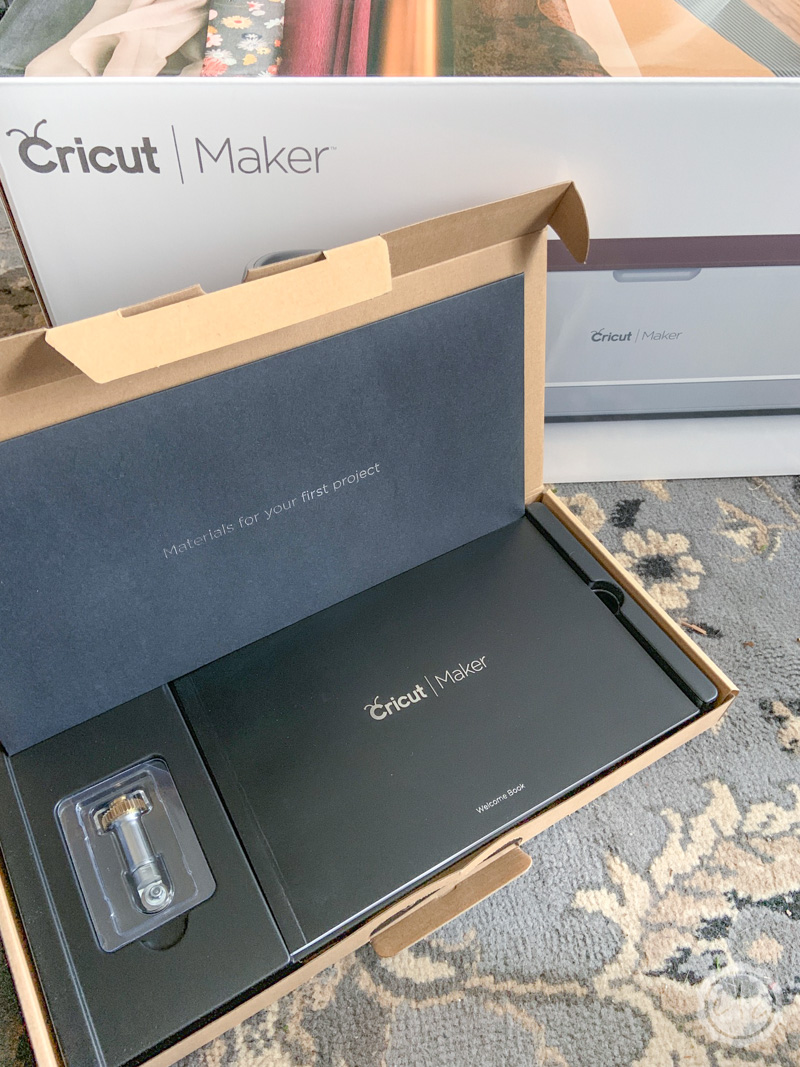
When you first open the box you’ll see the welcome packet on top with the machine underneath. Inside the Welcome packet are most of your goodies: the welcome book, a packet with your first project, the rotary blade (and cover), the fine point pen and the USB cable.
The USB cable is kind of hiding down underneath everything but keep digging… you’ll find it!
Of course, once you take your machine out of the protective cardboard pieces holding it in place you’ll find the power cord… it’s all the way down in the bottom of the box along with your two standard size cutting mats. Easy peezy lemon squeezy. Now you’ve got the full line up.

Step 2: Unwrap Your Cricut
Alright, now it’s time for the good stuff. Unwrapping the machine. It has a protective filmy kind of wrapper and a layer of cellophane.
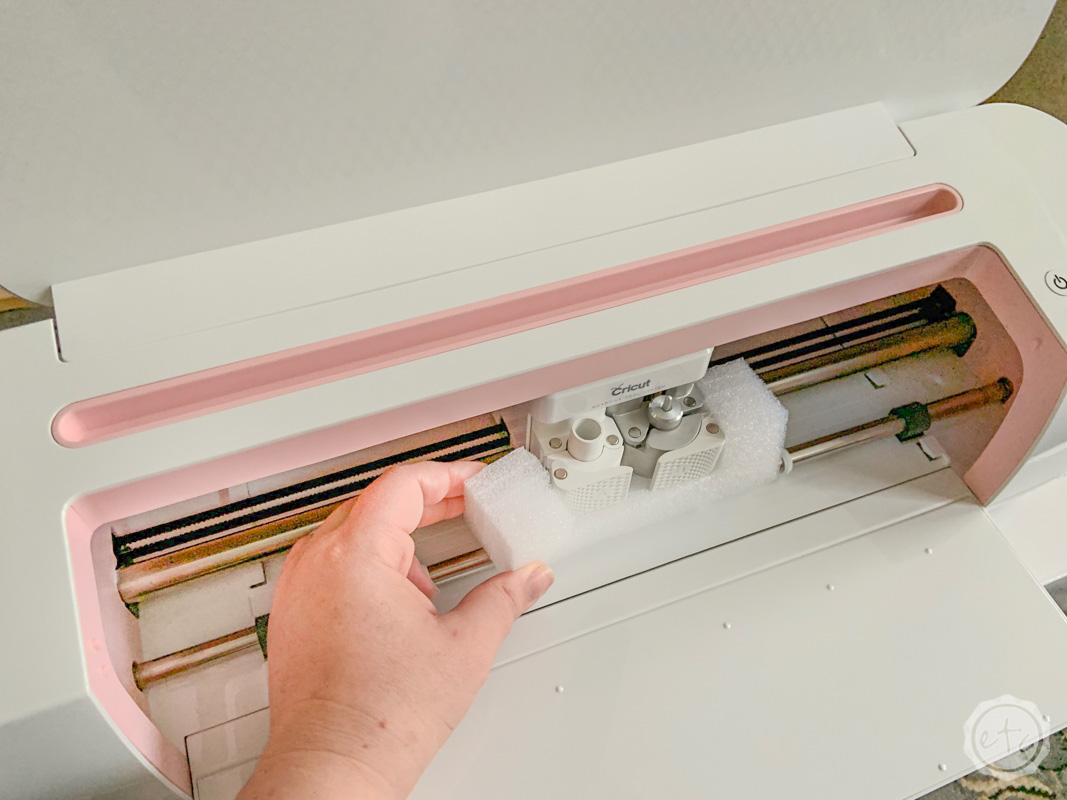
Unwrapping the first layer of foam is the absolute best because you get that first look at the actual machine. Since I picked the rose machine it’s the first time you see that pretty rose gold color… and it is b-e-a-utiful. It’s not a true rose gold as much as it is a rose color but it is beautiful non-the-less.
The rose machine has a pink interior as well (which is adorable!) so once you open your machine you get that fun pop of pink. A bit of styrofoam is protecting the inner housing so you’ll need to take that off before you can move on to the next step.
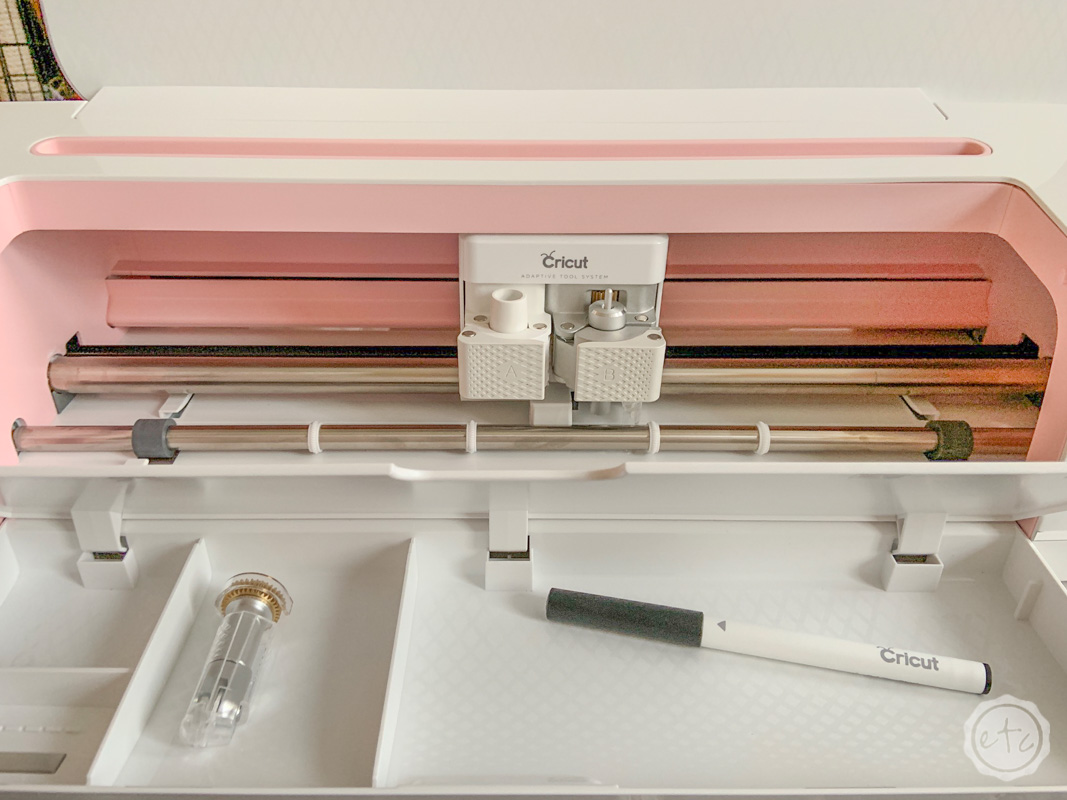
Step 3: Unwrap Your Supplies
Now it’s time to unwrap the rest of your supplies. If you’re just opening the Cricut Maker box at the moment you’ll have the rotary blade (and cover) to unwrap and the fine point pen. The fine point blade is already installed in the machine’s housing so you won’t actually have to unwrap that.
Of course, if you have a bundle this is a great time to unwrap all the goodies that came with your machine and take a look.
The rose bundle seems like the perfect setup for anyone who loves to sew. Along with what came inside my Cricut Maker Box I received the Bonded-Fabric Blade & Housing, the Deep-Point Blade & Housing, the long Machine Mat Variety Pack, the long FabricGrip Mat Pack, the Sewing Kit (these scissors are to die for!) and the Washable Fabric Pen.
If you’re like me and you’re planning to use your Maker for sewing and crafting projects you probably want to go ahead and order the knife blade as well. I was a little disappointed it didn’t come standard with the machine since my main goal with the Maker is to cut. all. the. chipboard. but it’s easy enough to order separately.
Step 4: Go to Cricut.com/setup
Now that we have everything unwrapped and ready to rock it’s time for the technical aspects of this whole set up. Luckily Cricut makes it super easy with an entire webpage to walk you through the process.
Go ahead and use your computer to pull up Cricut.com/setup you’ll be directed to a cute little welcome page that will tell you exactly what to do. Typically the first step is to install Cricut Design Space and to sign up for a Cricut ID.
If you’ve been using a machine like the Cricut Explore Air 2 and are adding a Maker to your line-up you probably already have Cricut Design Space and a Cricut ID. Go ahead and sign in to your account when prompted but make sure to download Design Space even if you already have it… there’s probably an update since the last time you downloaded it and some of the new tools (like the scoring wheel and rotary wheel) need this update to function.
Don’t ask me why but the little wheel on top of both tools can make your life very complicated if you don’t have the updated plugin.
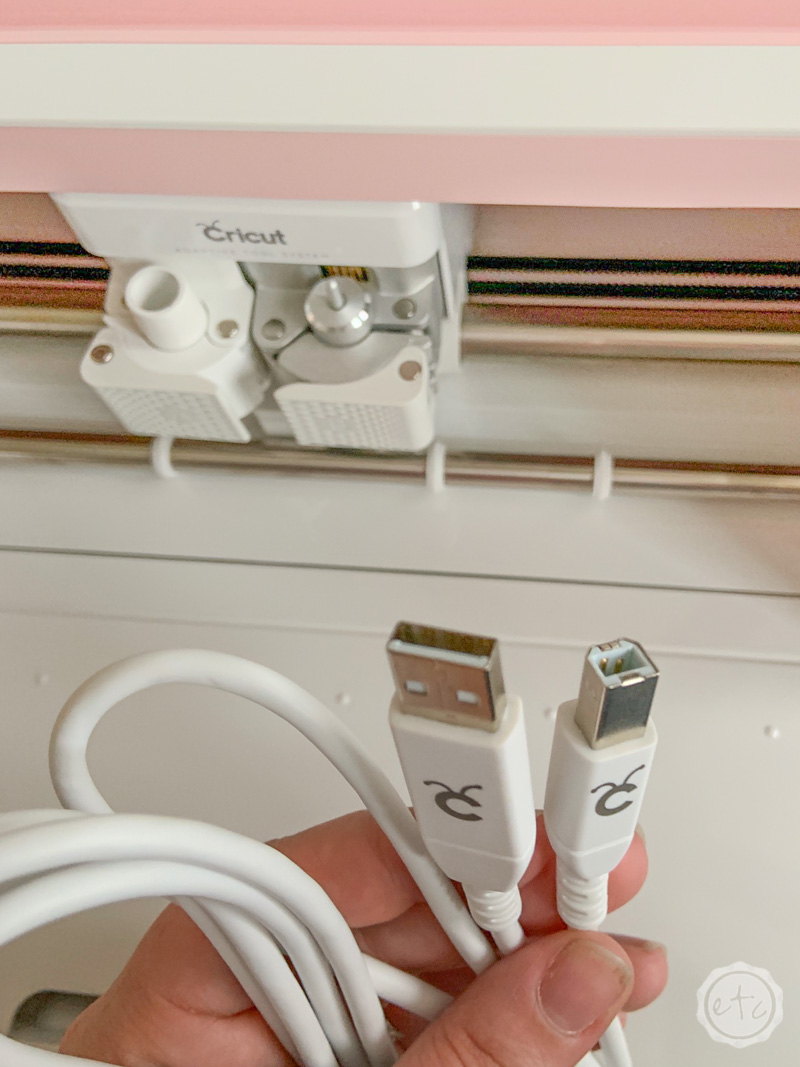
Next the setup wizard (that’s what I’m calling it!) will walk you through the final steps: first you’ll plug in your USB cord and then the power cord. Your USB cord has a square end that will plug into your Maker on one end and a typical USB plug on the other side for your computer. The power cord plugs in right next to it which is fabulous for hiding cords on a craft cart.


Step 5: Claim Your Goodies!
We are so close to finished!!! Once you are finished with the setup wizard (is that catching on yet?) you’ll be able to claim your goodies… aka a free month of Cricut Access which is Cricut’s fun library of fonts, projects and Cricut Cut Files.
I really want to learn how to utilize my Maker so that it doesn’t sit on the counter collecting dust (ahem: Mom!!). So I’m planning to practice using all of the tools that go along with my Maker by working my way through the access library making tons of fun Cricut projects. Then I’ll share them with you!
Maybe then I’ll use my Maker for tons of fun projects instead of just one fun project over and over and over (hello vinyl letters on. everything. I. own ).

Step 6: Start Your First Project
Alright now we’re set up! Your Maker is ready to rock and roll… if you have a project in mind you can jump right in. Otherwise every Cricut comes with a fun little first project that helps you learn the tools.
The Maker comes with all the supplies you need to make an adorable little card… so pull out your welcome packet and give it a try. It will walk you through using a few of those fun new tools.
Of course, whether you’re using your Maker for the welcome project or jumping right off the deep end (I’m looking right at that chipboard) don’t forget to make sure you have about 10 inches of space in front (and behind!) your Maker.
Wouldn’t want your cutting mat to get stuck!
Good luck and happy crafting!!
How much do you love your Cricut Maker? I am having a blast going through each and every tool in the Cricut Maker arsenal… starting with the scoring wheel.
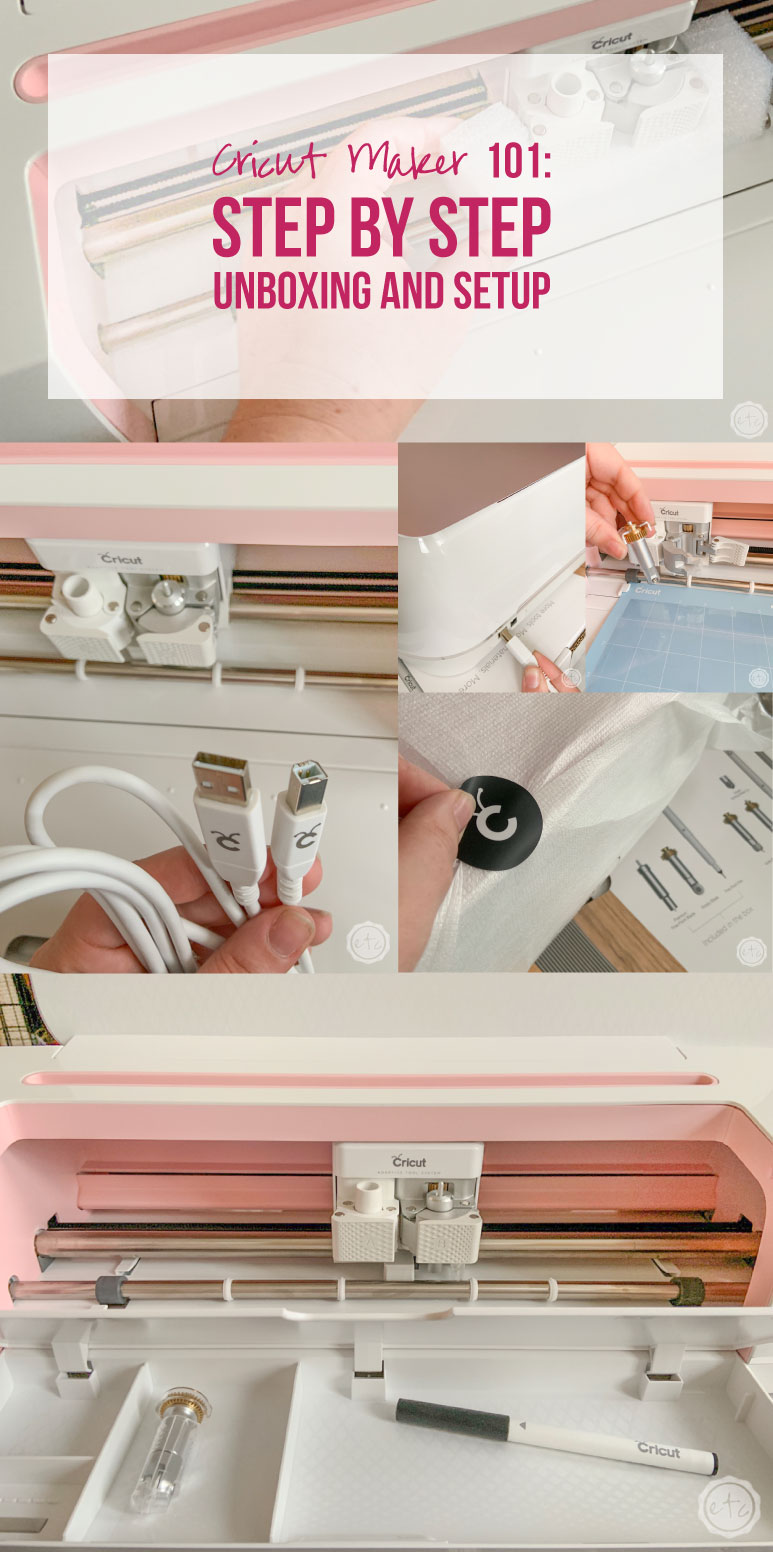
Don’t forget to pin!
Want to take a look at the rest of the Cricut line up?


[…] Psst… need help setting up your Cricut Maker? Check out this post! […]