


Alright are you ready for a bit of knife blade goodness?! I absolutely love my Cricut Maker… I mean it can make so many amazing things which expands my crafting world by leaps and bounds. So when the Cricut Maker came out I was first in line, drooling over the catalog and dreaming of the day I would own my very own Maker.
Mainly because I wanted the fancy new knife blade that works with the Maker’s adaptive tool system. I had dreams of making signs, models… cute name plates to hang over cribs. My bestie has been asking for a wreath with her daughter’s name for the space above her crib for months now and this knife blade means she’s finally getting one.
Since I received my knife blade I’ve been busy as a bee crafting away. So here’s the 411… the scoop. While the knife blade is my favorite new tool it does have a few more restrictions that the other new tools. So don’t skip the technical chat at that’s coming your way.
Then have fun making the access project at the bottom of the post!

What is the knife blade?
The knife blade is Cricut’s answer to making precision cuts through thicker materials.. It works exclusively with the Cricut Maker (no you cannot use it with earlier machines such as the Cricut Explore Air 2) and gives you crisp clean cuts with ease.
The knife blade requires the use of Design Space® software on a desktop or laptop so you can’t use the knife blade on your phone or tablet. While your Cricut can cut through vinyl or cardstock in a single pass these denser materials typically require longer cut times and multiple passes.
It’s perfect for cutting large objects (or even intricate cut outs) but it is not recommended for cutting images or details smaller than ¾”. On the other end of the spectrum because of the star wheels on your Maker you can’t cut items larger than 11 by 11 (which is slightly smaller than the normal 12 x 12 cutting mat).
What can I cut with the knife blade?
- Balsa wood, up to 3/32”
- Basswood, up to 1/16″
- Tooling leather, up to 7 oz
- Garment leather, up to 5oz
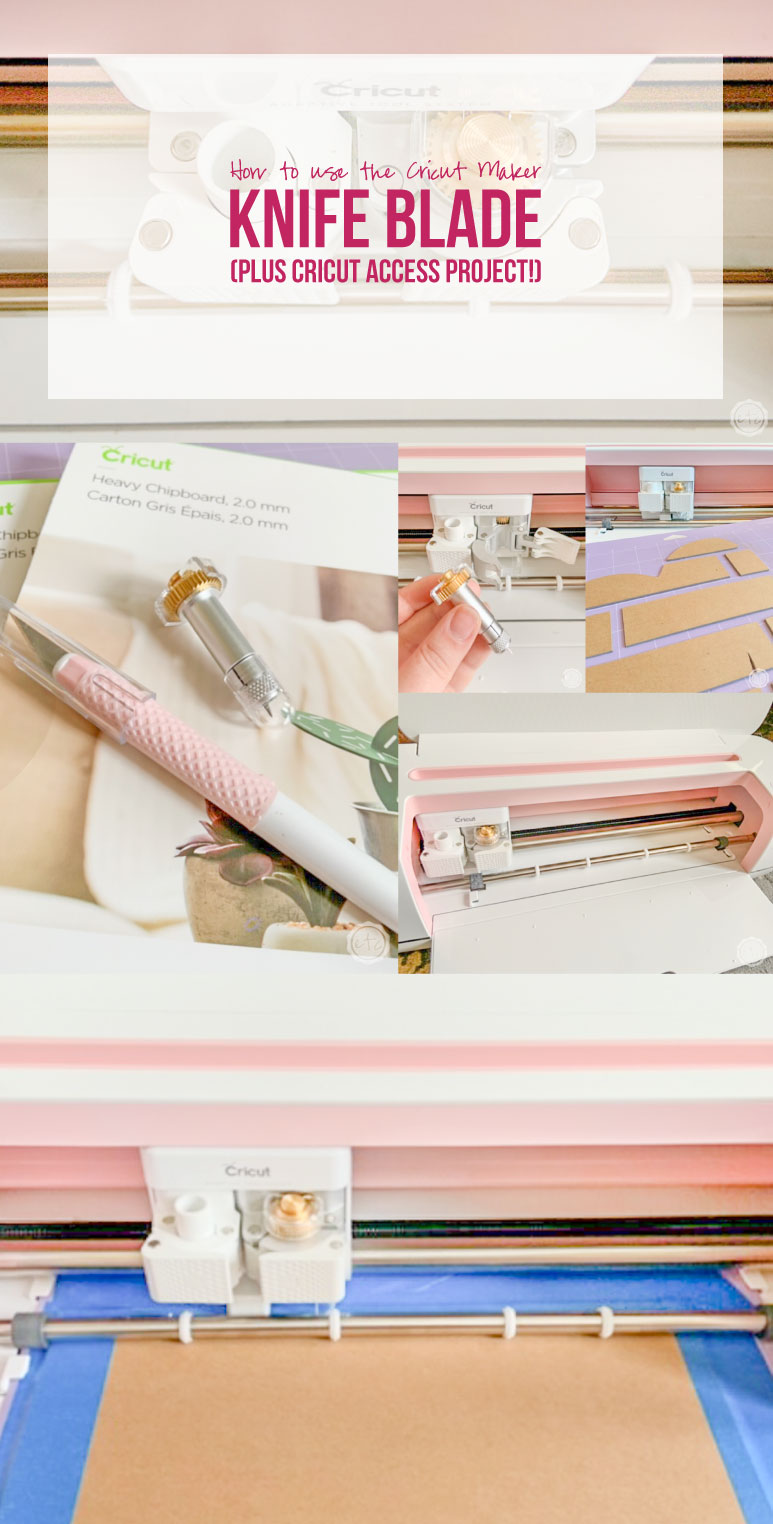
- Cricut® Chipboard, 2mm
- Matboard, 2-ply or 4-ply
- Craft foam, up to 3mm
What can I make with the knife blade?
- Puzzles
- Dinosaur Skeletons
- Models
- Leather Goods
- Dioramas
- Wood Decor
- Signs
- Wood Decor
- 3D Models
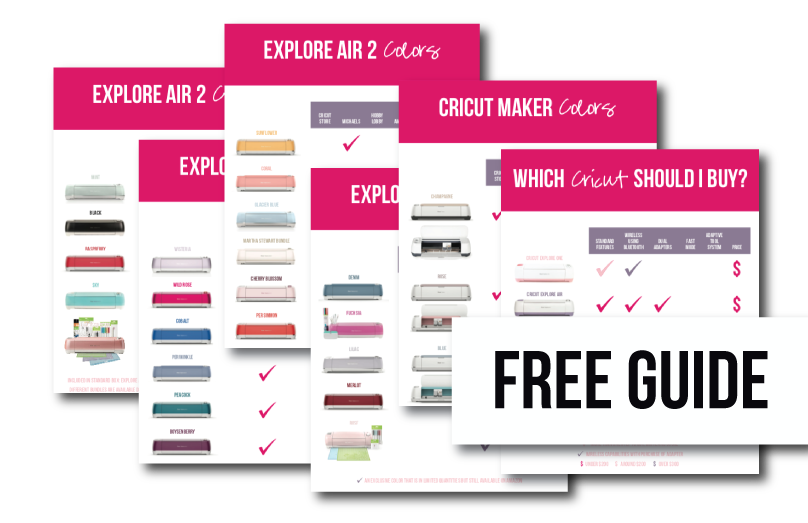
Need help picking your perfect machine? I’ve got you covered!

How do I load the knife blade?
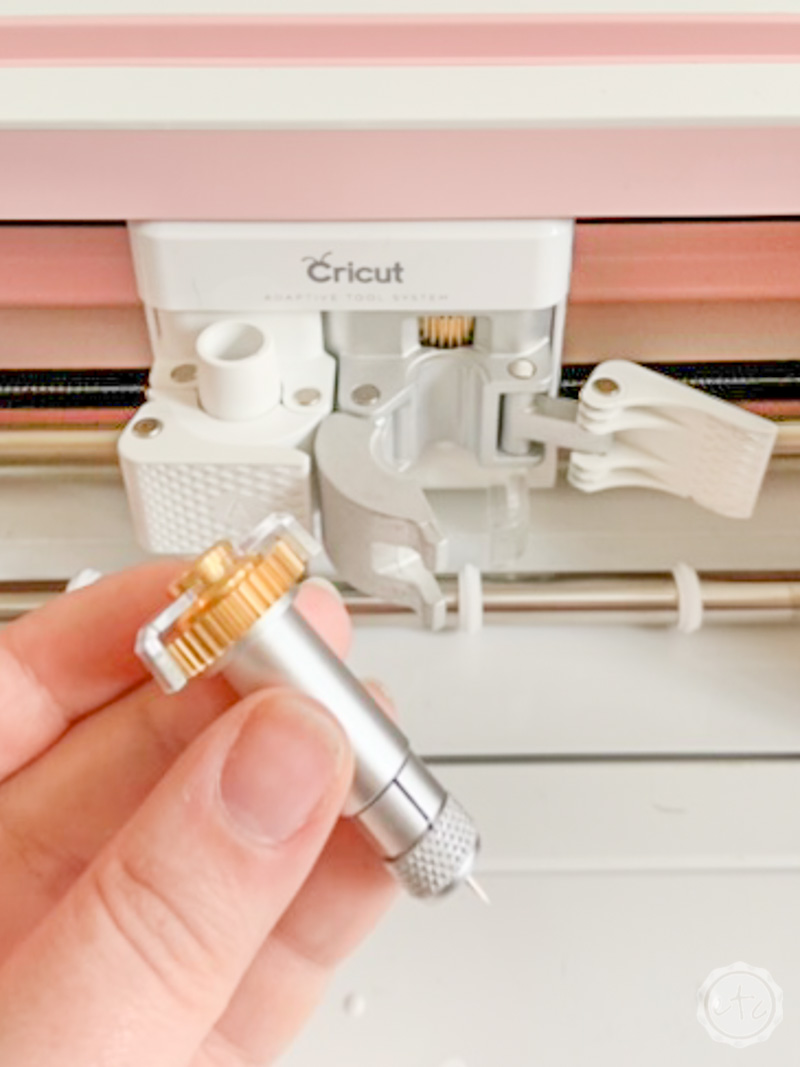
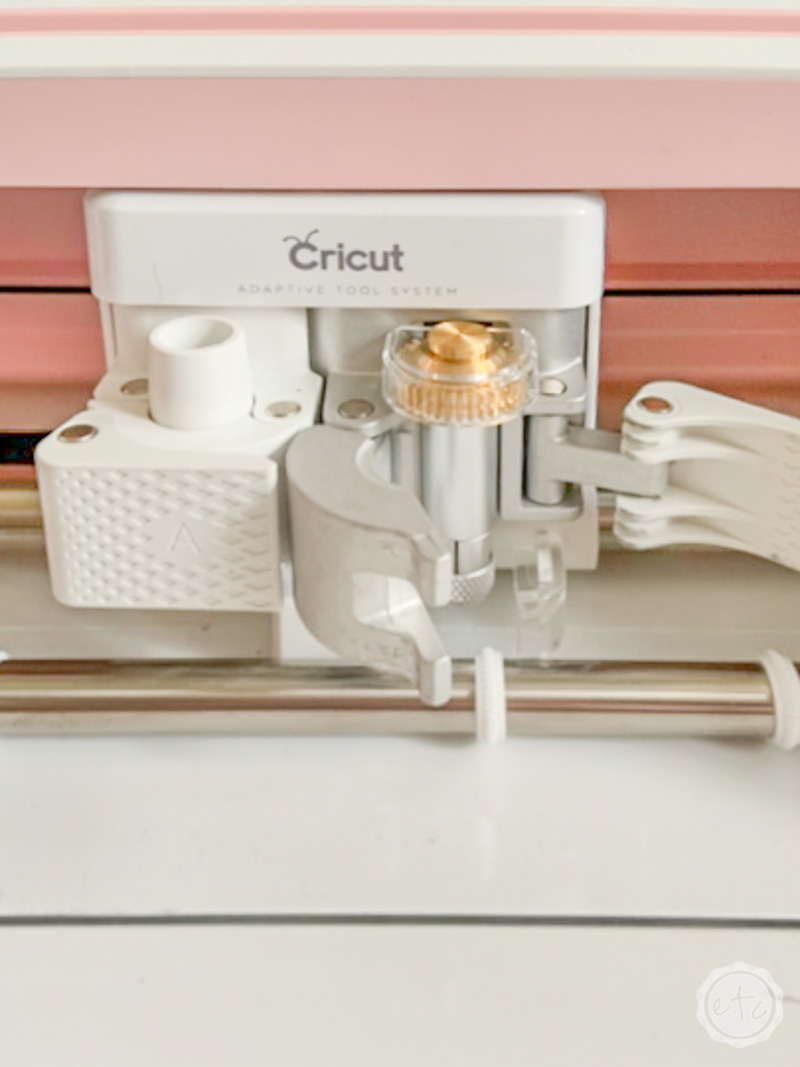
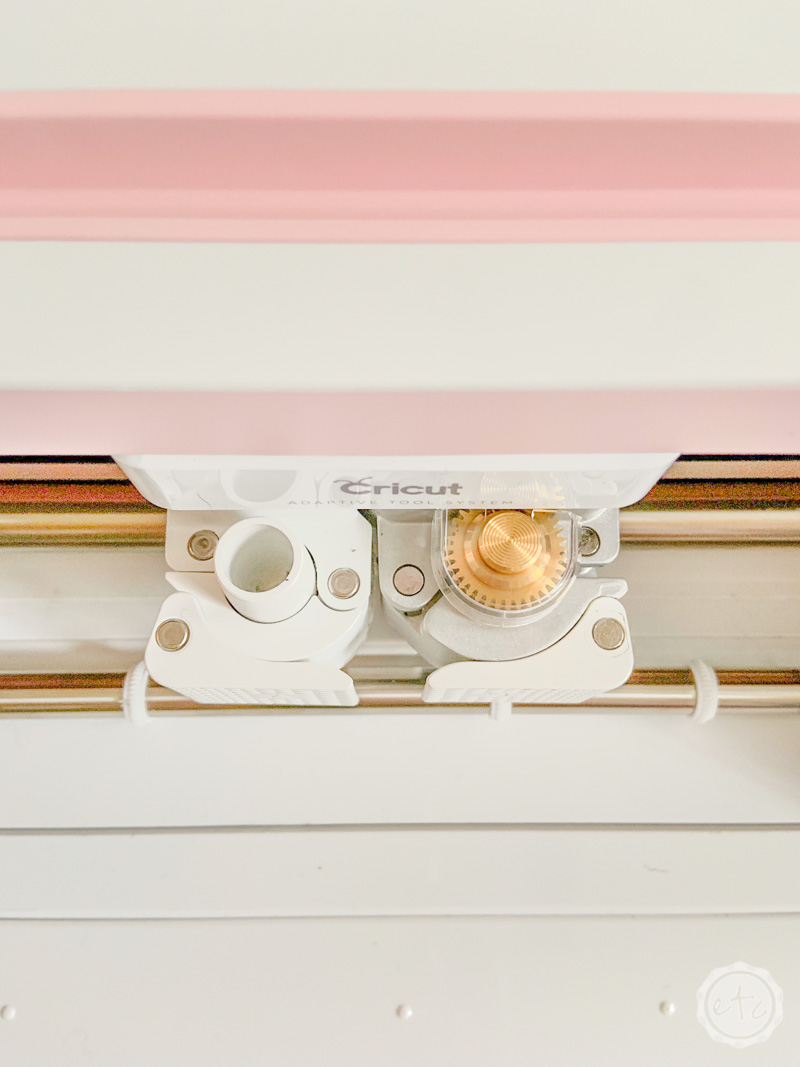
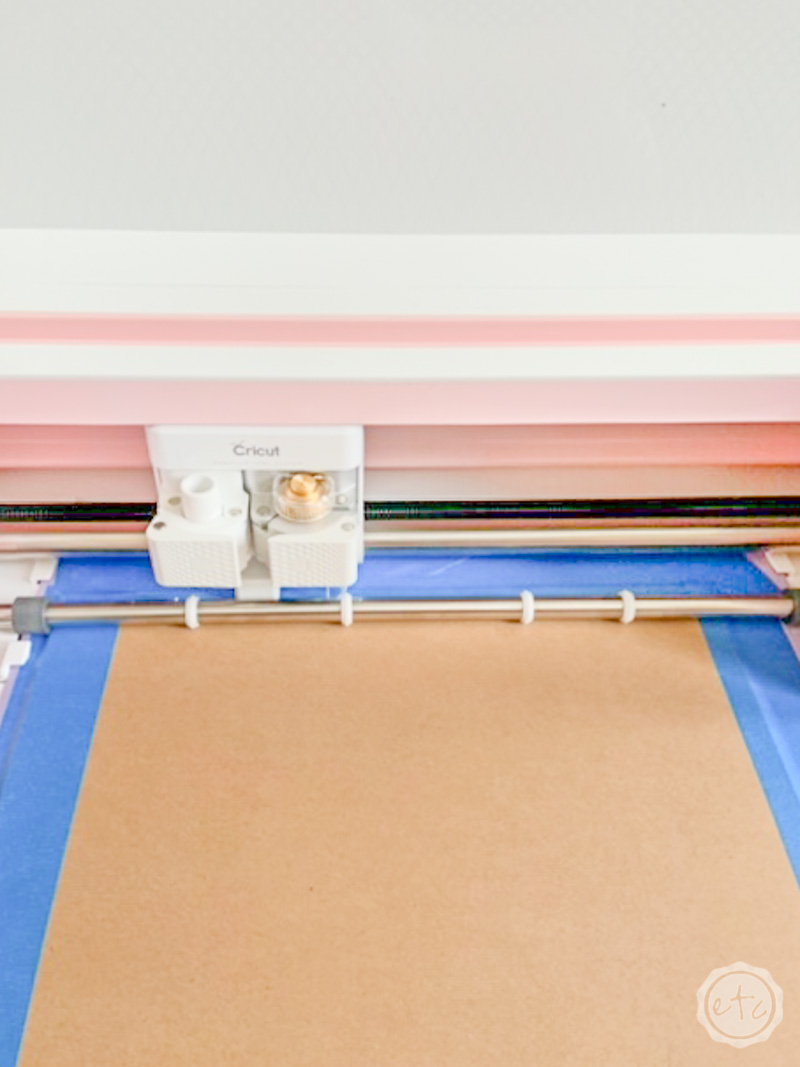
While most Cricut tools simply sit in the little housing on the machine the knife blade has a gear like wheel at the top that interlocks with the machine. This actually makes loading the knife blade very simple… you simply fit the gear wheel on your knife blade and the gear on your Cricut housing together!
Open slot B and fit the two gears together… then close the little housing tight over the knife blade and you’re ready to roll.
Easy peezy lemon squeezy.
Don’t forget the Star Wheels!
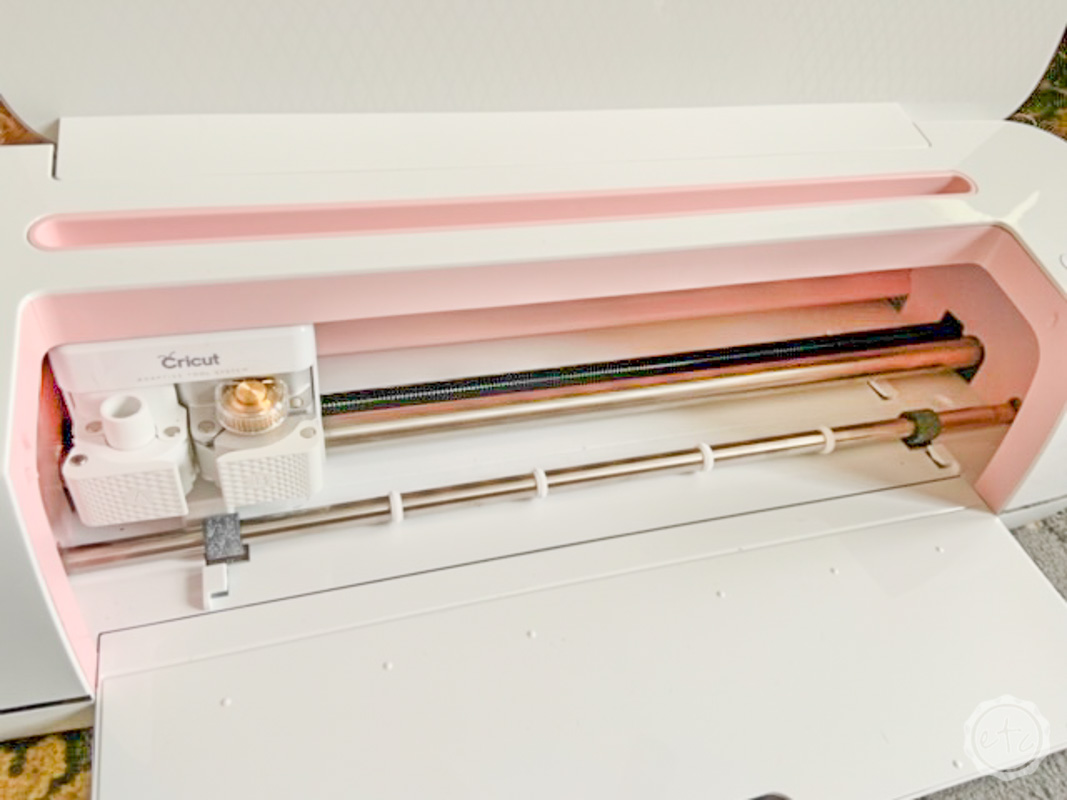
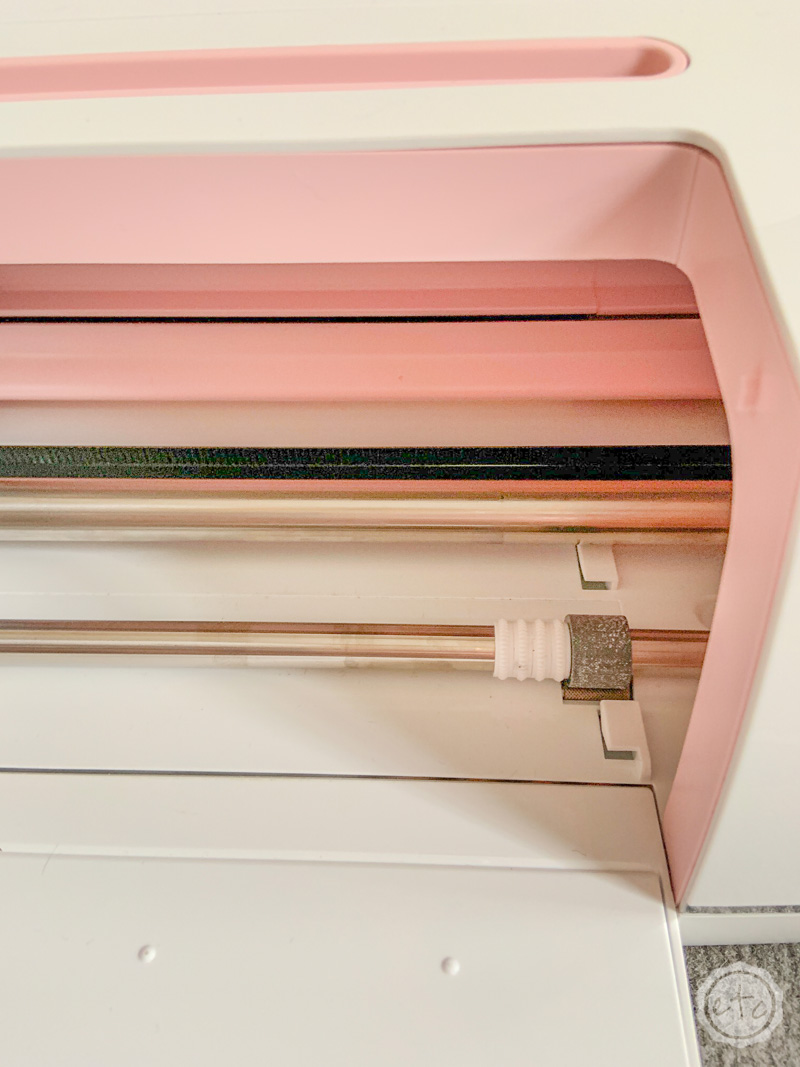
When using the knife blade you have one more step after loading the blade… moving the star wheels! The little white wheels along the metal bar at the top of the machine are called the star wheels… who knew? Normally they sit evenly spaced along the bottom of the machine and help materials to move back and forth through the machine.
Unfortunitely, when you’re using thicker materials like chipboard or leather the star wheels will actually leave track marks along the front of your material. Trust me… it’s not pretty.
Luckily it’s easy to slide the star wheels all the way to the right. This will keep the star wheels as out of the way as possible… it’s also the reason you can’t use 12 x 12 materials with the knife blade. Make sure your materials are 11 x 11 so that they can clear the star wheels and avoid track marks.
How do I prepare my material for use with the knife blade?
We are so close to ready!
The knife blade requires just a little more preparation than normal (which makes sense… since it takes longer to cut why wouldn’t it take longer to prepare?).
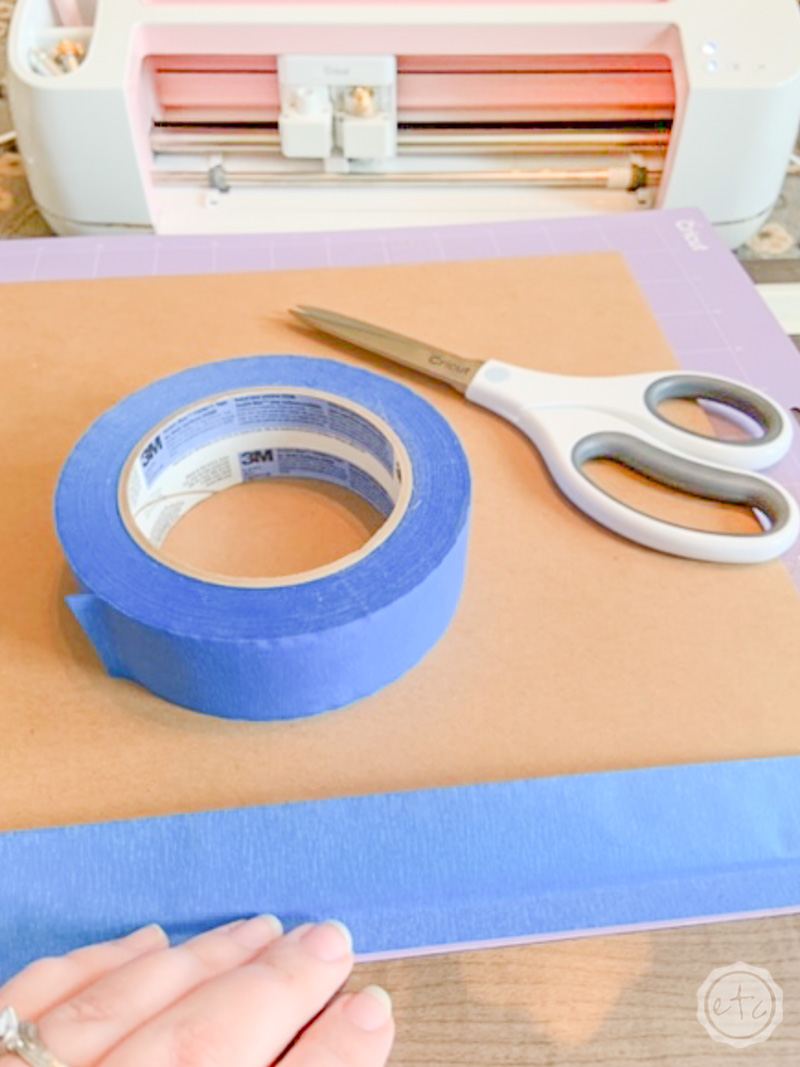
Start by cutting your material down to size (11 x 11) and then placing it in the left hand corner of your strong grip mat (that’s the purple one!). The strong grip mat is pretty darn sticky but the knife blade cuts with 10x normal pressure so you want to make sure your material is firmly in place and won’t shift during cutting.
I can’t imagine that would be good.
Once you’ve placed your material on the cutting mat you can use your brayer tool to smooth the material down so that it’s sealed tightly against the cutting mat. This is a tip I learned from a friend and it makes all the difference between simply pressing the material down with your hands.
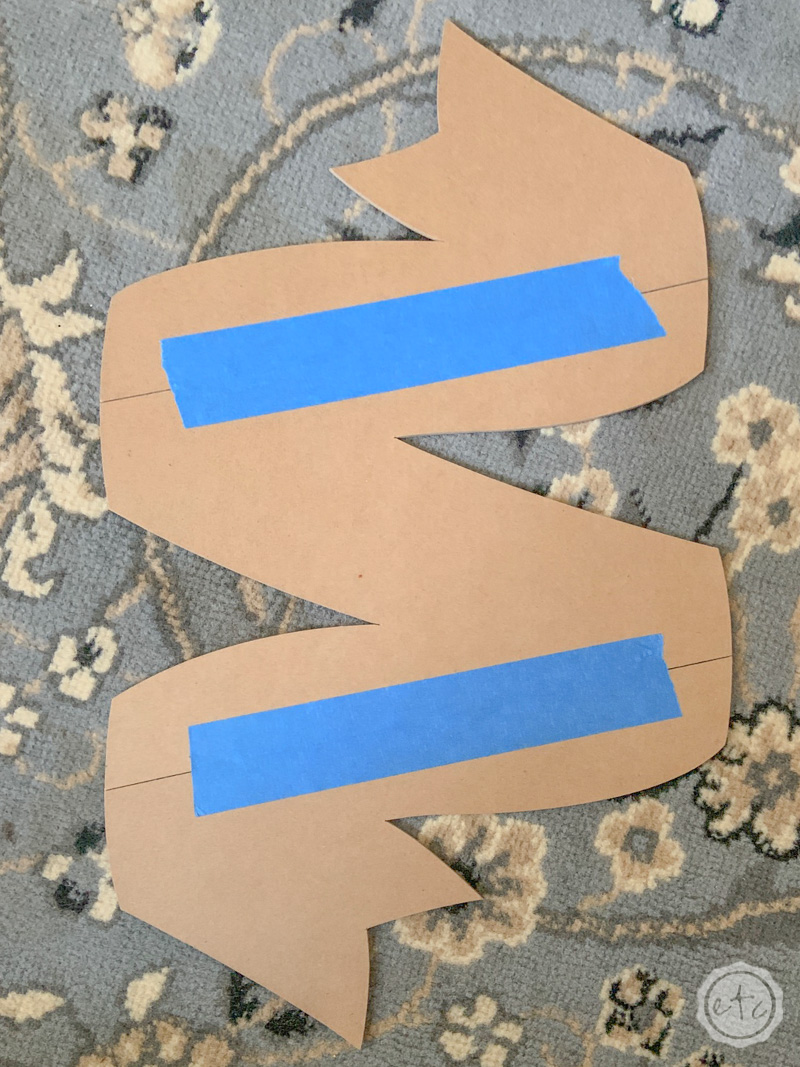
Next use a bit of blue tape to tape down all four sides of your material to the cutting mat. The blue tape will help to release your material without damaging the top layer. Don’t worry too much about the blue tape over-lapping your cut area since the knife blade will simply slice through the blue tape.

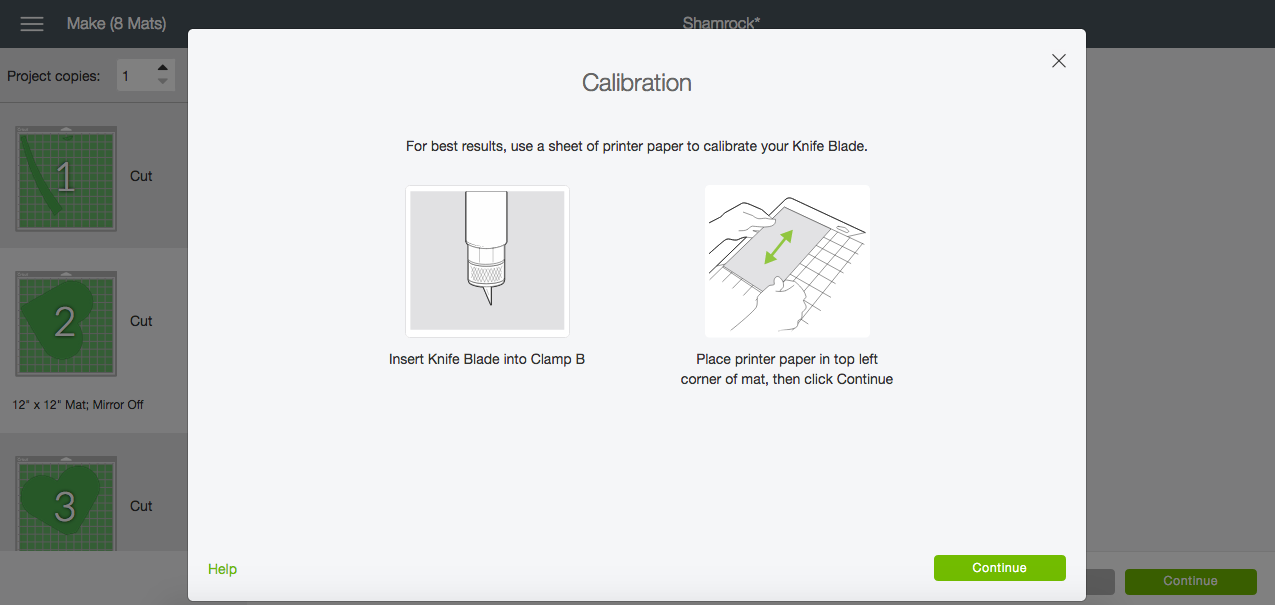
How do I calibrate the knife blade?
Before you use your knife blade for the first time you’ll have to calibrate the blade. You can either select the account menu and then calibration or wait until you start making your first project… cricut design space will naturally prompt you to calibrate the knife blade before the first cut.
Luckily it’s pretty darn easy… like most projects with cricut design space there are on screen prompts that walk you through the entire process.
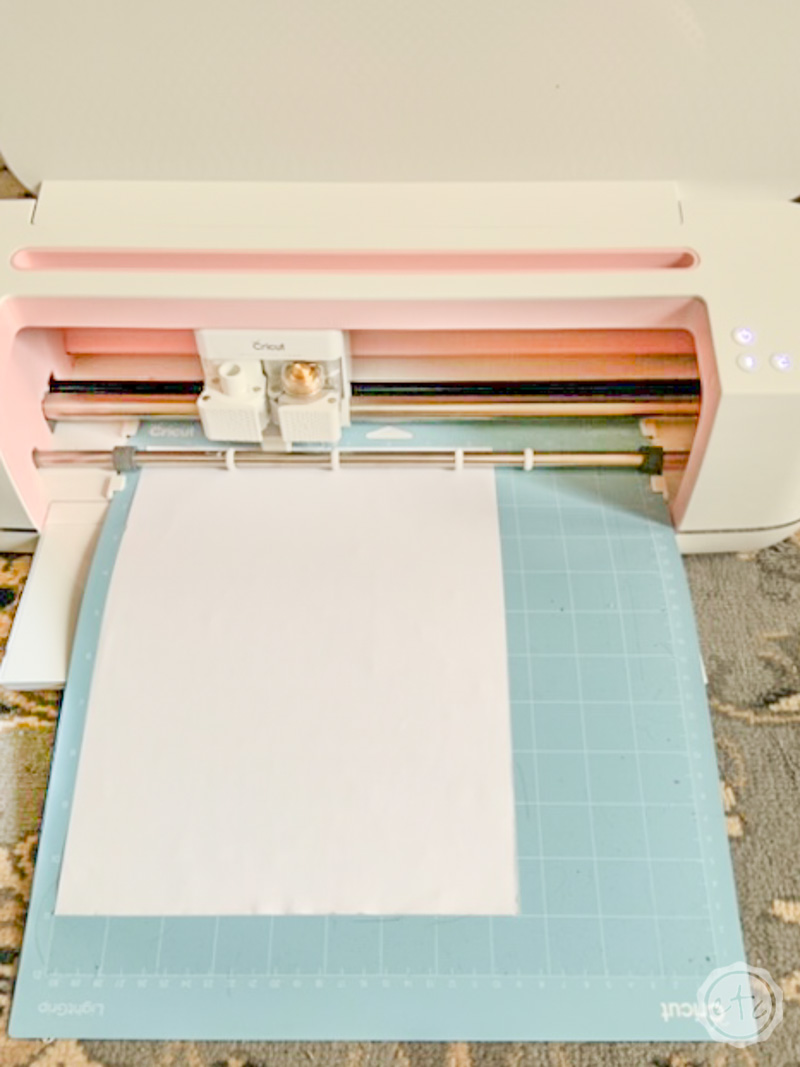
The first step is to load a light grip mat (that’s the blue one!) into your Maker with a plain piece of printer paper loaded in the top left corner… then hit go!


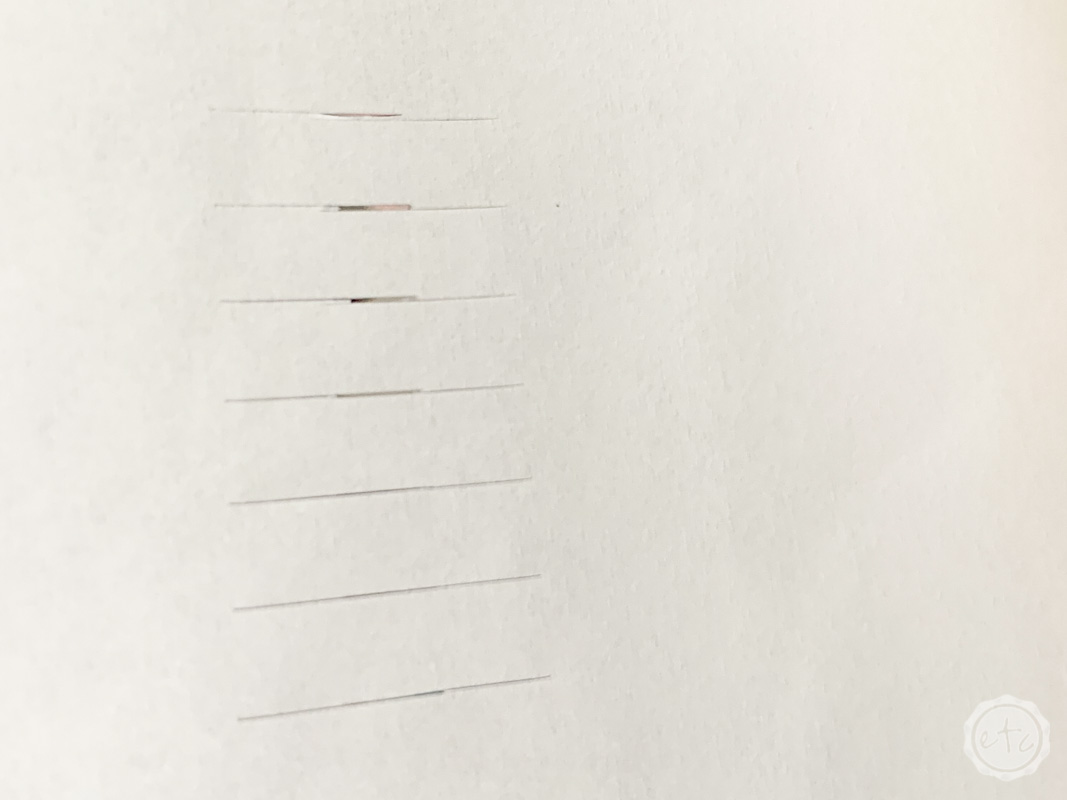
The machine will make a series of 7 cuts from the left and 7 cuts from the right and then you’ll unload the mat from the machine. Take a look at the piece of printer paper and decide which cut (1 through 7) is the best example of good overlap… then select the corresponding number in the drop down number.
It’s a bit hard to tell between all of the different cut lines but I decided that number 6 was the best example.
Now you’re done! Once you press continue it will send you on your way to finish making your project (or start making your project?) Either way… you’re done calibrating.
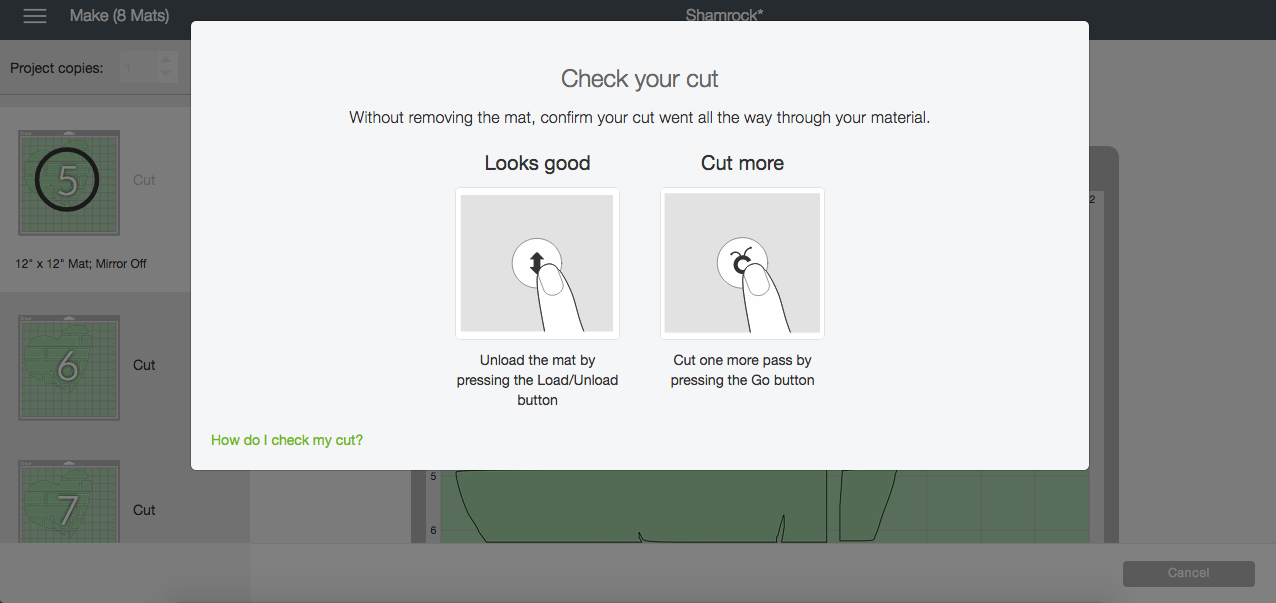
Check your cut!
Here’s my last tidbit before we start the project. While it takes quite a few passes to finish cutting your entire cutting mat (it takes 20 passes for the knife blade to cut through Cricut’s chipboard) after the last pass you’ll see a little box pop up telling you to “Check Your Cut.”
Make sure the knife blade has cut all the way through before unloading the mat… if it hasn’t cut all the way through you can cut one more pass by pressing the go button.
Now that’s a useful feature… especially when you need one more pass to break through your material. Of course, if you unload your mat and then find an area or two that haven’t cut all the way through you can use the true control knife to cut through the bits and pieces that are left.
Although, I cut 8 mats of Cricut chipboard and never once needed to cut an additional time after the cut was finished… or use my knife to cut through anything. The knife blade is getting the job done.
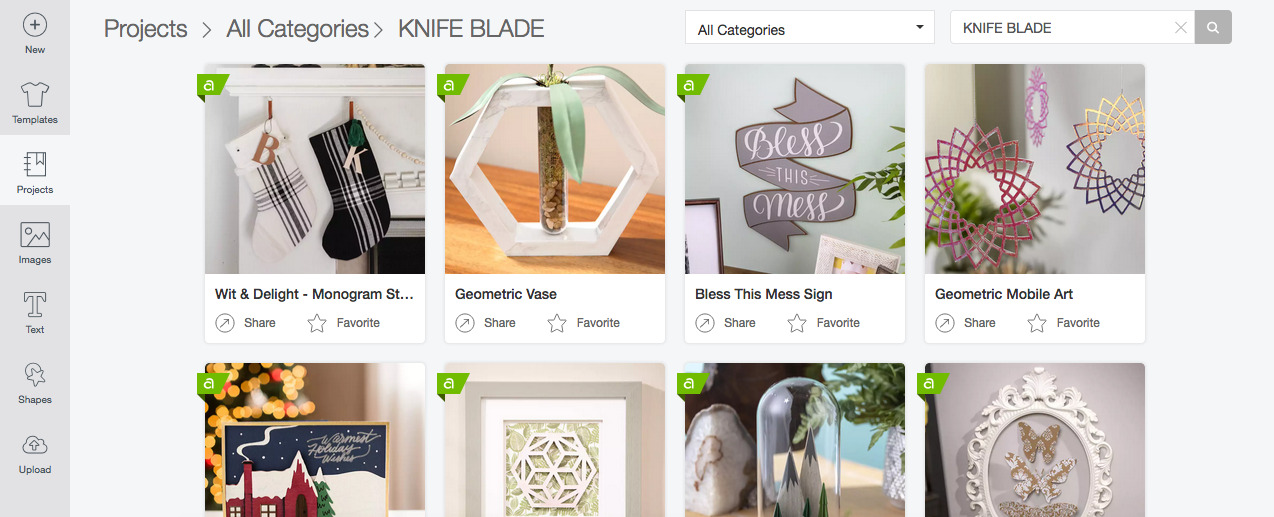
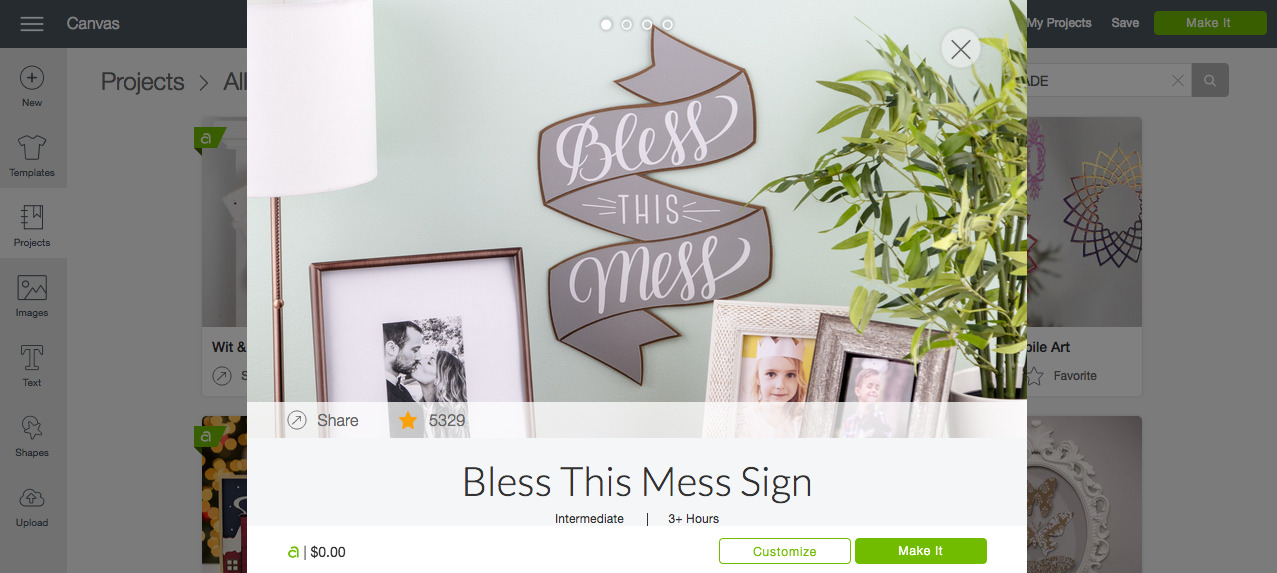
Cricut Access Project: Chipboard Sign
I learn best by doing so I decided to open Cricut Access and pick a fun knife blade project to test this baby out on. Since my only criteria was using the knife blade I actually typed “knife blade” in the search bar at the top of the page and scrolled through the options until I found one I loved.
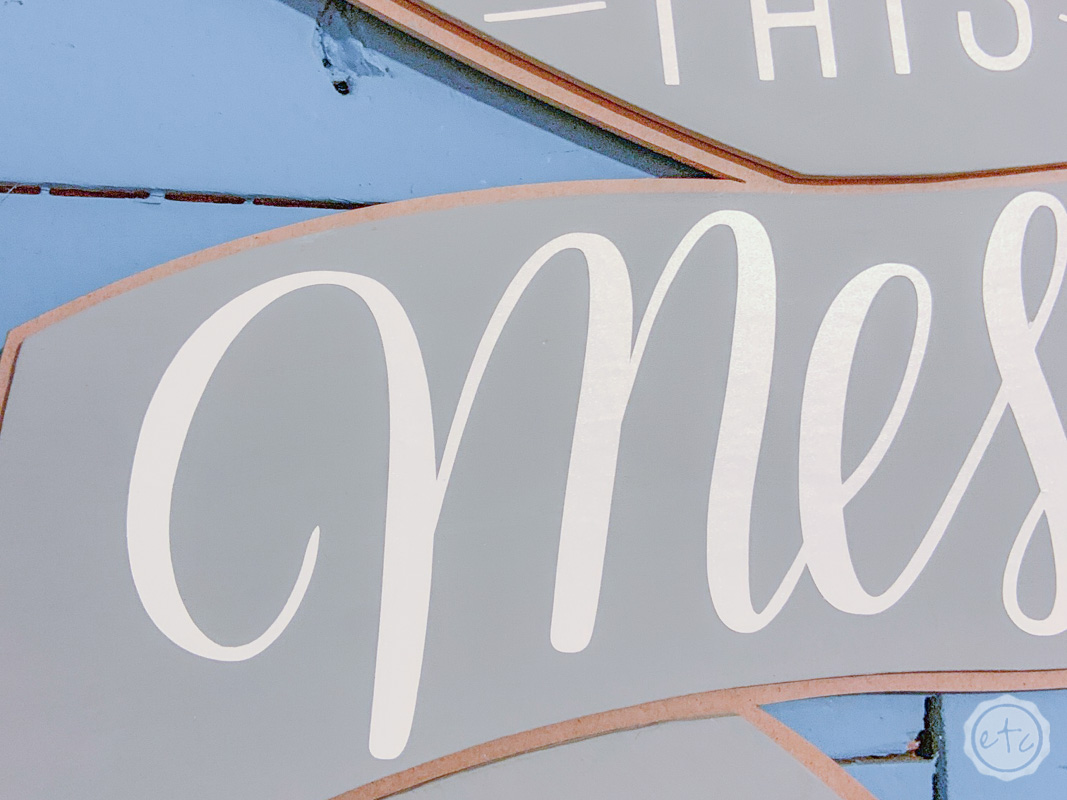
I had a really hard time picking since I wanted to make all. the. projects but I finally settled on a cute “bless this mess” sign… I absolutely love that quote and it used Cricut Chipboard which I had on hand. Score!
Supplies
- Cricut Maker
- Cricut Cut File
- Knife Blade
- Strong Grip Mat (that’s the purple one!)
- Fine-Point Cutting Blade
- Light Grip Mat (the blue one!)
- Criuct Chipboard
- Brayer
- Weeding Tool
- XL Scraper Tool
- White Vinyl
- Transfer Tape
- Gray Paint
- Blue Tape
- Hot Glue and Glue Gun
- Staples and Staple Gun
- Jute
Psst… need help setting up your Cricut Maker? Check out this post!
Step One: Cut Out Your Chipboard!
Alright y’all we are jumping right off the deep end here… getting ready to cut out our project. Since we’re grabbing our cut files right from Cricut Access you can go ahead and click “make it” to cut out all our pieces.
If you’ve already calibrated your knife blade then you should be ready to go… otherwise Cricut Design Space will walk you through calibrating now. Of course, since we’re using the knife blade we’ll need to prep our mats and machine a bit more than normal.
First off make sure to move the star wheels all the way over to the right so that they don’t leave tracks on your chipboard. Then make sure to put your chipboard on your mat correctly. Lay the chipboard in the top left hand corner of the mat making sure that none of the material goes past that 11 inch line.
Then use the brayer to firmly press the chipboard down onto your strong grip mat (that’s the purple one!) so that you know it’s sealed. Next use a bit of blue tape on all four sides of your chipboard… make sure to press it down tight so that you know that chipboard isn’t going anywhere when you start to cut.
One more tip? If you’ve never used the Cricut Chipboard before make sure you don’t just bring it home and start cutting. It needs to breath a bit first… so make sure to take your chipboard out and let it set for 24 hours so that it can acclimate to your house. It tends to warp if it isn’t acclimated right… go figure.
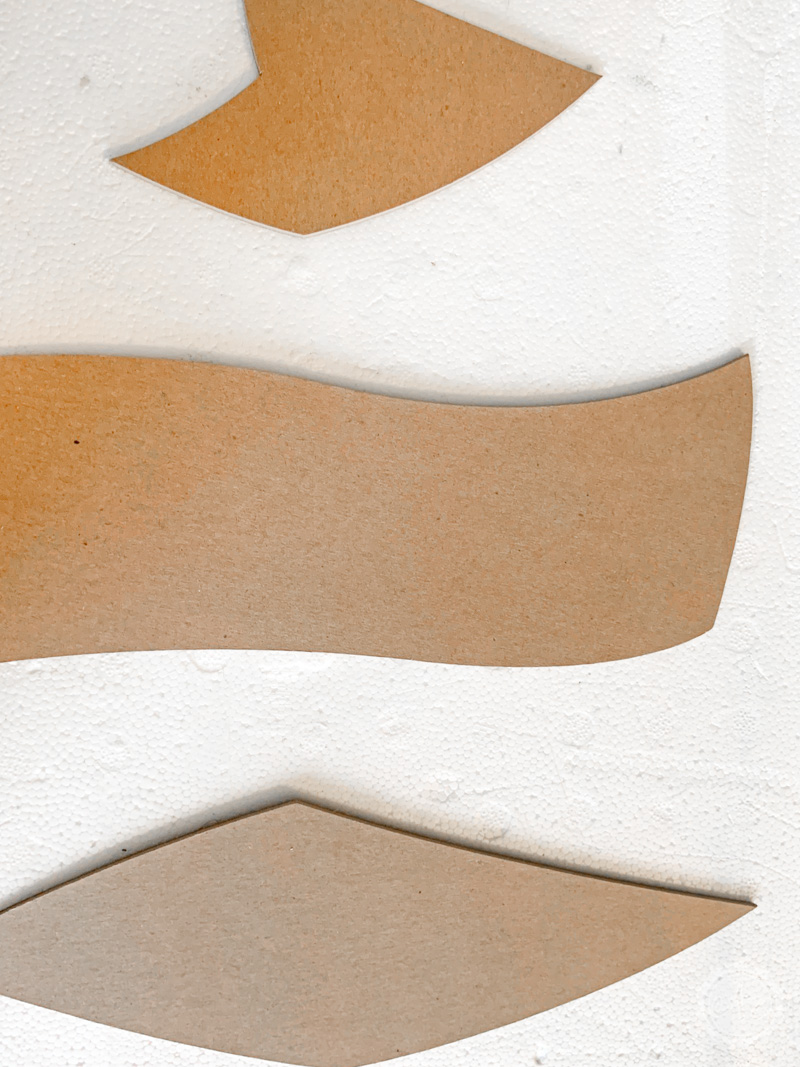
After all that prep work you’re ready to cut! There are five mats with chipboard to cut… and then you’ll need to prep a normal mat with white vinyl to cut out your words. Cutting chipboard definitely isn’t quick but I found this project to be fairly simple… I think it took about an hour to cut out all the pieces.
Make sure to keep the pieces in order as they cut instead of putting them all in one big stack like an idiot. The pieces are not carbon copies of each other and will take a minute to puzzle back together if you’re unsure of which one goes at the top and which one goes at the bottom.
Looking for a clearer picture? Watch this video for the full run through of loading your mat and cutting the first pieces!

Step Two: Paint Your Chipboard
Ready for the fun part? This chipboard is 2mm thick and it’s super sturdy. I’ve painted a few pieces now and it doesn’t warp or bend under the wet paint. Of course, if you’re going to spray paint that may be a different story but a little time under a heavy book should sort it out quickly.
I tend to put my own unique spin on things but since I really liked the original sign I decided to follow her method and leave the back chipboard natural while painting the top pieces gray.
Make sure to paint those sides as well since they’ll be visible in the final project… two coats of gray ought to do it. Then you’ll be ready for the next step!

Step Three: Tape/Glue Your Chipboard Together
There’s something about the way these chipboard pieces fit together that makes my soul happy… you know what I mean. I absolutely love the little puzzle piece notches… that’s a really clever way to fit the pieces together and help them stay.
Go ahead and fit the pieces together and then put a bit of blue tape over the seems to hold them together. Technically a stronger tape would be better but I already had the blue tape out from cutting my chipboard and since you’ll be hot gluing the front chipboard in place this little sign is going to be plenty sturdy.
Make sure when you place your tape that you leave a bit of space at the edge. The outside pieces are going to be visible in the final sign so you don’t want bits of blue tape showing under the edges!

Now it’s time to glue! Keep in mind that your top pieces fit together with a little bit of a space in between the pieces. A small border. Go ahead and lay out your pieces before you glue so that you know they’re in the right spot.
A little birdie may have told me all about how this chipboard is a pain the rear to get apart once it’s been hot glued. If you glue down the pieces and then find they’re in the wrong spot you can use a kitchen knife to gently force the pieces apart but I don’t recommend it… it’s terrifying.
Trust me.
Just so we’re clear the order of events should be: lay out your pieces, pick them up one by one and hot glue them in place.
You’re welcome.
My last tip is to put your hot glue on the chipboard and not the tape… just to make sure the two chipboard pieces are firmly glued together.


Step Four: Weed and Apply Your Vinyl
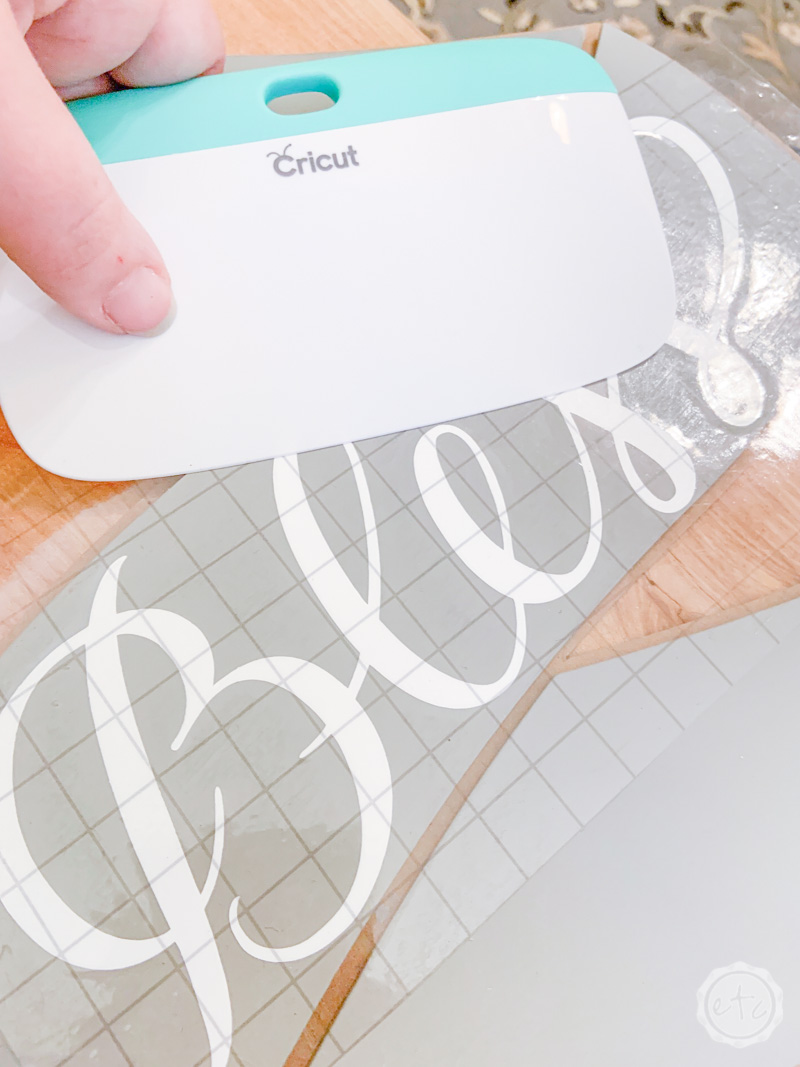
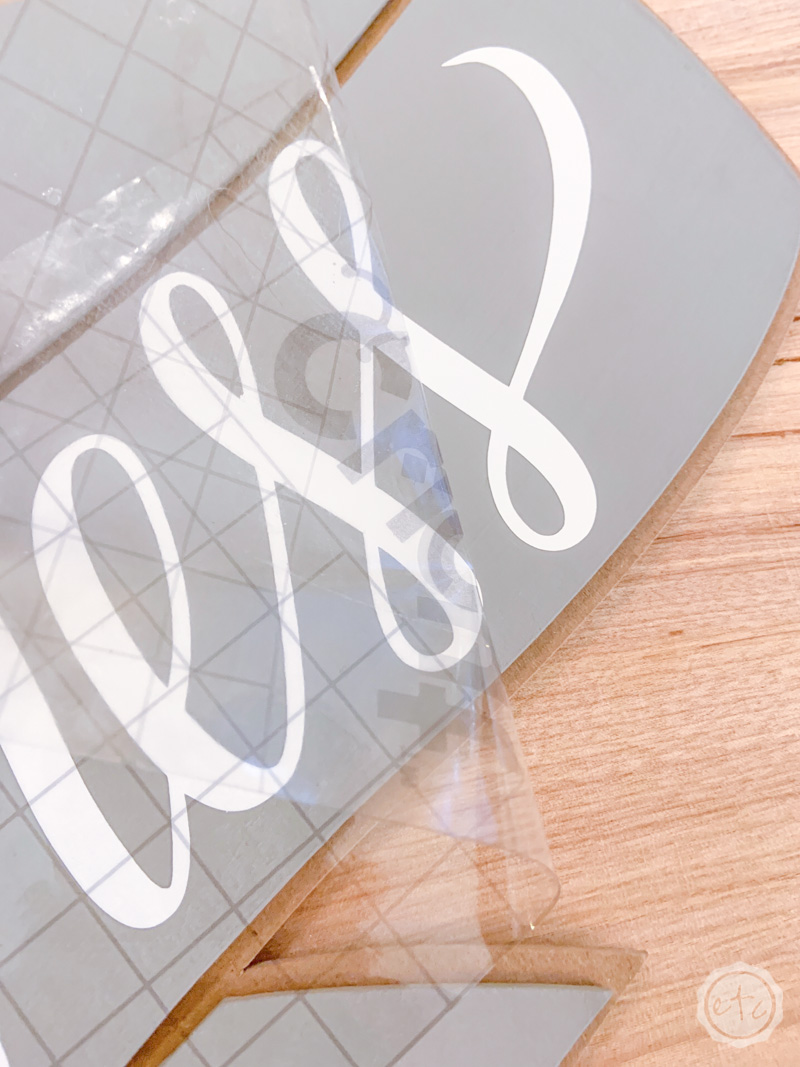
It’s time for my least favorite part… I’m not sure why but vinyl always seems to get the best of me. Go ahead and use your weeding tool to take all the negative bits and bobs out of your vinyl letters. Since this is white vinyl weeding can be a bit tricky (the lines are so darn hard to see!) but sit near a lamp and you’ll be fine.
Unless you have great vision… then don’t talk to me. I’m basically blind.
Then use transfer tape and your xl scraper to move the words carefully onto your background.

Step Five: Hang it Up!
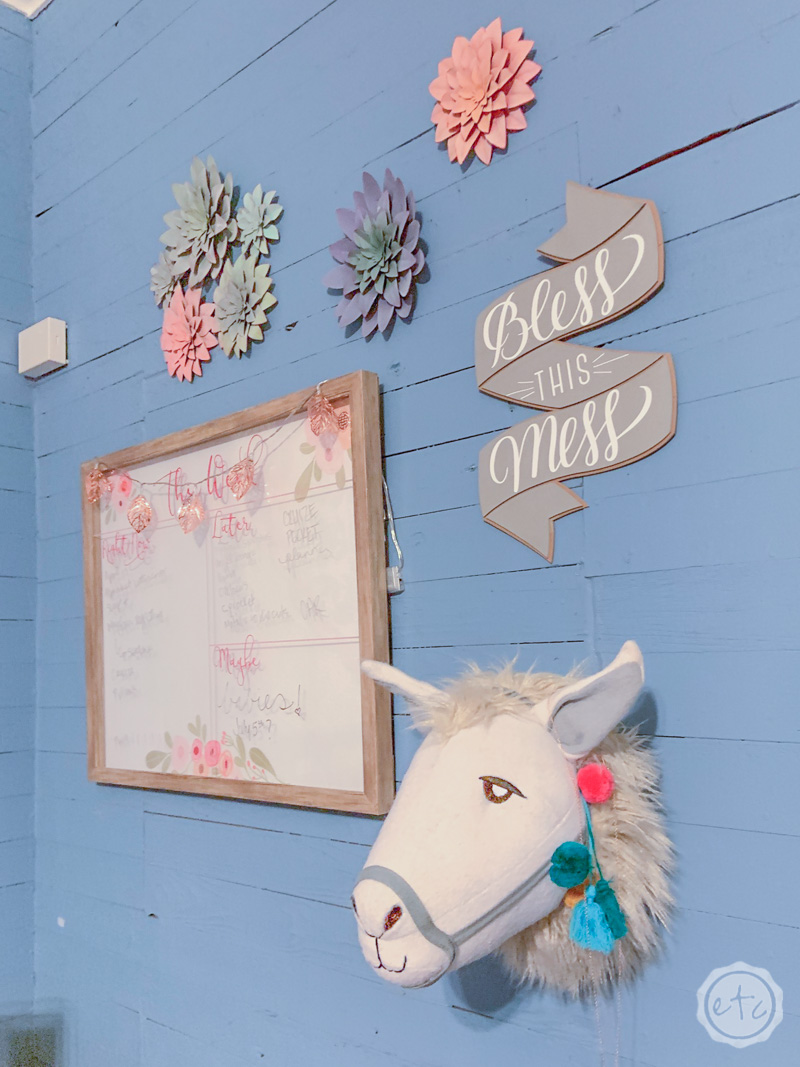
We’re done! Our little sign is finally ready to be hung up on the wall… I wasn’t sure how to add a hook to the back of this little guy since the chipboard is thick but not thick enough to but hanging hardware. I decided to add a little bit of jute to the back so that I could hang it on the wall.
First measure how long your jute needs to be… basically that’s the width of your sign. Then tie a knot in either end so that the jute can’t accidentally slip through your staple (although the staples are in pretty tight so I doubt that would even be possible).
Then go ahead and staple your jute in place… a few staples on either side should do it!
Of course, the most important part of this step is making sure the staples you’re using won’t go through to the front of your sign. I tested my staple length by stapling through two pieces of scrap chipboard from the cut out step. Our sign is two chipboard pieces thick so that will let you know if your staple will come through the front… mine did.
So I cut two small squares out of my scrap chip board and stapled my jute through those scraps… that way my staples wouldn’t come through the front.
Now that your jute hanger is in place you can go ahead and hang this baby on the wall… it’s ready for it’s close up!


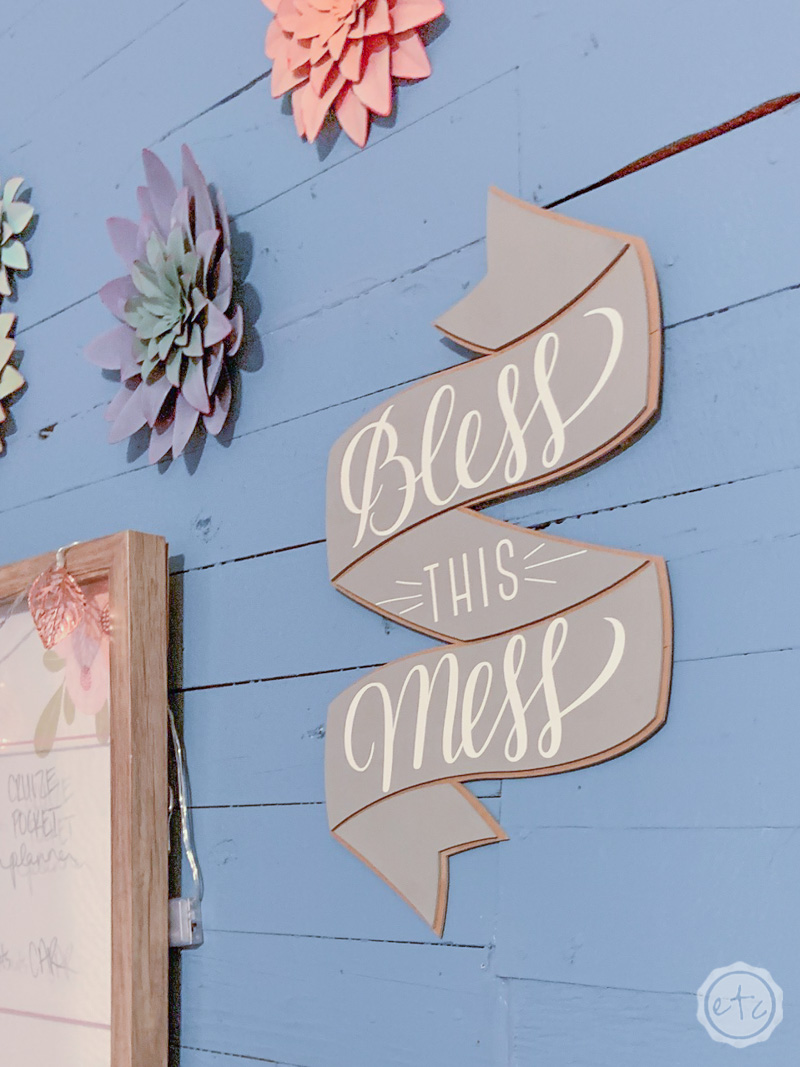

How much did you love this project? I am absolutely in love with this little sign. It turned out absolutely amazing and I can’t wait to see what else I can do with my little knife blade. I can’t wait to try cutting a few of the other materials. In the meantime I’m hard at work looking at each and every tool in the Cricut arsenal!
Don’t forget to pin!

Want to take a look at the rest of the Cricut line up?


[…] Alright y’all it’s time to party! This first step is the longest… mainly because chipboard takes a couple seconds to cut. You can grab your cricut cut files at the bottom of this post… then load your knife blade into the Maker and setup your strong grip cutting mat with a piece of chipboard. If you’ve never used the knife blade before don’t worry… I go over all exactly how to use the knife blade right here. […]