


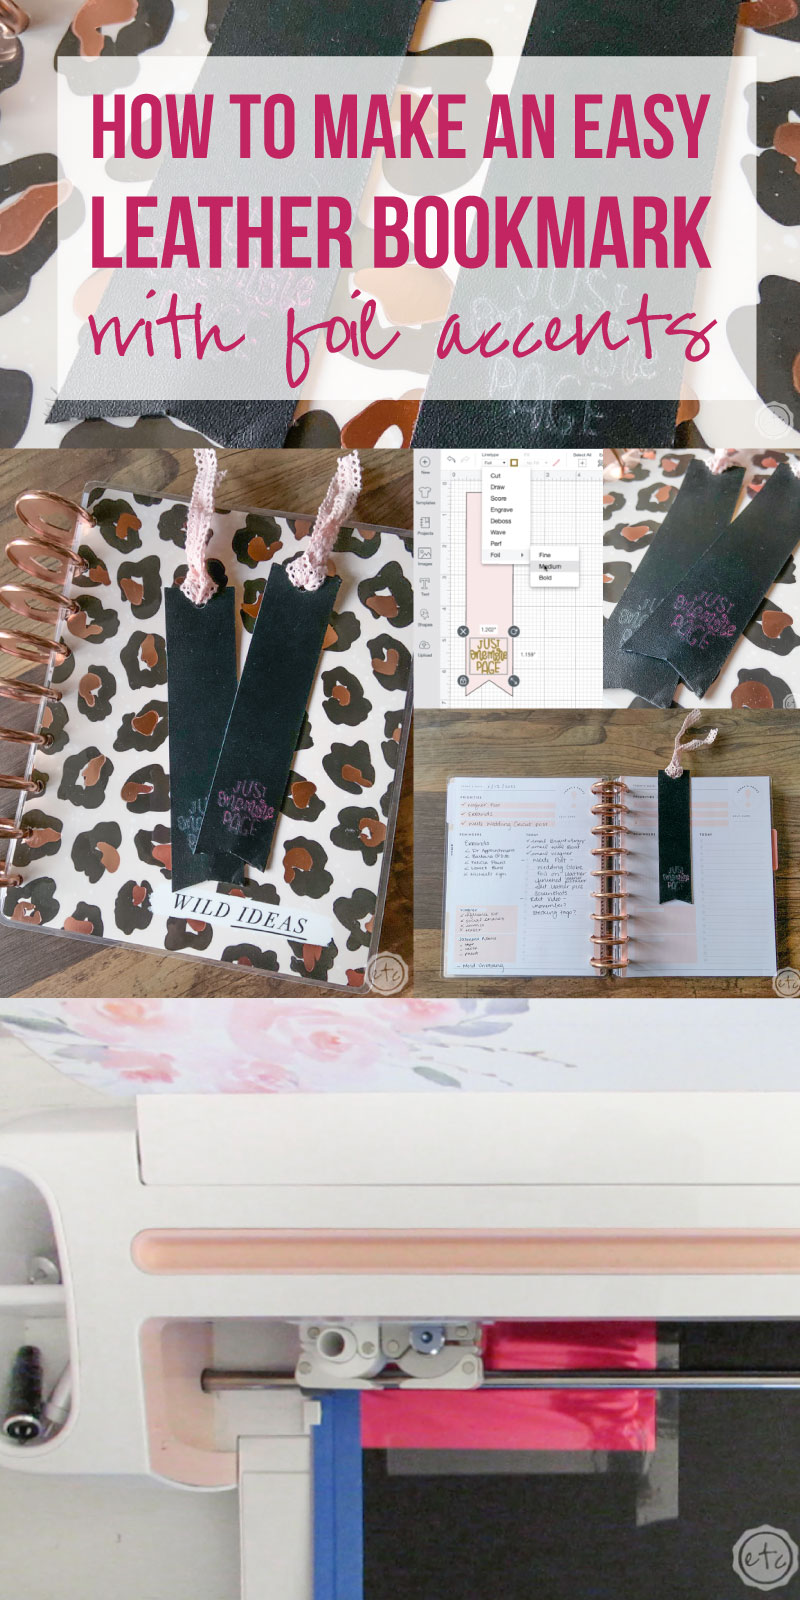
Are you ready for another in-depth look at one of Cricut’s newest and greatest tools? This little Foil Transfer Tip lets you add foil script or designs to all your favorite Cricut projects… which is an excellent addition to the Cricut line-up.
I mean y’all know I am all about adding metallic foil to just about everything I can. Of course, there are plenty of other options to add foil (I mean… even iron-on foil or adhesive foil work wonderfully for larger projects)… and I love my minc machine BUT you need to break out the laser printer to rock it out.
And this foil transfer tip works with the Cricut machine you already have… which is always best.
We’re going for easy here… the easiest solution definitely wins.
Ready to jump in?
Cricut Access Project: Leather Bookmark

What is the Foil Transfer Tip
The foil transfer tip is a little system that works with 3 separate tips (in fine, medium and bold options). You can change just about any line or design to a foil linetype in the cricut system and this little tip will trace the foil onto your project!
Which is pretty cool.
Unlike similar systems this little baby works with pressure and not heat so you have an entirely different foil type to work with. And yes… you do need to buy the foil separately and it is required. Otherwise this is basically a fancy embossing tool.
Luckily the foil is available in lot of different colors and sizes so you don’t have to waste a large sheet for a small project (and vice versa).
Basically if you like to foil this little transfer tip is awesome on a stick.
Seriously.

What Materials are Compatible with the Foil Transfer Tip?
Once you know how the transfer tip works the next question is “what can I use it on?” and the answer is… we don’t know.
Since the foil tip is new there is a fairly limited list of materials that are considered 100% compatible… Cricut has a specific list of the ones they know work.
Simply add a project with the foil linetype to a cutting mat and then click browse materials… anything listed as compatible will show up! Of course, just because it’s not compatible doesn’t mean you can’t try it. Cricut suggests giving it a test on a corner or backside of the material to see how it works.
And if design space won’t let you select a material (I can’t even select metallic leather!) just layer the two cutting mats in design space and then foil & cut on the same cutting mat in the real world. (Here’s a tutorial on that special little trick if you don’t know what I’m talking about).
In other news… here’s a short list of the 100% compatible materials that Cricut lists on their website.
- All Cardstock
- Deluxe Paper
- Watercolor Paper
- Pearl Paper
- Vellum
- Printable Vinyl
- Printable Sticker
- Kraft Board
- Matboard
- Poster Board
- Copy Paper
- Photo Paper
What Can I Make with the Foil Transfer Tip?
So many things!
- Cards
- Calendars
- Planners
- Earrings
- Leather Bookmark
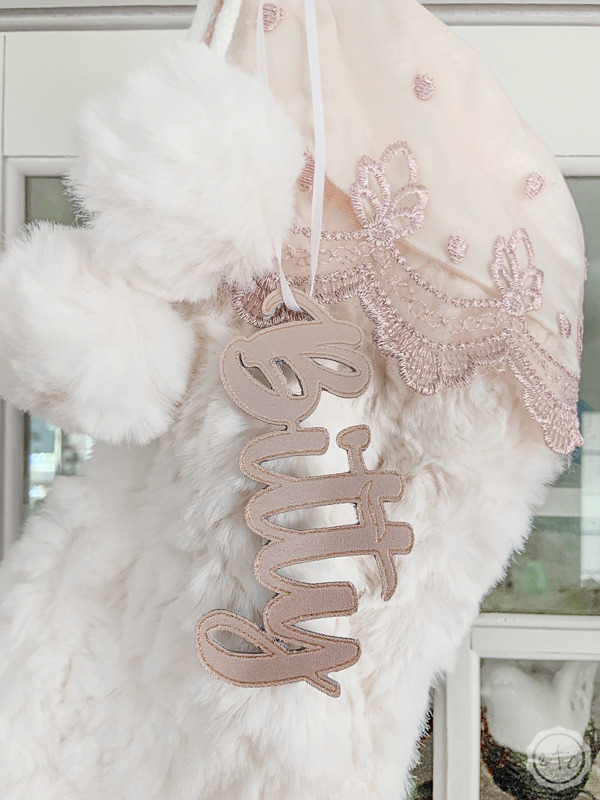
- Stocking Tags
- Artwork
Honestly… if you can foil it, you can make it!
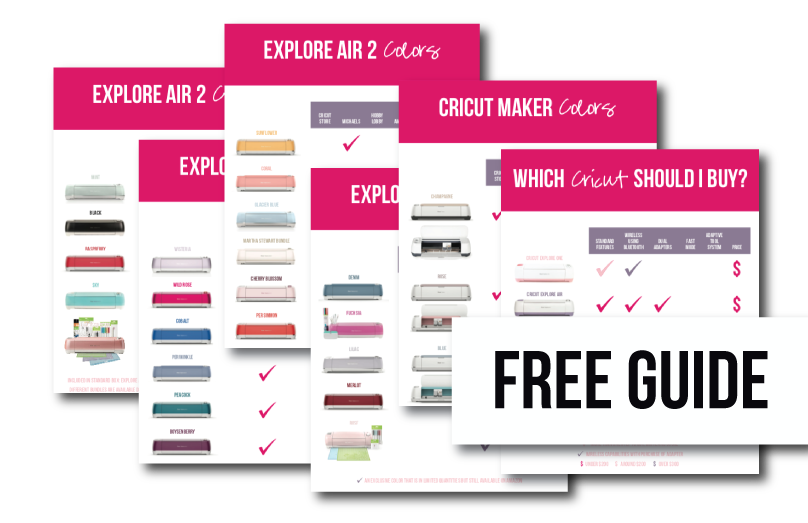
Need help picking your perfect machine? I’ve got you covered!

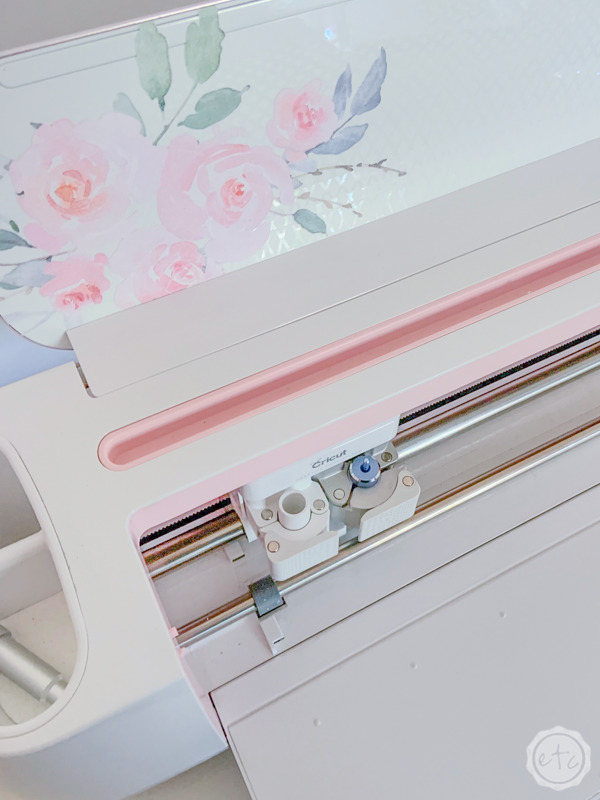
How Do I Load the Foil Transfer Tip?
I almost didn’t include this answer in the post today because if you’re using a foil tip you’ve probably used a few other Cricut tips and they all load exactly the same.
BUT for the sake of covering all the bases here it goes.
The foil transfer tip loads into slot b and fits snuggly against the back of the space. Make sure that the top portion of the barrel is flush with the top of slot b and then close the arms of the front to hold the tip in place.
Volia!
That’s it!
The only other trick to this little gal is changing the tips… which works identically to changing a fine point or deep point blade. Simply press down on the plunger on top of the blade… that will push the tip out of the bottom so that you can remove it from the housing. Then continue to push down on the plunger while you load the next tip into the housing.
Easy peezy lemon squeezy.
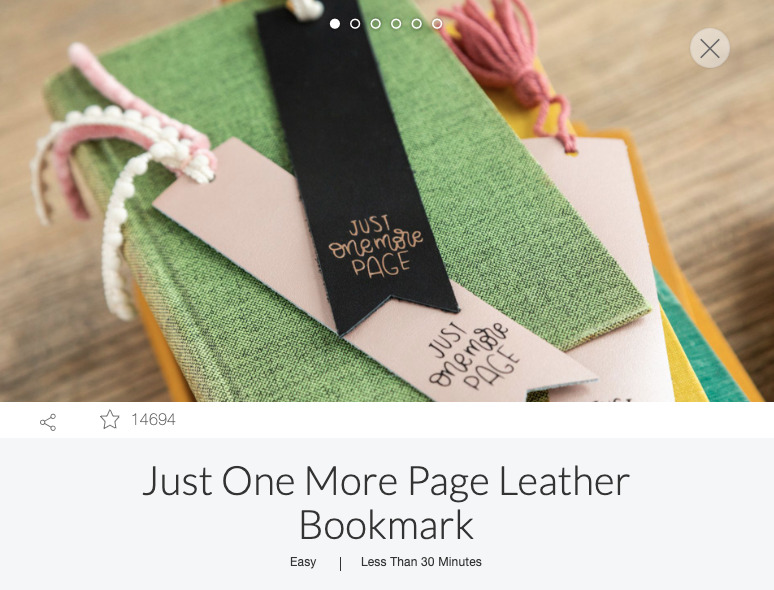
Cricut Access Project: Leather Bookmark
When it came time to pick a quick and easy Cricut Access project to showcase this little foil transfer tip I knew exactly what project I wanted to make! A leather bookmark that would work with my 2021 planner. So instead of opening the Cricut Access Library and typing “foil tip” into the search bar I simply typed in “leather bookmarks”…
There were plenty to pick from but I picked a standard shape with a foil detail. Technically the foil detail is suppose to be iron-on but a quick change from “cut” to “foil” on the line type means we can use the foil transfer tip instead.
Let’s get started.
Supplies:
- Cricut Maker
- Foil Transfer Tip
- Deep Point Blade
- Cricut Access Cut File: Leather Bookmark
- Strong Grip Mat (the purple one!)
- Cricut Genuine Leather in Black
- Cricut Foil Sampler (in Fuchsia)
- Tape (Painters & Washi)
- Ribbon
- Brayer
Step 1: Prep your Foil & Cut Files
Alright y’all… since this little project was originally meant to be a layer of iron-on and a layer of leather put together we’ll have to adjust the cut files just a smidge.
And I do mean a smidge.
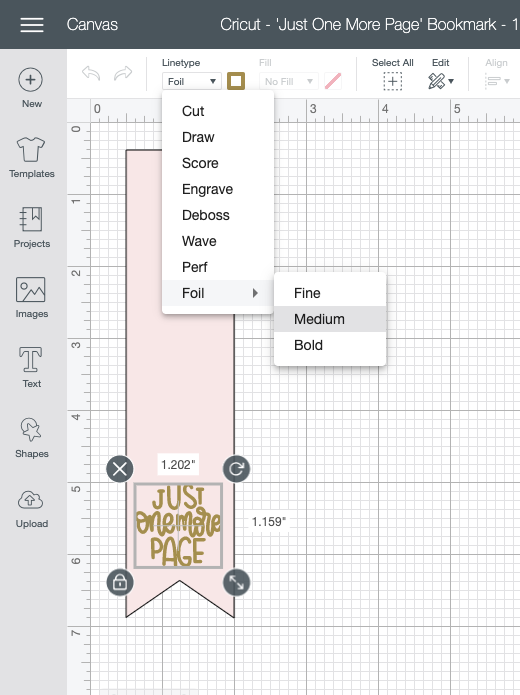
Once you’ve found this cricut access project instead of clicking make it, click the button right next to the make it button. It should say customize. This will open the project in a new dashboard so that you can make changes.
Now grab the top project layer (the words that say “just one more page” and change the linetype. Right now it’s set to cut but we want to foil these babies… so up at the top in your toolbar click linetype, then scroll all the way to the bottom and select the foil option.
Then select your tip width and you’re good to go! You can click make it and move on to the next step!
Step 1.5: Secret Cutting Board Layer Trick (this is how you foil on leather!)
Okay y’all so here’s the thing… metallic and genuine leather aren’t actually compatible with the foil transfer tip. Which is silly because as you can see with my rose gold stocking tags… it totally works.
Now I’ll be honest… some of the leathers work better than others (red doesn’t seem to work with foil at all) but if you do a little bit of trial and error you’ll find exactly which leathers work best.
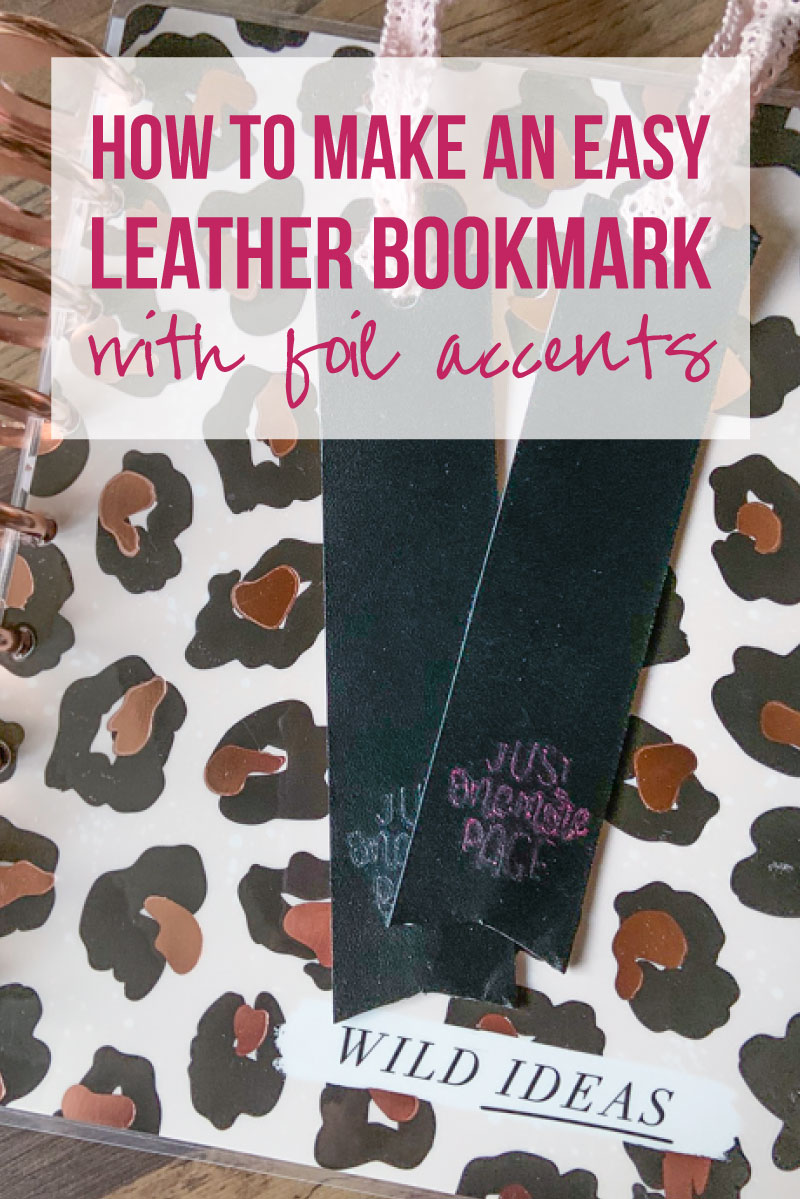
Rose gold metallic leather actually isn’t suppose to work with the foil tip at all but it worked perfect for me… and the black I ordered for this project worked but not nearly as well.
Either way there’s a quick and easy way to adjust the cutting mats on your cricut design file so that you can foil and cut on the same mat… and I show you the full process in this quick tutorial.
Word to the wise… once you have your cutting mats set properly you’ll move on to picking your material and setting your machine pressure. For the foil mat you can’t pick genuine leather (because foil and leather aren’t compatible!) so instead I select medium cardstock and regular pressure.
Works like a charm!
Just make sure you change the material back to genuine leather before getting to the cut portion of the project.
Step 2: Prep your Leather & Foil
Now it’s time for the fun stuff… prepping our pieces! Leather really likes to move around when it’s getting cut (so does foil) so we’re going to use a strong grip mat to hold them in place.
If your mat is brand spankin’ new you’re good to go… but mine isn’t. It’s been well loved and needs a little help. SO I spread out the leather and then used a brayer to evenly push the leather down all the way across the cutting board… and then I locked the whole thing down with a bit of painters tape around the edges.
We really don’t want that leather to move and jam the machine.
Once your leather is secured you’ll want to tape down the foil sheet. The foil is less likely to come up so I used a bit of washi tape to hold it down (I used the heat resistant tape I have for infusible ink) to tape down all the sides.
Everything should be covered in tape now… nothing should be moving.
Perfect.
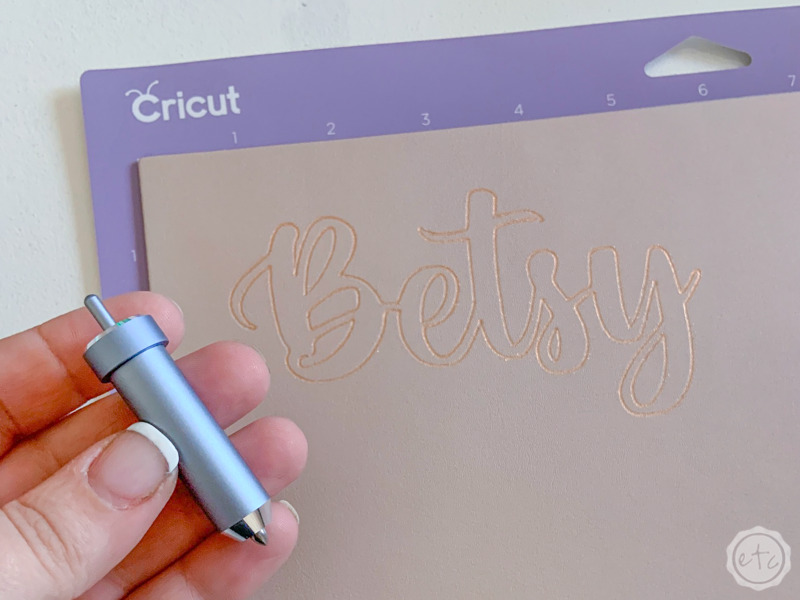
Step 3: Run the Foil Tip
Ready freddy? Do you have your star wheels all the way to the right? All your pieces taped down? Your foil tip properly put into your machine?
If this is your first time using the foil tip then keep in mind that it was 3 different tips (fine, medium and bold) so make sure you have the right one inserted (bold has all 3 lines on the barrel).
Once you’re good to go you can load the cutting mat and hit go… now there’s nothing left to do but watch that foil transfer tip at work!
Step 4: Remove the Foil
Once the foil tip is finished go ahead and eject the mat… so that you can take off the foil!
This is the best step because you get your first look at how everything worked. You’ll notice that this photo is the most vibrant and that’s because once I wiped the design (with my hand) any loose color comes off. That’s ok… there’s still plenty of color left.
Luckily this step of the project is simple… peel up the tape and remove the foil. You can cut off the used part and save the rest of your foil piece for another project… and then load your mat back into the cricut to cut the bookmark!
Step 5: Cut your Leather
Just a reminder… even though your cutting mat is loaded into the machine don’t forget to change the materials on cricut design space before you hit go. Remember how we set the material to cardstock? Well now’s the time to change it to genuine leather… that way our deep point blade will cut with the proper pressure and depth.
Then load the deep point blade into the machine, select more pressure and hit go!
This is a pretty basic shape so it will only take a minute to make the 4 passes necessary to cut out this baby.
Then you can use it in your planner, your latest book… or anywhere else you might need a bookmark.
Score!
What are you going to make with the foil tip next?
Don’t forget to pin!
Want to take a look at the rest of the Cricut line up?


Leave a Reply