This post is sponsored by Cricut, all thoughts, ideas and mistakes are 100% my own.

What materials can you use Cricut iron-on? The short answer… way more than you think! While iron-on is fantastic for your next t-shirt and fabulous for your next pillow case there are so. many. other. options. It’s crazy how many different objects you can put iron-on vinyl on!
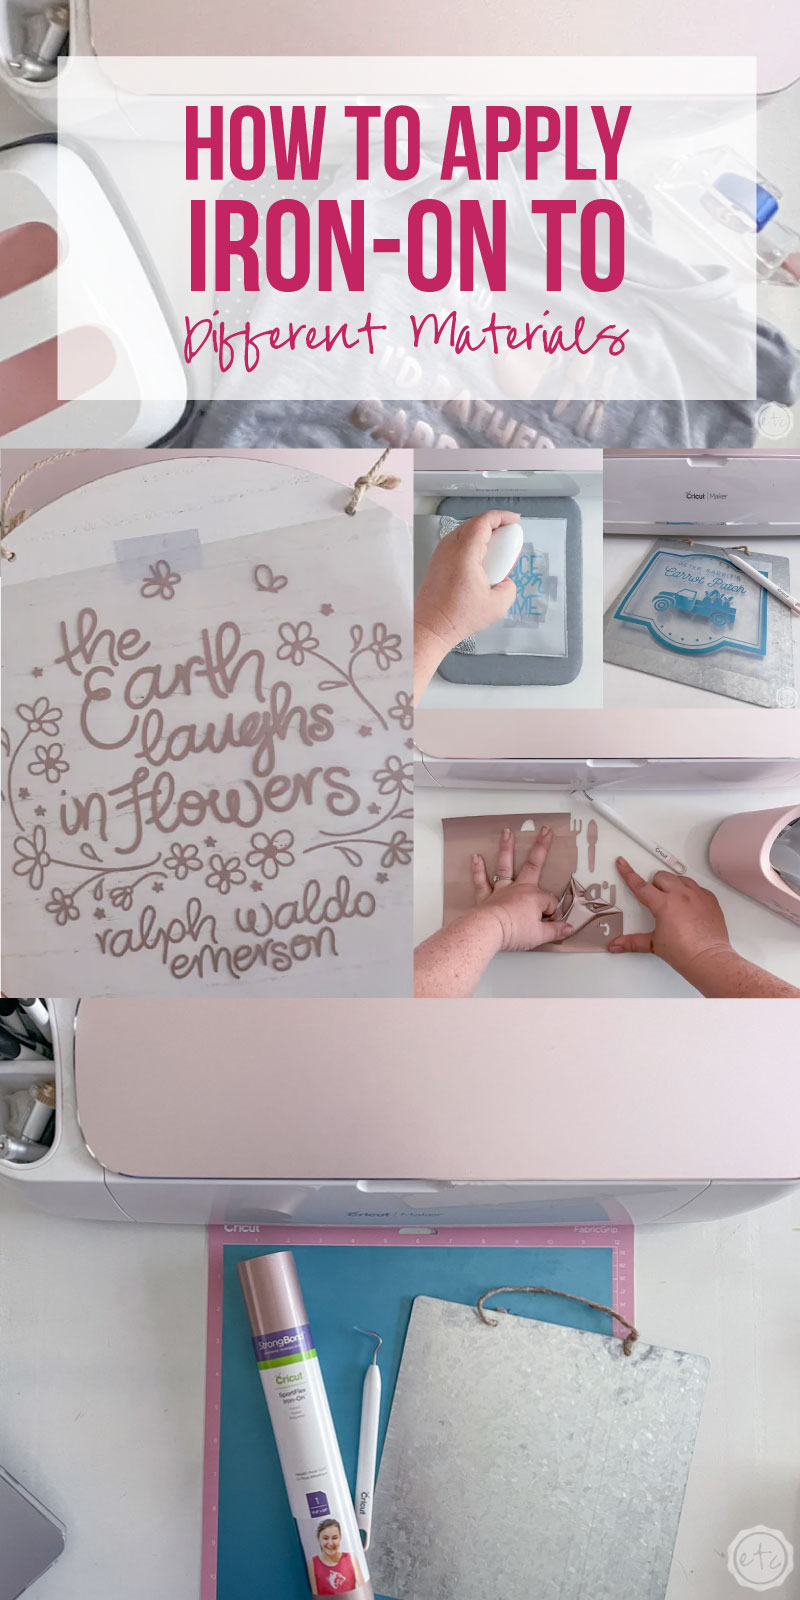
Today we’ll crack open a tube of SportsFlex Iron-On and place it onto my favorite 5 materials.
Let’s put our Iron-On to the Test!

What Materials You Can Put Iron-On On
- Wood
- Leather
- Metal
- Fabric
- Cardstock
Why Use Iron-On Instead of Vinyl?
Iron-On is very similar to vinyl but it’s a bit more lightweight and is heat activated. Most people use iron-on for fabric based projects like t-shirts, pillow cases, hats, socks, shoes… the list is endless BUT you can bond iron-on to so many different surfaces (with a heat gun you can even wrap iron-on around curved surfaces!). The main question is why? When adding vinyl to a curved surface (like the front of the tumbler in the project at the bottom of this Cricut Joy post) you can simply wrap your vinyl around your object like a sticker… and your done!
So why would you pick iron-on over vinyl for metal? Or Wood?
There are a couple reasons… in some cases you may have a roll of rose gold metallic iron-on handy but you’re out of vinyl. In that case it would be easier to use what you have. But if your at the store looking at two rolls (identical in color) your choice is a bit trickier. Think of vinyl more like a paint… it will sit over the surface it’s placed onto.
Iron-On on the other hand is more like stain… it will bond into the surface giving you a great bond that won’t wear off over time. It stays vibrant, lasts for years and comes in soooo many colors. PLUS you have the added bonus of it picking up the texture of your surface… for example on wood your iron-on will take an embossed look as it mimics the wood below it.
Which adds an extra element to your projects!
Ready to see it in action?
Let’s take a close up look at iron-on being applied to all 5 materials: wood, leather, metal, fabric and cardstock. Take a look at the finished results and decide for yourself… will you be reaching for iron-on when making your next sign?

Wood Project: Wooden Sign
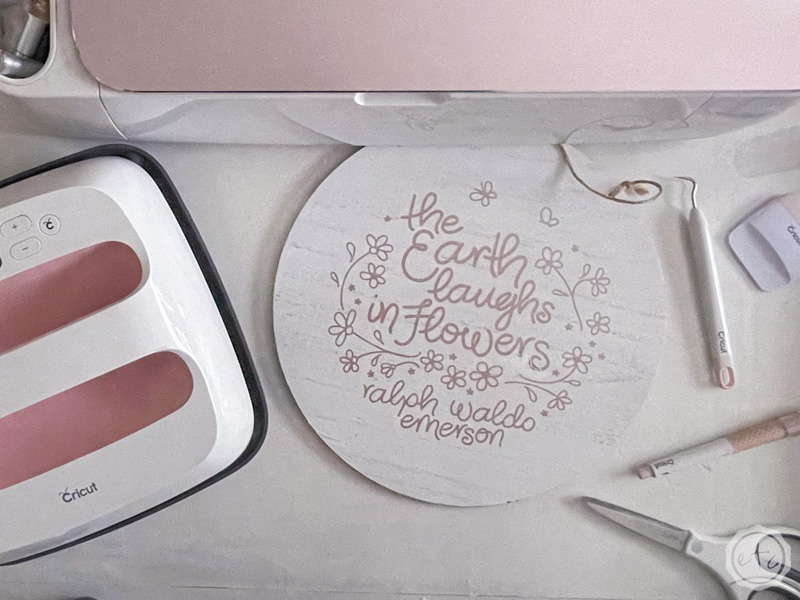
I absolutely LOVE adding Iron-On to wood… at this point I reach for iron-on over vinyl every time I whip up a new design. Just check out this cute little “Love is Patient” Sign for another example!
For this project I selected this cute flower quote from the Cricut Access Library and cut it out of the Rose Gold Color in our Sampler Pack. This little sign is reversible with plain wood on one side and a painted white surface on the other… I picked the white side so that our rose gold iron-on would be easily visible.
Iron-On can bond to both plain or painted wood although you’ll want to make sure your sign has plenty of time to dry after you paint it. Otherwise the heat from your easy press can discolor or even lift the paint. In this case our sign was pre-painted so it was definitely dry… so our iron-on bonded perfectly.

Of course, the one thing iron-on does not like bonding to is adhesive of any kind… and there must have been some sticker residue in the center of our wooden sign. The carrier sheet lifted the paint right off after the heat was applied!
Luckily a little touch-up paint fixed this baby right up! Good as new!
Iron-On on wood? Check!
Check out the Full Tutorial for this Little Wooden Sign HERE.
Leather Project: Leather Notebook
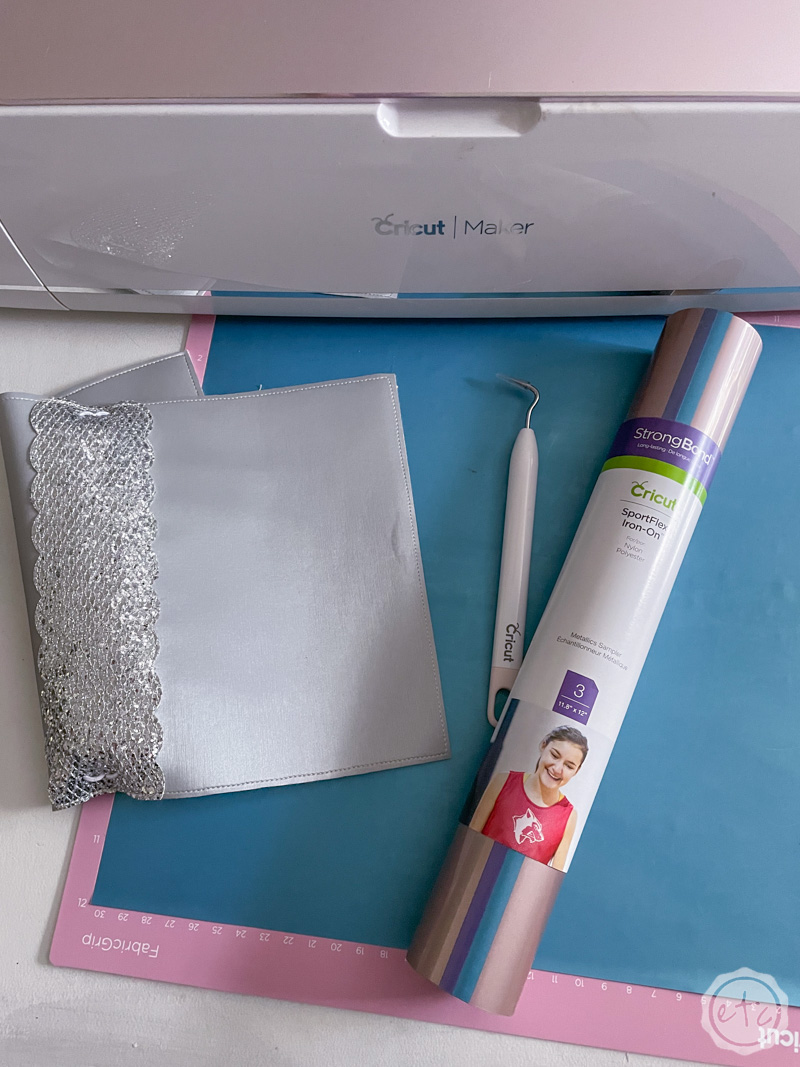
Ready for leather? To me leather is just a sturdier fabric so it is NOT surprising that iron-on bonds beautifully to leathers. I wanted to personalize the front of my little travelers notebook as a scrapbook for an upcoming cruise so I headed to the Cricut Access Library and picked this fun “Once Upon a Time” SVG. I thought it worked perfectly for travel since this particular cruise is a bit of a dream come true.
Alaska with my Dad for my birthday… and Father’s Day. We’ll be on the boat for both!
You need very little heat to apply iron-on to leather… a few quick passes with your easy press mini and you’re good to go!

You’ll want to use low heat and then let the decal cool before peeling back the carrier sheet. You can use a scraper tool to firmly bond the iron-on into the leather while it’s still warm from your easy press. I find this helps the adhesive to set!
Since iron-on adhesive is heat activated you can sometimes see adhesive residue from the iron-on on your leather. Typically you can only see it in bright lights (my Cricut Bright 360 is lighting up these photos so you can slightly make it out) but it’s not super visible to the naked eye.
If you’re worried about this you can do a test piece with a scrap of iron-on and a scrap piece of leather… it’s never been a big enough issue to bother me.
Check out the Full Tutorial for this Little Leather Notebook HERE.

Metal Project: Metal Sign
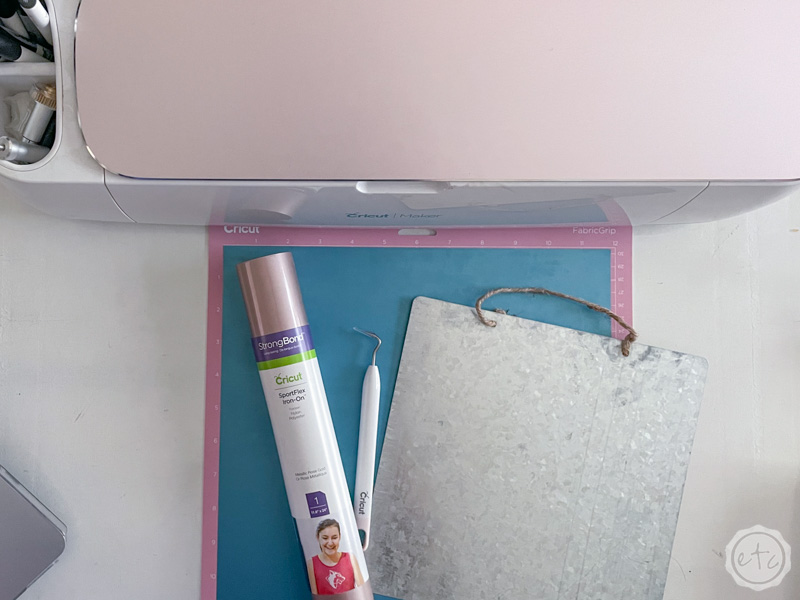
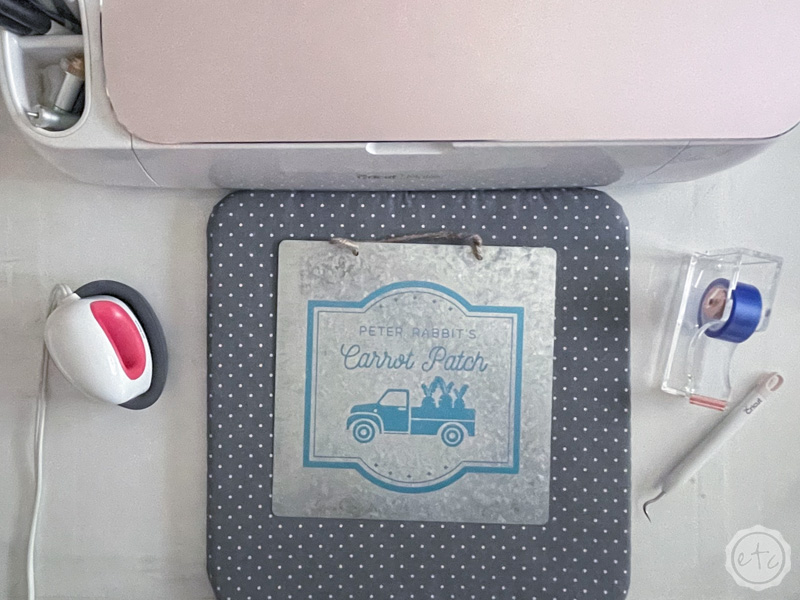
I think Iron-On on metal might be my NEW favorite thing! I already knew I loved infusible ink on metal (I mean how cute is this little bunny infusible ink sign I made for Easter?) but this went on so smoothly, so clean, so quick… and it looks crisp and clear!
Absolutely fabulous!
Of course, part of that might be the adorable Peter Rabbit’s Carrot Patch SVG I found in the Cricut Access Library.
After all a sign is only as good as it’s design.
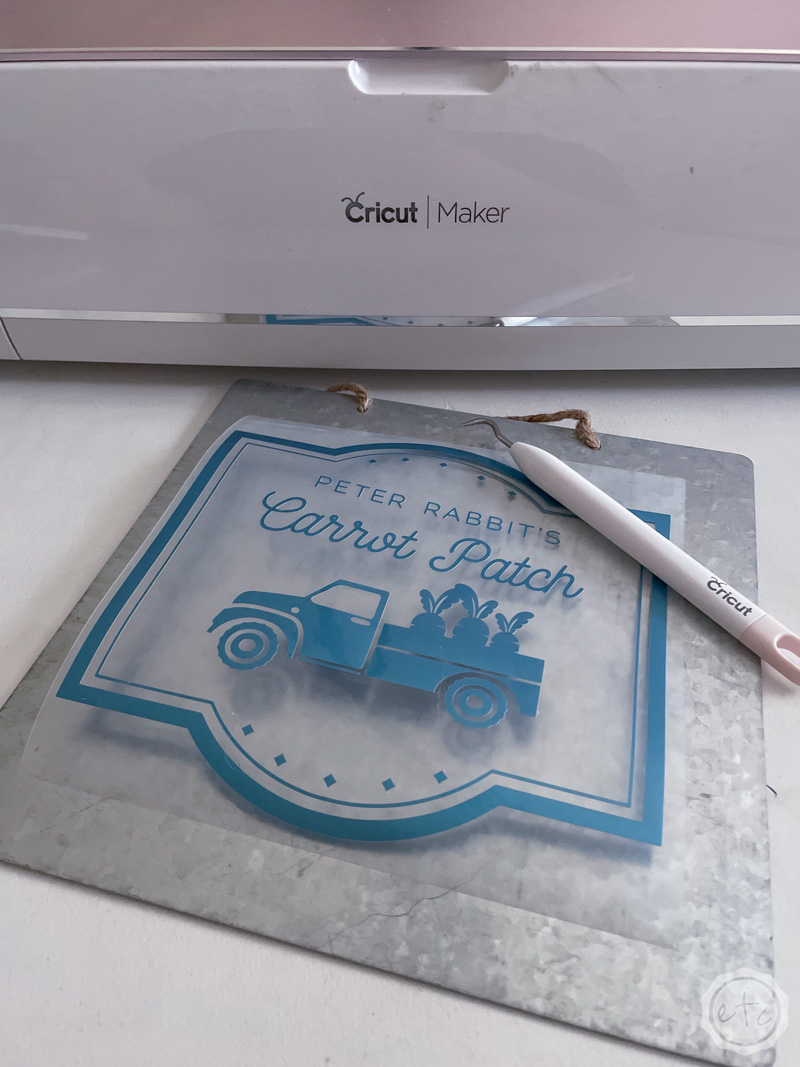
You can use an easy press 2 or an easy press mini for this project… just remember when using your mini to start in the middle and work your way out so there are no air bubbles trapped in the iron-on. For your easy press 2 you’ll use 305 degrees and 15 seconds for the settings.
Then I used my scraper tool to really bond the iron-on to the metal while it was still warm.
That extra pressure pushing the iron-on into the surface always seems to help with iron-on.
Check out the Full Tutorial for this Little Metal Sign HERE.
Fabric Project: Cotton T-Shirt
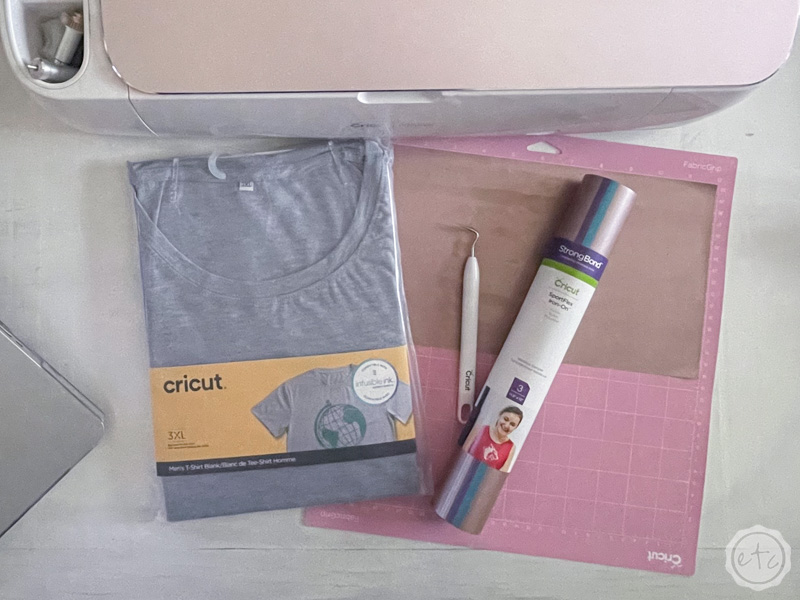
Okay y’all… back to basics. Like I said at the beginning of the post iron-on on a good old fashion t-shirt is definitely a fan favorite. After all there’s nothing quite like wearing your own creations.
I grabbed this cute little “I’d rather be gardening” SVG from the Cricut Access Image Library. Isn’t it adorable? If you watch my gardening videos over on YouTube get ready because I’ll definitely be rocking this soon!
Especially because these new gray Cricut t-shirts are sooooo soft. I love wearing them!
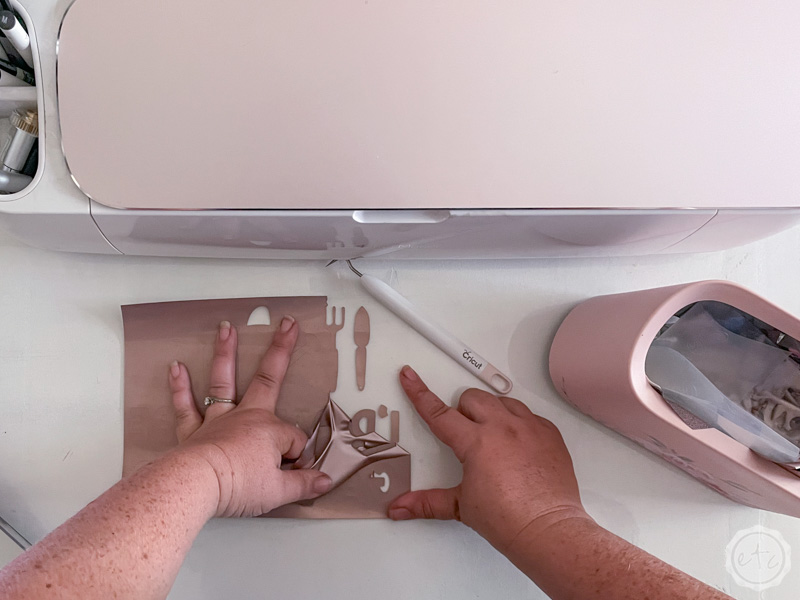
Of course, at this point I have made numerous Cricut T-Shirts with Iron-On… even a few with Iron-On and infusible ink. I am particularly fond of the ones I made for my favorite Chenford ship on the TV Show the Rookie… yes, I’m a fan girl. *wink wink*
While I could have shown photos from any of the past t-shirts I’ve made I wanted this little experiment to be consistent across the board. We are using the exact same roll of Metallic Sportsflex Iron-On for each project. It’s a sampler roll and comes in rose gold, blue and purple so we do have a few different colors but it’s the same material for each project.
That way you can see how the same iron-on looks on all 5 different surfaces.
Check out the Full Tutorial for this Little T-Shirt HERE.


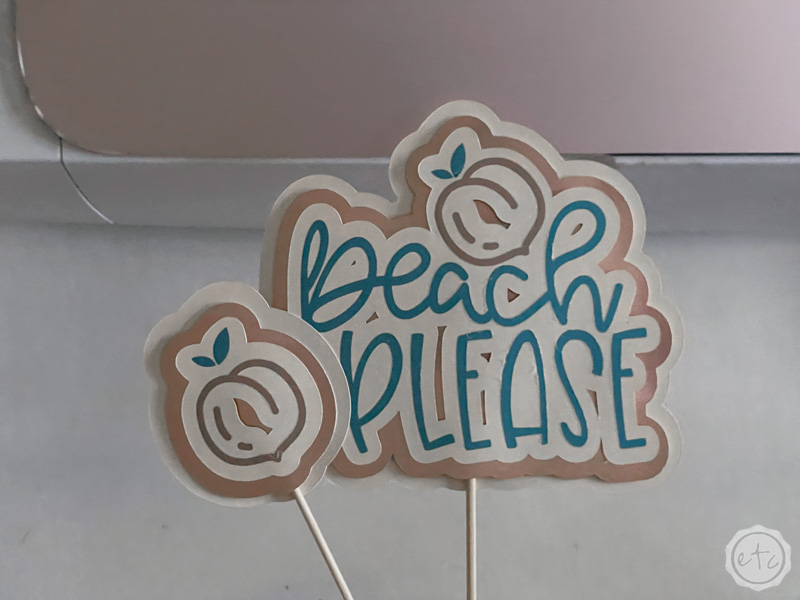
Cardstock Project: Cake Topper and Drink Stirrer
Ready for the last project? Cardstock! When you’re layering paper (for cards or even for a shadow box like these) sometimes you want a bit of dimension between the layers and sometimes you want them to lend into each other. To make one seamless layer!
Iron-on will definitely do that… it blends right into the cardstock layer below it.
Which is why it’s perfect for the top layer of this little cake topper and drink stirrer set. I grabbed this cute Peach image file from the Cricut Access Image Library and used the offset tool to create the background layers. Creating offset layers in Cricut Design Space is still a fairly new feature so if you need a little help I have you covered… check out my offset overview here.
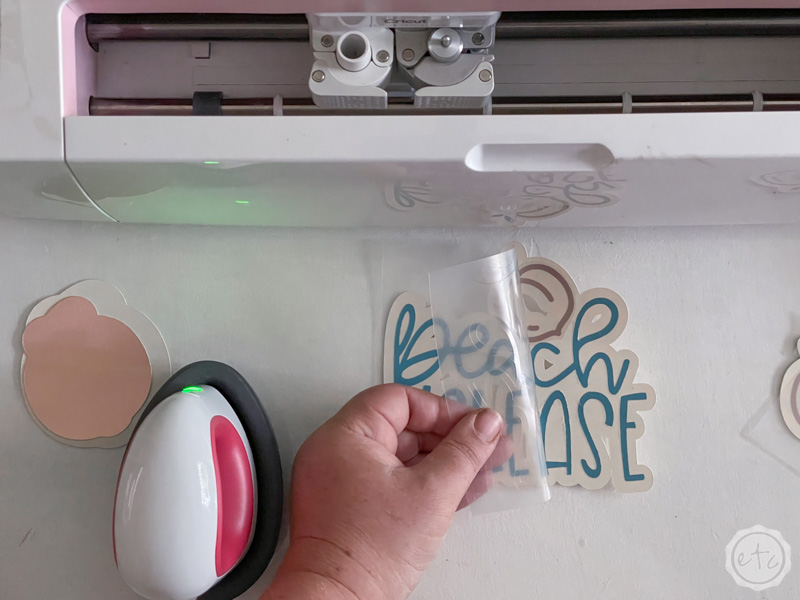
Like our metal project up above you only need a few seconds of heat to bond the iron-on directly to the cardstock. You can use your easy press mini and small heat mat for this project. Make sure your layers are lined up and start in the middle. Place your easy press down and then slide it out towards one side…. repeat this until you’ve applied heat to the entire surface.
Then remove the heat mat and use your scraper tool to bond the two layers together while they’re still warm! Once the iron-on is cool to the touch you can remove the carrier sheet… volia! Cardstock cuteness!
I absolutely love making drink stirrers this way… especially with iridescent iron-on. Just check out the little mermaid drink stirrers I made for last years summer tablescape.
Check out the Full Tutorial for this Little Cake Topper & Drink Stirrer Set HERE.
I hope that helped you see all the possibilities out there for applying iron-on to your next project. I absolutely love how all of these turned out… although I think the metal sign with Peter Rabbit might be my favorite.
I’m telling you… iron-on on metal is soooo smooth.
*Insert smooth like butter sound here*
Leave a comment down below letting me know your favorite project… and don’t forget to pin for later!

Looking for a walk-through on any other Cricut products? I’ve gone over alllll the basics here:
Get Your FREE PDF Guide!

Don't forget to snag your free PDF Guide to buying your first Cricut!










Leave a Reply