


There are so many different ways to use iron-on… from a basic t-shirt to a wooden sign the possibilities are ENDLESS. But did you know you can add iron-on to metal? I’ve even added Iron-on to a curved metal canister!
That’s right… curved.
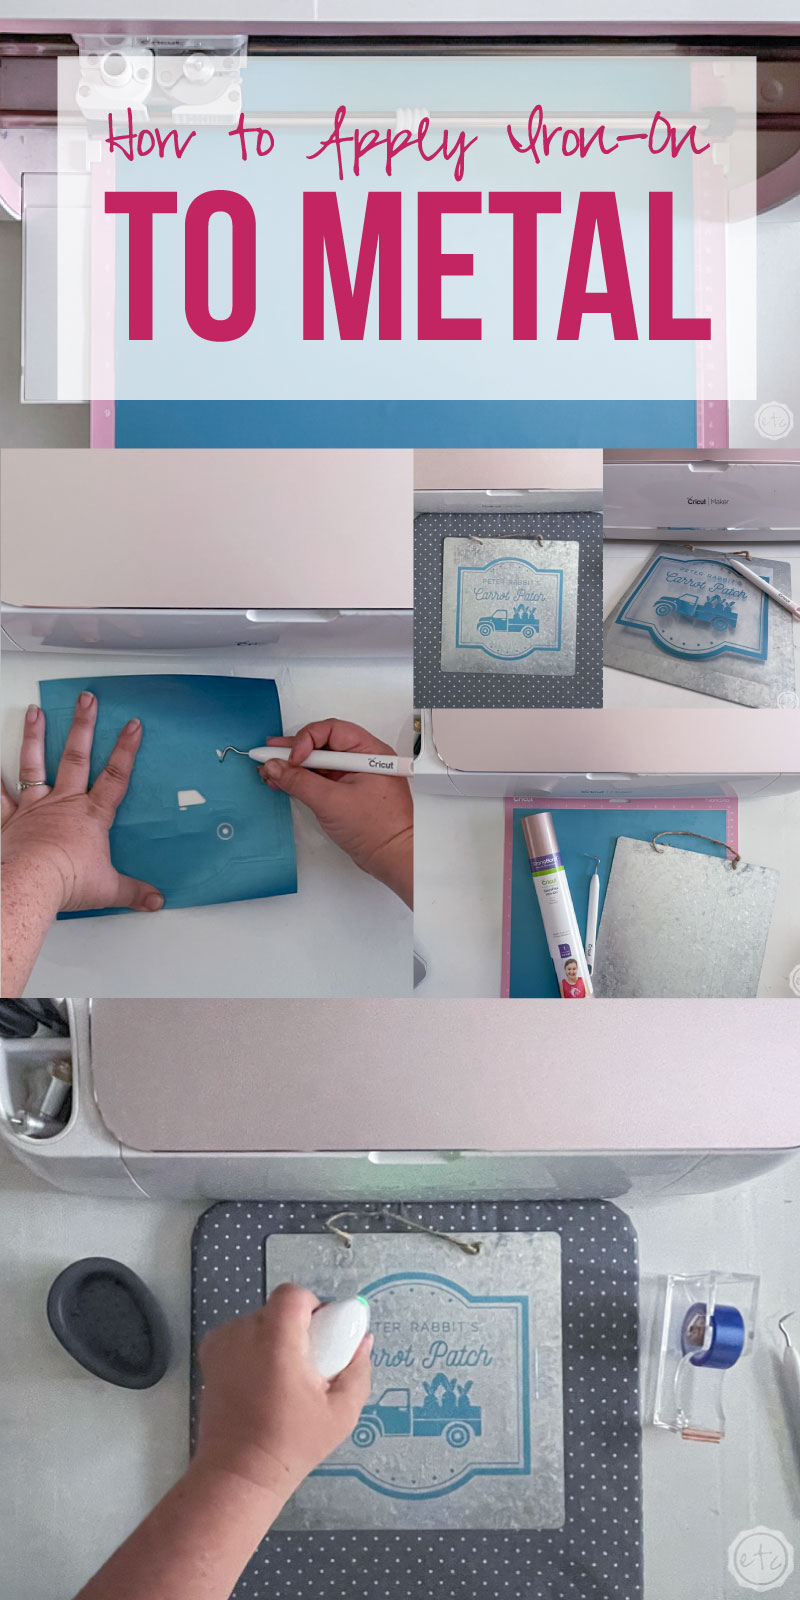
Today we’re going back to basics though and I’ll teach you how to apply iron-on to metal by making a cute little metal sign. These are the same metal sign blanks I typically use for infusible ink so it will be fun to extend their use a bit to iron-on.
Although a metal sign with infusible ink and layered vinyl is still one of my favorites. Ready to get started?
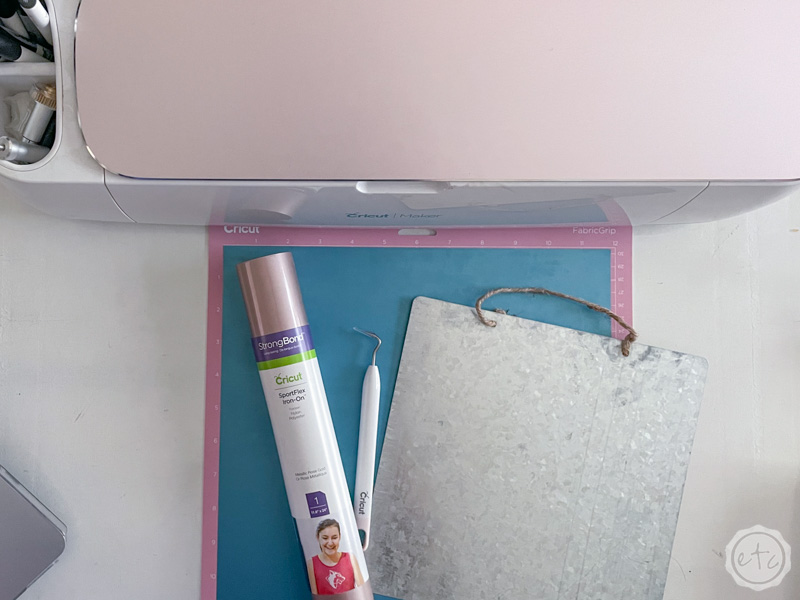
Supplies:
- Cricut Maker
- Standard Cutting Mat (that’s the green one! Even though I used the fabric mat for this project)
- Fine-Point Cutting Blade
- Weeding Tool
- Brayer
- Scraper Tool
- Metallic SportsFlex Sampler
- Mini Easy Press
- Easy Press 2
- Cricut Access SVG: Peter Rabbit’s Carrot Patch
- Metal Sign Blank

Step 1: Pick your Design from the Cricut Access Library
First things first… before we can cut a design we need a design to cut! I knew I wanted a summer, flower, garden like design for this little sign (to go by my front door) so I headed to the Cricut Access Library and typed “Garden” into the image search bar!
There were lots of options but this little “Peter Rabbit’s Carrot Patch” design was my favorite! I added it to a blank canvas and then adjusted it a bit so it would fit a square sign instead of a rectangular one.
I show you exactly how I did this in the video above but it was really easy… I basically sliced out part of the boarder and then moved the bottom edge up to make the sides shorter. Volia… instant square.
I also picked a different carrot image from the access image library (something a bit smoother) but if you’re doing a rectangular sign this cut file is ready to go as is!
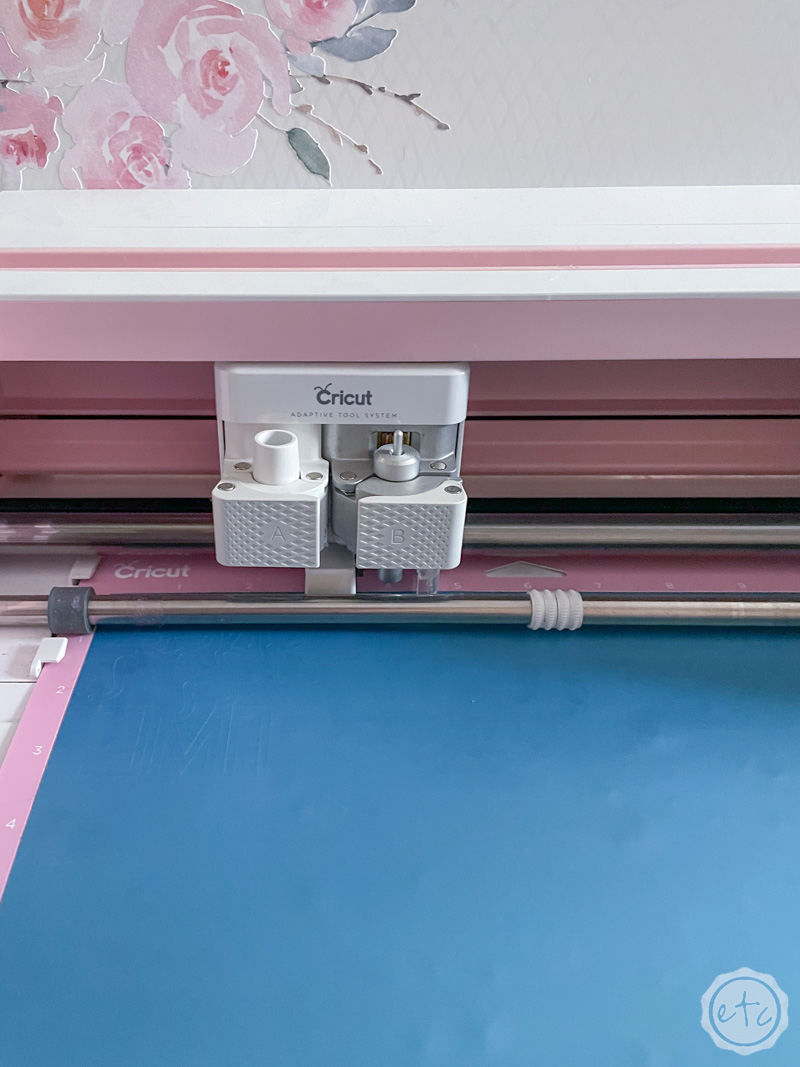
Step 2: Cut your Iron-On
Once you’ve prepped your cut files and re-sized them for your metal sign blank go ahead and cut your Iron-On! We’re using the blue color from our Metallic Sampler (and it looks so cute against the metal sign!) but you could use either of the other colors if you like.
Make sure to load your Iron-On face down onto your cutting mat and that your design file is mirrored in Cricut Design Space. You don’t want to cut into the clear carrier sheet on the front side of your iron-on!
Then click make it and watch the magic happen… it doesn’t matter how many projects I do watching my Cricut work is always a bit mesmerizing.
I just love looking at those crisp cut lines!
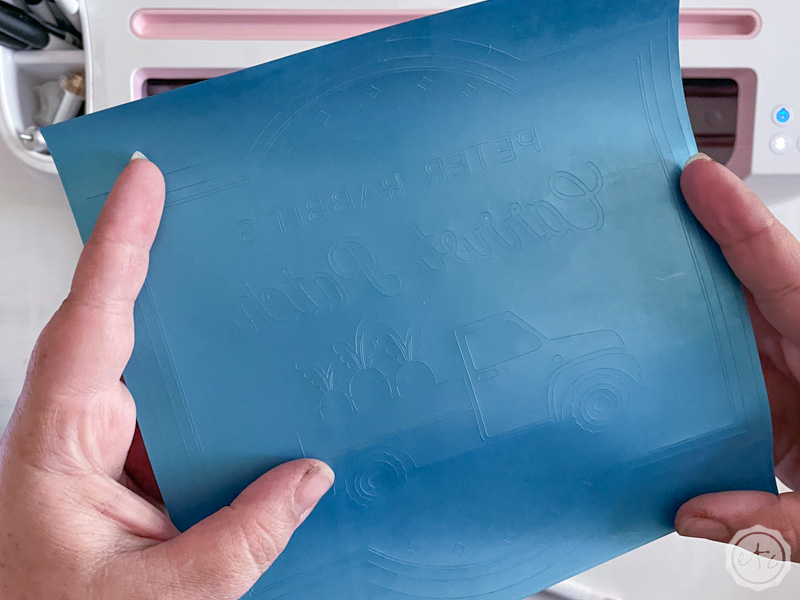
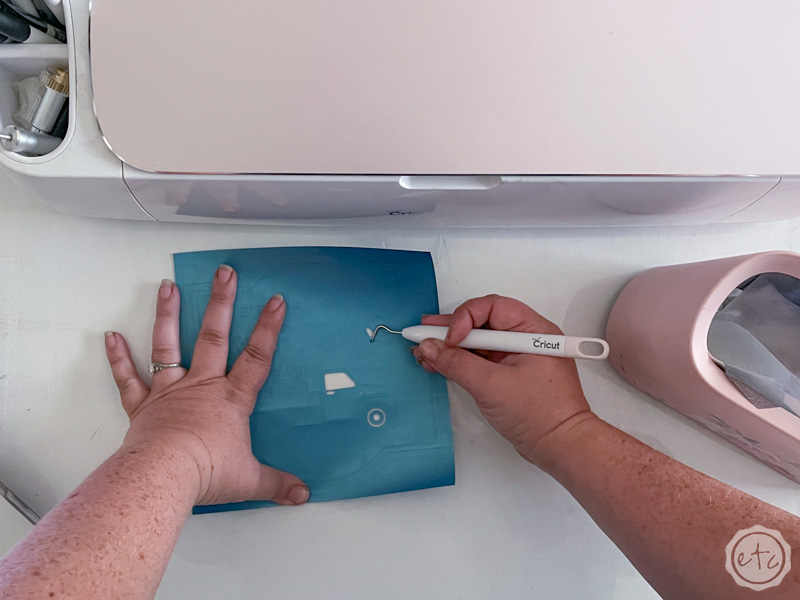
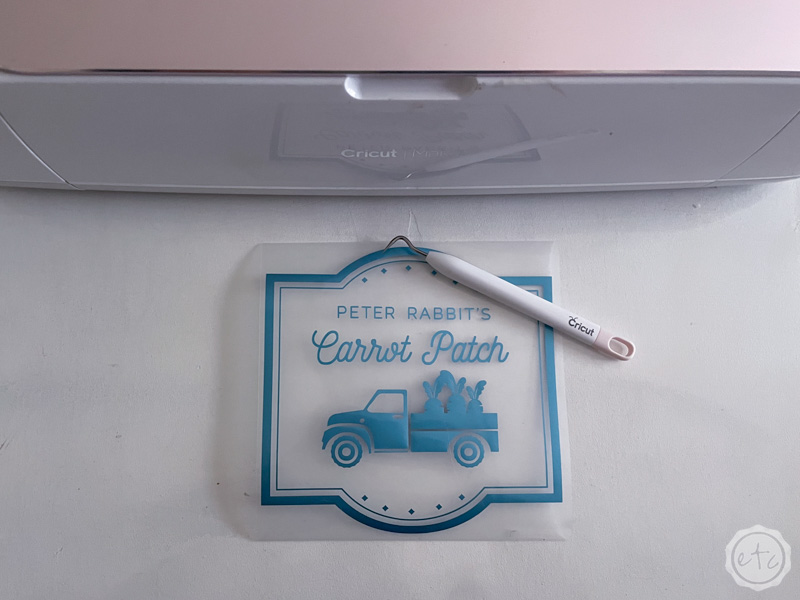
Step 3: Weed your Pieces
Grab your weeding tool… it’s time to weed!
If this is your first Cricut project then you’ve probably heard the term but you may not know what weeding is. Basically we’re going to remove all the negative space… the inside of the o, the top of the e, the passenger side window on the truck…
Anything we DON’T want to transfer to our final design.
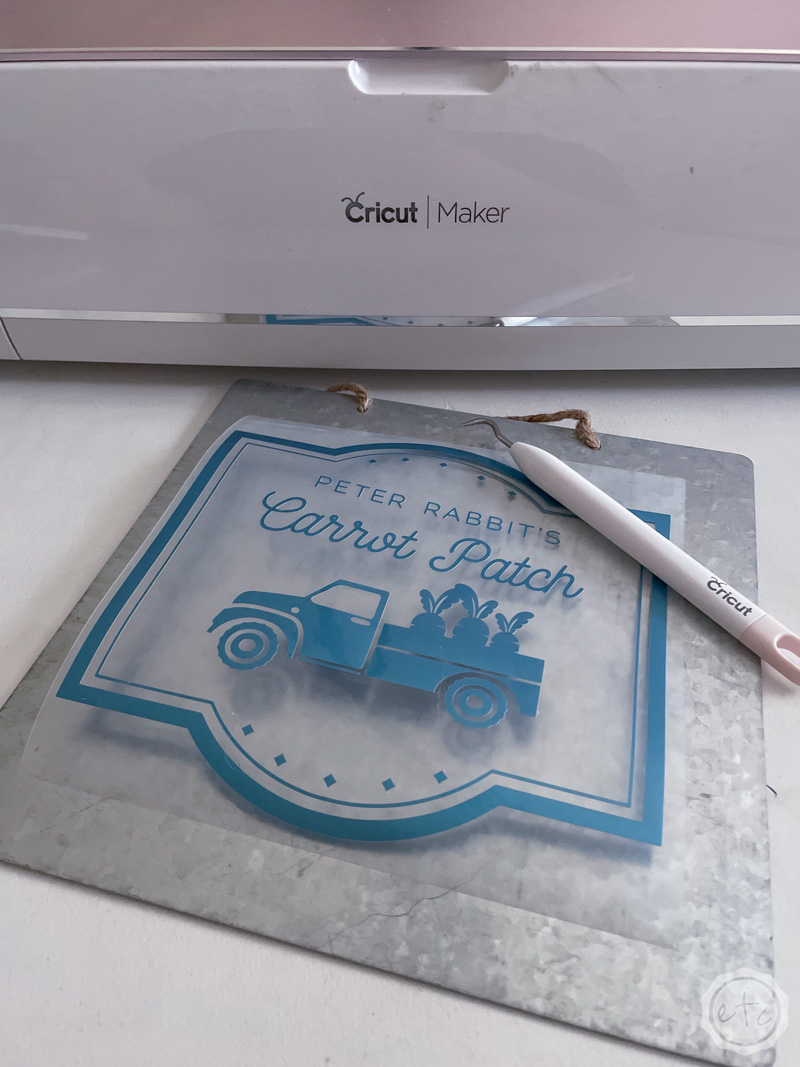
When we’re done weeding the Iron-On sheet should look identical to the cut file in Cricut Design Space… but in real life.
Just go slowly so you don’t tear the iron-on at any point (that weeding tool is sharp y’all!) and make sure not to remove parts of the design we actually need (like those tiny diamonds in the boarder!).
Work your way from the outside in if you’re not sure which pieces you need to keep… you got this!
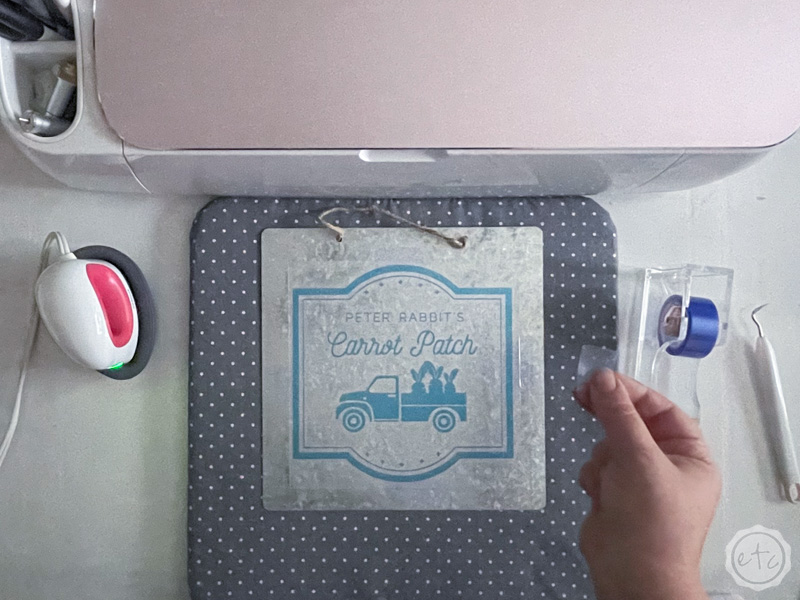
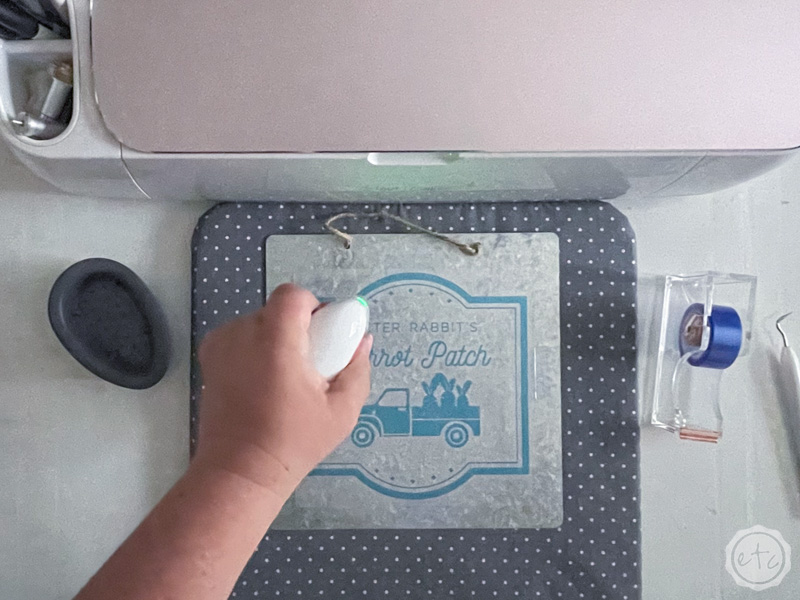
Step 4: Apply the Iron-on to your Metal Sign
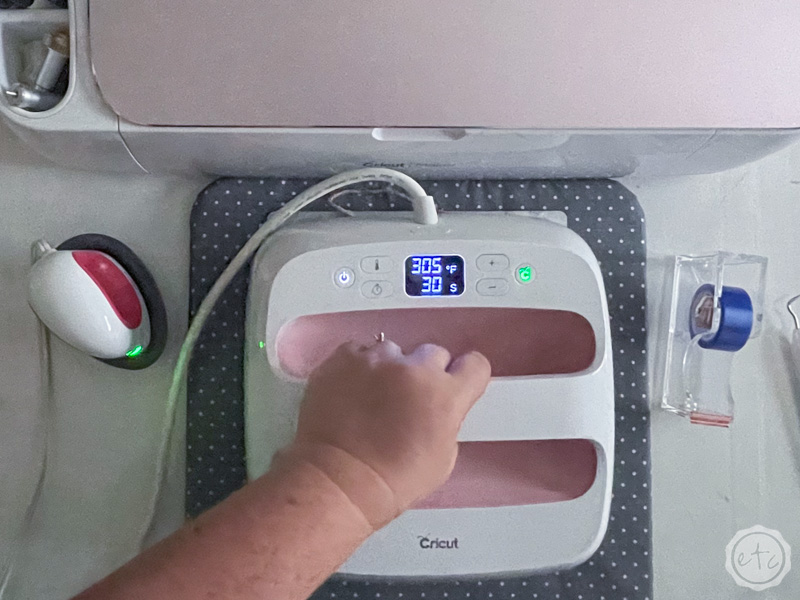
Go ahead and turn on your easy press… for metal we’re going to set our easy press 2 to 305 degrees and we’re going to hold firm pressure for 15 seconds.
So you’ll want your easy press to reach the full 305 degrees before we get started. Don’t worry we need to prep our design anyways. Start by making sure it’s centered and straight… then use a bit of heat resistant washi tape to hold it in place.
We don’t want it moving while we’re applying the heat!
Once everything is secured and your easy press is warmed up go ahead… if you don’t have an easy press 2 you can also use an easy press mini turned to the third level. Just make sure to start in the middle and work your way towards the edge of the design.
As it was I used my easy press mini to hit a few parts of the design that still weren’t bonded after I was done applying the iron-on with my easy press 2. Then I like to use my scraper tool to firmly smooth across the surface. I find that this really bonds the two layers and helps them to melt into each other.
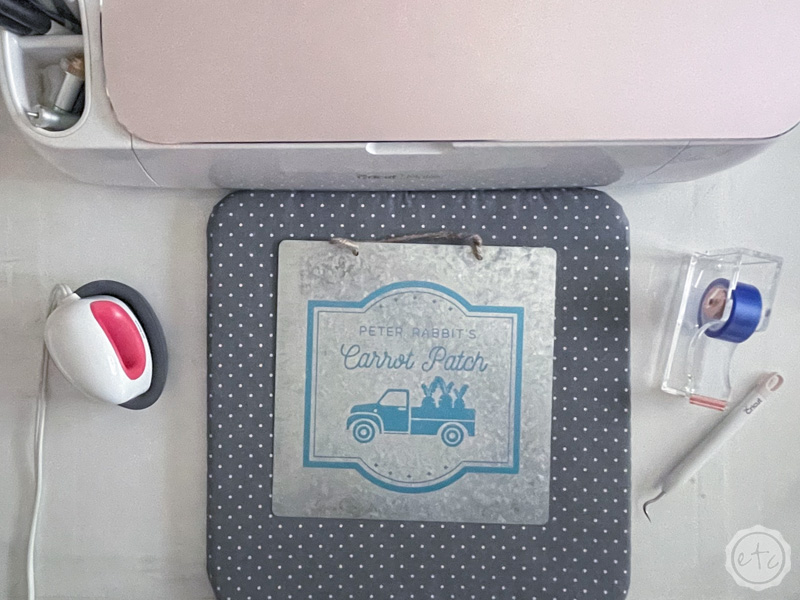
Once everything looks perfect through the carrier sheet set the entire piece aside to cool down. Once it’s cool to the touch you can slowly remove the carrier sheet to reveal the design!
Step 5: Enjoy!
Volia!
Isn’t it pretty? I love how the blue pops on the gray of the metal but my favorite part is how smooth it looks. It’s like melted butter… the iron-on truly looks like part of the metal.
It doesn’t sit on top of the surface like vinyl would it’s part of the surface.
Which is my favorite part of using iron-on on weird surfaces like metal or wood (or cardstock!). It bonds so prettily.
Don’t forget to pin this project for later and I’ll see you for the next project!


Leave a Reply