


Okay… if you’ve been here for a minute you already know that making wood signs with iron-on is far surperior to making wood signs with vinyl. I love the way it bonds! It literally takes on the texture of the wood, bonding into every little grain and giving the best wood grain like feeling. Just take a look at this “Love is Patient, Love is Kind” sign or even this adorable “Letters to Santa” sign I made for Christmas and you’ll know exactly what I mean.
BUT since I’m currently working on an entire series of Iron-On tutorials that show you exactly what materials Iron-On can bond to I had to make a new sign specifically showcasing How to Apply Iron-On to Wood.
Oh darn.
Hold me back.
I grabbed a reversible sign with wood grain on one sign and a painted surface on the other and headed to the Cricut Access library to pick a design file. Let’s go!
Supplies:
- Cricut Maker
- Standard Cutting Mat (that’s the green one! Even though I used the fabric mat for this project)
- Fine-Point Cutting Blade
- Weeding Tool
- Brayer
- Scraper Tool
- Metallic Rose Gold Iron
- Easy Press 2
- Easy Press Mat
- Cricut Access SVG: The Earth Laughs in Flowers
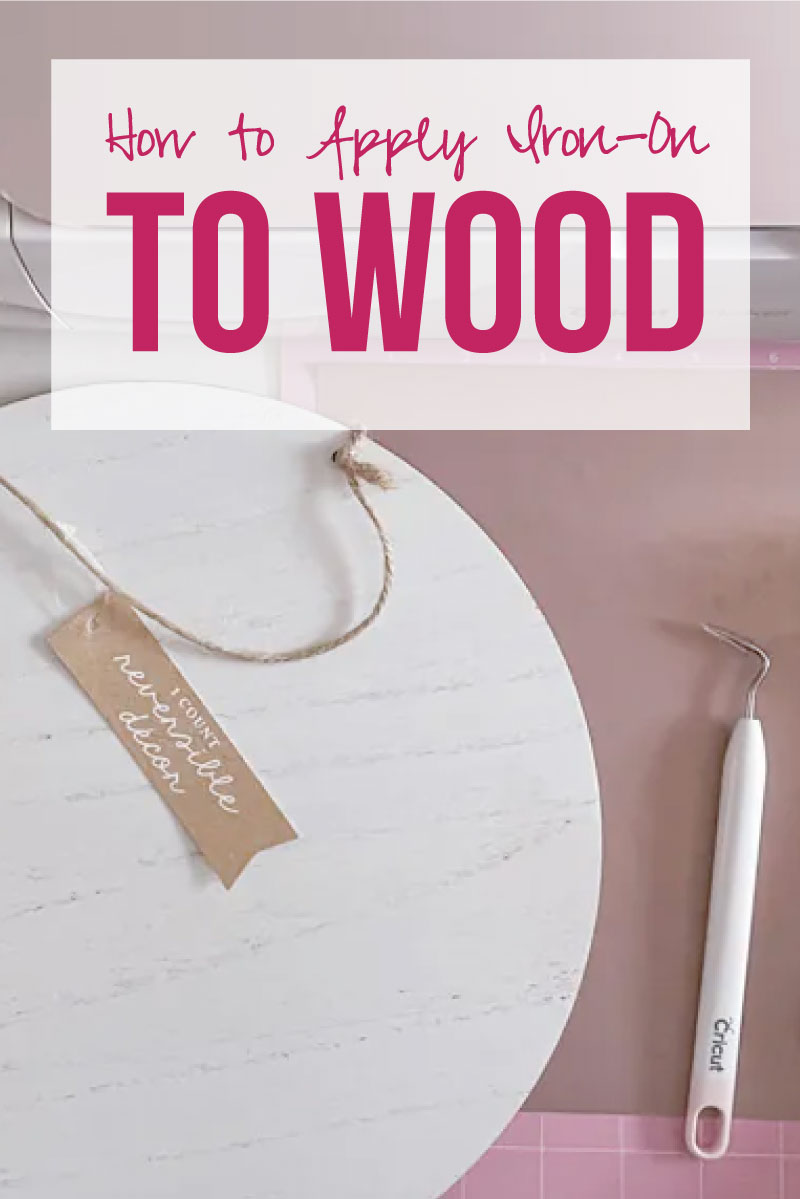
- Wooden Sign Blank

Step 1: Pick your Design from the Cricut Access Library
Since my wooden sign blank is round I knew I wanted a round design… preferably about flowers, summer or gardening.
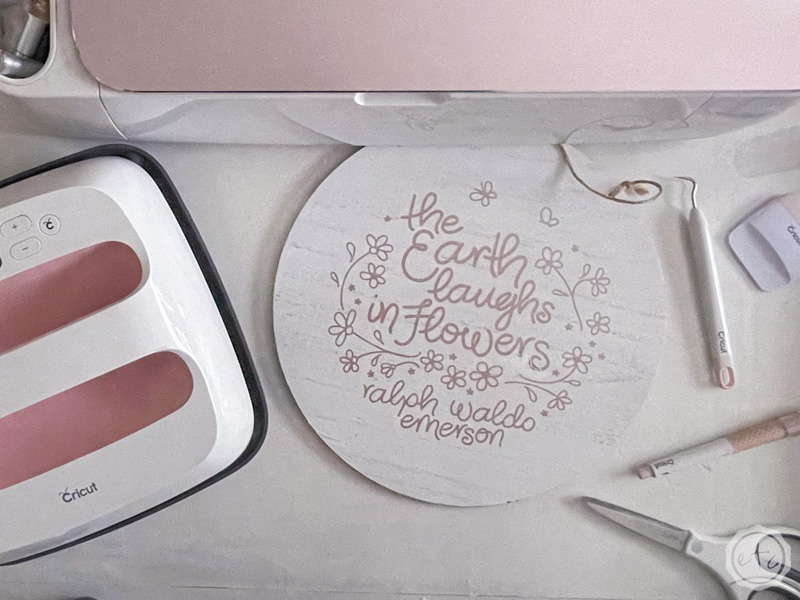
I found a cute design that says “The Earth Laughs in Flowers” with a bunch of adorable flower and butterfly designs which is perfect for summer.
This little sign is going to look so cute on my door with a lambs ear wreath for summer!
I adjusted the design to fit my sign blank and we’re good to go! Ready to cut our iron-on… which is why I love the Cricut Access Library so much. Instead of spending my time creating an SVG or having to purchase each design individually when I want to design something I can just pop over and grab a design.
Easy peezy lemon squeezy.

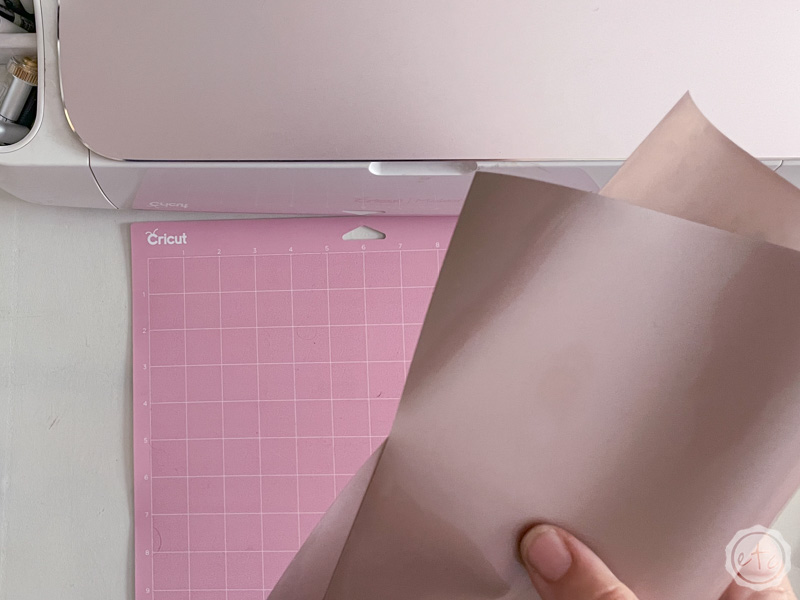

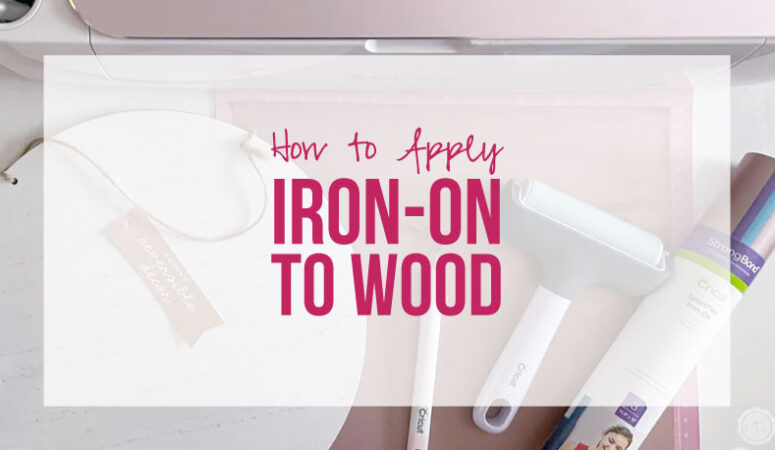
Step 2: Cut your Iron-On
Now that our design is ready to roll let’s load our cutting mat with our material. Iron-On needs to be placed facedown with the clear carrier sheet touching the cutting mat and the actual material up in the air.
Make sure to mirror your design in Cricut Design Space and your good to go! Your Cricut will cut your design (backwards) out of the back of your iron-on.
Isn’t that funky?!
Go ahead and cut out the entire design and we’ll move on to the next step.

Bonus: While I’ll show you step by step how to do this specific project (including all the Cricut Design Space parts) in the video tutorial up above you can check out this post for a full overview of Cricut Design Space. Hope that helps!
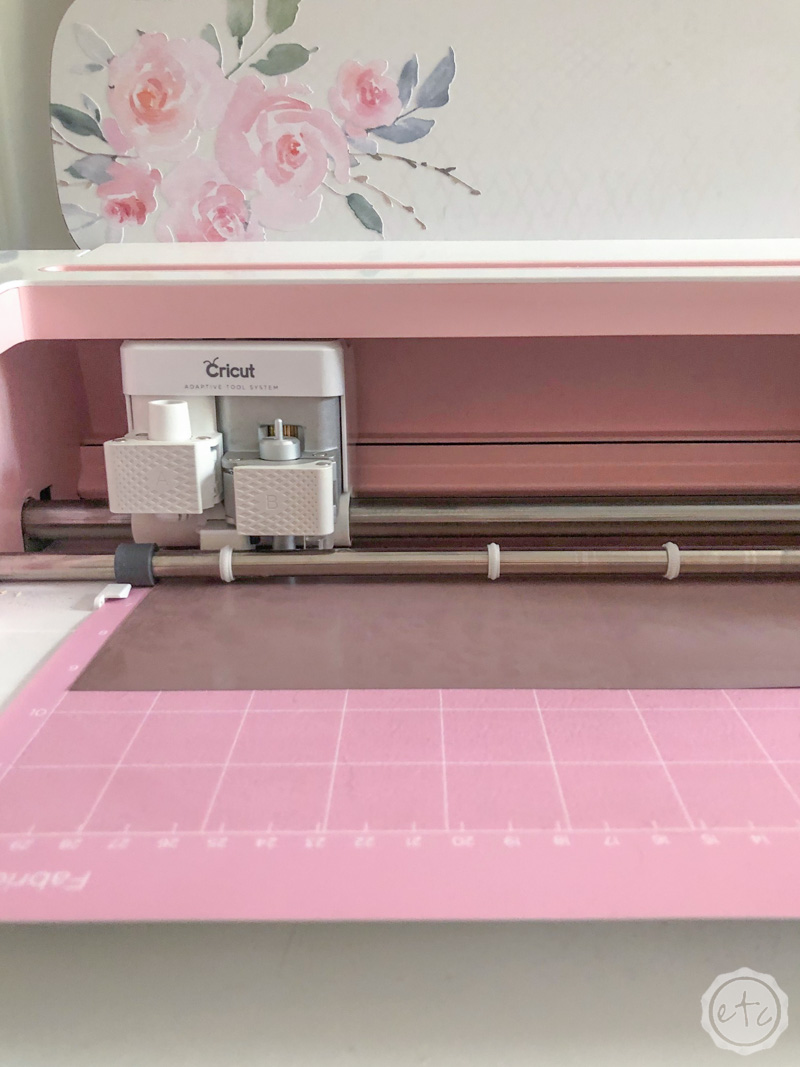
Step 3: Weed your Iron-On
Grab your weeding tool… it’s time to weed!
If this is your first Cricut project then you’ve probably heard the term but you may not know what weeding is. Basically we’re going to remove all the negative space… the inside of the o, the top of the e, the inside sections of each butterflies tiny wing…
Anything we DON’T want to transfer to our final design.
When we’re done weeding the Iron-On sheet should look identical to the cut file in Cricut Design Space… but in real life.
Just go slowly so you don’t tear the iron-on at any point (that weeding tool is sharp y’all!) and make sure not to remove parts of the design we actually need (like those tiny flowers scattered around the design).
Work your way from the outside in if you’re not sure which pieces you need to keep… you got this!


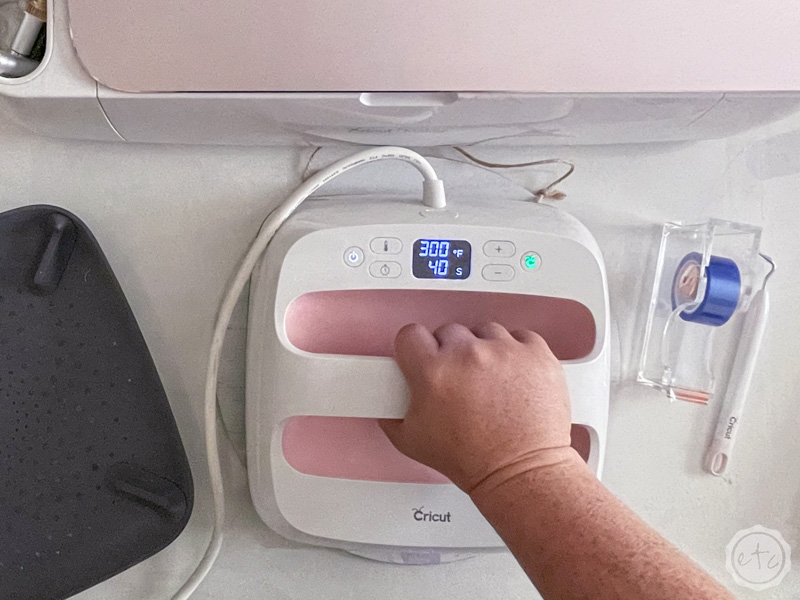
Step 4: Apply the Iron-on to your Wooden Sign
Go ahead and turn on your easy press… for wood we’re going to set our easy press 2 to 300 degrees and we’re going to hold firm pressure for 40 seconds.
So you’ll want your easy press to reach the full 300 degrees before we get started. Don’t worry we need to prep our design anyways. Start by making sure it’s centered and straight… then use a bit of heat resistant washi tape to hold it in place.
We don’t want it moving while we’re applying the heat!
Once everything is secured and your easy press is warmed up go ahead and heat that baby up… if you don’t have an easy press 2 you can also use an easy press mini turned to the third level. Just make sure to start in the middle and work your way towards the edge of the design.
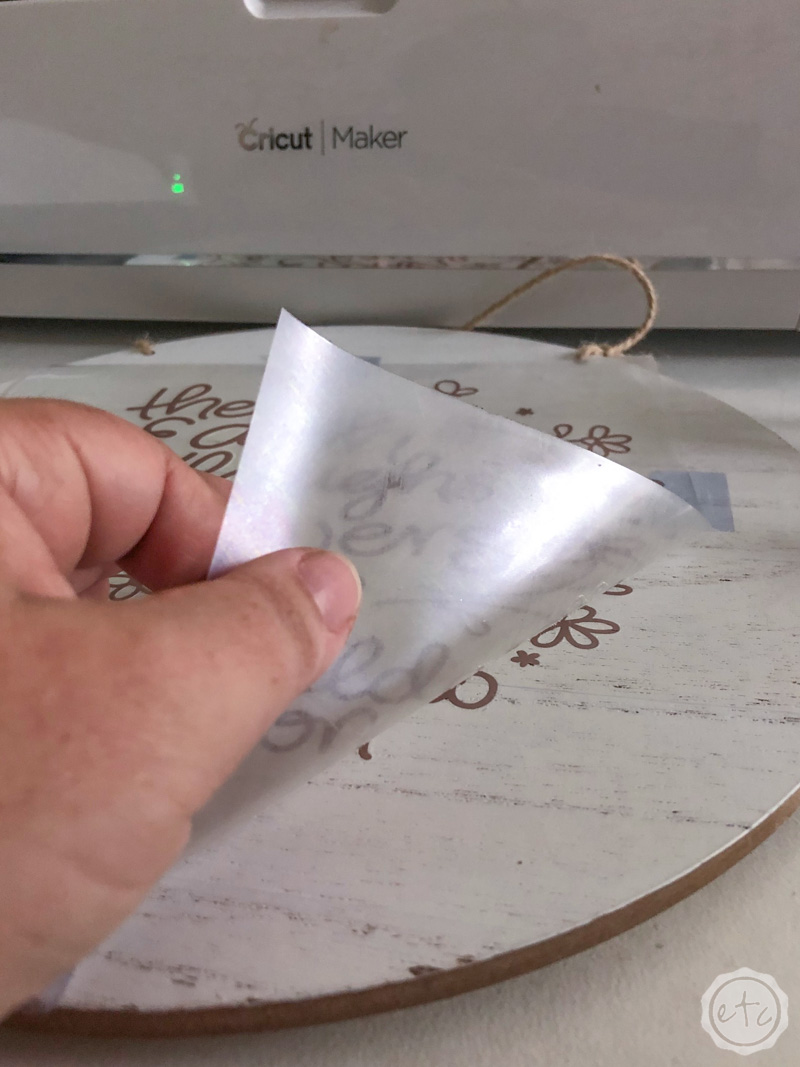
When the full 40 seconds are over lift your easy press straight up and move it back to the base to cool. Then I like to use my scraper tool to firmly smooth across the surface. I find that this really bonds the two layers and helps them to melt into each other.
Once everything looks perfect through the carrier sheet set the entire piece aside to cool down. Once it’s cool to the touch you can slowly remove the carrier sheet to reveal the design!

Step 5: Enjoy
Isn’t it cute?! I love the design, I love the metallic rose gold iron-on, I love the painted white sign… this is going to look so cute on my door!
Especially with all my pretty flowers outside in the garden!
This little sign may be my new favorite… although I still realllllllly love my “Love is Patient” Sign. It also has rose gold metallic iron-on… I may have a problem. Of course, that one has adorable rose gold felt flowers so it may stay in the lead!
Either way I thought this project turned out super cute and I can’t wait to hang it on the front door.
In the meantime you may want to check out the next post in this series where I apply SportsFlex Iron-On to Leather!
Or head back to the beginning and check out the full comparison where I apply SportsFlex Iron-On to 5 different materials for a side by side comparison.


Leave a Reply