


Iron-On and Fabric… a match made in heaven. Whether it’s an adorable t-shirt or a sassy pillow case most people think of iron-on when they’re working on a fabric project. In many cases making a custom t-shirt is your very first project (welcome to any Cricut Newbies!).
I was so new to Cricut when I made this Unicorn T-shirt that I didn’t even know what a carrier sheet was. I literally pulled it off and tried to use transfer tape… like a complete goober.
You don’t have to worry though… that was years ago and I’ve learned so. much. since then. I’ve made COUNTLESS t-shirts and I feel confident in saying that I’m an iron-on pro. I mean I’m literally working my way through a series tutorials showcasing all the different materials you can add iron-on to!
And part of that list is the og, the original, the queen, iron-on’s better half… the t-shirt. I mean if we’re running through all of the materials you can add iron-on to fabric has to be part of the list!
So let’s open Cricut Design Space and pick an SVG to add to our next t-shirt.
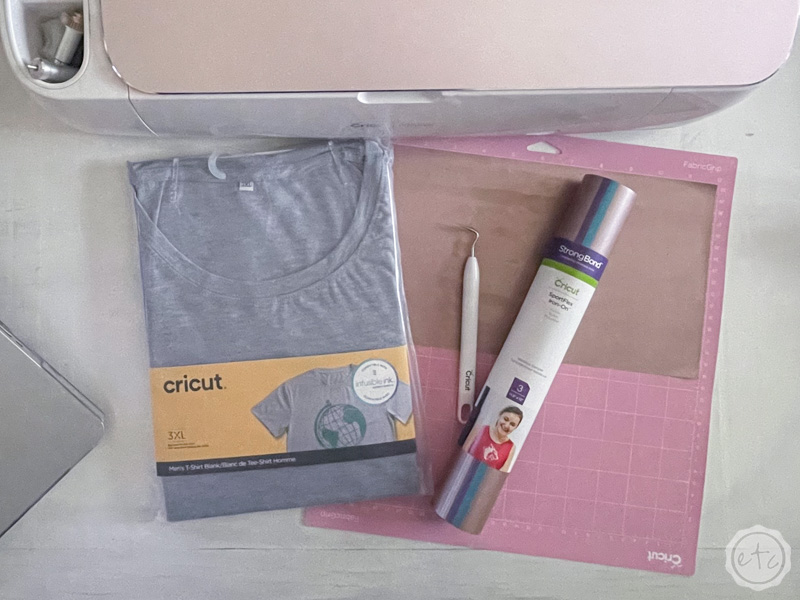
Supplies:
- Cricut Maker
- Standard Cutting Mat (that’s the green one! Even though I used the fabric mat for this project)
- Fine-Point Cutting Blade
- Weeding Tool
- Brayer
- Scraper Tool
- Metallic Rose Gold Iron
- Easy Press 2
- Easy Press Mat
- Cricut Access SVG: I’d Rather be Gardening
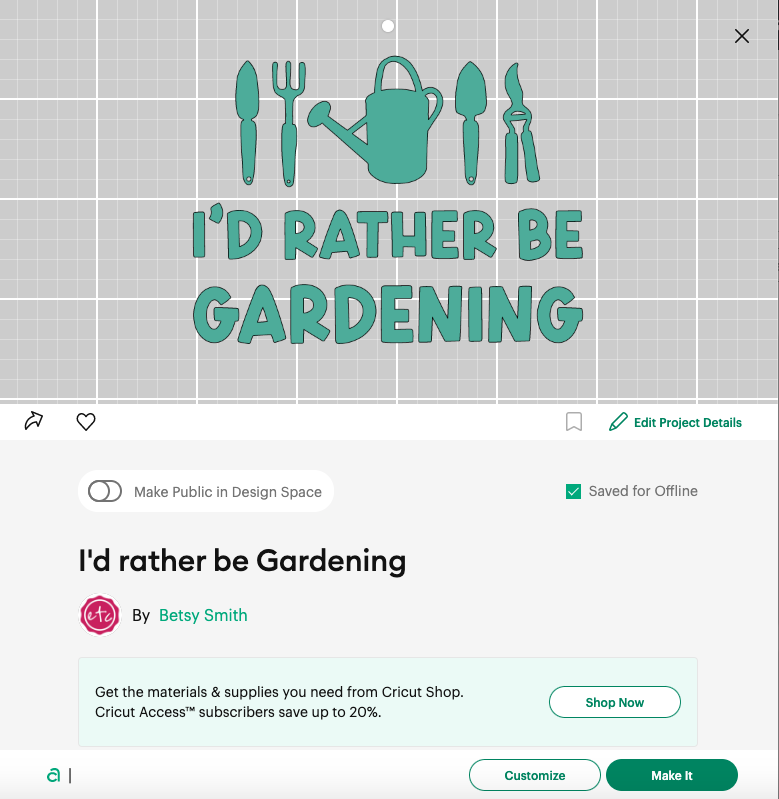
Step 1: Pick your Design from the Cricut Access Library
There are very few limitations for SVG’s you can add to a t-shirt… the more intricate the design the more you’ll have to weed but what’s a bit of work when your left with a fabulous t-shirt you’ll wear all the time!?
But since this project is back to basics let’s pick a design that’s easy to weed… about gardening.
Because I want a gardening shirt to wear in my garden.
You can pick a different design if there’s another one that floats your boat… and with so many options in the cricut access library there’s probably even a design about floating boats.
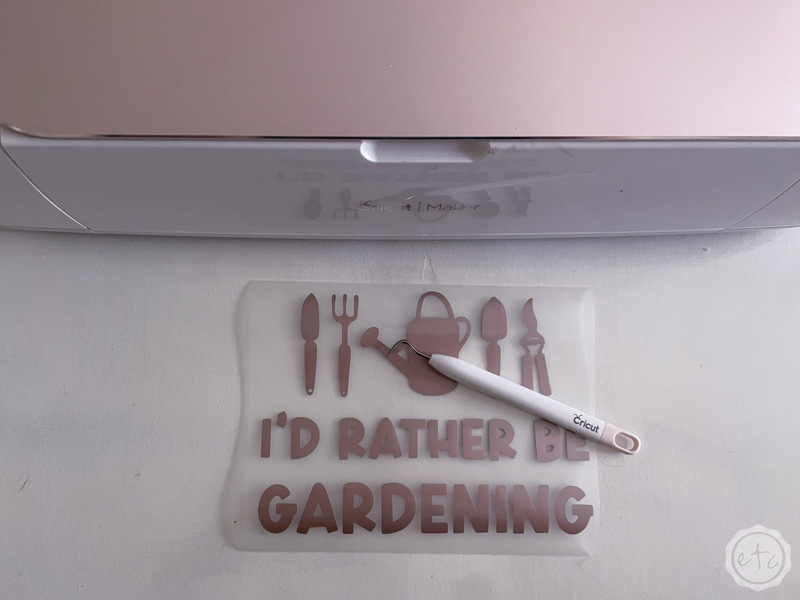
I searched for a while and ended up loving a design from the image library that says “I’d rather be gardening”. I clicked add to canvas and re-sized it to be 8 inches wide.
Then I welded the entire design together and click make it… sooo easy!

Bonus: While I’ll show you step by step how to do this specific project (including all the Cricut Design Space parts) in the video tutorial up above you can check out this post for the full list of Cricut Terms (like welding) if you need help with some of the lingo.
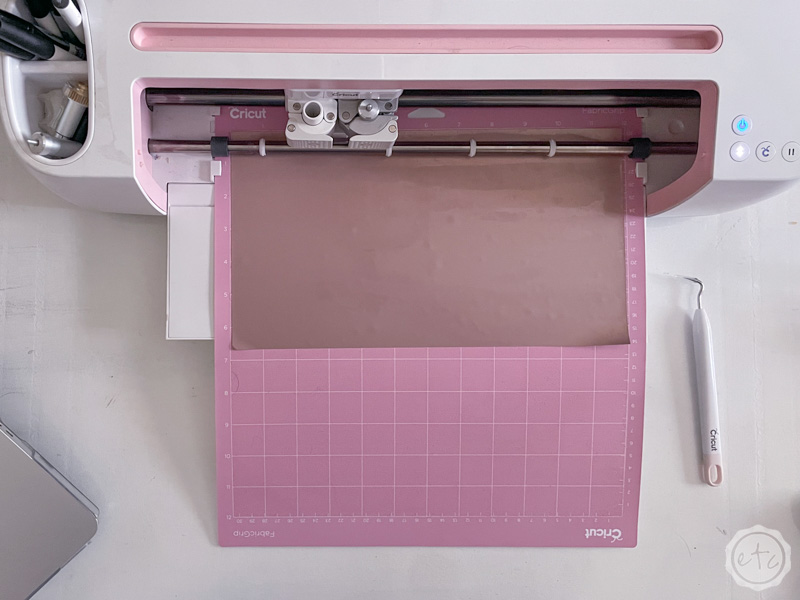
Step 2: Cut your Materials
Alright… re-sizing our design was all the work our svg needed so we’re ready to cut! Go ahead and load your iron-on onto a cutting mat so that we can get started cutting our design.
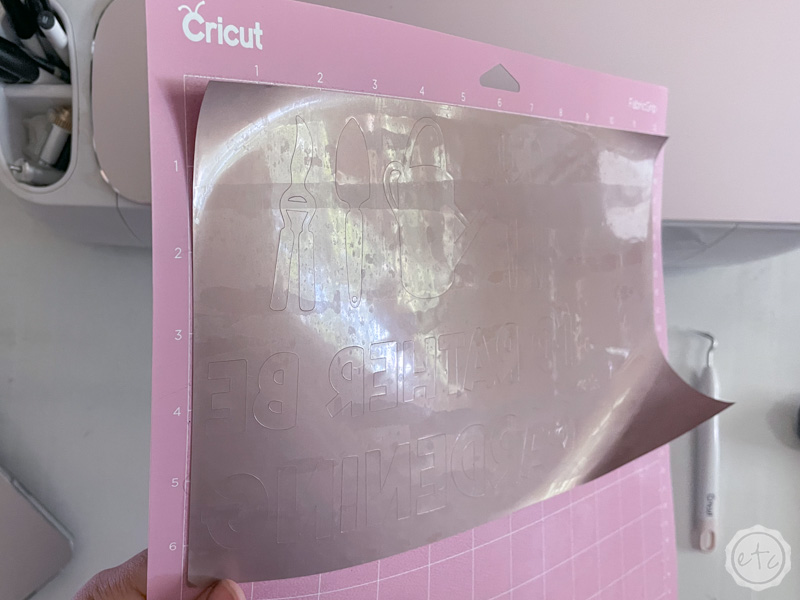
Start by placing your iron-on facedown on the cutting mat… you’ll want the clear carrier sheet to actually touch the cutting mat and the back of the material to be up in the air. Perfect!
Now make sure to mirror your design in Cricut Design Space and your good to go! Your Cricut will cut your design (backwards) out of the back of your iron-on.
Isn’t that funky?!
Go ahead and cut out the entire design and we’ll move on to the next step.
Bonus: Still struggling with Cricut Design Space? You can check out this post for a full walk through of the software. I’ll help you feel more comfortable navigating around the dashboard and creating your own projects. Hope that helps!
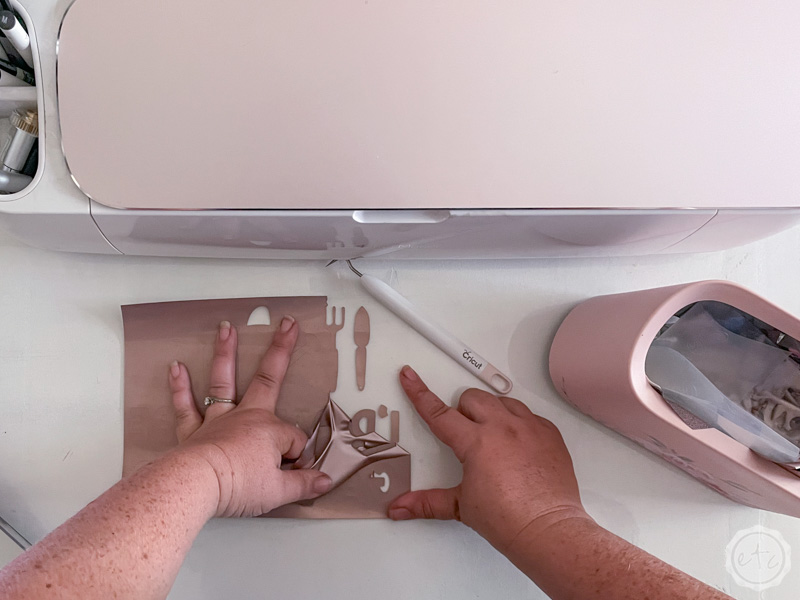
Step 3: Weed your Pieces
Ready to weed this baby?
If this is your first Cricut project then you’ve probably heard the term but you may not know what weeding is. Basically we’re going to remove all the negative space… the inside of the o, the top of the e, the inside sections of each letter we don’t need…
Anything we DON’T want to transfer to our final design.
When we’re done weeding the Iron-On sheet should look identical to the cut file in Cricut Design Space… but in real life.
Just go slowly so you don’t tear the iron-on at any point (that weeding tool is sharp y’all!) and make sure not to remove parts of the design we actually need (like the actual letters… those are important).
Work your way from the outside in if you’re not sure which pieces you need to keep… you got this!
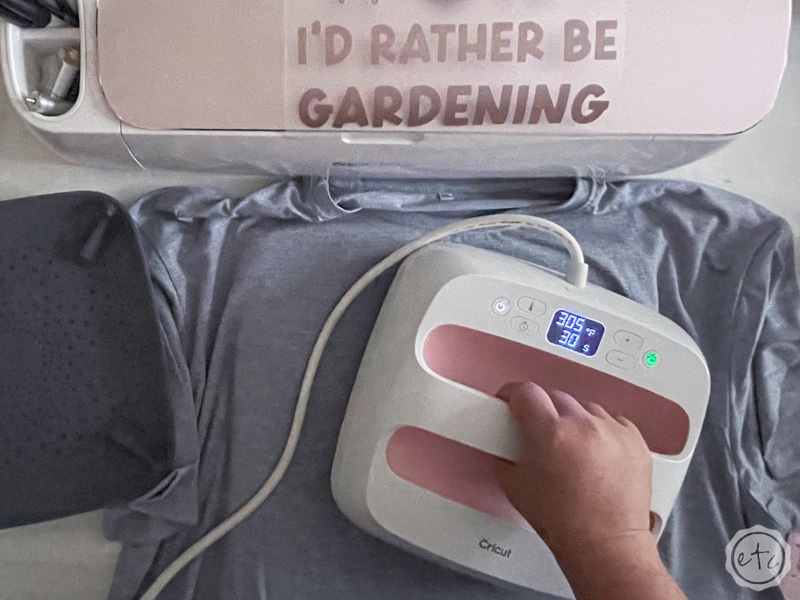
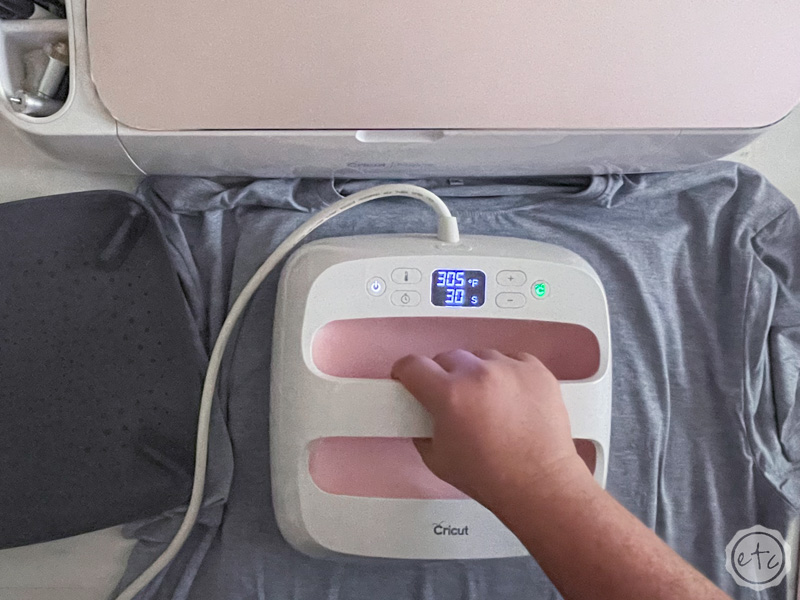
Step 4: Apply the Iron-on to your T-Shirt
Go ahead and turn on your easy press… for fabric we’re going to set our easy press 2 to 305 degrees and we’re going to hold firm pressure for 30 seconds.
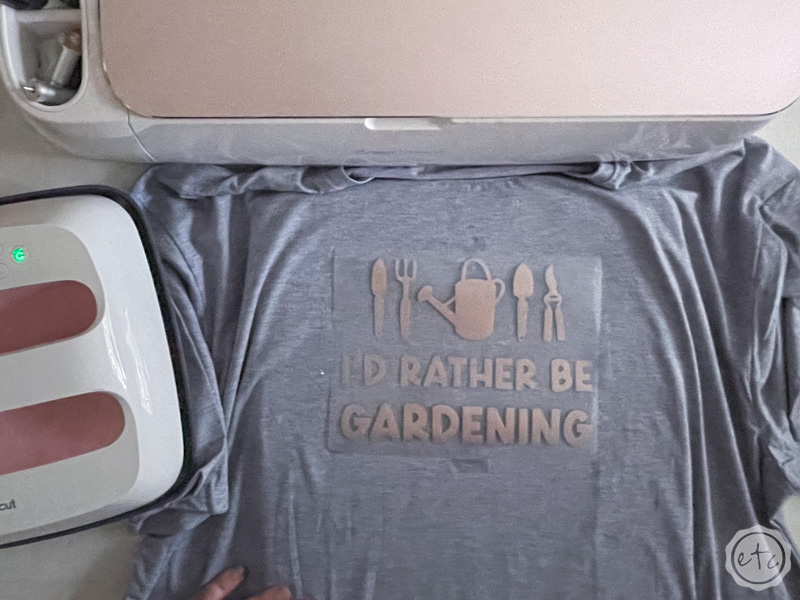
The Cricut Heat Guide also recommends pre-heating your fabric for 5 seconds so I like to smooth out any wrinkles in my t-shirt before we start.
Start by making sure your design is centered and straight then smooth the carrier sheet down and press it into place.
We don’t want it moving while we’re applying the heat!
Once everything is secured and your easy press is warmed up go ahead and heat that baby up… if you don’t have an easy press 2 you can also use an easy press mini or an iron turned to the third level. Just make sure to start in the middle and work your way towards the edge of the design.
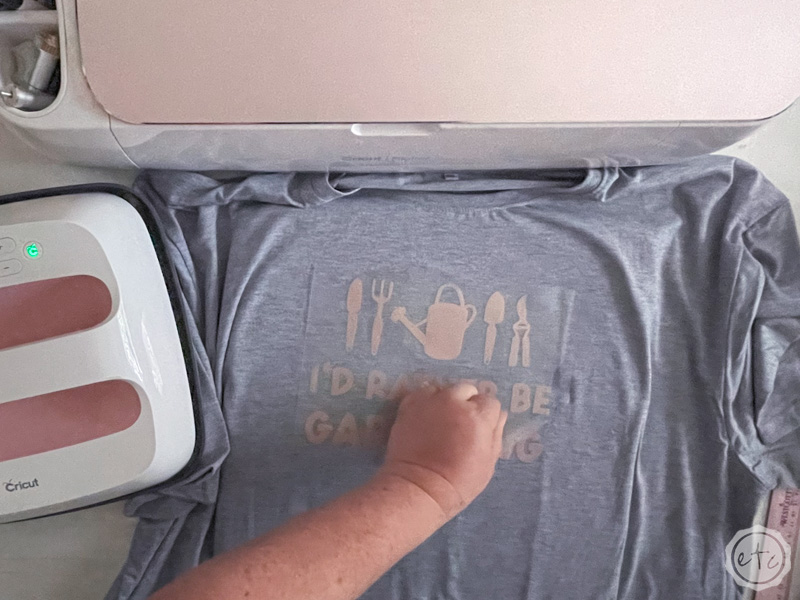
When the full 40 seconds are over lift your easy press straight up and move it back to the base to cool. Then wait for the entire design to cool off (you don’t want to burn yourself!) before peeling back the carrier sheet! You’ll leave the iron-on behind on the t-shirt and your first wearable Cricut design in your rear view.
Sweet!

Step 5: Enjoy!
I cannot wait to wear this baby in the garden… If you watch my gardening videos over on YouTube get ready because I’ll definitely be rocking this soon!
In the meantime I’ll be here working on more iron-on projects.
In fact you may want to check out the next post in this series where I apply SportsFlex Iron-On to Cardstock to make the cutest cake topper and drink stirrer set!
Or head back to the beginning and check out the full comparison where I apply SportsFlex Iron-On to 5 different materials for a side by side comparison.


Leave a Reply