
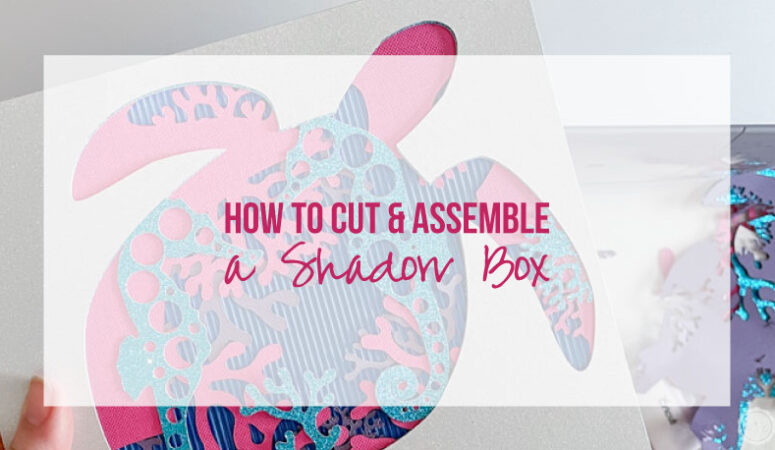


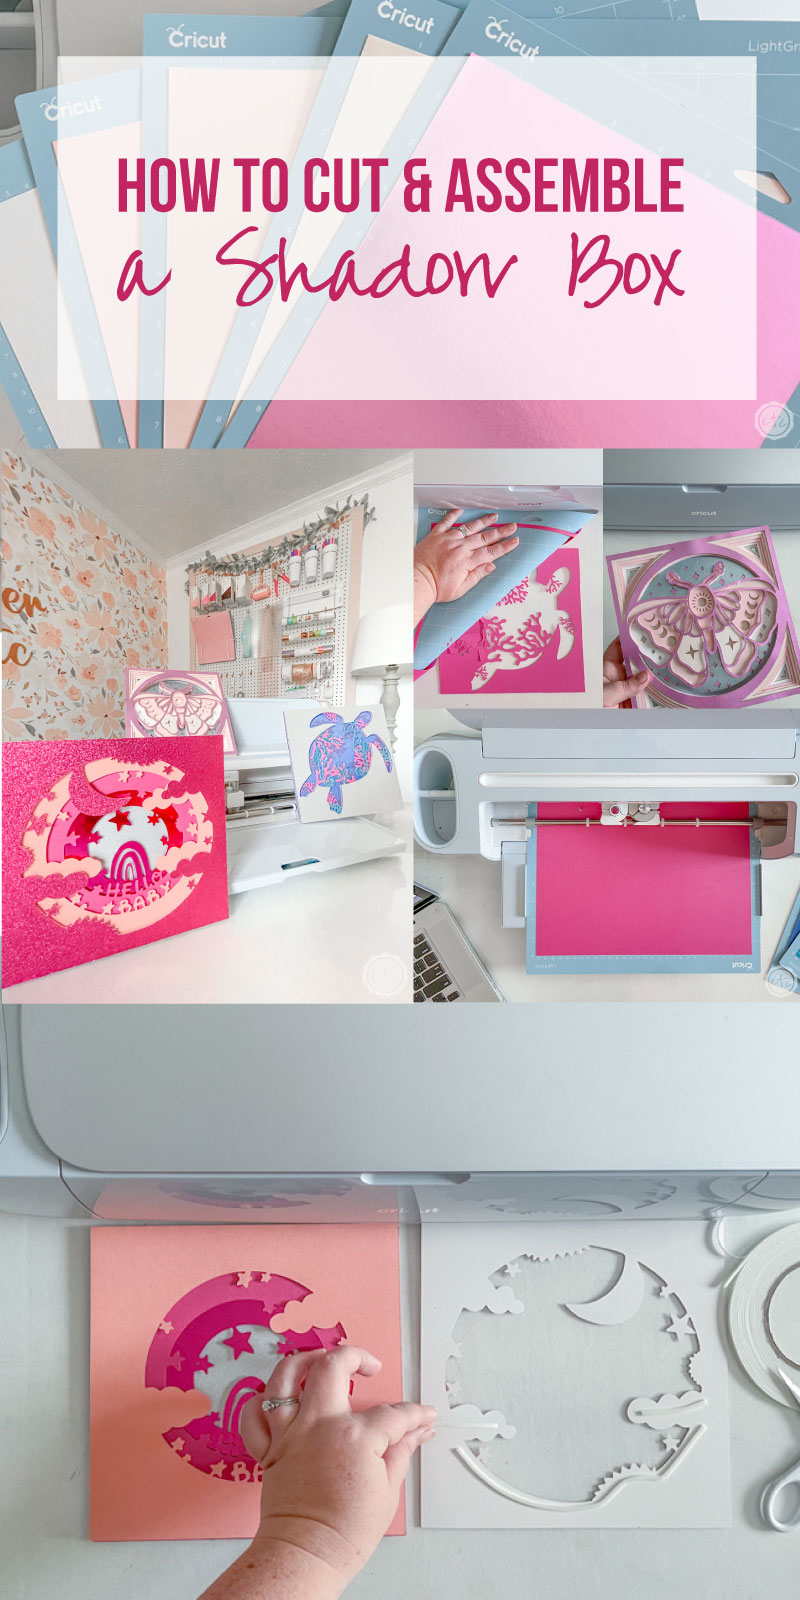
If you’re anything like me you’ve noticed all the pretty layered cardstock shadow boxes popping up left and right… they’re mesmerizing! I love the layers, I love the possibilities and best of all I love how easy they are!
Depending on how many layers they have your shadow box might take a minute or two to cut out and assemble but pop on your favorite tv show (hello episodes of the Rookie… wearing my favorite new #Chenford t-shirt!) and you’re good to go! You’re ready for a relaxing night of cutting cardstock and adding foam tape to your pieces.
Let’s get started!
Supplies:
Shadow Box #1
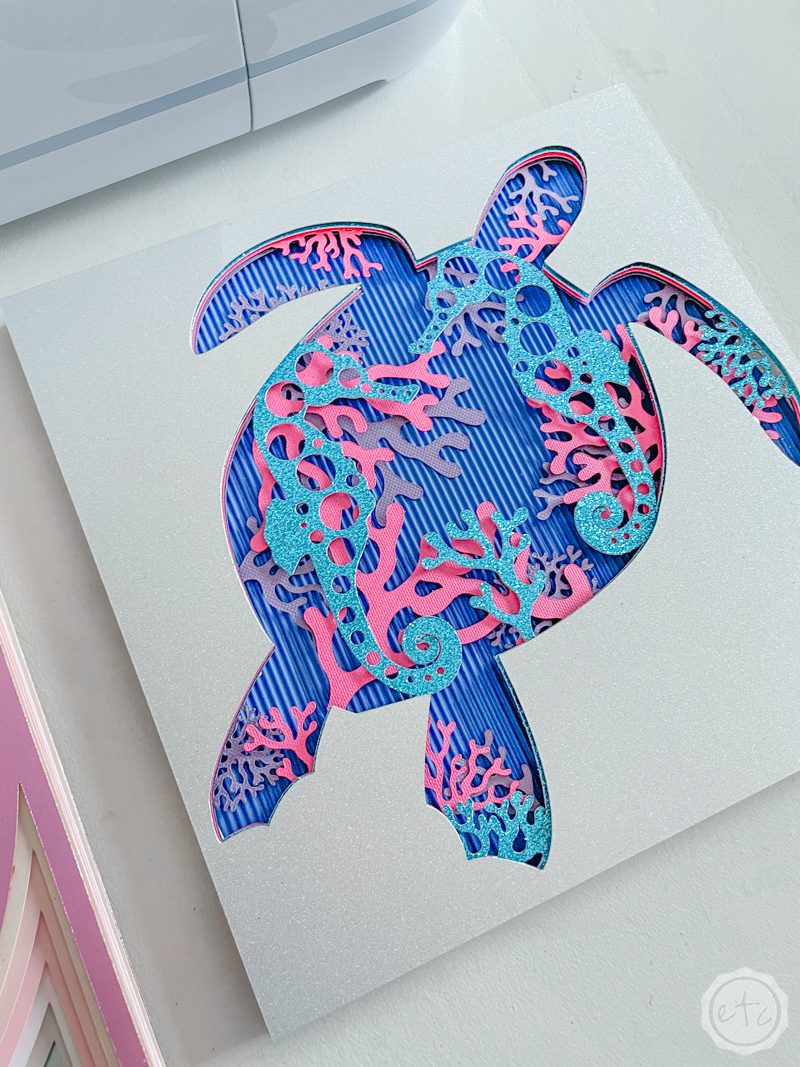
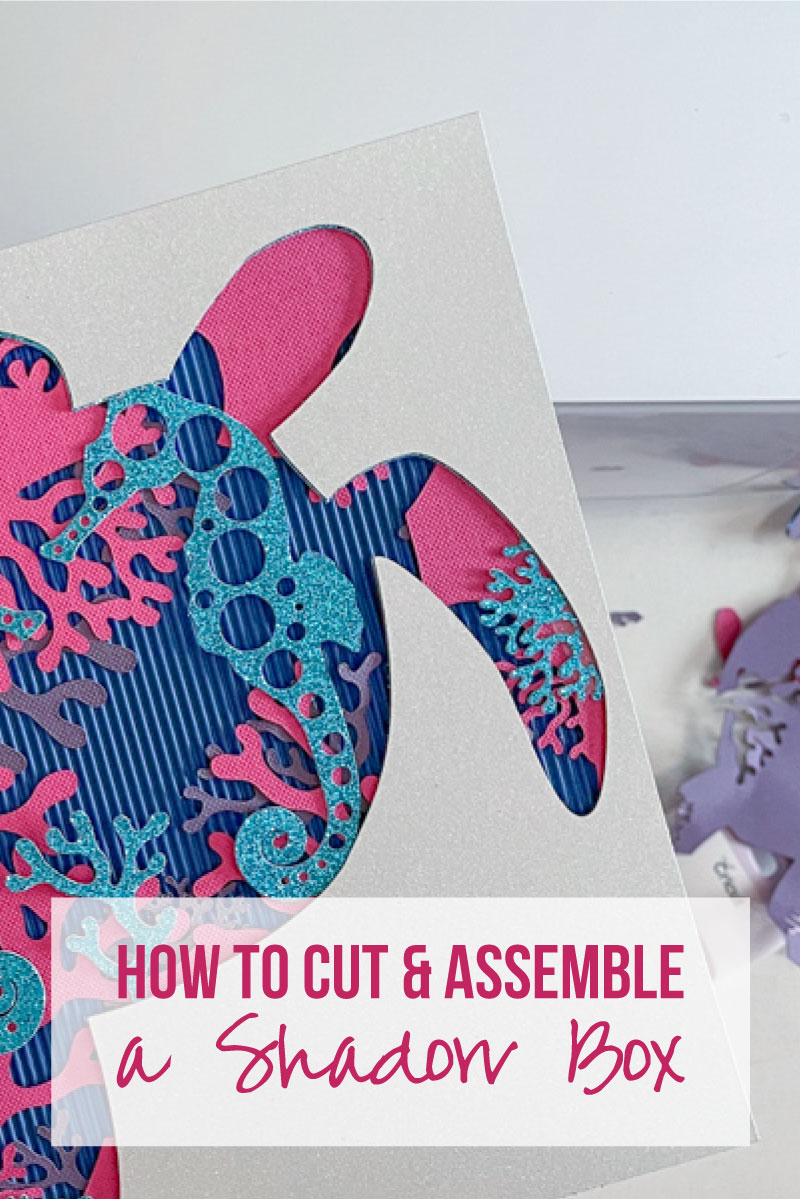
- Turtle Shadow Box (Cut Files)
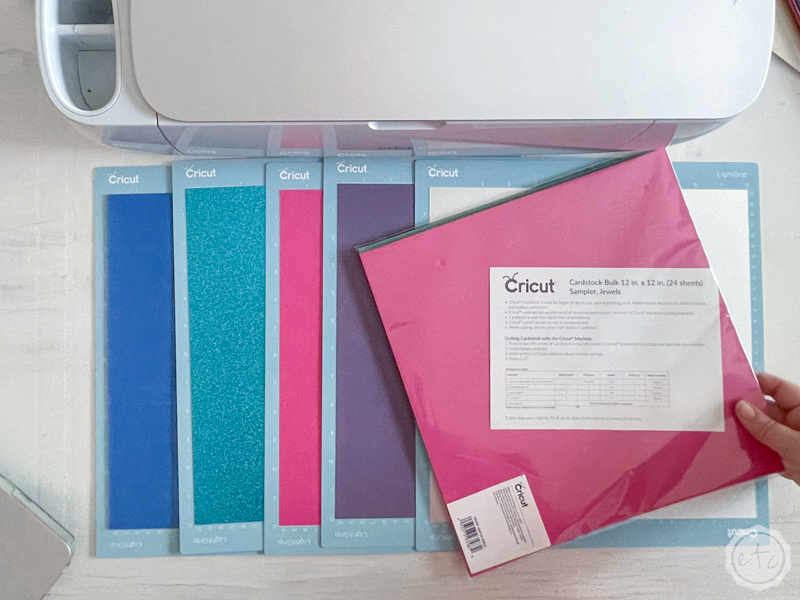
- Jewel Cardstock Sampler
- Brights Glitter Cardstock Sampler
- Classic Shimmer Paper Sampler
- Brights Corrugated Cardboard Sampler
Shadow Box #2
Shadow Box # 3

Step 1: Pick your Design from the Cricut Access Library
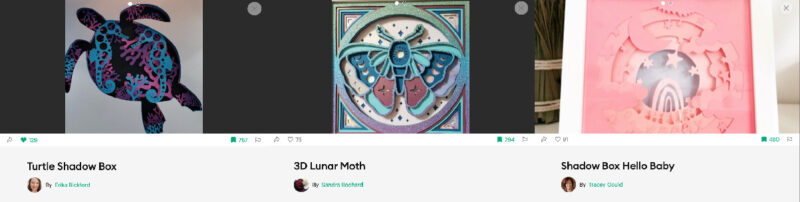
For a girl like me designing my own shadow box seemed tricky so I headed to the Cricut Access library to search for an already designed cut file.
The problem is there were way to many to pick from!
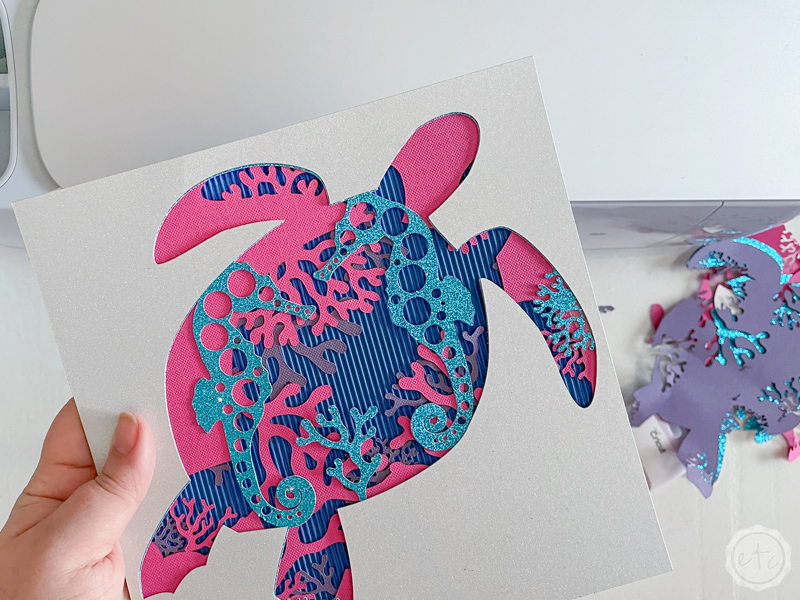
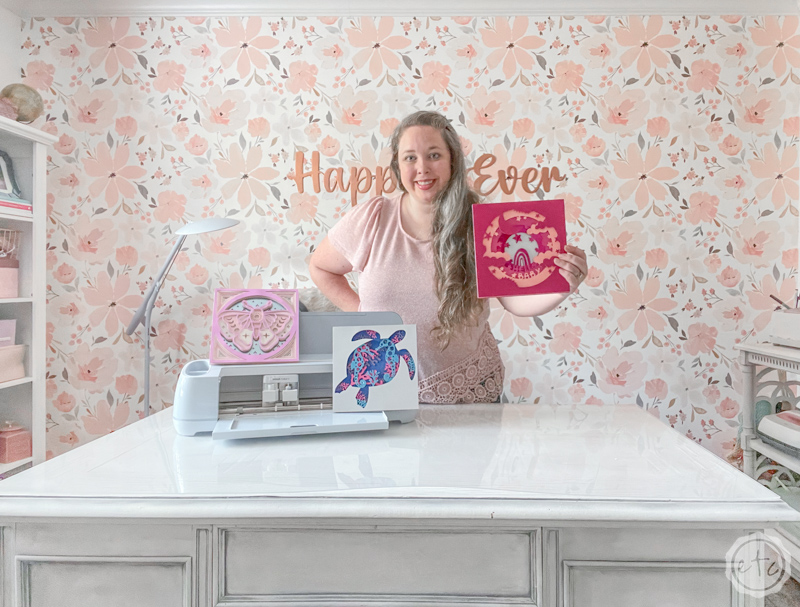
So instead of one I decided to cut 3 (mainly for my cardstock cutting comparison experiment but also because I wanted to make all. the. examples). I typed in shadow box and scrolled through allll the fantastic options before deciding on the turtle, lunar moth and hello baby options.
You can pick whichever design you like… the instructions below will work with any design! My main advice is to look at how many layers each design has when deciding on your image. The lunar moth is amazing but it has 8 layers compared to the turtles 4. More layers is amazing (you get more bang for your buck!) but it takes longer and it means you need more pieces of cardstock.
Decide what’s right for you and we’ll get started!
Step 2: Cut your Cardstock
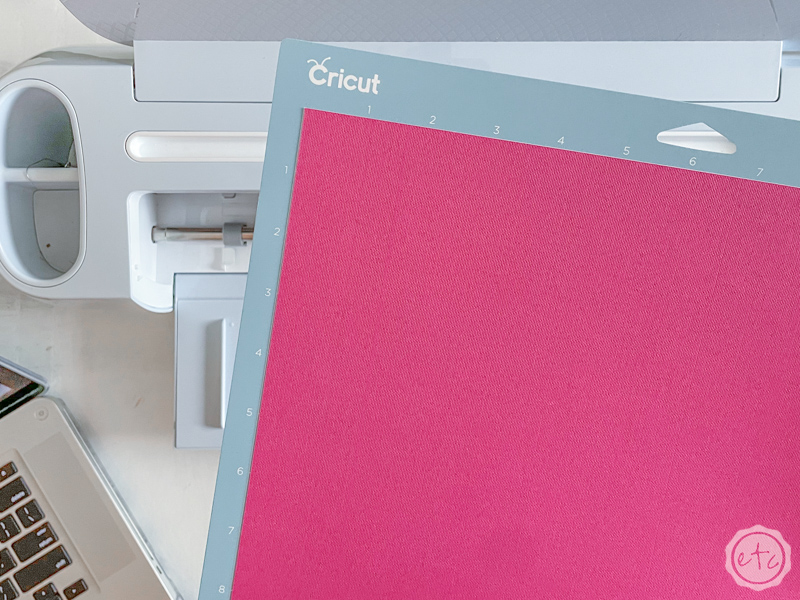
Once you’ve picked your perfect design file let’s get started cutting! We’ll use a light grip mat and our fine point blade for 90% of cardstocks (even the corrugated cardstock which is thick). Go through the layers on your design file and pick a coordinating color cardstock… then cut it out!
If you’re using a cricut material you’ll be able to pick it from the materials drop down list in Cricut Design Space… just type in glitter cardstock and there it is! Corrugated cardstock, party foil, shimmer paper… it’s allllll in the list!
Cricut’s standard cardstock doesn’t have a specific setting instead breaking cardstock down into categories: Light Cardstock 65lb, Medium Cardstock 80lb and Heavy Cardstock 110lb.
I use the Medium Cardstock to cut Cricut’s standard cardstock and it works beautifully… select more pressure (for everything!) and you’re good to go!
Cut, cut, cut!
If you have multiple cutting mats you can cut all of your layers at once, otherwise cut the first layer and then move onto the next step!

BONUS: If you’re not sure which cardstock to use I’ve compared 5 of Cricut’s Cardstock’s to 2 of Recollections Cardstocks so that you know which ones to pick! Check out the “Which Cardstock is BEST to use for a Shaddow Box?” post HERE.

Step 3: Remove From Mat
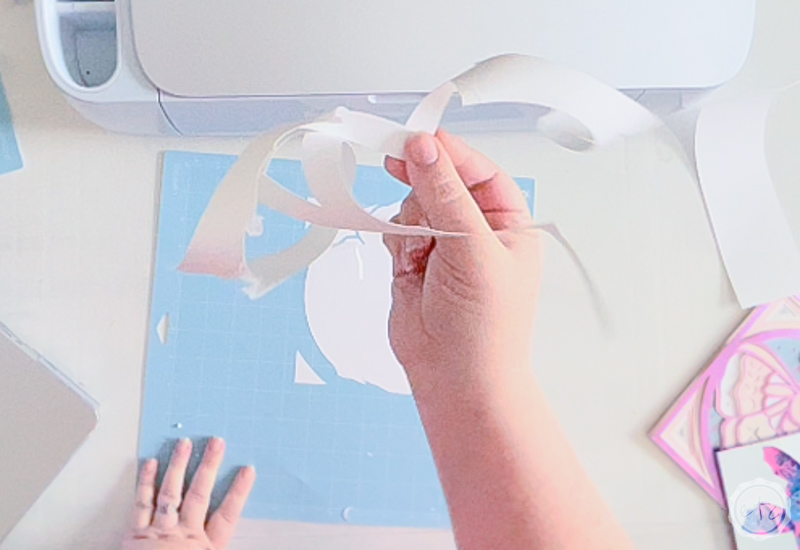
Okay y’all… once your cuts are done it’s time to remove your cardstock from the mat. BUT we don’t want everything to end up curled and useless.
We want nice strong, straight, pretty pieces for our shadow box!
Especially for all the little pieces that need to hold themselves up (like the nose on our seahorse… or the clouds on our hello baby design).
So instead of grabbing the edge of your cardstock and pulling turn everything over and then curl the cutting mat backwards away from your cardstock.
Use your other hand to hold your cardstock flat to your surface as you roll the cutting mat away and off your material. You can use your fingernails or even a scraping tool to help any little pieces that want to stay on the cutting mat as you roll it away.
Perfect!


HOW NOT TO REMOVE CARDSTOCK FROM A CUTTING MAT
In case you’re wondering what happens when you do things the wrong way… here’s a little example with a sheet I cut out of the wrong color. Without being careful I simply grabbed the edge and pulled the cardstock up and away from the cutting mat.
Not only did it rip in a bunch of places (yikes) but the end results were curlier than my hair after an hour with the curling iron.
Of course, if I had gone slowly I probably could have avoided the rips… but the curls are inevitable. If you watch the video up above I show both options (fast and slow) and the slow version comes off clean but still curly.
Just flip that baby over and curl your cutting mat back… so. much. easier.
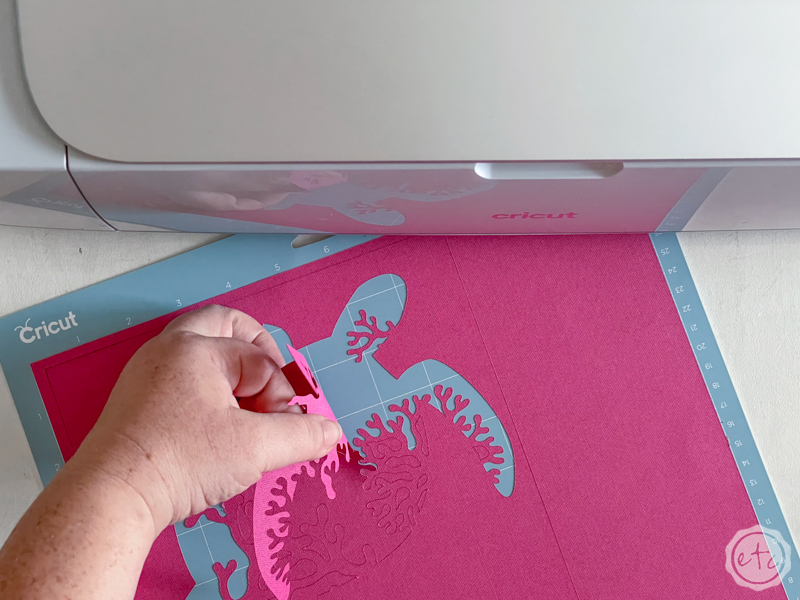
Step 4: Remove Negative Space
Ready to remove the negative space? I’ve done this as step 4 and step 3 (before removing the material from the cutting mat) and I don’t find much difference. So do whichever is easier for you! The benefit to removing the negative space before you take everything off the cutting mat is that it’s easier to remove the teeeeeny, tiny pieces.
BUT it makes removing the entire cutting mat harder as you have to stop and individually make sure each piece peels up clean.
On the other hand if you remove everything from the cutting mat first and then remove the negative space (for the most part) it comes right out. Kind of like lifting a puzzle piece out of it’s spot. This is my preferred order of steps 90% of the time… but those layers with teeny tiny details I usually flip.
I hope that helps!
At this point your cutting mat should be clean so if you need to cut another layer go back and repeat steps 2-4 for each layer!

Step 5: Add Double Sided Foam Tape
Ready for the fun part? Adding shadows and dimension!
As you can see above simply laying the layers on top of each other works just fine. They’re so cute! BUT if you add a bit of double sided foam tape in between each layer you get shadows, you get dimension, you get contrast.
It’s like drama for your cardstock.
So grab a roll of foam tape and get to taping!
There is not an art to this… you’ll want to add tape to all the corners and anything that needs to be popped up (like the rainbow, stars, moon and clouds in the design below). Likewise the teeny tiny lines on the moth wings and parts of the seahorse needed tape to stand up straight.
Then add tape anywhere there’s a large space so that everything is strong and won’t cave in once stacked together.
Once your tape is on go ahead and line up your layers… then press firmly to seal the tape!
Beautiful, darling!


Step 6: Enjoy
Volia!
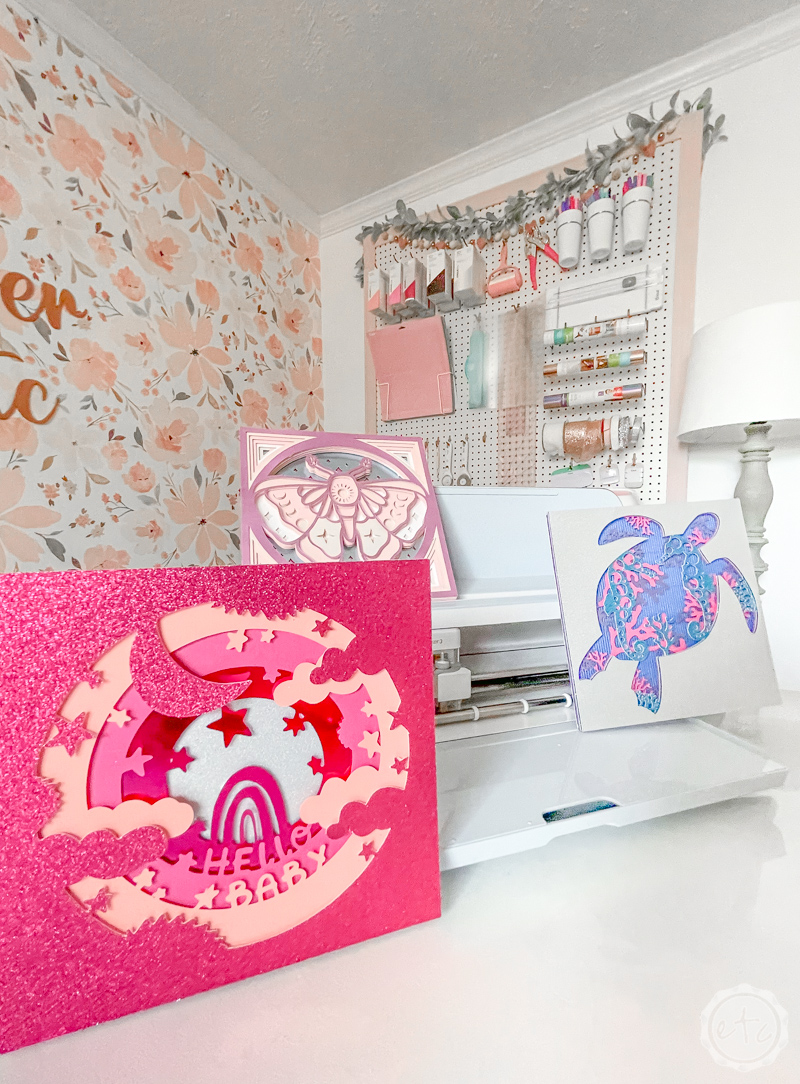
Aren’t they pretty!? I love how they turned out and I’ll definitely be making more of these in the future! Once they’re done you can leave them as is or put them inside a shadow box (with lights!) for a more finished look.
I’m still searching for the perfect frame but in the meantime here’s the pretty pictures to take a peek at!
Enjoy!


Leave a Reply