

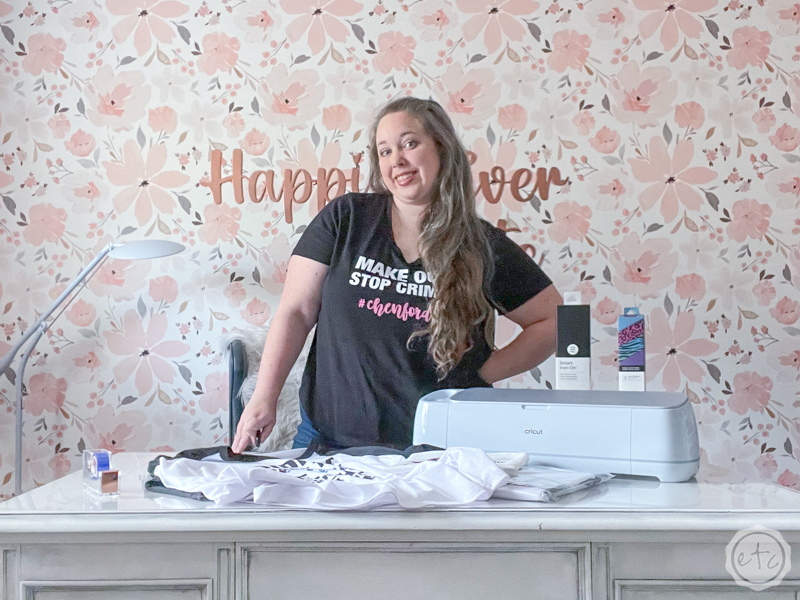
I’m Betsy and I’m a Chenford addict. I mean don’t get me wrong… I love the Rookie as a whole but Chenford is my jam. And if you don’t know what that means then you need to stop what you’re doing, head to your closest TV and introduce yourself to the magic that is Tim Bradford and Lucy Chen. Then come back here to make your very own Chenford T-Shirts with your Cricut.
I absolutely love making custom SVG’s for whatever I’m into at the moment… hence the entire collection of shirts I made back in the Game of Thrones hay day. Or this fun Outlander shirt I made last year! So whipping up a few fun Chenford SVG’s was a no brainer!
Although I meant to make 2 Chenford SVG’s and I accidentally made 10 so… you know. Restraint.
Since I made so many I figured we’d use a couple of them and I’d show you a few different ways to put. them. on. all. the. things.
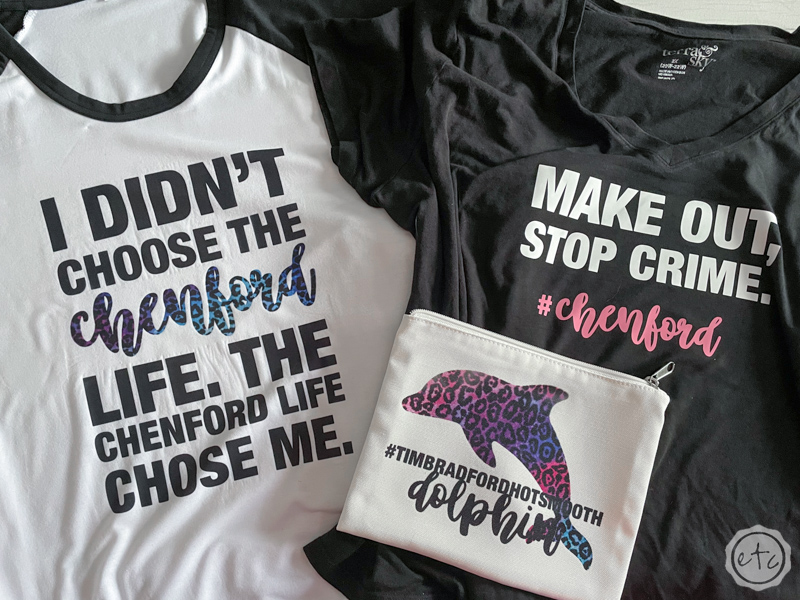
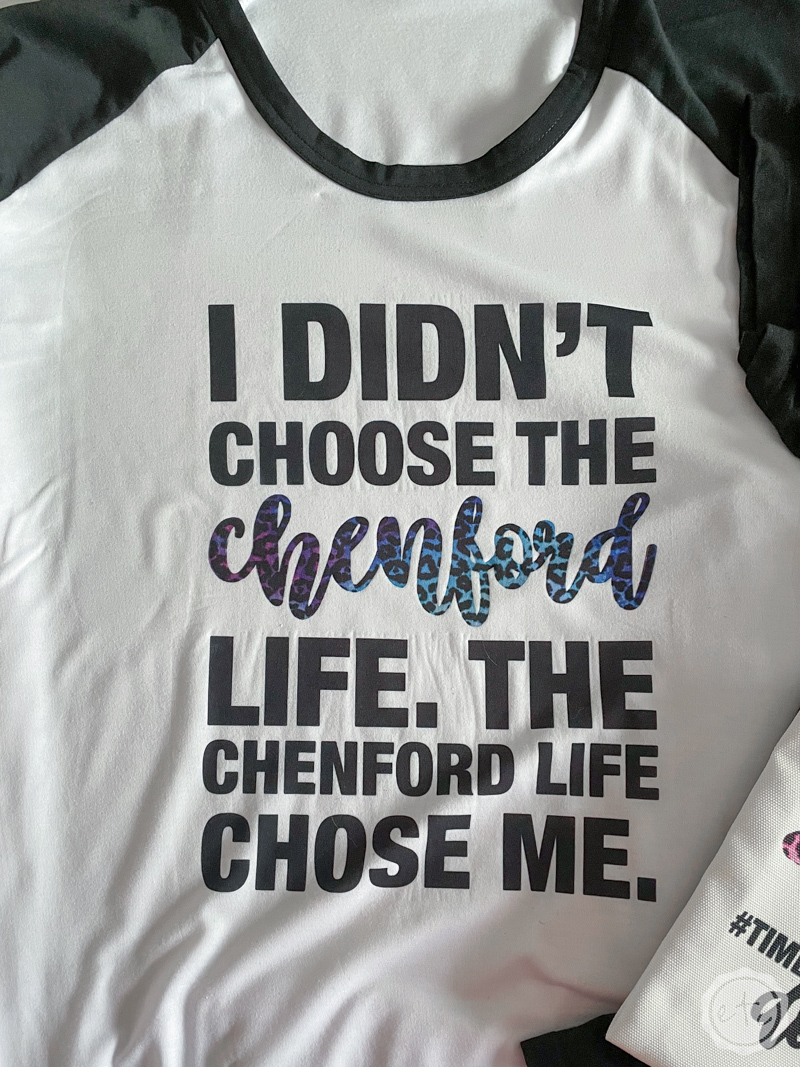
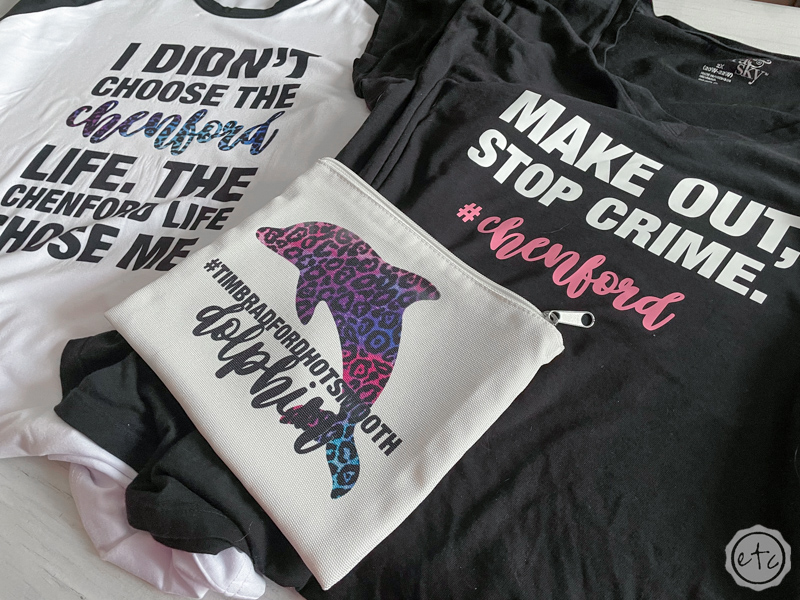
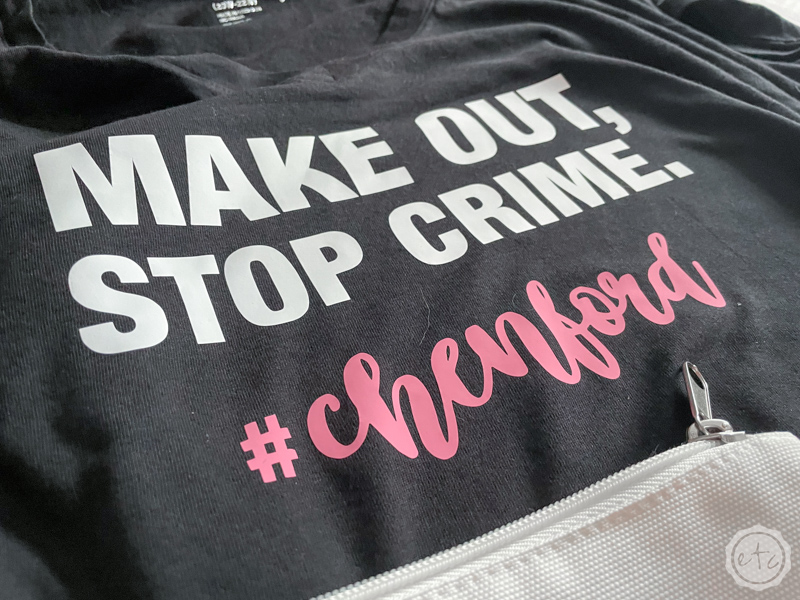
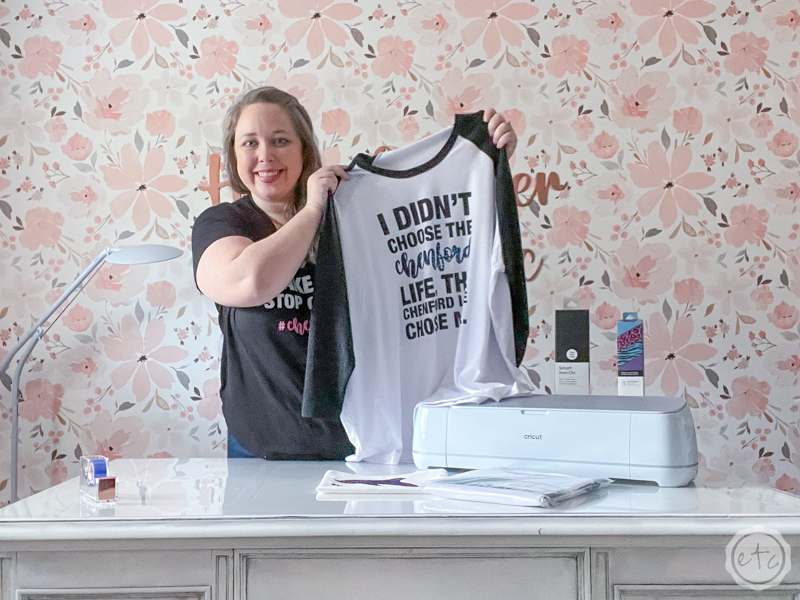
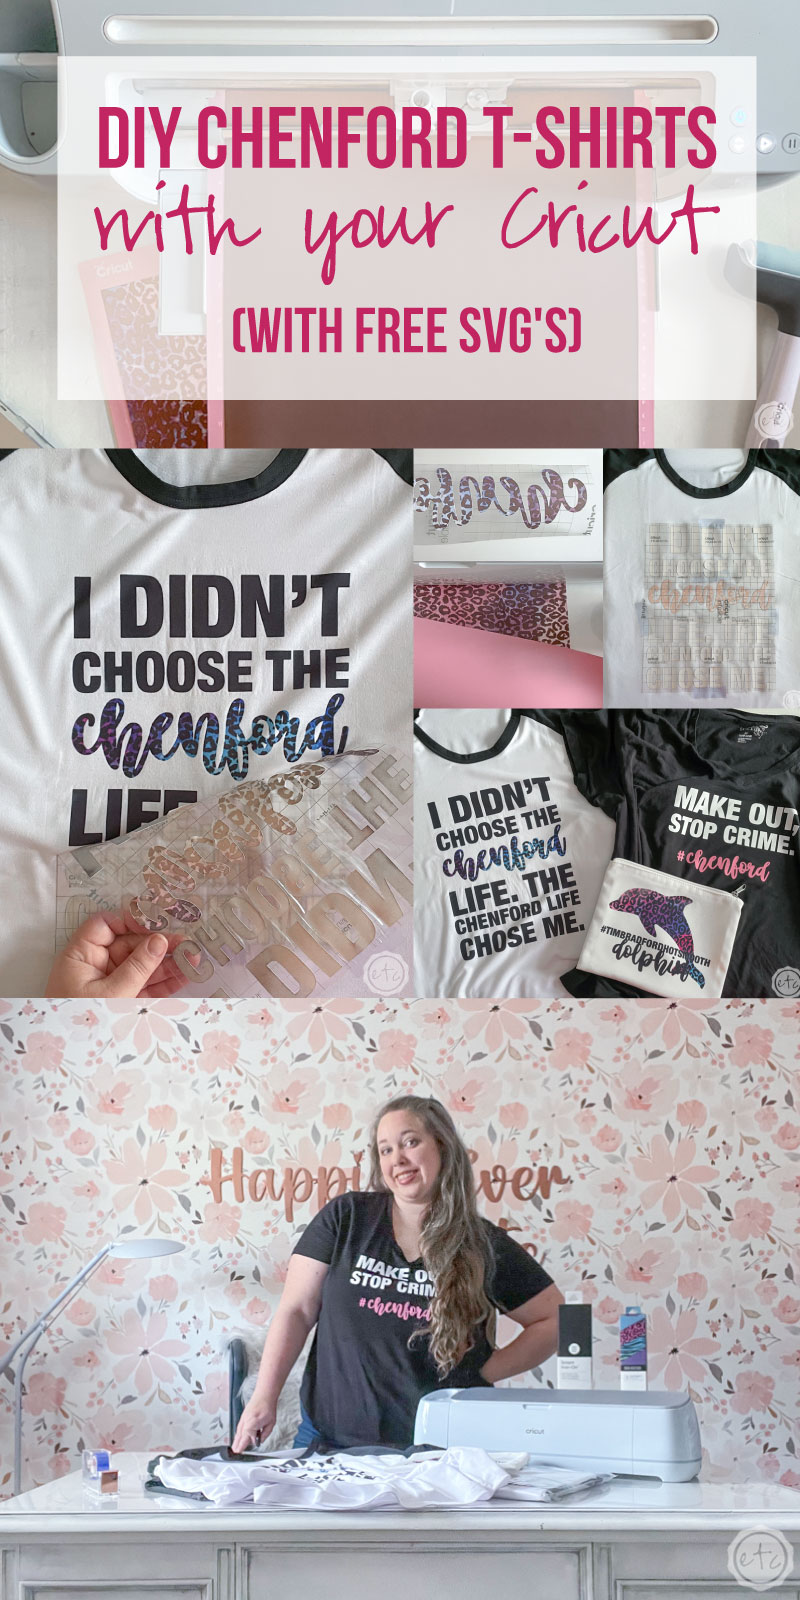
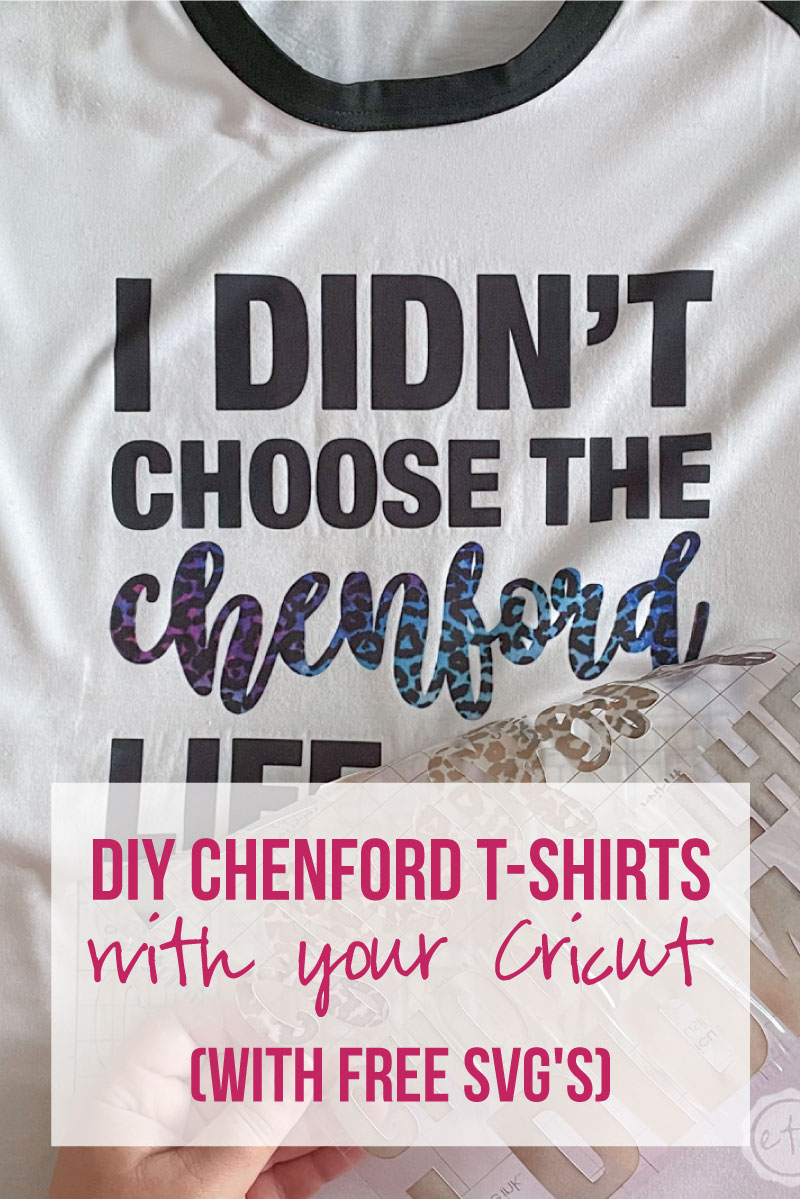
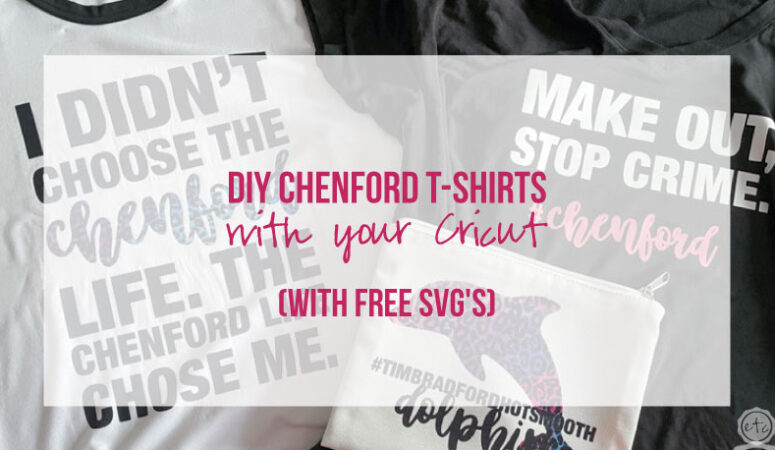
So we’ll be using the “I didn’t chose the Chenford life, the Chenford life chose me” SVG to add infusible ink on a baseball t-shirt. The “Make Out, Stop Crime.” SVG will be iron-on on a standard t-shirt and the #TimBradfordHotSmoothDolphin inside joke of an SVG (hello to anyone from the Chenford Fanatics group on Facebook) will be infusible ink on a cosmetics bag (although I’ll probably use it for pens).
Of course you can cut any of these SVG’s from any material (infusible ink, vinyl, iron-on) and apply it to any blank (t-shirt, pen bag, tote bag, stickers… you name it) but for today we’re focusing on the t-shirts. Because who doesn’t love a good t-shirt?
Ready to get started?
Supplies:
- Cricut Maker 3
- Cricut Roll Holder (for smart iron-on)
- Fine-Point Cutting Blade
- Cricut Standard Grip Mat (that’s the green one!)
- OR Cricut Fabric Grip Mat (that’s the one I use… it’s pink and holds everything)
- Cricut Easy Press 9 x 9
- Easy Press Mat
- Heat Resistant Tape
- SVG Cut Files (you can download 3 for FREE down below or grab the full set of 10 HERE).
- Transfer Tape
- Weeding Tool
- Brayer
Materials & Blanks I used - Cricut Infusible Ink Compatible Baseball Shirt
- Infusible Ink Transfer sheet (Animal Brights Pattern)
- Infusible Ink Transfer sheet (Black)
- Smart Iron-On
- Standard T-Shirt
- Cricut Infusible Ink Compatible Cosmetics Bag
Download 3 FREE Chenford SVG’s below or Grab all 10 Designs HERE.
The 3 FREE Designs are “I Didn’t Chose the Chenford Life, the Chenford Life Chose Me”, #TimBradfordHotSmoothDolphin and #LucyChenFistofJustice
Watch the Full Tutorial to Make your Own Chenford Shirt!
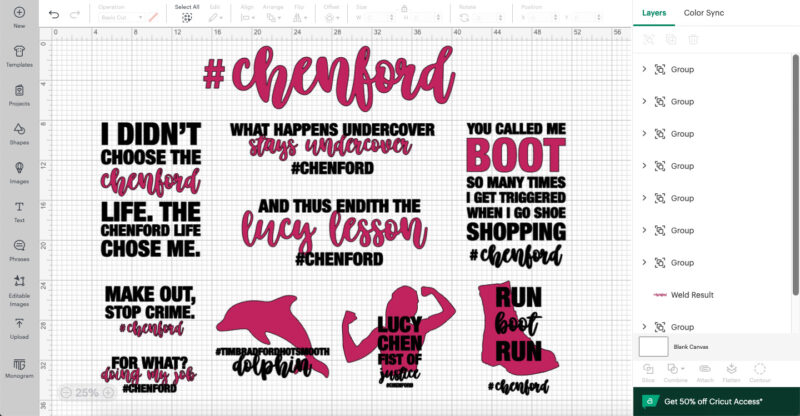
Step 1: Upload your SVG’s
Alright y’all first things first, go ahead and download your cut files then you can upload the SVG’s straight to Cricut Design Space. They’re all grouped so you can go through and weld each design one at a time.
Keep in mind that each design has 2 colors: pink and black to coordinate with two different color materials. They don’t necessarily have to be pink and black (I used black and cheetah print for my two colors on the infusible ink design) but if you decide to skip the double color you can simply weld the entire design into one piece. Then you’ll be able to cut the entire design out of one sheet of material.
Confused as to what welding is? Not sure how to group your designs? I show you the entire process in the video up above (and if you’re still confused you can check out my walk-through of Cricut Design Space where we go over every. single. button.)
Directions for Iron-On:
If you’re using any of these designs for iron-on then you only need to weld each layer. Within each group you’ll have a pink layer and a black layer… weld all the pink pieces and then weld all the black pieces.
Volia!
Iron-On can overlap so at this point you can click make it and you’re good to go.
Directions for Infusible Ink:
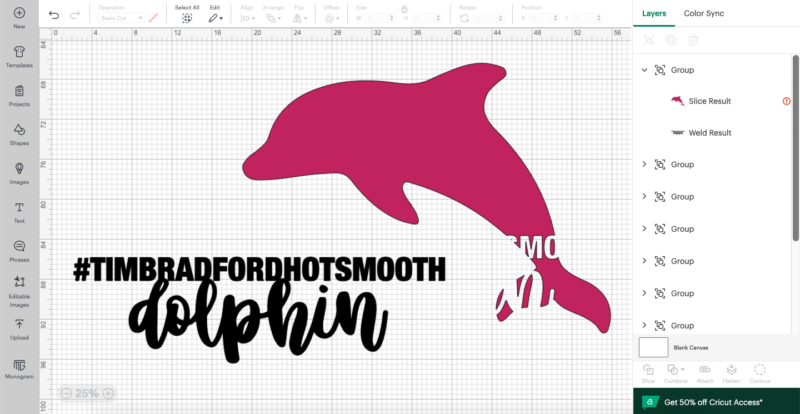
Infusible ink on the other hand cannot overlap. Several of the designs are not overlapping and welding the colors within each group is all you need to do. However for any of the overlapping designs we’ll need to go a step further.
Start by going into the group for that specific design and welding each layer. This part is identical to what you would do for iron-on… within that group weld all the pink pieces together and then weld all the black pieces together.
Perfect. Now copy and paste the top layer (in this case it’s the black letters) and set it aside.
Now select the two layers that are intersecting and click the slice button at the bottom… volia! You’ll have four new layers that are perfectly sliced wherever the two layers intersected. You can delete all but the very back layer that is now missing the pieces of the top layer.
Bring back the layer we set aside earlier and now you’re ready to cut… the infusible ink pieces will fit together like puzzle pieces!
(Like I said earlier… I show you this entire process in the video up above but if you’d like a more detailed step by step written tutorial you can check out this tutorial on How to Layer Multiple Sheets of Infusible Ink).
Step 2: Cut your Designs
Now that alllll our cut files are good to go, ready to roll, hot off the press it’s time to cut these bad boys! I sized both of my t-shirt designs to 9 inches wide and the design for my cosmetic bag to 7.5 inches wide. Then I selected my Cricut Maker 3 (although you can cut Iron-On or Infusible Ink on any machine you like… even the Joy if the size is small enough) and hit Make It!
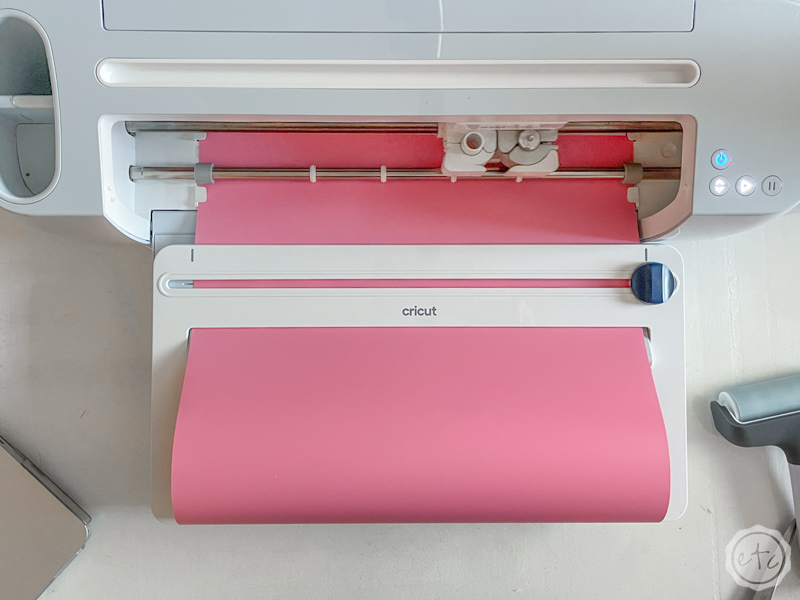
Cricut Design Space will ask you if you’re using a cutting mat (with either the Maker 3 or the Explore Air 3)… and I selected Multiple Ways since our infusible ink will be on a cutting mat and our smart iron-on will not be.
Double check that all your cutting mats look good and that you’ve turned mirroring on for all of your designs (both iron-on and infusible ink require mirroring… without it all your words will be backwards!). Now you can select your material from the drop down list!
Directions for Iron-On:
Iron-on is a fun material to cut because it’s 100% backwards! You’ll load it onto your cutting mat upside down… or in the case of smart iron-on (like I’m using) you’ll load it directly into your machine upside down. That’s because all iron-on has a built in carrier sheet (the clear plastic sheet over the iron-on) and you need to cut into the actual iron-on… not the carrier sheet.
So turn mirroring on, flip your iron-on over and load it into your machine. Then you can hit go and watch the magic happen!
Of course, if you need a refresher Cricut Design Space will spell all of these instructions out for you. Go ahead and cut both colors (I used white and pink since my design is going on a black t-shirt) and then we’ll move on.
Directions for Infusible Ink:
Infusible Ink on the other hand is actually ink which means your first instruction is to only handle your infusible ink sheets with clean dry hands. Otherwise you’ll smear the ink!
Yikes!
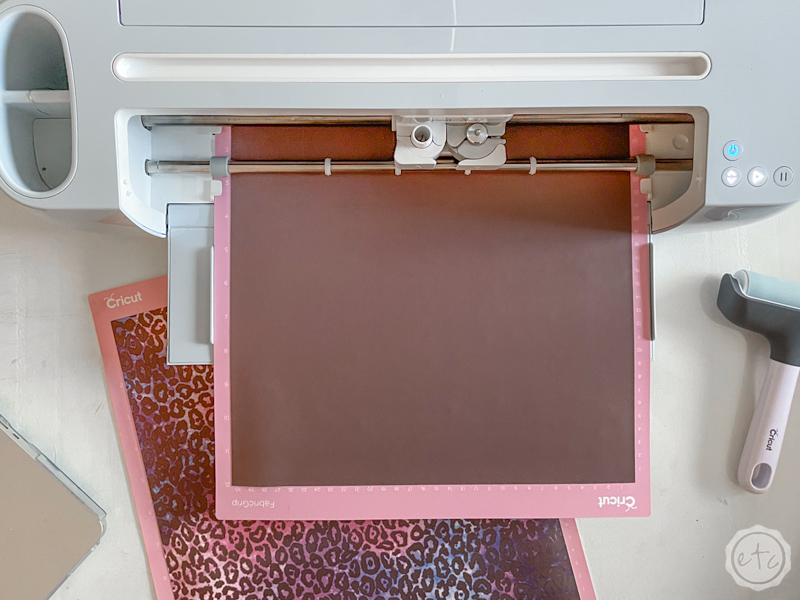
Go ahead and load your infusible ink sheet onto a cutting mat (ink side up) and smooth it in place. I always use a brayer to smooth out any bubbles and make sure it has a good bond all the way across. Since the infusible ink sheets are stored in a roll and not flat they want to stay rolled up… a brayer helps to straighten them out.
Then go ahead and load this baby into your machine… Cricut Design Space will remind you to load it in ink side up and with mirroring turned on. You never have to remember a direction… it’s always right there on the screen and then you can click go.
Make sure to cut both infusible ink sheets and then we’re good to go!

Step 3: Weed your Designs
Ready to weed? If you’ve never weeded a design before (that sounds so weird!) it’s super easy. Basically we’re going to remove allllll the negative spaces from our design. The excess material around the letters and alllll the interior portions. The dot inside the o, the top of the e!
This is pretty easy but can be a little tedious so put on your favorite episode of the Rookie and let’s get started.
Directions for Iron-On:
You’ll want to grab a weeding tool for this one… then use the sharp end to remove that vinyl! As with any weeding watch your letters as you go so that you don’t accidentally tear off the end of a t or remove the dot of an I.
Once you’re done using your weeding tool to remove all the tiny interior pieces you’ll have your iron-on design left on a carrier sheet.
Wicked!
Directions for Infusible Ink:
For infusible ink you’ll want to skip a weeding tool… you won’t need it and it might rip the paper! Infusible Ink is fairly thick though so your fingers work just fine. Simply pull up all the extra bits of infusible ink and you’ll be left with your design!
Remember how we had to slice up our design earlier? Well this is where that allll gets put back together. Infusible Ink can only be heated ONCE or it will start to lose it’s vibrancy… so after you’ve weeded the entire design you’ll need to combine all the pieces into one piece.
For some of the designs that’s as easy as lining them up and adding a piece of heat resistant tape to hold the pieces together.
For the designs that we had to splice you’ll want to physically lift all the pieces off one sheet and combine them on the other sheet… like one big infusible ink puzzle. Typically I lift the easiest design (the one with the biggest or fewest pieces) and place it onto the second design. Just go slow and you’ll be fine!

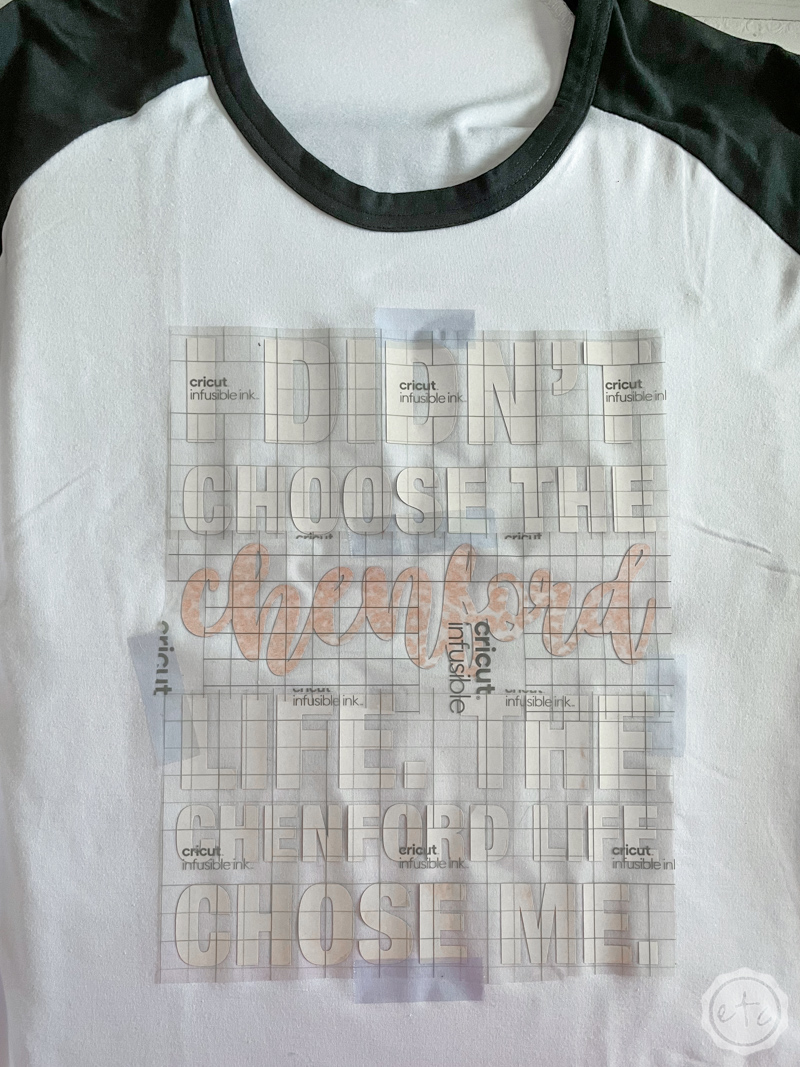
Step 4a: Apply your 1st Design (Infusible Ink on Cricut’s Baseball T-shirt)
Ready to get started? Now that everything is weeded let’s set up our easy press and start putting these designs together! I’ll go one at a time since all 3 blanks have different heating requirements but the directions are verrrrry similar.
Let’s start with the “I didn’t chose the Chenford life, the Chenford life chose me” design that we’re placing on our infusible ink compatible shirt.
Quick reminder that you can place iron-on on almost any shirt you want but infusible ink has to be on an infusible ink compatible shirt (which is a fancy way of saying it needs to be mostly polyester… if you want to check out the results of putting infusible ink on bunch of different shirts to see what works you can check that experiment out here).
Place your Infusible Ink Design
Start by smoothing your t-shirt out over a heating mat and making sure it’s dust (dog hair) free. Since this baby came out of a plastic bag it was good to go! Then line your design up with the center of your shirt and press the carrier sheet into place. For a rule of thumb in addition to finding the middle of the shirt I like to place my design four fingers beneath the neck… this seems to be a good distance.
The infusible ink backing sheet is prettttty sticky so it might stay with just the carrier sheet holding it in place but if the design shifts at all during the heating process our design could get hazy… so I always hold it down with a bit of heat resistant tape.
FYI every time I’ve forgotten this step it’s gone badly.
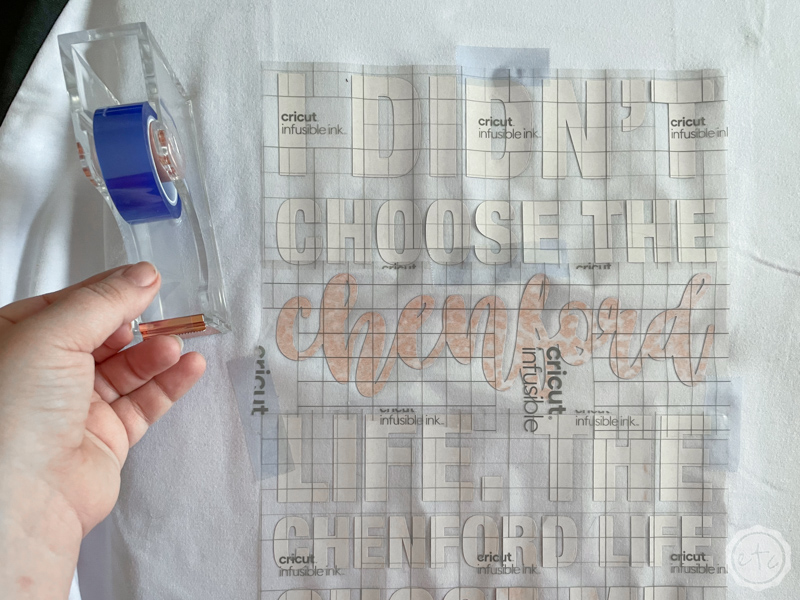
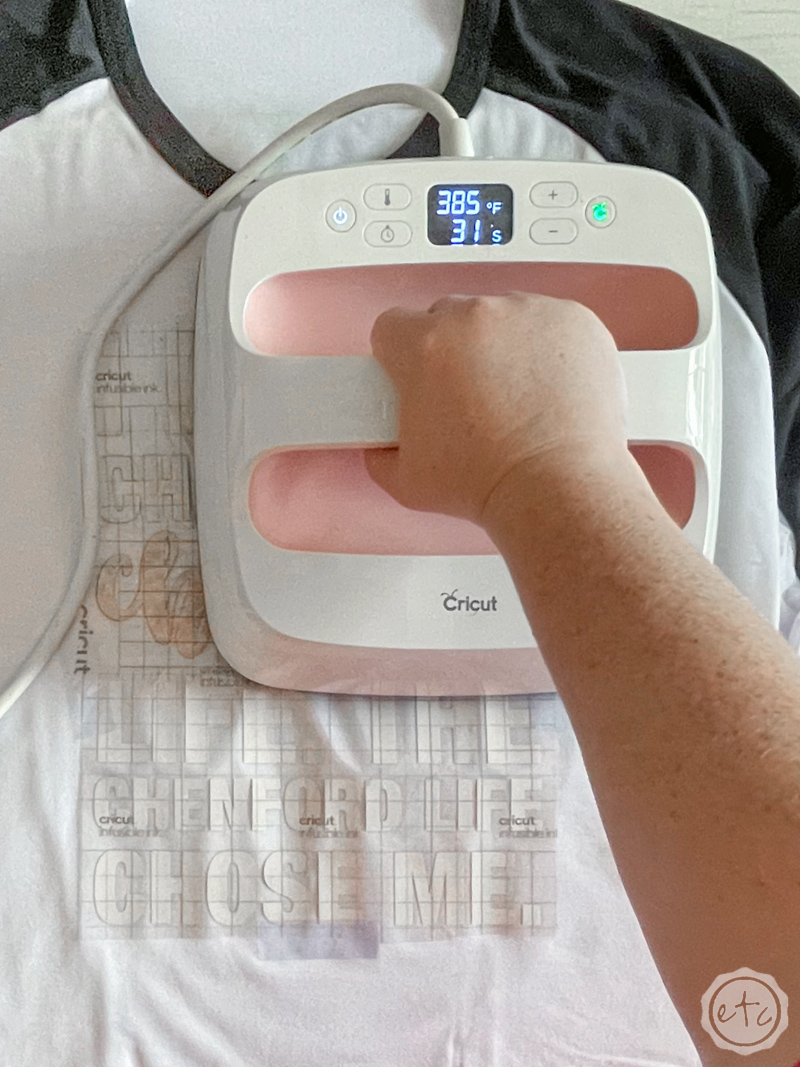
Use your Easy Press to Set the Ink
Now go ahead and heat up that easy press! For our infusible ink blank shirt we’ll need 385 degrees for 40 seconds. This will take a minute to heat up but once it does we’re ready to rock.
If you have the largest heat press you can do the entire design in one go but with the 9×9 size we’ll need to do a few presses. That’s ok… just make sure you hit the entire design. Place your easy press straight down, press firmly for the full 40 seconds and then lift it straight up.
Repeat 2-4 times until your entire design has been hit with the heat. Then set it aside until it’s cool to the touch… this will take several minutes.
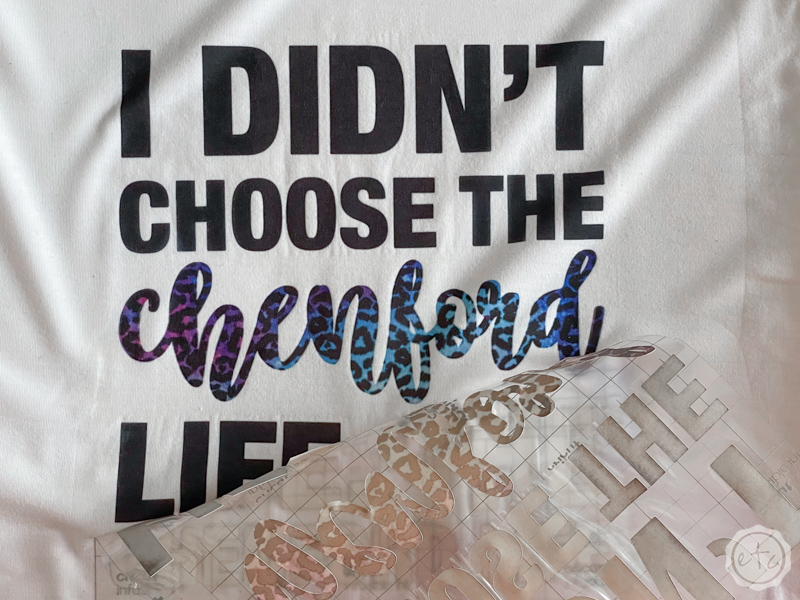
Cool Peel your Infusible Ink to Reveal the Design!
Once everything is cool to the touch you’re good to go! You can peel the carrier sheet away to reveal your design! If everything worked properly the cardstock should have started to peel back on it’s own so by the time you go to remove the carrier sheet everything should just… fall apart.
The carrier sheet peels back and the little cardstock pieces that use to hold infusible ink just scatter!
It’s kind of funny if messy!
Now you’re done! Put on your shirt and watch more Chenford on the Rookie! Oh wait… we have two more designs to finish. Put on your shirt and finish the other designs!
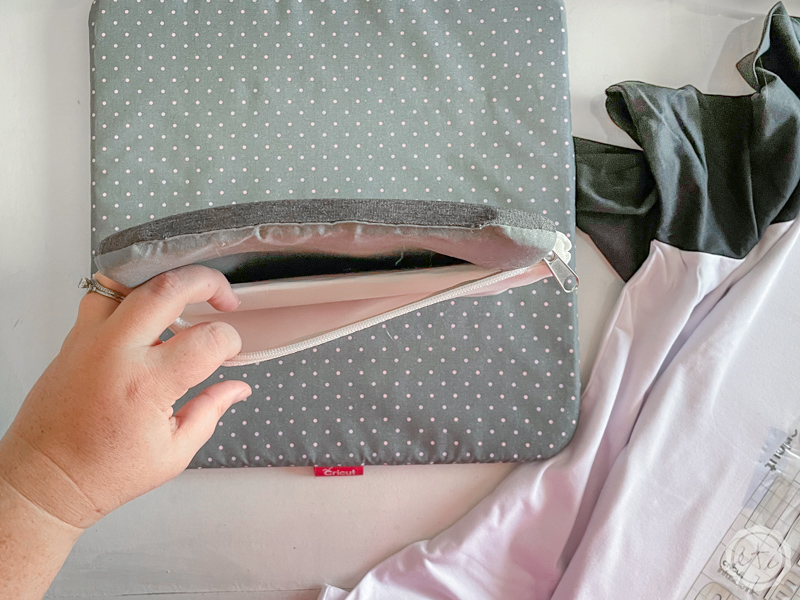
Step 4b: Apply your 2nd Design (Infusible Ink on Cricut’s Cosmetic Bag)
Ready for our little cosmetic bag? Technically any sublimation blank will work (so you could put this on a coffee mug, or a pillow! Check out this entire list of fun sublimation blanks for more ideas!) but I wanted a pen case to carry around with my planner.
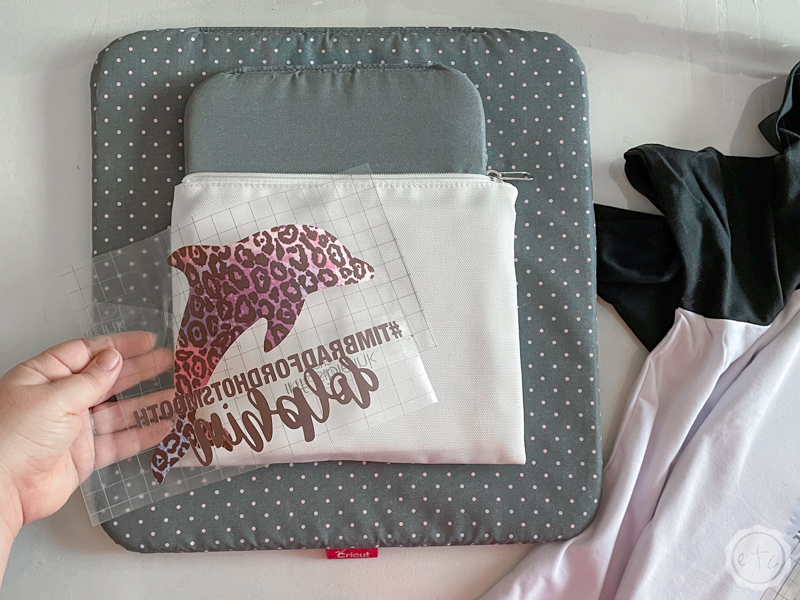
I thought it was the perfect place for the #TimBradfordHotSmoothDolphin design I made for our Chenford Fanatics Facebook Group. It’s a hilarious (to me) joke that I had to have an SVG of… but I didn’t really want to wear it on a t-shirt.
Of course, the best part of this design is that I also made a #LucyChenFistofJustice design for the other side… that ones a bit easier to understand if you’ve seen season 5 episode 15. BUT in order to put infusible ink on both sides of our pen bag we needed to make double triple sure that the ink wouldn’t bleed through to the other side.
So I placed a piece of cardstock AND my mini easy press mat inside the cosmetic bag and then placed the entire thing on a large easy press mat (to protect my work surface). Now that that’s over we can get started.
Place your Infusible Ink Design
Like our infusible ink t-shirt we’ll start by centering our infusible ink design on our pen bag and taping it down with heat resistant tape. Make sure that everything is centered and that the design doesn’t go over the curve at the bottom edge or too far up into the zipper.
Toooooo far in either direction and the easy press won’t be able to heat it properly.
Use your Easy Press to Set the Ink
Speaking of our easy press for our cosmetic bag we’ll stick with 385 degrees (same as the t-shirt) but we need a longer transfer so bump that baby up to 60 seconds. Place the easy press over the entire cosmetic bag (yes even the zipper) and press down firmly.
Extra firmly.
Super firmly.
Since our cosmetic bag isn’t flat and it has things inside to protect against bleeding if you don’t press down firmly the ink won’t transfer evenly. Yup… figured that our the hard way. But pressing down firmly seems to solve the issue.
Cool Peel your Infusible Ink to Reveal the Design!
Once you’ve heated up your design set it aside to cool. After a couple of minutes you can peel back the carrier sheet to reveal your design! Then flip the entire thing over and press your second design onto the other side! Or fill it up with pens… whatever floats your boat.
Step 4b: Apply your 3rd Design (Iron-On on a Standard T-Shirt)
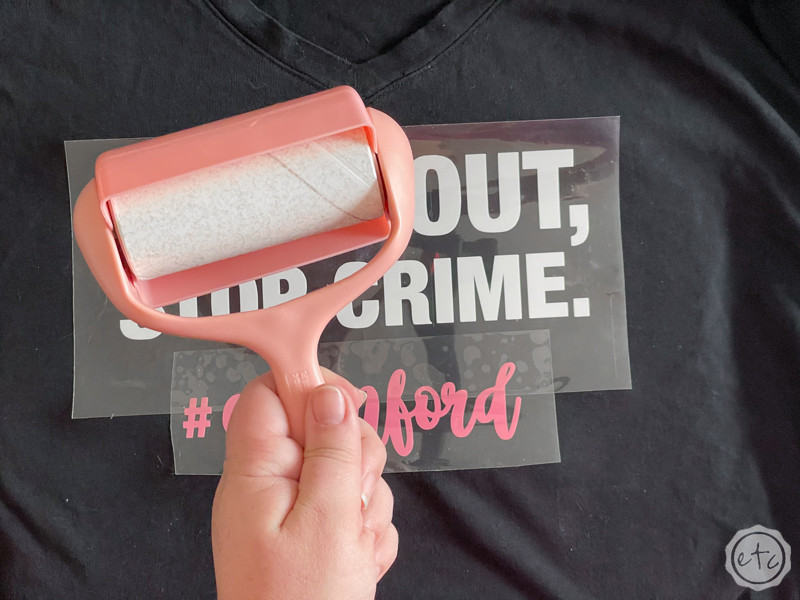
Ready for the last design? We’re leaving the infusible ink behind and moving on to iron-on here… yay! Start by placing your shirt on an easy press mat and lining it up. Then smooth it out and lint roll your shirt to remove any dust or hair that might be on it.
This is just a standard t-shirt I picked up at Wal-Mart so it wasn’t in a protective bag… it needed major lint rolling.
Place your Iron-On Design
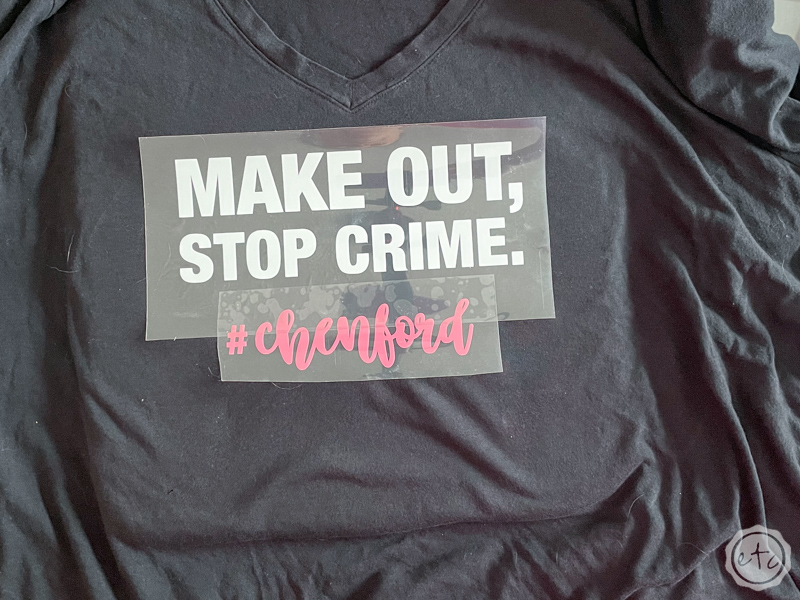
Now place your design! In this case I’m using a v neck shirt instead of the u neck shirt I made earlier… so instead of 4 fingers we’re only going to go down 2 fingers… then center your design and smooth it on the shirt.
I always smooth my designs on from the center to avoid bubbles but that is less of a problem here. We don’t need any heat resistant tape here so once it’s on we’re ready to roll.
Use your Easy Press to Set the Ink
Adjust your easy press to 315 degrees with a time of 30 seconds… and once it’s ready make sure to hit your design from both the front and back. You’ll want to use steady pressure here but it doesn’t need to be ultra firm. Normal pressure will do!
Slow, Cool Peel your Iron-On to Reveal the Design!
Let your design cool down and then slowly peel off the carrier sheet! It should come off easily but if it’s catching on any letters hit them again with the heat.
Typically this shouldn’t happen but the period and comma on my design must not have been under the heat plate and needed a little help. Easy enough fix and then the carrier sheet was gone!
Step 5: Enjoy!
I. LOVE. THESE. SHIRTS. I love the pen bag! I love Chenford!
I am so far past obsessed it’s not even funny!
Of course, I know they won’t float everyone’s boat and that’s ok (heck not all fans of the Rookie are fans of Chenford… I don’t understand these people but they do exist!) I have plenty of other Cricut projects if this wasn’t your jam.
But if it was you’re probably my kind of people. Leave me a comment letting me know which design you’re making! I can’t wait to see alllllll the Chenford shirts representing the fandom. I’m off to watch more Chenford videos on YouTube…
Don’t forget to grab all 10 Chenford designs HERE!





Leave a Reply