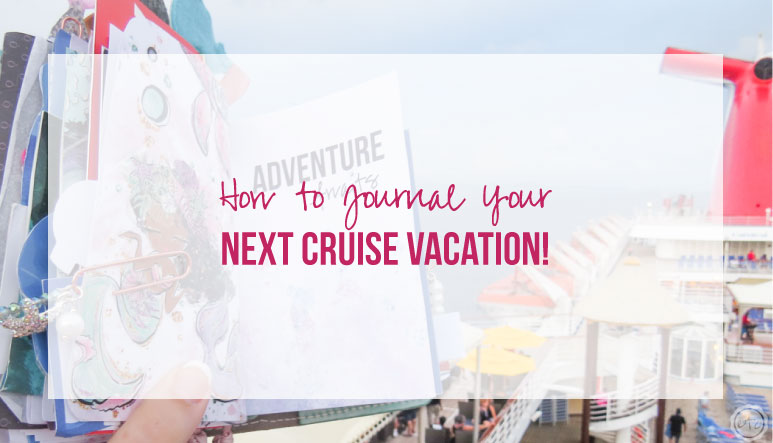

If you’re planning a cruise anytime soon you may be interested in journaling your experience! Of course, while there are a million different options my favorite way is with a travelers notebook. It’s easy to customize and allows you so much freedom.
Within this single travelers notebook I’ve already journal-ed 3 separate cruises… in 3 different ways! Of course, if you’re looking to scrapbook your cruise vacation I’ve written a complete tutorial for you scrapbookers but since not everyone loves to scrapbook I thought I would put together one of our cruise journal inserts and show you exactly how awesome they are for journaling your 7 day cruise!

Step 1: Decide on your Journal
Since our little cruise insert is just that… an insert… you’ll need to pick a travelers notebook to put it inside of. A travelers notebook is the perfect solution because they come in different sizes and allow you the freedom to journal however you like. Not only can you keep a simple lined journal in a travelers notebook but you can add scrapbook supplies, trip memorabilia, etc.
Depending on the size of your travelers notebook you can add different inserts… so one travelers notebook can actually hold journals for up to 3-6 cruises (depending on how much memorabilia you add!).
Start by picking the cover of your travelers notebook and then you can add the insert. The travelers notebook in my photos is a small pocket sized cover (because I love being able to toss it in my bag and GO) but if you’re looking for more writing room a B6 would be the perfect size.

Step 2: Pick Your Insert
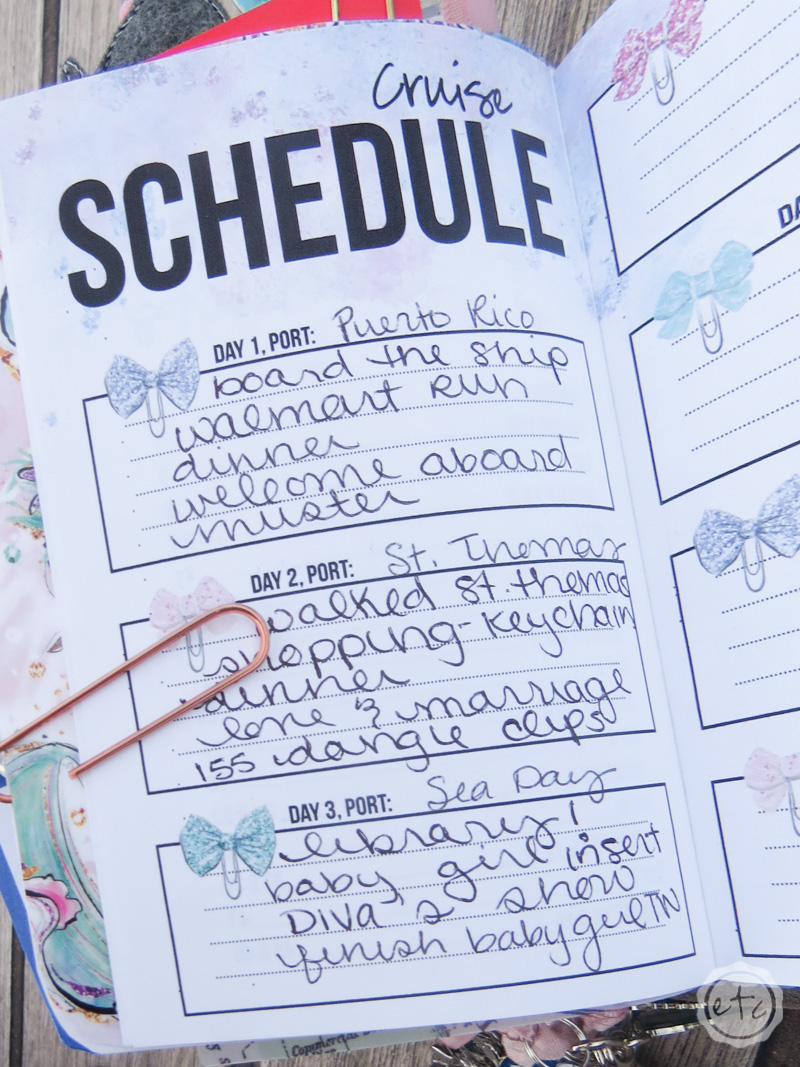
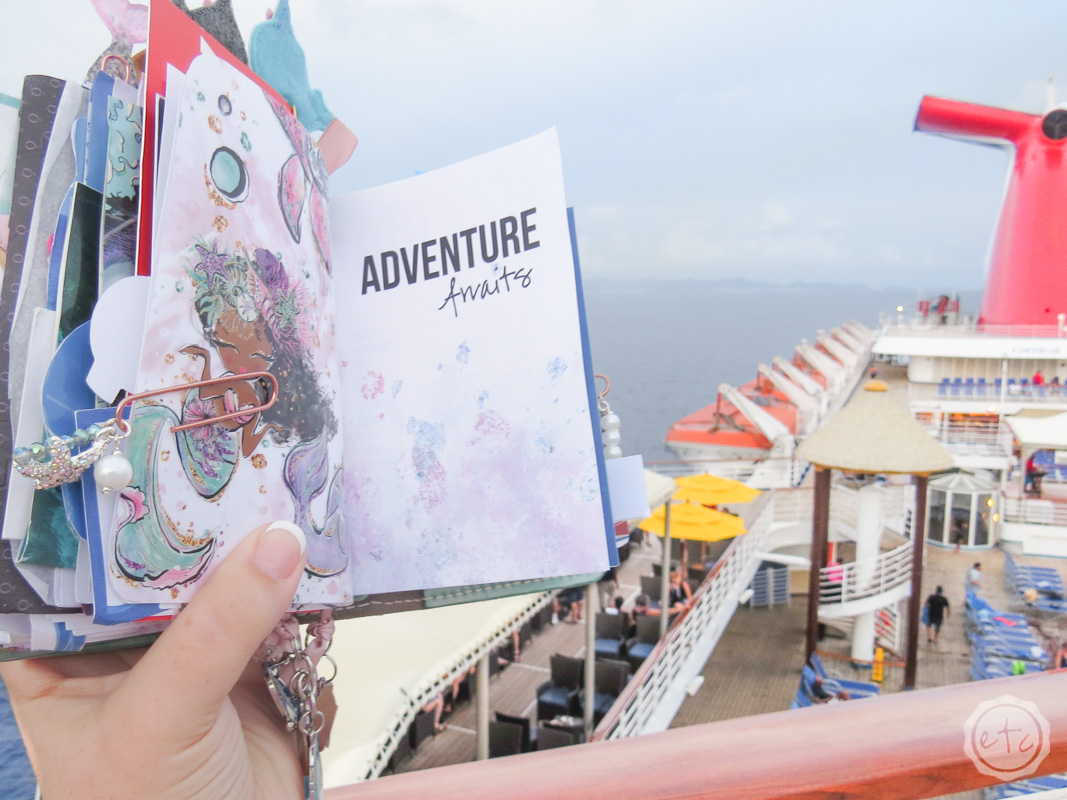
Now that we’ve picked our cover it’s time for the insert! While there are a million different inserts to pick from my favorite is this little cruise insert. It’s laid out for a 7 day cruise and walks you step by step through journaling each bit of your vacation.
Which is perfect when you’re on vacation because you’ll want to come back to the ship in the evening and spend a few minutes journaling your day… not spend the entire evening deciding how to lay out each and every page. Plus it’s digital so you can easily print it out and assemble it yourself… easy peezy. I’ll even walk you through it if you’re not sure how to put the insert together yourself.
I used this cruise insert for our last cruise… 7 days from Puerto Rico through Barbados, St. Lucia, St. Thomas, Saant Martin and St Lucia.

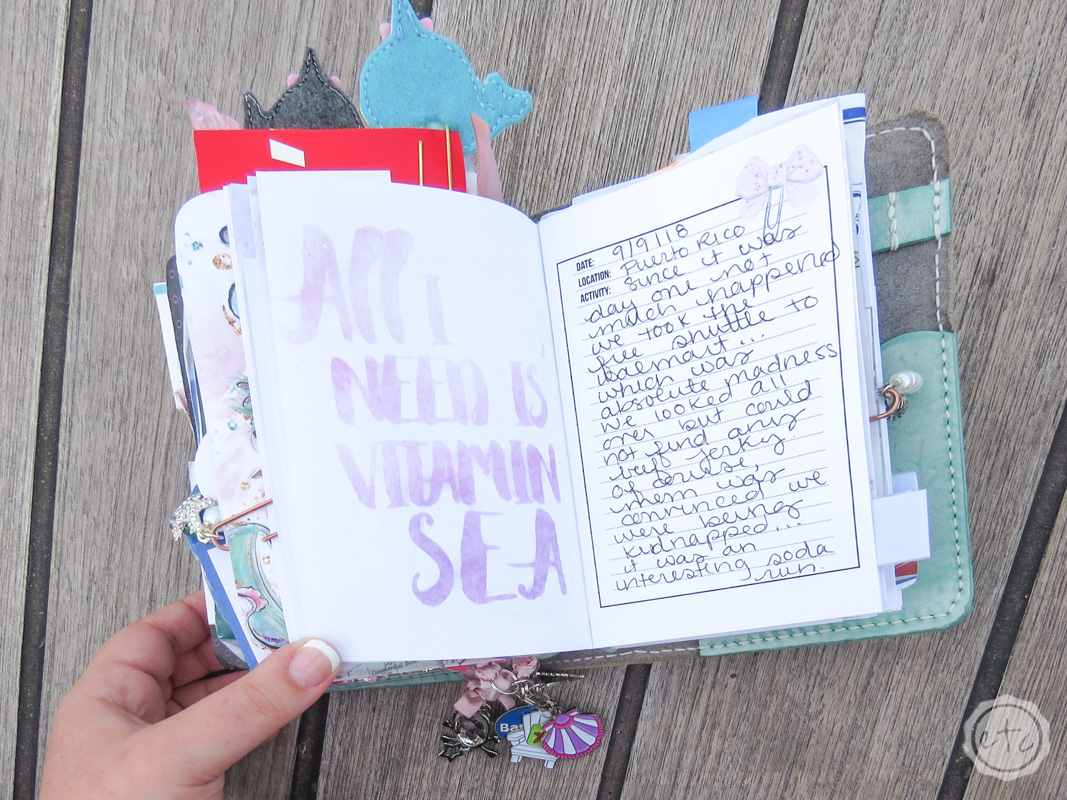
This particular insert gives you space to journal about your day and then a few fun activities. So you have 3 pages to write about all the fun activities you’ve done throughout your cruise. I find it’s the perfect amount of journaling room so that you can record any excursions you go on throughout the day (swimming with the turtles at Pirates Cove on Barbados) or the shows you see on the ship each evening.
Of course, the hardest part about journaling your entire cruise vacation is remembering to journal each night so that the day is still fresh in your mind! By the time the cruise is over it will have allllll blended together in your mind leaving just one big, fun, trip.


Step 3: Add Photos
Of course, while the main goal of journaling is to use your words I love adding photos to my cruise journals so that I can remember exactly what was going on! I use my small sprocket photo printer to add pictures to my cruise insert.
They’re the perfect size to add in between pages without taking up to much space. Of course, since I printed this digital cruise insert myself (if you’re struggling to print your own inserts here’s a few tips!) I decided to leave this particular insert un-stapled. Then I was able to add small pieces of paper in between the pages to add photos.
It sounds harder than it is… simply cut your piece of paper to a smaller sized page than your insert and add it in between the pages. Now you have a smaller page which allows you to add photos or journaling while still leaving visual space.
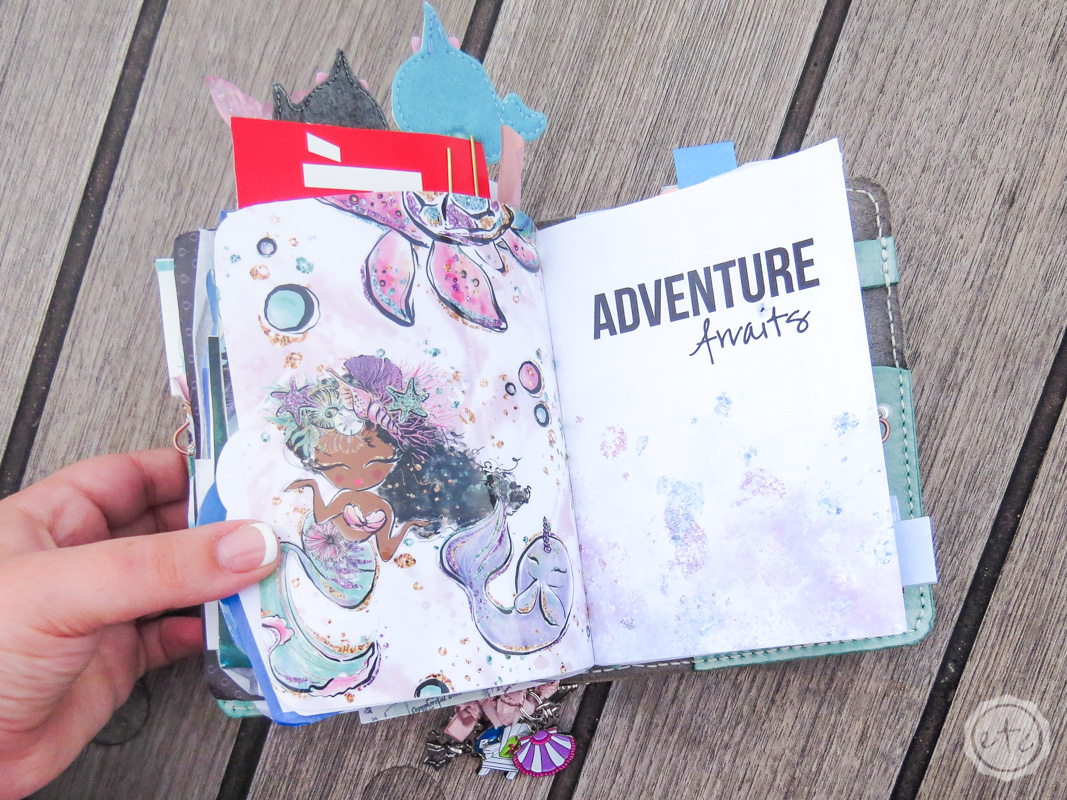
Step 4: Add Embellishments
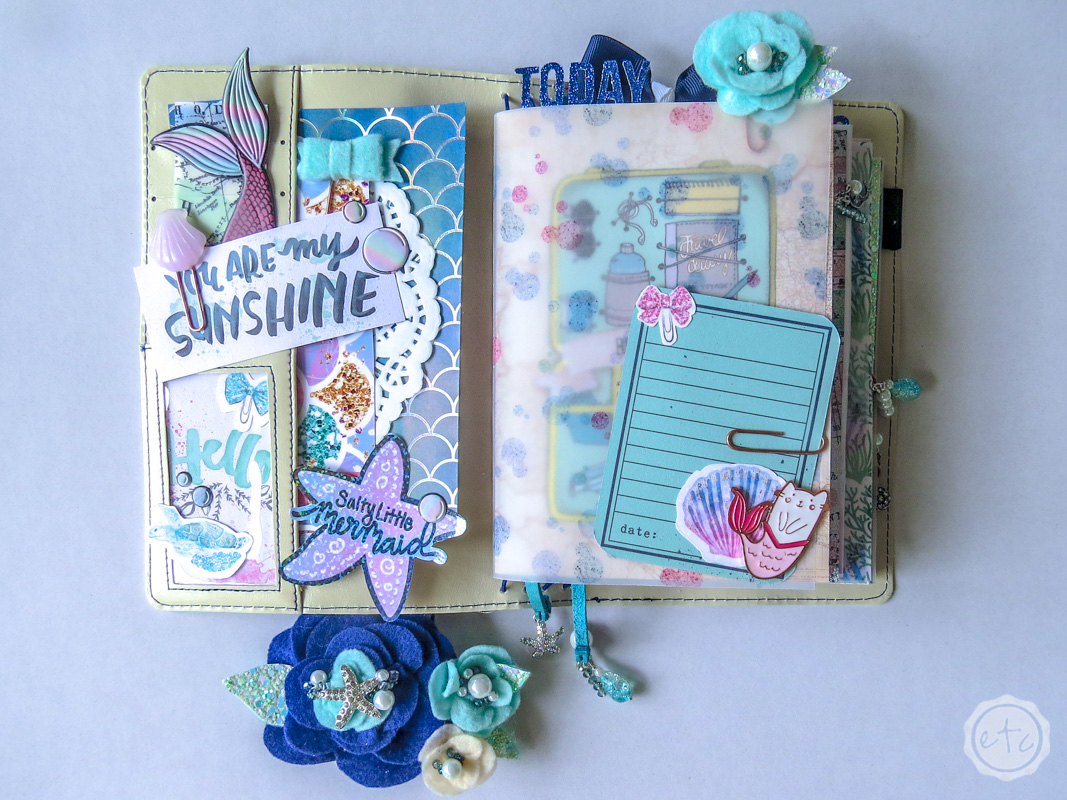
Of course, this part is actually optional… but it’s so much fun! I love to add fun little embellishments to all of my travelers notebooks. Things like vellum and paperclips to make everything just a bit more fun.
I decided to keep this particular travelers notebook fairly simple so that it would be easy to take around the ship… so I only added low-profile embellishments. Things like our ocean dangle paperclips to hold pages together or vellum between the inserts to distinguish between cruise 1 and cruise 3.
Of course, with a larger notebook (like a B6!) you can have a little bit of fun… and if you really want to just grab a noteboook and go you can order our fully-loaded-ready-to-go-pack-it-and-jet-off-on-your-cruise ocean themed cruise notebook. It includes this exact cruise insert so you’re ready to rock and roll.
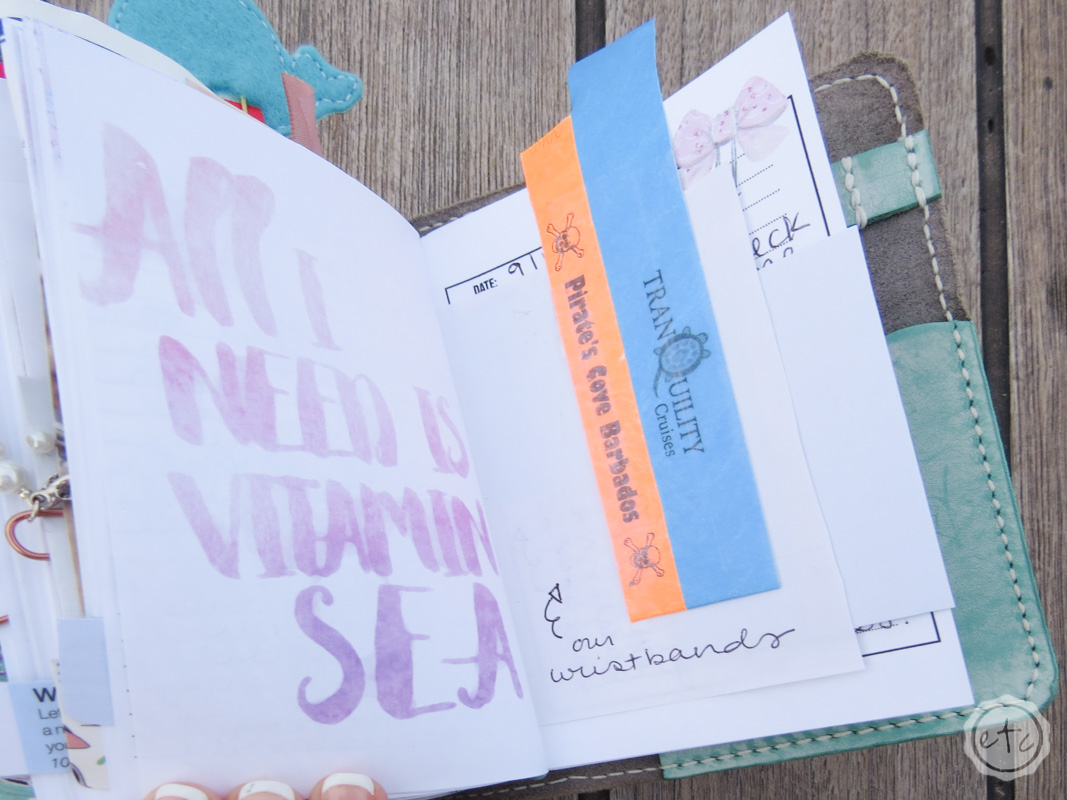

Optional Step 5: Add Memorabilia from your Trip!
Since I didn’t want this particular insert to get toooooo thick (trust me the last one I did for crusie 2 had more memorabilia then was ever necessary!) I only added little clips here and there.
Think things like wrist bands or clips from the show you attended. Things that are simple (so they won’t add too much bulk) but add details to your journaling that simple writing won’t.
Carnival ships have a little “Fun Times” every single day that lays out the agenda… you know places to go and people to see. All that fun stuff… which makes it easy to clip the info for shows on the ship that you might attend. I would be surprised if other cruise ships don’t have similar pamphlets!
That’s it! Now your little cruise journal should be complete… 7 days of journaling prompts and activities to write about it. Your entire cruise should be written down and all your memories saved. Plus now that the cruise is over you have a fun little keepsake!
Bon Voyage!

Looking for more Cruise DIY’s? Check Out These Projects: