

Whether you’re a first time cruiser or a seasoned veteran packing for a cruise can be quite the venture… there’s so much to remember! Clothes, shoes, sunblock… and a cute door sign to hang on the door to your cabin!
The endlessly long corridors of the cruise ship can be a little daunting and each cabin’s door blends into the next… so a cabin door sign will help you easily recognize exactly which door is your home away from home. Of course, you can always just check the number on the door (cabin #549 anyone?) but a cute door sign lets people know you’re here for vaycay.
There are plenty of options: from a full blown door panel to a large blown up portrait of all the cool people staying in the room. BUT like everything in my life I love this little door sign because it’s re-usable. Once you’ve made the entire sign out of basswood you’ll be able to use it for each and every cruise you take… just switch out the acetate with the name of the cruise!
The best part? You can grab the SVG files for FREE at the bottom of this post!
Score!
Let’s get started!
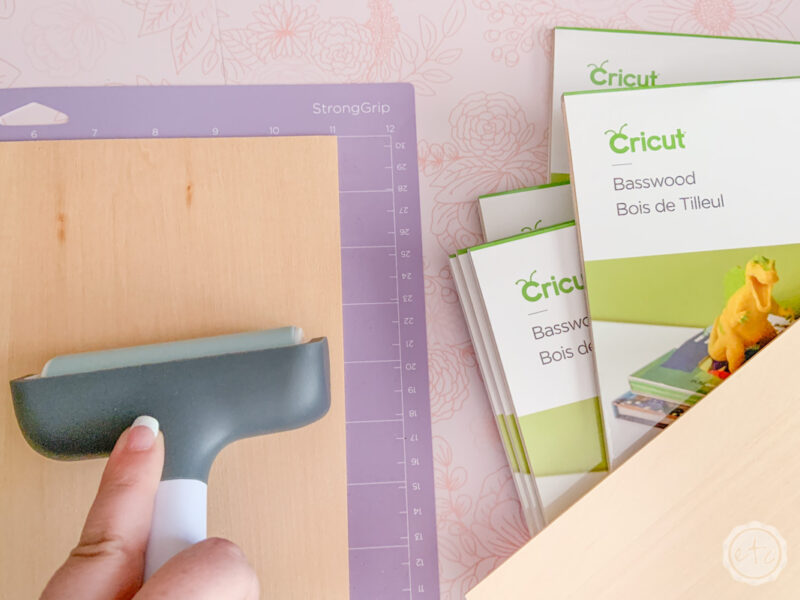
Supplies:
- Cricut Maker
- Cricut SVG Files (at the bottom of this post!)
- Cricut Strong Grip Mat (that’s the purple one!)
- Light Grip Mat (that’s the blue one!)
- Knife Blade
- Brayer
- Blue Tape!
- Basswood
- Foil Acetate
- Velcro
- Glue Dots
- Craft Paint (White, Red, Sky Blue, Dark Gray, Yellow)
- Black Permanent Vinyl
- Transfer Tape
Step 1: Cut Your SVG Files
Ready to jump right into the project? Grab your cut files from down below and upload the SVG’s into Cricut Design Space (if you need help check out this post on how to upload SVG files into Design Space).
The cut files are split into separate layers so that you can cut each material (basswood, acetate and vinyl letters) separately. There are also extra png files with different years on them so that you can use this sign over and over in the future (I’ve already made acetate layers for a fun European cruise I have scheduled for next year!).
Once you have all of your SVG files load and are ready to cut hit go! I started by cutting out all of the basswood for this project since acetate and vinyl are both pretty quick to cut… and basswood takes a minute.
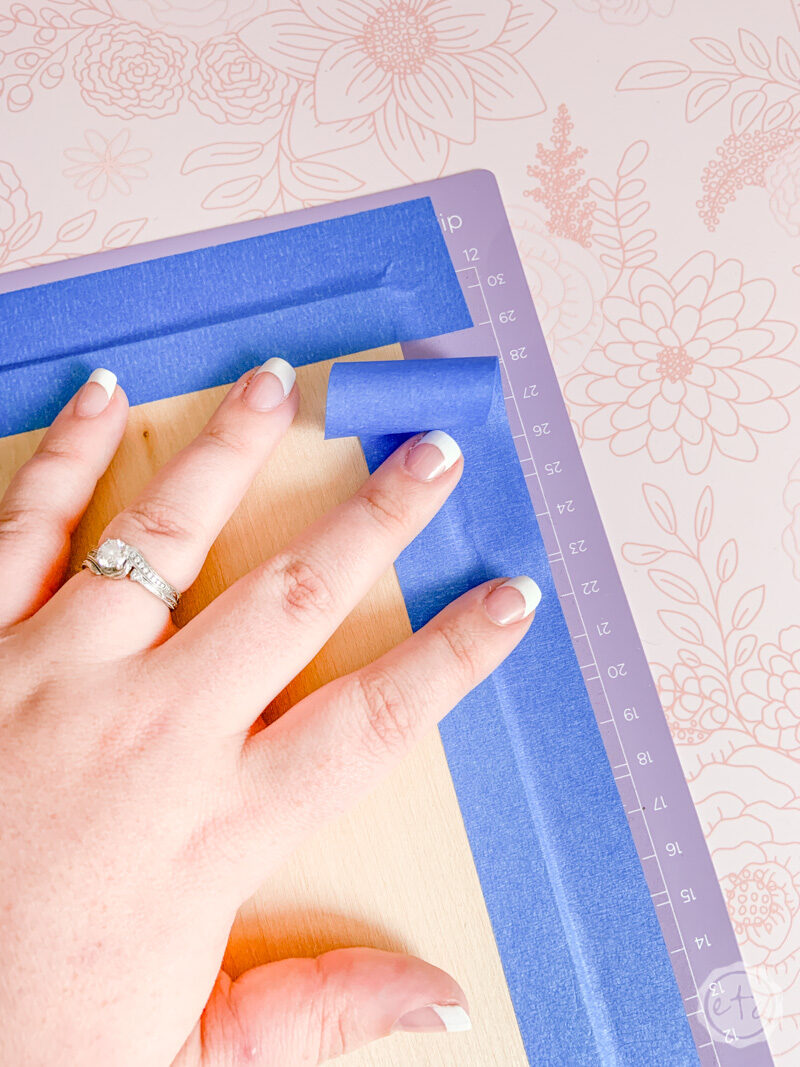
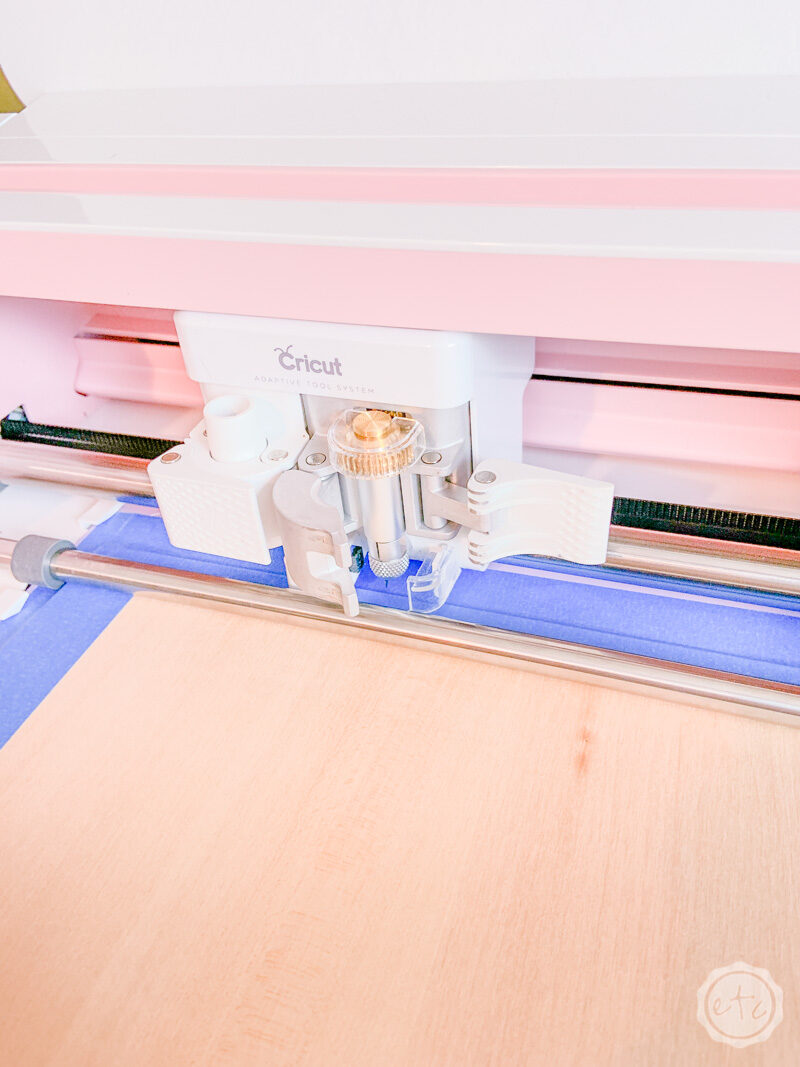
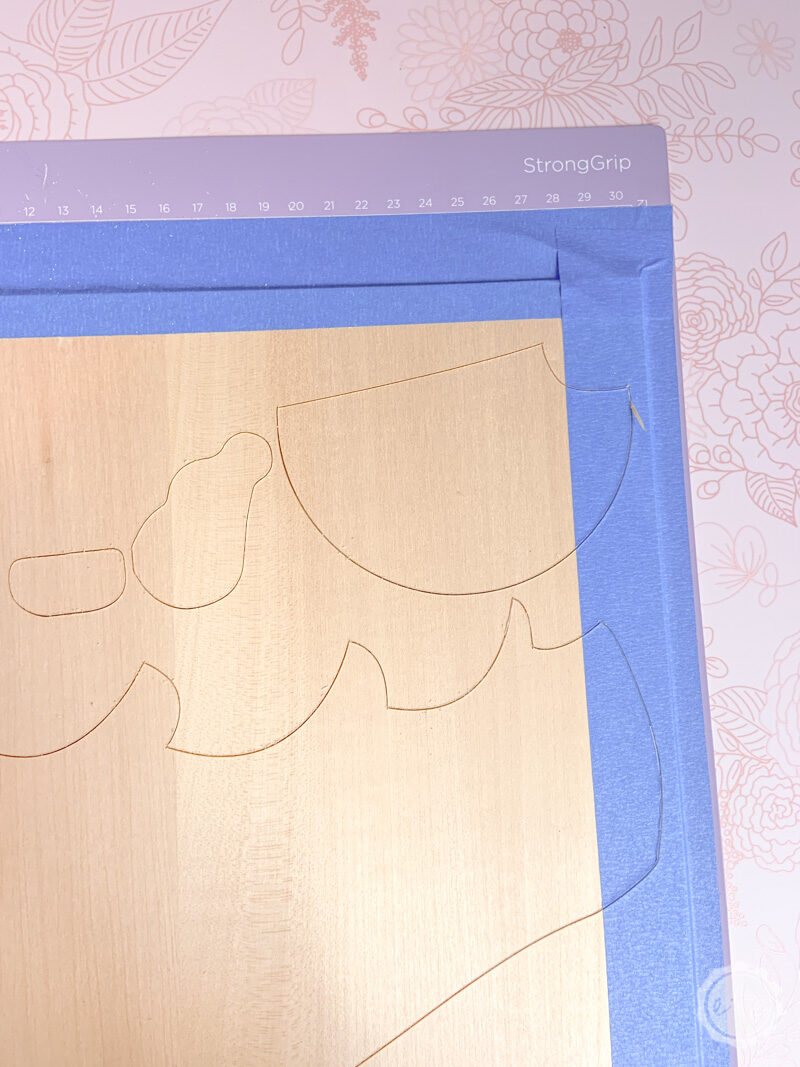
Make sure to load your basswood on a strong grip mat in the top left corner of the mat. Tape the edges down with your blue tape and make sure everything is secure… the Maker will do a couple of passes to cut all the way through the basswood so you want to make sure it’s held tight against the cutting mat.
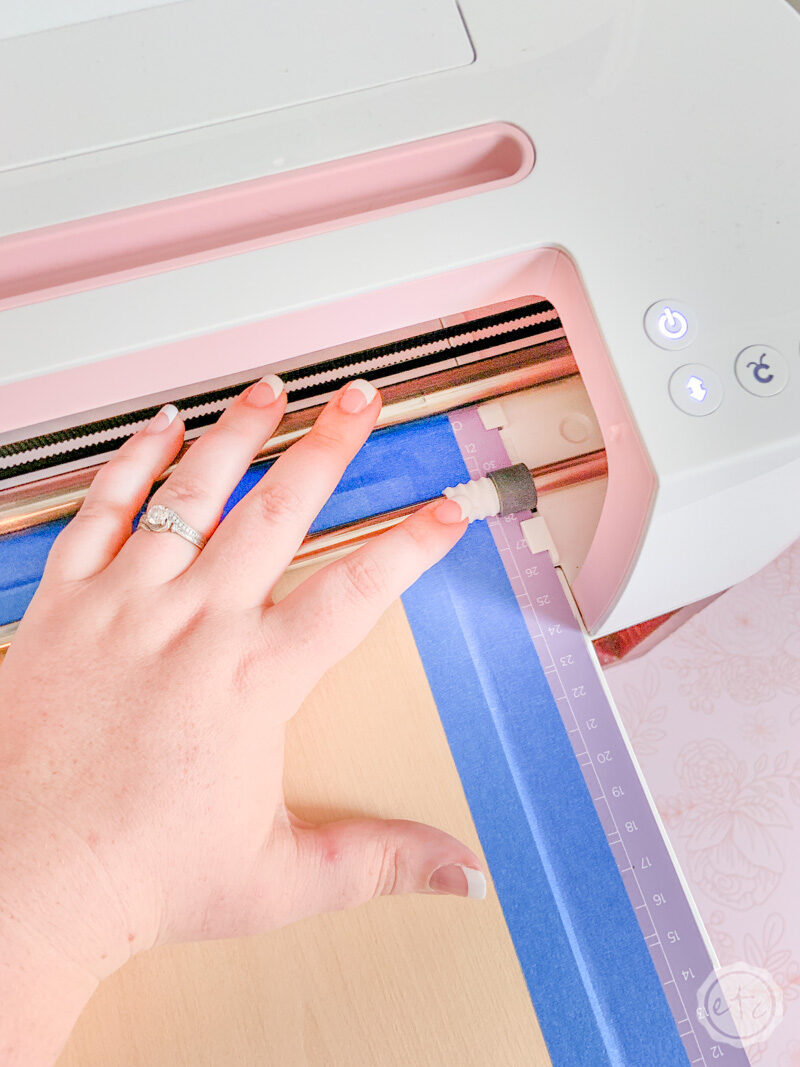
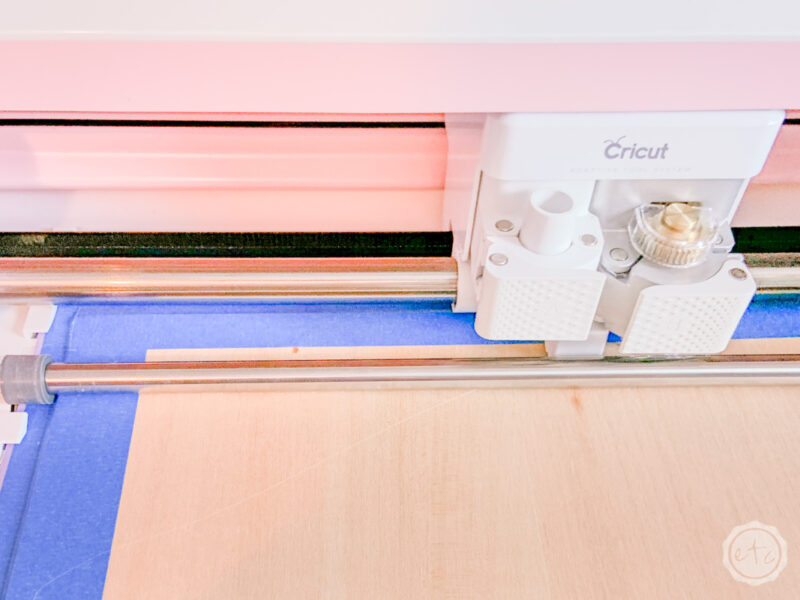
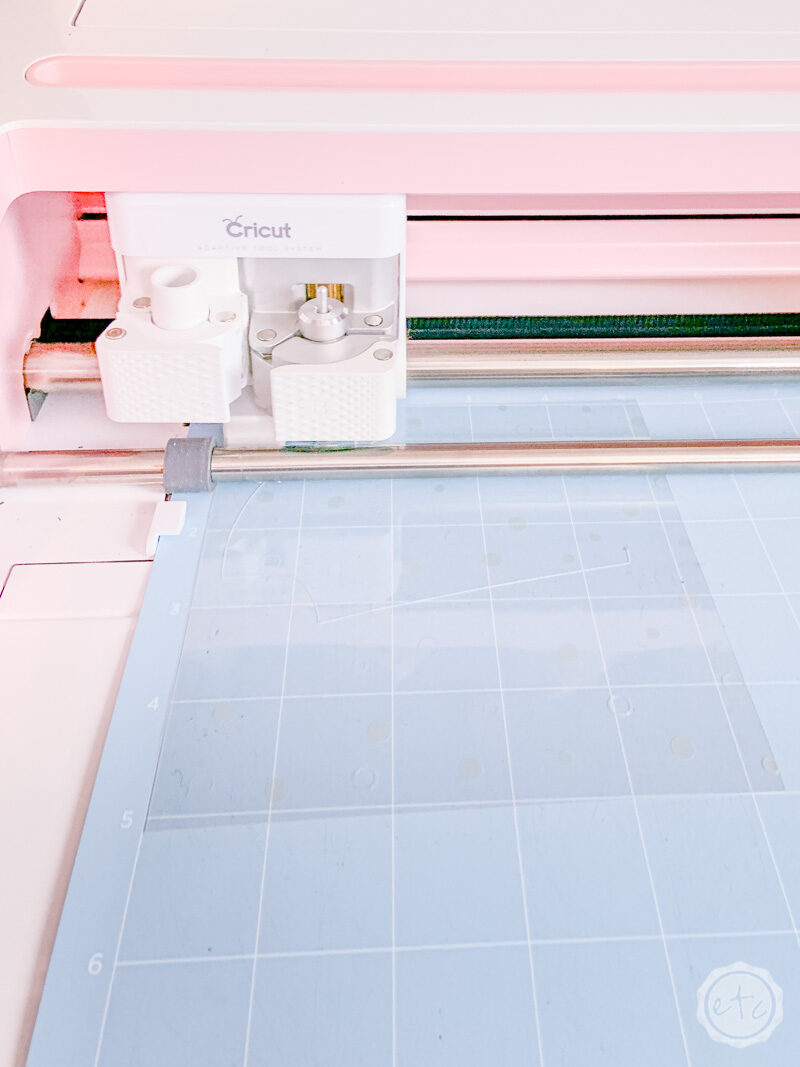
Then take the four little white star wheels and slide them alllllll the way over to the right (like in the photo below). These little wheels help the machine grip lighter materials like vinyl but they leave marks in denser materials like basswood. (Trust me!)
That’s why your basswood will be 11 in by 11 in which is a little smaller than your average materials (12 x 12). Luckily sliding these little star wheels over is easy and then they’ll slide right by your basswood in that extra inch of space to the right.
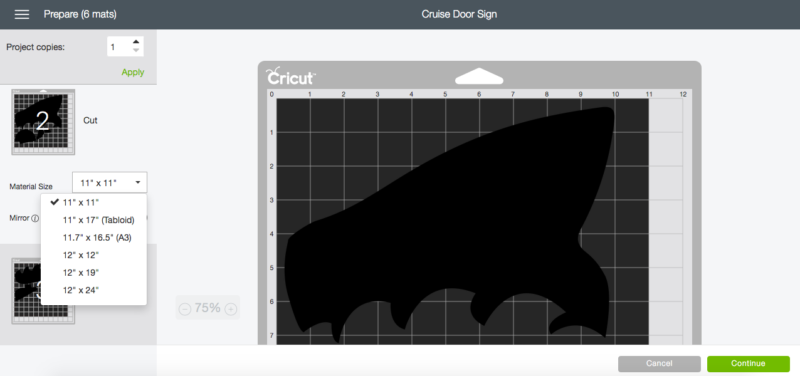
Now that you have your basswood loaded onto your cutting mat hit go! Your acetate and vinyl layers can be 12 x 12 but make sure to change the material size to 11 x 11 on the first screen… that way all the little pieces for the ship will go down to the second cutting screen.
Now you just have to load your knife blade and hit go! If you haven’t used the knife blade before it’s super easy (although it does take a minute!) you can check out my full knife blade tutorial here for all the info you’ll ever need.
Watch the screen and it will let you know how long each mat will take… these basswood sheets can take upwards of an hour to cut for truly intricate cuts (like this shamrock project!). This little cruise door sign only took about 20 minutes per sheet though… pretty quick for a basswood project!
Step 2: Paint Your Basswood
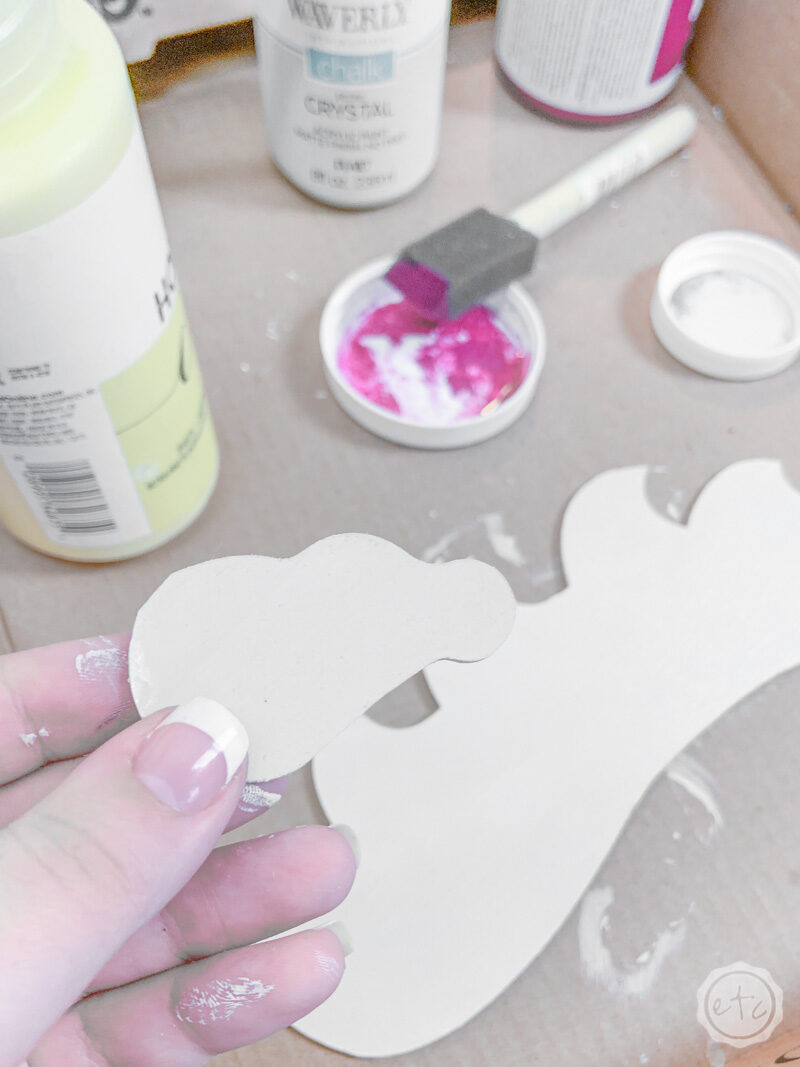
Once all your basswood pieces are cut out it’s on to the next step… painting! I am always painting something so I simply pulled a little craft paint out from my stash and sorted out the colors.
Yellow for the sun, medium blue for the smoke and waves, red for the smoke stack, white for the top of the ship, dark gray for the body of the ship and sky blue for the background!
I gave each piece two coats of paint and the basswood held up perfectly… this basswood is pretty sturdy. Once the pieces dry you can put something heavy on them to help the slight curl they develop but honestly they straighten out fairly evenly once they’re glued down.
Of course, once you start to put all the pieces together you can see how the background fits together with the little lock and key cut outs in the middle of the pieces. That’s always my favorite part of any project!
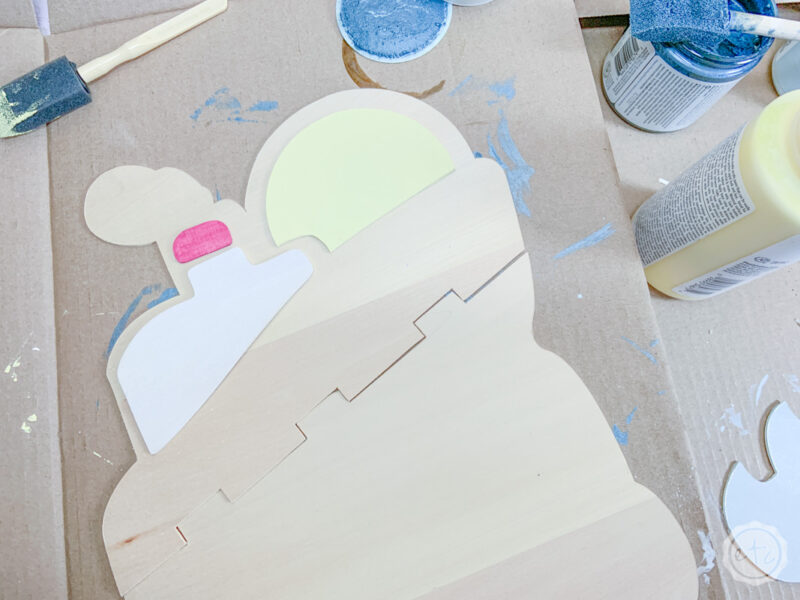
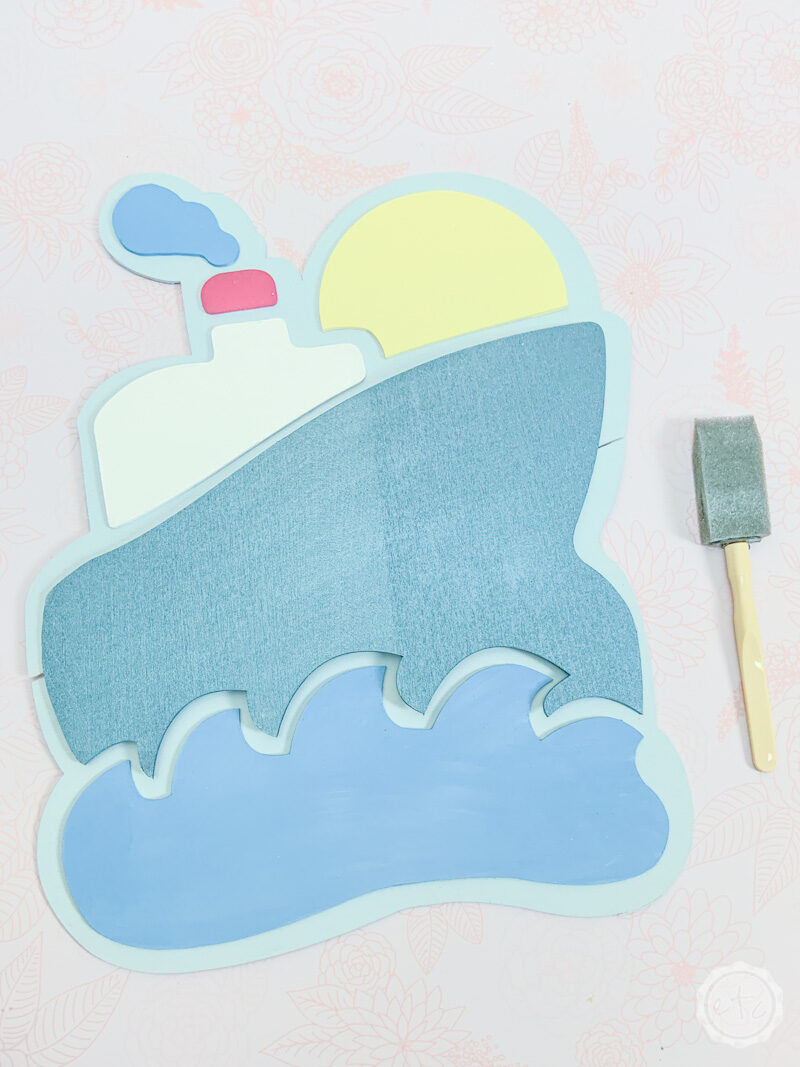
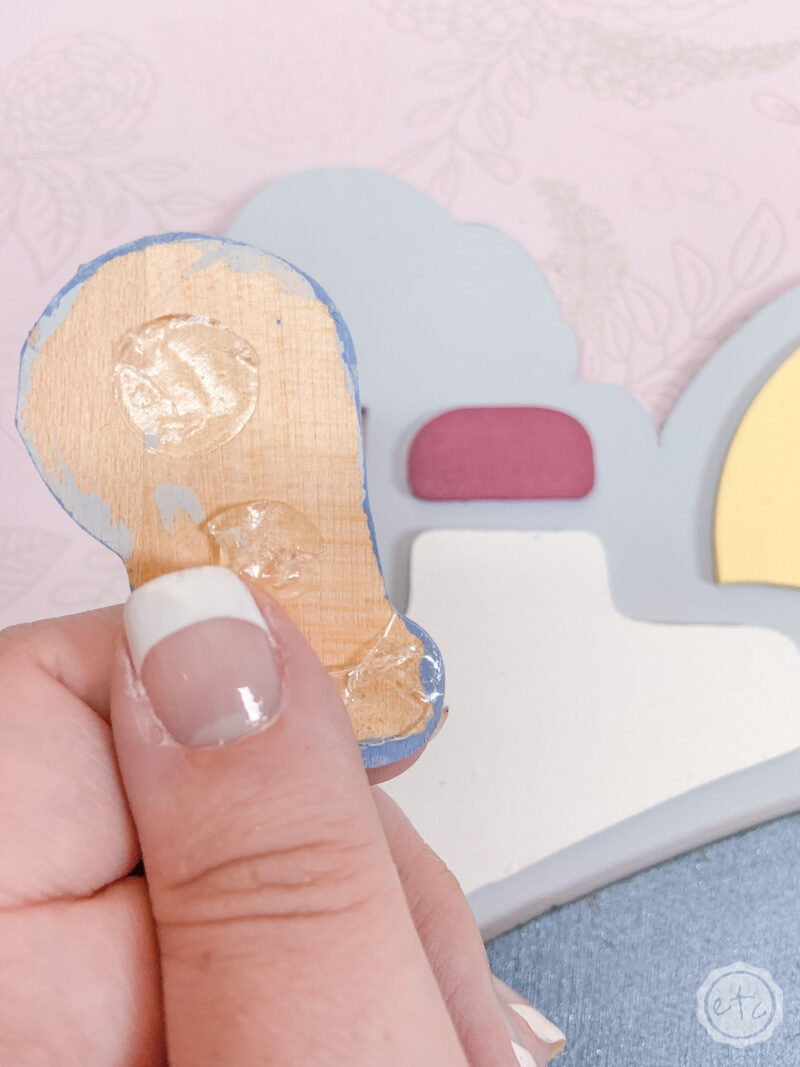
Once all the pieces are dry I used glue dots to put the whole thing together! It went pretty quickly and held up beautifully (even at the bottom of my carry on!).
I did put a piece of tape across the lock and key cut outs on the back of this little guy but if I was doing this piece again I would probably put a piece of tape across the lock and key cut outs on the front as well. It will be covered by the big gray ship piece and would make it sturdier.
Score!
Step 3: Add the Letters
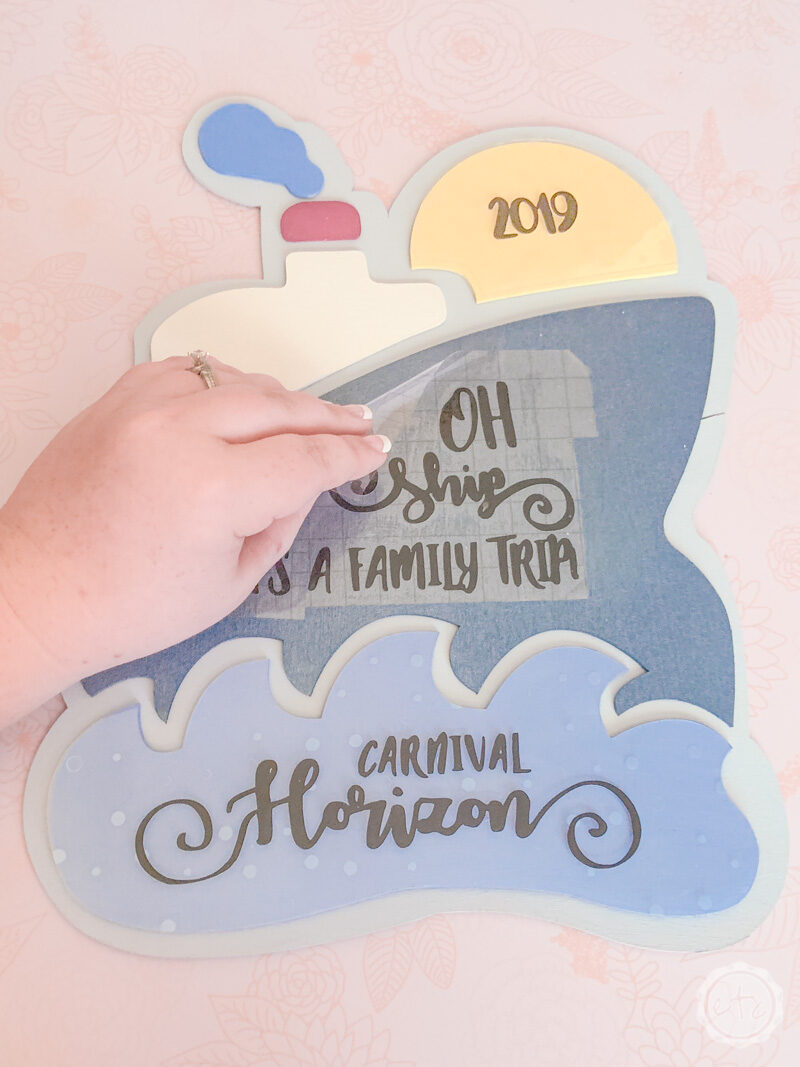
Alright y’all if you haven’t cut the lettering and acetate layers now is the time! Luckily a light grip mat and a standard cutting blade will whip through those layers pretty quickly… then a bit of transfer tape will help you move the letters onto their new homes.
The 2019 will transfer to the acetate layer above the sun, the “Carnival Horizon” (or the name of your ship… since I doubt you’re all going on the Carnival Horizon!) will go over the acetate layer of the waves and the main message “Oh Ship! It’s a Family Trip!” will go smack dab in the middle of the main ship layer.
Right on the basswood baby!
Tip: Don’t forget that the acetate has a thin layer of filmy like material over the actual acetate to protect it from scratches… you’ll want to peel that off before you add the letters.
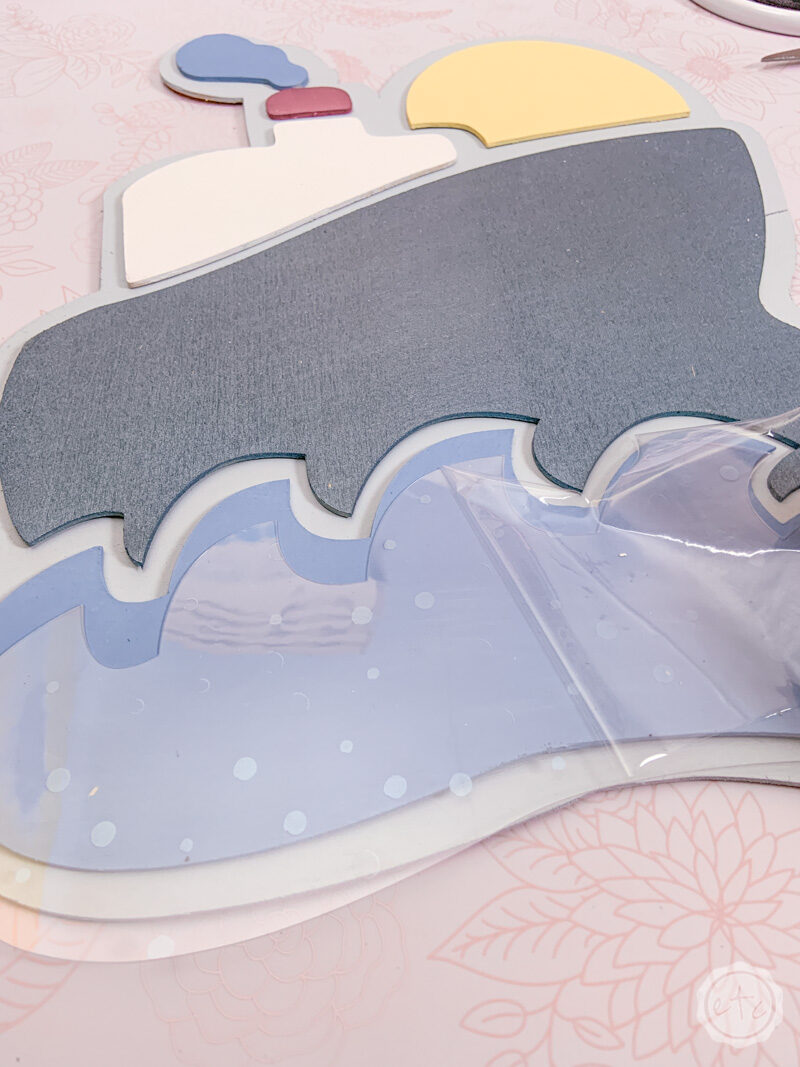
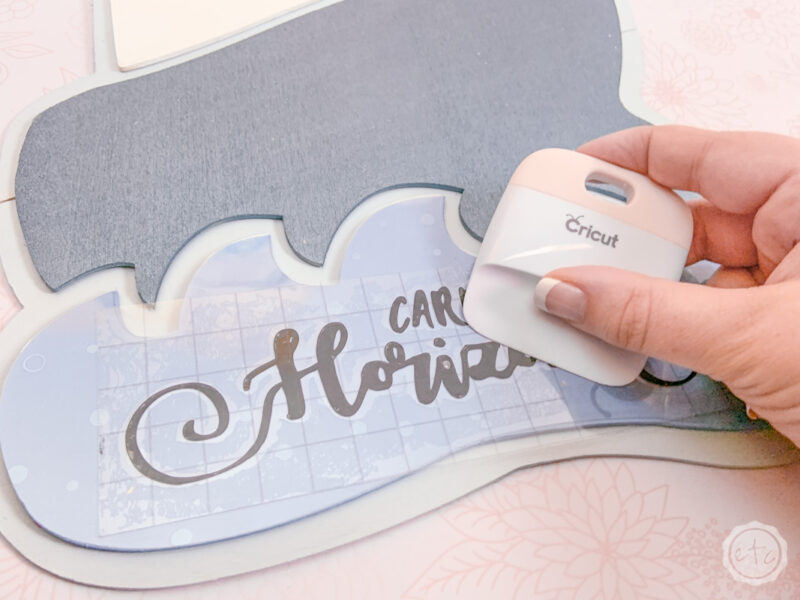
So here’s the fun part… if you are only going on one cruise OR you like to make new, fun signs for all your adventures you can glue your acetate directly onto the basswood and call it a day.
Or just skip the acetate all together (although I think it gives the sign a fun extra layer)!
BUT if you want to make the sign re-usable for different cruises, year after year, the acetate layer is key. Simply add a bit of Velcro in between the acetate layer and the basswood layer so that you can change out the acetate for your different adventures.
Easy peezy!
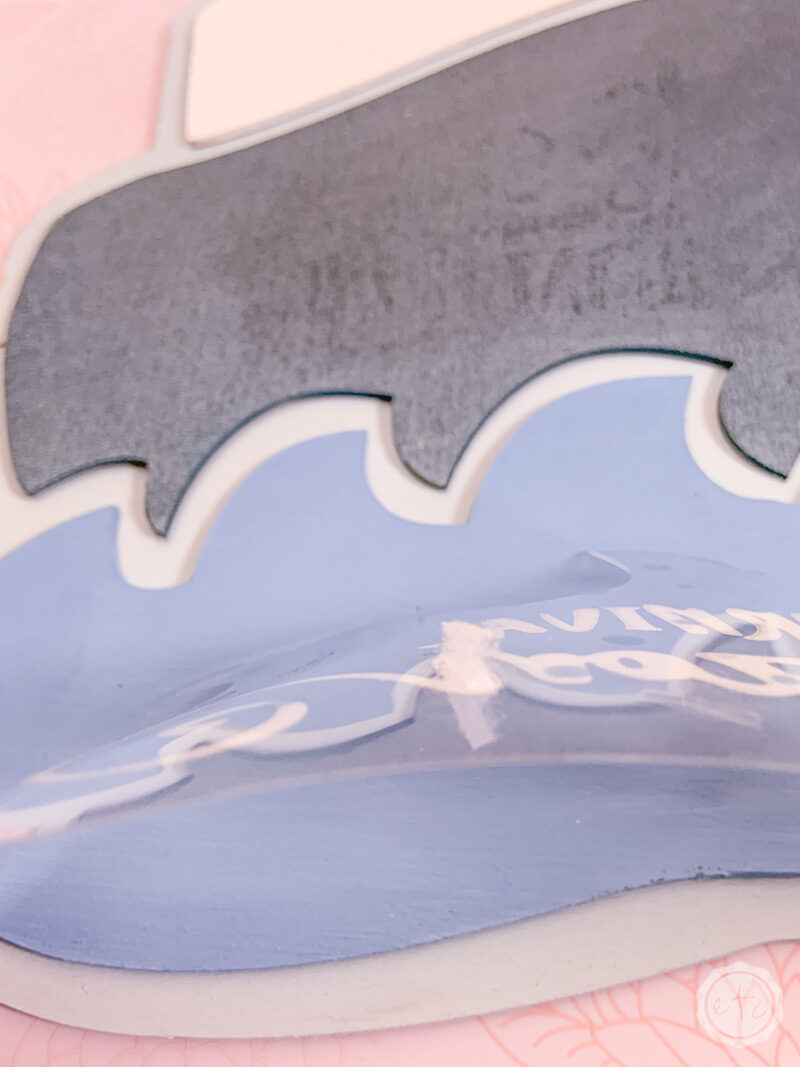
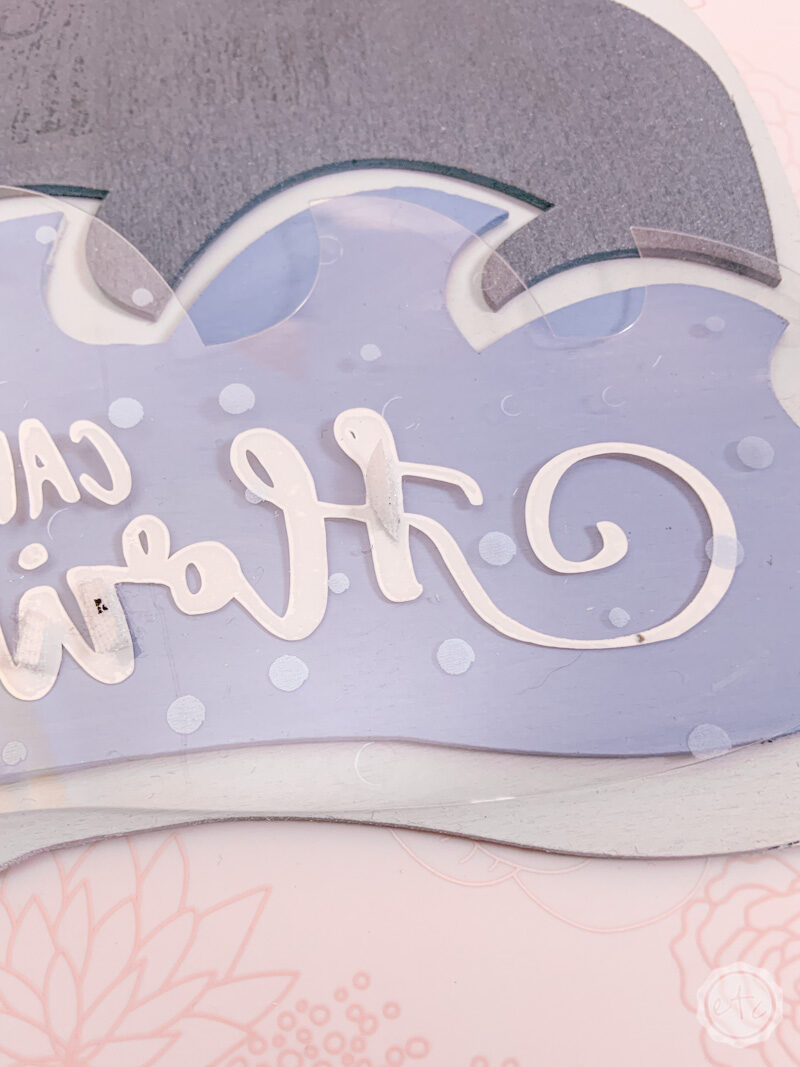
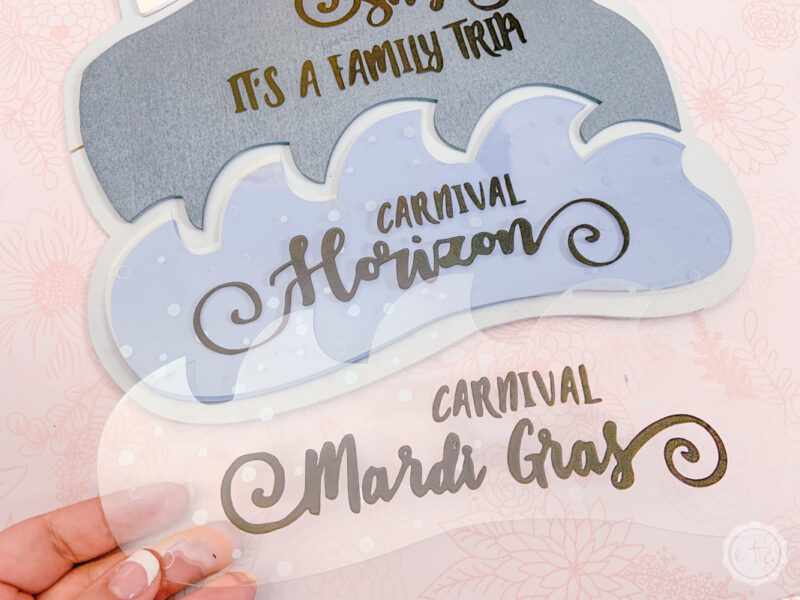
This way you’ll be able to rep each and every ship you sail on… and save the acetate layer for a fun scrapbook layer when you get home! Or if you’re not the saving kind of gal (or guy!) take the letters off the acetate and put your new letters back onto the same piece of acetate (instead of cutting a new piece!).
See how easy it is to change out the acetate layers?
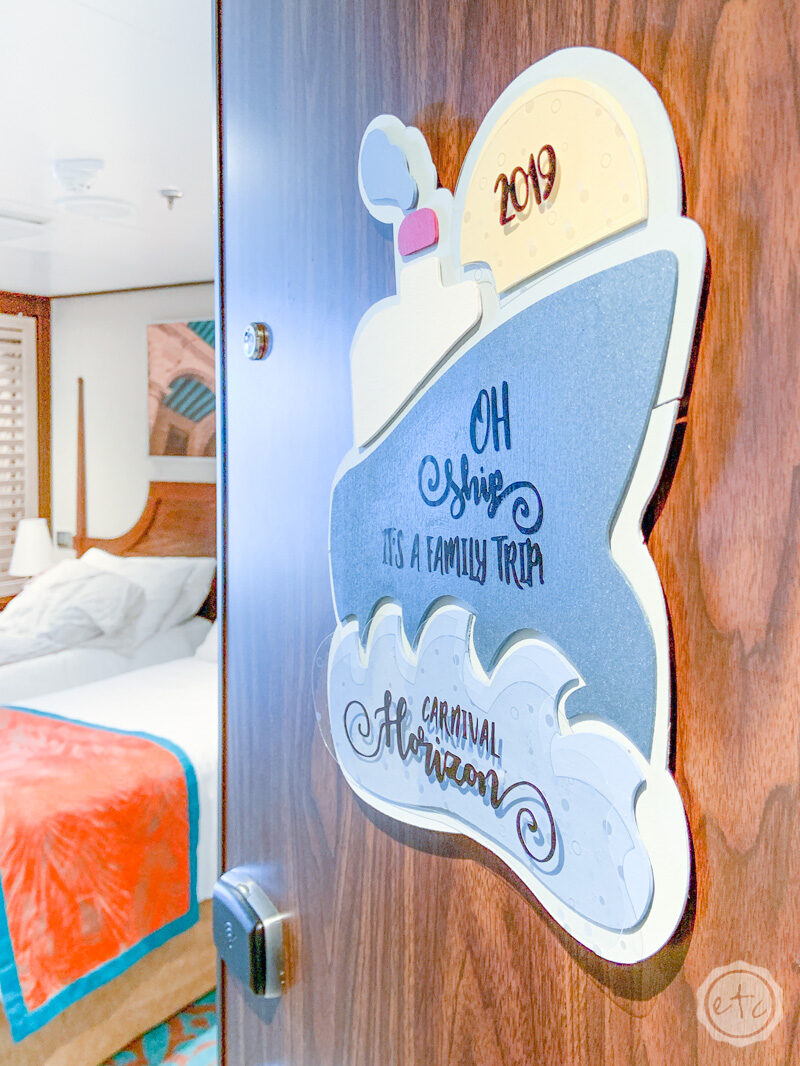
The best part? The acetate is the last part… so now you’re finished! You can pack this little sign under your clothes or in your carry on and add it to your door when you board the ship!
I used 3M Velcro strips to add this baby to our cabin’s door and it was super easy! I’m not sure about y’all but I am in LOVE! Absolute love… I cannot wait to share this little sign with you over and over as we hit different ships!
If you make one of your own I would love to see how it turns out… send me a picture!
Looking for more Cruise DIY’s? Check Out These Projects:
Want to take a look at the rest of the Cricut line up?
Get Your FREE Cricut SVG Files!

Get the Cricut Cut Files for this project!












[…] outfit? Check! DIY cabin door sign? Check! Extra phone cable? Check! Matching family cruise shirts? Check! Swimsuit for the pool? […]