This post contains affiliate links to products I 100% love and use in this tutorial.

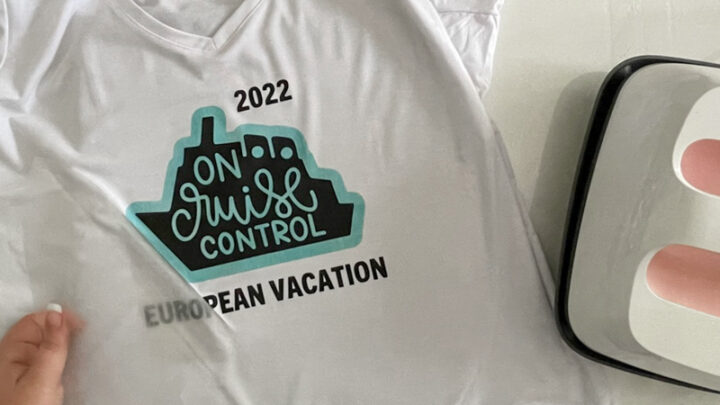
I absolutely love creating family cruise t-shirts for my latest vacations… like this “Oh Ship, It’s a Family Trip” shirt or this super cute “On Cruise Control” shirt I made for Mom’s and my European trip. It’s a fun (inexpensive) little souvenir you can make for everyone on your trip… and it makes it super easy to see everyone in your group as you’re running around the ship.
So before I packed my bags for my latest cruise (a 6 day trip to Alaska on the Carnival Luminosia) I had to whip up a few specific shirts for our Alaskan Adventure.
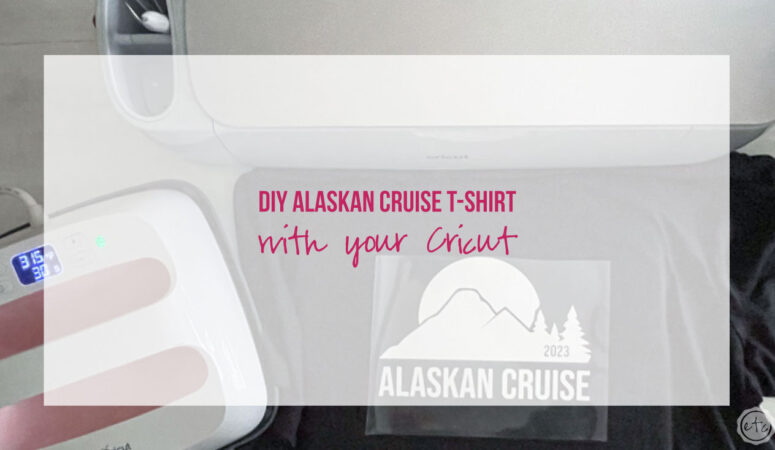
I looked at a lot of inspiration online before deciding to go with the same mountain SVG I used for this cute resin bear sign after all… the hard work was already done. I just had to add the words Alaskan Cruise and the year and we were ready to go.
Which was great since I waited until the very last minute to actually make the shirts.
Let’s get started!
Supplies:
- Cricut Maker 3
- Cricut Roll Holder (for smart iron-on)
- Fine-Point Cutting Blade
- Cricut Standard Grip Mat (that’s the green one!)
- OR Cricut Fabric Grip Mat (that’s the one I use… it’s pink and holds everything)
- Cricut Easy Press 9 x 9
- Easy Press Mat
- Heat Resistant Tape
- SVG Cut Files (FREE at the bottom of this post).
- Weeding Tool
- Brayer
- Smart Iron-On
- Black T-Shirt

Step 1: Upload your SVG
First things first… let’s load our SVG into Cricut Design Space! Once you’ve downloaded your SVG to your computer open a new canvas in Cricut Design Space.
Then click upload and select your SVG.
If you’re struggling with uploading a new SVG you can follow my full tutorial here.
Now go ahead and add your design to the canvas and weld the design into one layer. For an adult t-shirt I prefer my decals to be 8 inches so I’ll double check the size. Then you can multiply the design depending on how many shirts you need to make or add the year if you’d like that extra detail. If you’re not going to add a year you’re ready to go!
I decided to add 2023 to the mountain… so I used the type tool to write out 2023 and then select the “Bebas Neue” font to match the rest of the SVG. (You can download the Bebas Neue font here).
Once you have your year typed out go ahead and make it the same color as the rest of the design (so it will cut on the same cutting mat) and then attach the svg and the year so it’s one piece.
Perfect!
Now we’re ready to go!


Step 2: Cut your Design
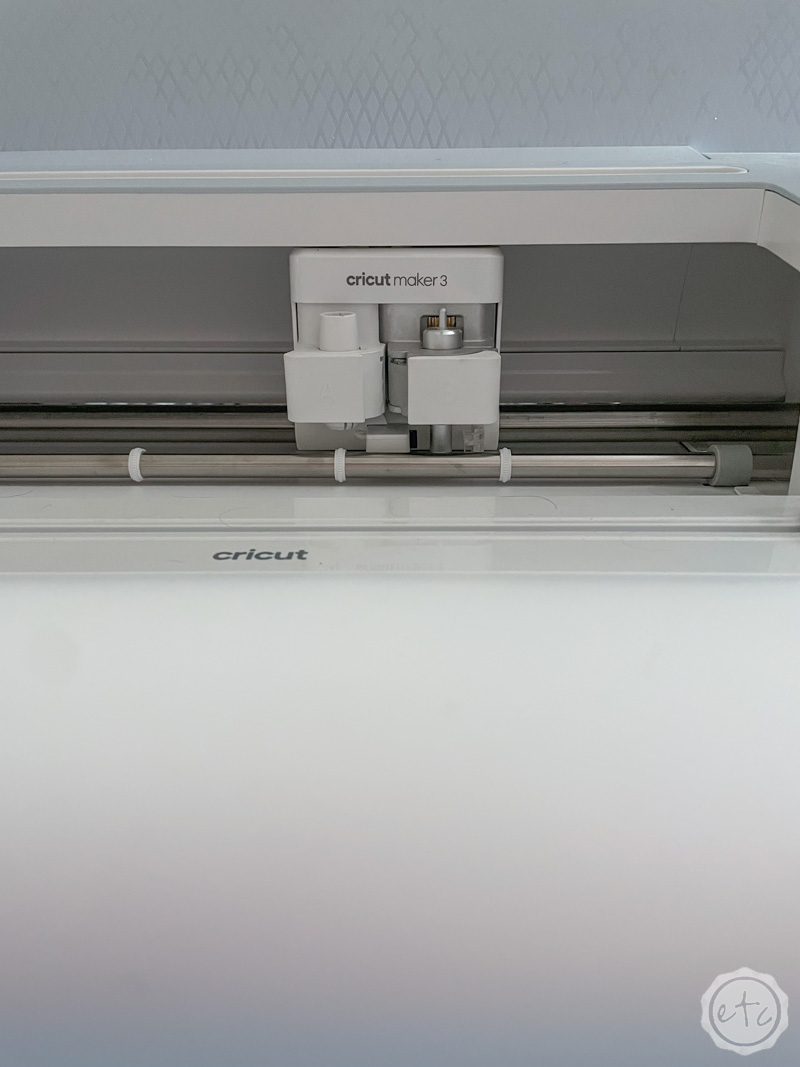
Click make it in Cricut Design Space and you’ll be able to select your machine and how you’re cutting your material. We’re using a smart material so I selected my Maker 3 and without mat… since we won’t need a cutting mat to cut our smart material.
We can feed it directly into the machine which saves us a bit of time and sanity.
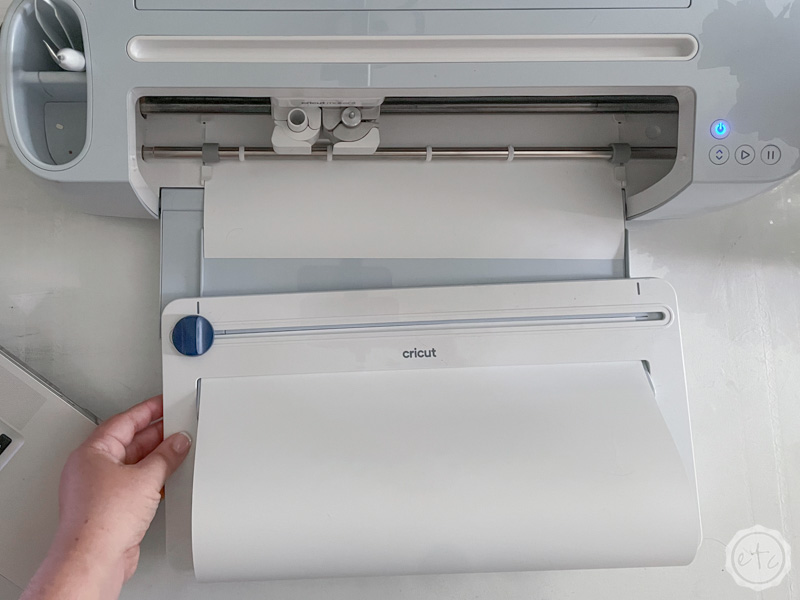
Once you’ve selected without mat you’ll head to the next page where you can actually select smart iron-on… then all that’s left is to load your material directly into your machine and hit go.
I’m using a white smart iron-on (and I have a large roll) so I grabbed my roll holder and used it to hold the roll of smart iron-on as I loaded my material into the machine. Then watch the magic work!

Step 3: Weed your Design
I love using smart iron-on in my Maker 3 because it cuts super fast but to be fair this design doesn’t have tooo much detail so it cuts pretty quickly either way. Which is perfect because I’m ready to weed!
I used the slicer tool on my roll holder to cut the rest of the roll free before releasing my design from my machine and then I started on weeding.
White iron-on’s can be difficult to see all. that. detail. so I turned on my Cricut Bright 360 (ie. fancy light that helps me see) and started to remove all the extra pieces in the design.
You’ll use a weeding tool to remove the iron-on around the design that you don’t need… leaving only the design you’ll add to your shirt.


Step 4: Apply your Iron-On
This is where the magic happens! For smart iron-on on a cotton t-shirt (with a Cricut Heat Mat) you’ll set your Easy Press to 315 degrees and 30 seconds. Go ahead and let it pre-heat while you place your t-shirt on the heat mat, smooth it out, use a lint roller to remove any lint (or in my case dog hair) and then place your iron-on decal in place.
I like to place my designs about 4 finger widths down from the neck of the shirt but you can use a ruler to be much more precise if you like. Make sure it’s straight and then smooth it into place… the clear carrier sheet is actually fairly sticky so it should stay put but if you need a little extra staying power you can use a piece of heat resistant tape.
Once everything is straight and smooth you can hit it with your easy press… make sure the easy press plate covers the entire iron-on design and then press down firmly for the entire 30 seconds. Volia!
Easy as pie!
Now just wait for the iron-on to be cool to the touch and you can remove the clear carrier sheet.


Step 5: Pack your Shirt!
At this point you’re all set! Go ahead and make shirts for everyone in your group and then make sure they’re packed for your trip.
I went a step further and made sure mine were packed in my carry on… just in case the airline lost our luggage. I didn’t want to take any chances!!
Then all that’s left is waiting until you reach Alaska to hand out your shirts… then get ready to have a blast! I know we did!
If you want to check out everything we did (from the helicopter we took to go dog sledding, the seals we saw (next to the ACTUAL GLACIER) or even the zip lining course we completed) you find the entire Alaskan experience over on my YouTube channel. I filmed everything from making these shirts, embarking the ship to each and every excursion.
Enjoy!
(Just look how excited Dad is to be wearing matching shirts on a cruise shirt! LOL)
Looking for more Cruise DIY’s? Check Out These Projects:







Leave a Reply