• House Tour
    • Reveals
  • About
    • Smith Life
    • Disclosure and Privacy Policy
      • Terms and Conditions
      • Store Affiliates
  • Contact Me
    • Want a Button?
  • Shop
    • Floral Printable Planners
    • Paint eBooks and Packages
    • Wedding Binders & Extra Printables!
    • Planner Bundles
    • Planner Accessories
    • Home Decor Printables!
  • Cart
    • Bloglovin
    • Facebook
    • Instagram
    • Pinterest
    • Twitter
    • YouTube

Happily Ever After, Etc.

Creating Our Own Fairytale

  • Happily Ever After, Etc.
  • Home
  • Home Decor
    • My Home
    • Paint
    • Before and After
    • Tablescapes
    • Mood Boards
    • Furniture
  • DIY & Crafts
    • New to Cricut – Start Here
    • Cricut
    • Resin
    • Scrapbooking
  • Organization & Planning
    • Organization
    • Planner
  • Holidays
    • Christmas
    • Halloween
    • Thanksgiving
    • Easter
  • Wedding
    • Cricut Wedding Projects
    • Free Wedding Binder
    • Bride Bag- The Ultimate Wedding Planner

How to Upload SVG Cut Files to Cricut Design Space

Hey y'all,

Uploading an SVG or even a PNG to the Cricut Design Space is easy as pie… whether you’re looking to use one of my free designs or hoping to upload your very own design this is one process you’ll need to know.

Luckily it’s only a few steps and I can walk you through it.

Let’s get started!

If you’re ready to rock you can follow along with the video… if you prefer written instructions I’ve got you covered.

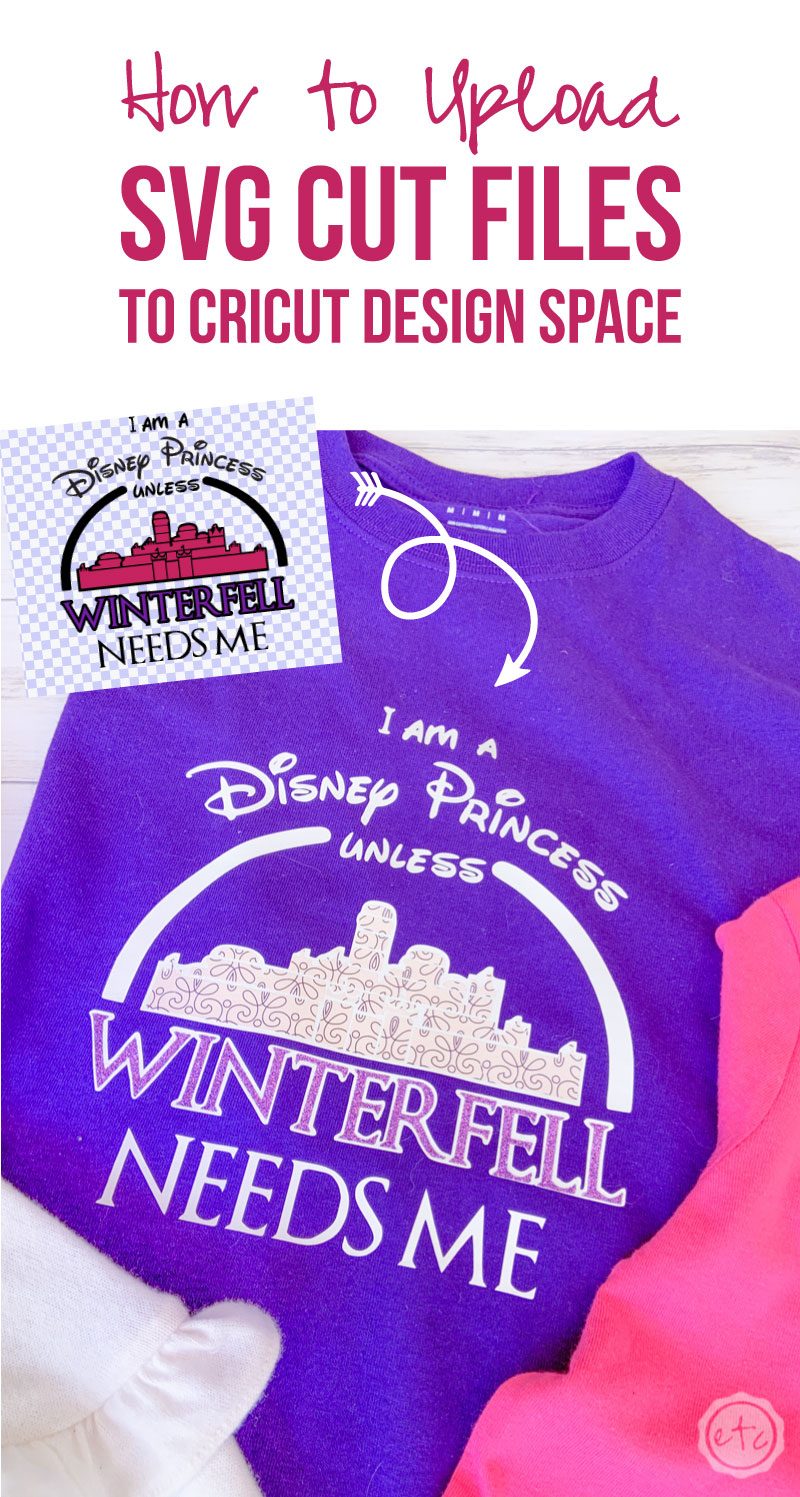
[adthrive-in-post-video-player video-id="i5N0FFOp" upload-date="2019-05-07T23:37:45.000Z" name="How to Upload an SVG to Cricut Design Space" description="null"]

The first step is to grab your Cricut Cut Files. If you’re looking for the “I am a Disney Princess UNLESS Winterfell Needs Me” file you can grab it here… otherwise any SVG will work.

Once you have an SVG head over to Cricut Design Space and open a new canvas. Awesome!

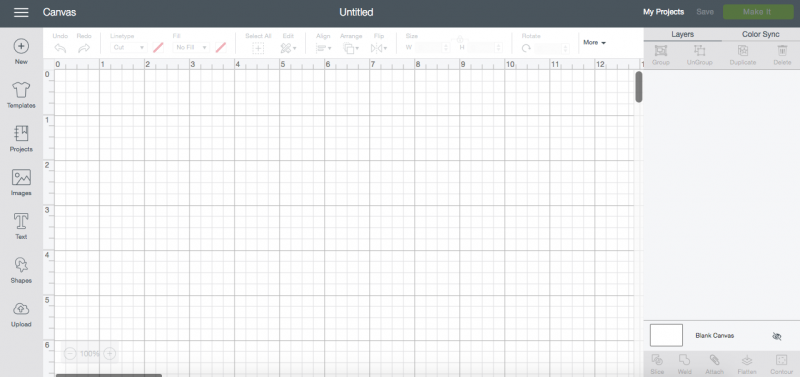
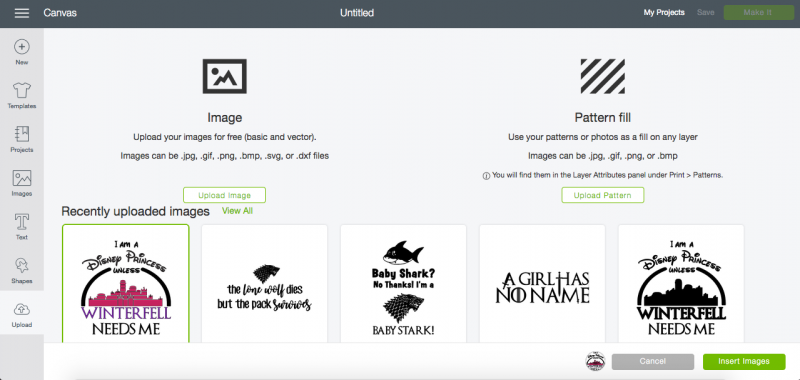
Hit upload! It’s the little download button in the bottom left hand corner of the screen. That will pull up this larger upload screen where you can see your entire upload library.

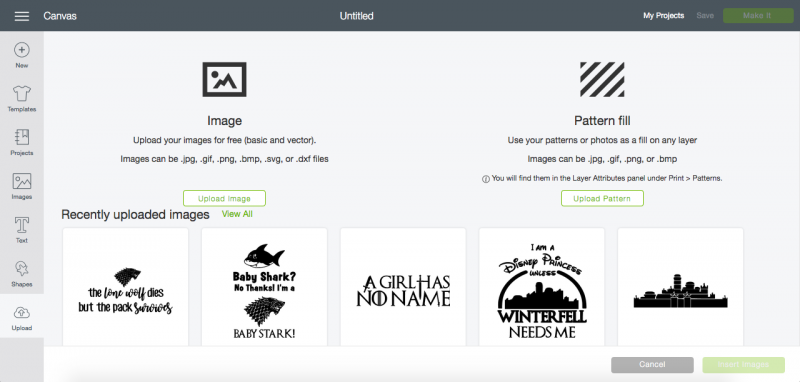
There are two options on this screen and you’ll click the “upload image” button on the left. Easy peezy… with me so far?!

Hitting that upload button will bring up a new screen where you can drag and drop your image… or click browse. Which is what I usually do.

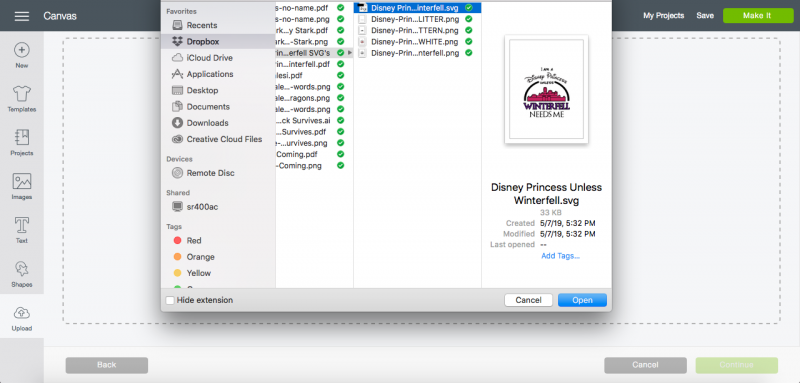
Once you click browse you can select your SVG from your computer. PNG’s work too but SVG files have a bit more detail… they’re clearer with sharper edges.

Now that you selected that SVG and clicked upload design space will bring up a new screen where you can name your new image. Typically design space will fill in the file name as the new image name… and I’ll leave that alone unless it’s something like xioohaoigaodihg.

Then I’ll change it and add a few tags. Tags are completely optional but they’ll help you find your image later (once you have so many images uploaded to the library that sorting through them is difficult).

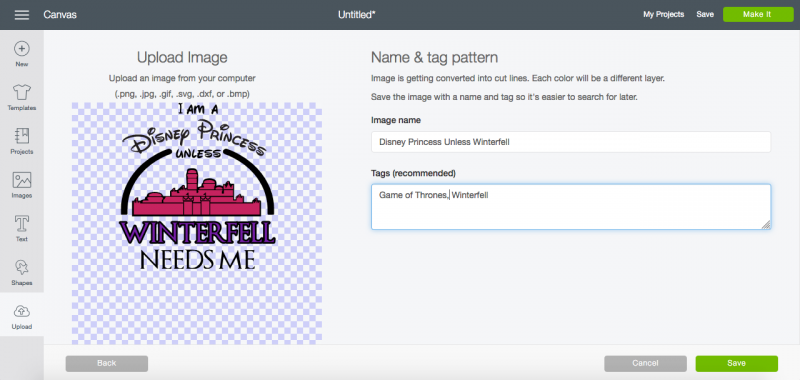
Now all that’s left of the upload is hitting save and then “insert images”. That will put your pretty new SVG right onto your Canvas!

We’re cooking with gas now!

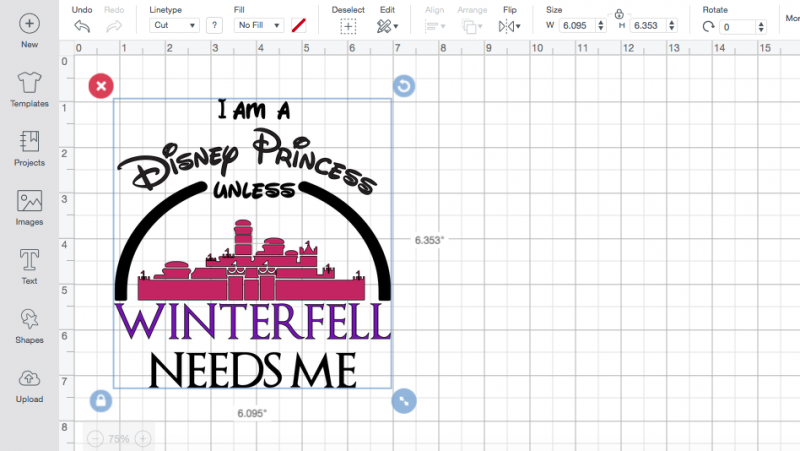
If you have a simple object (like a heart) then this is your last step and you’re ready to rock. If you have an image with multiple pieces (like words) then you’ll want to weld alll the layers together so that they cut in order.

Do you see all the layers in the layer panel on the right?

Click those little arrows to the left of the file names to take alllllll the object layers and turn them from the picture up above to the picture down below. Basically we’re just shrinking those layers to their basic groups.

Now click on the first layer so that it’s highlighted (it will be slightly darker than the other two layers in the group). Then go down to the bottom of the layers panel and click weld.

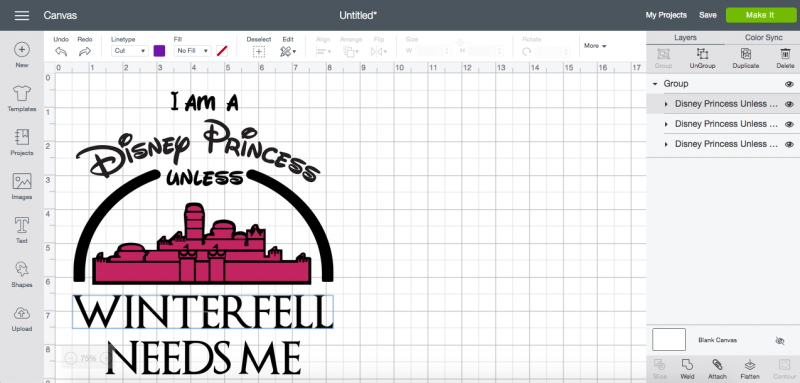
Volia! Layer one is welded… you can see that it’s gone from one of the 3 layers in the group to a “weld result” above the group. That’s exactly what we wanted.

Now re-peat that process for the other two layers in the group… click each layer one at a time and hit weld. That will keep allllllll the little pieces of that layer stuck together when they cut.

Since this project has 3 different color iron-on we had to weld 3 different layers. If you’re only cutting out one color of iron on you’ll only weld 1 layer. Easy peezy!

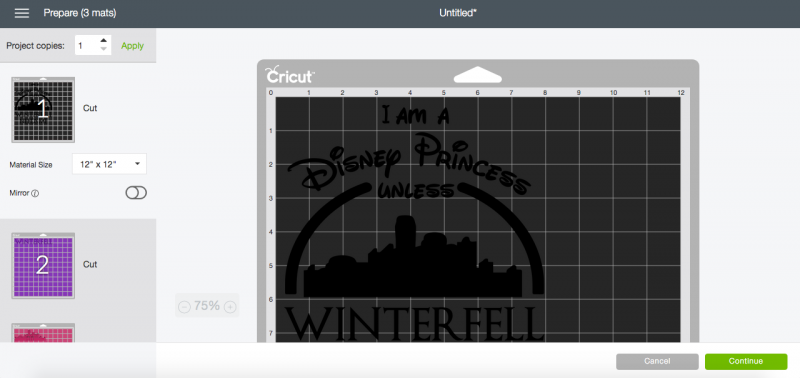
Now you’re ready to hit “make it”! See how those 3 weld layers are broken out into 3 different mats? That way you can cut the 3 different colors individually.

Now that you’re an SVG upload pro you can take any design and cut it out on your Cricut!

Enjoy!

Check out all of our Cricut Projects for more SVG’s to upload and make projects with!

Want More FREE SVG’s? Check out our seasonal collection:

You made it through the entire post? That means you're one of my new favorite people! I'd love to be friends and see what else you would like to read about! Leave me a comment and then sign up for your very own FREE paint planner.... so that you can keep track of every single paint color with ease!
Welcome back! I'd love to be friends and see what else you would like to read about! Leave me a comment and then sign up for your very own FREE paint planner.... so that you can keep track of every single paint color with ease!

Show me some LOVE y'all:

  • Facebook
  • Pinterest
  • Twitter
  • Email

Related

«
»

Cricut 14

Trackbacks

  1. Quick and Easy Leather Earrings with your Cricut Maker - Happily Ever After, Etc. says:
    June 25, 2019 at 9:06 pm

    […] to design space so that we can get started… if you’re not sure how to do that you can follow the simple directions in this […]

    Reply
  2. DIY Fourth of July Wreath with your Cricut Maker - Happily Ever After, Etc. says:
    June 28, 2019 at 2:35 pm

    […] ahead and upload your SVG into Cricut Design Space (if you need help I have a tutorial that will walk you through the process here). Since this project is basically the same design (a rosette) over and over and over you only need […]

    Reply
  3. DIY Cruise Door Sign with Your Cricut Maker - Happily Ever After, Etc. says:
    July 5, 2019 at 1:35 am

    […] Ready to jump right into the project? Grab your cut files from down below and upload the SVG’s into Cricut Design Space (if you need help check out this post on how to upload SVG files into Design Space). […]

    Reply
  4. DIY Christmas Truck Wreath - Happily Ever After, Etc. says:
    November 2, 2019 at 12:38 am

    […] can skip all of that and grab the SVG files for this project at the bottom of this post! Once you load the SVG files into Cricut Design Space you’ll be ready to […]

    Reply
  5. How to Heat Emboss on Fabric: DIY Santa Hat - Happily Ever After, Etc. says:
    November 4, 2019 at 3:05 pm

    […] ahead and download your SVG’s from the bottom of this post and then upload them to cricut design space. I’ve included two different sayings “Merry Christmas” and “I’ve Been […]

    Reply
  6. DIY Christmas Stocking Holder - Happily Ever After, Etc. says:
    November 11, 2019 at 12:36 am

    […] This is a pretty each project (as far as projects go!). Go ahead and grab your free svg and upload it to Cricut Design Space. Then it’s just a matter of cutting out your words out with your Cricut Explore Air […]

    Reply
  7. Personalized Christmas Stockings with Tassels - Happily Ever After, Etc. says:
    November 13, 2019 at 3:21 am

    […] pretty quick… go ahead and download your free SVG’s from the bottom of this post and upload them in Cricut Design Space. I really wanted to personalize my stockings so I used my families names but I did include allllll […]

    Reply
  8. DIY Letter to Santa Sign with Iron On - Happily Ever After, Etc. says:
    November 17, 2019 at 8:54 pm

    […] ahead and download your SVG’s from the bottom of this post and then upload them to cricut design space. I’ve color coded the SVG file to cut the “Santa Claus” and post mark in rose gold […]

    Reply
  9. Easy Mug Rack Advent Calendar - Happily Ever After, Etc. says:
    November 20, 2019 at 9:10 pm

    […] ahead and download your SVG’s from the bottom of this post and then upload them to cricut design space. All of the files are ready to go but don’t forget to weld the tiny centers of the numbers […]

    Reply
  10. DIY Love is Patient Love is Kind Sign - Happily Ever After, Etc. says:
    January 19, 2020 at 4:34 pm

    […] ahead and download your SVG’s from the bottom of this post and then upload them to cricut design space. I’ve color coded the SVG file to cut the “Love” at the beginning of the sign and the […]

    Reply
  11. DIY Buffalo Check Bunny - Happily Ever After, Etc. says:
    March 8, 2020 at 10:43 pm

    […] your SVG cut files (they’re free at the bottom of this post) into design space. (You can follow my SVG upload tutorial here if you need a little […]

    Reply
  12. How to Layer Multiple Sheets of Infusible Ink - Happily Ever After, Etc. says:
    May 3, 2020 at 11:52 am

    […] Of course, if you want to make this Outlander shirt you can download the FREE SVG at the bottom of this post! Then upload the SVG to Design Space and you’re ready to rock. If you’ve never uploaded an SVG to Cricut Design Space before you can follow all the steps in this tutorial. […]

    Reply
  13. How to Put Infusible Ink on Aluminum - Happily Ever After, Etc. says:
    May 16, 2020 at 2:46 am

    […] it’s time for the magic! Grab your SVG down below, upload it to design space and click make […]

    Reply
  14. How to use the Print & Cut Feature on your Cricut - Happily Ever After, Etc. says:
    May 19, 2020 at 8:30 pm

    […] you have a Cricut Maker or a Cricut Explore Air 2 and you’ve ever uploaded anything to Cricut Design Space you’ve noticed there are two options: cut or print and cut! Usually we use the cut option to […]

    Reply

Leave a Reply Cancel reply

Your email address will not be published. Required fields are marked *

sidebar betsy I'm Betsy, Home Decor Enthusiast, Yorkie Mama, Crafter, Blogger, Picky Eater, Chief Mess Maker, Antique Hoarder and Graphic Designer. You can generally find me working on (attacking with a paintbrush) the 3 bed, 2 bath home we are currently renting! Our home might not be perfect but it is ours & if you hang out long enough you'll see that what we lack in know-how we make up for in passion!
Shop My Craft Room

Shop My Home

Featured Articles

15 Fabulous Ideas to Organize your Laundry Room
25 FREE Printables For Your Home!
What to do with EXTRA Paint with Happily Ever After Etc
10 Ways to Make Your Bed EXTRA Comfy with Happily Ever After Etc.
Ready to Pick your Perfect Paint Color? We'll help you with our 6 Day FREE E-Course

Hey y’all,

Profile

I'm Betsy, Home Decor Enthusiast, Yorkie Mama, Picky Eater, Chief Mess Maker, & Graphic Designer...

A Little Note!

Many of the links on Happily Ever After, Etc. are affiliate links. If you purchase a product after clicking an affiliate link, I receive a small percentage of the sale for referring you, at zero cost to you! How awesome is that? Purchasing through affiliate links is an easy, painless way to help out your favorite bloggers. Thank you so much for your continued love and support! Read the full disclosure here!

Instagram

Load More... Follow on Instagram

Copyright © 2023 · Darling theme by Restored 316

Copyright © 2023 · Darling Theme on Genesis Framework · WordPress · Log in · Privacy Policy