

It’s time for a fun and festive holiday wreath! I absolutely love to change out my decor for each holiday but my wallet just can’t keep up with the changing seasons… I’m not a millionaire after all.
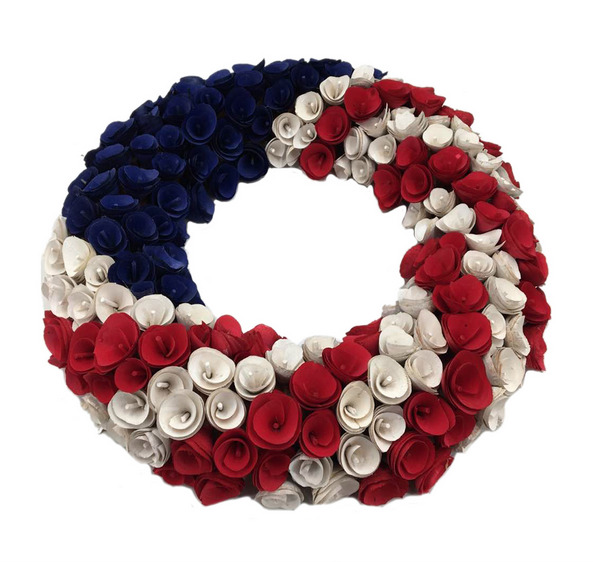
Luckily, I’m armed with a Cricut cutting machine and plenty of patience. So when I saw this cute Fourth of July wreath I knew I could whip one up even cheaper… and way cuter!
Let’s get started!
Supplies:
- Cricut Maker
- Fine-Point Cutting Blade
- Cricut SVG Files
- Cricut Strong Grip Mat (that’s the purple one!)
- Brayer
- True Control Knife
- Hot Glue Gun & Gun
- Jewelry Wire Pliers
- Corrugated Cardboard in Red (5 sheets), White (2 sheets), and Blue (3 Sheets)
- 12″ Foam Wreath Form
- Floral Pins
BONUS: I picked up 3 packages of the Brights Corrugated Cardboard Sampler (which has the red and blue) and 1 package of the Basic Corrugated Cardboard Sampler (which has neutral colors including the white). Each package 5 different colors, and each color has 2 pieces of corrugated cardboard and 2 pieces of smooth cardboard. SO if you want to purchase the fewest packages possible you could easily use all 4 red sheets (2 corrugated and 2 smooth) from one package… up the white to 2 corrugated and 1 smooth. Your wreath will have a bit more white than mine but you’ll get away with buying 1 brights package and 1 basic package.
Step 1: Cut Your Rosettes
Alright y’all… this wreath has a million rosettes! Okay, maybe not a million but basically it’s an entire wreath of little rosettes… curly cues, spiral cardboard goodness.
Luckily with a Cricut cutting all of these rosettes out is a pretty quick and painless process.
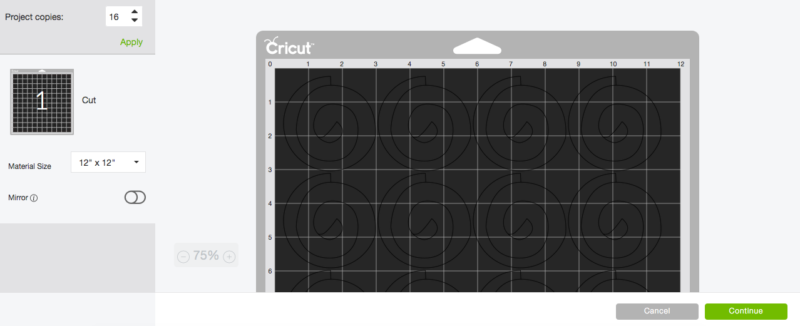
Go ahead and upload your SVG into Cricut Design Space (if you need help I have a tutorial that will walk you through the process here). Since this project is basically the same design (a rosette) over and over and over you only need to upload one rosette. Adjust the size so that your rosette is 2.75 inches tall by 2.75 inches wide… then click make it!
Now the project page will come up and you can easily change the project copies so that your one rosette becomes 16! That makes it super easy to fill your entire piece of cardboard without having to copy and paste your rosettes into the perfect configuration… design space will do it for you.
Just adjust the project copies in the top left corner from 1 to 16 and hit apply (if you don’t hit apply nothing will change for the final cut). 16 rosettes fit perfectly on this size cutting mat although if you change the size to a larger (or smaller!) rosette you will have to do a little trial and error with the project copies number to utilize the full sheet of cardboard.
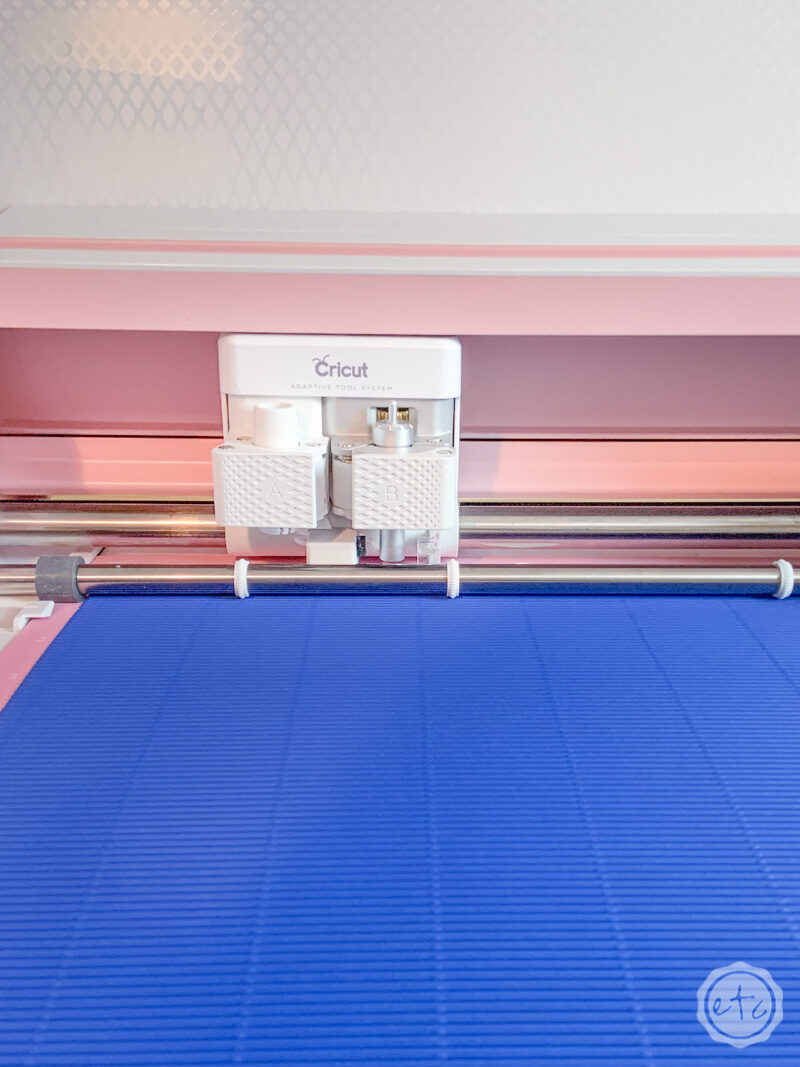
Now all you need to do is place your cardboard onto a cutting mat and adjust the settings. Luckily that’s pretty easy… pick corrugated cardboard from the materials list and load a fine point blade.
Make sure the cardboard is pressed down firmly to your cutting mat (I used my brayer and didn’t have any problems) if the cardboard is loose at any point it will make it difficult for the Cricut to cut the full spiral of the rosette (which I learned the hard way when I tried to cut a sheet without pressing it down first with my brayer).
Now hit GO!
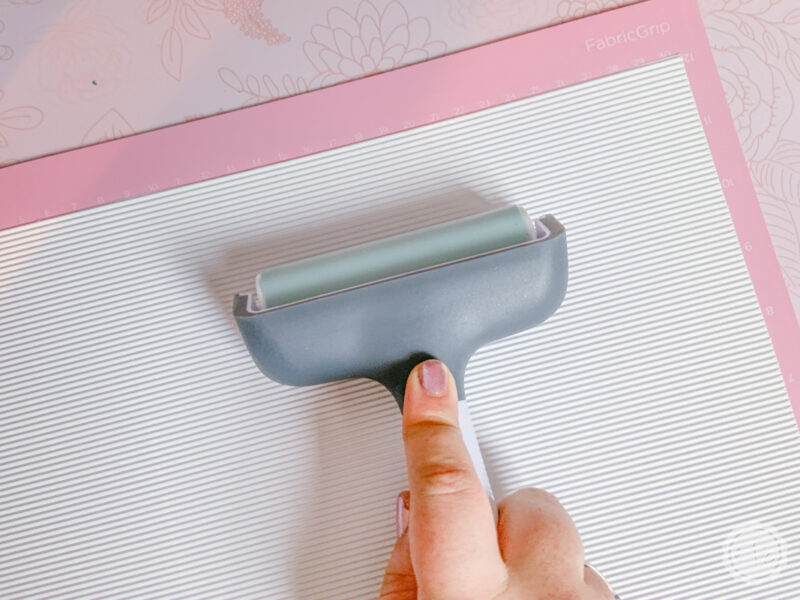
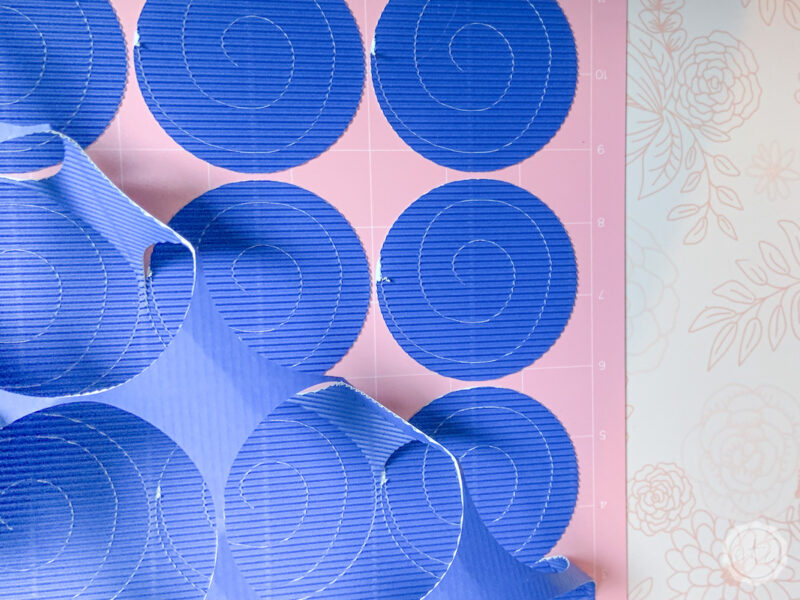
Tip: YES I know a purple strong grip mat was recommended in the supply list… and if you have one I would DEFINITELY use it for this project. I however had to order more after using alllll of mine for a fun leather earring project earlier this week. If you’re in a pinch the pink fabric grip mat is almost as strong as the strong grip mat and works pretty great when paired with the brayer.
Step 2: Weed Your Mat!
Since there are quite a few mats to cut out for this project (5 red sheets, 2 white sheets, and 3 blue sheets) I like to have 2 mats going at all times… that way while one mat is cutting on the machine I can be weeding the other mat and prepping it to go back on the machine.
That way there’s less sitting around waiting for the Cricut to be done cutting! Luckily weeding these little rosettes is pretty easy!
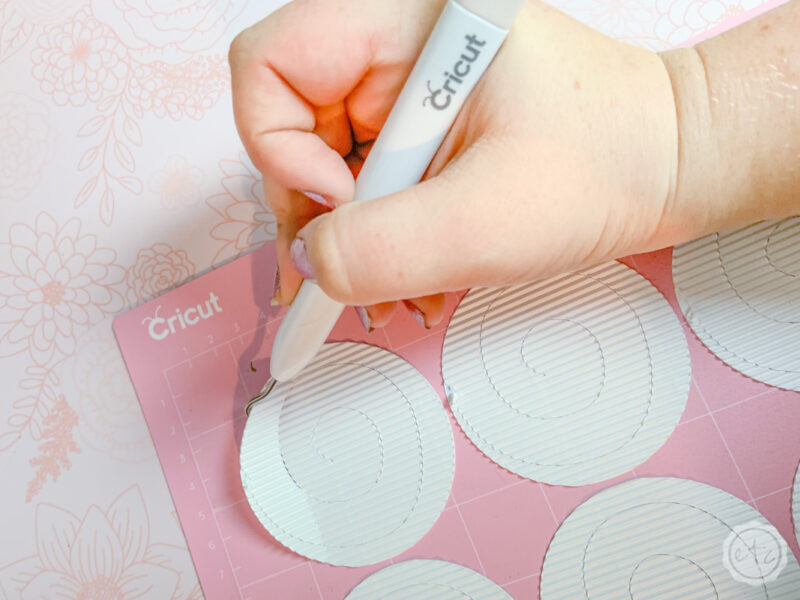
Simply pull off the negative space around the rosettes (the background should come off in one big sheet of crazy circle cut outs!). Then carefully take each rosette off the sheet.
Since this cardboard is corrugated it can bend and there are less problems… if you have long nails you could probably just take them off without a tool BUT my nails all died last week.
After a bit of trial and error the weeding tool ended up working perfectly to take these little guys off the cutting mat. Then it was loaded with another sheet and sent back through the machine!
Step 3: Curl & Glue Your Rosettes
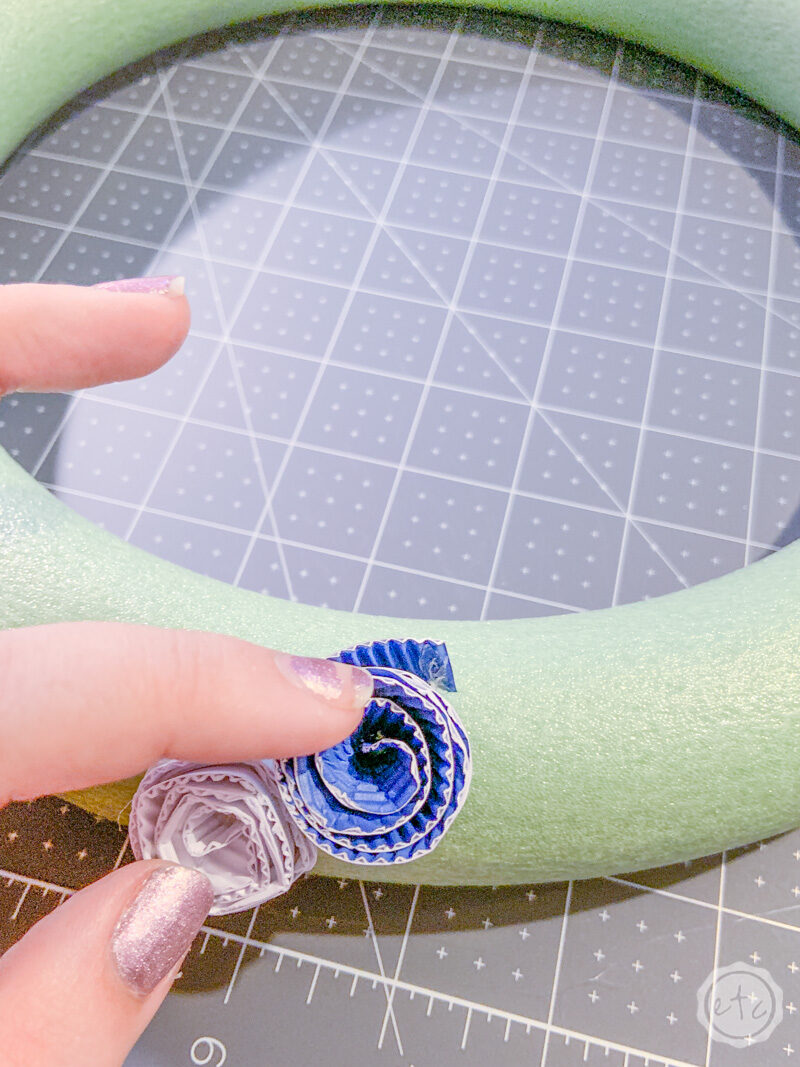
Ready for the fun to start?! Now that our rosettes are all cut out we can start to curl them! I found it easiest to curl each rosette and then glue it directly onto the wreath so that you don’t lose your tight spiral… so fire up that glue gun and have it ready.
I grabbed my reverse tweezers from my essentials kit (if you’re new to Cricut and not sure what tools to get here are my favorite Cricut tools for beginners) to get started. Simply place your tweezers in the middle of the rosette and then start to twirl the rosette around the tweezers… around and around and around until the entire piece of cardboard has been curled around.
Take a look:
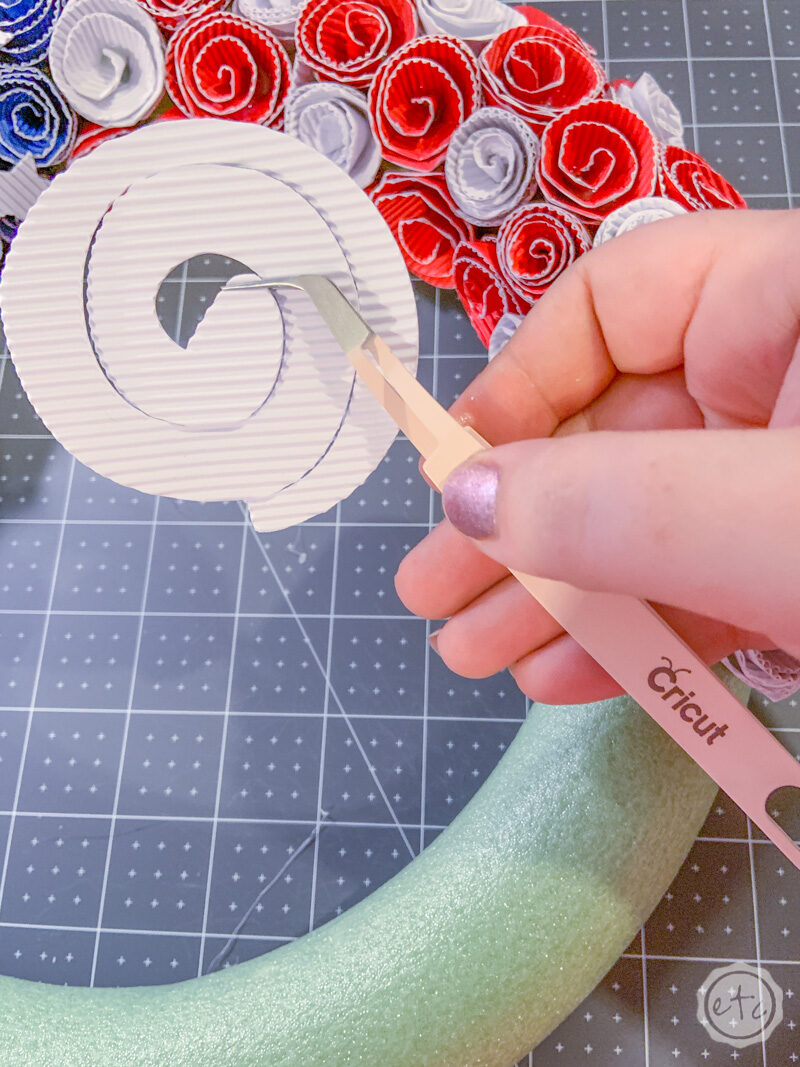


Tip: No you’re not crazy the rosette here looks different from the ones on the cutting mat up above. After curling an entire mat of those I made a few changes to the rosette pattern… these rosettes are the ones you’ll get in the SVG file and they are so much easier to work with!
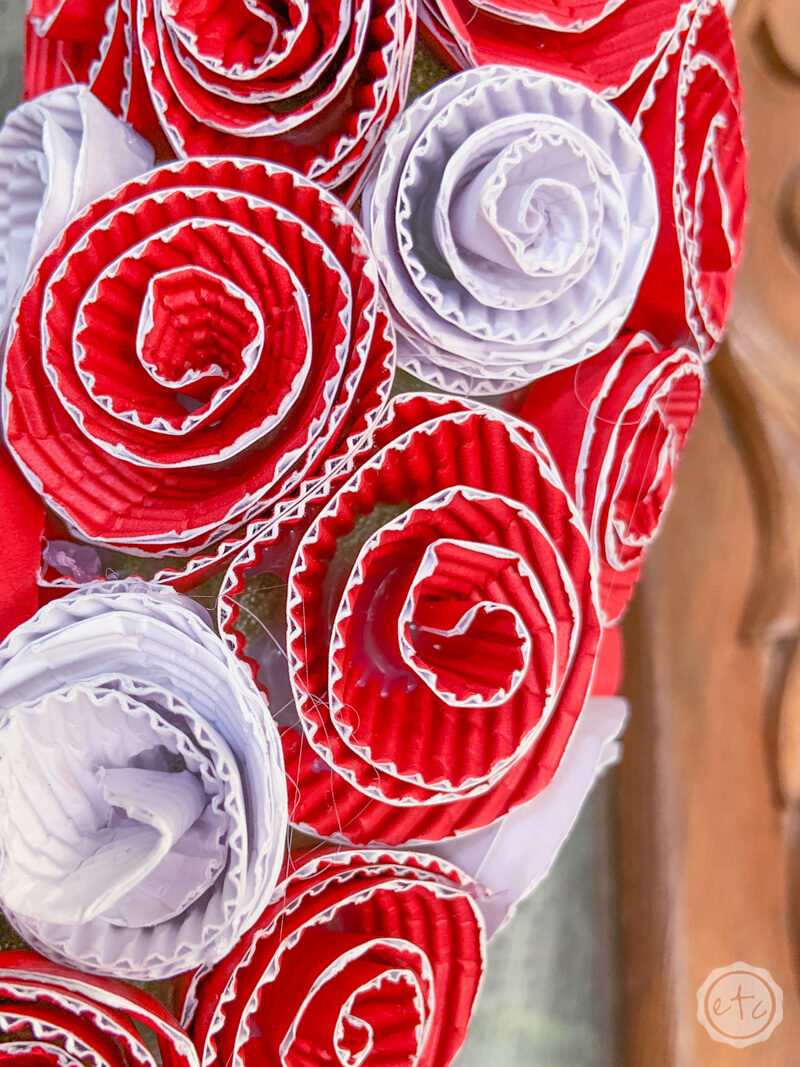
The only trick to making these rosettes is to keep the bottom of the cardboard straight… just twirl, twirl twirl and keep that bottom lined up as you go. That way you’ll have a nice compact rosette when you’re all done… see how all the cardboard is on one level in the picture below? That’s the bottom of the rosette. If you keep the bottom of the cardboard level as you twirl you’ll end up with a rosette like this that is flat on the bottom.
Once you’ve twirled the entire rosette add a small drop of hot glue to the end of the cardboard and then clamp it down with your reverse tweezers so that it can dry (another awesome reason to use these tweezers? Hot glue peels right off of them!).
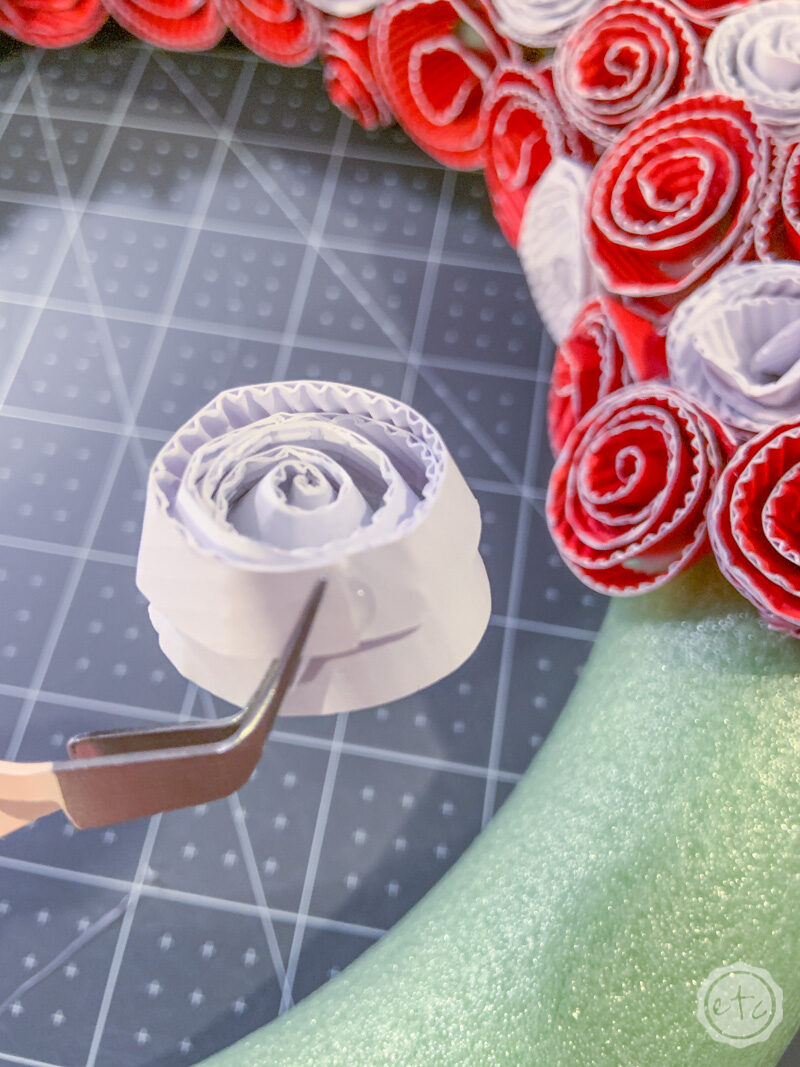

While you still have the end clamped with your tweezers go ahead and place hot glue all across the bottom. You want allllllll of the bottom pieces of cardboard to have glue so that they’ll stay in place once you glue it to your wreath. I basically just fill in the bottom with hot glue… which seems like overkill but it worked!
Once you’ve added the hot glue go ahead and put this little rosette directly onto your wreath. Hold it in place for at least 4 seconds before removing the tweezers… at this point if the rosette is staying put you can move on to the next rosette. Sometimes the cardboard starts to move a little if the rosettes extra spirally… that’s okay just hold it in place for another 5-10 seconds and then the glue should be dry enough to hold. That’s it! curl, glue, repeat!
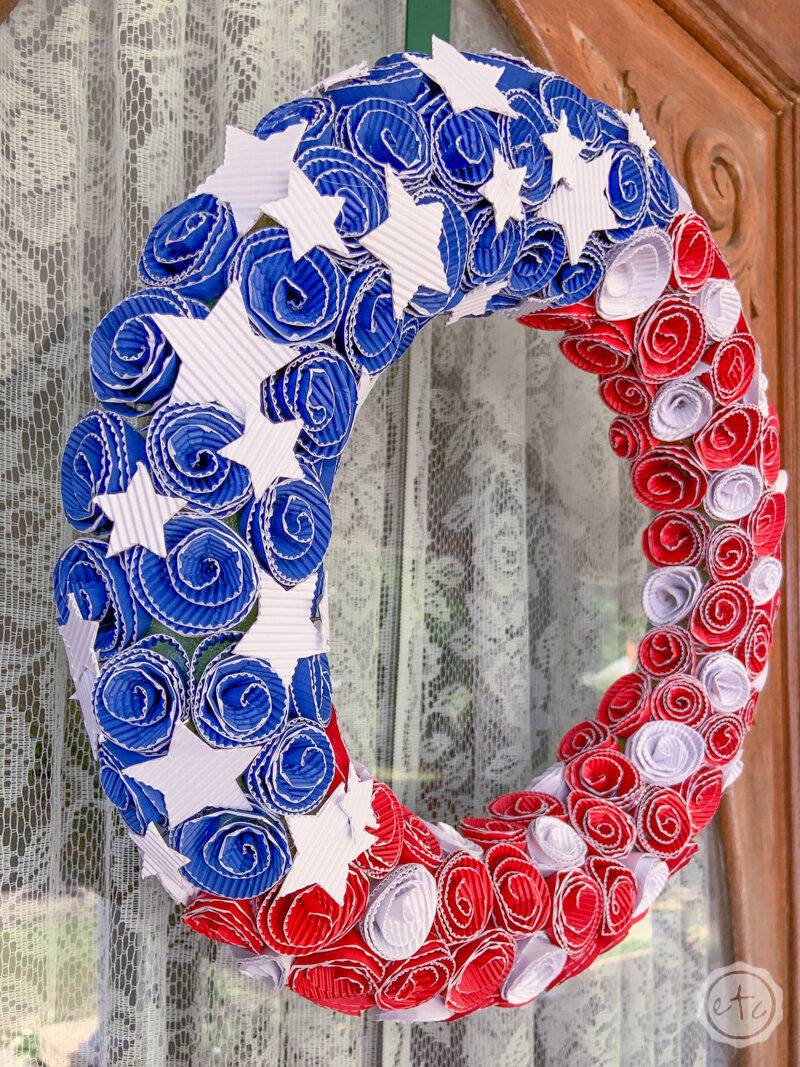
This is definitely the longest part of the project… curl and glue y’all, curl and glue. I started with the blue section since it’s alllll one color and then moved into the red and white. If you’re going for an American flag look the blue should cover about a quarter of the wreath with the red and white covering the other 3/4.
I decided to make my red and white rosettes a little random but if you like the original wreath you could always do stripes!
Step 4: Add Stars
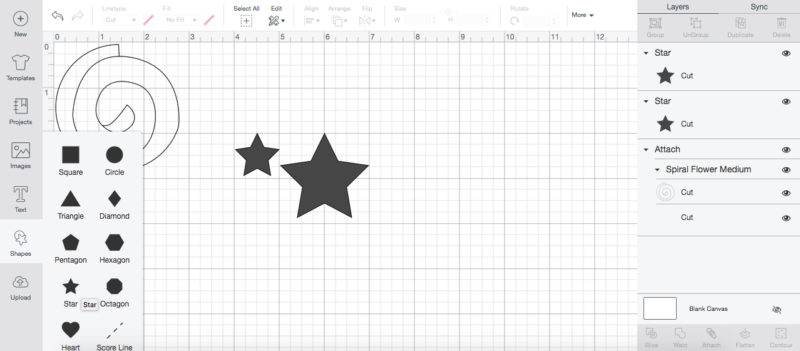
For a little extra interest I decided that a few stars across the field of blue would be the perfect finishing touch! So I went to the shape menu on the left in Cricut Design Space and picked the star option… I made a one inch star and a two inch star in less than five seconds!
Then I cut out way too many stars… after all is said and done about 10 of the 2 inch stars and 15 of the 1 inch stars should be more than enough. And since we’re using white corrugated cardboard the cutting settings are exactly the same as when we cut the rosettes out earlier.
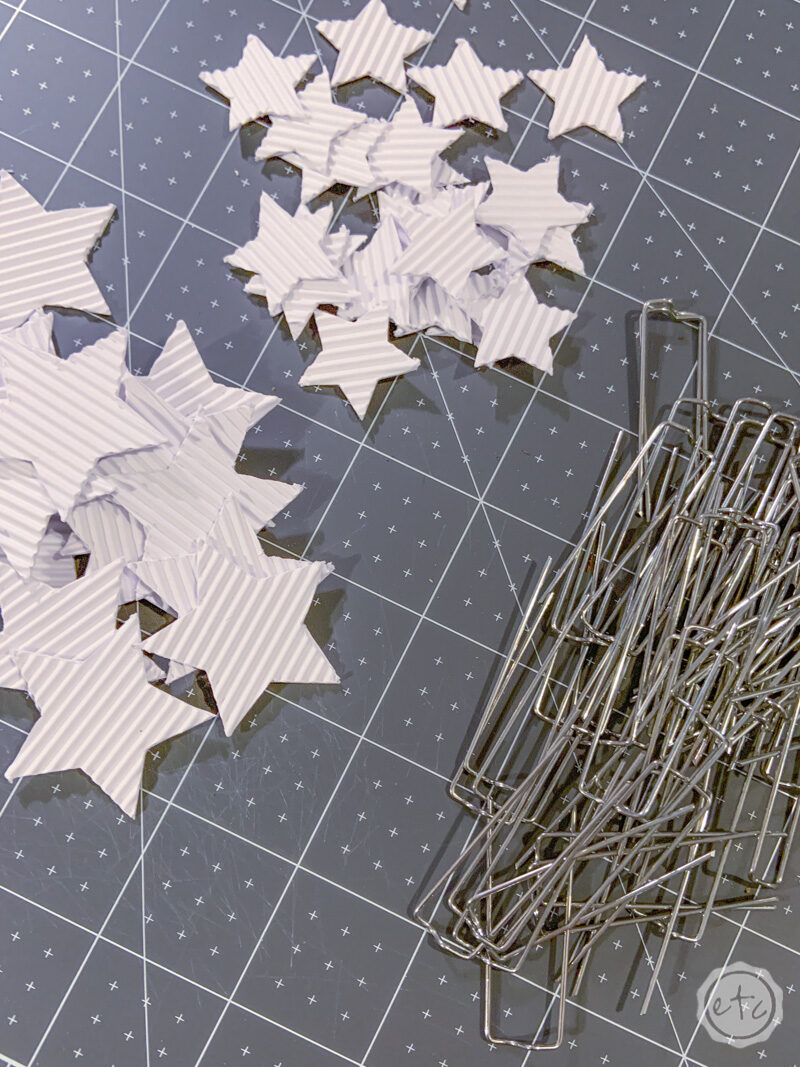
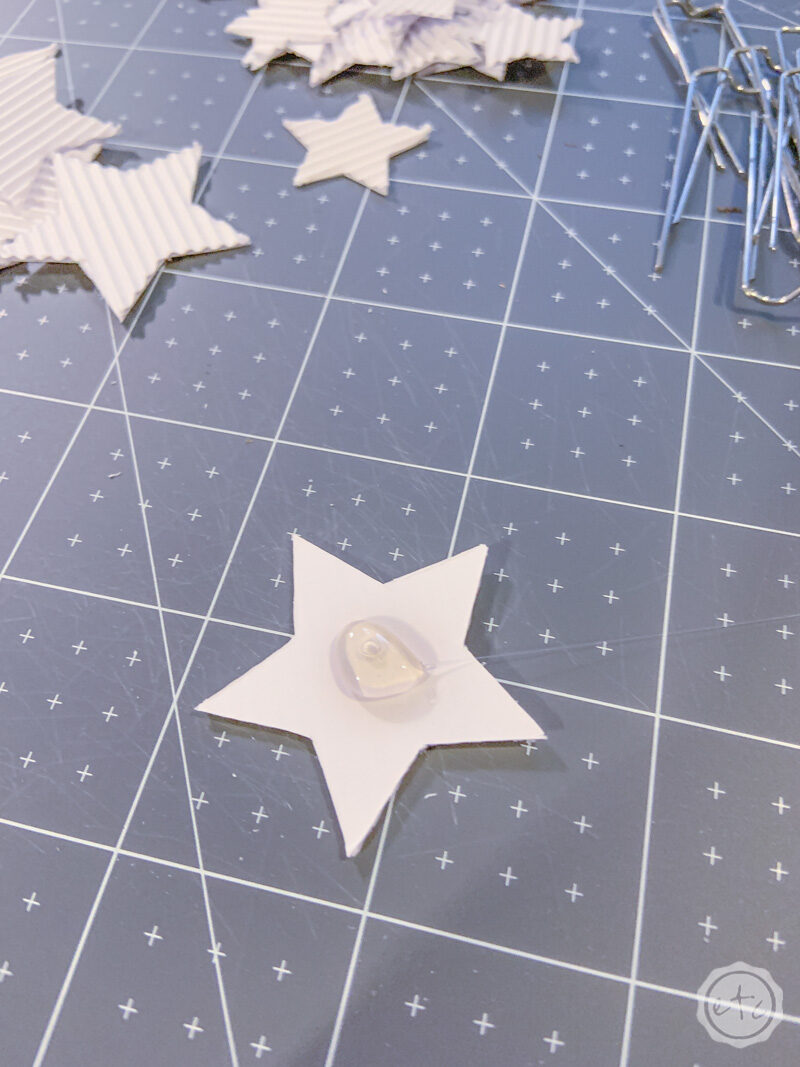
Once these little stars are cut out we need to add a few floral pins to the back so that we can easily stick them right into the foam wreath form. For the larger stars a dab of hot glue is perfect to hold a floral pin in place.
Make sure the glue dries before trying to add these stars to the wreath though… of the stars will pop right off the floral pins! Once they’re dry you’re good to go.
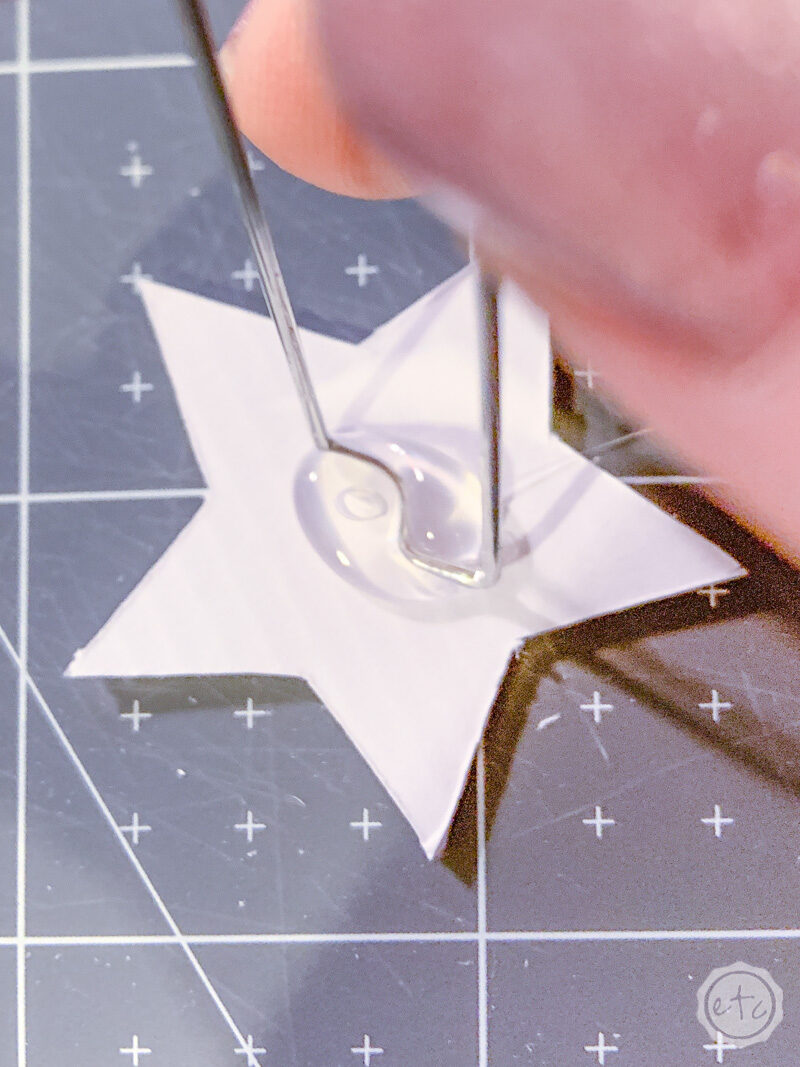

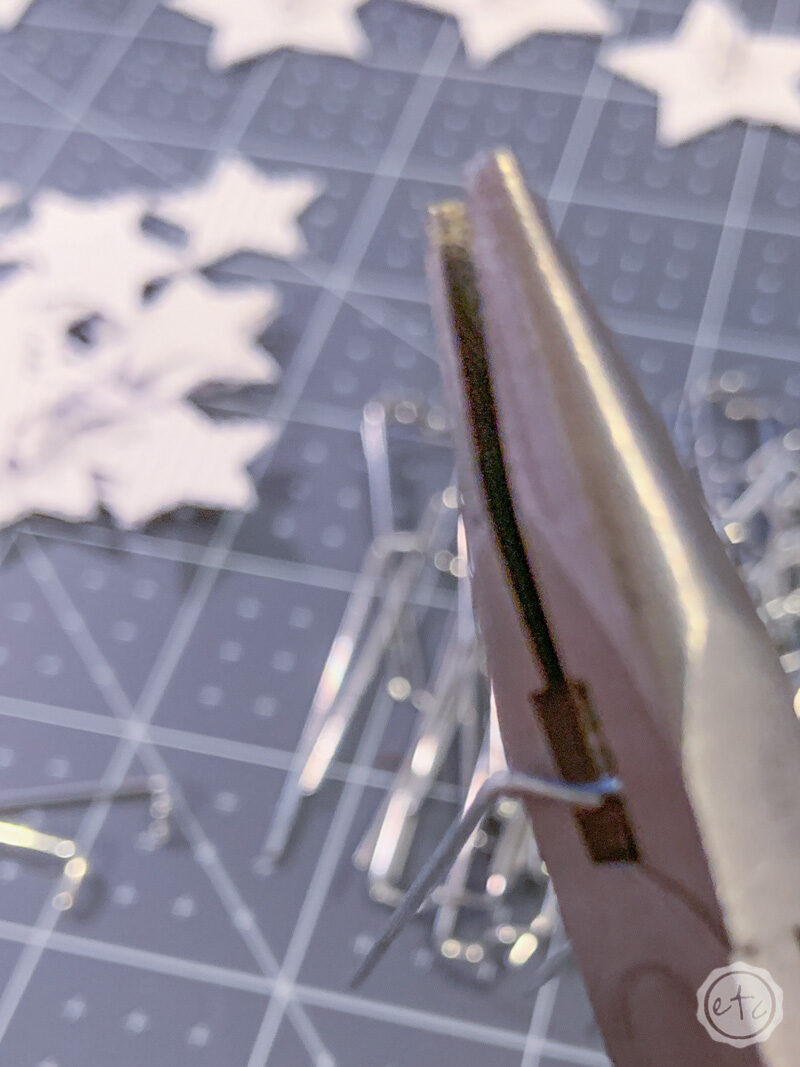
The floral pins were just a tad to big for the 1inch stars… so I used my wire cutters to cut them in half before gluing them onto the back of my stars. Easy peezy!
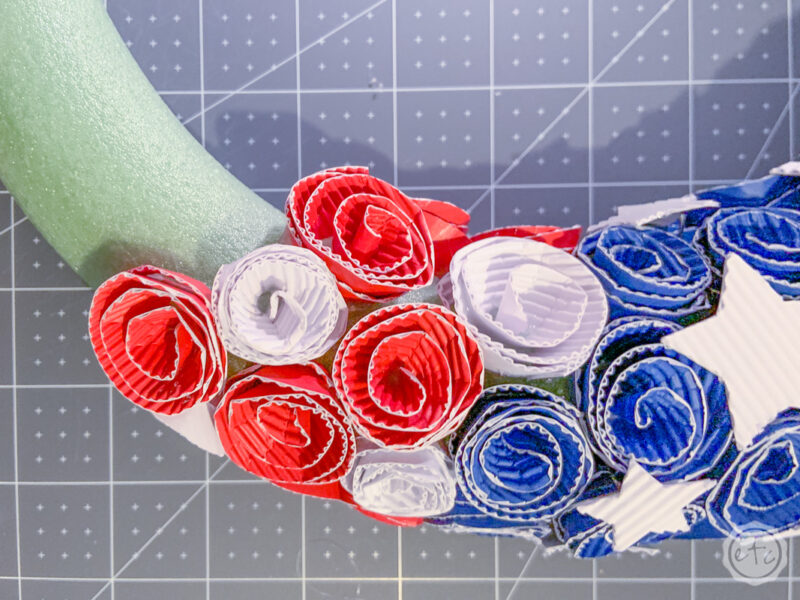
Now you just need to add these little stars all over the field of blue rosettes! I tried to add mine anywhere there was a little space so that the stars covered the weird gaps. Add the larger stars first and then fill in with the smaller stars… volia!
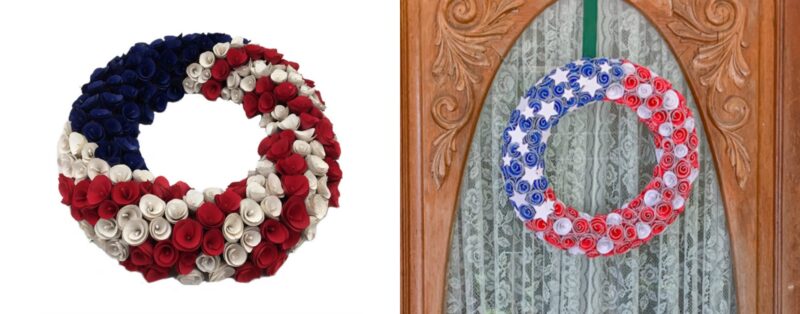
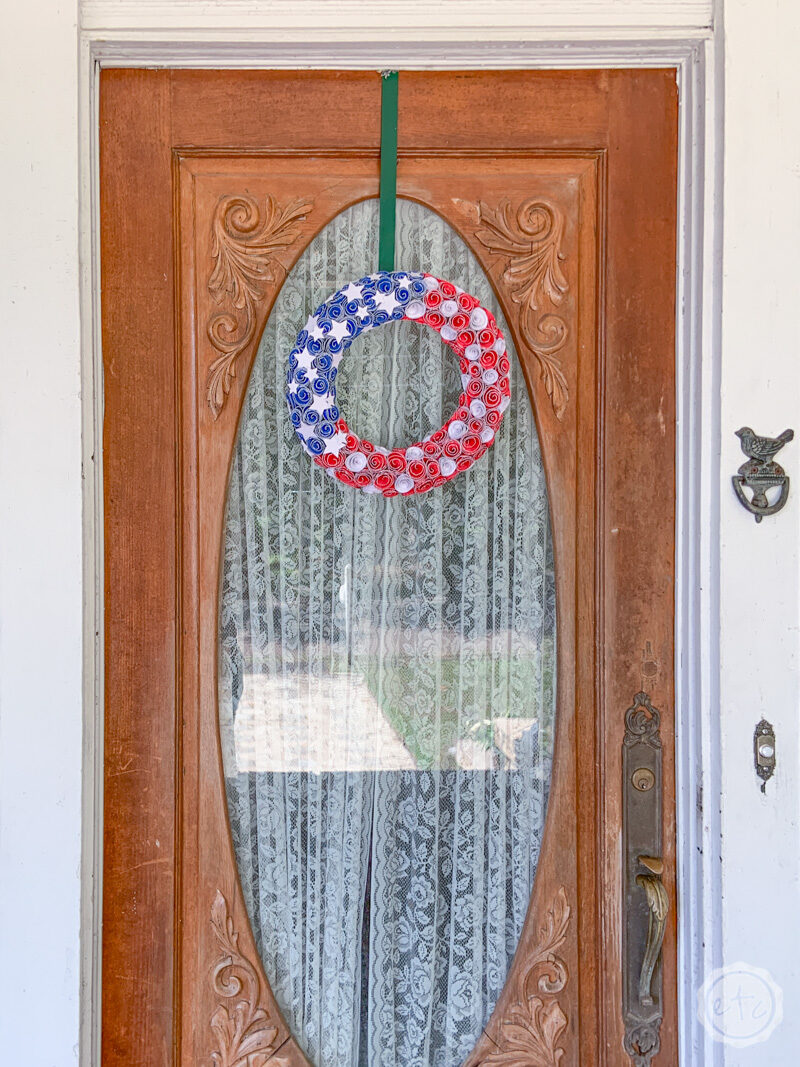
Five hours later and you have a beautiful Fourth of July Wreath you can use over and over! I am just in love with how this turned out… I think the stars were a great touch that gave it that little extra zing of pizzaz!
Once you get going the rosetttes are rather easy to make… it’s definitely time consuming though so don’t think you’ll get through this project in half an hour (without a lot of help!) It took me quite a few (*cough cough* five) hours to completely finish this little wreath BUT in my defense it was also 3 in the morning.
It probably would have gone faster if I was awake… I know I would have burned my fingers less! Oh well, it’s done now and I LOVE IT! Let me know what you think below!


Get Your FREE PDF Guide!

Don't forget to snag your free PDF Guide to buying your first Cricut!


