
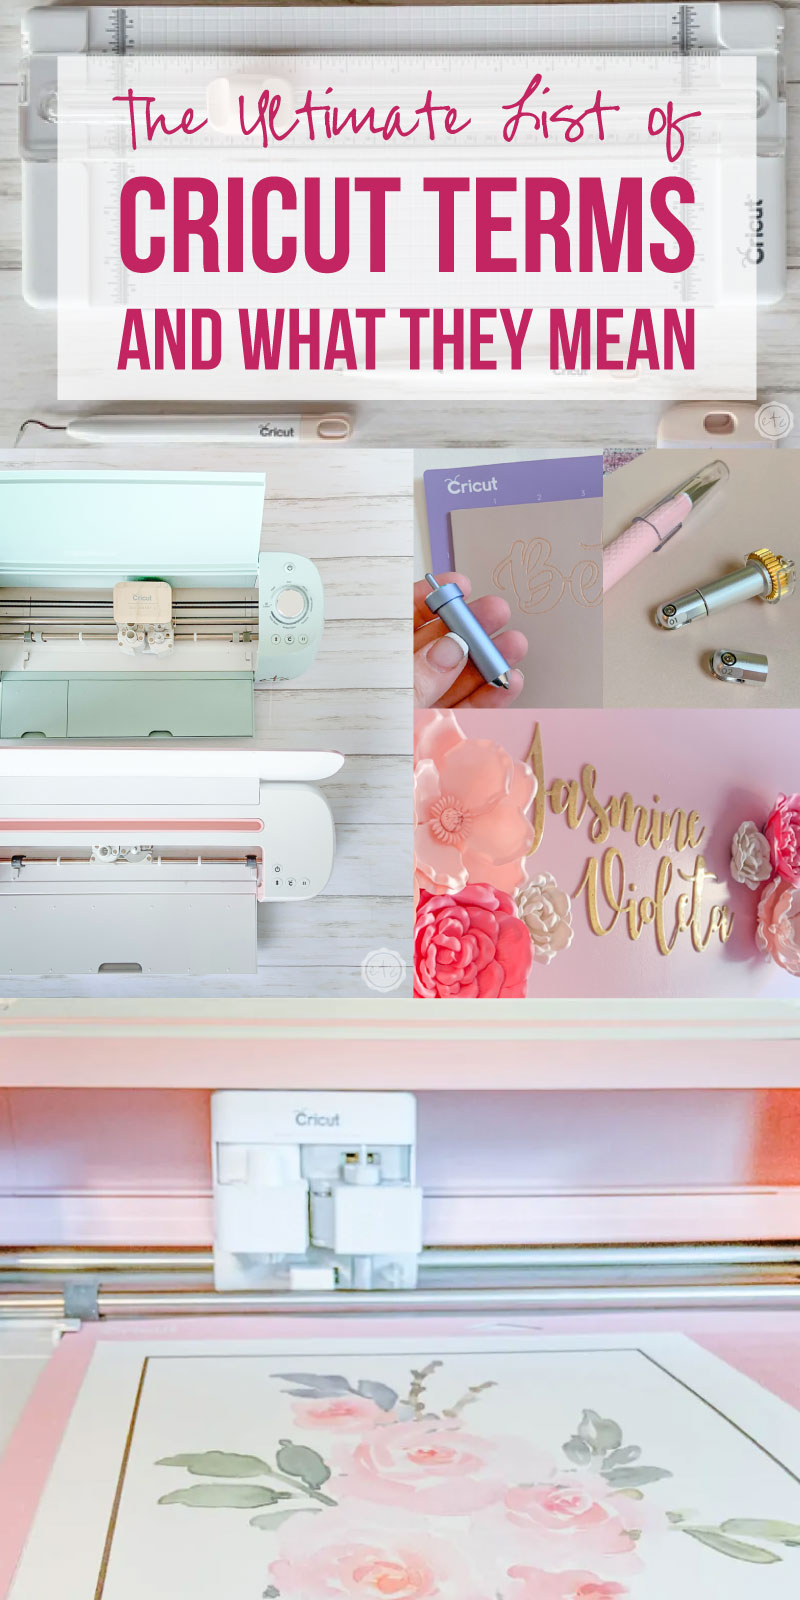
This post is sponsored by Cricut but all opinions (and projects!) and 100% mine.

If my goal for last year was to add to my Cricut Project Library as often as possible than my goal for this year is to create as many Cricut Videos for YouTube as possible! Which means I’m getting more and more questions about Cricut terminology on my Cricut videos: what’s a brayer? what does it mean to print, cut, weed etc. what’s the difference in vinyl and iron-on.
When you’ve been making Cricut projects as long as I have you forget the days of confusion… where you had no idea what it meant to weed a design.
I mean aren’t weeds in a garden? Aren’t they bad? Don’t we pull them?
So I’m putting together a list. The most comprehensive list possible… of every single Cricut term I can think of. I’ll tell you what it means (whether it’s an action, a product, a design term or even a material) and when possible I’ll link to a tutorial that better showcases that term.
Of course, with the dozens of machines and materials Cricut offeres I’m sure I’ll miss a few terms along the way… if you can think of any Cricut terminology I should add to this little impromptu Cricut Dictionary then leave a comment down below. I’ll add it to the list so that our ultimate list of Cricut Vocabulary is as complete as possible.
And unlike middle school I won’t give you a pop quiz at the end of the post (you can put down the flash cards).
Let’s get started.
Designing Terms
Terms you may find when designing projects to use with your Cricut cutting machine. Mostly words that have something to do with Cricut Design Space.
Cricut Design Space:
This is Cricut's software.... you'll use it to design projects, upload SVG's, go through the Cricut Access library and ultimately make your projects. It can be used on a desktop computer as well as on the Cricut Design Space app. However some features are only available on the desktop version.
Cricut Access:
This is cricut's library of fun design files and fonts. It's a subscription service that you can use if you want access to thousands of images and fonts without having to pay for each individual image. Sometimes you even get discounts on Cricut tools and supplies for being a cricut access member.

SVG:
A type of image. It is created using vectors (lines and points) and are cut natively on a Cricut. SVG files will always be your best bet for clean, precise cutting (versus JPG and PNG files). Learn how to upload SVG's to Design Space here.
JPG:
A type of image. While it is compatible with Cricut these images are pixelated and not your best option.
PNG:
A type of image with a transparent background.
Attach:
Used to keep your images in the same arrangement on your cutting mat as on your canvas. Also helps to keep writing/scoring lines in place.
Align:
Helps you line up different layers on your canvas.
Arrange:
When working in Design Space your you may have different layers. If so the arrange button will allow you to control which layer is at the front of the design and which layer is at the back of the design.

Bleed:
When using Cricut’s Print then Cut feature, turning on “bleeds” means that your image with print with a little extra color around the edges. This makes sure that the color goes right up to the cut line and a white border is not left around your image.
Canvas:
The work space in Cricut Design Space where you create your projects. It appears after you click "new project" on the main screen or "customize" on a Cricut Access project.
Contour:
A tool in Design Space that allows you to delete/hide unwanted pieces from your projects.
Curve:
Allows you to curve text from a simple arc all the way into a circle. This tool only works on desktop, not mobile devices.
Flatten:
Takes cut images and “flattens” them together. Can be used to create a print then cut image or one specific cut file.
Flip:
Will take your image and rotate it over the horizontal or vertical axis. Basically it creates a reflection.
Group:
Will take layers and group them together in Cricut Design Space while letting them retain their individual actions (cut, foil, write, etc).
Ungroup:
Will take a previously grouped layer and revert it back to single layers.
Layer:
Each image on your Canvas is considered a layer. You can see each layer in the Layers Panel to the right of your Canvas. Next to each layer is an "eye icon that you can use to hide or reveal a layer.

Linetype:
The “treatment” of your image. Depending on the image, you may be able to cut, draw, score, engrave, deboss, wavy cut, or perforate the image. You will see that the appearance of the image on your canvas changes depending on your selection, and it will also tell you your linetype in the Layers Panel. Ready to see it in action? I use a foil linetype and a cut linetype in this little stocking tag tutorial!
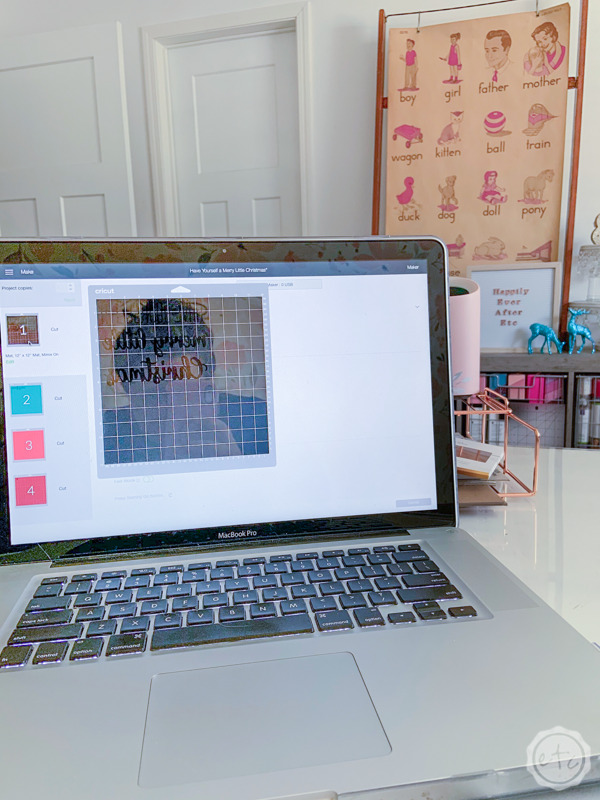
Mirror:
After you click make it you'll be on the cutting mat screen… at this point you'll be offered the option of "mirroring" your design. Which is the basic act of flipping your design over the middle axis so that it's backwards. This is used when cutting iron-on or infusible inks so that the design is right-side up or readable once applied.
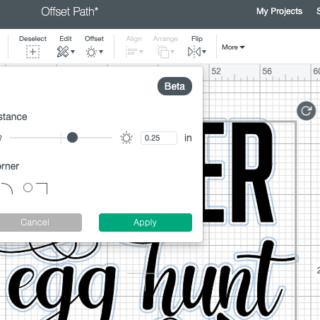
Offset
Offset is a fancy way of saying a background, a border, a bubble around your text, image or svg. The offset tool is the newest and greatest feature of Cricut Design Space and lets you add a larger layer to your image. Follow the full tutorial for the Offset feature here.
Position:
Where on your Canvas an image is located. If you upload an image and don’t see it on your canvas but you see it in the Layers Panel, try changing the position to X=0 / Y=0 and it will move the image to the top left of your Canvas.

Print then Cut:
The ability to print an image on your printer and then load it into your Cricut Explore Air 2 or Cricut Maker to cut along the edge. You can follow my full print then cut tutorial here as I make the floral decal on my Cricut Maker
Registration Marks:
When using the print then cut feature Cricut will add registration marks around your design that will print with the image. These will be bold black lines that your machine will use to orient it self with the
printed design.
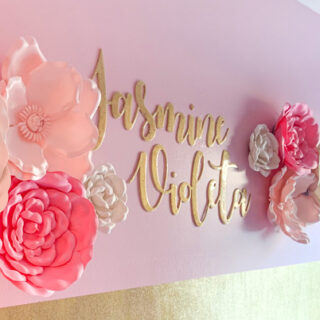
Slice:
Lets you cut out a shape from a larger shape, create interesting shapes not found in the basic shapes tool, and trim unwanted parts of shapes. I mainly use it when I have have a large project that won't fit on one cutting mat. Want to see the slice tool in action? I use the slice tool A LOT to make this 3 foot wide baby name basswood sign for over my friend's crib.
Shapes:
A tool that allows you to insert and manipulate one of ten shapes: square, circle, triangle, diamond, pentagon, hexagon, star, octagon, heart, score line.
Type:
Another word for a font or the different letter styles you can pick from when writing a word.
- Cricut Fonts: These are fonts that are already in Cricut Design Space and are readily available when creating projects. Some of them have an associated fee unless you have Cricut Access. They are designed to work with your Cricut and can be eas(ier) for your machine to cut if you're not good at picking out compatible fonts.
- System Fonts: These are fonts that are available on your personal computer that can be used to design projects.
- Writable Fonts: When you load a pen into your Cricut machine for a writing project the Cricut will respond in one of two ways. It will write the project as one continuous line (if the font used is a writing font) or it will write the project as an outline of the font (similar to how the machine would cut the project with a blade). Writable fonts are made to work with your Cricut Pens and always write in a continuous line... they will always be a Cricut Font. They will say "writable" next to them.
Letter Spacing:
This is up in the top toolbar and allows you to add or subtract space between letters.
Weed:
The act of removing the negative space between the letters or shapes on a cut project. Typically this is the space inside letter's (like the area inside the e or o) but it can be any area inside an image that you don't need.
Weld:
An action that takes more than one shape and turns them into a single shape. This is often used when uploading an SVG to take all the layers of a design and make them one layer.
Pretty Side Down:
This is a term that crafters use when they're working with iron-on or other materials that need to be placed with the "pretty" side down against the cutting mat. Typically this is because the material needs to be mirrored. In the case of iron-on there is a clear cover over the material so by placing the material "pretty side down" and mirroring your design the cricut can cut into the back of the actual iron-on. You can see this in action with the iron-on I used on this bridal robe tutorial.
Decal:
The end result when you cut shapes into vinyl.
Ready to take the leap but not sure which machine is right for you? Check out my Explore Air 2 and Maker comparison before pulling the trigger. I go over the pro’s and con’s of each machine and even have an easy to read check list of each machine’s features so you can decided which cutting machine is perfect for you.
Blades, Tips & Cutting Actions
A list of all the blades, tips and cutting actions that you may come across when using your Cricut.
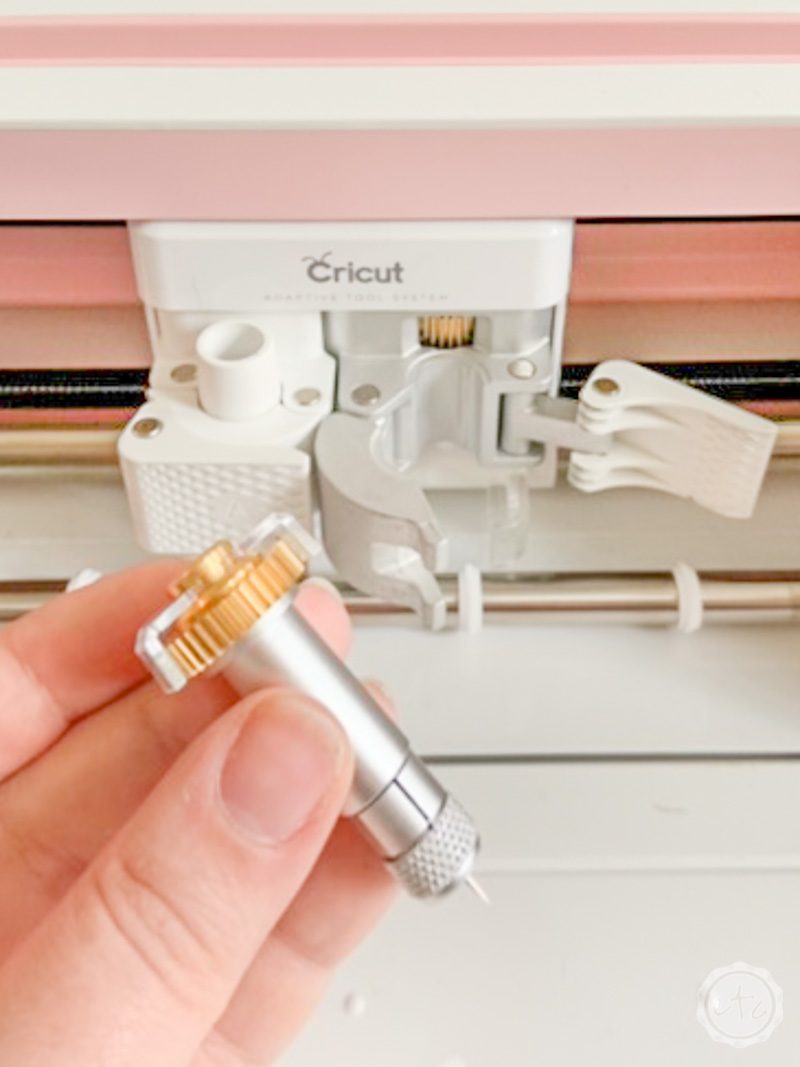
Adaptive Housing Drive:
Similar to the housing this housing drive works with the adaptive system of the Cricut Maker. It has a gear at the top and a clear guard to protect the gear.
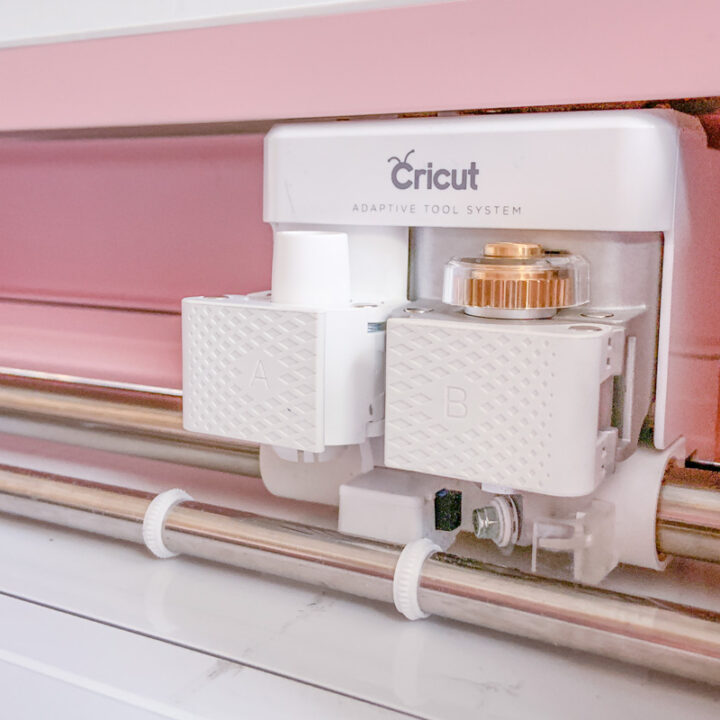
Adaptive Tool System:
The new system that the Cricut Maker uses to exert 10x the strength of previous models. This system has more control over tools, using advanced mathematical algorithms and a system of intricate brass gears designed to improve cutting precision.
Bonded Fabric Blade:
This little pink blade is stronger than the fine point blade and works with the Cricut Explore Family to cut bonded fabrics and stiff felt. It is replaced by the rotary blade for the Cricut Maker.
Carriage:
The part of your Cricut machine that holds the blade and other tools. It moves back and forth along the roller bars.
Cutting Blade:
A small (usually sharp!) piece that is inserted into a housing... this is what actually cuts your surface. You can have a fine point blade, a deep cut blade, bonded fabric blade, a knife blade, a wavy blade or a perforation blade.
Debossing Tip:
The debossing tool pushes the material IN to create pretty effects — it’s the opposite of an embossing tool. This rolling ball has a wider range of motion and gives you free reign to customize, personalize, and design with incredible intricacy. Find the comprehensive overview of the debossing tip here.

Deep Point Blade:
Similar to the fine point blade the deep point blade is made of a more durable, harder steel which allows for intricate cuts in thicker materials such as foam sheets, cardboard and thick cardstock. It's compatible with the Explore line and the Maker... although the Maker makes it even more powerful. Find the comprehensive overview of the deep point blade here.
Engraving Tip:
The engraving tool lets you engrave on flat, soft metals (such as aluminum and copper), leather, acrylic, and paper. Find the comprehensive overview of the engraving tip here.
Fine Point Blade:
This is is the most common blade and comes with all of the Cricut machines. It's used to cut standard materials like vinyl, iron-on or cardstock and works with all of the machines. This blade is perfect for making intricate cuts! Find the comprehensive overview of the fine point blade here.
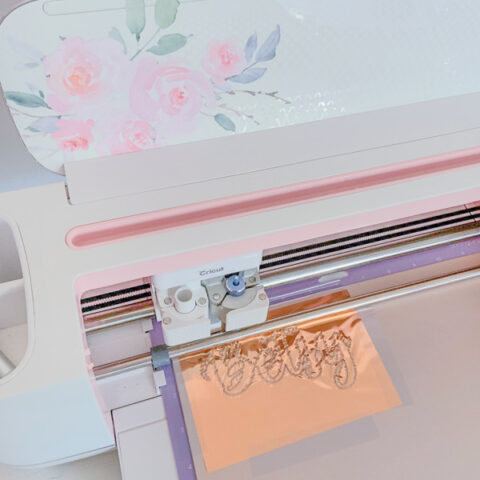
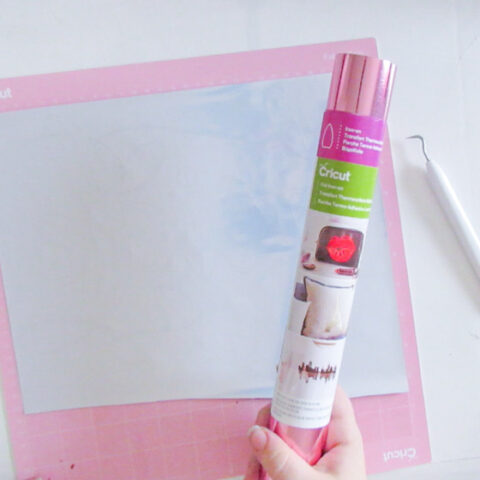
Foil Transfer Tip:
This tip lets you add foil script or designs to all your favorite Cricut projects. It's easy to use and comes with three tips for thin, medium and thick lines. Find the comprehensive overview of the foil transfer tip here.
Housing:
What holds the blade in place. On a fine, deep or fabric blade it is the smooth shank that the blade is inserted into.

Knife Blade
The knife blade is Cricut’s answer to making precision cuts through thicker materials. It works exclusively with the Cricut Maker and cuts through leather and woods with ease. It only works with the desktop version of design space and has longer cutting times than normal. Find the comprehensive overview of the knife blade here.
Perforation Blade:
The perfect way to tear quickly and effortlessly with precise perforation cuts for a wide variety of projects. This little tool creates uniform, finely perforated lines for any design. These evenly spaced perforation lines allow for clean, even tearing without the need to fold beforehand. Find the comprehensive overview of the perforation blade here.
Rotary Blade:
This little blade is my second favorite (hello knife blade!) it cuts through fabric and felt like butter and makes difficult cuts easy. You can only use it with the Cricut Maker since it works with the adaptive tool system. Find the comprehensive overview of the rotary blade here.
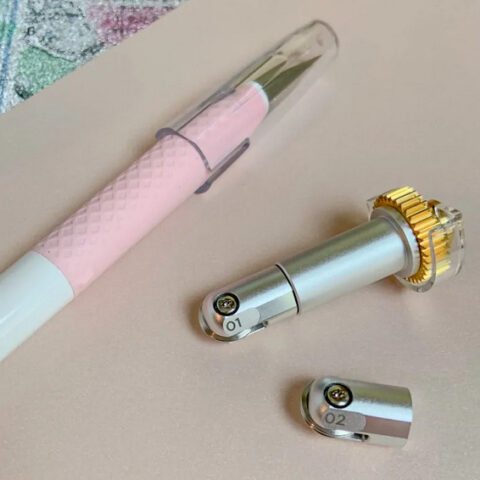
Scoring Wheel:
Before the Cricut Maker we had the scoring stylus but with the new wheel we have so many possibilities. It works exclusively with the Cricut Maker and comes with two tips. You’ll use the single scoring line for things like cardstock and the double scoring line for thicker materials that tend to crack or have a bit more bulk. That way they’ll lay flat when you fold them over the scoring lines. Find the comprehensive overview of the scoring wheel here.
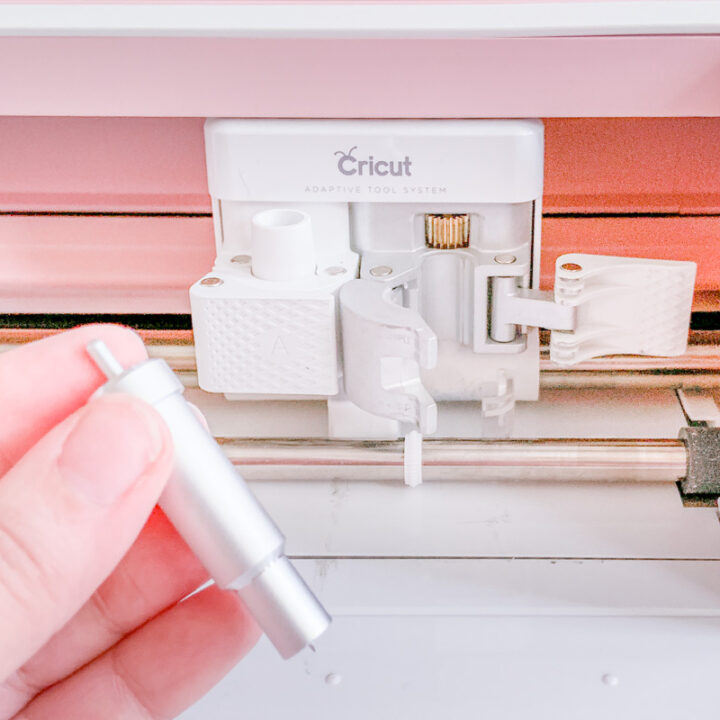
Sensor:
On the Cricut Maker there is a small sensor located to the right of the inside chamber. When you load one of the adaptive cutting tools it may say "scanning for tool" the tool will slide into this chamber and the sensor will read that you have loaded the correct tool. It will calibrate it with the system and you'll be good to go.
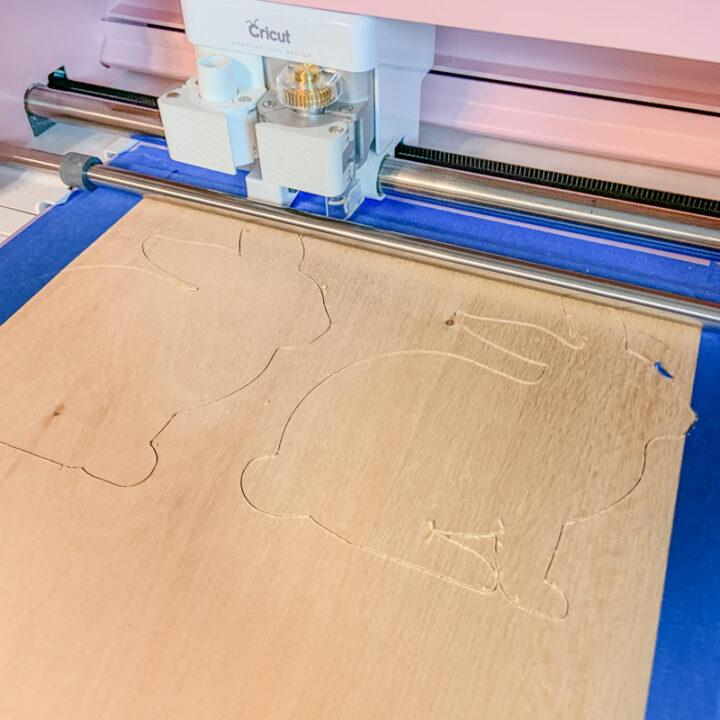
Star Wheels:
The tiny white wheels that you find on the silver bar at the bottom of your Cricut. They roll to help keep your materials in place while a cut
is happening... they also slide back and forth and may need to be slid out of the way when cutting leather or basswood as they can leave dents on the surface of harder materials. Check it out in action on this wooden bunny project.
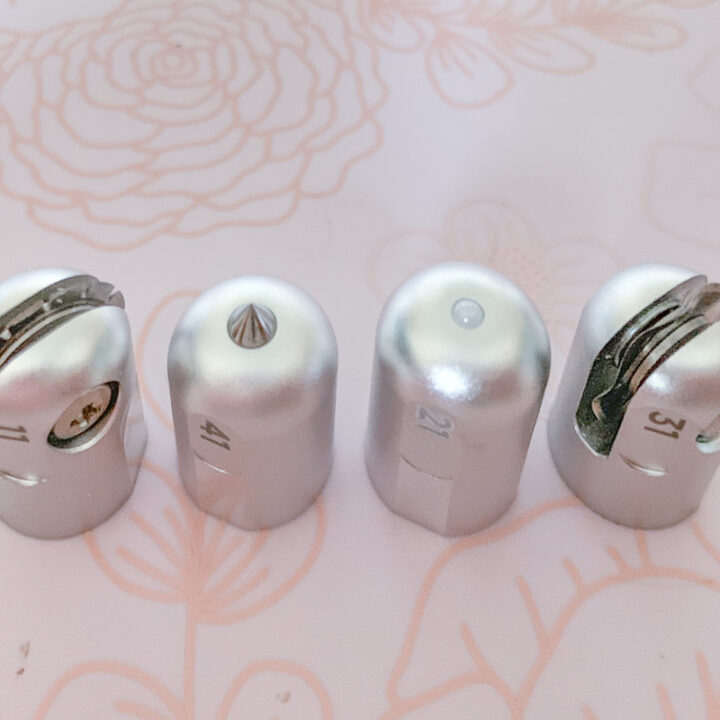
Quick Swap:
The Adaptive Housing Drive is the same across 5 tools and allows you to quickly swap the wavy blade for the perforation blade with the push of a button.
Wavy Blade:
This tool will create a wavy edge rather than a straight edge to give you a decorative edge faster. This is a special sculpted stainless steel blade that lets you make original vinyl decals, iron-on designs, envelopes, cards, gift tags, and collage projects, or any time you need fabulously finished edges and stylish design accents. Find the comprehensive overview of the wavy blade here.

Machines & Supplies
All of the current cutting machines and physical supplies that go along with them.
Blanks:
Anything you can put Cricut materials on. This can be anything from a wooden sigh to a t-shirt or a pillow.
Brayer:
A rolling tool that lets you bond material securely to the mat.

Bright Pad:
This is basically a light table but bright and portable. Check out the comprehensive overview here.

Cricut Explore Air 2:
Capable of cutting 12x12 materials this machine is twice as fast as the original cricut esplore air model. Click here for my comprehensive overview of the Cricut Explore Air 2 vs the Cricut Maker.
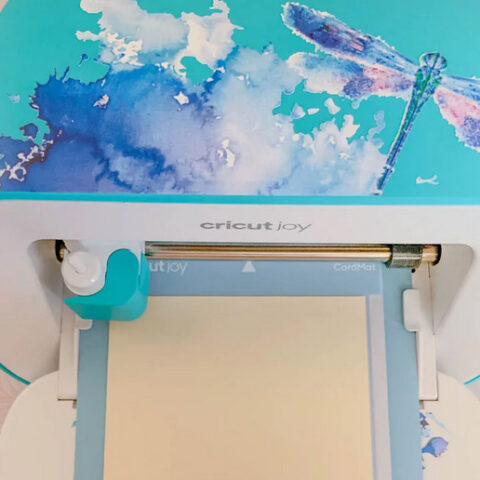
Cricut Joy:
It’s a tiny cutting (and writing!) machine that can pack a lot of cutting abilities into a small space. It runs solely on bluetooth and only uses a standard (fine) cutting blade so it’s a smaller version of Cricut’s larger machines.. Click here to find my comprehensive overview of the Cricut Joy.
Cricut Maker:
The Cricut Maker is first and foremost a cutting and writing machine. It’s one of several machines in the Cricut family… and if we’re looking at the food chain the Maker is the Lion of the pack. It cuts over 300 materails and is compatible with all of the cutting blades and tips. Click here for my comprehensive overview of the Cricut Maker.
Cutting Mats:
This is what you'll put your material on to load into the machine. It's sticky (to different degrees!) on the top with grid marks to help you measure your materials.
- Light Grip: least sticky of the mats. Perfect for cardstock or vellum's.
- Standard Grip: your normal, everyday cutting mat. You'll use this mat with vinyl and iron-on.
- Strong Grip: the absolute stickiest... use this for woods and leather's.
- Fabric Grip: this one is fairly self explanatory. You'll use it for fabrics and felts.
- Card Mat: a special mat designed for the Cricut Joy. You can load cards onto this mat to cut the front of the card and leave the back blank. Check out this cricut joy card tutorial to see it in action.

Easy Press:
This is Cricut's version of a heat press... it's small and portable so you can use it at home or on the go. It's meant for use with iron-on and infusible ink so it distributes high heat evenly (unlike a traditional iron). It currently comes in 3 sizes (6x7, 9x9, 10x12) as well as a mini handheld version. You can check out the comprehensive overview here.
Easy Press Mat:
This is the mat that goes with the Cricut Easy Press... not only is it thick enough to protect your work surface but it actually reflects heat back up towards your material. Score.
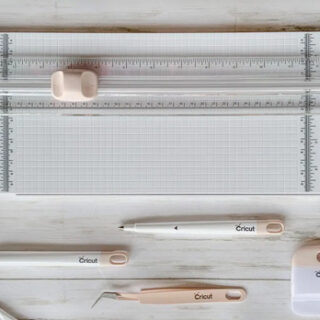
Paper Trimmer:
A basic cutting tool that lets you slice paper to specific measurements. Part of the basic tool pack... you can check out the comprehensive overview here.
Rotary Cutter:
A handheld rotary cutter you can use to slice fabirc, felt, leather, etc.
Scraper/XL Scraper:
A flat tool that you can use to secure material to a cutting mat or to clean little pieces of paper/left over material from the cutting mat after the cut is over.
True Control Knife:
Cricut's version of an exacto knife... it's super sharp and easy to change out the blades.
Weeding Tools:
A hooked tool that lets you weed vinyl or other material with ease.


Leave a Reply