


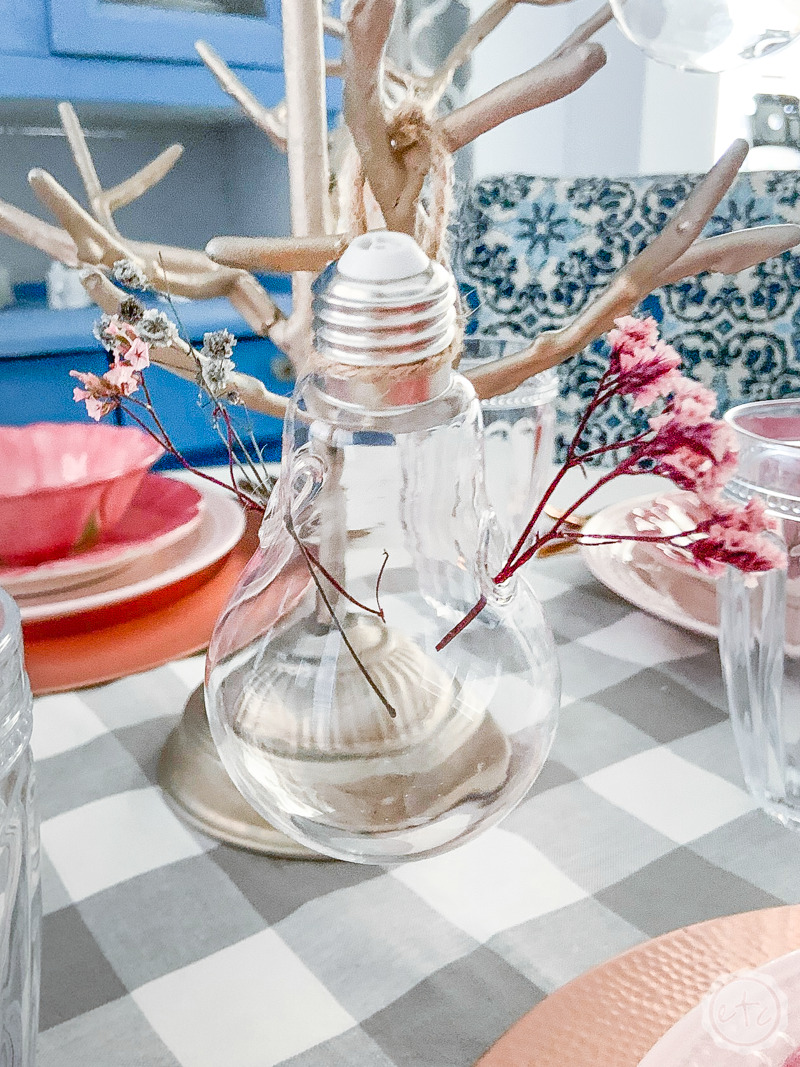
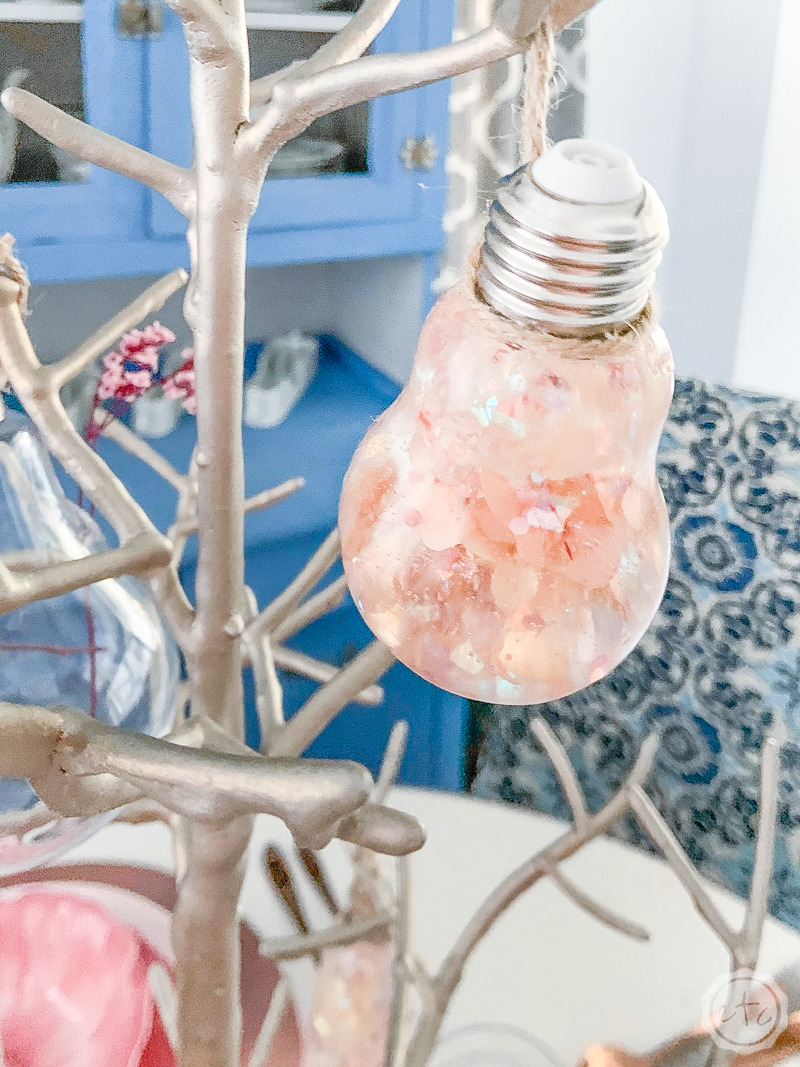
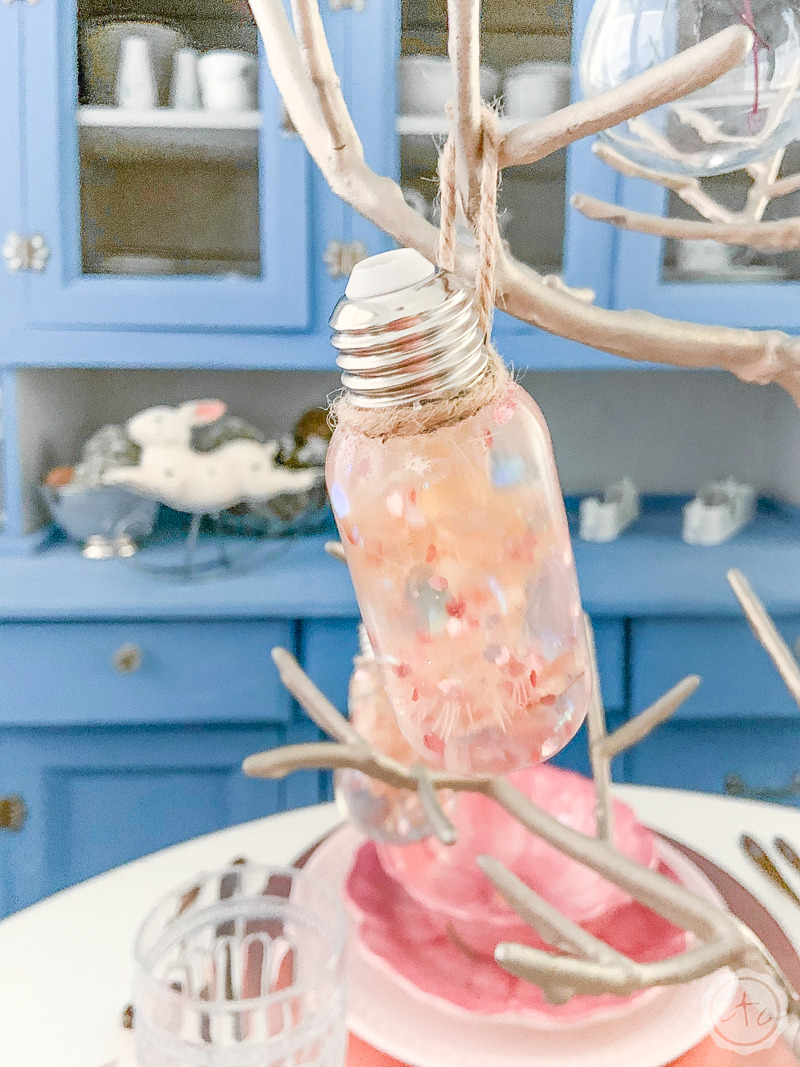
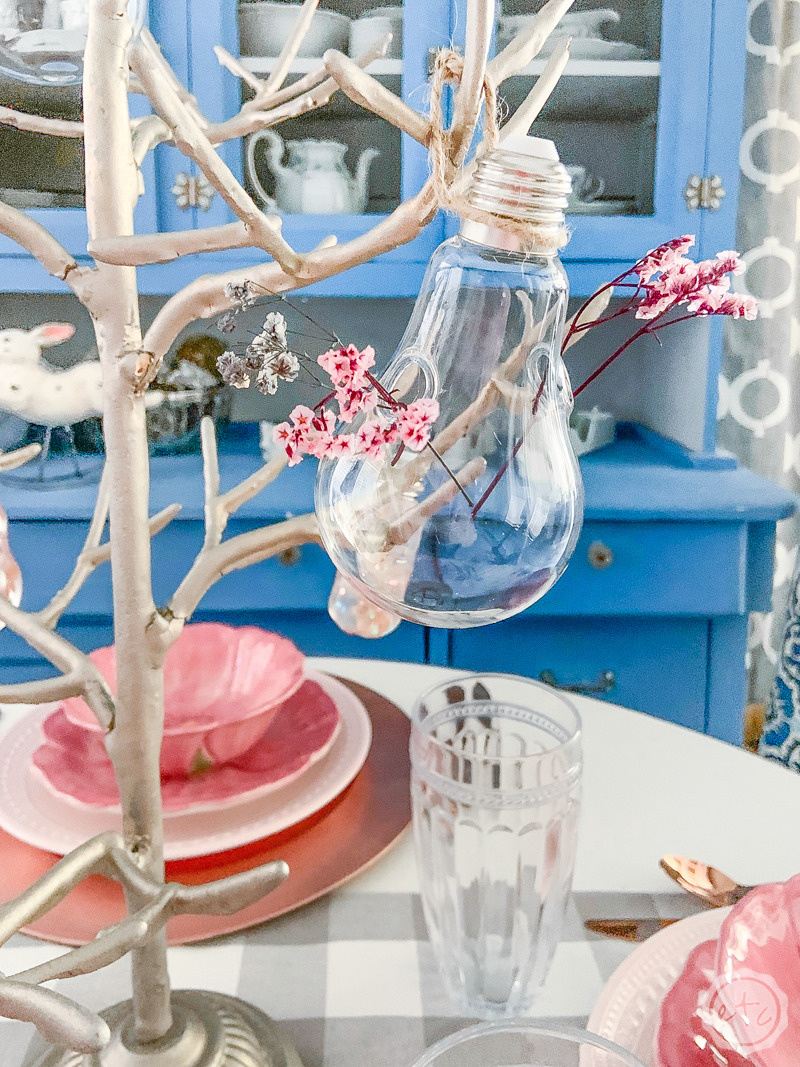
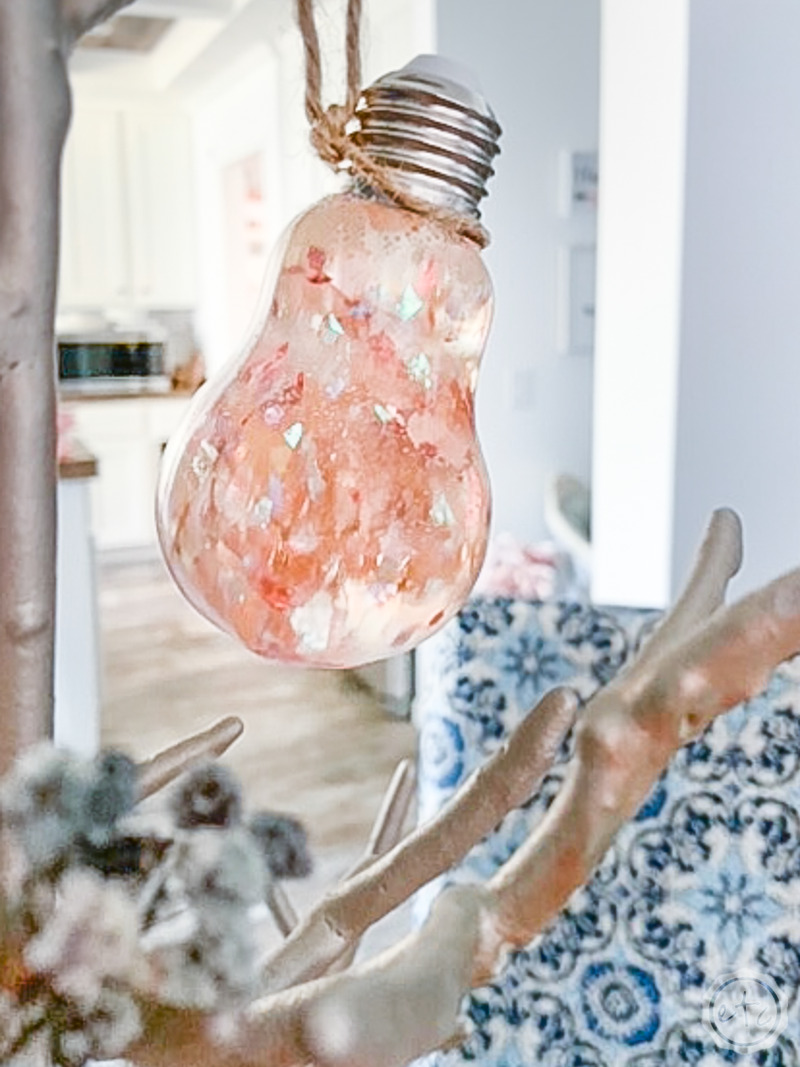
When it comes to tablescapes I always start with one main piece and go from there… sometimes that inspirational piece is a salad plate (like this adorable Easter tablescape), sometimes it’s a theme (like this blush and rose gold resin tablescape) and sometimes it’s one teeny, tiny, little project. Which is why as soon as these little resin light bulbs were done I knew exactly what to do with them… setup an entire Spring Tablescape!
Of course, the resin light bulbs on their own were to small to be a centerpiece. So I put them together with a few other pieces to create a focal point for my table. An entire light bulb centerpiece tree if you will (here’s the full tutorial if you want to make your own light bulb centerpiece tree)… then it was just a matter of putting together the rest of the table!
Let’s get started.
Video: Spring Tablescape!

Since we know we’re using light bulbs with pink flowers on a champagne colored tree I knew we would be leaning towards the pink/champagne/copper side of my collection.
So I pulled out my blush pink dinner plates and my desert rose salad plates and bowls.
Perfect!
Then it was just a matter of picking which chargers and placemats to use. I was stumped here so I took to Instagram… where y’all weighed in! It was a 50/50 tie for quite a while and then copper took the lead. Which is good since I had already pulled out all the copper when it looked like the 50/50 tie wasn’t going to help me decide.
Supplies:
- Gray and White Buffalo Check Table Runner
- Large Copper Tree (Found on Marketplace but here is a similar one)
- Resin Light Bulbs
- Glass Light Bulbs
- Dried Flowers
- Copper Charger Plates
- Copper Flatware
- Matceramica Blush Pink Dinner Plates
- Sculpted Salad Plate Desert Rose
- Sculptured Cereal Bowl Desert Rose
- Clear Ribbed Highball Water Glasses
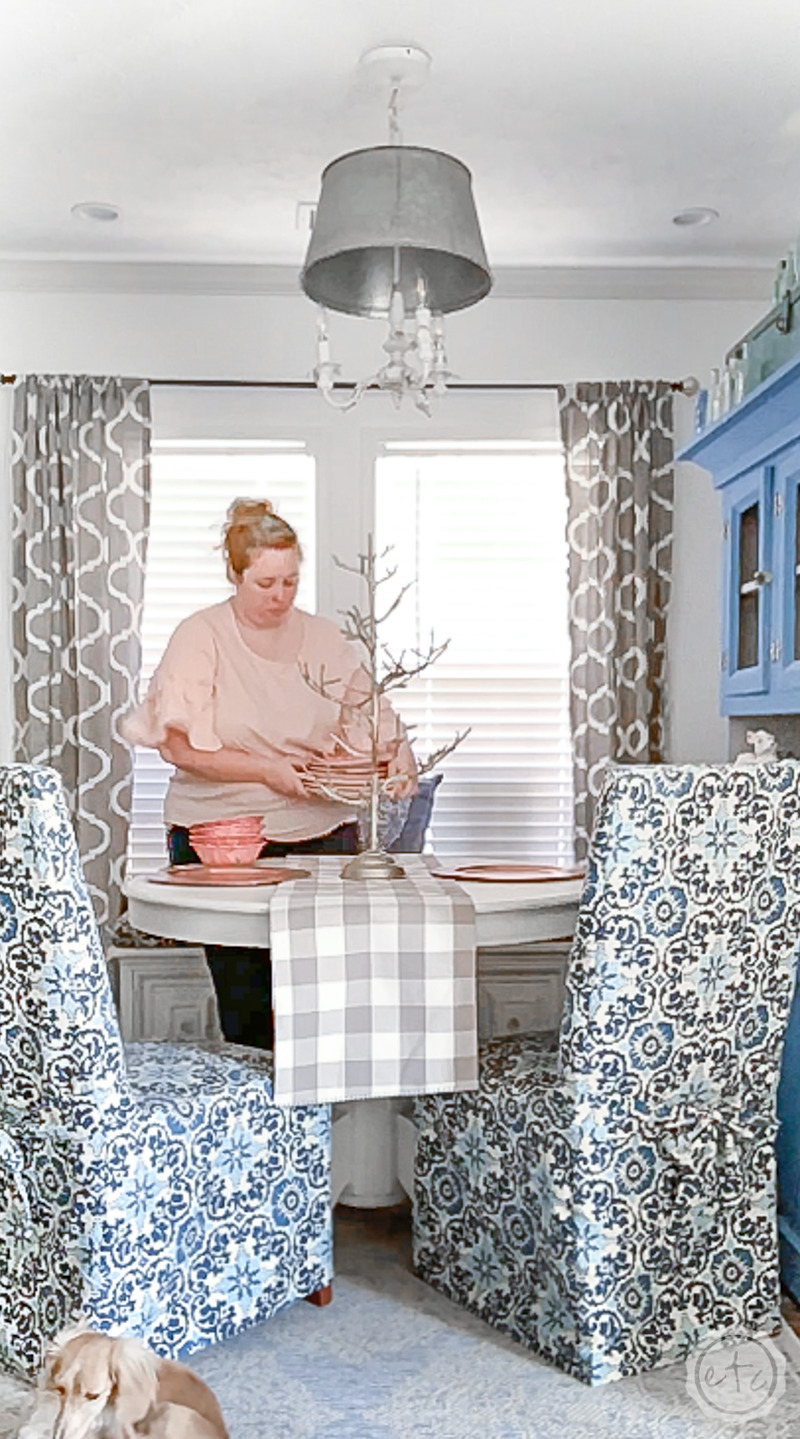
Step 1: Add the Basics
Let’s start setting the table!
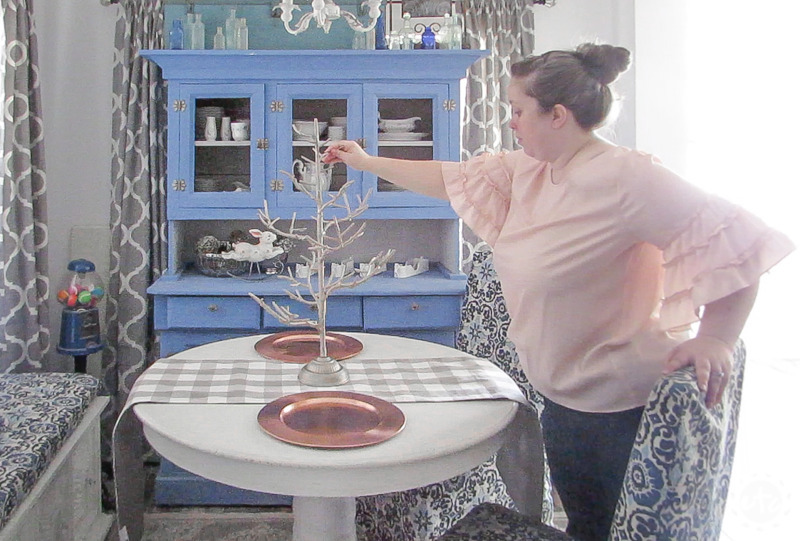
Since we decided on the copper chargers (and I only have two of them!) I started by adding a neutral runner down the middle of the table. This is a great trick to take up visual room when you don’t have a complete set of chargers or placemats.
Once the runners and chargers were in place I added the champagne tree to the middle of the table. It’s not setup yet (none of the light bulbs are in place!) but the tree will at least give me a good idea of what space I have to work with.
In this case I decided that the tree took up enough room in the middle of the table and I didn’t need anything else… keep in mind that the base of the tree may be small but the branches spread out in the air above. Those branches are large enough that anything else around the base would just look cluttered. Ready for the plates?
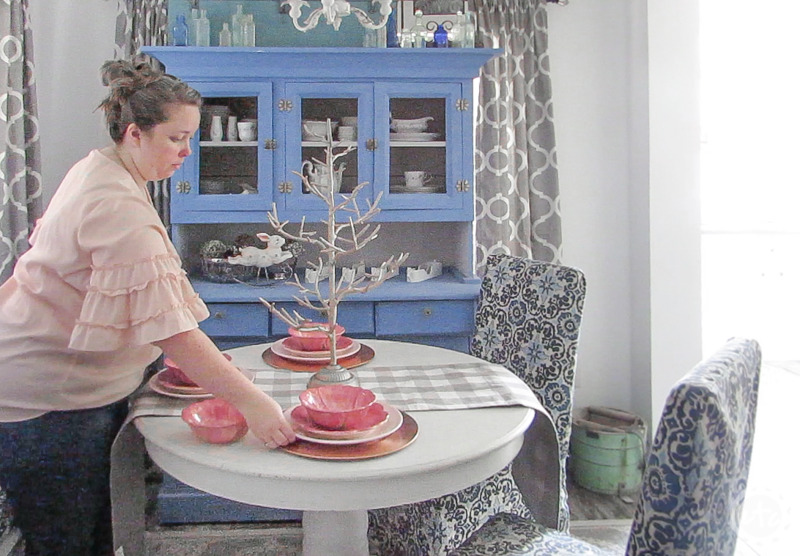
Step 2: Add Plates & Bowls
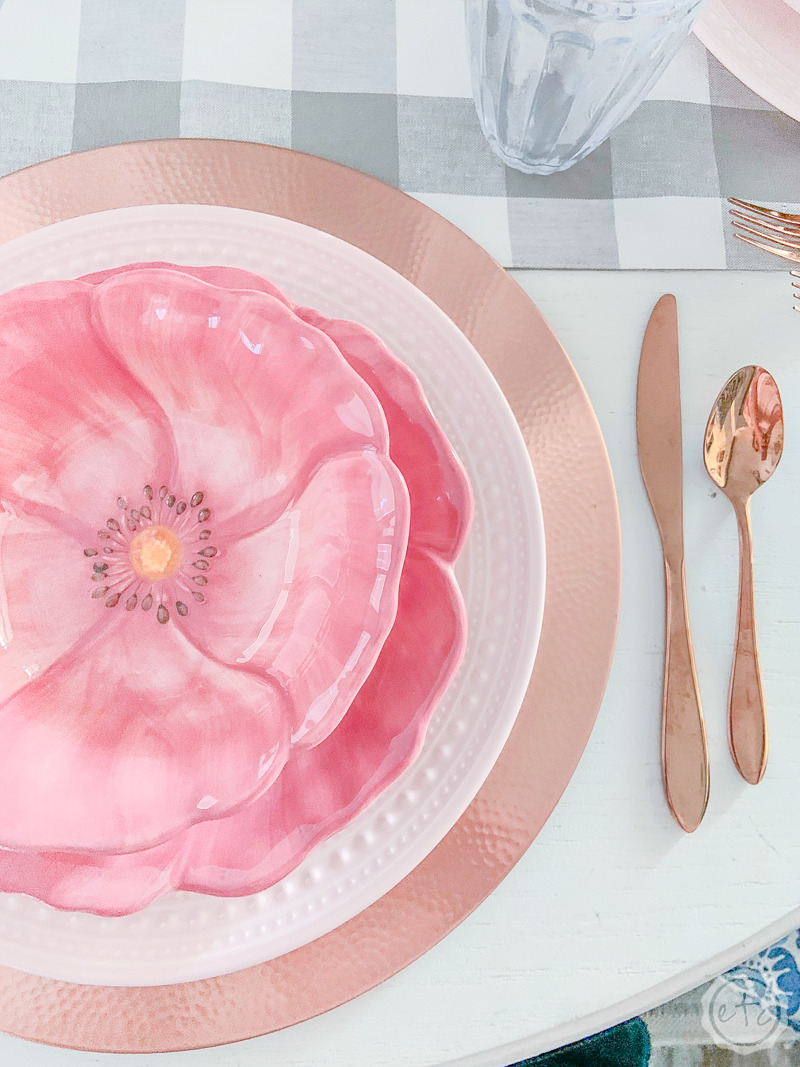
Now it’s time for the dininerware stack! I absolutely love these desert rose pieces because the bowls look like the bloom of a flower… and when you stack them with the salad plates they look like layers of a flower!
Which (if you ask me!) is pretty cool.
I used blush pink dinner plates to complete the stack: copper charger, blush pink dinner plate, desert rose salad plate and desert rose cereal bowl.
Beautiful darling!

Step 3: Finishing Touches!
Since our centerpiece is the absolute star of the show here we’re almost done… we don’t want to add too much and overwhelm the table. We want that centerpiece to shine!
Which meant flatware was an easy choice: copper. Was there really any other choice with the copper chargers than copper flatware?
Nope!
It looks amazing and helps to pull that copper all the way around the table (especially since I only have two copper chargers).
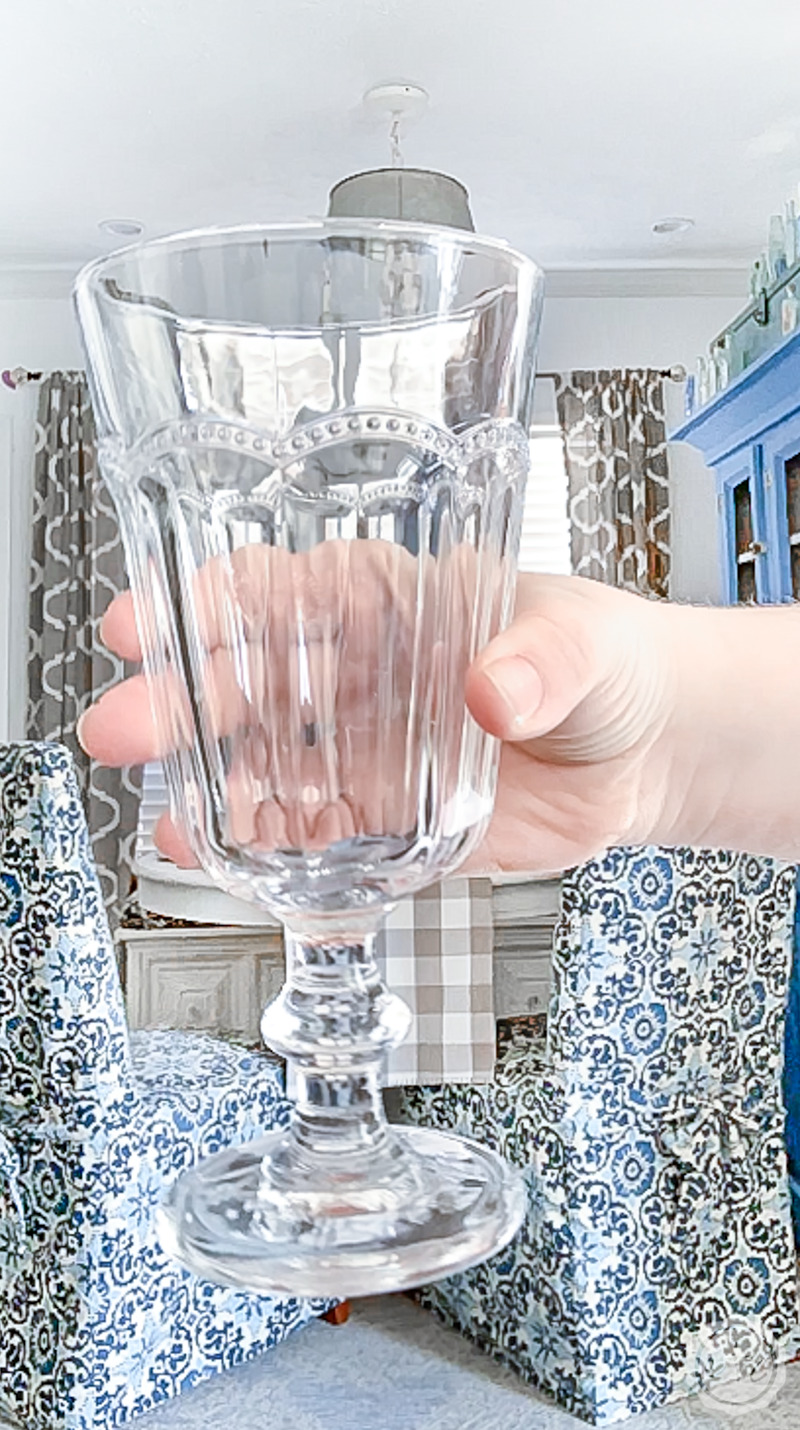
Last decision? Glasses! I started with my vintage pink glassware but honestly it looked like toooo much pink. I switched them out for my clear lace footed glasses… much better!
Now we’ll finish the centerpiece and then it’s time for the final reveal.
Ready for alllll the pretty shots?!


Looking for more table decor? Check out these fun Tablescapes!


Leave a Reply