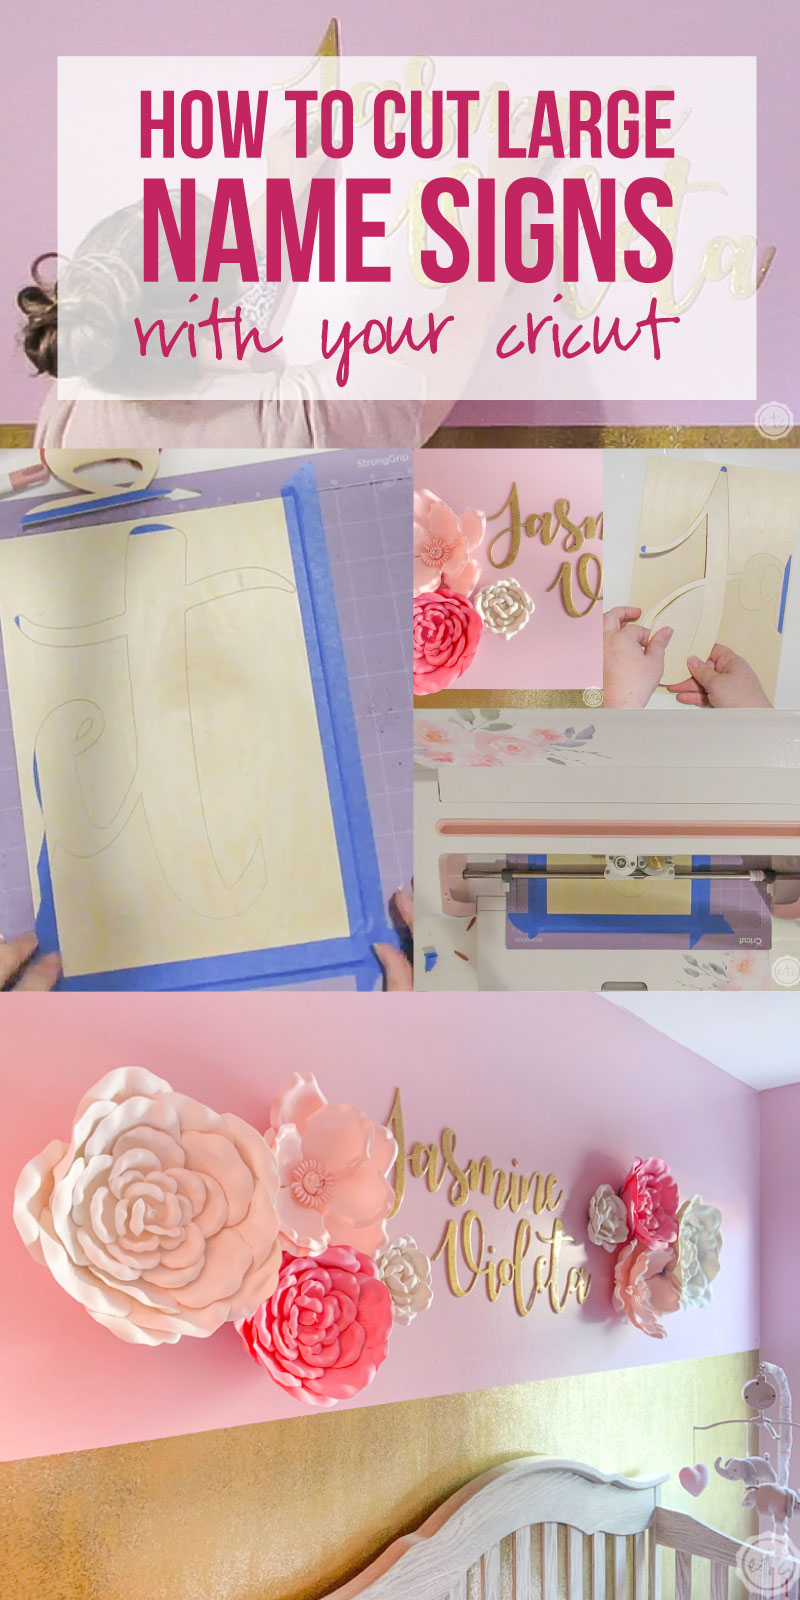
If you’re on Instagram or you’ve been looking around ETSY chances are you’ve seen the gorgeous large wooden name signs that are dominating the nursery scene. I am absolutely in love with them… even though I don’t have a nursery (or the need for a nursery!). Instead I wanted to go in a different direction and make a large scale name for the focal wall in my office.
Think of my logo but giant and beautiful behind my desk in all my videos.
That’s the goal.
Unfortunately, I didn’t want to spend the 200-300 price tag that I was seeing on most of these (larger) signs. So instead I put together a plan to cut out the entire name in pieces and then join them together to form one large beautiful name… and when my friend Felicia heard about this plan she requested a sign for her sweet new baby girl Jasmine Violetta. (I made a 3d hello sign for Jasmine’s nursery here).
So… looks like I’ll be making a large scale baby name sign after all!
Let’s get started.
Supplies:
- Cricut Maker
- Autumn in November Font
- Knife Blade
- Strong Grip Mat (that’s the purple one)
- Basswood Sheets
- Brayer
- Painters Tape
- True Control Knife
- Caulk or Putty
- White Paint or Primer
- Command Strips
- Optional: Resin the top
Ready to take the leap but not sure which machine is right for you? Check out my Explore Air 2 and Maker comparison before pulling the trigger. I go over the pro’s and con’s of each machine and even have an easy to read check list of each machine’s features so you can decided which cutting machine is perfect for you.

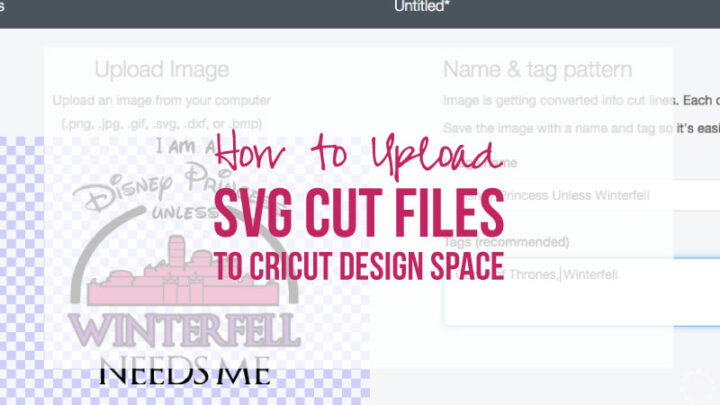
Step 1: Create your Cut Files in Design Space
Okay y’all let’s get this thing going… since it’s unlikely that all of you (any of you?!) will be making the name “Jasmine Viloleta” there won’t be any free Cricut cut files for this project.
Instead I’m going to show you how to make the design files for yourself!
Start by downloading your font (or grabbing one from the cricut font library). I decided to use Autumn in November and since it’s a free font you can download it if you like the look.
Just remember that cutting little loops out of basswood is a lot harder than cutting large stocky loops out of basswood… so you’ll want to pick a font that has some substance. In fact… autumn in november is kind of pushing it with all the loops at the end of the letters but since our piece will be so large scale it ends up working.
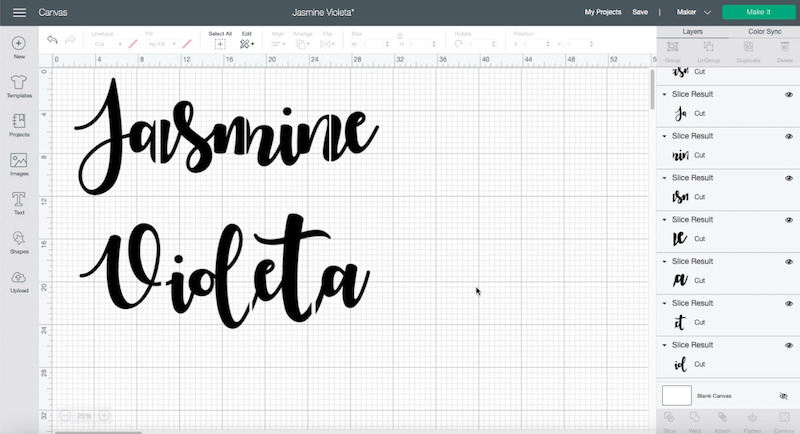
Once you have your font picked open Cricut Design Space and write your name. Then select your font from the drop down list… perfect!
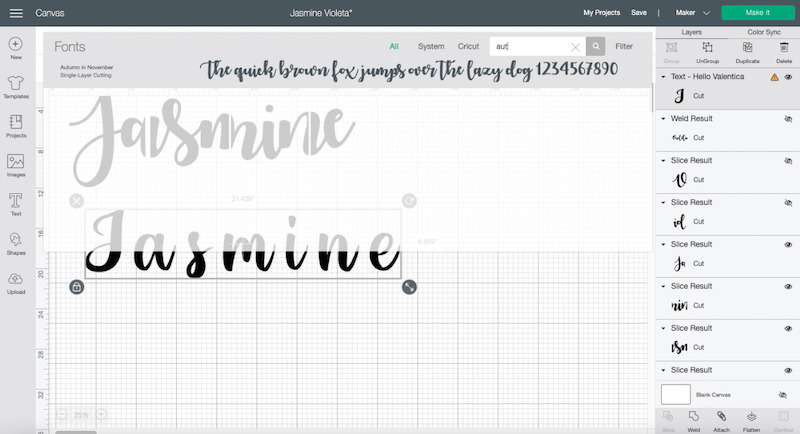
Unfortunately when Cricut puts fonts into design space it automatically spaces all the letters equal distance apart. Which doesn’t help us when we want our sign to be connected across the entire piece.
So select your name and go up to the top of the screen… then click the minus arrow next to letter spacing until all of the letters are touching. This is called kerning… you want to kern your letters until they look natural and the loops of the letters connect each letter to the next letter in the name.
Perfect!
Now if we were to take our name and make it 12 inches tall (the height of our basswood) the entire piece would be over 30 inches long. Which is not something that you can cut with the Cricut. Instead we need to break our name up in to smaller sections that can be cut on our 8×12 sheets of basswood and be cut on the Cricut.
So click the shapes panel and select a square.
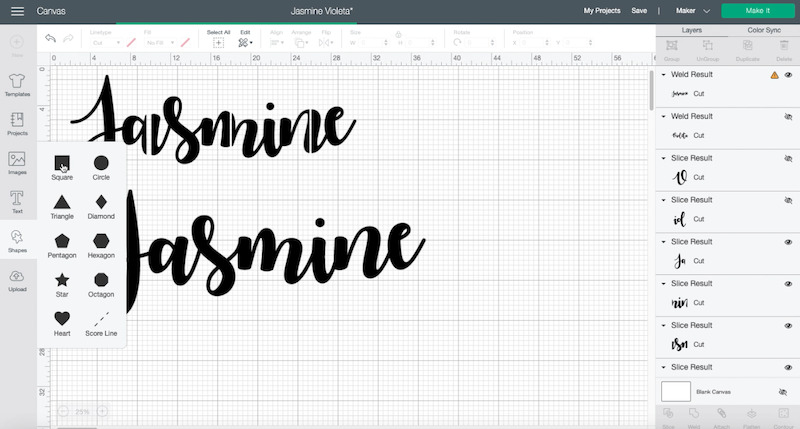

Now we’re going to re-size that square… up in the top toolbar adjust the size of the square to 8 inches wide and 12 inches tall (the size of our basswood). Now copy and paste that little rectangle until you have enough of them to span the entire length of the name.
Perfect!
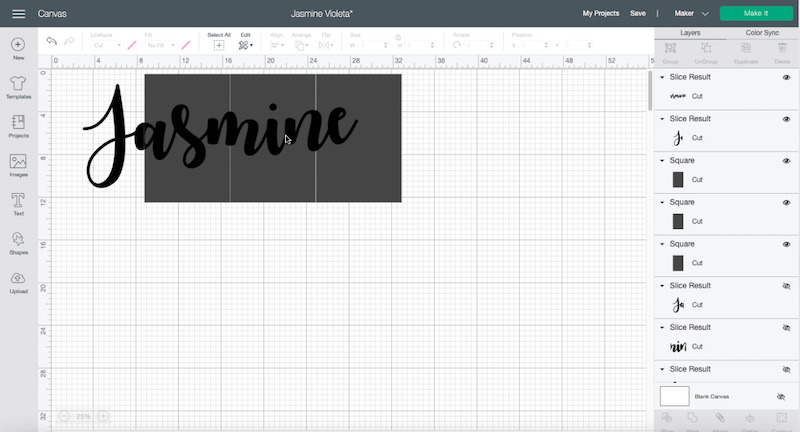
Now adjust the name and the squares until the name until it fits onto the squares (you don’t want any overhang since anything not on the squares won’t get cut).
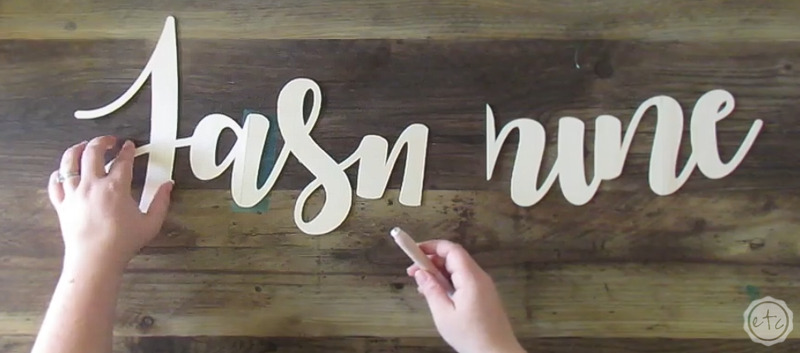
For this particular name we needed 4 squares to span the entire name… in reality that’s 4 sheets of basswood. So keep in mind that wherever the squares meet in design space are where your basswood letters will have to be joined in real life.
For Jasmine the squares intersected through the large section of the a, the middle large section of the m and the large section of the n.
That’s perfect.
Those large sections will be easy to join and strong once they’re connected.
If your name has the squares cutting through any of the loops or smaller areas that is bad!! Your piece will be much weaker if the joint between two pieces is a centimeter thick loop between the J and the a.
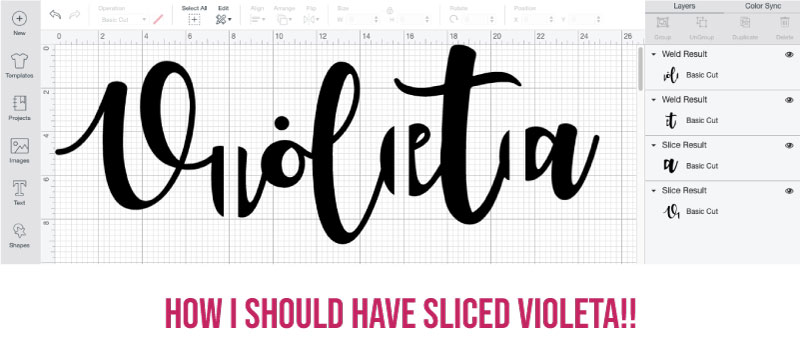
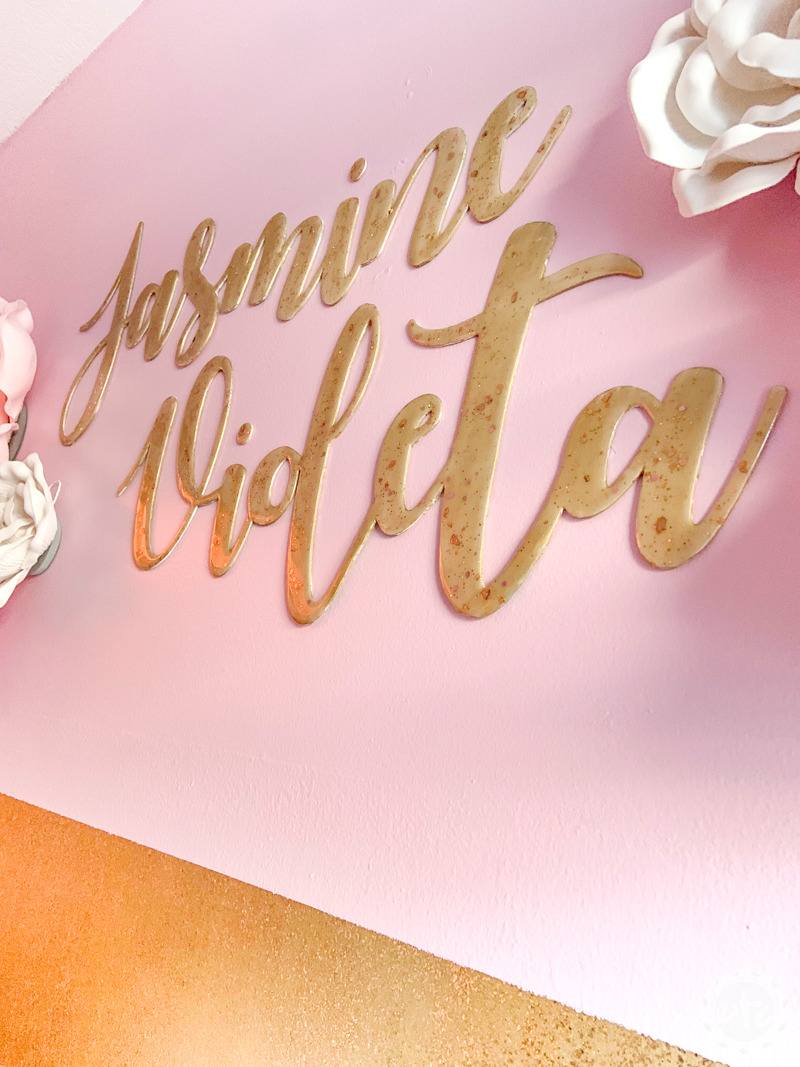
And if you don’t believe me… I learned this the hard way when I cut Violeta without any thought to the connections.
So the moral of the story is to move the squares until they pass through the large sections. For some names that means you’ll need squares that are not exactly 8 x 12. That’s ok. If the only way to connect a letter without going through the small loops is to cut a letter out individually go for it… you’ll use more basswood in the long run but it will be worth it when your piece is stronger. You can always make a square 4 x 12… just don’t make it larger than 8 x 12 (since the physical basswood sheets are 8 x 12).

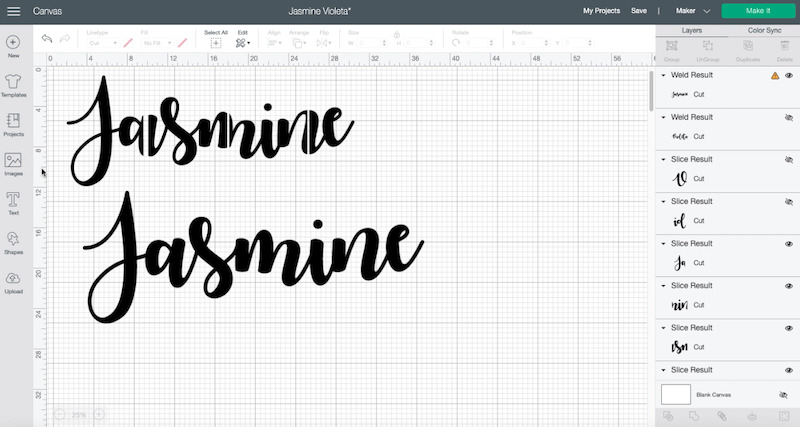
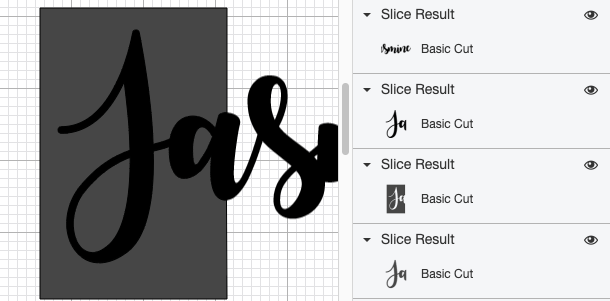
Perfect! Now that we have our name and squares ready to go let’s splice them apart. Start by selecting your name and the first square. Then go down to the bottom of the layers panel and select slice.
This will cut your name exactly along the borders of that square (I know it’s technically a rectangle at 8 x 12… just go with it).
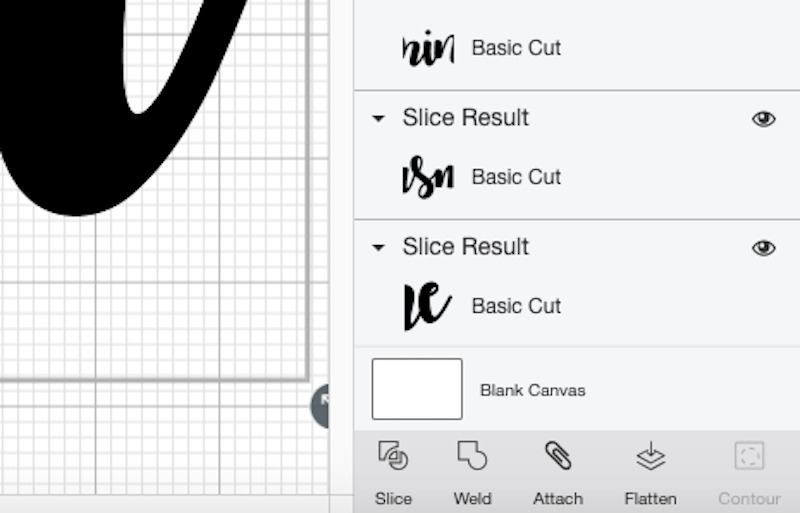
Once you’ve hit slice you’ll have 4 new layers… but we only need 2. The first layer will be the rest of the name where the first letters were cut off (keep that… we’ll select this to splice with our next square), the letters themselves cut along the squares border (keep that), the original square with the letters cut out of it (delete that) and last but not least the letters but cut out of the square (delete that).
So when all is said and done the original square will be gone and we’ll be left with our first letters (in this case the J and the A with the a sliced down the middle). Then we’ll have the rest of the name (also sliced down the middle of the a) and the rest of the squares that need to be sliced.
Now you’ve got the recipe… so just keep going! Select the next square and the rest of the name and hit slice.
Delete the two layers we don’t need and keep going.
When we’re done we should have both of our names sliced into sections that will fit onto an 8×12 piece of basswood.
Just a tip: You can slice into un-square sections. If I was doing Violetta again I would have sliced through the middle of the i (moving the dot so it was sliced), the middle of the e (not slicing through the arms of the t) and the middle of the a (on the left side… also not slicing through the arm of the t). I’ll pop an example of this below so you can see what I should have done.
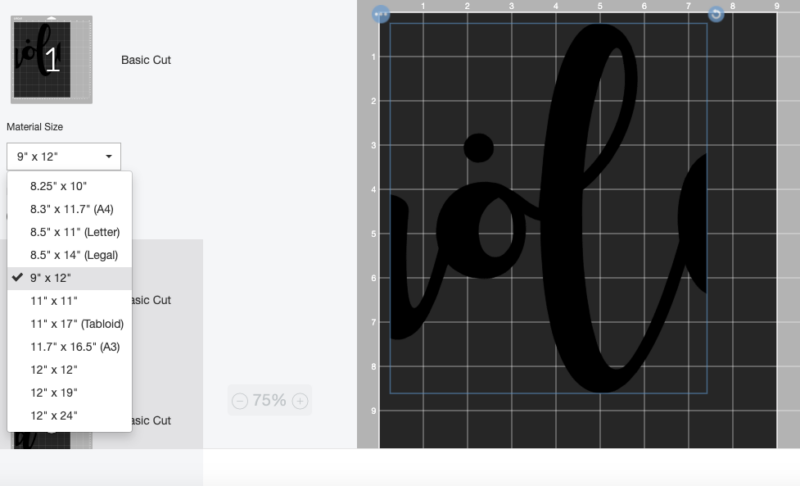
Okay… that was the most confusing part! Now we’re on to the cutting… so click make it and you’ll see the cutting mats. In this case you’ll want to change the material size from 12 by 12 to 9 x 12. Our material is actually 8 x 12 but that’s not an option so just make sure when arranging your pieces on the cutting mat that you are aware of where that 8 inch line is… and don’t go over it!
Instead go mat by mat and make sure that each design is away from the edges and within the 8 x 12 dimensions that are the basswood sheets.
Once your sure that each piece is setup properly and then hit continue to go to the next page.

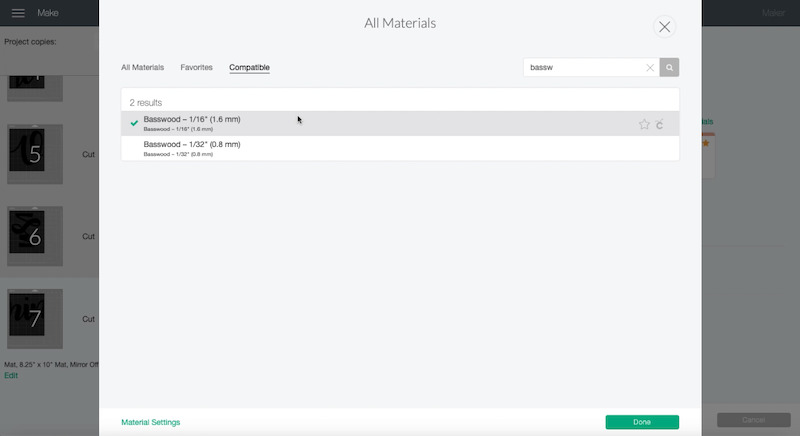
Ready for the last step in Design Space? When it comes to materials you can type basswood into the description box and two options will come up.
We want the one that has 1/16″ as the dimensions. Select that first option and a little green check mark will pop up to the left and then you can click done.
Perfect!
Now we can click make it and move to our cricut mat!
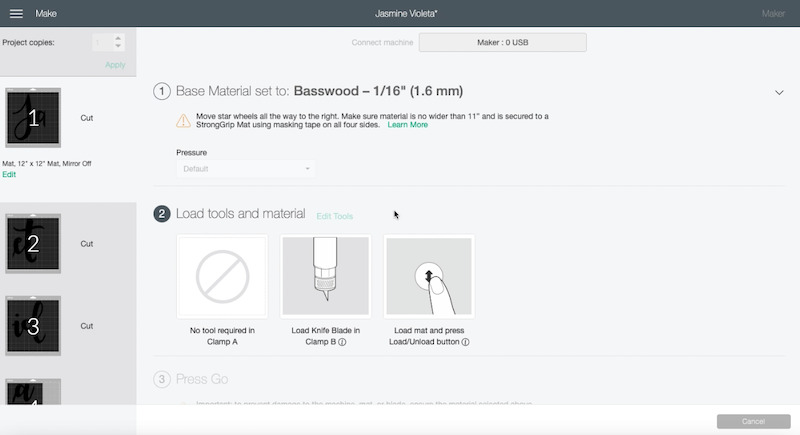

Step 2: Load your Cutting Mat
If you’ve never cut basswood with your cricut Design Space will remind you exactly how to prep your mat. Start with a strong grip mat so that it’s extra sticky… and put your basswood in the upper left hand corner (this should be where your designs are set to cut).
Then use your brayer to firmly push the basswood down firmly against the mat. You want it to have a good bond!
Last but not least you want to go around all four sides with your painters tape. Push the painters tape down extra tight against the cutting mat and the basswood. Then you’re set to go!
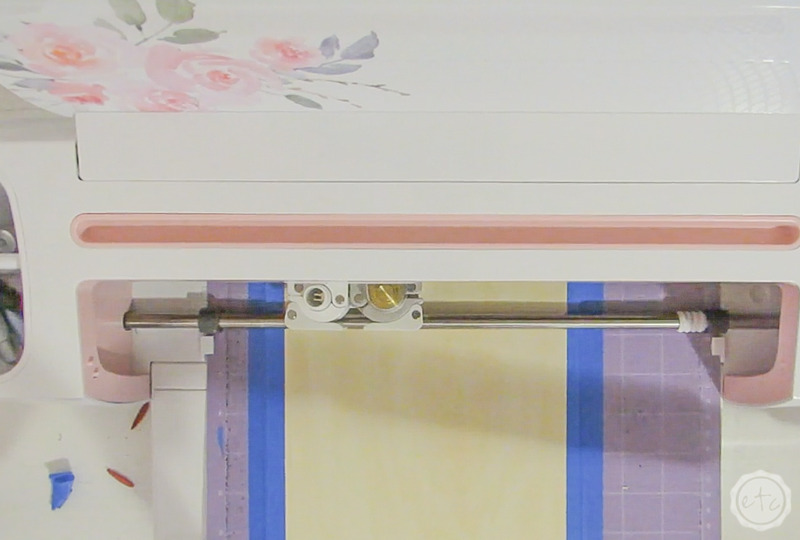

Don’t forget to move your star wheels all the way to the right so they don’t put indents into the wood… then you can click make it!
Design Space will count down the minutes for the first cut but just be warned… it’s going to take a minute. Each design will take roughly 14 passes which ended up being about 30 minutes per cutting mat.
You don’t need to baby sit each and every minute but I always watch the first pass of a design to make sure there’s no where the knife blade will get stuck! Then I’ll start to prep a 2nd cutting mat so that it’s ready to go when the first one is done. Once the second mat is prepped you can chill and take a break until the first one is finished!
Time for a cookie y’all!

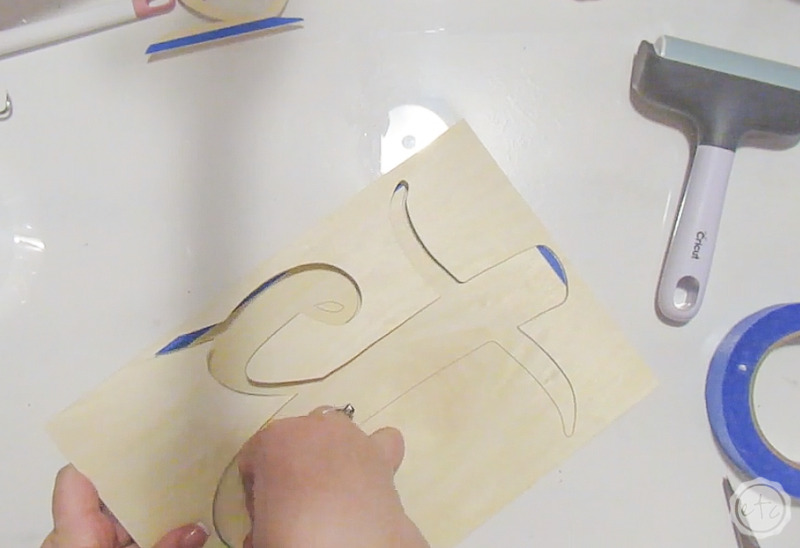
Step 3: Remove your Letters
Y’all this may be the best of alllll the steps! It’s just so satisfying.
If you’re using a new knife blade the designs will just about fall out of the basswood sheets… but since the wood is so stiff it still catches at a few places. So just carefully remove each and every design from the basswood making sure to watch the little swirls and loops on the letters.
Then remove any of the painters tape… and if there are any splinters or bits of wood that didn’t cut 100% smoothly you can sand those down with a bit of sand paper.
Perfect!
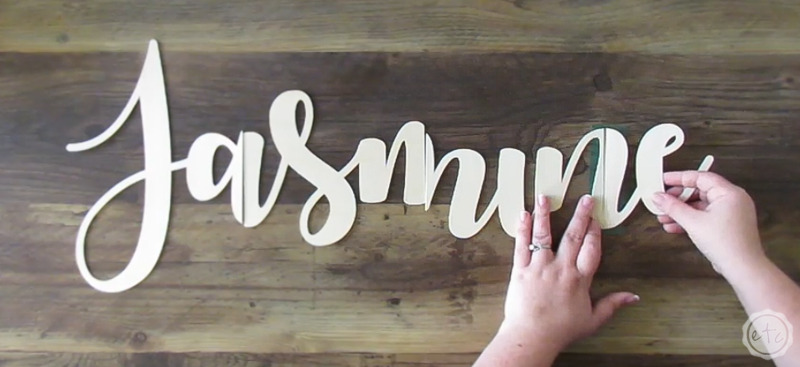
It will take a minute for all of the pieces to cut but as they all are removed I like to line them up and double check the connections between each of the pieces. That way by the time allllll the pieces are cut you’ll have a full name put together!
Plus if anything comes out wonky and needs re-cut you’ll know right away.

Step 3: Tape all the Joints
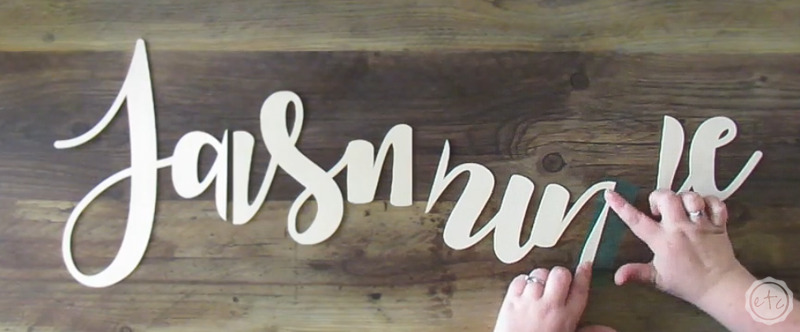
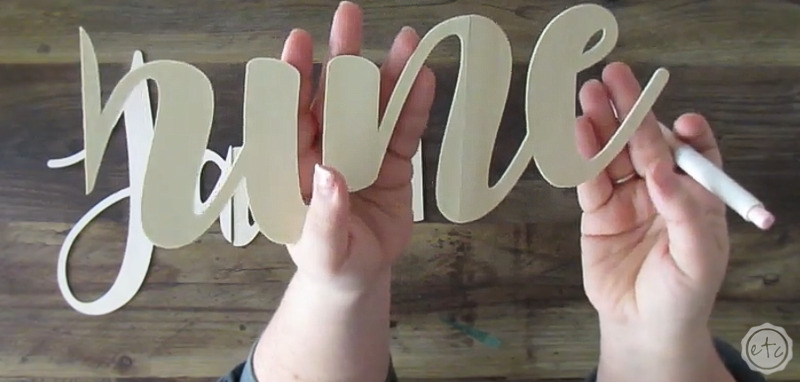
At this point you’ll have a name… in a bunch of little pieces! Which is amusing but not really helpful.
So let’s put these things together! I grabbed a roll of resin tape… which I’m fairly sure now was stupid since resin tape is meant to peel off resin and it ended up being best for me to put the tape below and above the joints. SO when I made the logo for my office I switched to painters tape for the joints and that worked so. much. better.
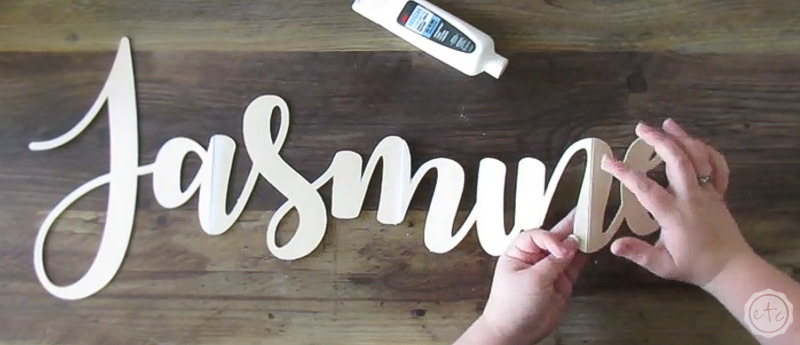
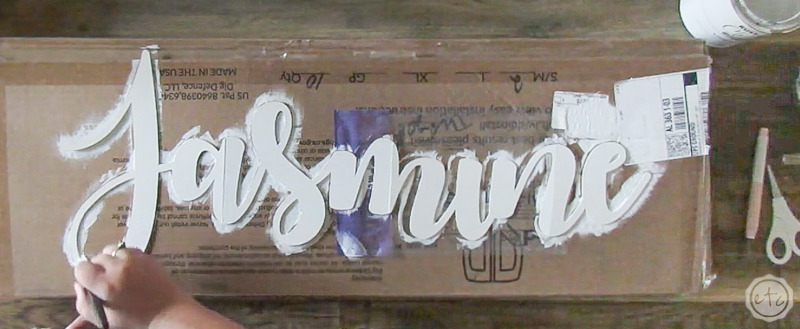
Of course, whether you use resin tape or painters tape the process is the same. Cut a piece of tape just slightly longer than your letter (in this case the n) then place the tape sticky side up on your surface.
Now put the one of your pieces onto the tape… you want it to go about half way across the sticky side of the tape. Then push it down forming a good bond between the tape and the basswood.
Once you have a good bond for the first half of the letter you can carefully match up the second half of the letter and push it into place. Press firmly so that both halves of the letter are firmly on the tape.
Perfect!
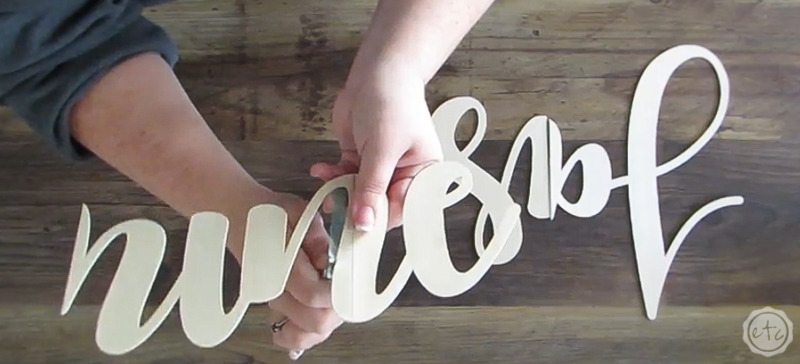
Once the tape is joining both halves of the letter you can use an exacto knife (I use my true control knife since it’s literally the best) to go around each loop and trim the extra tape off the edge.
Just be careful since that one piece of tape is all that’s holding the pieces together at this point… so they can fall apart very easily!
Perfect!
Looks amazing… from the front you shouldn’t be able to see any of the tape at all. Instead you should just see the main joint where the two halves of the line are joined together.
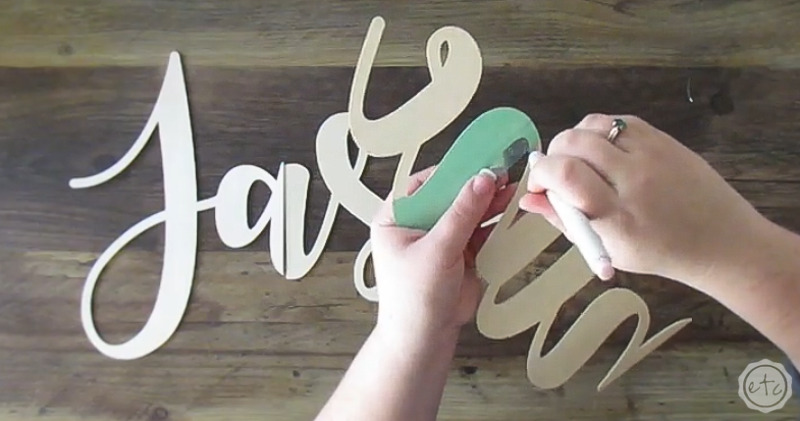
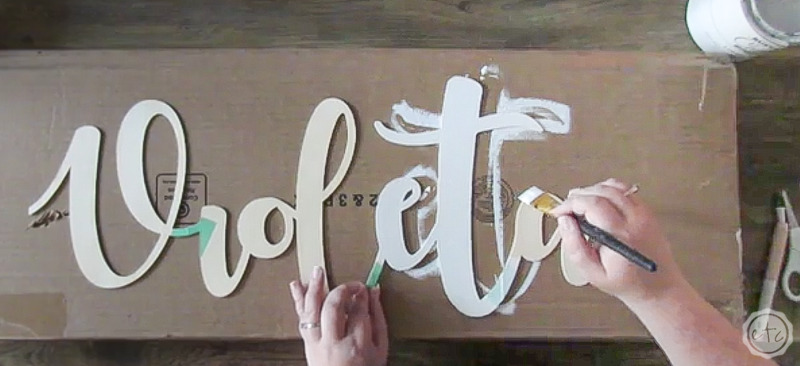
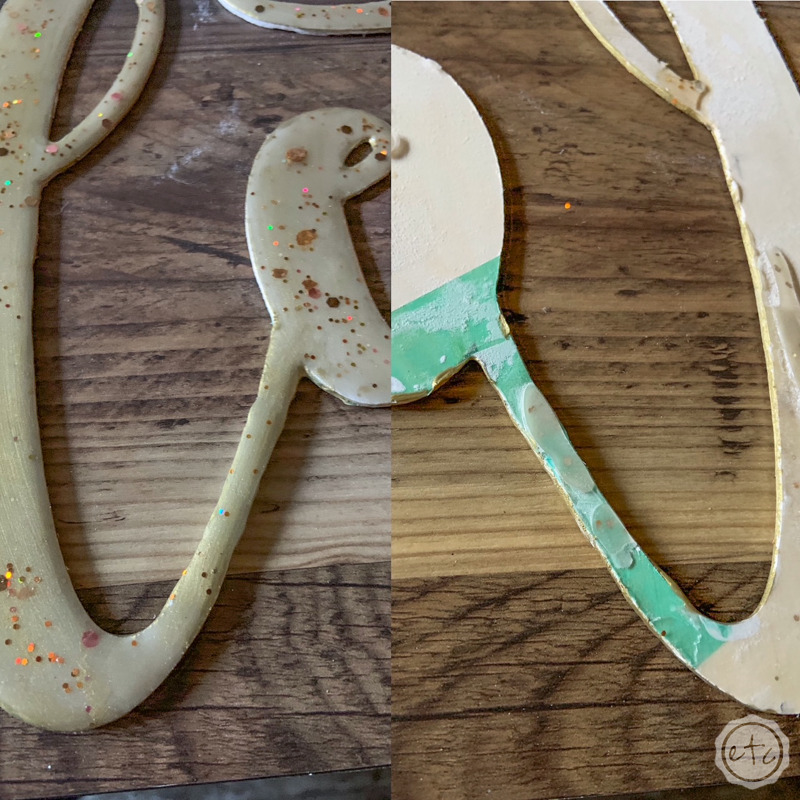
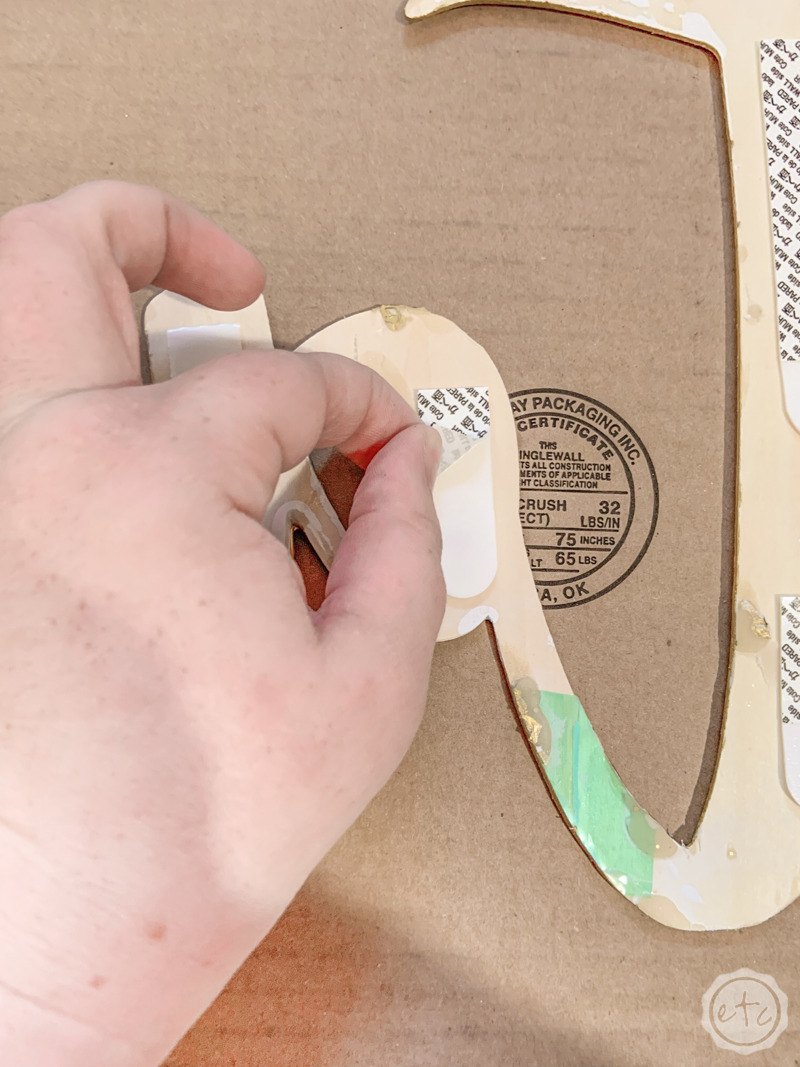
Okay, now the back of the piece is joined but what about the front? I found it easiest to grab a tube of caulk for this… and I added caulk to the entire split between the letters.
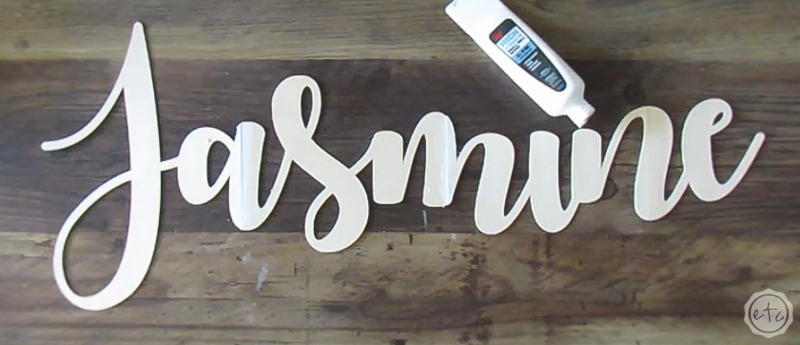
Basically fill the space where the two letters should join with caulk… then press the two halves of the letters flat. All the excess caulk will come out of the joint and you can smooth it down with your finger.
This will help the two sides of the piece join together and it will help seal the top of the joint when you go over the surface with the caulk. At this point you can move on to the other letters or you can add a second piece of tape to the surface.
I went on to resin this entire piece so adding a piece of tape to the surface made the joints stronger and ultimately won’t be seen. However if you’re going to skip the resin part and simply paint this piece you may want to skip the top layer of tape to have a smoother surface to paint.

Step 4: Prime and Paint your Piece
Ready for the fun to start? I’m going to be resining this piece so I wanted to make sure it was sealed before pouring… which meant primer and then paint.
Which honestly is best practices anyways!
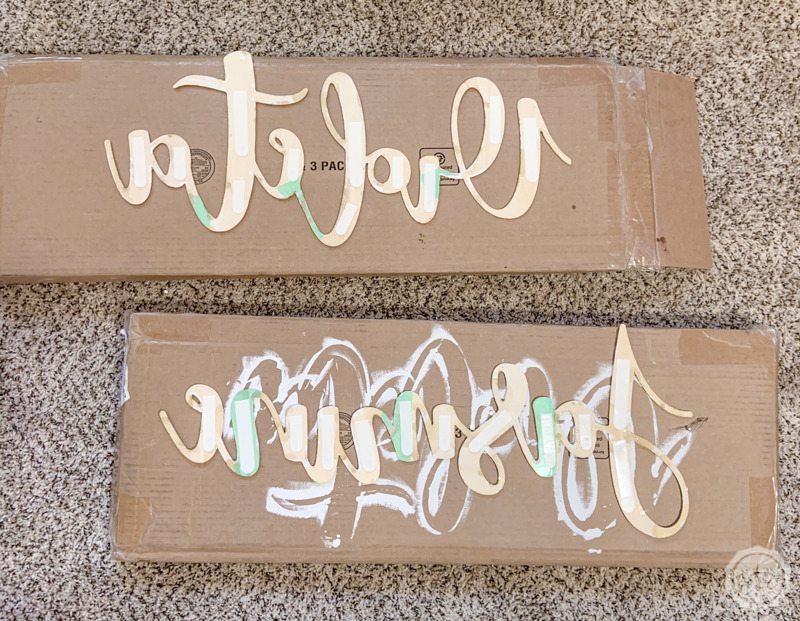
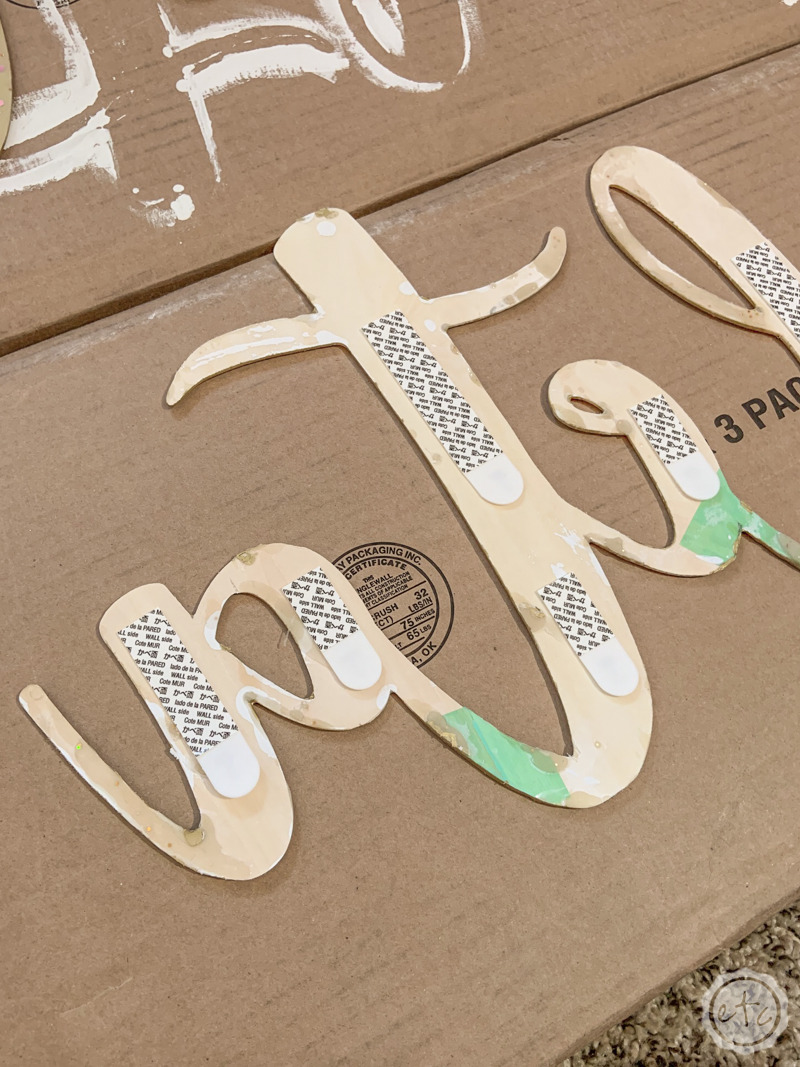
You’ll notice that I added top pieces of tape to Violeta while I left Jasmine without the top pieces of tape… so you can see which way you prefer!
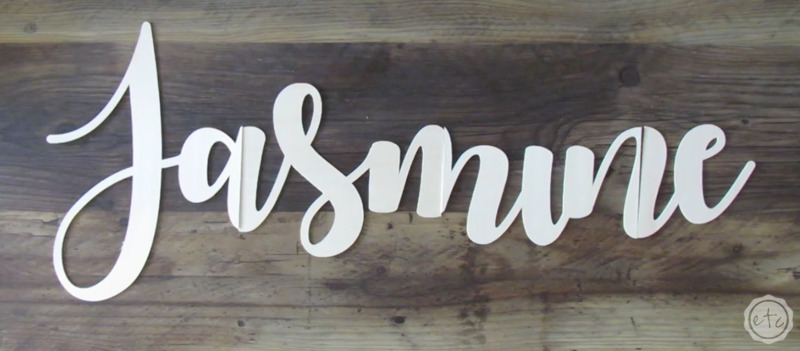
As far as the actual process goes it’s simple… I painted the entire piece with a bit of white linen chalk paint (ok so it’s not actually primer but I wanted a white layer to prime the piece and that’s what i had).
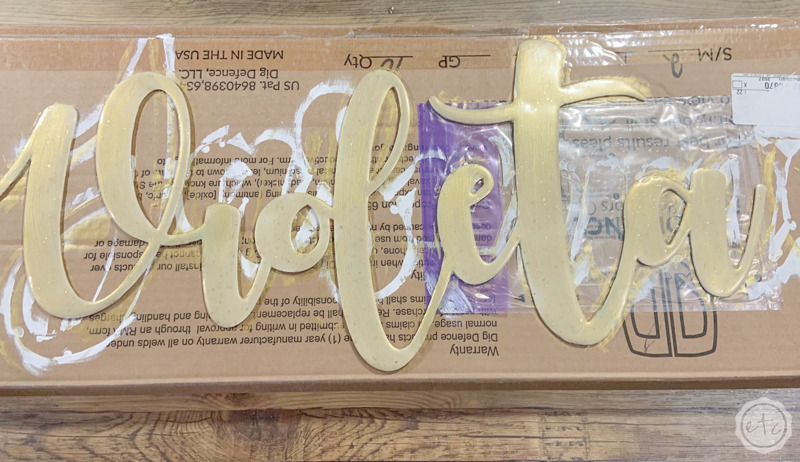
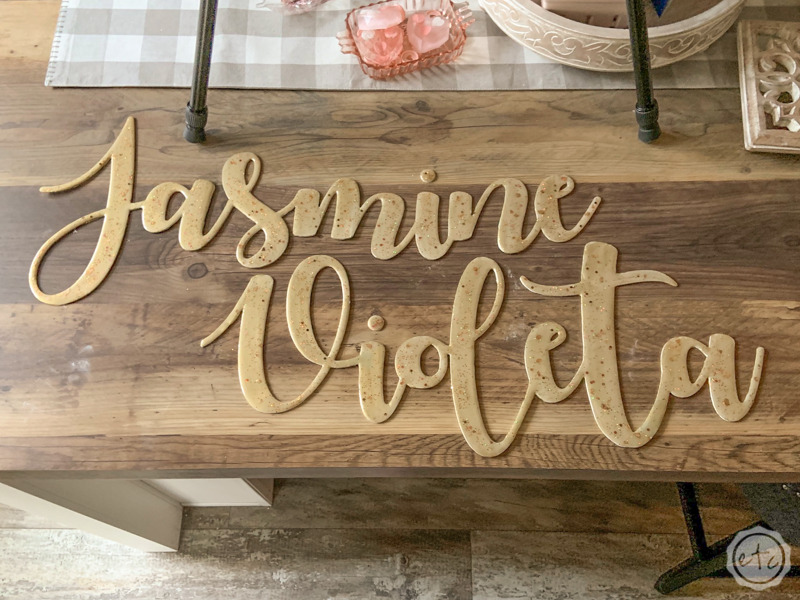
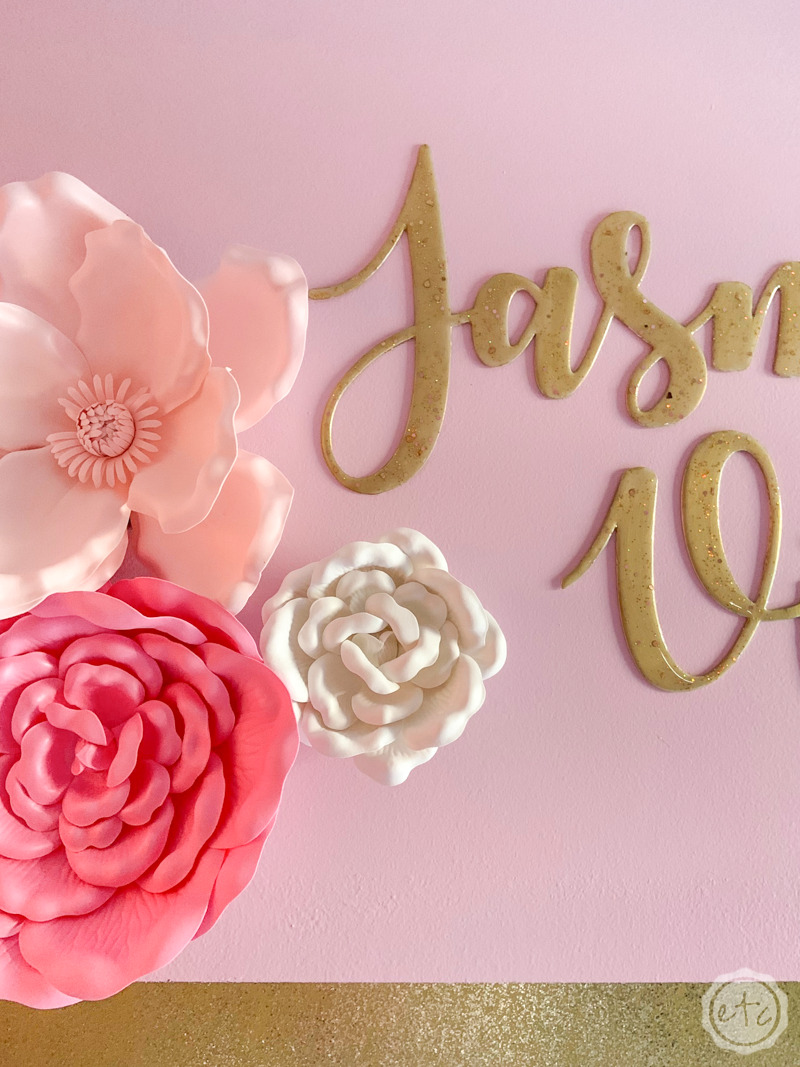
Then I went back and painted the entire piece gold… which turned out amazing if I do say so myself!!
At this point if you’re not adding a resin topcoat you’re finished. Skip ahead to the part where we hang this bad boy!
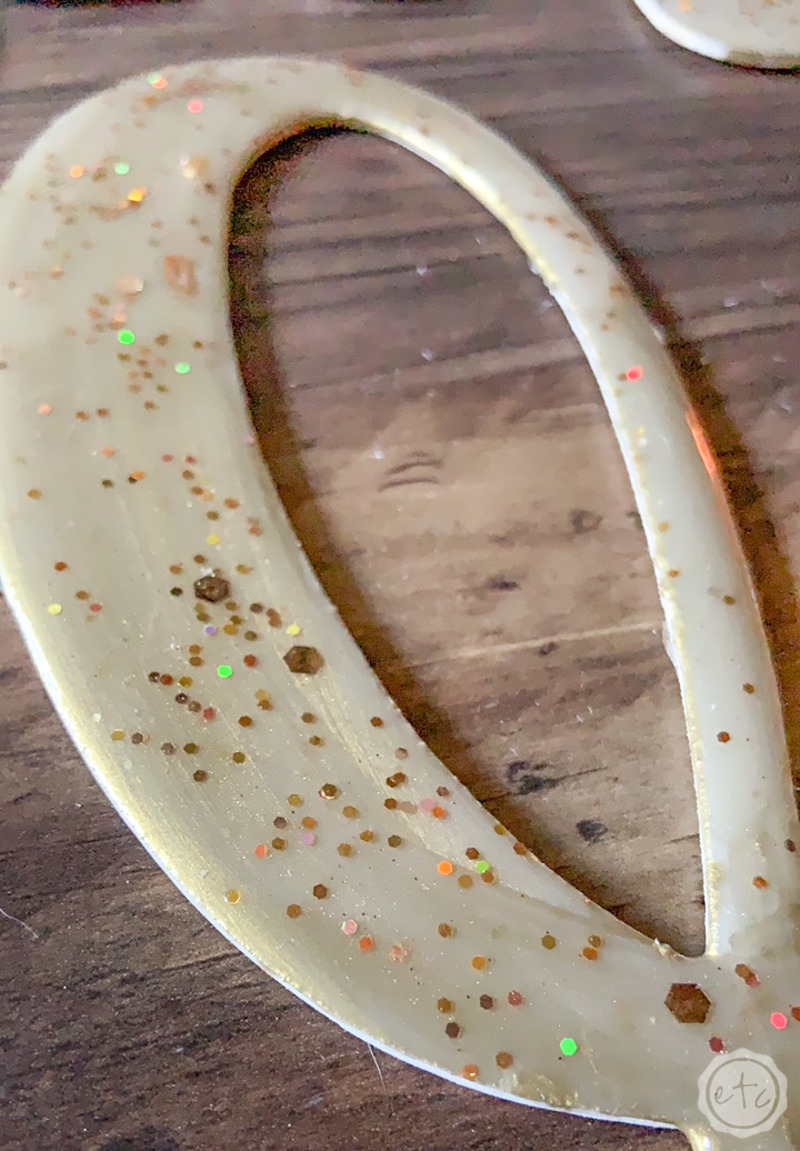
However adding one or two resin topcoats will make your pieces 1000% times stronger (I did the math!). And since the topcoat is simply clear (or in this case clear with glitter) it’s a very simple process that even a complete beginner can do. (Check out my how to mix resin for beginners tutorial if you’re just starting out).
Check out this my “How to make a custom logo sign” for the entire resin process for these name signs! In the meantime let’s jump ahead a bit… here’s a few pictures of the process to show you what it looks like!
Step 5: Hang your Name Sign
Ready for alllllll the command strips? Since I wanted this piece to lay flat on the wall and “float” without any lines or wires I decided to add command strips to the back. These babies can hold quite a bit of weight and since they come in different sizes (and you can cut them!) I could literally add them to each and every piece of the puzzle here.
Which was important to me.
This way each piece of the name is technically being held up by individual command strips and not depending on one or two while putting stress on the fragile joints in between.
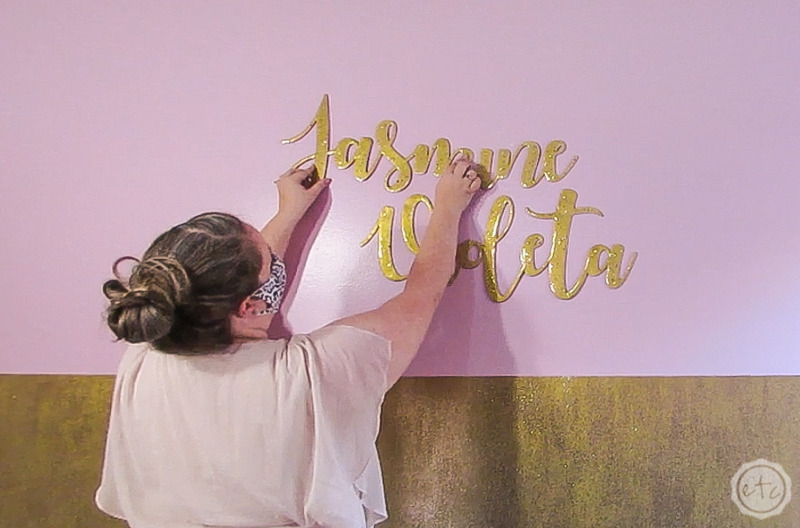
Of course, adding the command strips was easy. I placed command strips on the back of the piece and then peeled off all the coverings to reveal the sticky wall side.
Then I held it up to the wall, made sure it was in place and pushed it firmly into place while smoothing each letter down to the wall…. from the center out.
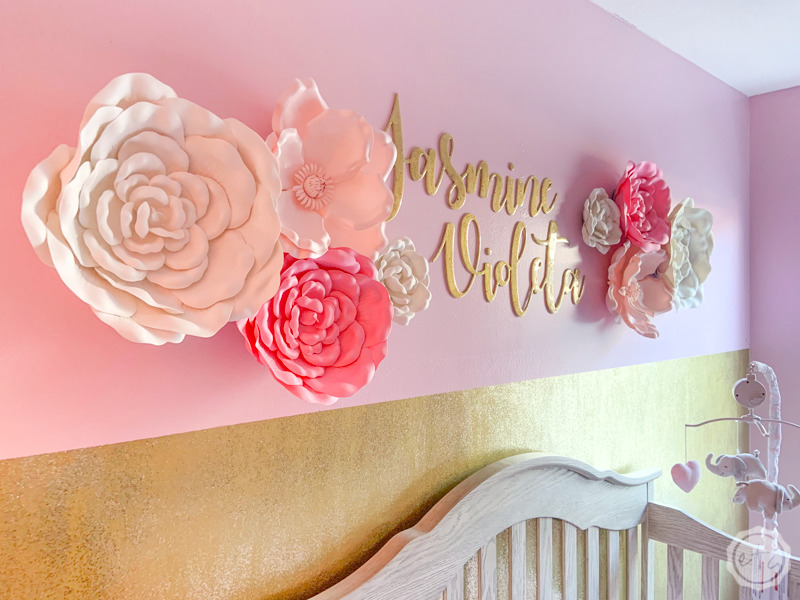
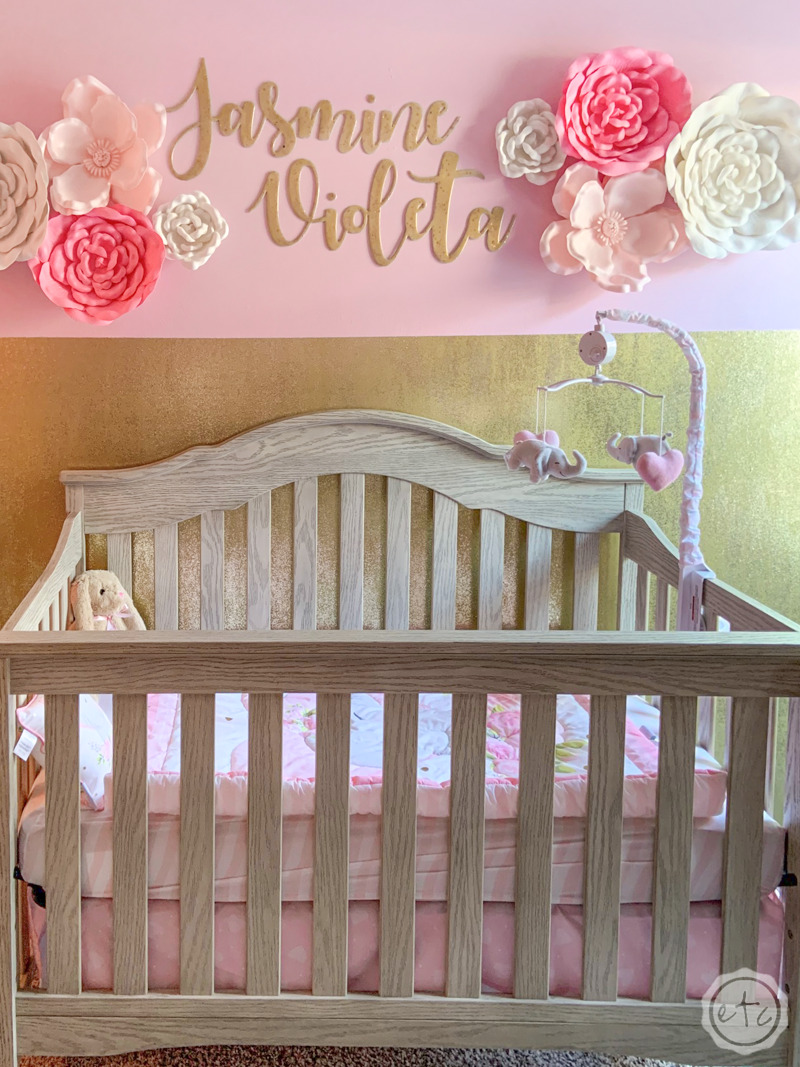
Ready for the grand finale? The reveal above baby Jasmine’s crib!
I am OBSESSED!


Want More FREE SVG’s? Check out our seasonal collection: