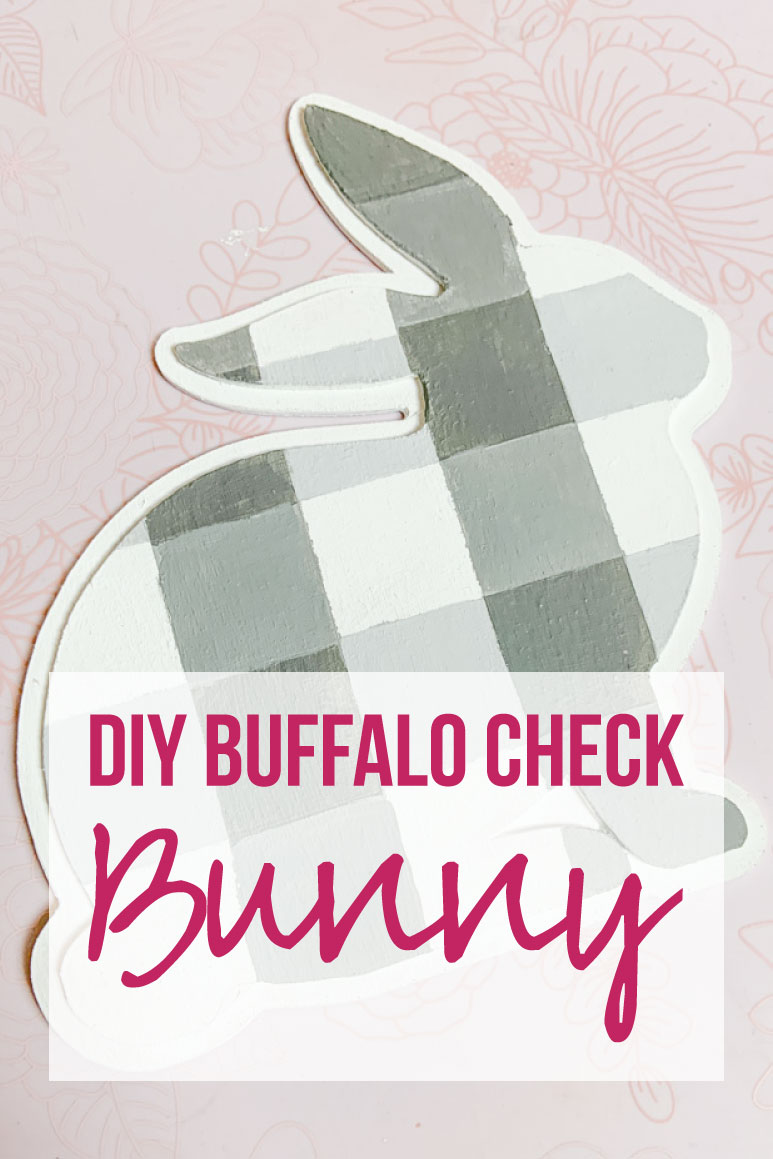

Ready for a quick and easy little DIY bunny craft? Last week I was shopping for a few last minute pieces for my Easter tablescape and was completely smitten by a few buffalo check bunnies! I almost added them to my cart but I knew I could whip these babies up in a couple of minutes with my Cricut!
So away we went to the craft room!
Ready to get started?
Supplies:
- Cricut Maker
- Bunny SVG Cut Files (FREE at the bottom of this post)
- Knife Blade
- Strong Grip Mat (that’s the purple one!)
- Basswood
- Gray and White Paint
- Paint Brush
- Paper Plate/Something to Protect your Workspace
- Blue Painters Tape
- 3M Permanent Spray Adhesive

Step 1: Cut your Basswood
If you’ve never used the knife blade before it is a little trickier than some of the other Cricut blades. It’s not hard though so don’t worry!
(If you want the full run down of the knife blade you can read my full review and user guide here).
Start by uploading your SVG cut files (they’re free at the bottom of this post) into design space. (You can follow my SVG upload tutorial here if you need a little help).
Once your bunny is loaded into design space you’ll see two layers of bunny (the background and front bunny). Make sure both bunnies are the same color so they’ll cut out of the same piece of basswood and size them so that the larger bunny is about 5.25 inches wide.
This should be the perfect width so that both bunnies fit side by side on an 11 inch piece of Basswood.

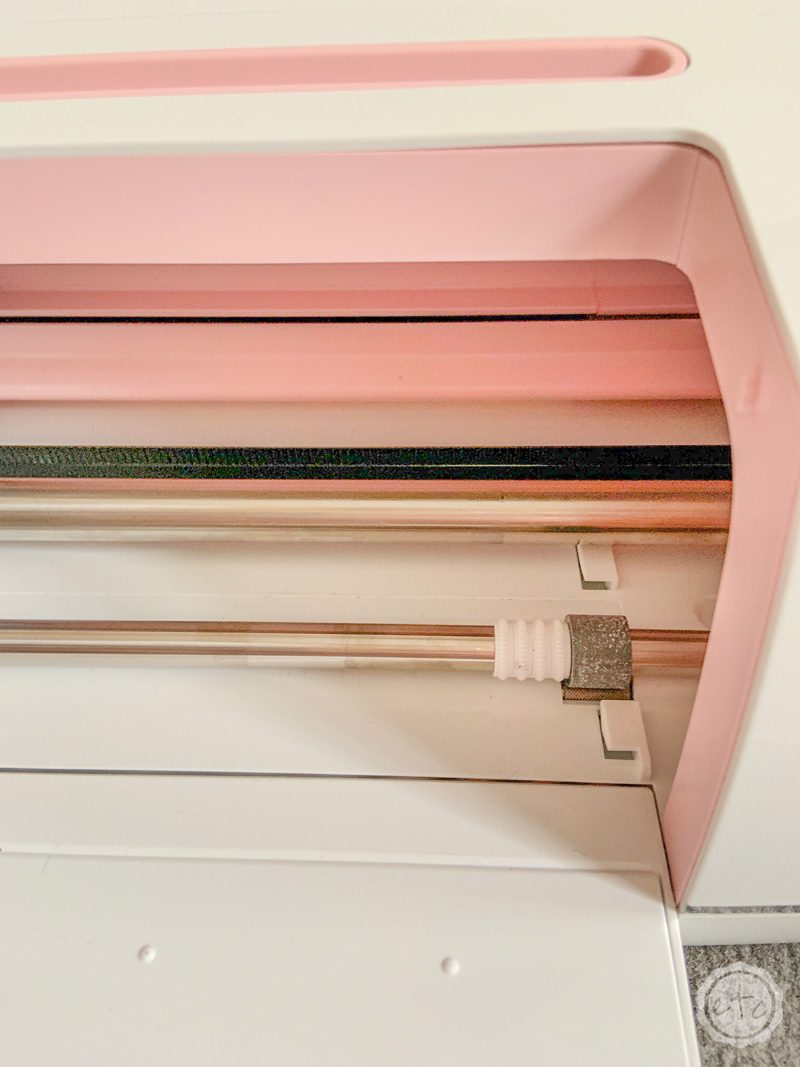
Now select Basswood as your material and the knife blade as your blade. When you do this Cricut will remind you of the special requirements for the knife blade. Mainly to move your star wheels (the little white wheels) all the way to the right and to tape your basswood down to a purple strong grip mat with blue painters tape on all sides.
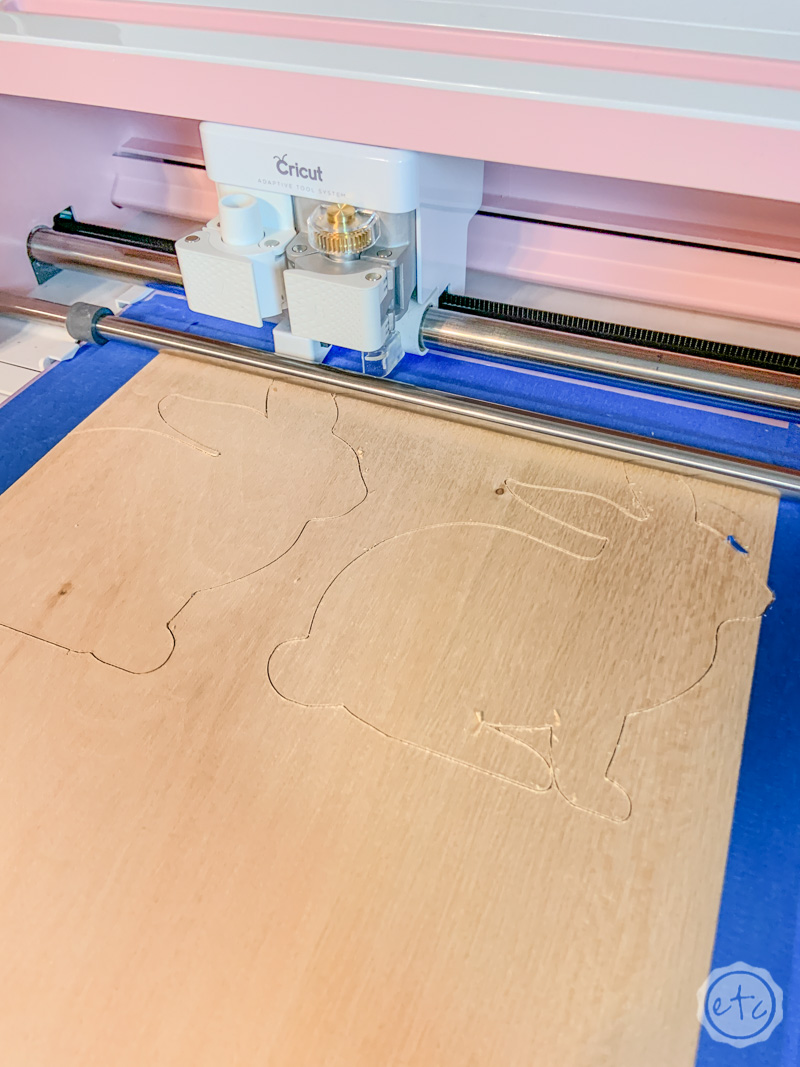
Once you’re all set up hit the go button and watch the knife blade work! Typically the knife blade makes multiple (mannnnny multiple) passes in order to cut all the way through the basswood so be prepared for this next step to take a minute.
Luckily these bunnies are pretty simple shapes so it doesn’t take too long!
Step 2: Paint your Bunny
Alright y’all now it’s time to buffalo check this bunny!
I’ll be honest… I’ve buffalo checked a few things in my day but every single time I head over to Weekend Craft to watch her DIY buffalo check painting video. I just can’t ever remember how to layer the stripes!
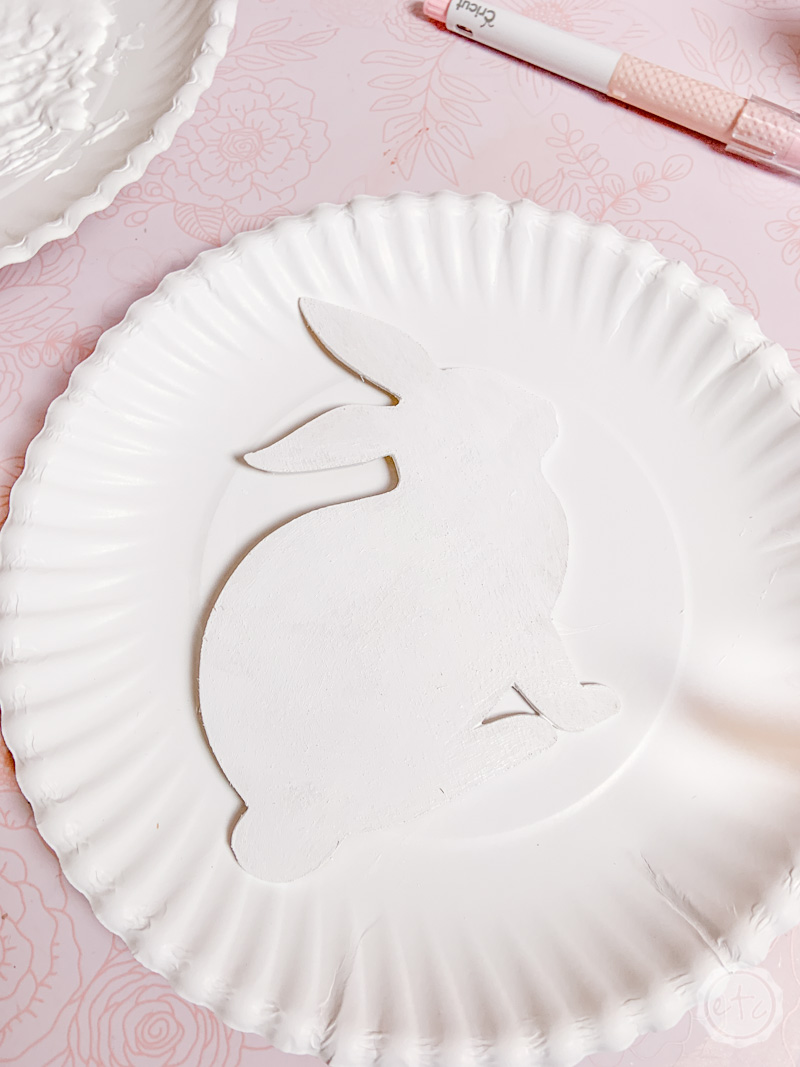
You’ll start by painting your bunny white and letting that background layer dry. Then we’ll move on to the stripes.
I find it easiest to lay down an entire layer of blue painters tape, edge to edge, horizontally, until the entire little bunny is covered. I don’t press the painters tape all the way down at this point I simply lay the tape across the bunny.
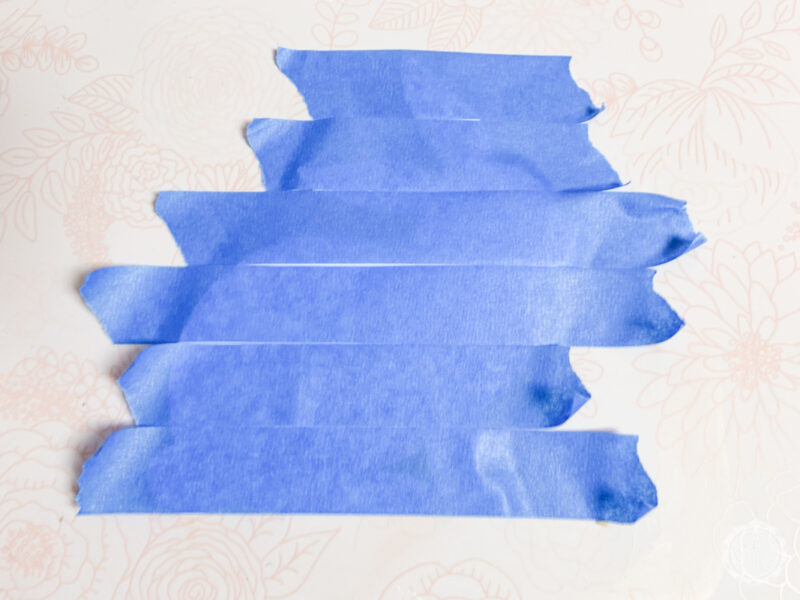
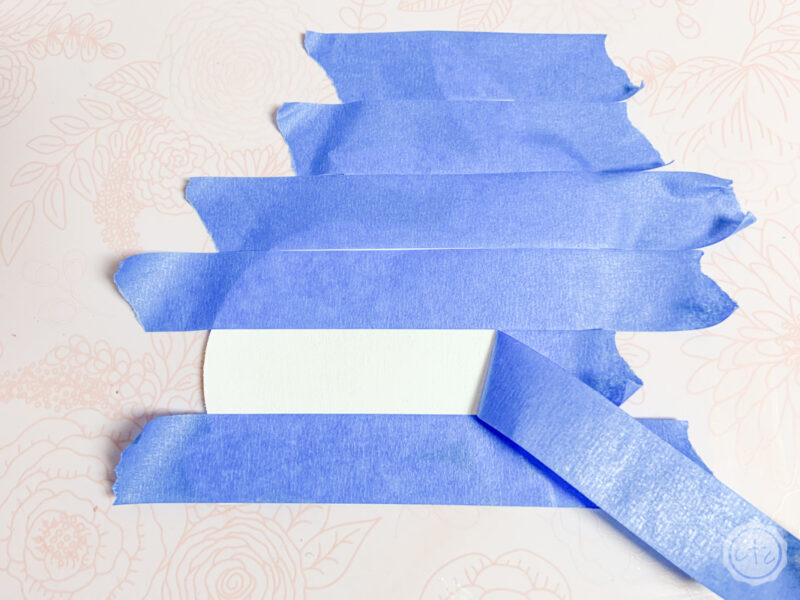
Now I remove every other piece of tape so that I have large stripes left! Go ahead and press the remaining pieces of tape down firmly so that no paint can seep under the edges.
Ready to mix a little paint? I started by taking my gray and white paint and mixing three gray colors. The darkest gray can be gray directly out of the paint bottle, the medium gray can be one part gray and one part white and the lightest gray is one part gray and two parts white.
Now paint your first set of stripes the lightest gray and then let them dry completely before moving on to the next step. Since we’re using craft paint it only took about 20 minutes to dry! Score!

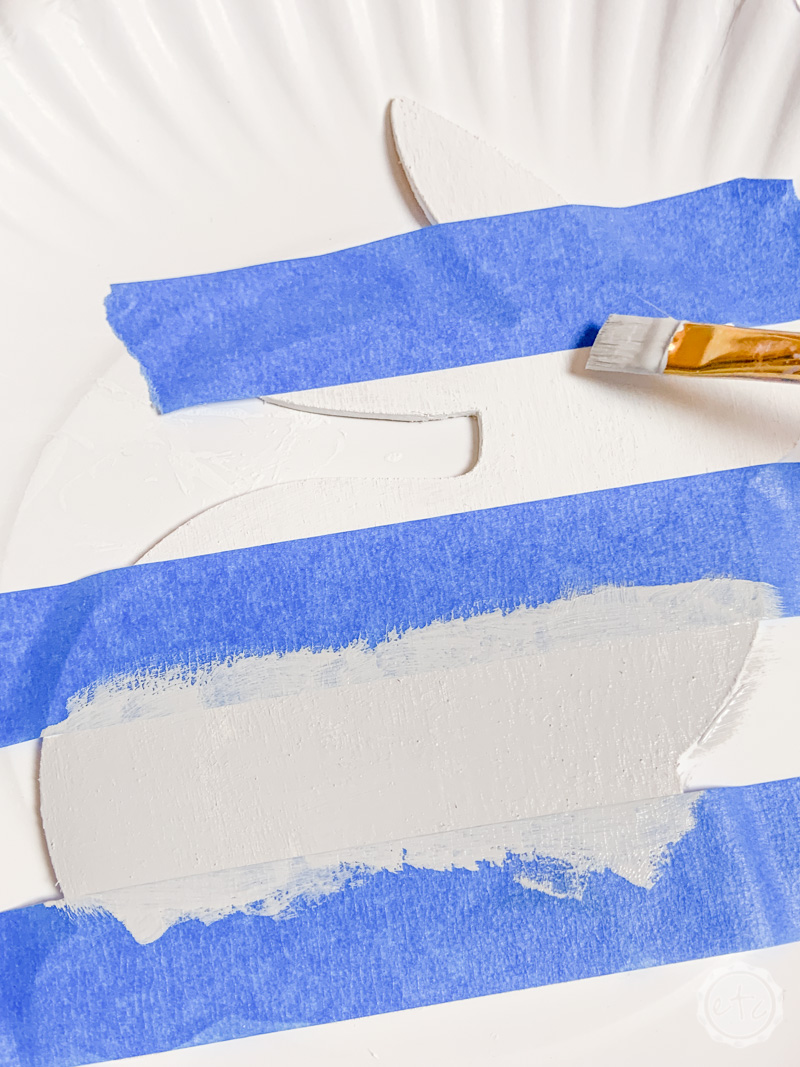
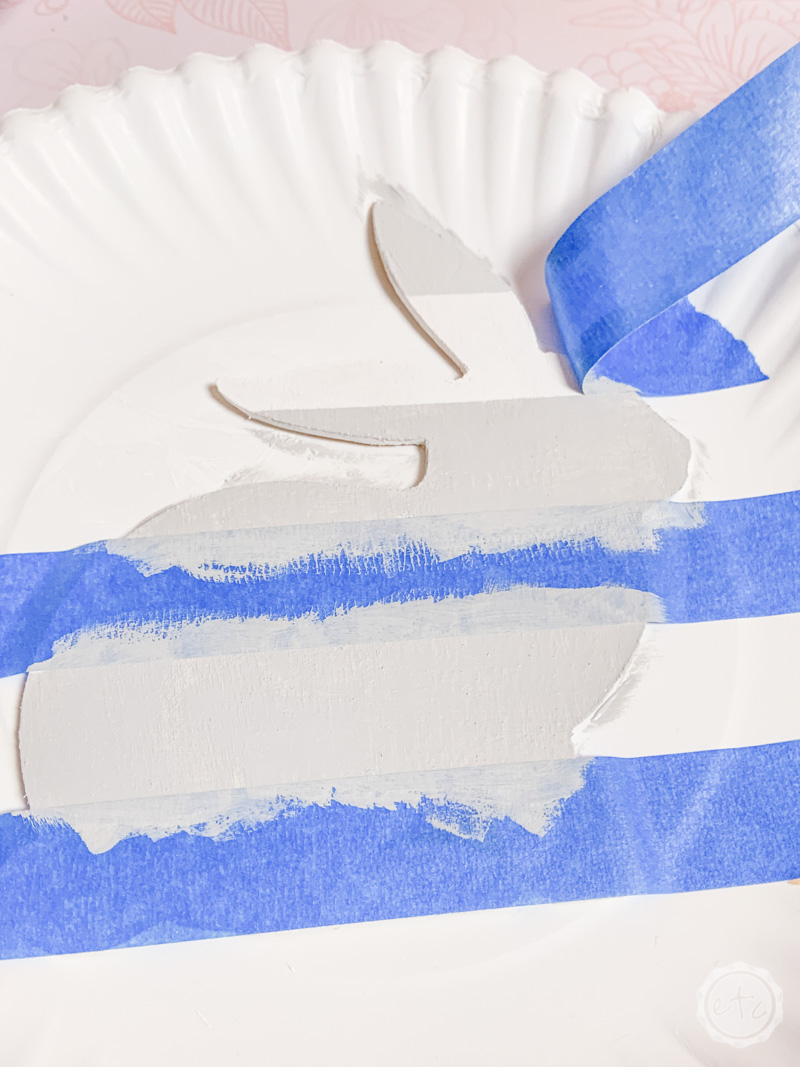
Once the light gray has dried go ahead and pull up those pieces of painters tape… then we’ll move on to the vertical stripes.
We’ll lay these down in the exact same fashion as the horizontal stripes… cover the entire bunny (vertically) with loose painters tape and then pull up every other piece of tape. Smooth down the remaining pieces of tape and then fill in the new stripes with the medium gray paint color.


Once your medium gray paint color is dry it’s time for the final step.
Leave the blue tape pieces from the medium paint stripes in place and add the original tape pieces (from the light gray stripes) on top. This should leave only the portions where the light gray and medium gray intersect left uncovered.
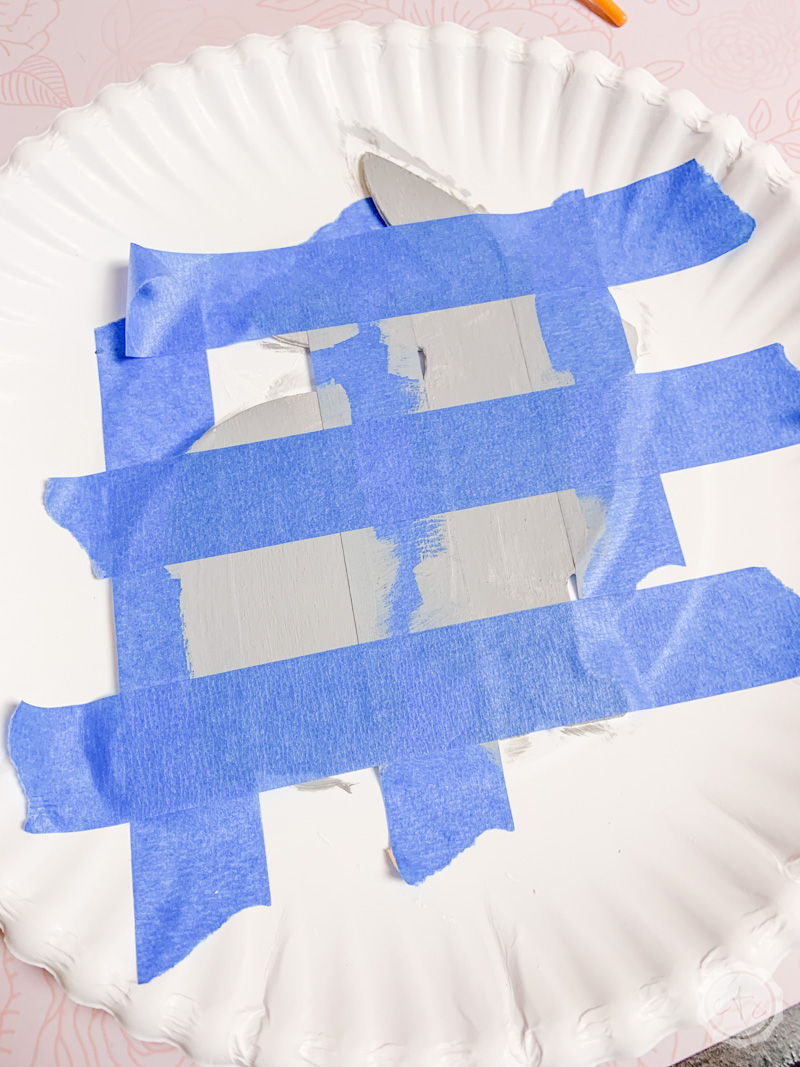

Go ahead and paint these squares with the darkest gray… the one straight out of the bottle!
Once the dark stripes dry you can remove all of the painters tape from the entire bunny.
And that’s how you paint buffalo check!
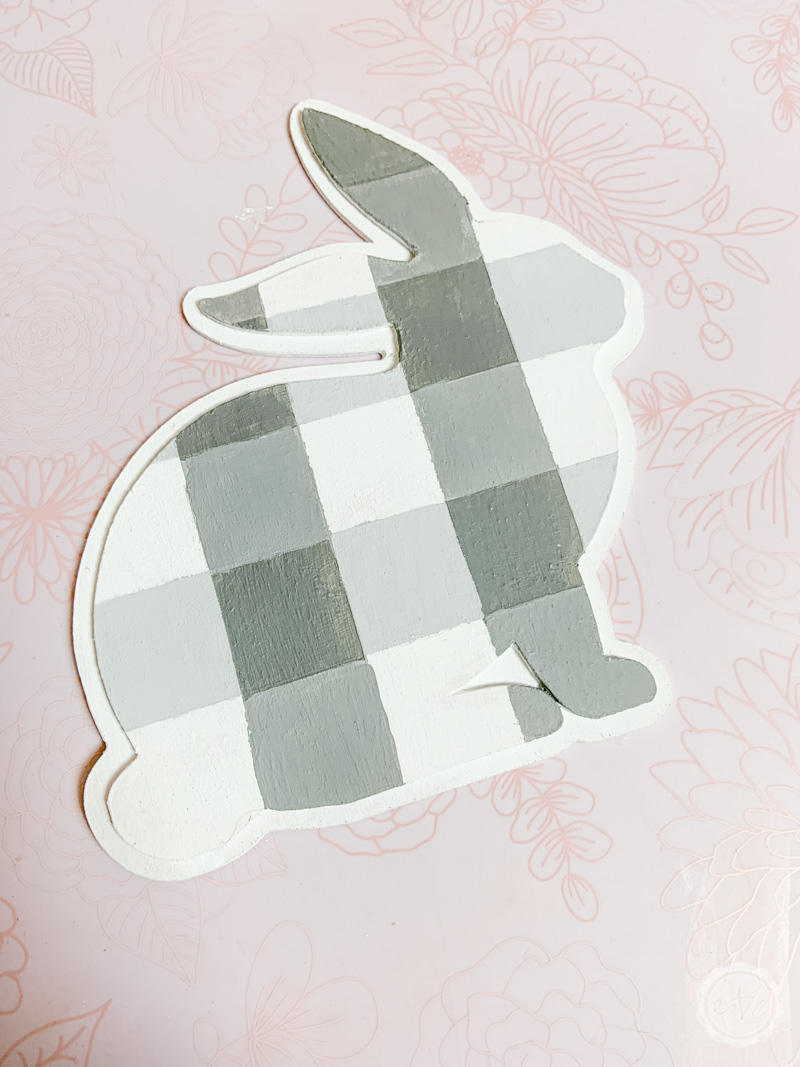
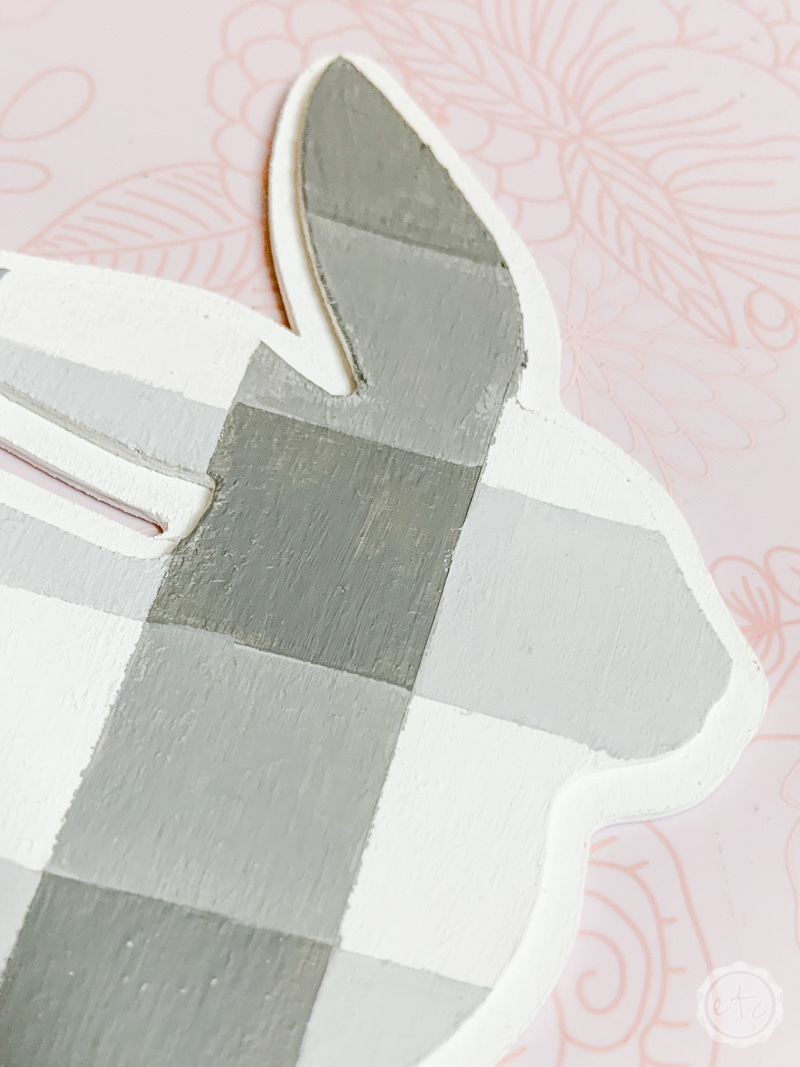
Step 3: Add Finishing Touches
Alright y’all now it’s time to finish this little bunny. The first step is to add a bit of spray adhesive to the back of your buffalo check bunny and then firmly press it into place on the white background bunny.
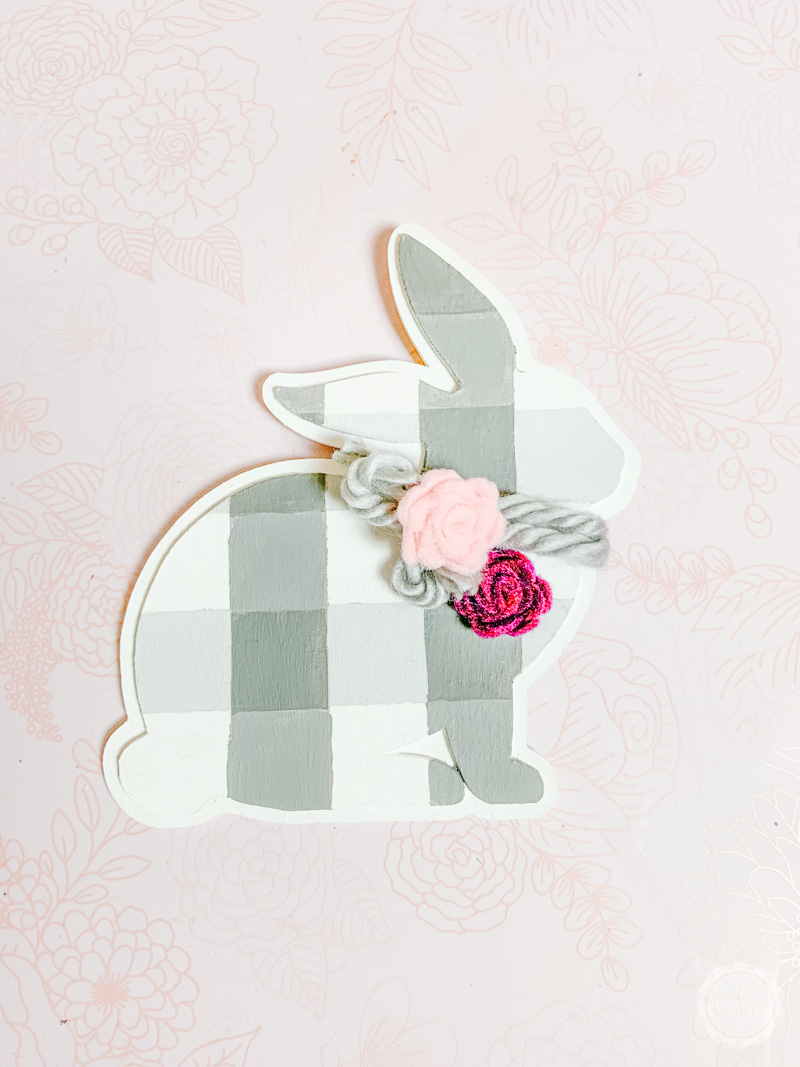
Once the bunnies are made into one you can leave them be or embellish your bunny a bit. I chose to add a collar with a piece of gray yarn and a few felt flowers (check out the felt flower tutorial here… these little guys are super easy to make!).
I hot glued these little guys in place and my buffalo check bunny is done! Check it out!
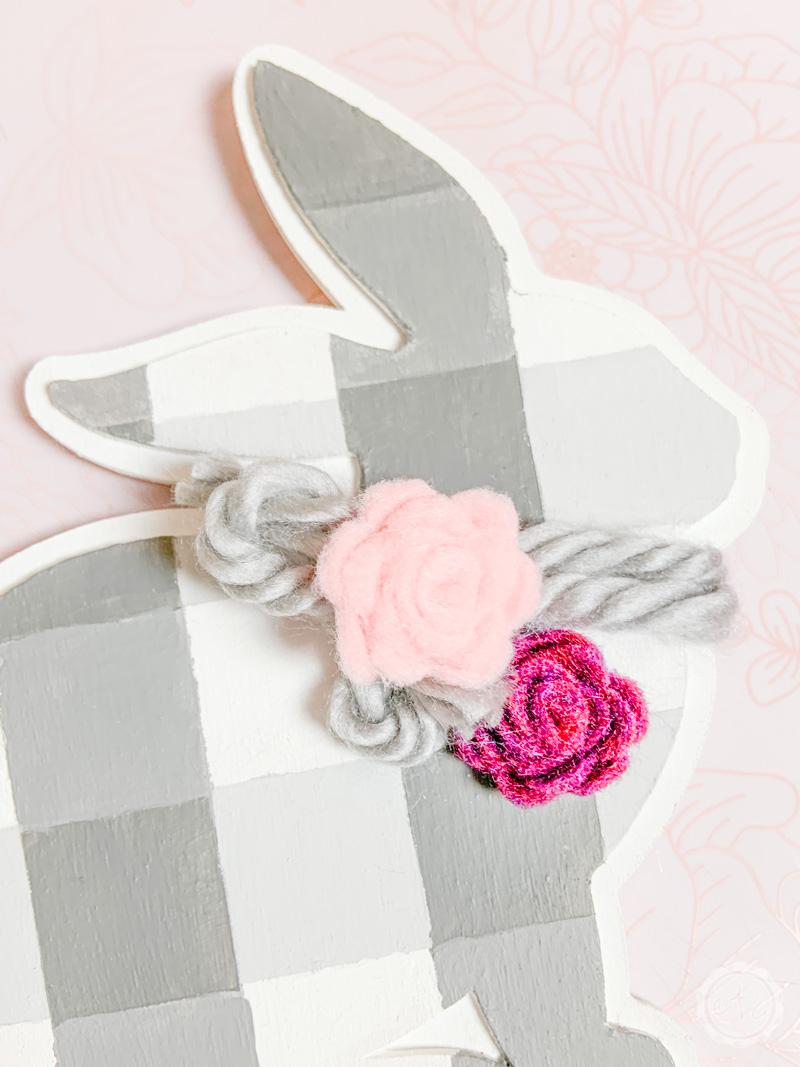
This little bunny turned out cuter than I ever imagined… and the buffalo check was so much easier to paint than I thought it would be! Of course, this little guy was pretty darn cute on it’s own (and could easily be added to a sign or display completely on it’s own) but I had other plans!
I may have taken my power drill and added two holes in the bottom of this bunny so that he could sit on my few felt flower wreath… and it turned out soooooo cute (if I do say so myself!).
Check out the full tutorial for your very own felt flower wreath here.


