


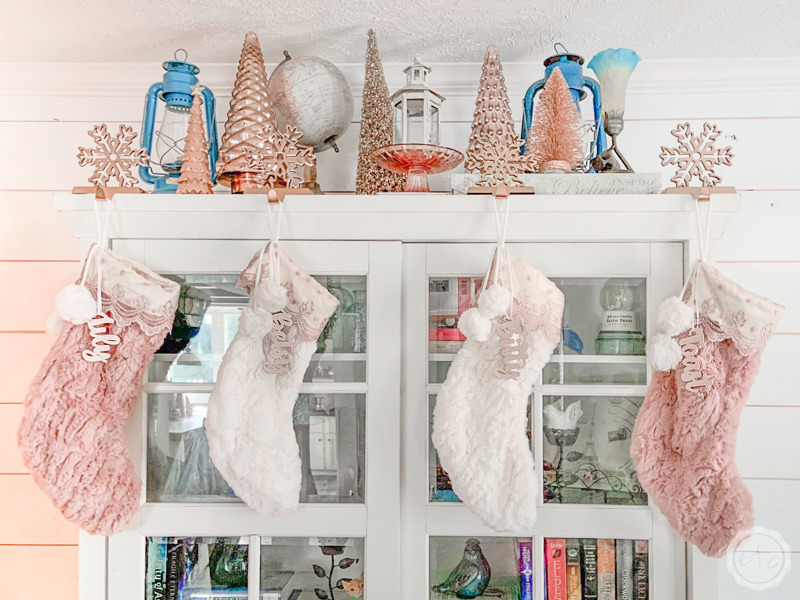
After spending years searching for the perfect stockings I wasn’t going to settle for anything short of amazing. No, my new blush and white faux fur beauties (*ahem* stockings) needed the perfect stocking tags. I wanted something that could hang straight without fluttering in the wind (so cardstock was out) while being a big more glam then foam or chipboard.
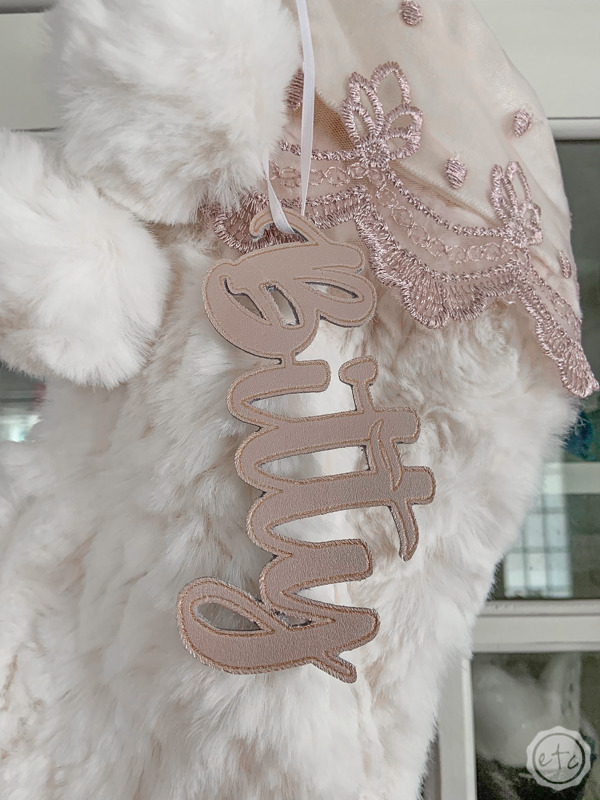
Which is why I came up with the perfect plan: metallic rose gold leather stocking tags with a rose gold foil accent!
Isn’t that the most magical thing you’ve ever heard?
Since picking up my new foil transfer tip from Cricut I haven’t had a really good opportunity to use it… and then I found out that you can’t foil directly onto metallic leather. They’re not compatible… which doesn’t make sense since genuine leather is compatible.
So instead of panicking I grabbed my foil tip, a sheet of metallic leather and my cricut… and yes they do work together beautifully. With one special hack you can even safely foil your metallic leather and then cut it out. Not quite as easy as hitting go but pretty darn close.
I’ll show you all the steps to foiling your metallic leather, cutting it out and making beautiful metallic rose gold stocking tags. Let’s get started.
Supplies:
- Cricut Maker
- Hello Valentica Font
- Deep-Point Cutting Blade
- Strong Grip Mat (that’s the purple one!)
- Brayer
- Washi Tape
- True Control Knife
- Metallic Rose Gold Leather
- Foil Transfer Tip (Bold Tip)
- Rose Gold Foil Transfer Sheets
- Ribbon
How to Cut & Foil Metallic Leather with your Cricut
Ready to take the leap but not sure which machine is right for you? Check out my Explore Air 2 and Maker comparison before pulling the trigger. I go over the pro’s and con’s of each machine and even have an easy to read check list of each machine’s features so you can decided which cutting machine is perfect for you.
Step 1: Create your Design File
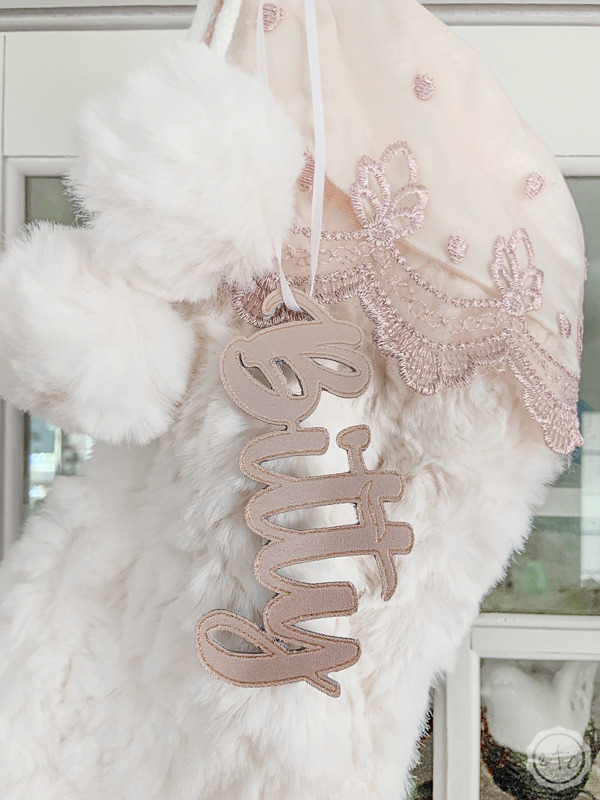
Alright y’all let’s get started! Since I have four stockings I needed to make four stocking tags BUT as always nothing is never as easy as it seems… since I actually have 5 “people” to make stockings for. In this case myself (Betsy), Bitty (my 10 year old yorkie), Lily (my 14 year old kitty cat), Sugar and Cinnamon (who are 1 and 2 year old long haired miniature dachshunds).
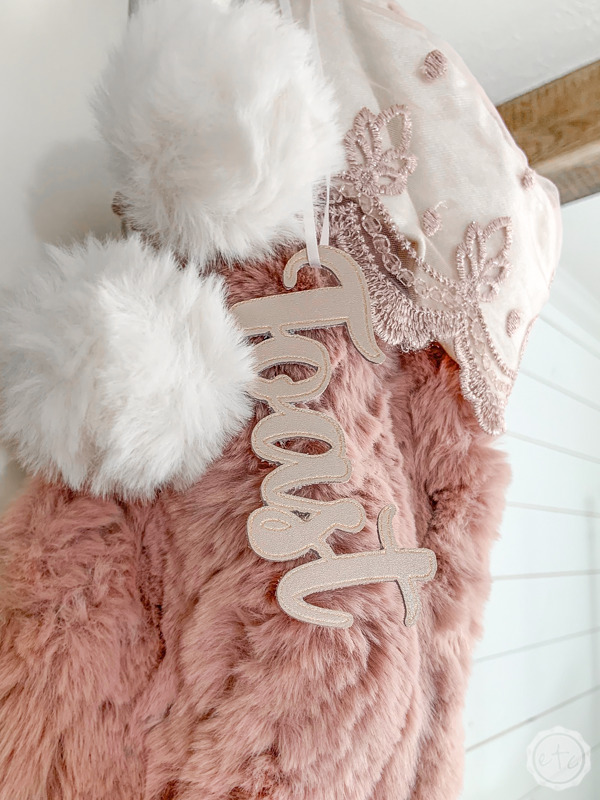
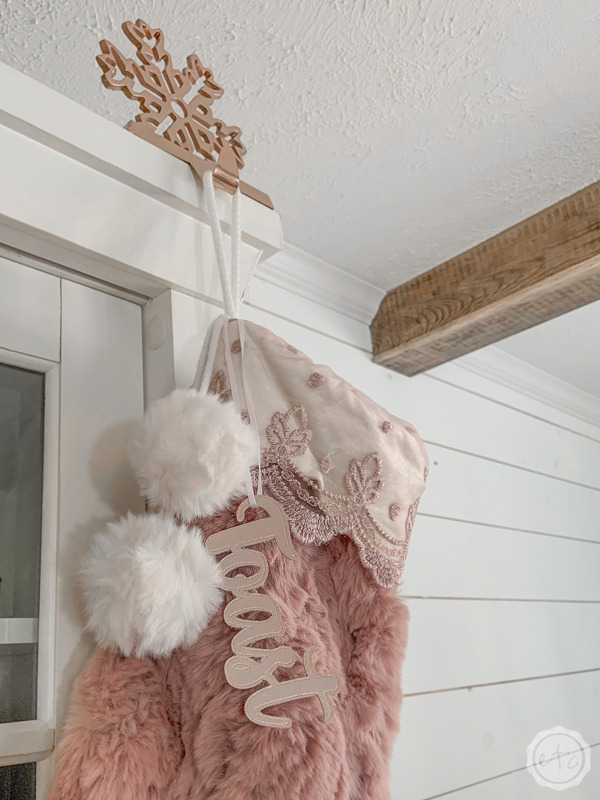
Luckily I knew Sugar and Cinnamon wouldn’t mind sharing… they are always together after all. They even have a couple name (sister name?): Toast. Since they’re best friends and I often have to call for both of them I’ve started calling them “Toast”… you know like sugar and cinnamon toast? It’s a funky little nickname but it makes me smile.
So I officially decided to whip up 4 stocking tags: Betsy, Bitty, Lily and Toast!
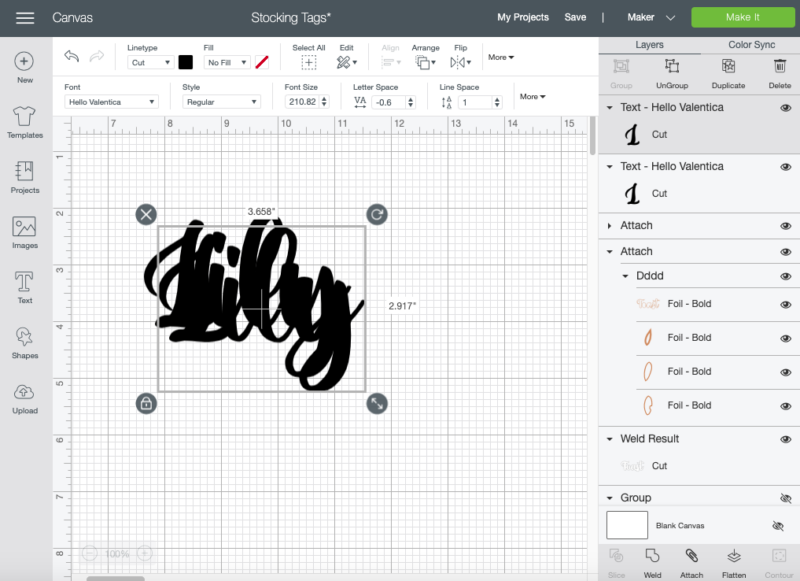
When it comes to actually designing these little tags the process was fairly simple. I picked my font (Hello Valentica which you can download for free here) and wrote out my names in Cricut Deisgn Space.
Then I adjusted the Line Space at the top of the screen until all of the letters in my name were touching. If the letters aren’t touching the stocking tag won’t work… it would just be a bunch of unattached letters all in a pile.
Yuck.

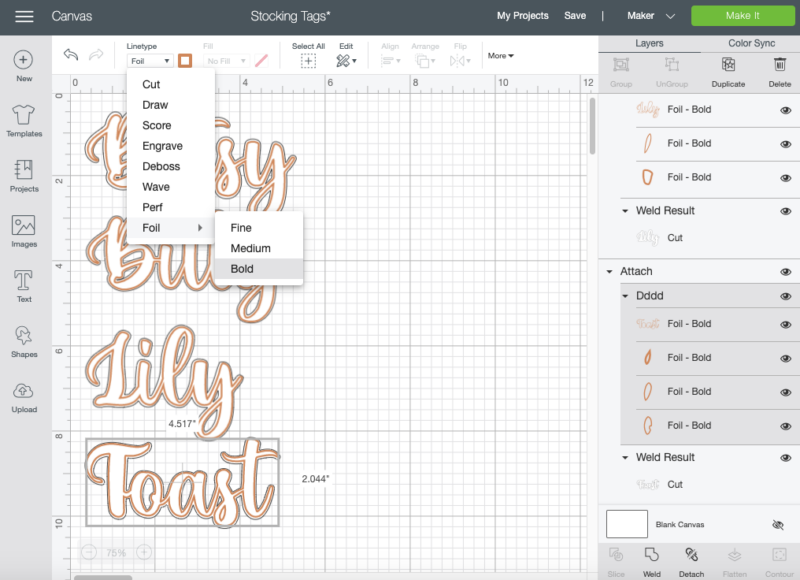
Now we need two layers… one for cutting and one for foiling. So start by copy and pasting your first name. Then you can change the line type of the front layer to foil (I selected bold). I also made the front layer be rose gold and the back (cut layer) be white so that it was easily visible on my mat.
Then I made the foil layer a little smaller so that it would fit within the cut layer… and I lined those babies up to make sure I wouldn’t have any problems!
Now you may notice that your font has a lot of lines when you change it to a foil line type. I didn’t love this so I took the font into illustrator and cleaned up the lines a little. This is a completely optional step and if you want to skip it you can (or you can pick a different font!) either way after a little cleaning our letters looked perfect.
Just what I wanted.
Now just make sure that your foil layers are all attached and hit “make it!”… it’s time to cut these babies out!

Step 2: Line up your Foil and Cut Layers for Perfect Results
Ready for the trick?
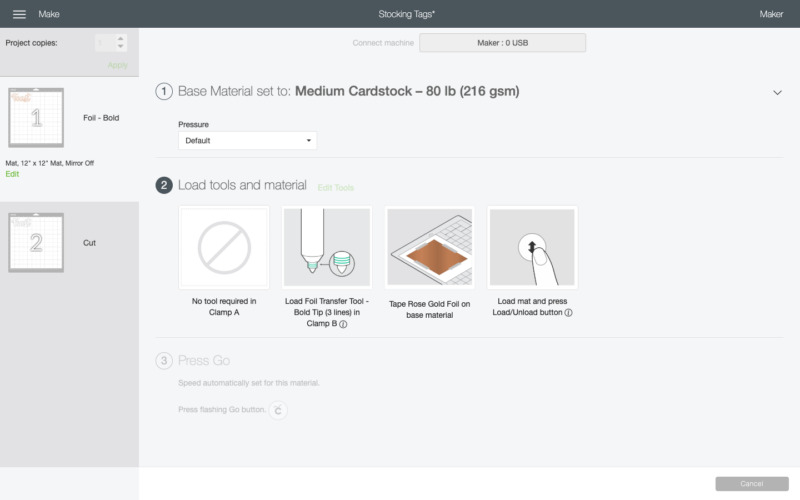
Since we can’t simply select metallic leather and hit go we need to trick our Cricut into first foiling our design and then cutting out the word. The best way to do this is by telling Cricut we’re going to foil on one mat and cut on another. Then we’ll line up our foil and cut layers to ACTUALLY FOIL AND CUT ON THE SAME MAT.
This way we can tell Cricut to “foil” a medium weight cardstock (since cardstock is compatible with foiling!) on the “first mat” and cut our cut design out of our metallic leather on our “second mat”.
The Cricut will proceed with foiling our “cardstock on the first mat” and cutting our metallic leather on the second mat. While in reality the cricut will be foiling and cutting the same piece of metallic leather on the same mat.
See how in the Cricut Design Space window above there is a foil mat and a cutting mat? Go ahead and line up each stocking tag “Betsy” with “Betsy”, “Lily” with “Lily” so that the machine will foil and cut in the same space on both mats. If you’re unsure how to do this don’t worry… it’s not a trial and error system. There’s actually a quick and easy trick to lining these treatments up.
I’ll walk you through the entire process (with step by step instructions) for how to align one item across multiple cut mats here.
Once you have all four stocking tags lined up we’ll move on to the next step… foiling!


Step 3: Foil your Stocking Tags
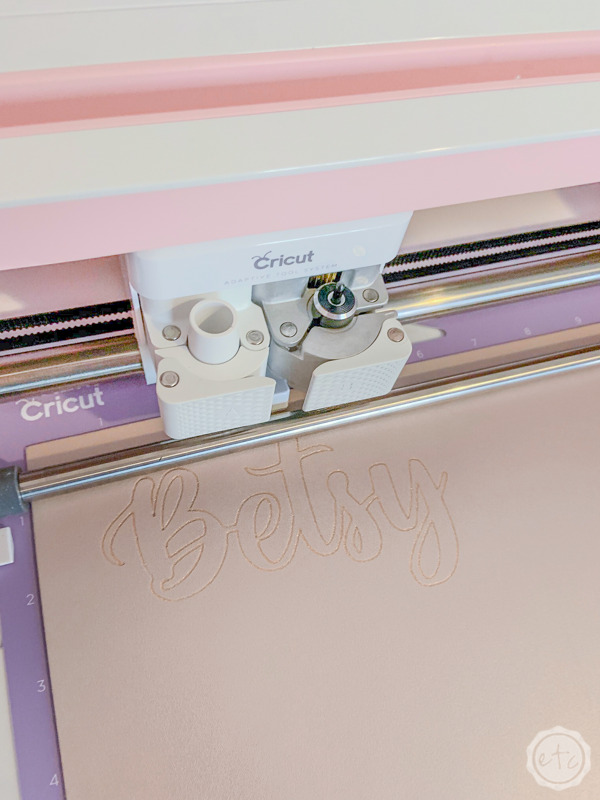
It’s time for the big guns.. the foil transfer tip! Since this baby is new and fancy I decided it deserved a few close-ups.
So that y’all could see how it works!
Spoiler alert… it works just like a cutting blade but it’s a foiling tip. Which is awesome since we already know how to use cutting blades… we won’t have to learn anything new.
All you need to do is insert the tip you’d like to use (I selected bold since I want nice thick lines for this project) and then place the foil transfer tip into your cricut. For this project we’re going to use slot b… so we’re not doing anything out of the ordinary yet!
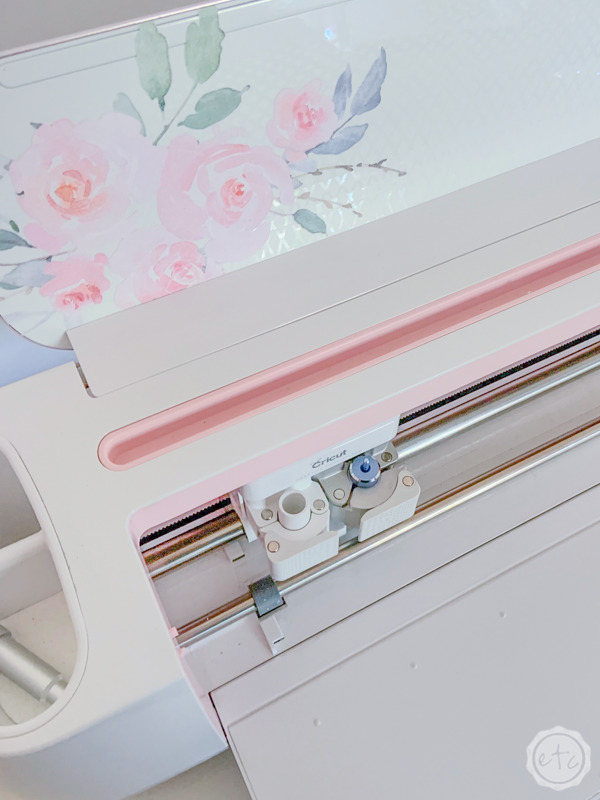
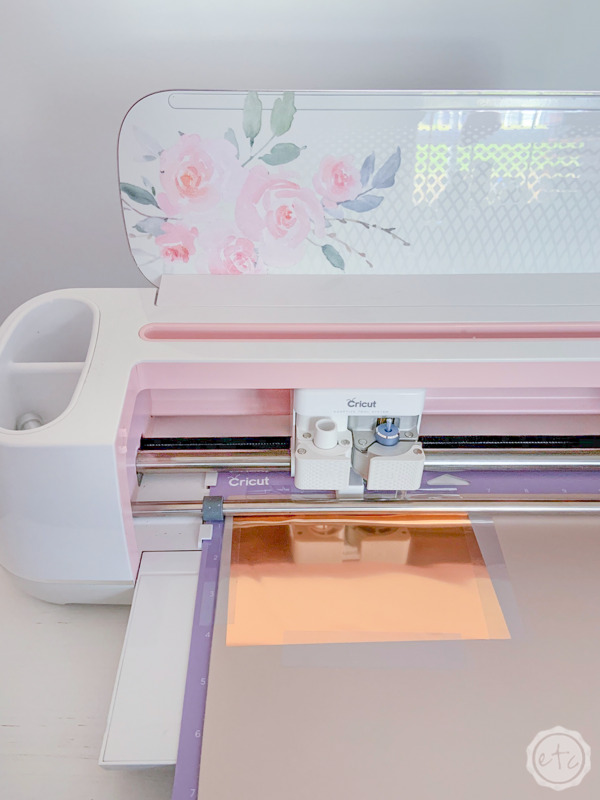
Once your foil transfer tip is in place go ahead and load your mat. In this case I’m using a brand new strong grip mat loaded with my metallic rose gold leather.
You’ll have to do quite a few passes to cut through the leather so press down firmly with a brayer allllll the way across your leather (and if your strong grip mat isn’t brand spanking new make sure to use masking tape around the edges for a better seal).
Once the leather is in place you can add your foil. In this case I’m using a rose gold foil (I really want to try rose gold foil on white leather now!)… so place it over the area you’re planning to foil and then tape it down around all 4 edges.
If you’re brave you can do all four stocking tags at once but foil is expensive and so is leather so I opted to do these babies one at a time so I could make sure they were doing what they were suppose to be doing.
Plus the foil is only about 4 x 6 and since I made my stocking tags about 5 inches long I could only get one stocking tag out of each piece of foil… and I wasn’t sure how overlapping the foil would work. We’ll test that out later.
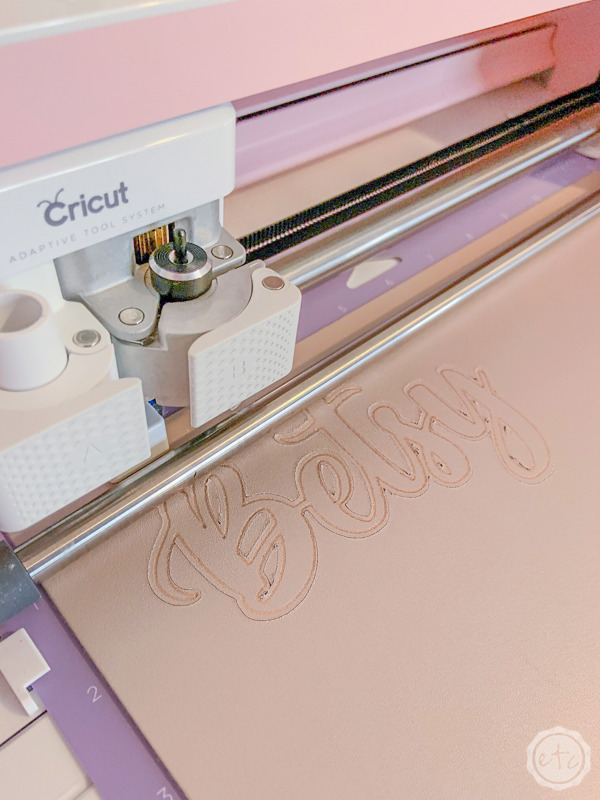
For now we’ve got our leather firmly attached to our strong grip mat and our foil tapped in place (I literally used heat resistant tape since I couldn’t find scotch tape… fyi it works). Then move the star wheels allllll the way to the right and we’re ready to rumble so you can hit go!

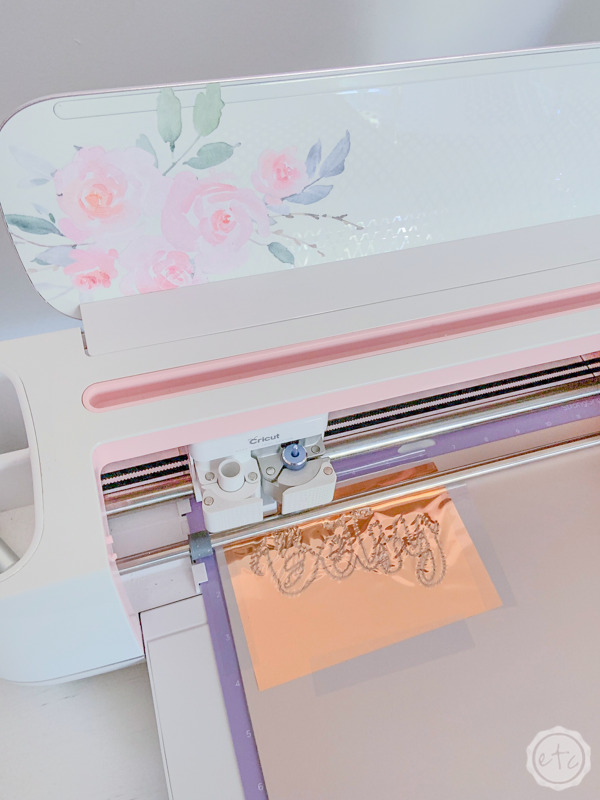
Isn’t it fun?! The foiling process was very quick and the first few went seamlessly… even if the foil shifts a little everything was fine underneath.
My main tip here is to make sure that everything is taped down securely. As I cut out stocking tag number 3 and 4 my mat was getting less sticky… and my foil starting shifting more and more with only a few pieces of tape. I found that with a less sticky mat I needed to tape down the entire piece of foil.
All the way around, even the corners. I did this firmly (but gently) since the foil is pressure activated… I didn’t want giant foiled fingerprints on my leather when the whole project was over!
Lucky for me it worked.
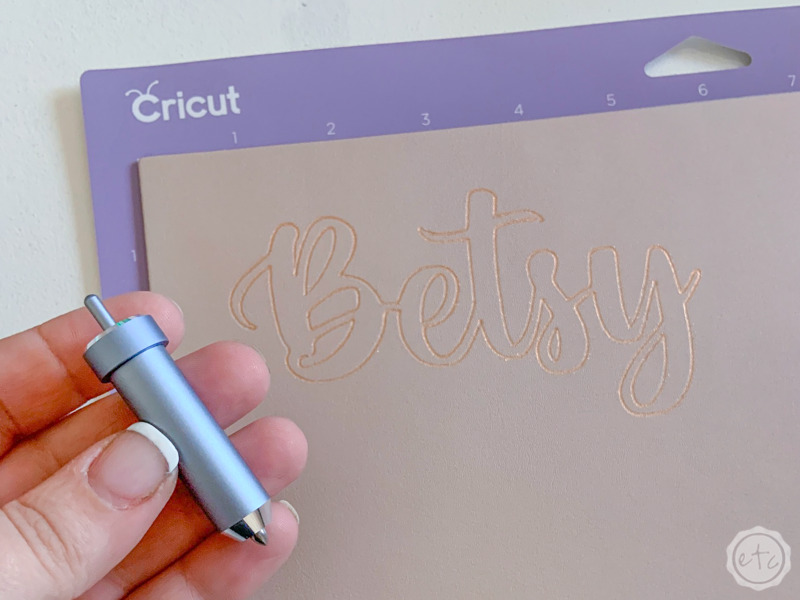
Check it out! Once the foiling is over you can eject your mat and remove the foil. It looks so cool!
Just a tip: I cut off the parts of the foil that I could use for another project. It would have to be a small project but you never know what scrap pieces you might be able to use!

Step 4: Cut Your Stocking Tags
It’s time to cut! Now go ahead and switch your foil transfer tip for the deep cutting blade.
Likewise tell Cricut Design Space that your base material is metallic leather instead of medium cardstock!
Then you can load your mat and hit go.
The deep point blade will do 4 passes before the load/unload light will start to blink indicating that the project is done. Before you unload the mat make sure that the leather is cut all the way through!
You can do this by taking a weeding tool and carefully trying to pick up one of the cut parts of your leather. If it is able to cleanly come off the mat the leather is cut all the way through and you can unload the mat.
If your leather is not cut all the way through the leather will still be attached (usually at the bottom layer of leather). Simply hit the cricut button again and the maker will do another 4 passes with the deep point blade.
Just make sure to do this without removing the mat since we want the cricut to cut in the next 4 passes in the exact same spot as the first 4 passes. Once it’s finished use your weeding tool to check for clean cut edges… if they’re not cut all the way through hit go one more time. If it’s ready to rock unload your mat.
When I did my tags I had to run the machine for 3 passes for the first name (so a total of 12 cuts), once for the second name (so a total of 4 cuts) and twice for the 3rd and 4th names (so 8 cuts). I can see no rhyme or reason to any of this so just double check it each and every time.

Now you can remove your leather from the cutting mat and you’re good to go! I used a simple white ribbon to hang my new stocking tags so that it wouldn’t compete… and I LOVE THEM!
Honestly once I got the hang of foiling and cutting this project was pretty easy! The hardest part was figuring out how to trick the cricut into foiling my metallic leather and I’ve already shared that tip with y’all.
I can’t wait to work on more foiling project… I have so many ideas!
In the meantime: enjoy!
Oh and if you want to snag a closer look at my pretty rose gold Christmas tree you can see it in action here.


Looking for more rose gold holiday goodness? These posts are for you!


Leave a Reply