• House Tour
    • Reveals
  • About
    • Smith Life
    • Disclosure and Privacy Policy
      • Terms and Conditions
      • Store Affiliates
  • Contact Me
    • Want a Button?
  • Shop
    • Floral Printable Planners
    • Paint eBooks and Packages
    • Wedding Binders & Extra Printables!
    • Planner Bundles
    • Planner Accessories
    • Home Decor Printables!
    • Cart
    • Bloglovin
    • Facebook
    • Instagram
    • Pinterest
    • Twitter
    • YouTube

Happily Ever After, Etc.

Creating Our Own Fairytale

  • Happily Ever After, Etc.
  • Home
  • Home Decor
    • My Home
    • Paint
    • Before and After
    • Tablescapes
    • Mood Boards
    • Furniture
  • DIY & Crafts
    • New to Cricut – Start Here
    • Cricut Projects
    • Resin
    • Scrapbooking
  • Organization & Planning
    • Cricut
    • Organization
    • Planner
  • Wedding
    • Cricut Wedding Projects
    • Free Wedding Binder
    • Bride Bag- The Ultimate Wedding Planner

How to Cut Die Cuts for Your Planner

Hey y'all,

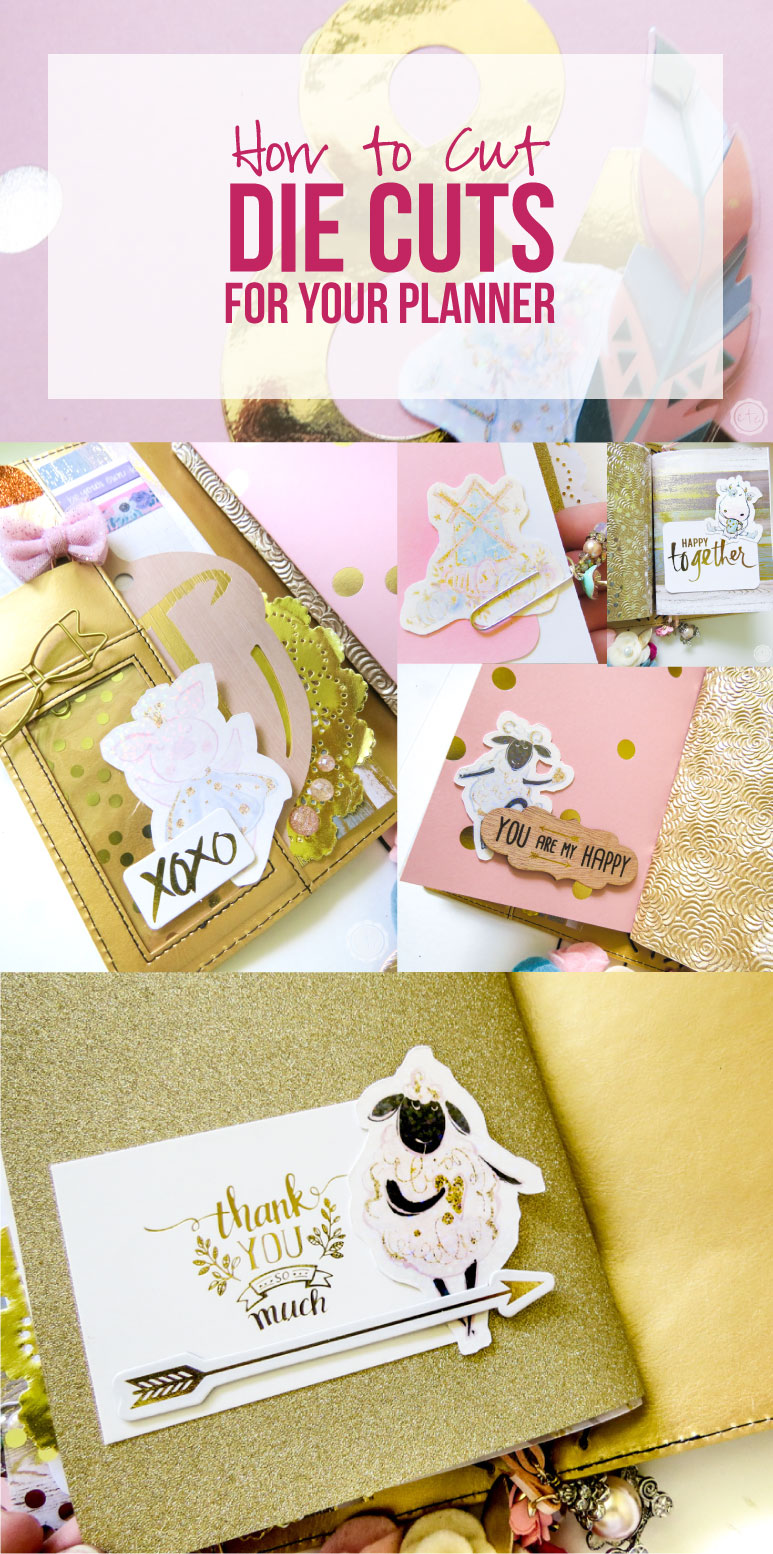
As much as I love using my Cricut for fun home decor projects (wooden signs, t-shirts, mirrors… the whole shebang) I love using it even more for my planner! Little planner stickers, journaling cards and die cuts can be absolutely amazing additions to your planner… but those little do-dads sure add up over time.

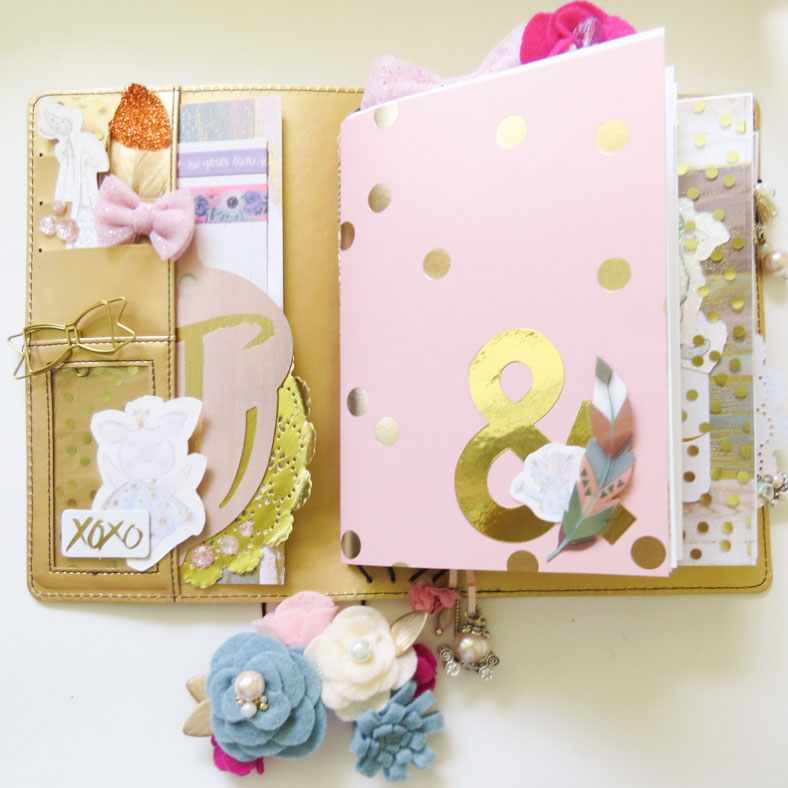
Especially if you’re looking to change your planner decor to reflect the season! Which is why I thought I’d share a few of my favorite fall die cuts with y’all… I am putting together a little Fall Travelers Notebook after all!

And little fall die cuts are the perfect way to take your planner from summer to fall, easy peezy lemon squeezy.

Take a look!

Luckily cutting out die cuts with your Cricut is suuuuuper easy. Plus I’ll walk you through it step by step.

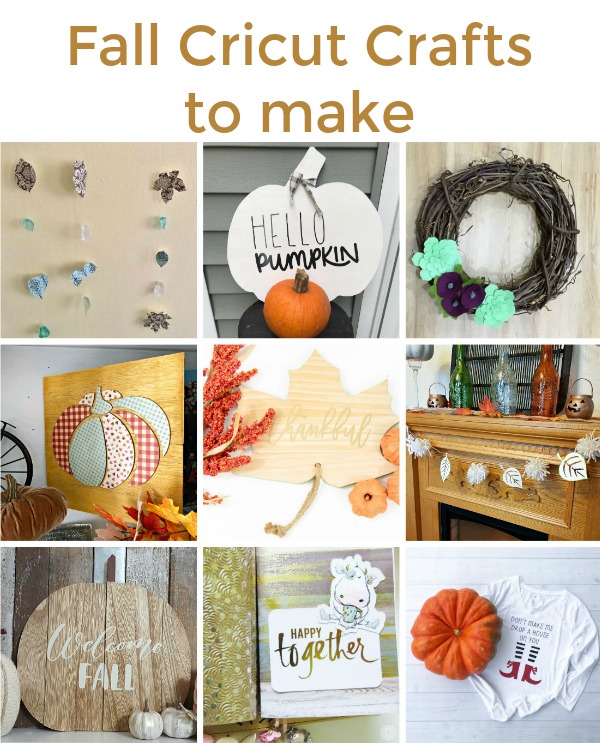
BONUS POINTS: If you’re looking for a few more Cricut Projects I’ve got you covered… scroll to the bottom to see the rest of October’s Craft and Create Cricut Projects.

Supplies:

White Cardstock
Holographic Sticker Overlay
Printer
Cricut Explore Air 2
Cricut Print and Cut Files

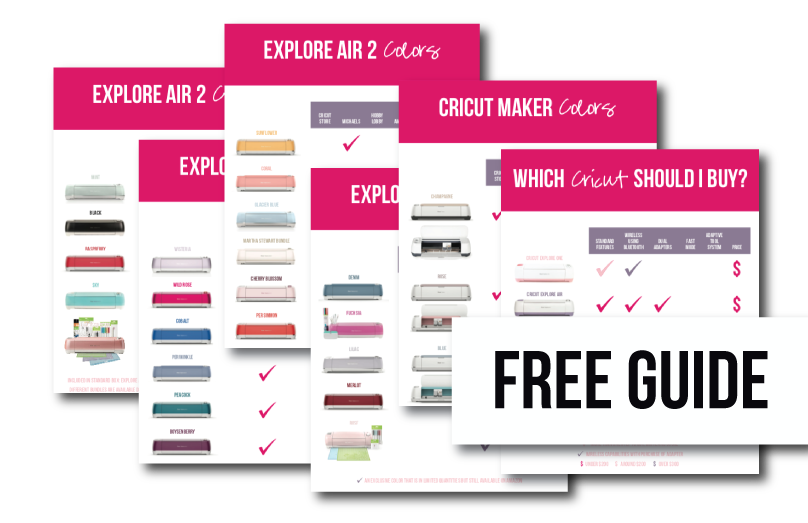
Need help picking your perfect machine? I’ve got you covered!


Step 1: Open Cricut Design Space

Once you have your die cuts ready to go (you can find the fall die cuts I’m using in this little tutorial right here) go ahead and open them in Cricut Design Space. You’ll be able to see all the die cuts and their backgrounds on the screen… the die cut images are to print and the backgrounds are to cut.

The cricut software will already be able to tell the difference in the type of file so don’t worry! Although if you’re looking to upload your own images to Cricut Design Space that’s an entirely different tutorial.
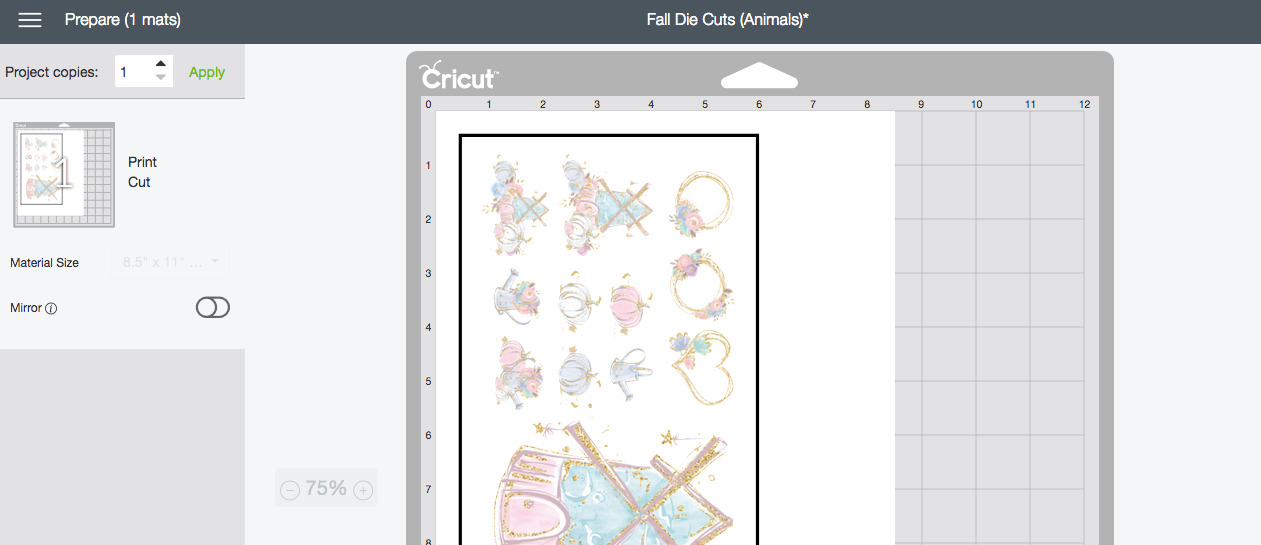
Step 2: Print

Before we can cut our die cuts we’ll have to print them! Since our file is a print and cut file we start by clicking the “Make It” button in the upper right corner.

That will open the print screen!

At this point you have two options: print directly from the cricut design space or print to pdf and print your die cuts from a different program. Sometimes I find that printing from the cricut program leaves my images a bit to blurry and printing from a pdf reader gives me the nice crisp lines I’m looking for.

If you’ve never used Cricut Design Space and your images are printing a bit blurry go ahead and give the print to pdf option a try.

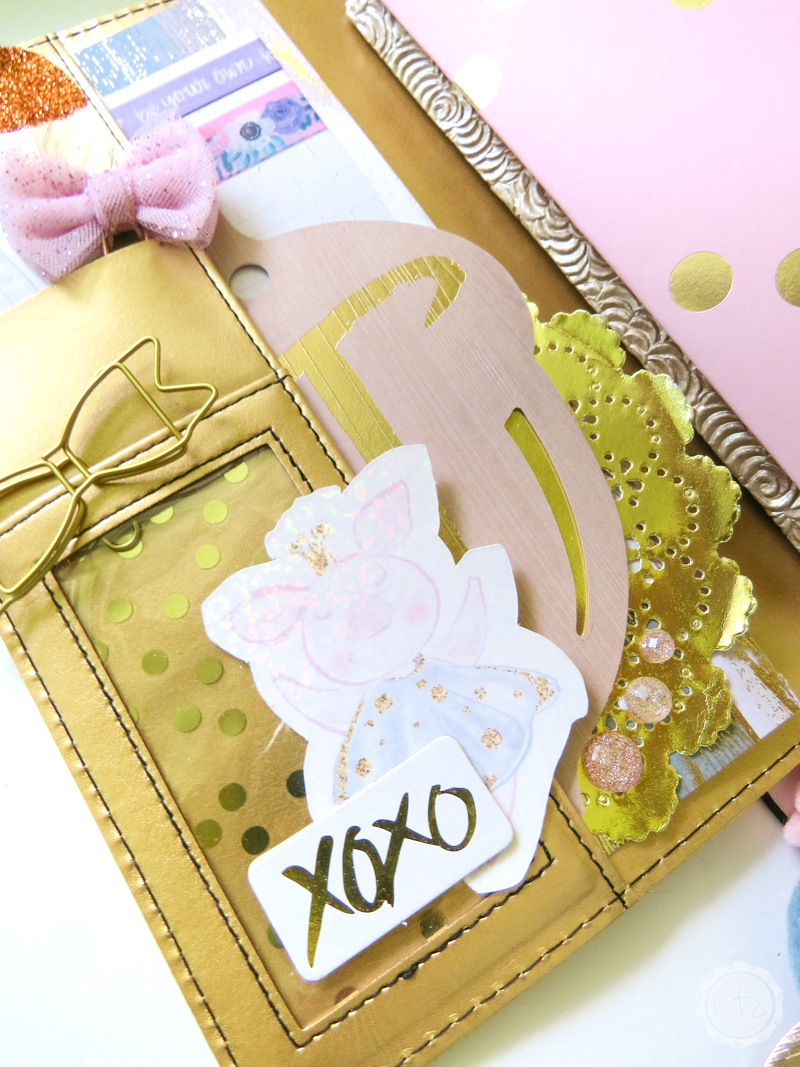
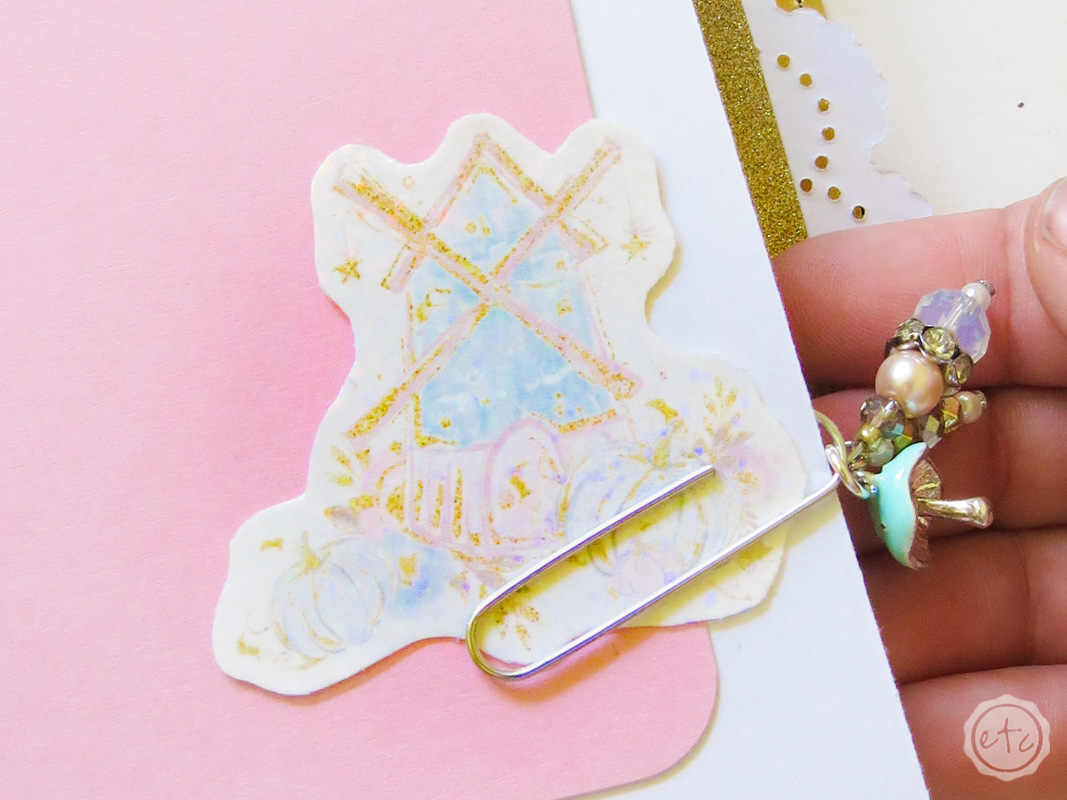
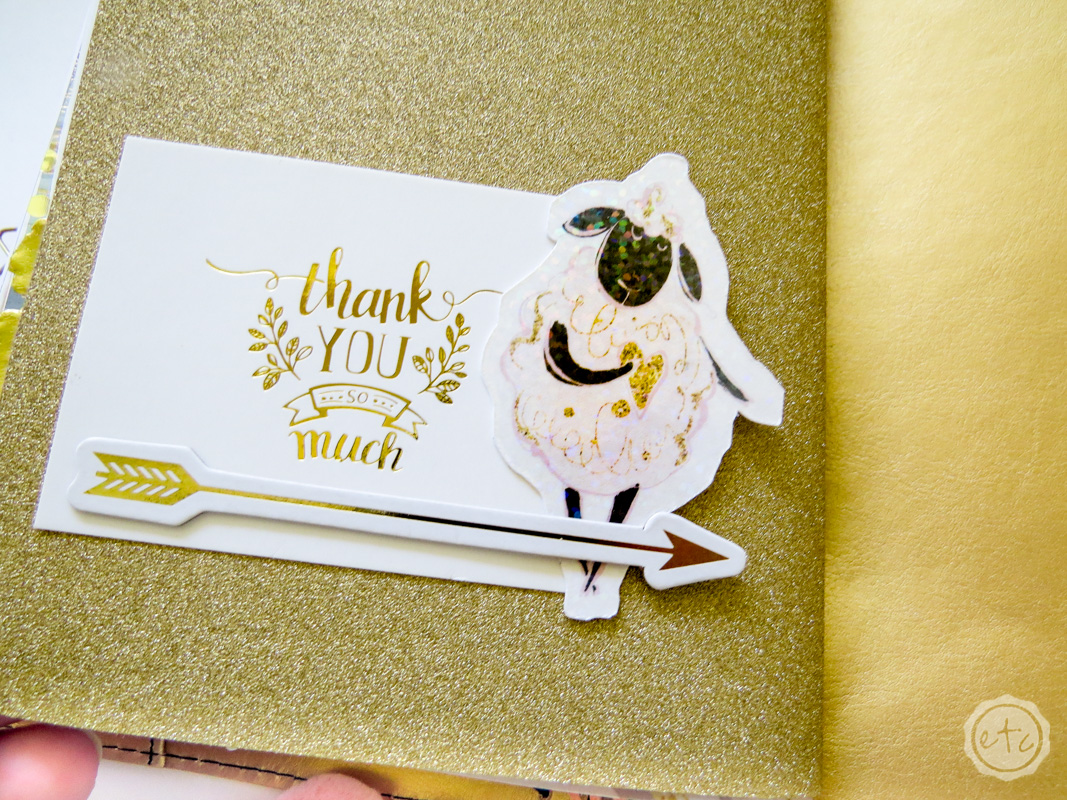
Step 3: Holographic Overlay

Okay this step is completely optional but it makes the finished die cuts look absolutely a-m-a-zing. Take a look at how cute this little piggie die cut turned out!

The holographic sheets come in a 12 x 12 size and you basically peel the overlay off the backing like a giant 12 x 12 sticker. If you only need a tiny amount (say you’re only doing one die cut) it’s easiest to cut your holographic foil first and then apply it to the cardstock where your die cut is.

The only problem with holographic overlays is they basically turn anything into a holographic sticker… so once you start you’ll want to add it to every. little. thing.

Step 4: Cut

Now that our holographic overlay is applied it’s time to cut… I like to set my dial to custom and select cardstock. Then I set the blade to do two passes over the cardstock… the holographic overlay adds a bit of height to our cardstock so I’ve found that one pass just isn’t enough and likewise turning up the dial just goes directly through the cardstock to cut into the mat.

The best solution is to keep the dial turned down but do two passes over your die cuts… easy peezy lemon squeezy!

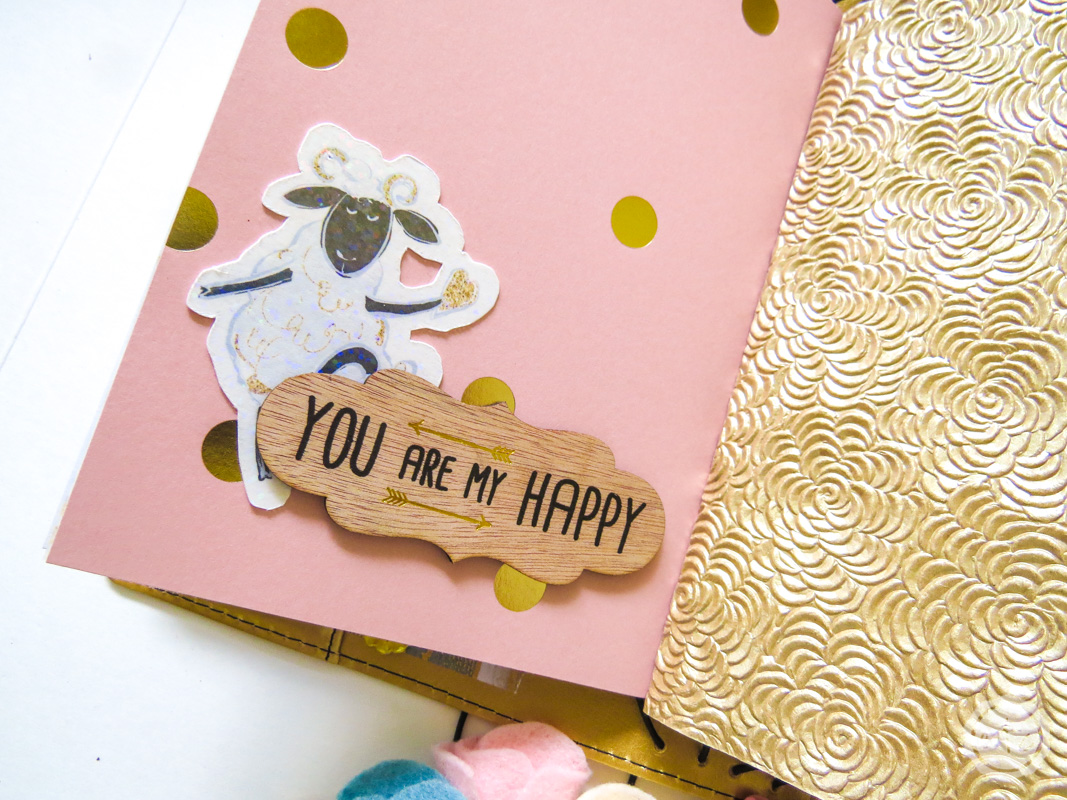
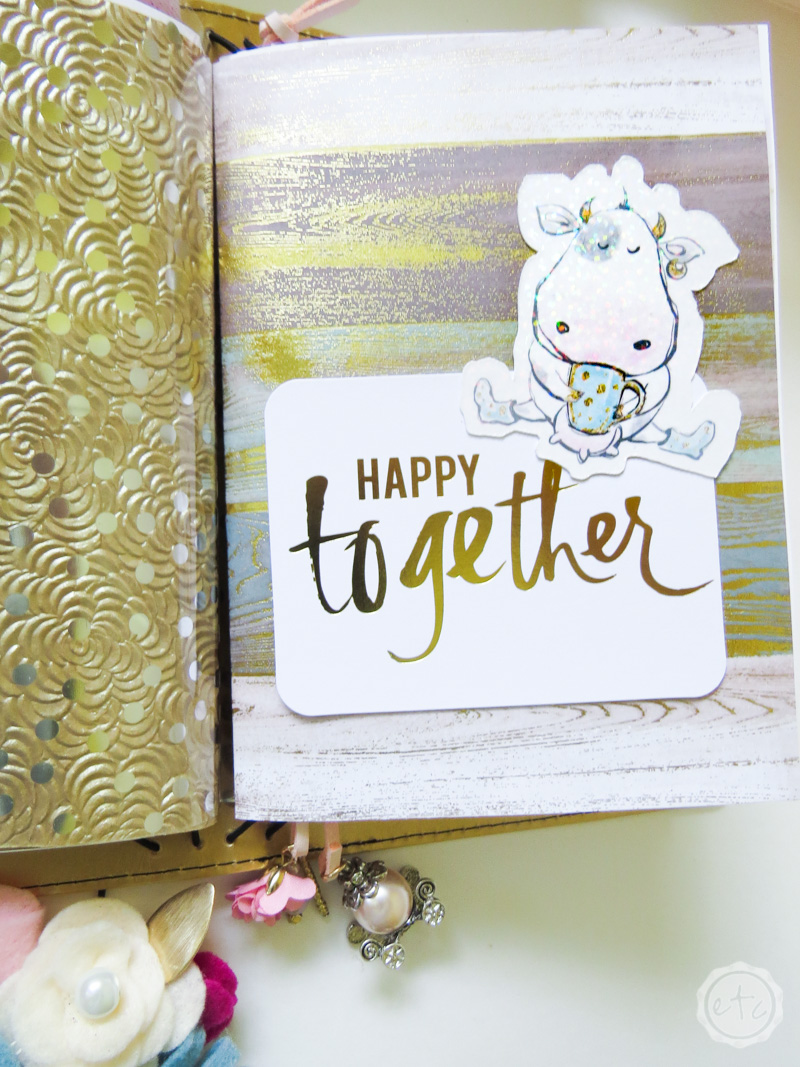
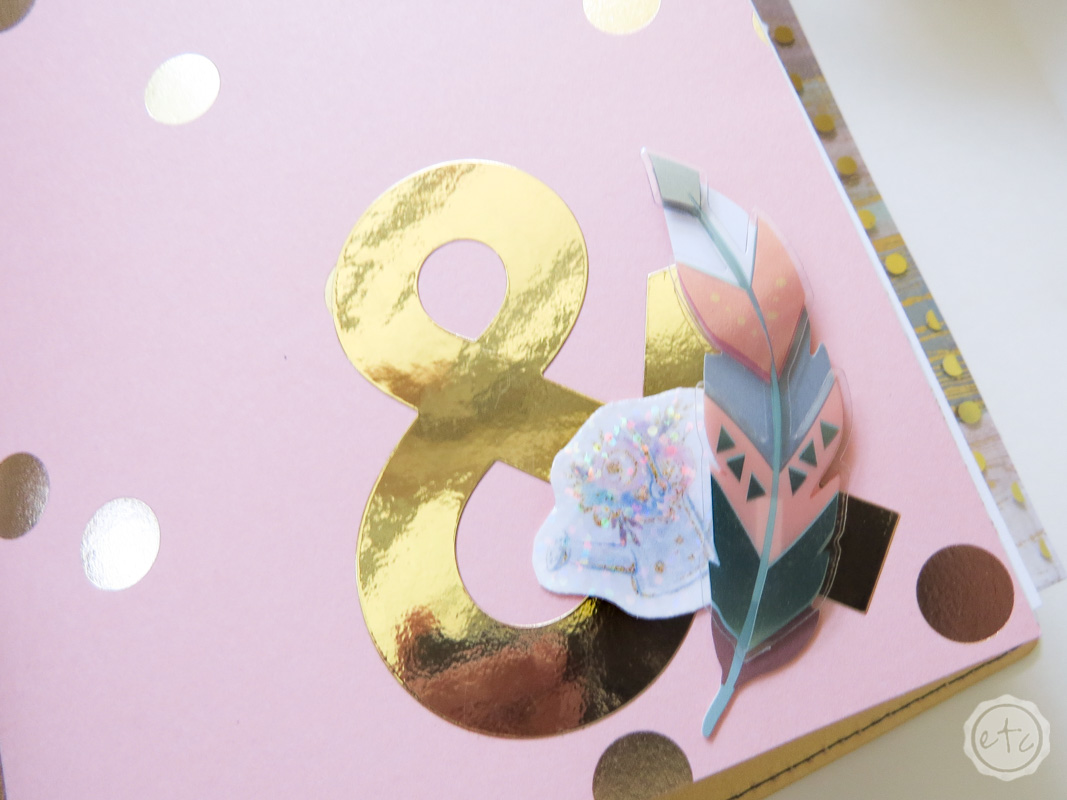
And the best part is once the cut is finished so are you… your die cuts are ready to go into your fall planner setup.

And they’re so stinkin cute!!


Ready for the rest of the Craft and Create Cricut Projects? Check it out!

Fall Paper Leaf Wall Hanging / Wooden Pumpkin for Fall- Larger Than Mat Cricut / Felt Flower Grapevine Wreath / Chipboard Pumpkin / Wooden Fall Leaf customized with Cricut / Quick & Easy Fall Banner / Welcome Fall Wood Pumpkin Sign / How to Cut Die Cuts for Your Planner / Halloween T-Shirt


Get Your FREE PDF Guide!

Don't forget to snag your free PDF Guide to buying your first Cricut!

Success! Now check your email to confirm your subscription.

There was an error submitting your subscription. Please try again.

Powered by ConvertKit
You made it through the entire post? That means you're one of my new favorite people! I'd love to be friends and see what else you would like to read about! Leave me a comment and then sign up for your very own FREE paint planner.... so that you can keep track of every single paint color with ease!
Welcome back! I'd love to be friends and see what else you would like to read about! Leave me a comment and then sign up for your very own FREE paint planner.... so that you can keep track of every single paint color with ease!

Show me some LOVE y'all:

  • Facebook
  • Pinterest
  • Twitter
  • Email

Related

«
»

Cricut, DIY & Crafts, Organization & Planning, Planner 8

Comments

  1. Jenny says

    October 15, 2018 at 3:41 am

    These are very pretty! I’m sure your planner looks amazing!

    Reply
  2. Mary K Hunnicutt says

    October 15, 2018 at 10:08 am

    This is a great idea! I have made stickers for my planner, but had not thought of die cuts. I am pinning this to try!

    Reply
  3. lindsay says

    October 16, 2018 at 10:55 am

    These prints are so amazing and I need to get better at using a planner.

    Reply

Trackbacks

  1. Make A Pretty Fall Paper Leaf Wall Hanging says:
    October 14, 2018 at 8:56 pm

    […] Fall Leaf customized with Cricut / Quick & Easy Fall Banner / Welcome Fall Wood Pumpkin Sign / How to Cut Die Cuts for Your Planner / Halloween […]

    Reply
  2. Custom Fall Wood Sign made with your Cricut - seeLINDSAY says:
    October 16, 2018 at 10:46 am

    […] Fall Leaf customized with Cricut / Quick & Easy Fall Banner / Welcome Fall Wood Pumpkin Sign / How to Cut Die Cuts for Your Planner / Halloween […]

    Reply
  3. Cutting Chipboard with Cricut Maker Using Knife Blade - Create and Babble says:
    November 11, 2018 at 8:00 am

    […] with Cricut / Quick & Easy Fall Banner / Welcome Fall Wood Pumpkin Sign / How to Cut Die Cuts for Your Planner / Halloween […]

    Reply
  4. Wooden Pumpkin For Fall- Larger Than Mat Cricut - Cookies Coffee and Crafts says:
    July 11, 2019 at 3:06 pm

    […] Fall Leaf customized with Cricut / Quick & Easy Fall Banner / Welcome Fall Wood Pumpkin Sign / How to Cut Die Cuts for Your Planner / Halloween […]

    Reply
  5. Welcome Fall Wood Pumpkin Sign - Elle Marie Home says:
    August 14, 2020 at 2:57 pm

    […] Fall Leaf customized with Cricut / Quick & Easy Fall Banner / Welcome Fall Wood Pumpkin Sign / How to Cut Die Cuts for Your Planner / Halloween […]

    Reply

Leave a Reply Cancel reply

Your email address will not be published. Required fields are marked *

sidebar betsy I'm Betsy, Home Decor Enthusiast, Yorkie Mama, Crafter, Blogger, Picky Eater, Chief Mess Maker, Antique Hoarder and Graphic Designer. You can generally find me working on (attacking with a paintbrush) the 3 bed, 2 bath home we are currently renting! Our home might not be perfect but it is ours & if you hang out long enough you'll see that what we lack in know-how we make up for in passion!
Shop My Craft Room

Shop My Home

Featured Articles

15 Fabulous Ideas to Organize your Laundry Room
25 FREE Printables For Your Home!
What to do with EXTRA Paint with Happily Ever After Etc
10 Ways to Make Your Bed EXTRA Comfy with Happily Ever After Etc.
Ready to Pick your Perfect Paint Color? We'll help you with our 6 Day FREE E-Course

Hey y’all,

Profile

I'm Betsy, Home Decor Enthusiast, Yorkie Mama, Picky Eater, Chief Mess Maker, & Graphic Designer...

A Little Note!

Many of the links on Happily Ever After, Etc. are affiliate links. If you purchase a product after clicking an affiliate link, I receive a small percentage of the sale for referring you, at zero cost to you! How awesome is that? Purchasing through affiliate links is an easy, painless way to help out your favorite bloggers. Thank you so much for your continued love and support! Read the full disclosure here!

Instagram

The number one question people ask when they watch The number one question people ask when they watch my new home tour on YouTube? Why is there so much clutter... um excuse me I like stuff! The second question? How did you frost the doors? Don’t worry... I wrote out the whole process, check out the step by step tutorial on the blog!
With Christmas fast approaching I’m having secon With Christmas fast approaching I’m having second thoughts... about taking down my holiday decorations! I absolutely love all the blush and rose gold this year and think I might have to add more pink to my every day decor. Until then maybe it will just stay Christmas at the Smith house! Tutorials for both the “Merry Christmas” resin sign and the “Dear Santa” Cricut sign are in my profile! #pinkchristmas #pinkchristmastree #pinkchristmasdecor
Well y’all Christmas is coming up quick... which Well y’all Christmas is coming up quick... which means I need to get a move on with all that wrapping! I got a jump start this morning after whipping up a few little resin light bulbs! Check out the full tutorial over on the blog if you’d like to wrap your presents with a few resin goodies this year... and tell me in the comments below. Are you finished wrapping or (like me) are you still getting started? #pinkchristmas #pinkchristmasdecor #resinchristmas #giftwrappingideas
Ready for another fun and easy resin project? Thes Ready for another fun and easy resin project? These little Christmas trees are the perfect beginner level project so if you’ve never done resin before don’t let it intimidate you!! Grab your heat gun and jump in... I’ll walk you through it! Check out the full blog post for these little guys on the blog (link in profile!)
If you haven’t joined Michelle at @weekendcraft If you haven’t joined Michelle at @weekendcraft SVG membership then WHAT ARE YOU WAITING FOR?! I am obsessed with all the cute svg’s and y’all she is doing a live craft night every month to walk you through making one of her designs... and the first craft night is tomorrow! She’ll be making this “Merry everything and Happy always” SVG and it’s so cute! You don’t want to miss it! See you there! 

(Also who noticed the sneak peek at my new kitchen?!)

#cricutsvgfiles #christmassvg #cricutsled
Well y’all I’m getting this close to unpacked Well y’all I’m getting this close to unpacked in my new house!! And since I’m a blogger Christmas is going up! So here’s the question... do you want a 1 month house update or do you want to wait for the Christmas tour? #lulamaefarmhouse #rosegoldchristmastree #newhouse
Well it’s still a work in progress but I finally Well it’s still a work in progress but I finally have a house!! They have to put it together and do all the detailing before I get keys... but we’re in the end game now! Check out my stories for a sneak peek at the moving process... full YouTube video coming soon!
#ad how amazing did these little fall coasters tur #ad how amazing did these little fall coasters turn out?! Plus I absolutely love the matching tray! The best part? This is such a quick and easy resin project... a silicone mold, a little resin and your trusty heat gun and I promise you can make this baby!! Link in profile for the tutorial!! #fallresin #resinforbeginners #cheetahprint
Okay... is it bad if you just want to make coaster Okay... is it bad if you just want to make coasters in the same mold with the same technique but different colors?? They turn out soo differently! Just a sneak peek of my fall coasters and the blush ones I made last year!
Happy #nationaldogday to the fur babies that are ( Happy #nationaldogday to the fur babies that are (literally) behind (beside... or underneath!) all Of my projects! These sweet little cuddle muffins make everything better 😊🐶😘
GIVEAWAY CLOSED Our winner is @kamikvega Check you GIVEAWAY CLOSED
Our winner is @kamikvega Check your inbox girl, this little machine is headed your way! Thanks to everyone who participated... I can’t wait to see where we go from here!

🥳📦🥳 GIVEAWAY🥳📦🥳
If you have loved all of the Cricut projects I make here is your chance to win a Cricut Joy of your very own! If you’re ready for a little craftiness (maybe a little time to relax) then this giveaway is for you! I’m teaming up with a few of my cavities crafty bloggers so that one of you can win your very own mini crafting machine. Good Luck!!!!

TO ENTER GIVEAWAY:
1.) Follow
@creativeramblings 
@weekendcraft 
@craftylumberjacks 
@this.is.tisa 
@justcallmehomegirl 
@happilyeverafteretc
@lovebird_heartworks 
2.) Like this post
3.) Tag a friend in the comments.
.
.
.
Hurry! Giveaway ends Saturday 8/29/20 at 11:59PM PST. Winner will be notified via Direct Message. Share or tag a friend who'd love to win a Cricut. .
.
.
This contest is in no way affiliated with or sponsored by Instagram or Cricut. To enter you must have a U.S shipping address.
A little peek into the fun summery Tablescape I pu A little peek into the fun summery Tablescape I put together for a little garden party! Want to check out the full table? Wondering where to find all the pieces... click the link in my profile for all the details!
#ad Did you know you can put infusible ink onto al #ad Did you know you can put infusible ink onto aluminum? It's sooooo simple... honestly it's one of the easiest projects I've ever done. Even if you've never used your Cricut before you. can. do. this. I'll show you how every step of the way! Follow along with the full tutorial video over on YouTube! The best part? These little aluminum signs look amazing as part of a larger project! Check out how I added mine to a larger resin wave project on the last slide! @officialcricut #cricutcreated https://lnk2.io/wvMllZf
Okay so It’s no secret that I’ve been obsessed Okay so It’s no secret that I’ve been obsessed with resin for a while now but this week I’ve been playing around with resin waves! Including this tiny resin sea shell! Check out the link in my profile for the full tutorial!
After a lot of struggle, loss and frustration I am After a lot of struggle, loss and frustration I am finally dotting the i’s and crossing the t’s on my next chapter. Yesterday I went and signed the million and one papers to close on my new house! I cannot wait to share the moving (and decorating) process with all of you... next step: keys! #firsttimehomebuyer #newhouse
Load More... Follow on Instagram

Copyright © 2021 · Darling theme by Restored 316

Copyright © 2021 · Darling Theme on Genesis Framework · WordPress · Log in · Privacy Policy

loading Cancel
Post was not sent - check your email addresses!
Email check failed, please try again
Sorry, your blog cannot share posts by email.