


Are you ready for another DIY Wedding project that you can make with your Cricut? When I got married I bought hoodies and decals from Michales (that were just fine) but not exactly what I wanted. Now with my Cricut I can whip up a pretty SVG that will make these little lace robes beautiful… and 100% custom.
The best part?
They’re cheap enough that I can actually make one for each of the girls in the wedding party! Score!
This is a quick and easy project… the only skills you’ll need are weeding and using an easy press. So even if you haven’t had your Cricut long (maybe you bought one for your wedding… or you’re trying to decide if you should buy one for your wedding!) you can make these.
Let’s get started.
Supplies:
- Cricut Maker
- Fine-Point Cutting Blade
- Cricut Standard Grip Mat (that’s the green one!)
- OR Cricut Fabric Grip Mat (that’s the one I use… it’s pink and holds everything)
- Cricut Easy Press 9 x 9
- Easy Press Mat
- Enjelina Font
- SVG Cut Files
- Weeding Tool
- Pink Foil Iron-On
- White Robe (it’s also available in several other colors)
Ready to take the leap but not sure which machine is right for you? Check out my Explore Air 2 and Maker comparison before pulling the trigger. I go over the pro’s and con’s of each machine and even have an easy to read check list of each machine’s features so you can decided which cutting machine is perfect for you.
Step 1: Prep your Design Files
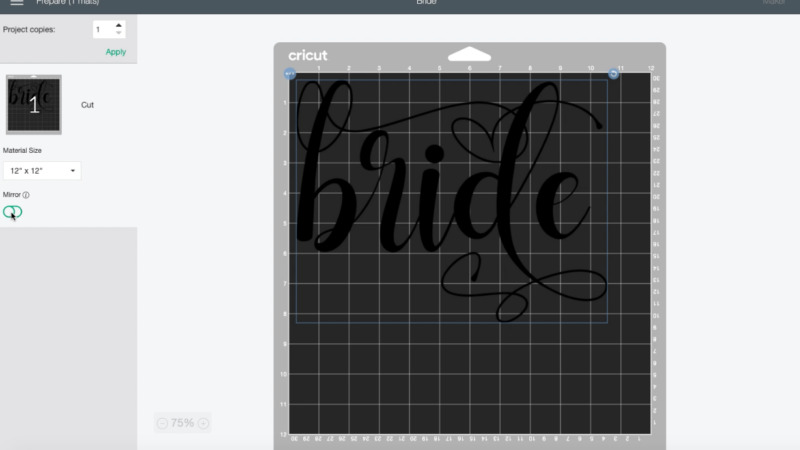
Alright y’all we’re going to get right into this project! I’m using the font Enjelina for this project which you can find here. I love all the swashes and swirls that are included… I mean the b has a literal heart in the overhead swash!
You can grab the cut files for this particular robe here… I’ve included a few additional files so you can make robes for everyone who might be getting ready with you.
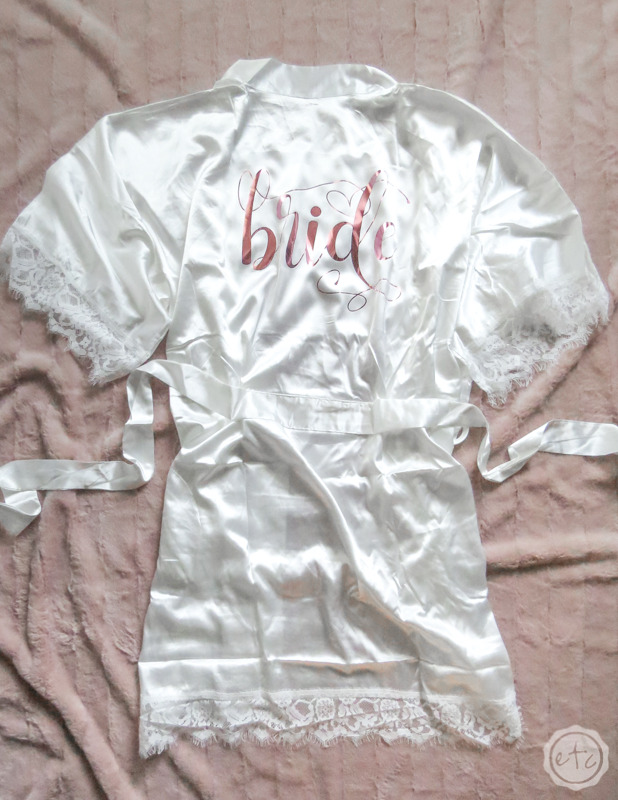
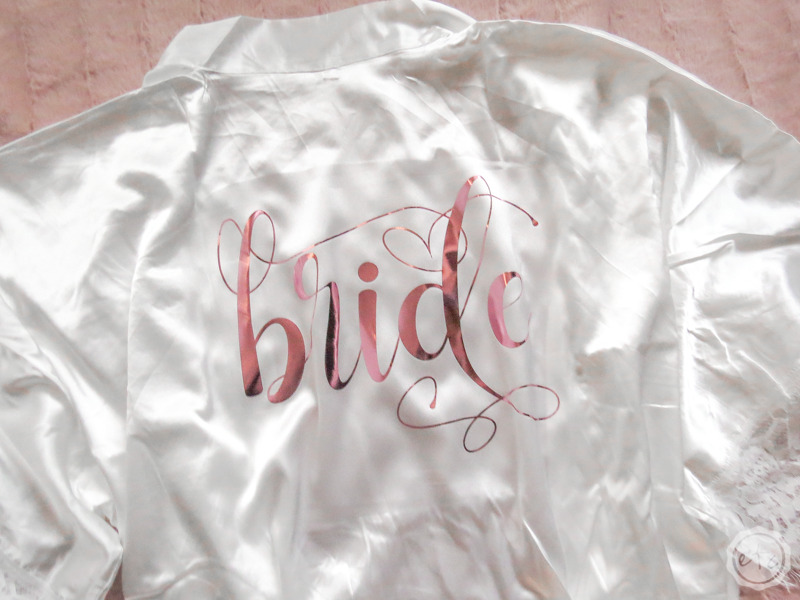
Once you’ve downloaded the files go ahead and upload them to Cricut Design Space. Then it’s just a matter of sizing your files! In this case I wanted the “Bride” decal to be rather large on the back of the robe… so I measured between the shoulder blades and went from there!
I decided to make each decal 10.5 inches wide. Since we’re using iron on for this project make sure that you mirror the design and select iron-on… then you can click make it!

If you’re not sure how to upload the files you can follow my tutorial for how to upload an SVG to Cricut Design Space.

Step 2: Cut your Design
Let’s get to cutting! We’ll need a fine-point blade loaded into the machine.. and our iron-on loaded onto the mat!
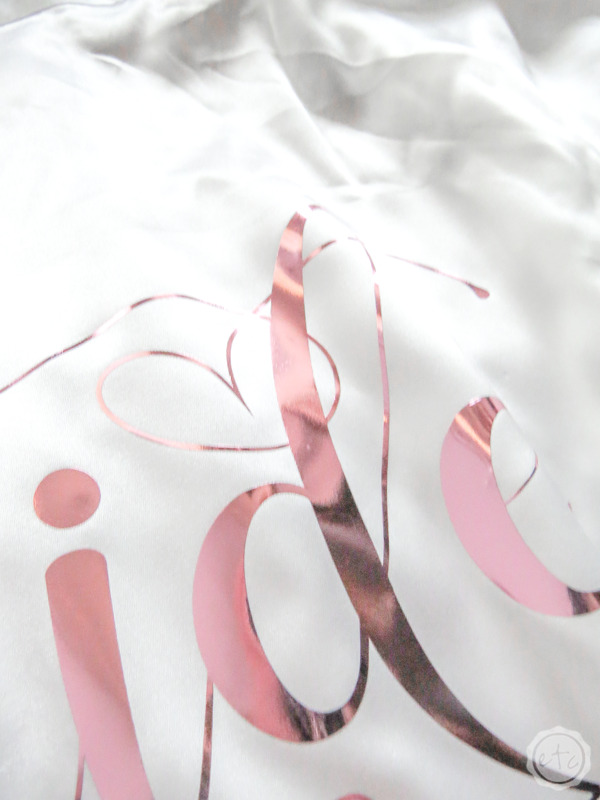
If you’ve never used iron-on before then there’s a few things to know. Iron-on has two sides… the material and a clear carrier sheet that covers the material. Once the cut is finished and the design is weeded the carrier sheet will hold the entire design together until it’s ironed onto your robe.
Since the carrier sheet is clear it can be a little hard to tell which side is which. In this case it’s easy enough to tell because you can see the rose gold side through the clear of the carrier sheet… and the silver side is the underside of the material.
Either way you’ll want to place the clear carrier sheet down against the mat… that way our fine point blade will cut into the actual material.
Perfect!
Click go and watch the magic happen.

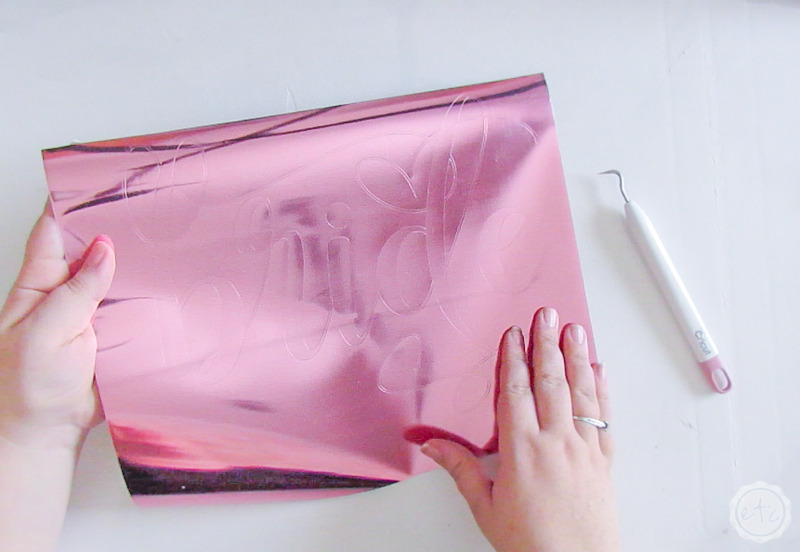
Step 3: Weed your Design
Gorgeous darling!
Now that the design is cut we can go ahead and remove all the negative pieces… that’s called weeding the design. You can use a weeding tool to help pull all the little pieces off (especially inside the loops) but the outer sections really peel off like butter.
Weeding iron-on is my second favorite cricut material to weed… with infusible ink at number one!
Go ahead and weed the entire design and then we’ll heat up the easy press so we can iron this baby on!


Step 4: Iron on your Design
Now it’s time for the fun part… ironing on your decal! Since these robes are made of satin we’re going to use a low heat for a short amount of time.
Go ahead and set your easy press to 255 and 30 seconds. That’s all you need!
Since this is a large decal I broke out the large easy press… that way we only have to press this baby once and we don’t risk burning the fabric. Score!
Since we’re only heating this baby up to 255 it won’t take long to warm up. Then you can pre-heat the surface of the robe for 3 seconds.
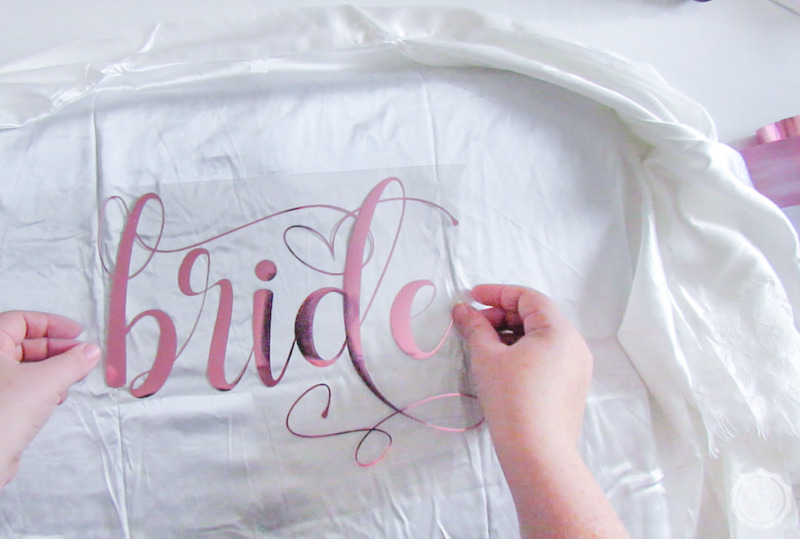
Once it’s warm go ahead and lay your design out on the fabric. You want it to be centered on the back and about 4 inches down from the neck of the robe.
If you’re un-sure go ahead and place your hand at the top of the robe… then lay your design under your hand. Smooth it into place and the carrier sheet will help to hold it in place.
Perfect!
Now set your easy press on top and hit the green cricut button… it will count down from 30 and then you can remove the easy press.


One more step!
Before we remove the carrier sheet go ahead and flip your robe over. We want to set the design from the other side to really lock in the heat and bond the iron-on to the fabric.
Since we’ve already heated up the decal we don’t need as long on the back… so re-adjust the easy press to 15 seconds. Then you can set the easy press in place over the decal and then hit the green button to re-start the timer.
Beautiful darling!
After 15 seconds lift the easy press up and set it to the side.

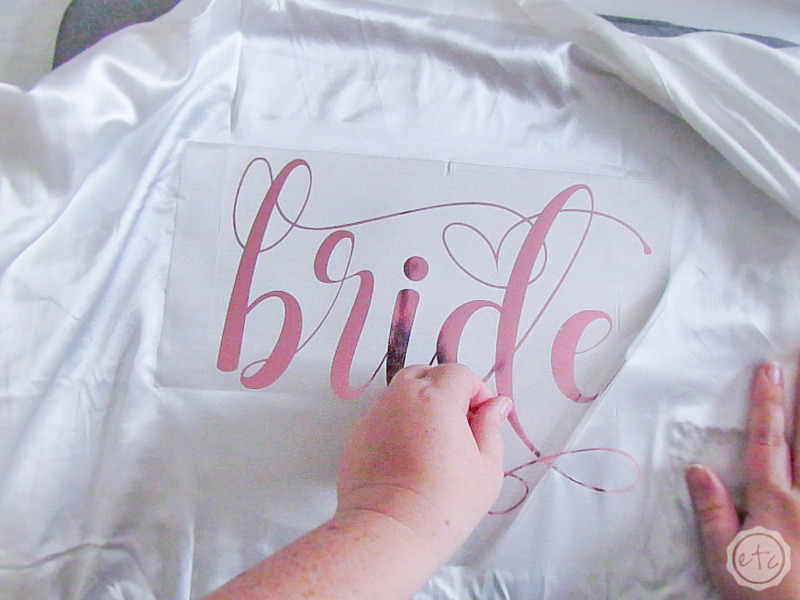
We want to do a cool peel on this baby so give it a few minutes to cool down… you want the carrier sheet to be cool to the touch.
Once it is you can carefully remove the carrier sheet! This one removed super smoothly for me but if you need a little help then smoothing your fingers over the letters before removing the carrier sheet can help.
It tends to re-affirm the bond.
Once the carrier sheet is off you’re good to go!
I absolutely love how it turned out!
Ready for all the pretty after shots?


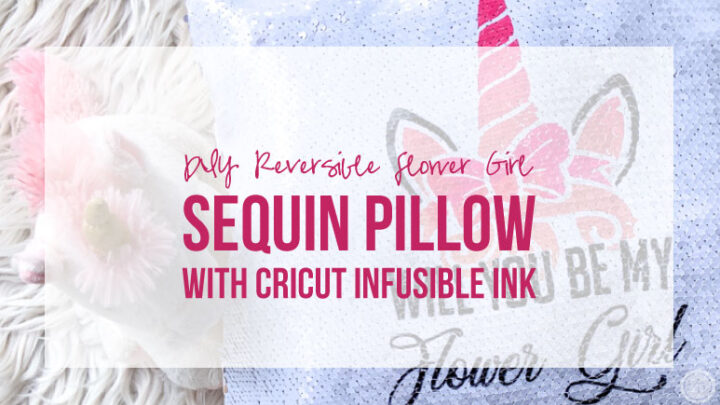
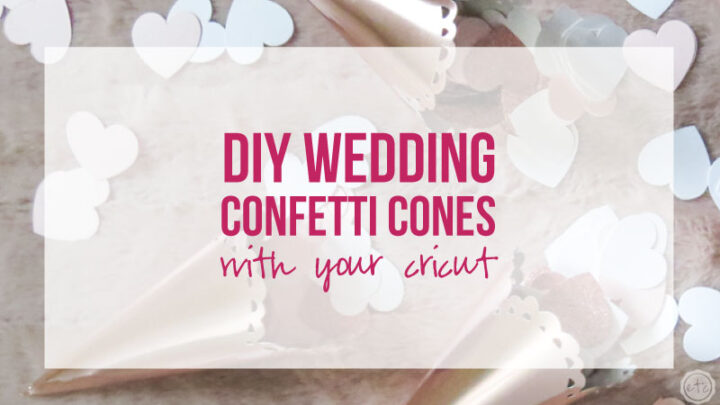
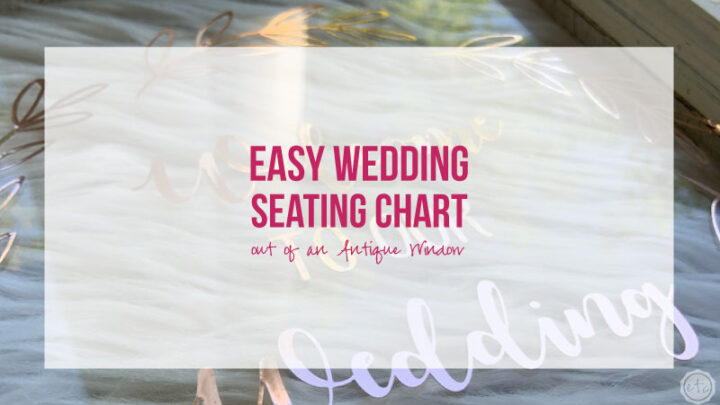
Looking for more Cricut Wedding projects? I’ve got you covered!


THANK YOU! I could not find how large the names should be for the back of the robes for my daughters wedding and ai was just about to give up until I saw your site. I appreciate you taking the time to do this for us.