


I’m definitely a crafter but I have never been a card maker. That’s just one area of the craft world that never really called to me. Of course, I’ve made the odd card here or there when the need arose… which brings me to today’s project. A mother’s day card for my mama!
This year I’m trying hard not to leave the house so when I found myself with a present but no card I knew the only viable solution was to make one myself.
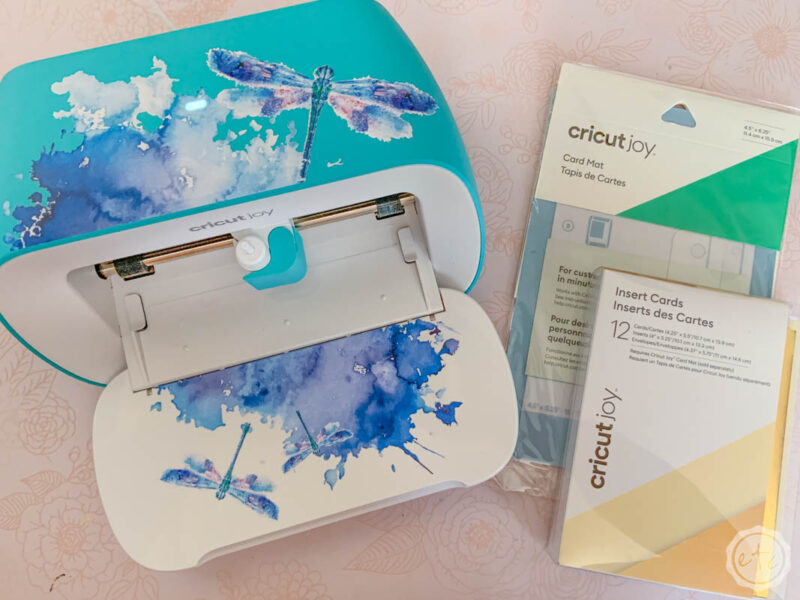
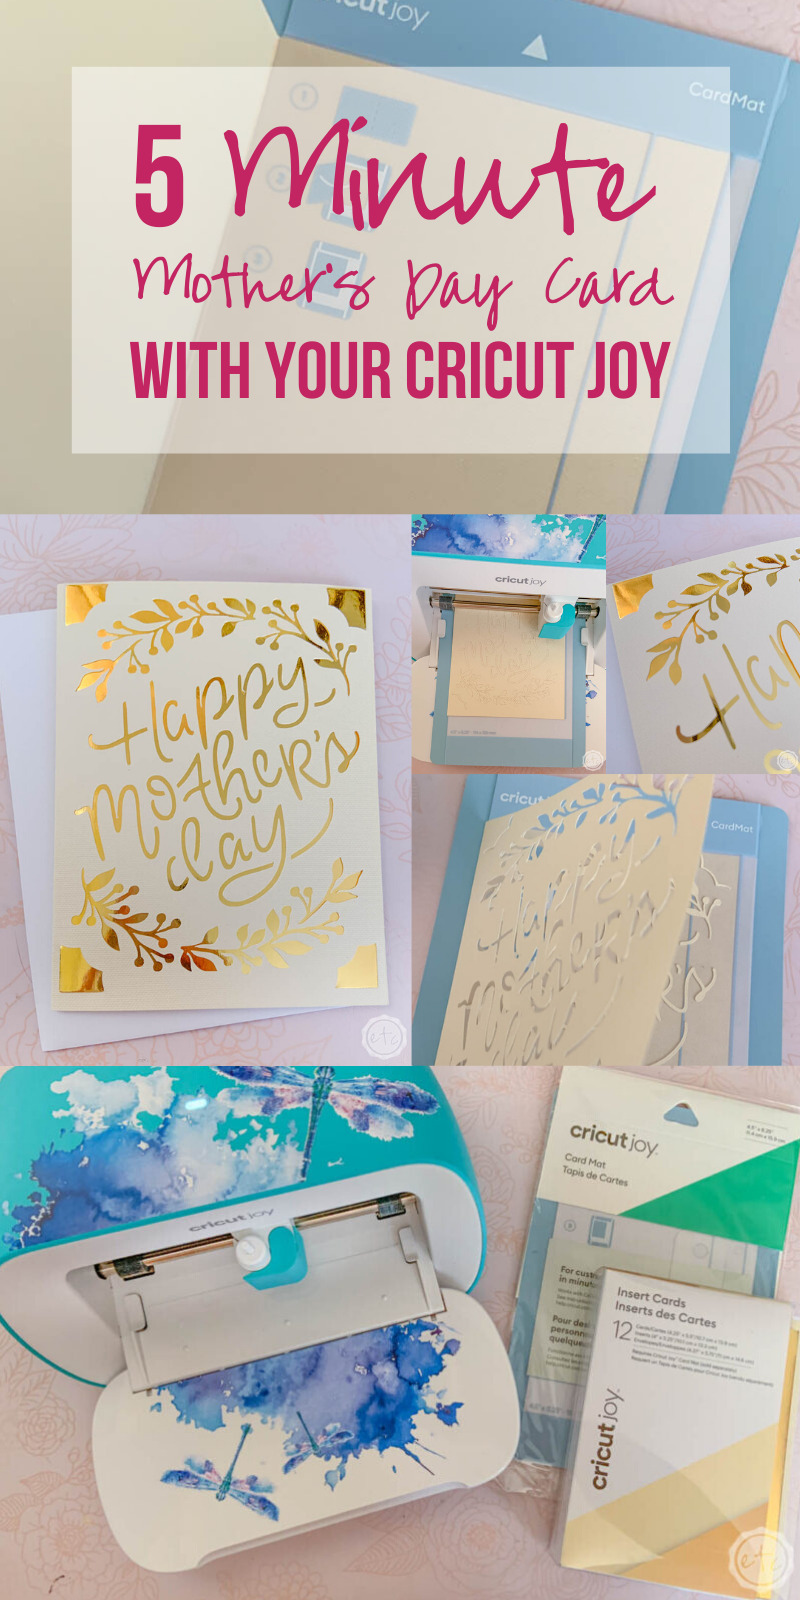
Of course, there’s always the traditional route but since the Cricut Joy is a professional card maker I decided to give it a shot! My new little Cricut Joy (and the card mat) were itching to give this a whirl.
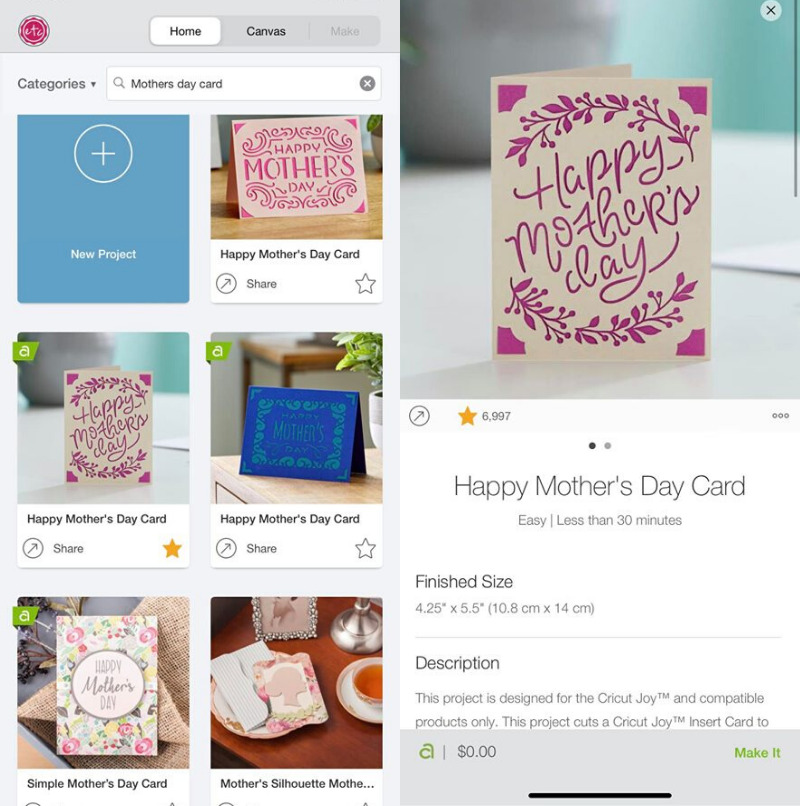
So I pulled up Cricut Design Space and searched “Mothers Day Card”… then I picked my favorite option! Easy peezy. If you don’t have cricut access it’s the easiest way to grab new designs fast… I love it for these *ahem* last minute projects. You can gain access to the cricut access database here.
Don’t have a Cricut Joy yet? Read my full review to decide if you need one!
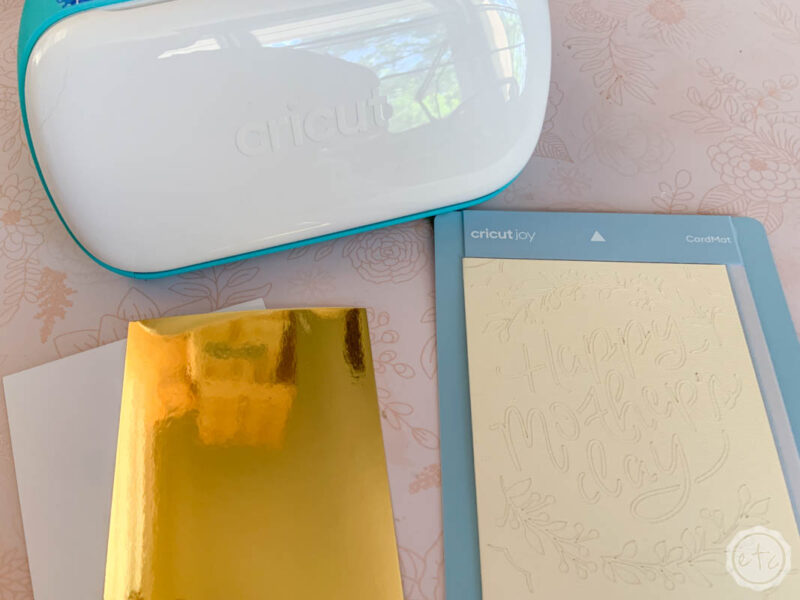
Supplies:
Cricut has come out with an entire line of insert cards to pick from. Which makes card making quick and easy… I picked a cream and gold combo for this mother’s day card (since my Mama loves gold).
Ready to take the leap but not sure which machine is right for you? Check out my Explore Air 2 and Maker comparison before pulling the trigger. I go over the pro’s and con’s of each machine and even have an easy to read check list of each machine’s features so you can decided which cutting machine is perfect for you.
Step 1: Load your Mat
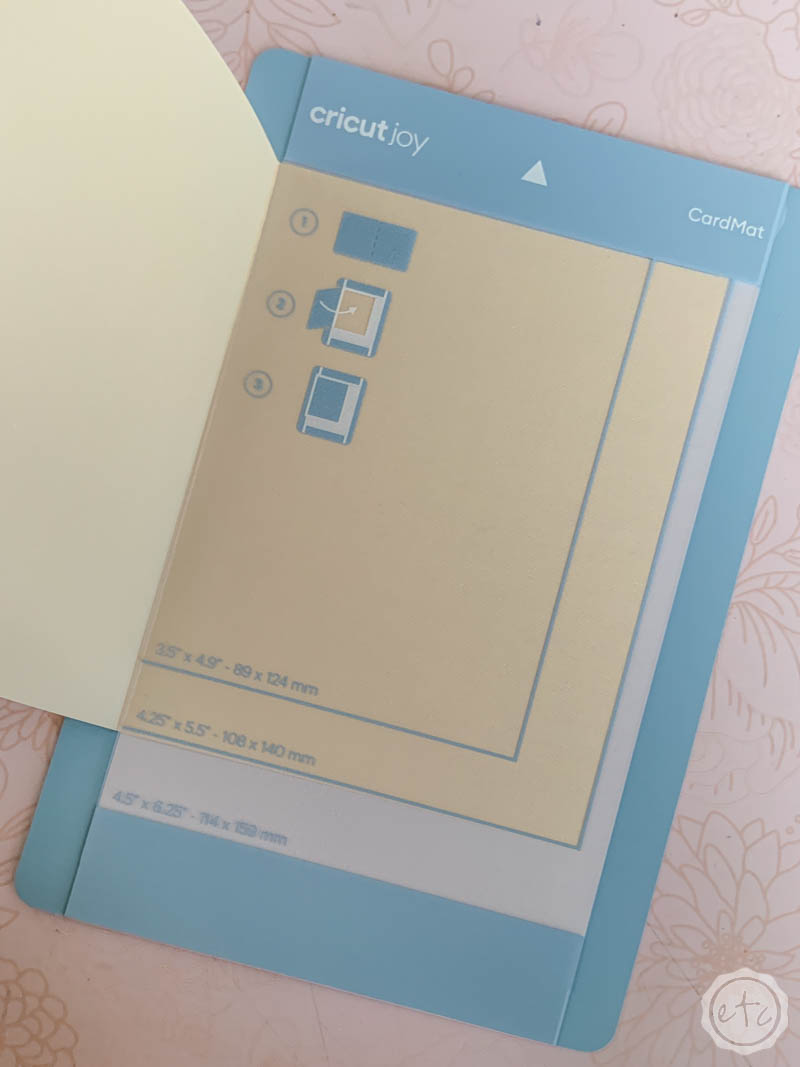
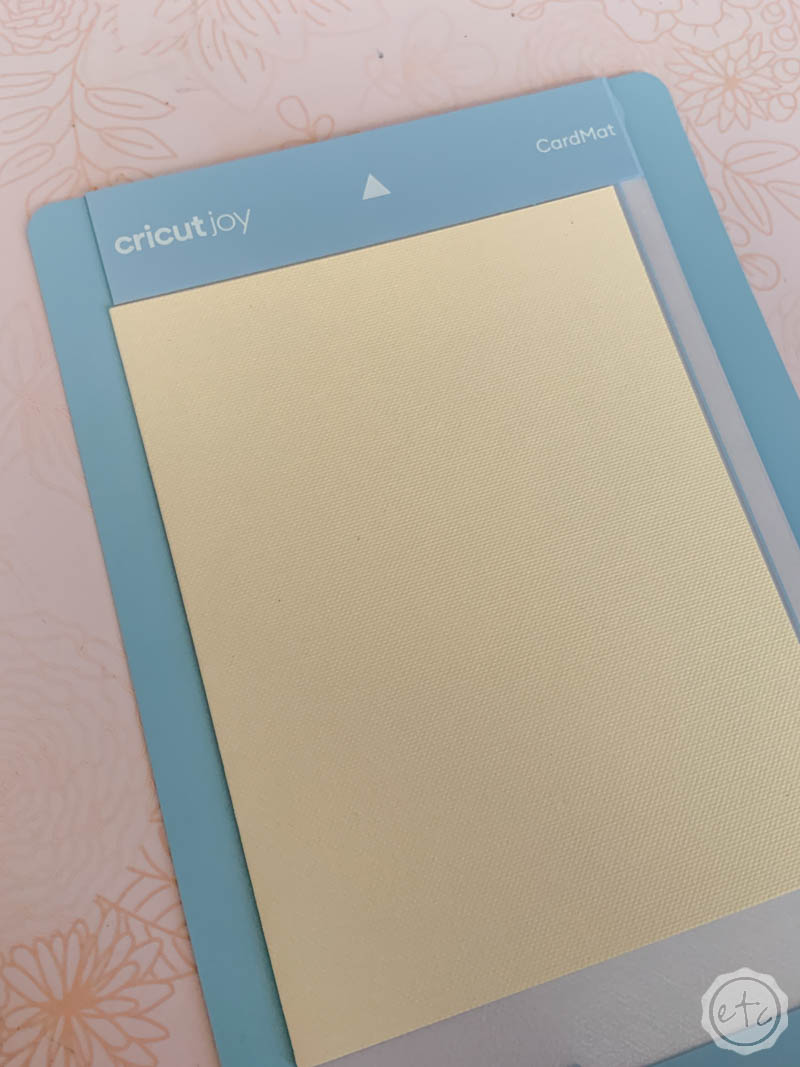
Let’s get started! This little card mat is a nifty invention that let’s you cut a design into the front layer of a card while leaving the inside piece of cardstock (or the back of your card) uncut.
If you’ve never used a card mat before there are little instructions right on the mat to remind you of how to use it. All in all it’s pretty easy!
You’ll start by removing the clear plastic from the card mat (the same way you would from any cutting mat). Then you’ll slide the back of your card underneath the sticky part of the mat making sure the card is flush with the top of the mat. Once you’ve pushed the card all the way into the little sleeve the crease in the card should be flush against the sticky part of the mat.
Now fold over the card and press the front of the card firmly into place on the card mat.
Beautiful darling!
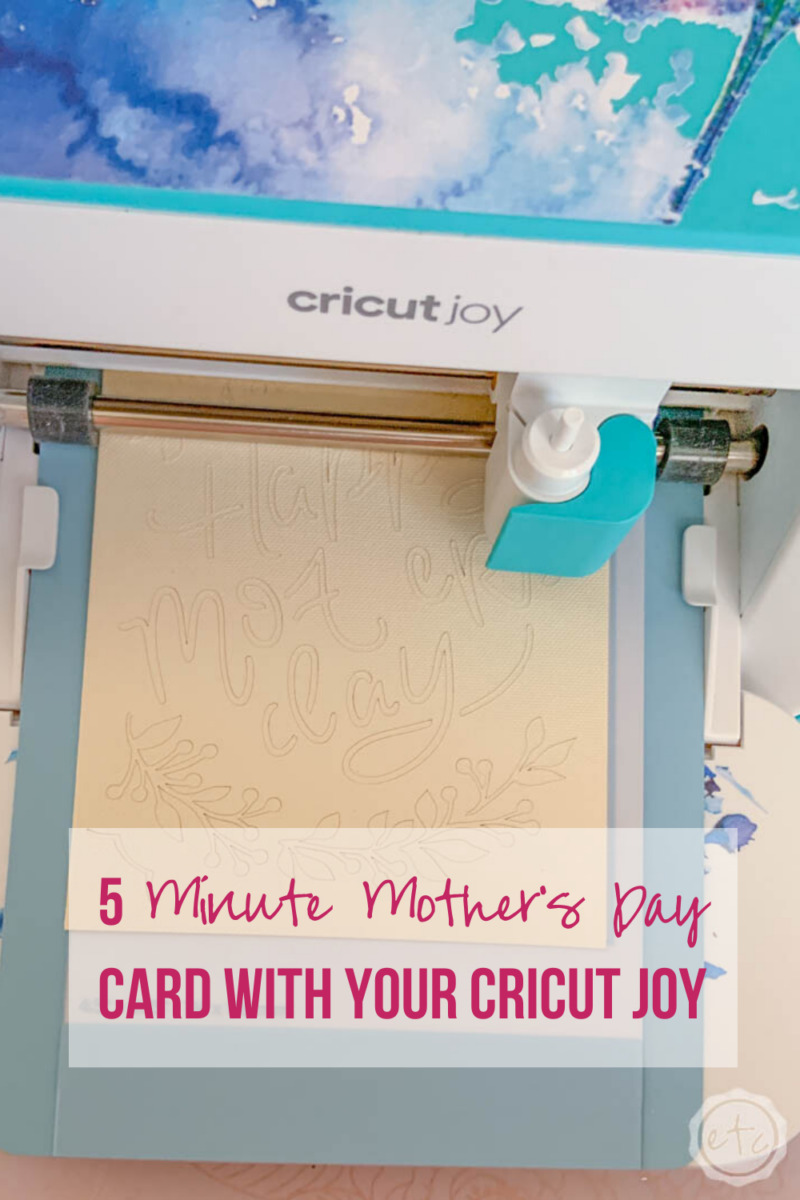
Step 2: Cut Your Design
Now it’s time for the fun to start!
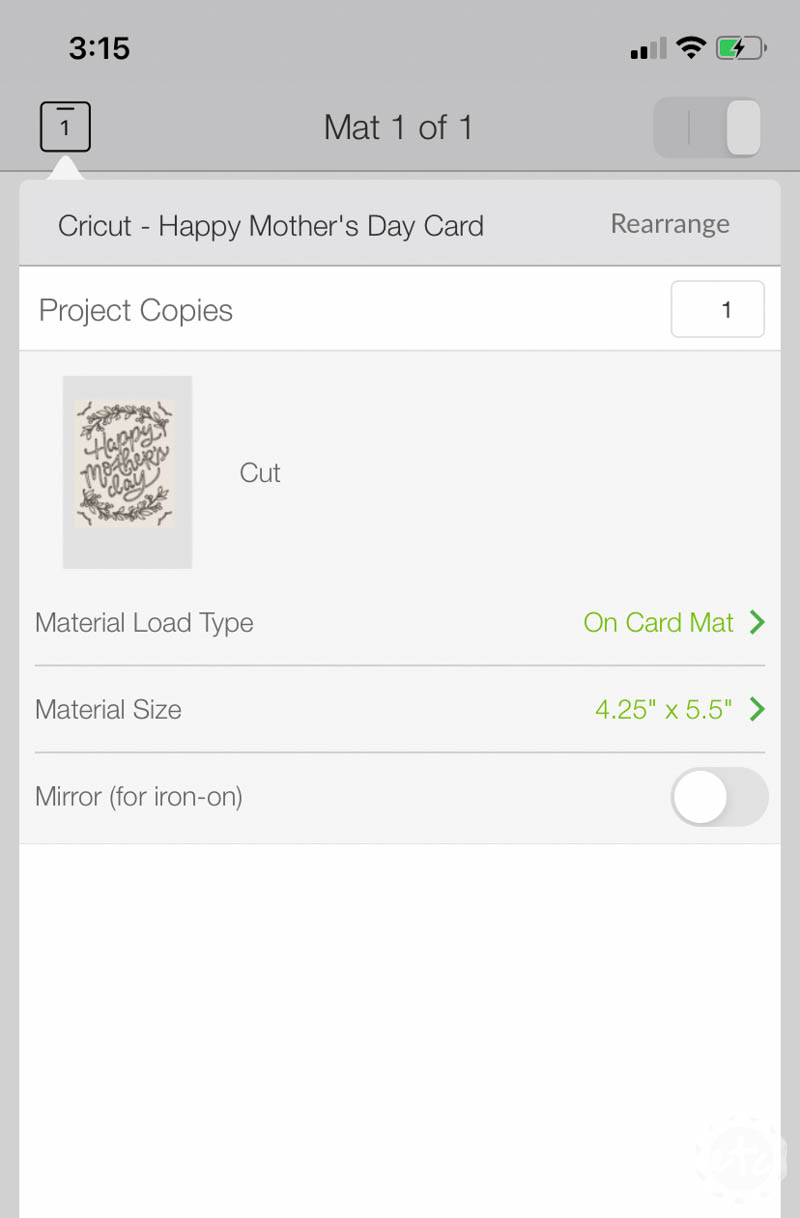
Click “Make it” on Design Space and the little design will pop up with a few options. Your Cricut Joy only works with wireless internet so whether you’re on your phone or a computer the prompts will be the same. The first prompt will ask if what type of mat you’re using.
In this case you’ll pick card mat.
Then it will move to the screen you’re familiar with where you can select your material and blade. Since the cricut joy only works with the fine point blade you’re already ready to rock there. For material you’ll select cardstock card (you’ll see a 5.5″ option which is the standard Cricut card selection).
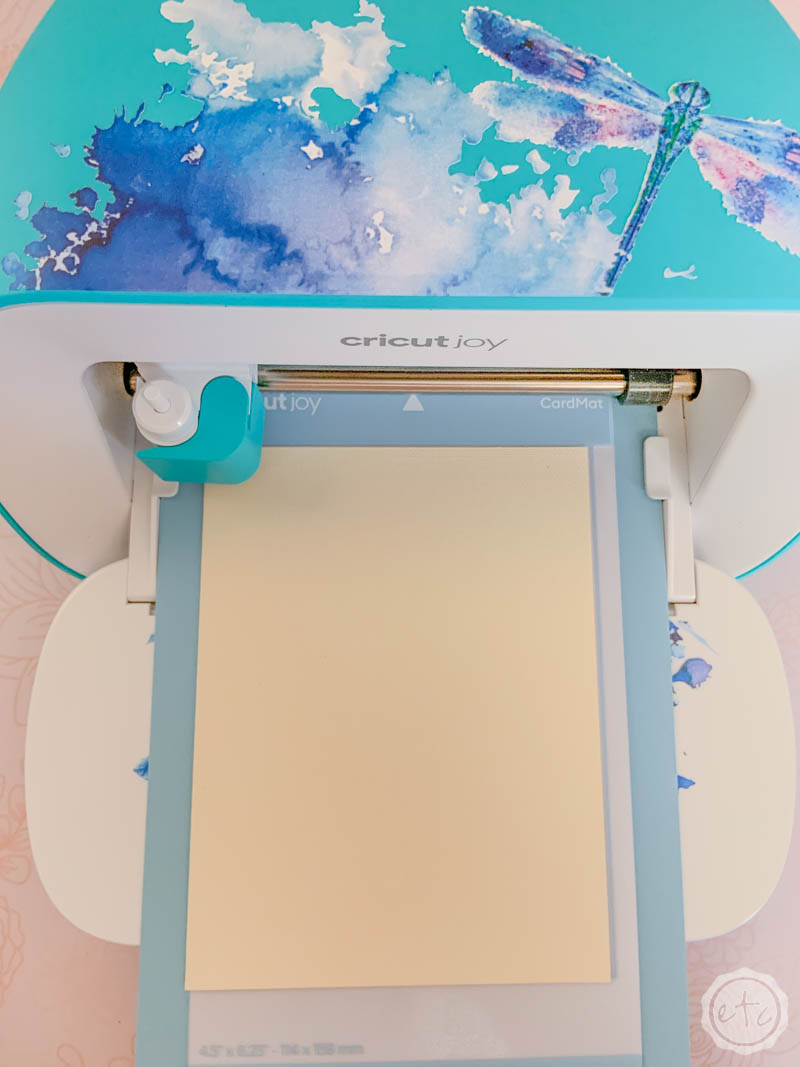
Now you’re ready to rock!
Hit go and watch the cutting magic begin.
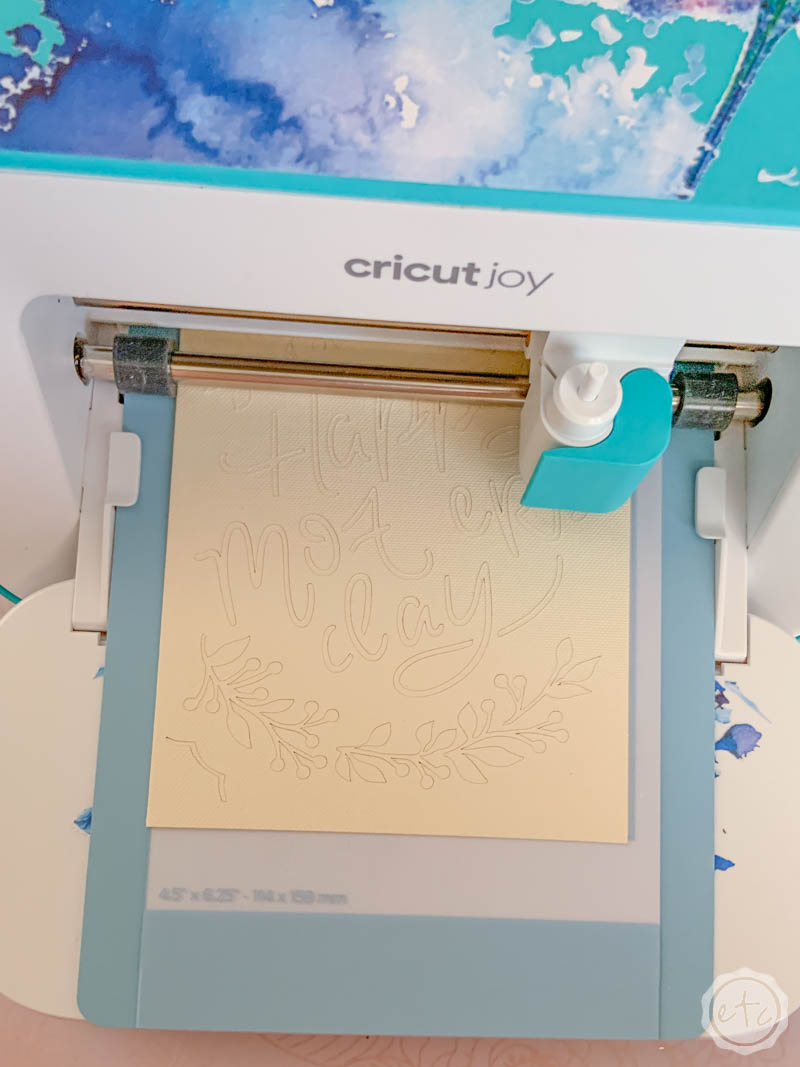
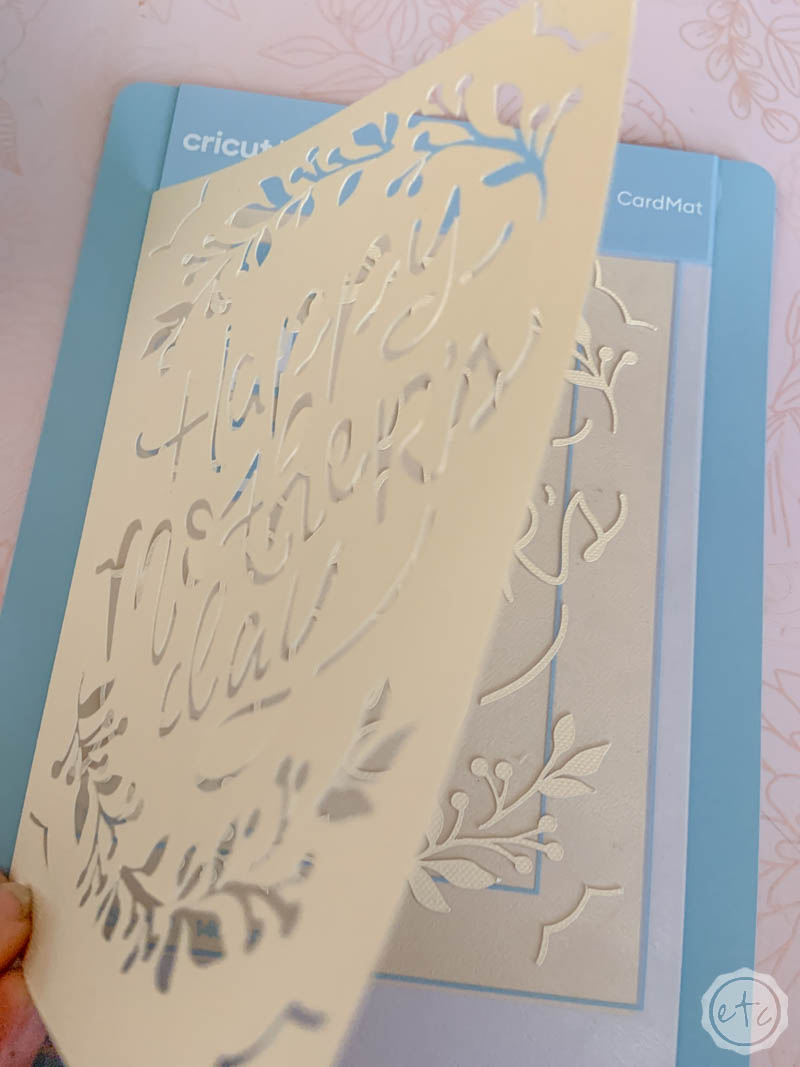
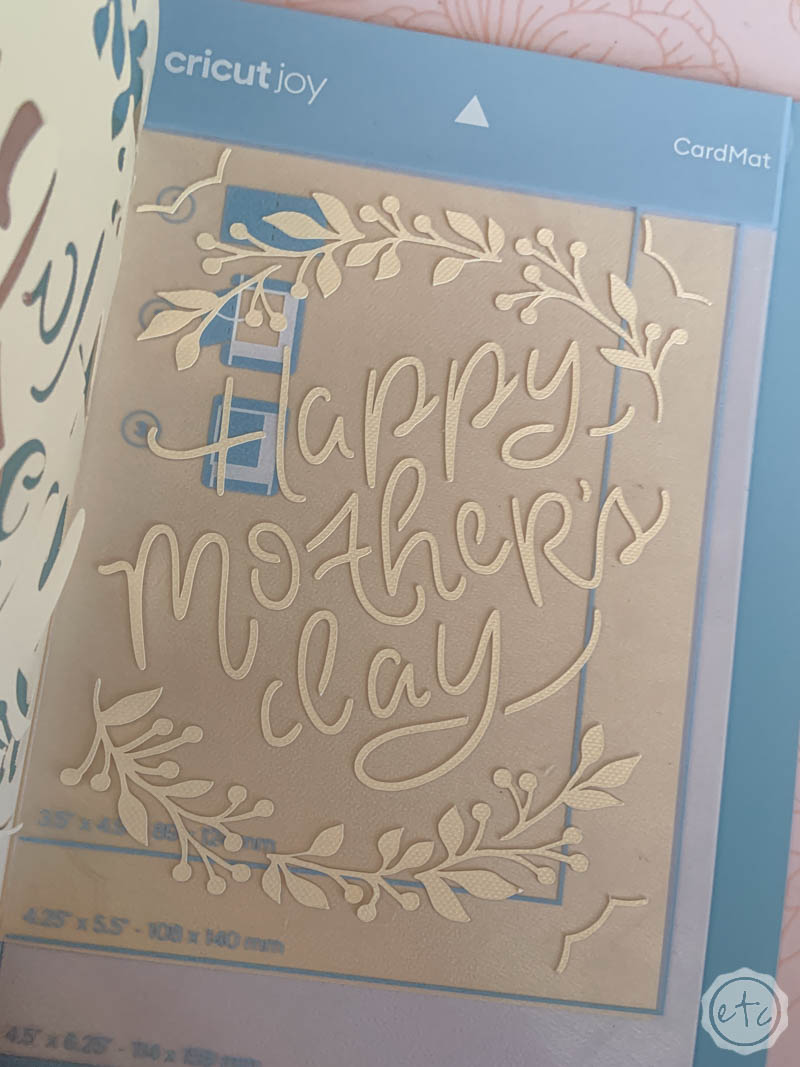
Step 3: Remove Card from Mat
Now that our little cutting machine is finished all we need to do is remove the card! The sticky mat will hold onto all the negative bits and bobs (cutting out the need to weed the design).
Since we’re working with cardstock I find the easiest solution is to lay the card face down and peel the card mat away from the card (so that the mat curls and not the cardstock).
Just be careful not to rip any of the tiny pieces off since there are quite a few little details in this particular design!

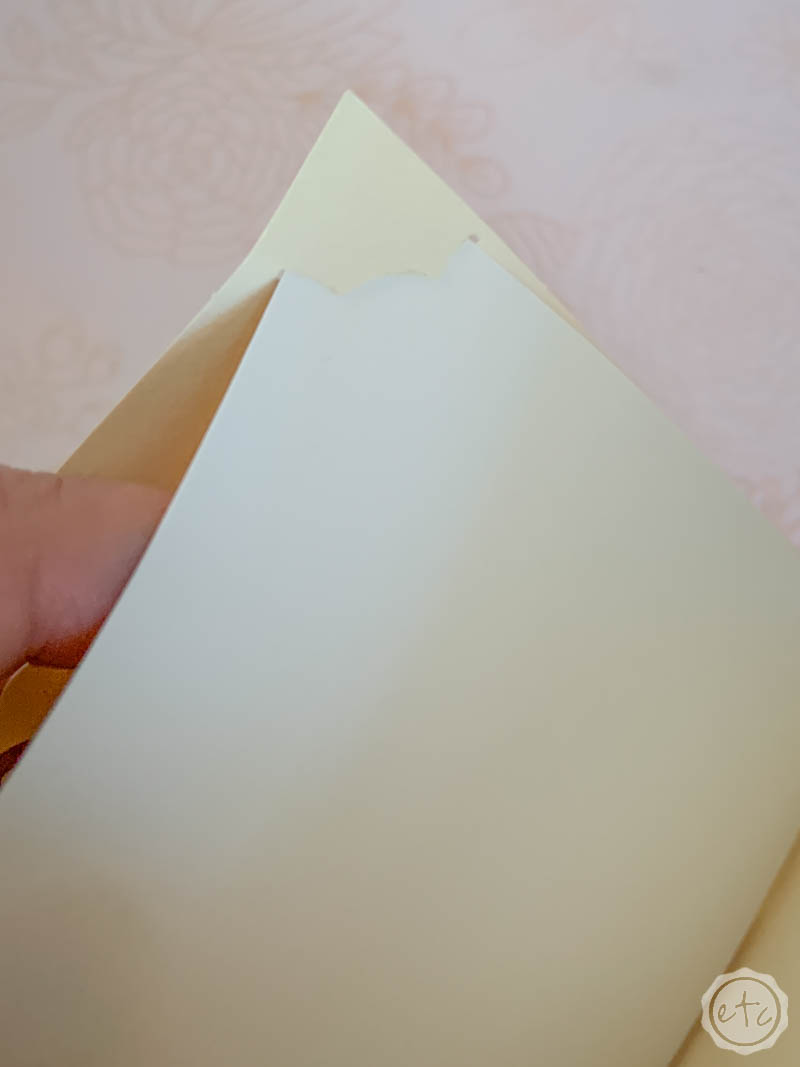
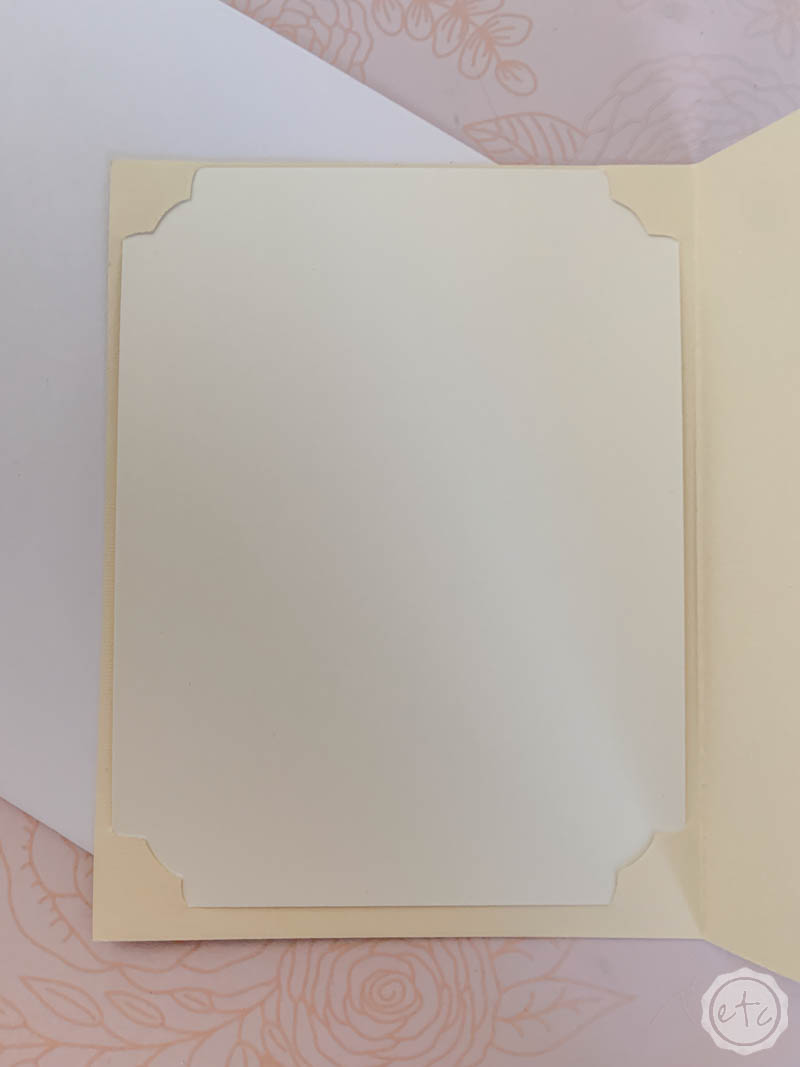
Step 4: Place the Insert in the Card
Now it’s time for the finishing touches! Your little card pack includes cards, inserts and envelopes… the envelopes are self explanatory and we’ve already used the cards but now it’s time for the insert!
In this case that’s the gold sheet!
The design already has spaces cut for the little insert… simply tuck all four corners into the little slits and you’re ready to rock! Now the little design will be a beautiful gold set against the cream. Ready to see the front?
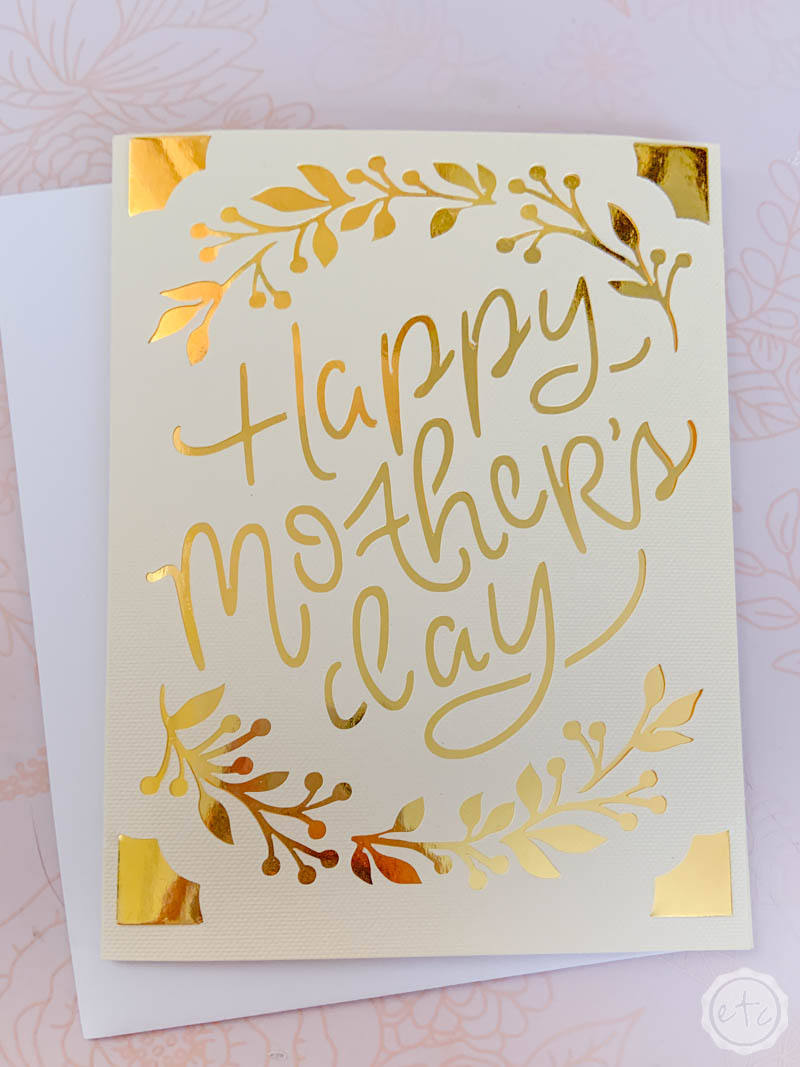
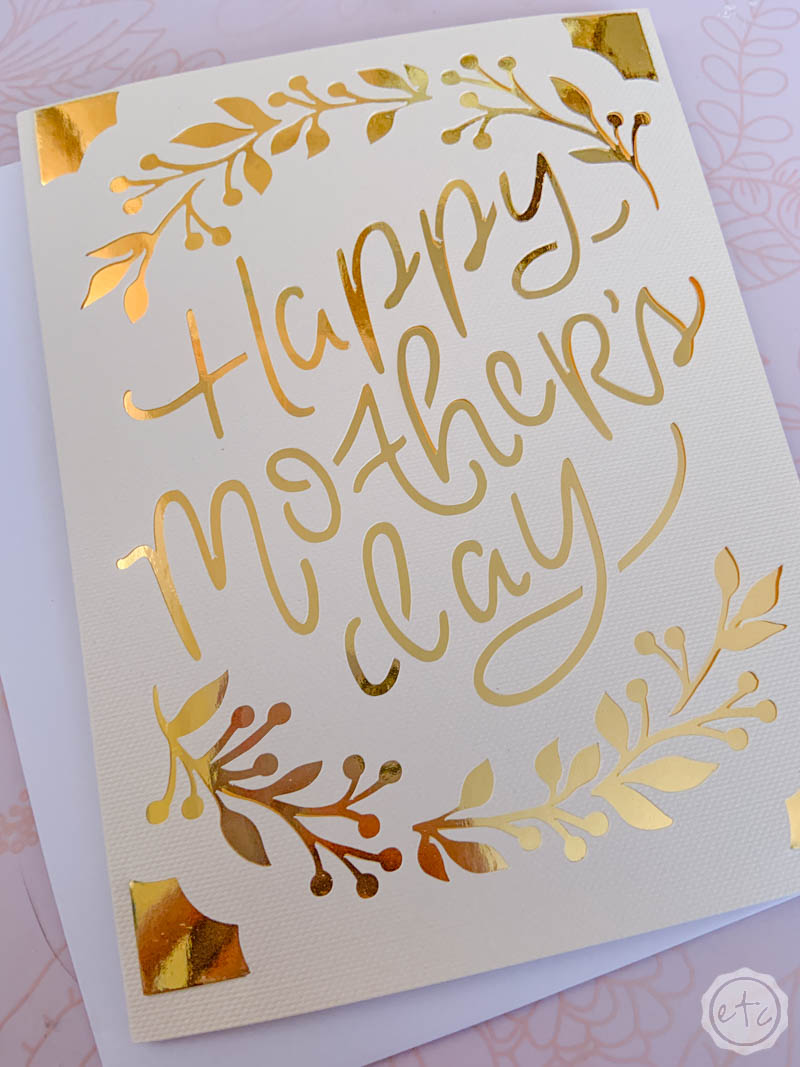
There you have it! A quick and easy 5 minute mother’s day card that you can make by yourself… and looks amazing! You can even tell Mom you made it yourself!
Don’t forget to pin for later… you might need a card idea next year!


Leave a Reply