

If you have a Cricut Maker or a Cricut Explore Air 2 and you’ve ever uploaded anything to Cricut Design Space you’ve noticed there are two options: cut or print and cut! Usually we use the cut option to cut decals out of vinyl or iron-on but today we’re going to use printable vinyl to print and cut a custom decal.
I love the print and cut option because you can cut out pretty images and make them into custom stickers! Think about all the possibilities: planner stickers every week, decals for a pretty resin tumbler… the options are endless!
For today’s project I’m sharing a little floral png that I printed on printable vinyl and turned into a custom decal for my Cricut Maker!
If you’re not into flowers this tutorial will work for any image you have the rights too… I purchased my little flower png on Etsy for a couple dollars. I also purchased a little R2D2 for a custom tumbler and an adorable unicorn! You can really make whatever you like!
Ready to get started?
Supplies:
- Cricut Maker
- Fine-Point Cutting Blade
- Standard Cutting Mat (that’s the green one! Although I used a fabric mat since it was on hand!)
- Printer
- Floral Watercolor PNG
- Printable Vinyl
- Delicate Transfer Tape
- Weeding Tool
Ready to take the leap but not sure which machine is right for you? Check out my Explore Air 2 and Maker comparison before pulling the trigger. I go over the pro’s and con’s of each machine and even have an easy to read check list of each machine’s features so you can decided which cutting machine is perfect for you.
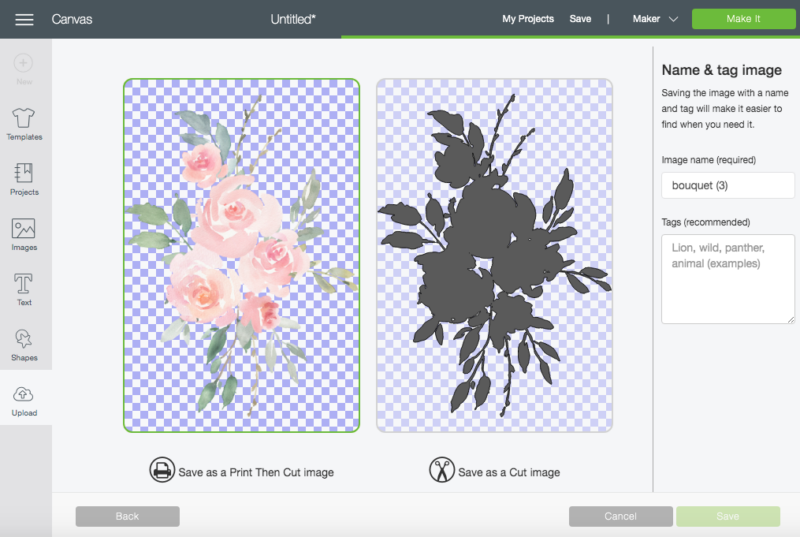
Step 1: Upload your PNG to Cricut Design Space
Let’s start at the beginning. In this case I have a png which is perfect for a print and cut decal.
The main difference between a png and a jpg is the background… a png has a clear background whereas a jpg will have a solid (usually white) background.
If you upload a png Cricut will recognize all of the boarders of the image and cut them out… for instance my little flower image has spaces in between the flowers where there is no image. Cricut will recognize this and cut those areas out.
If you upload a jpg Cricut will simply see a square and cut out a square (printed with your design yes but a square none-the-less).
Cricut has decent editing abilities so if you have a solid background (and you don’t want it) you may be able to edit it out in Cricut. Simply select the print and cut option then click on the background to see how your image will look.
If you like it click import… if you don’t keep looking for a different image!

Bonus Tip: When you upload a png the first option is to pick between print and cut and cut… for this tutorial we’re going to select print and cut. The next screen will be the editing screen where you can delete anything you don’t like from your image. Once it’s edited (or if you uploaded it ready to go) you can click next and upload your image. Now you’re ready to go!
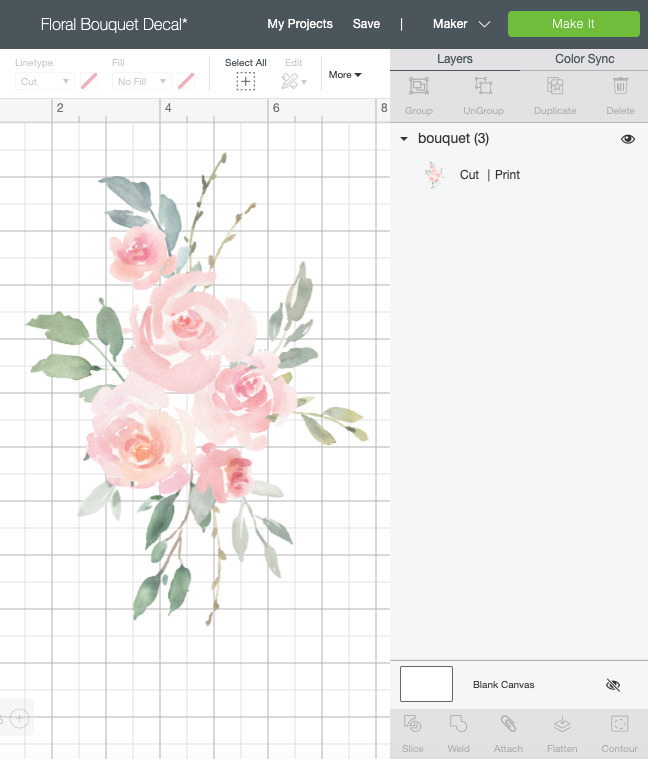
Step 2: Size Your Image
Now that we have our pretty floral image in Design Space it’s easy enough to prep it for cutting! I measured my Cricut to determine that my flowers needed to be 8 inches long.
Use the grid to size your image and then hit “make it!”
Well that was easy, wasn’t it?
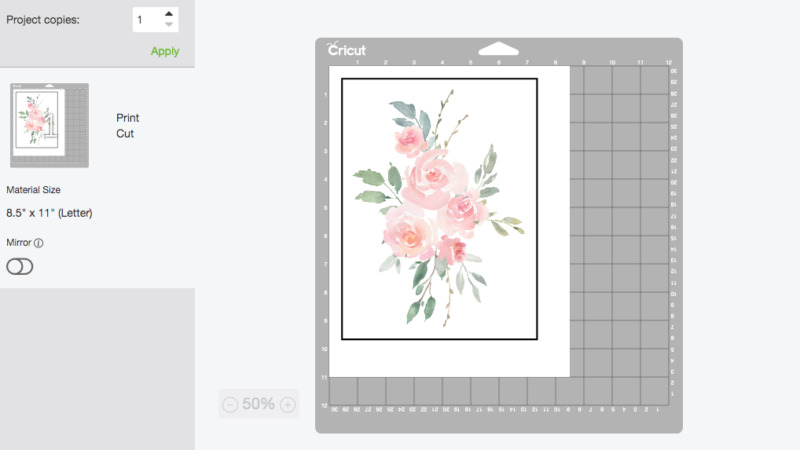
Step 3: Print your Design!
Once you hit make it the print screen will pop up allowing you to see the design how it will look printed.
You’ll notice that Cricut automatically places a boundary box around the design… that is how the machine will orient it self to exactly where to cut on your image.
Go ahead and print your image exactly how you would any other document. Make sure fit to screen is on and you’re ready to rock.
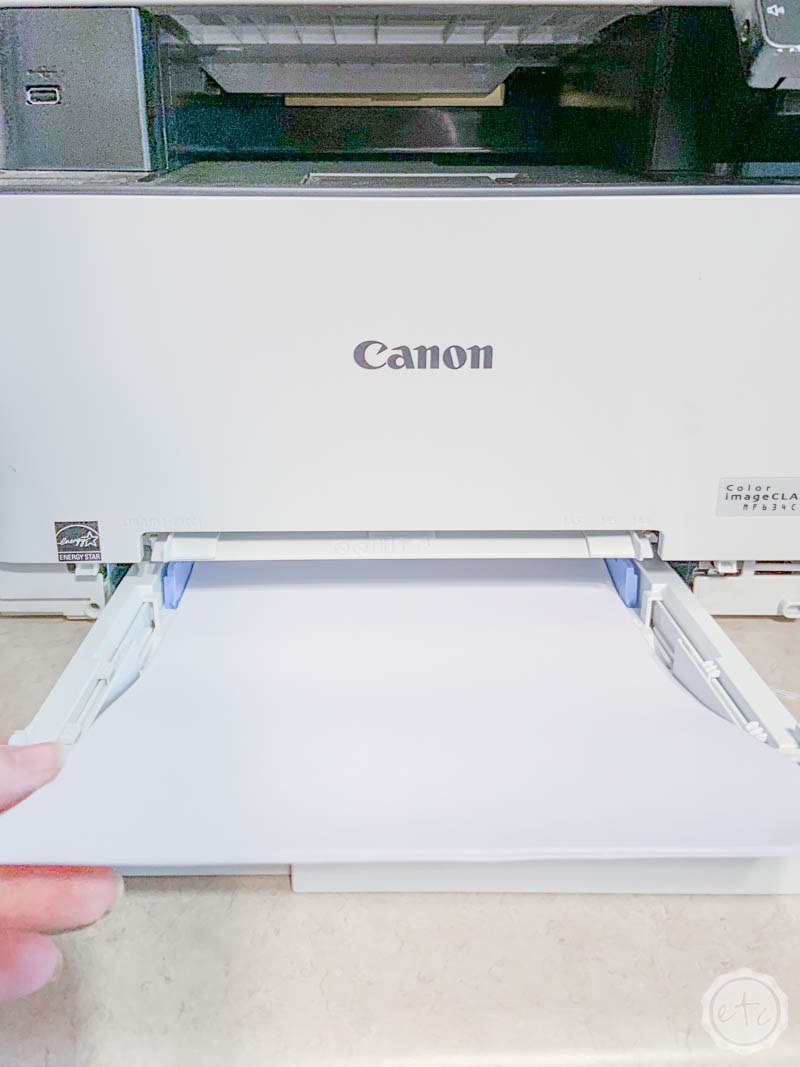
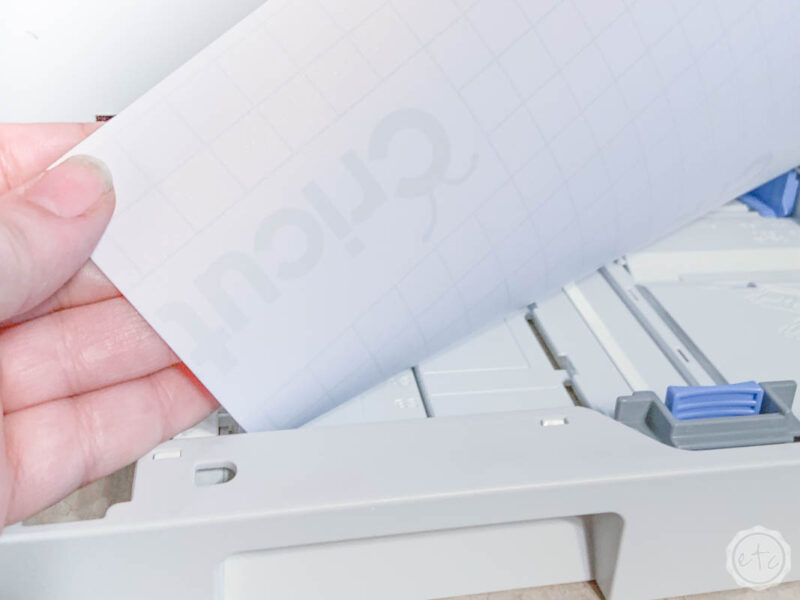
Now all that’s left is to load your printable vinyl. If you’re unfamiliar with your printer (or just don’t load your paper super often) make sure the printable vinyl is loaded correctly. For me that means loading the vinyl with the blank side up and the backing down.
Then hit print!
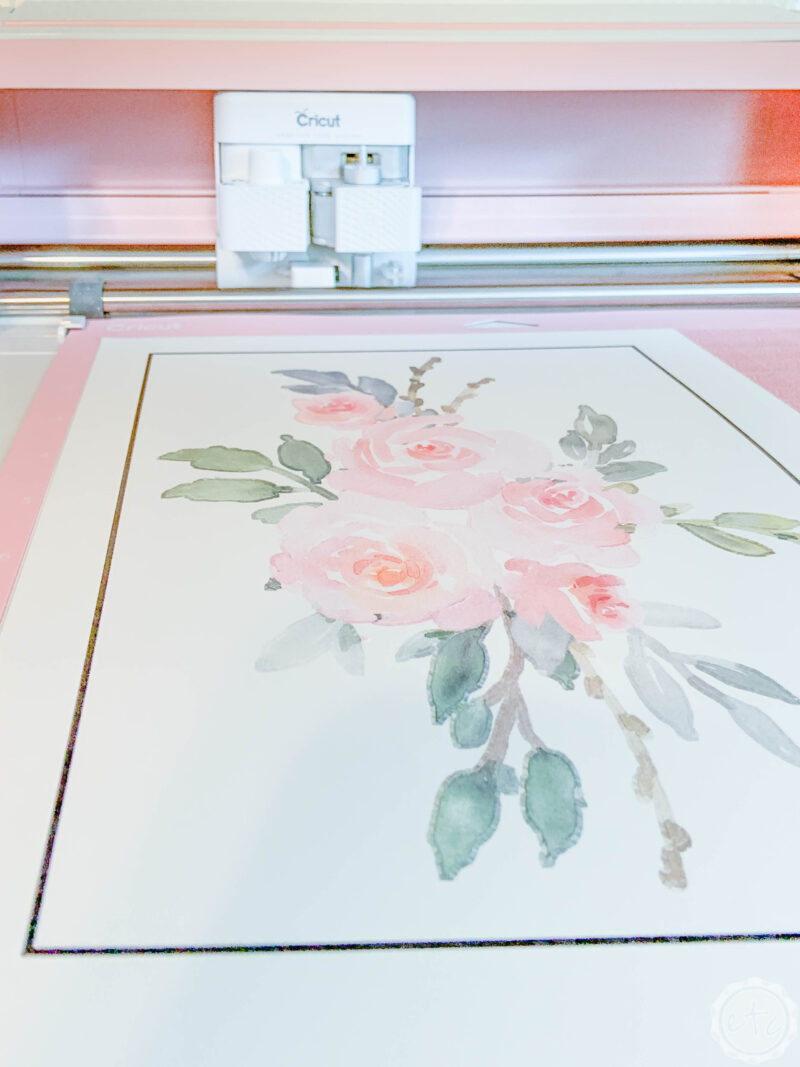
Step 4: Cut your Design!
Ready to cut? Once your design is printed you can load it onto a cutting mat the same way you would load any vinyl… in the top left hand corner of your cutting mat. I find that the printable vinyl sheets are a little slippery on the back so a standard grip or fabric grip works well.
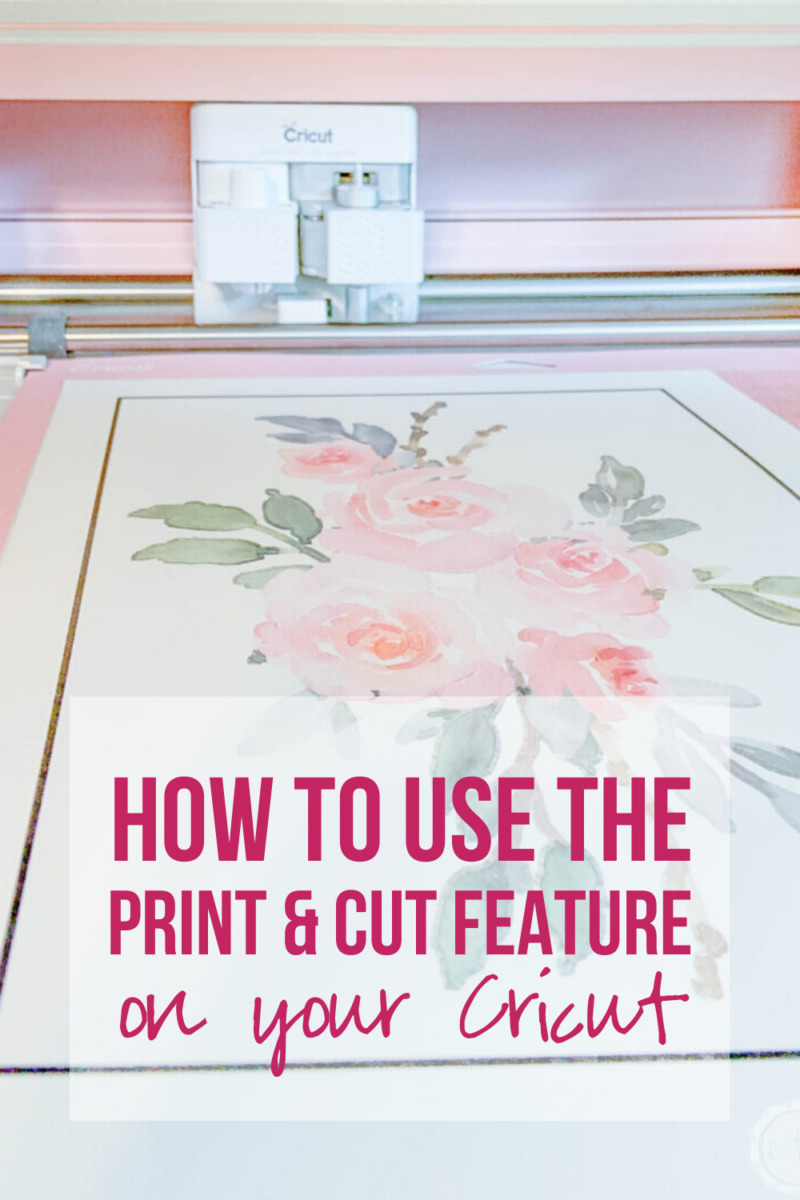
Load your mat into your Cricut and hit go… now watch the magic happen! The cricut will go back and forth over that black boundary box over and over… all around the design. Then once it’s oriented it will start to cut.
Maybe I’m a nerd but printable vinyl is one of my favorite things to watch cut!

Bonus Tip: When you load your printable vinyl sheet onto your cutting mat make sure it’s oriented in the same way as on your cut screen. That’s pretty easy when you’re cutting out a picture of R2D2 (you can easily place him right side up on the cutting mat! Head at the top, feet at the bottom) but with flowers the design is a little more abstract. I might have loaded this little design turned around the wrong way the first time… it’ll still cut but the cut lines and the image don’t line up leaving you with a mess for the trash bin. Boo.
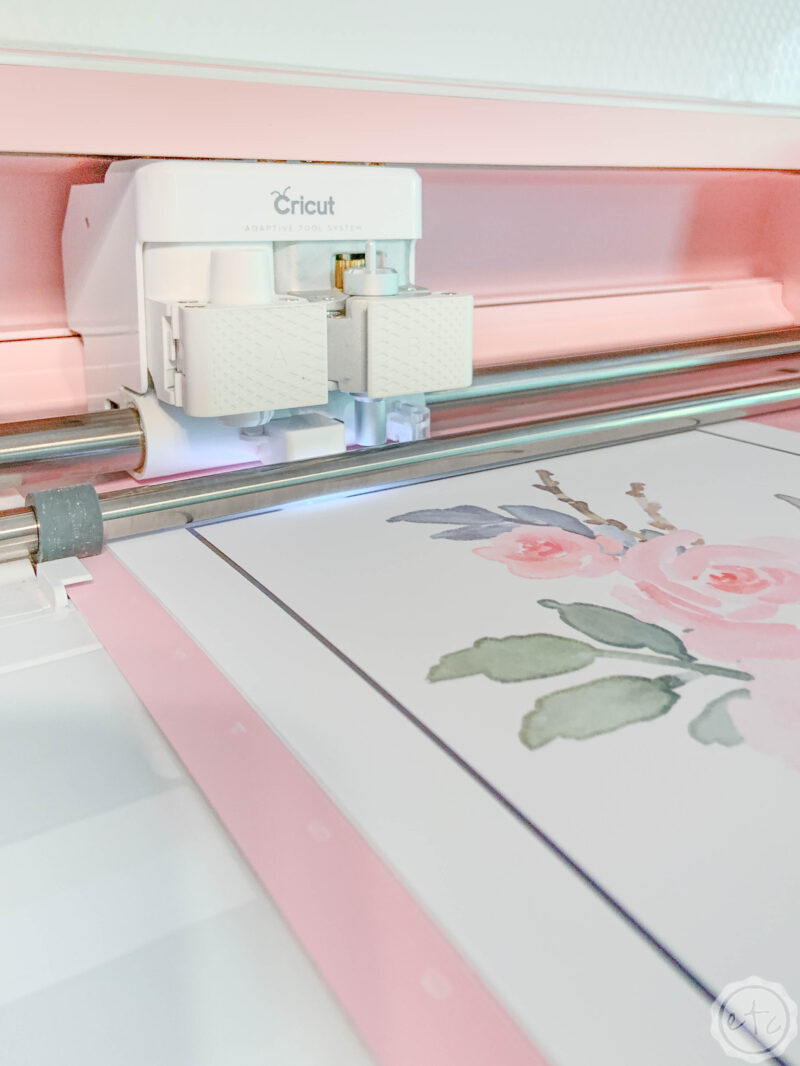

Step 3: Weed your Design!
Isn’t it pretty?
Now it’s time to remove all that extra vinyl… we’ll weed out the negative space leaving behind our design.
The outside edges of the vinyl should peel up easily… then you can use a weeding tool to go in and remove any little areas left behind. In this particular image there are 3-4 areas in between the flowers that need to be removed… but you’ll have to look at your image to see what’s what.

Step 4: Enjoy!
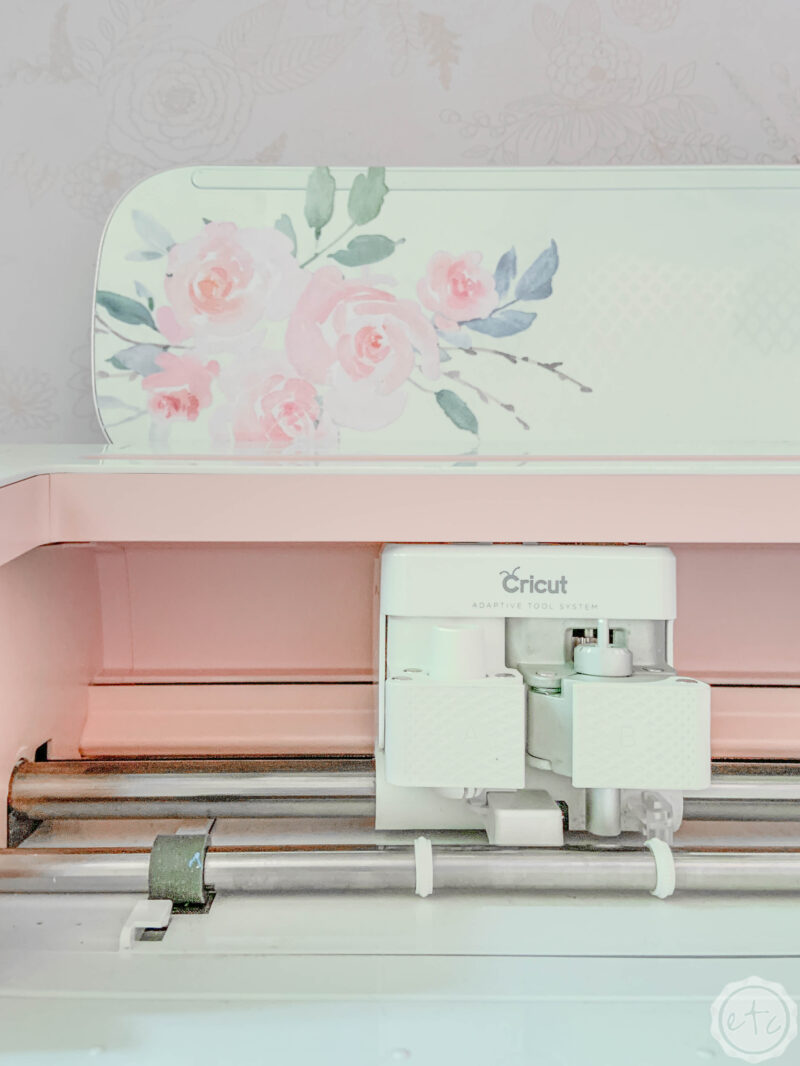
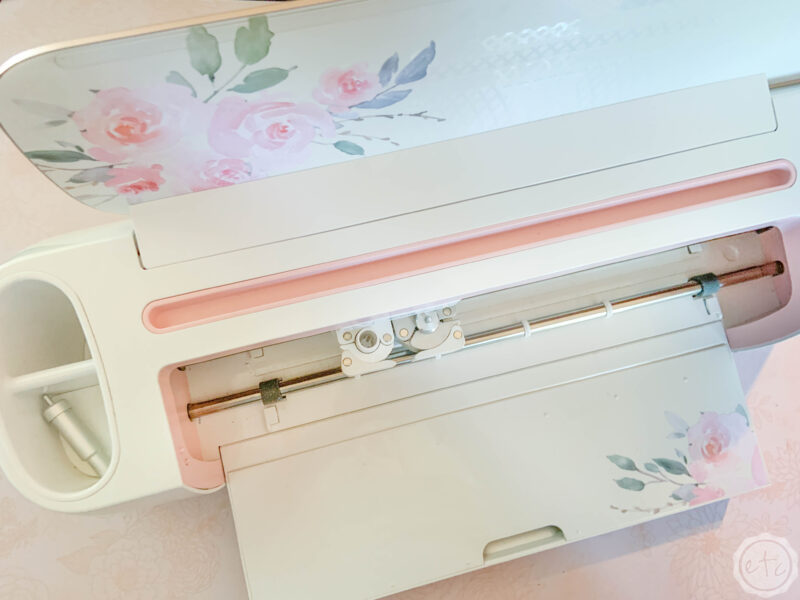
Now it’s time to use your vinyl decal! I am using this specific floral decal to decorate my cricut… doesn’t it look amazing?
Of course, that’s an entirely different tutorial (that you can follow along with here!). Whatever you’re using your decal for you can go forth and… sticker!

Bonus Tip: If you are cutting a solid image you may be able to peel up the entire vinyl sticker in one go and apply it to your new surface… in the case of this little floral decal there are tiny parts that aren’t attached or that could rip if I simply peeled it up like a sticker. So I grabbed a roll of transfer tape! But this vinyl is fairly delicate and normal transfer tape can remove the ink from your newly printed decal. Which is a long winded way of saying please use delicate transfer tape with printable vinyl.

Get Your FREE PDF Guide!

Don't forget to snag your free PDF Guide to buying your first Cricut!




I’m new at all this Cricut stuff and I feel bad because my husband bought it almost a year ago. I’ve done decals here and there but I don’t know how to make shirts which is what my whole family is wanting at the moment.