


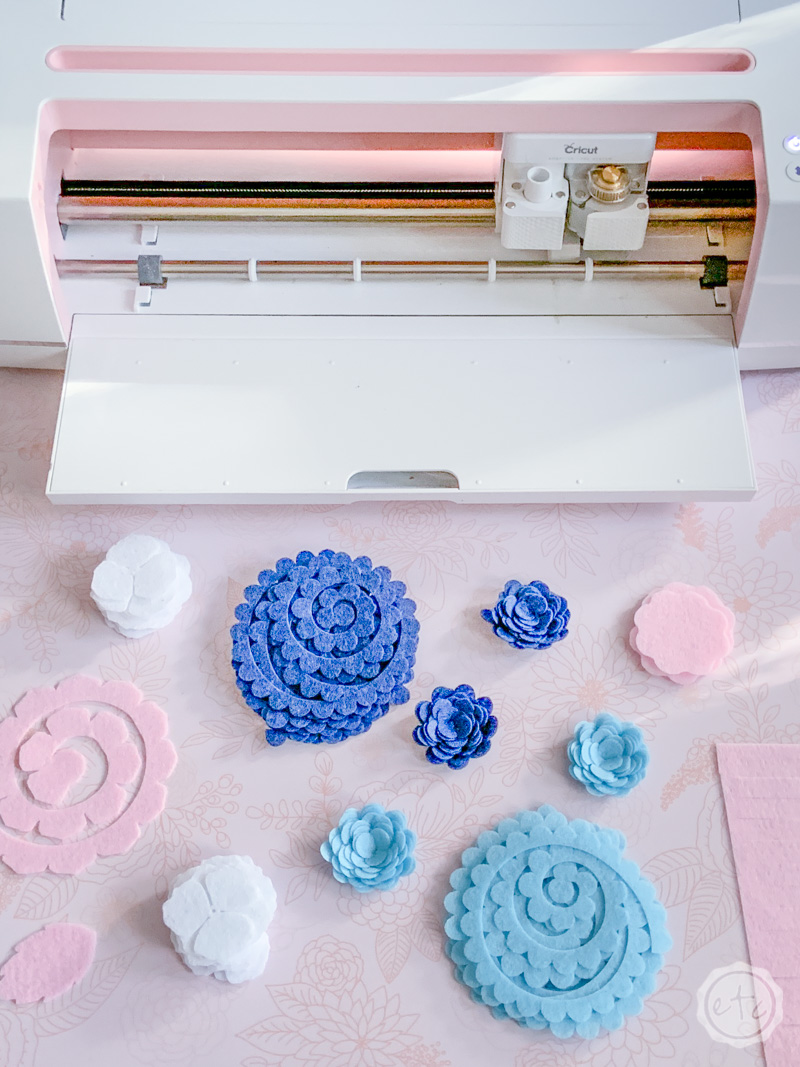
Theoretically felt flowers are a simple project that don’t take much time but I’ve had hours of frustration trying to cut these little guys out on my Explore Air 2. Which is why I was absolutely thrilled when I learned how to make these easy felt flowers with my Cricut Maker.
In fact the whole process was sooooo quick and easy I have made dozens more since I first gave this a try!
There are dozens of different patterns for rolled felt flowers (you can see a few more in the cricut access project at the bottom of this rotary blade tutorial) but for the point of this tutorial I’m simply going to use one basic template (that you can grab for free at the bottom of this post).
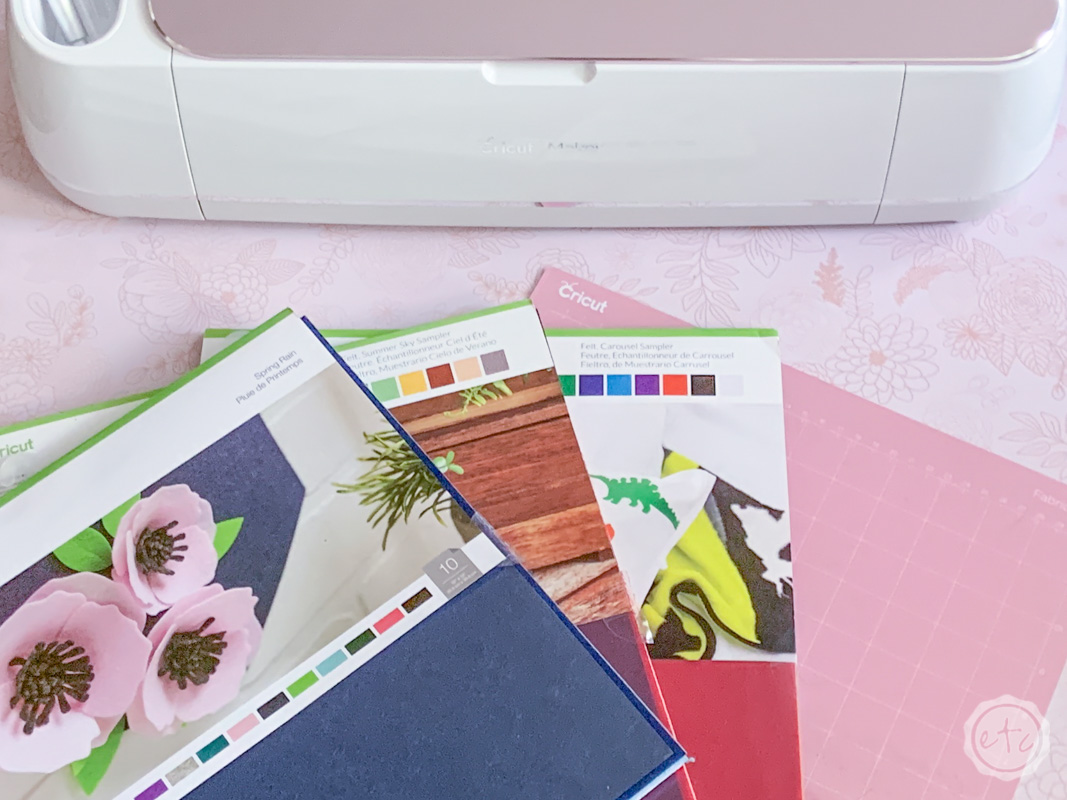
Supplies
- Cricut Maker
- Rotary Blade
- Cricut Cut File (free at the bottom of this post)
- Fabric Grip Mat (the pink one!) or Standard Grip Mat (the green one!)
- Cricut Felt (or regular felt)
- Reverse Tweezers
- Brayer
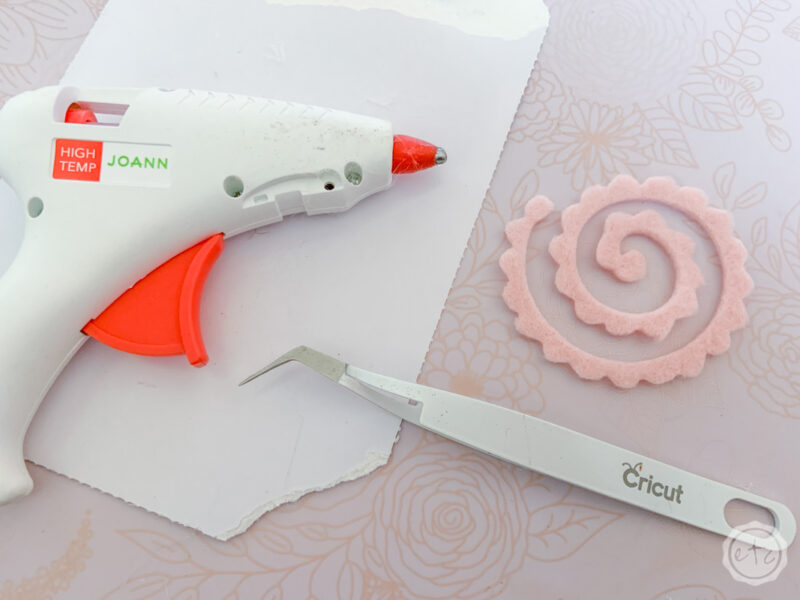
- Hot Glue and Glue Gun
- Optional: Beads, Needle, String
Psst… need help setting up your Cricut Maker? Check out this post!

Bonus Tip: Not sure how big to make your flowers? Here’s a quick size guide for making felt flowers the right size the first time.
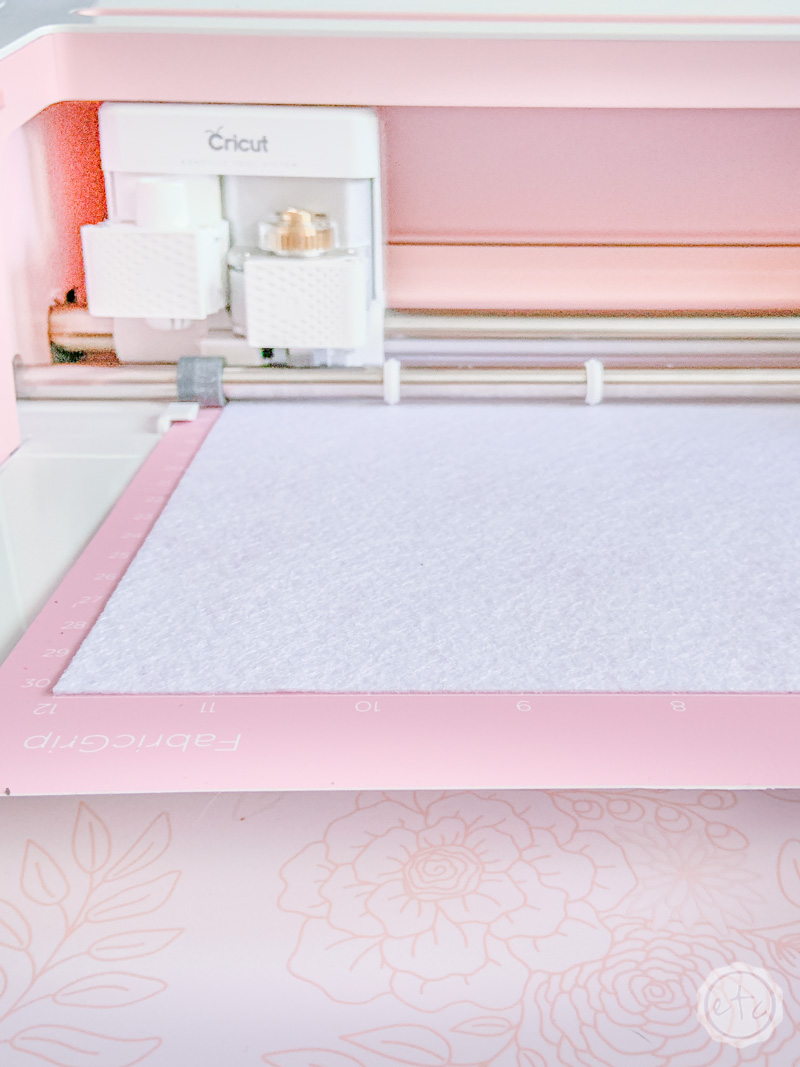
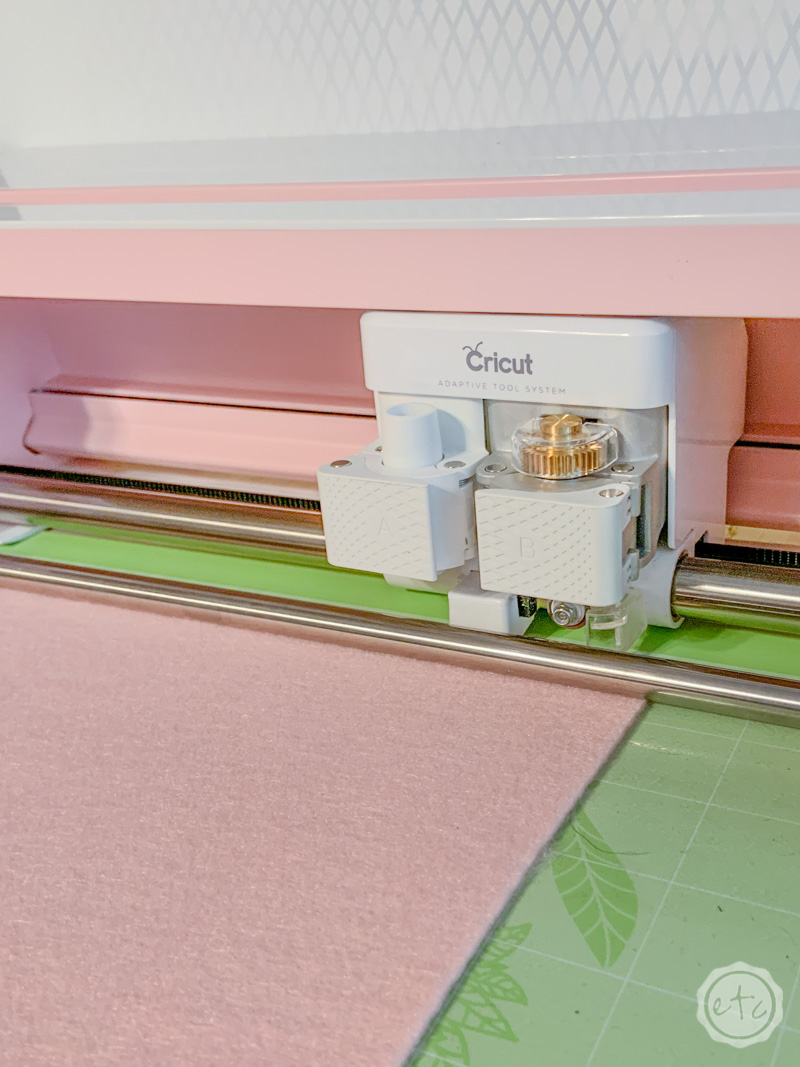
Step 1: Load Your Mat and Click “Make It”
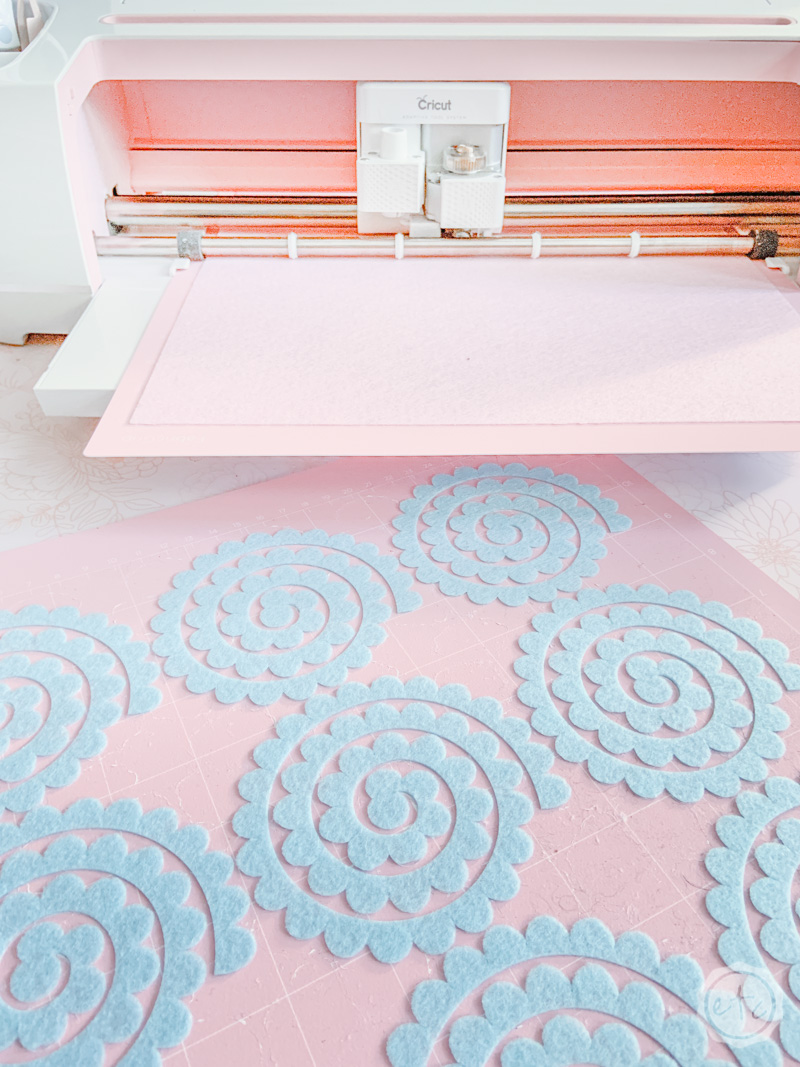
Ready for the first step? It’s super simple! Go through your felt pack and decide which color flowers you’re going to make… then load your first mat! Make sure to press the felt down onto your fabric grip mat with the brayer so that it has a tight fit against the mat and you’re ready to go!
Download your SVG cut file from the bottom of this post and then load it into Design Space. If you’re unsure how to load an SVG into design space you can follow the simple instructions in this post.
As for the design file I’ve included 3 different sizes (and two different patterns) so you have a few things to play around with.

There are two ways to fill an entire mat… section off a 12 x 12 mat in Cricut Design Space and see how many flowers fit inside of it! OR simply hit copy and paste several times and then hit “make it” Cricut Design Space will automatically sort the shapes into the best order to fit them onto the mat. Then you can simply cut the mat with alllllll the flowers!
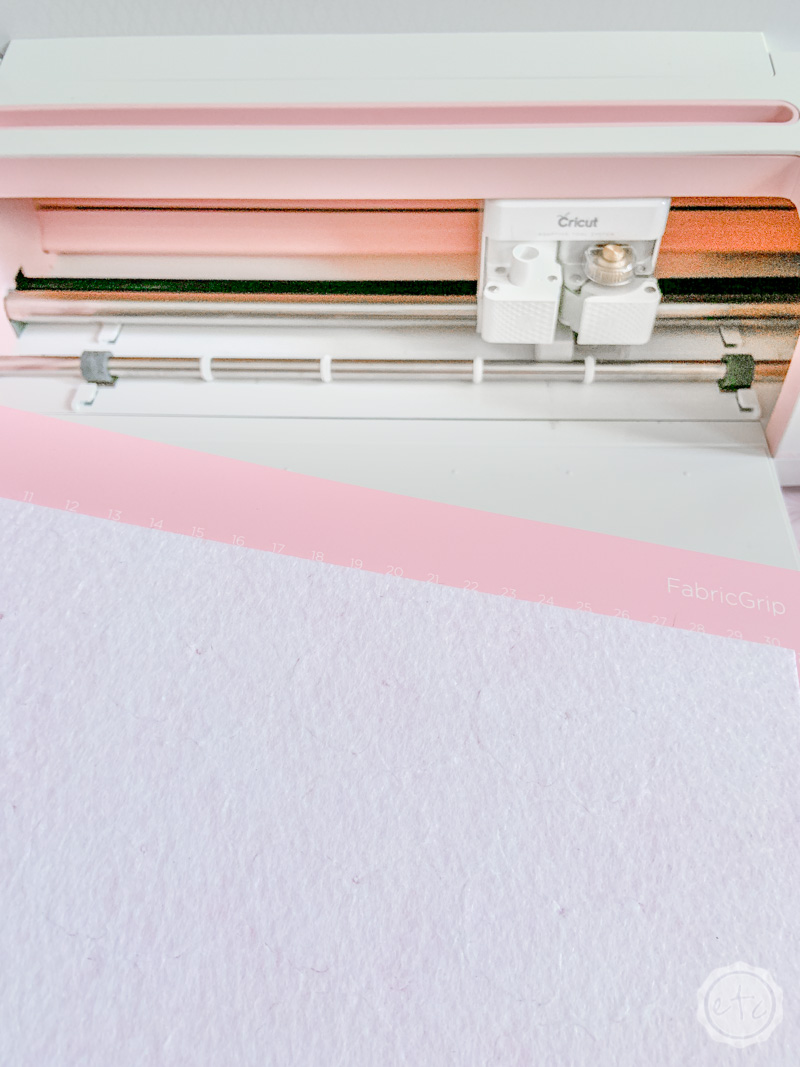
Ready? Hit “make it” and watch your rotary blade cut out allllll the pretty felt flowers.
Bonus Tip: If you’re using Cricut Felt then you can leave your mat settings at 12×12 but if you’re using felt from a craft store then make sure you re-adjust your size to 8.5×11
Step 2: Weed Your Flowers and Remove them From the Mat
Ready for the fun part? When you pull your first mat from the Maker it doesn’t look much different then when you loaded it. Can you even see the cut lines on the image above? Start on one corner and pullllll the felt… as it pulls from the mat you’ll see the images of little flower shapes being left behind.
Take a look!

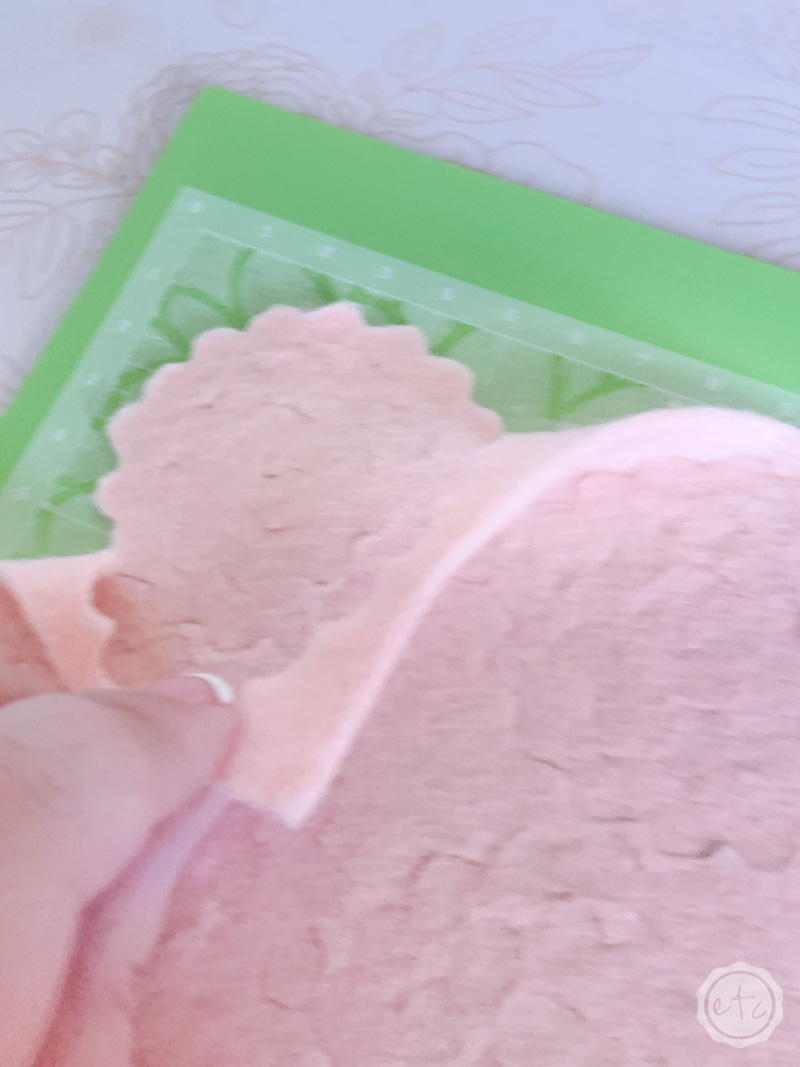
The rotary cutter does a great job so I didn’t worry too much about breaking the flowers as I pulled off the negative felt. It is definitely a satisfying feeling!
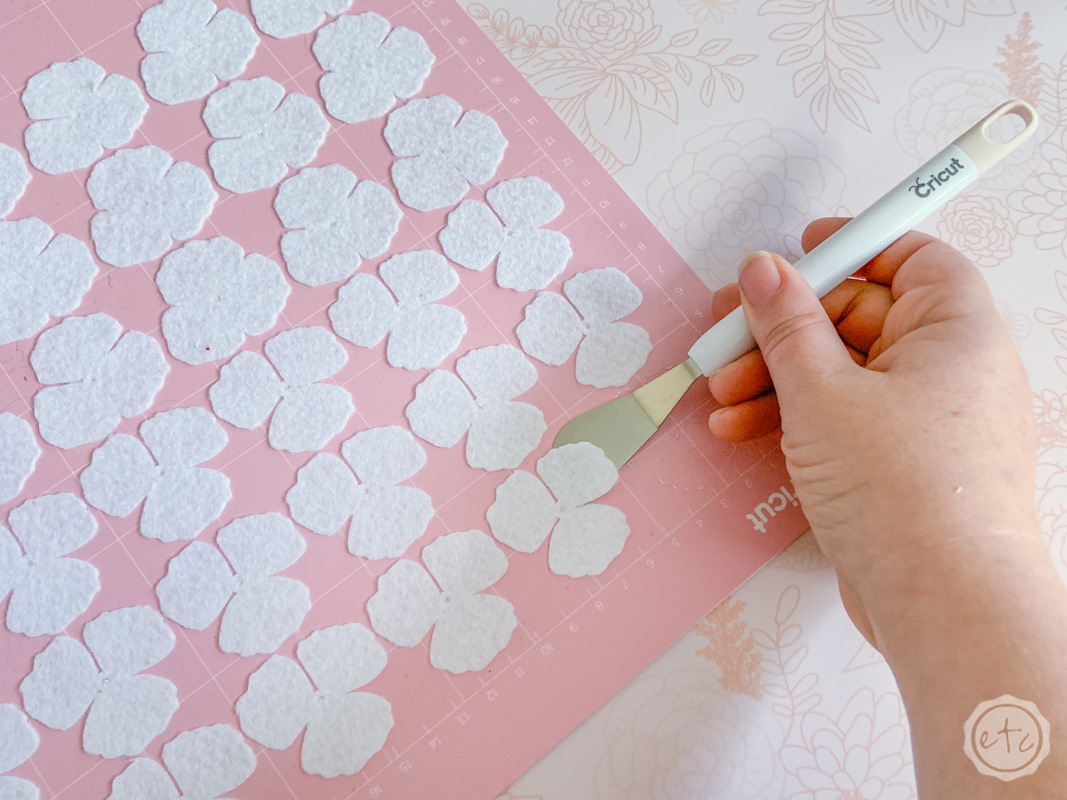
Once you’ve pulled the negative felt you’ll need your little spatula to gently lift off each of the flowers. These pieces are smaller so start at the edge and work inwards. I found that the rotary blade pressing down as it cuts creates a kind of seal around the edges of each flower. Once you get underneath that seal with the spatula the insides of the felt flowers come off quite easily.
They are felt though and prone to getting felty when taking them off the adhesive so going slow will help to prevent that. Work too quickly and they’ll all be fuzzy on one side!


Step 4: Hot Glue them Together
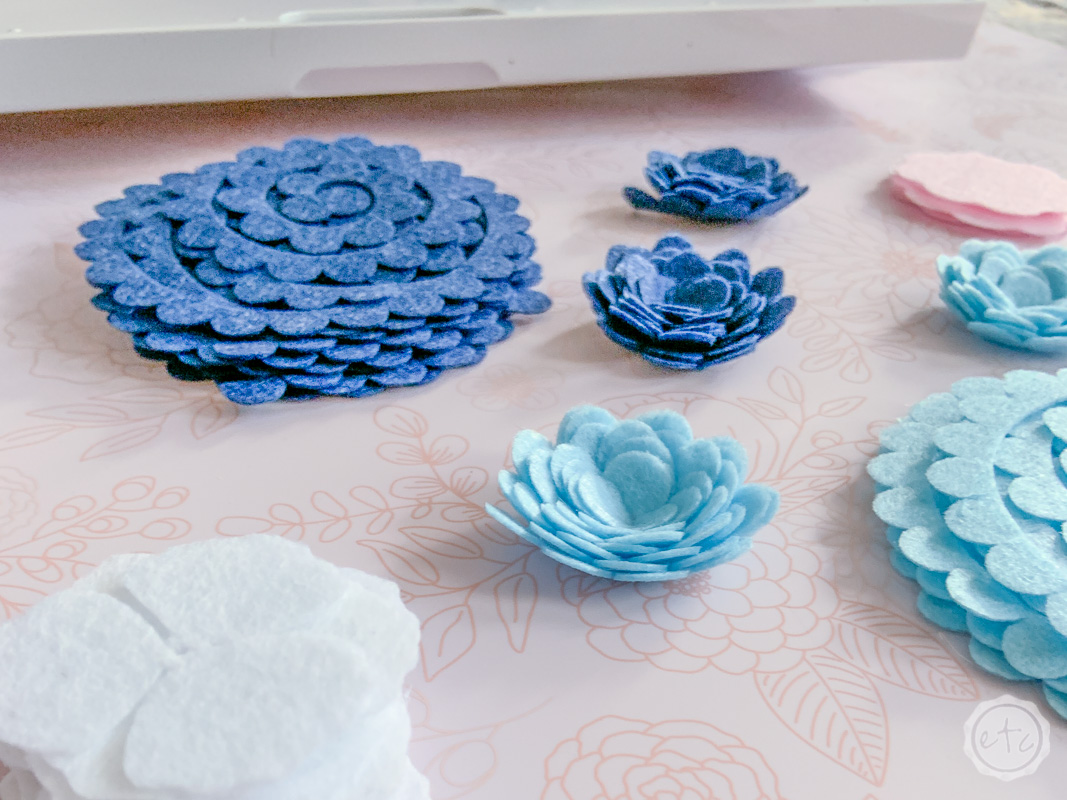
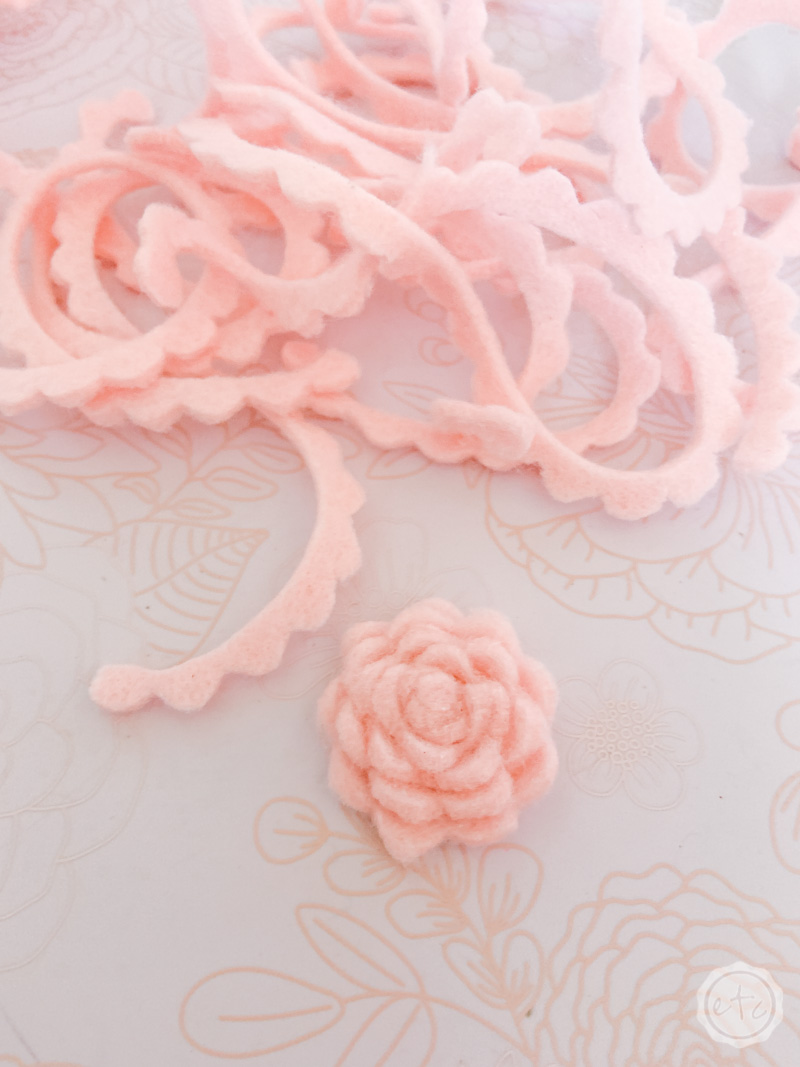
Alright y’all now it’s time to make a few flowers! There are several different flowers to choose from but the general idea is the same… make the flower and then glue it together!
The felt actually stays together really well so it was easy to coil the flowers completely and then turn them over and glue the backs together.
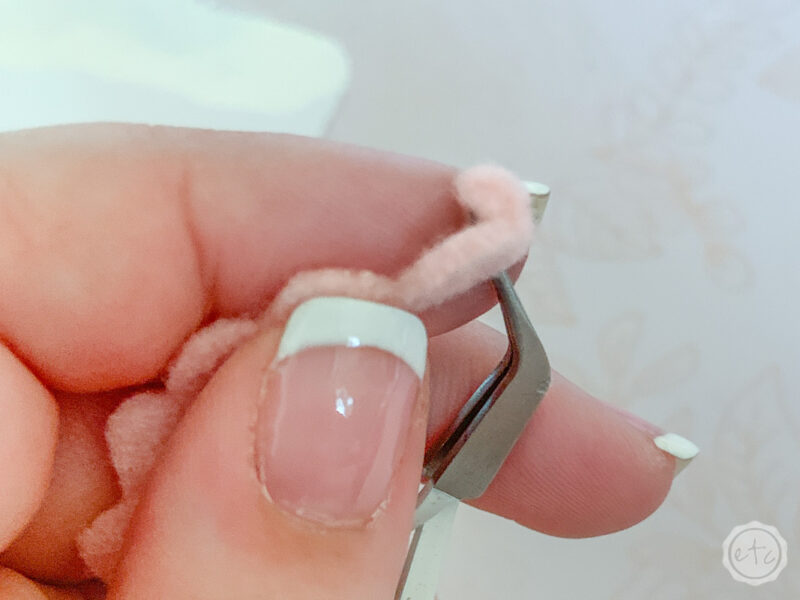
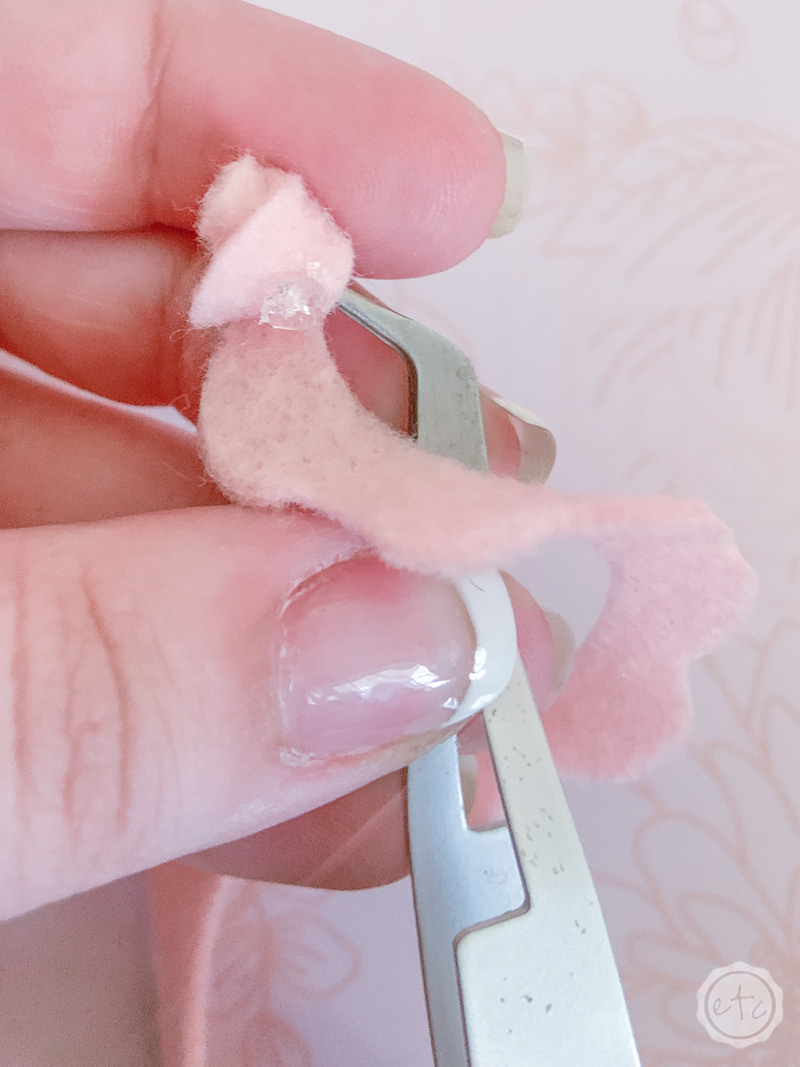
The general idea of all rolled felt flowers is the same hold the very center with your reverse tweezers and start to coil the length around the center. Add a dab of hot glue at least once a rotation and keep the bottom of the felt even as you coil.


Step 5: Add Beads to the Center (Optional)
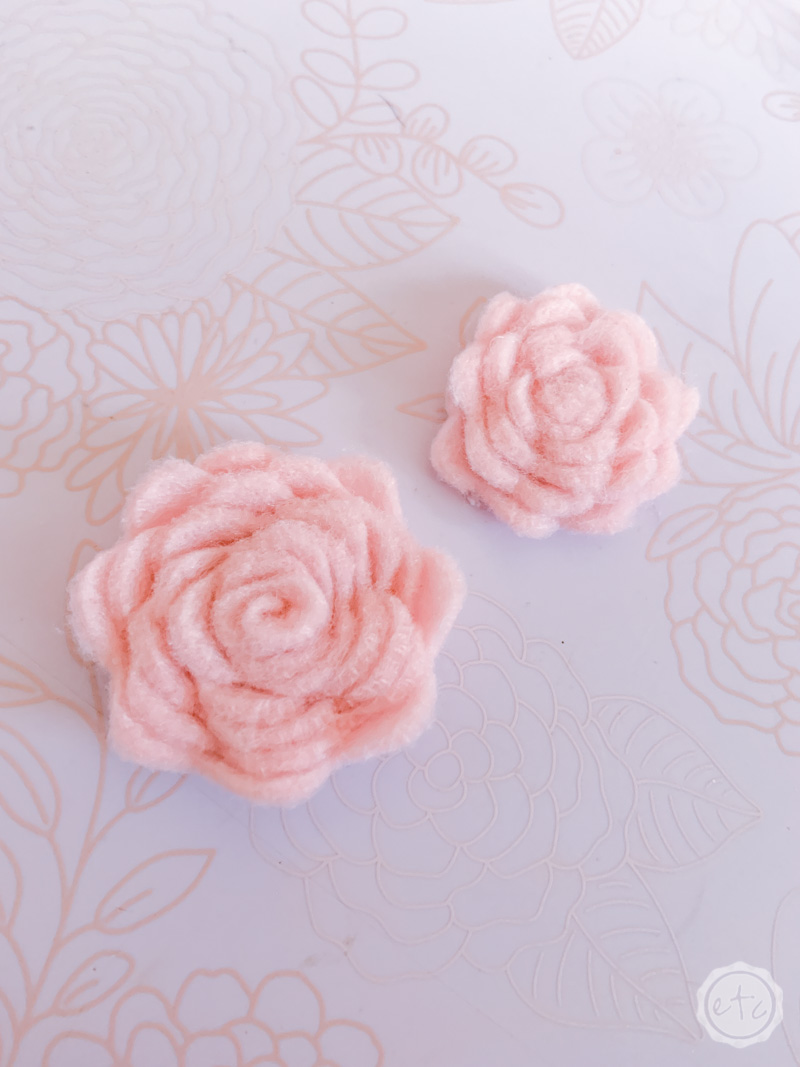
Okay this part is completely optional… the little felt flowers look just as pretty on their own! Some of them look even cuter with a middle though. I’ve seen strips of felt rolled up and glued into the center, buttons glued into the middle or even little circles of different colored felt.
My favorite? A few pretty little beads!
You can hot glue the beads into place but I find that the hot glue shows when you try to use the teeny tiny seed beads… so a bit of string and a needle does the job just as well.
Sew the larger beads in place first and then the smaller ones… and they look so pretty when they’re done!
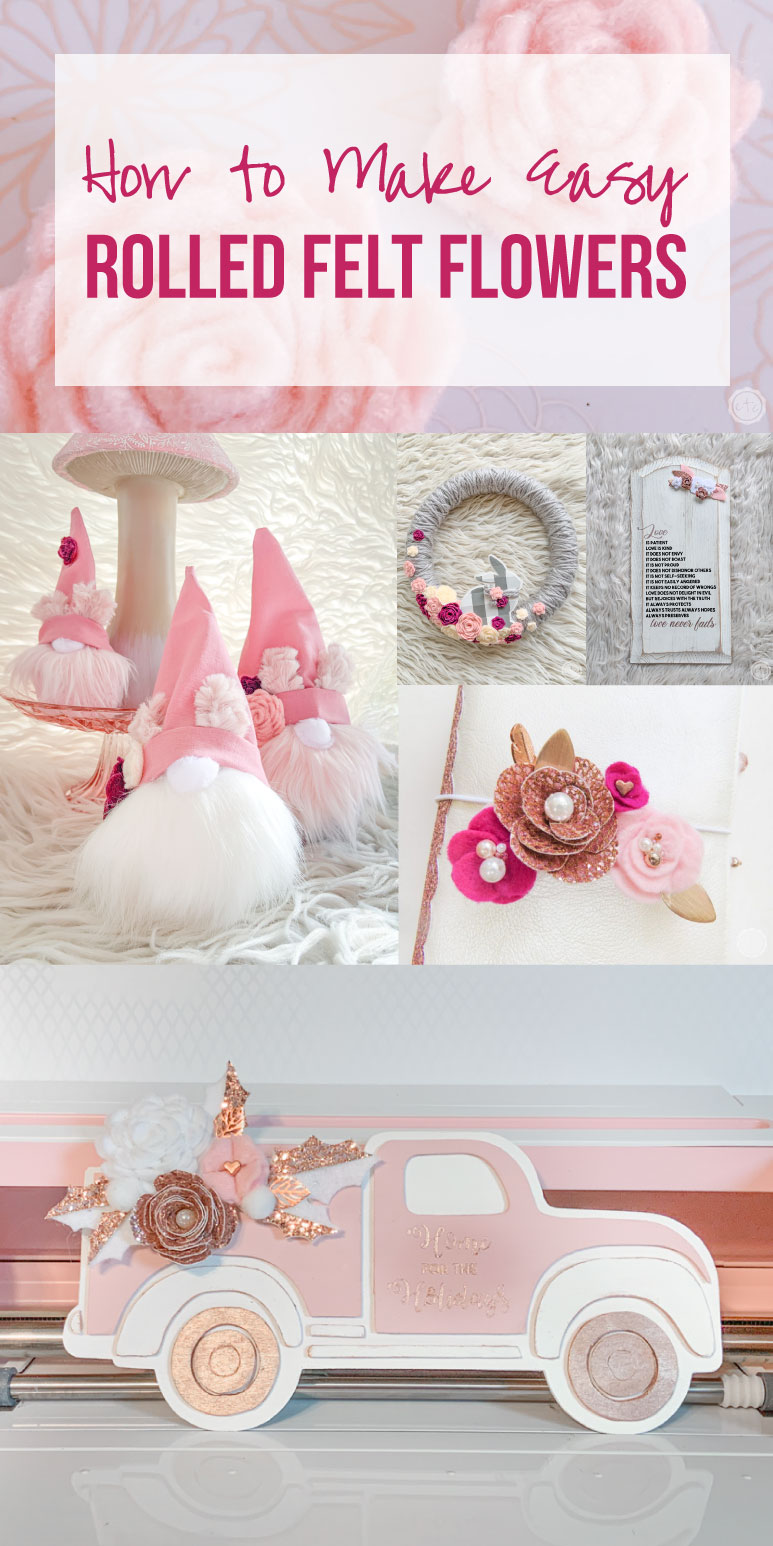
Felt flowers are one of my favorite additions to any project. I use them way too often! Check out a few of the projects I’ve used them on.
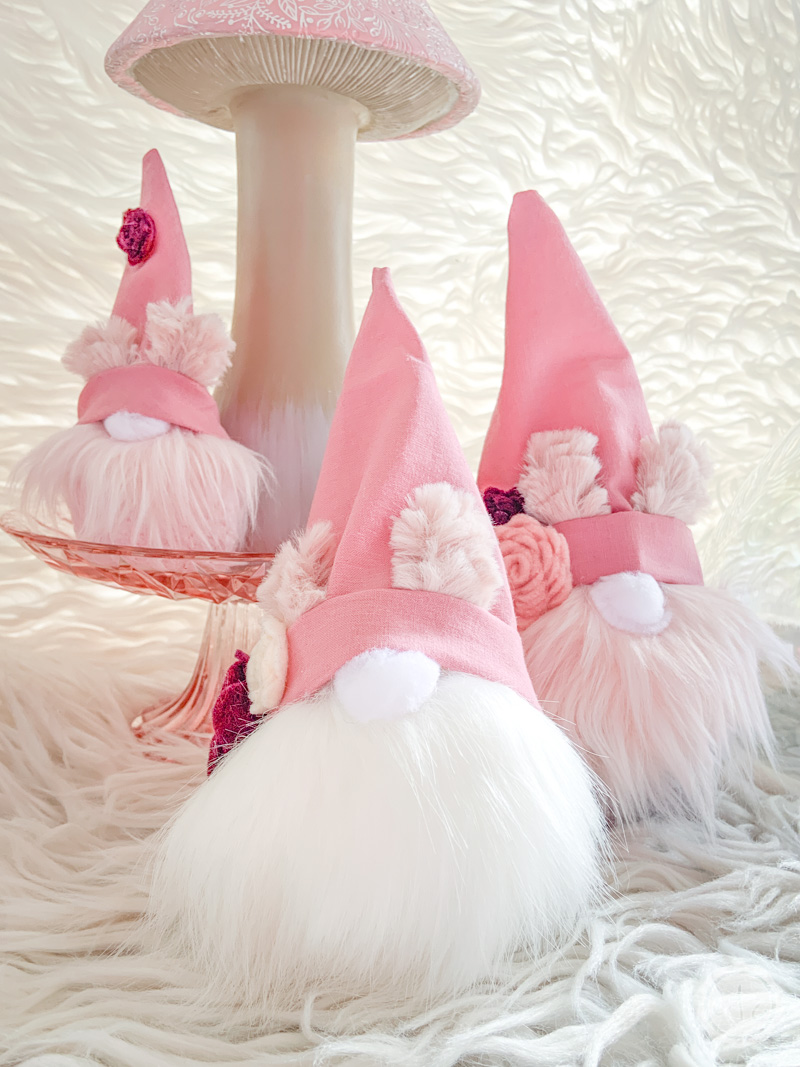
Easter Bunny Gnomes

Love is Patient Sign

Easter Wreath

Planner Swag
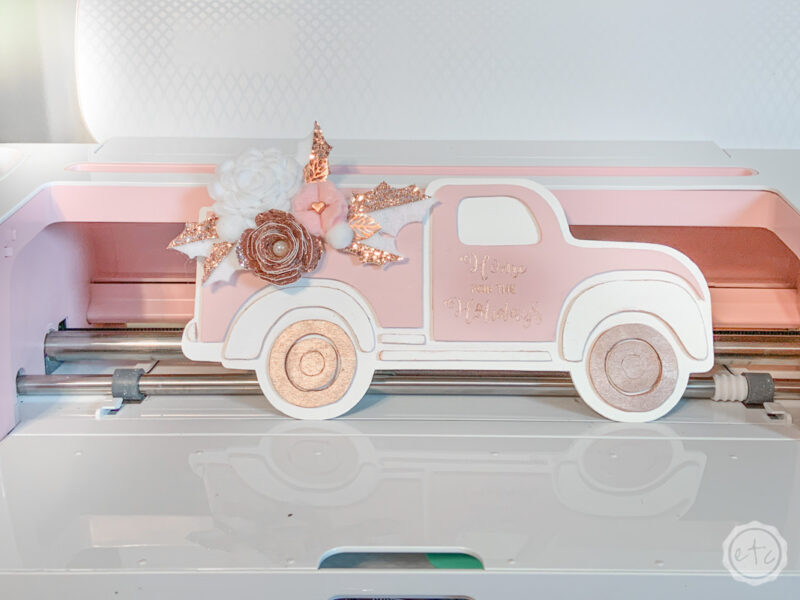
Christmas Truck


[…] Felt Flowers (3 colors: 2small, 4medium and 2large) […]