
I have a fun little surprise for you today… I am participating in a contest! The folks over at Wagner challenged me and five other fabulous bloggers to create amazing Halloween themed projects with their Wagner HT400 Heat Gun and y’all I could not wait to get started!
I have been dying to try flow art for years but needed a heat gun to compete the project… and to take things a step further I’ve taken my flow art fabric and made a whole series of fun pumpkins!

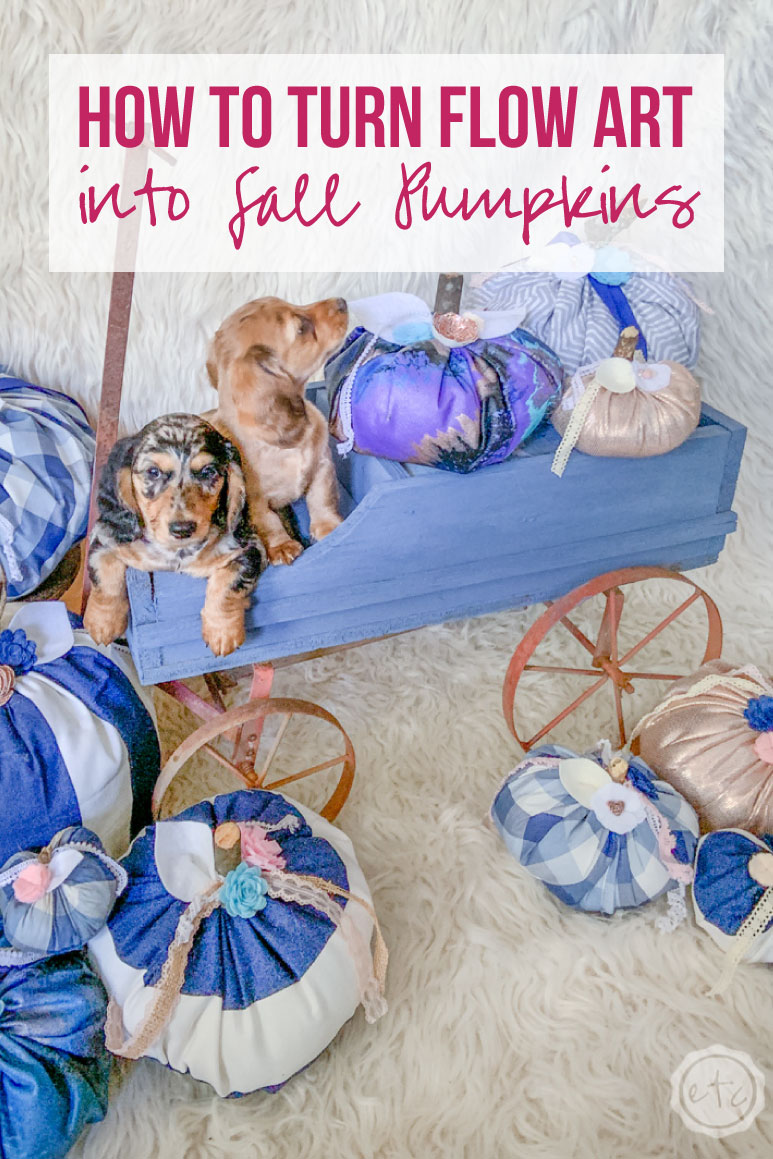
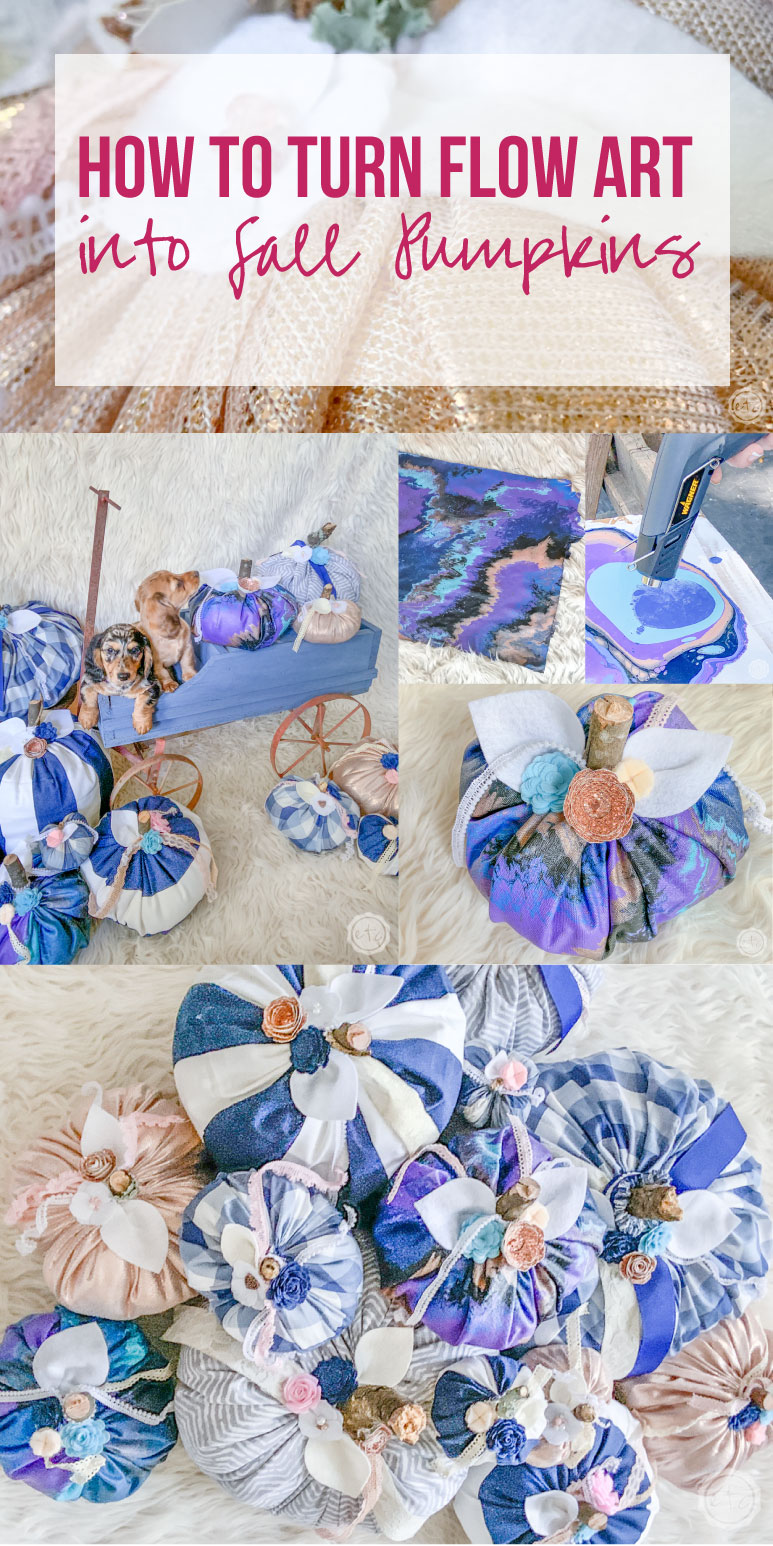
How to Turn Flow Art into Fall Pumpkins
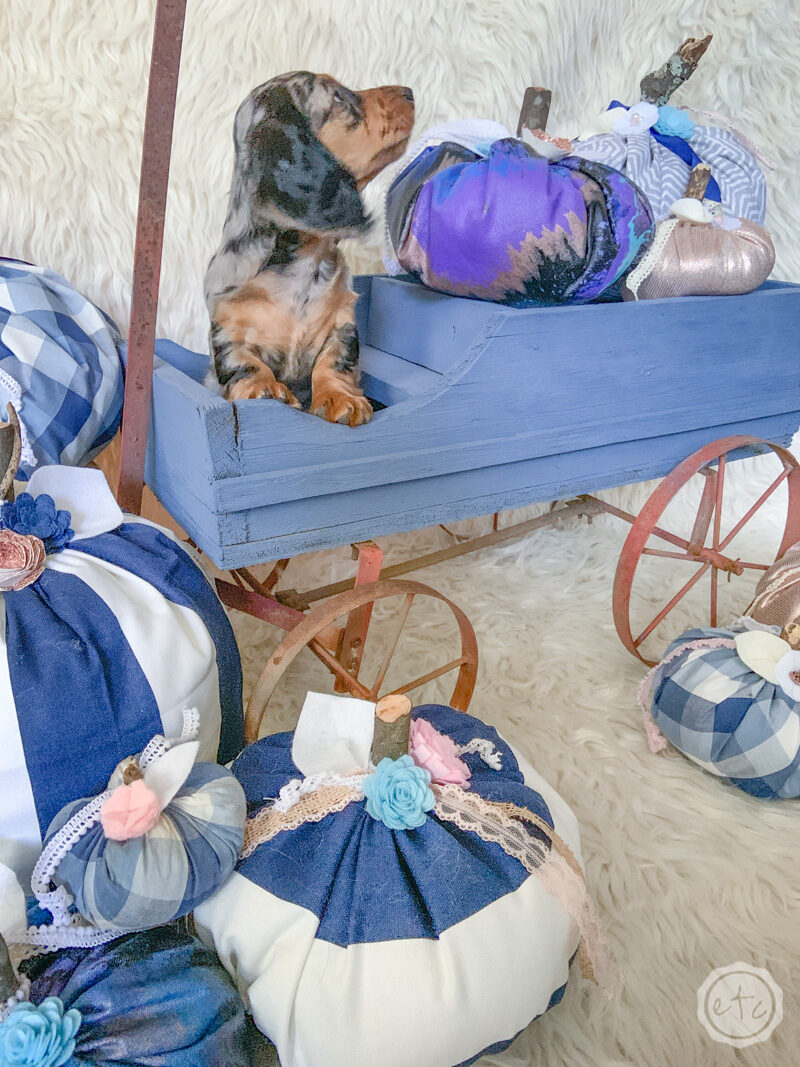
Unfortunitely the puppies aren’t something we’ll be making today… but they’re just so cute in the little pumpkin patch! Ready to get started?
Supplies:
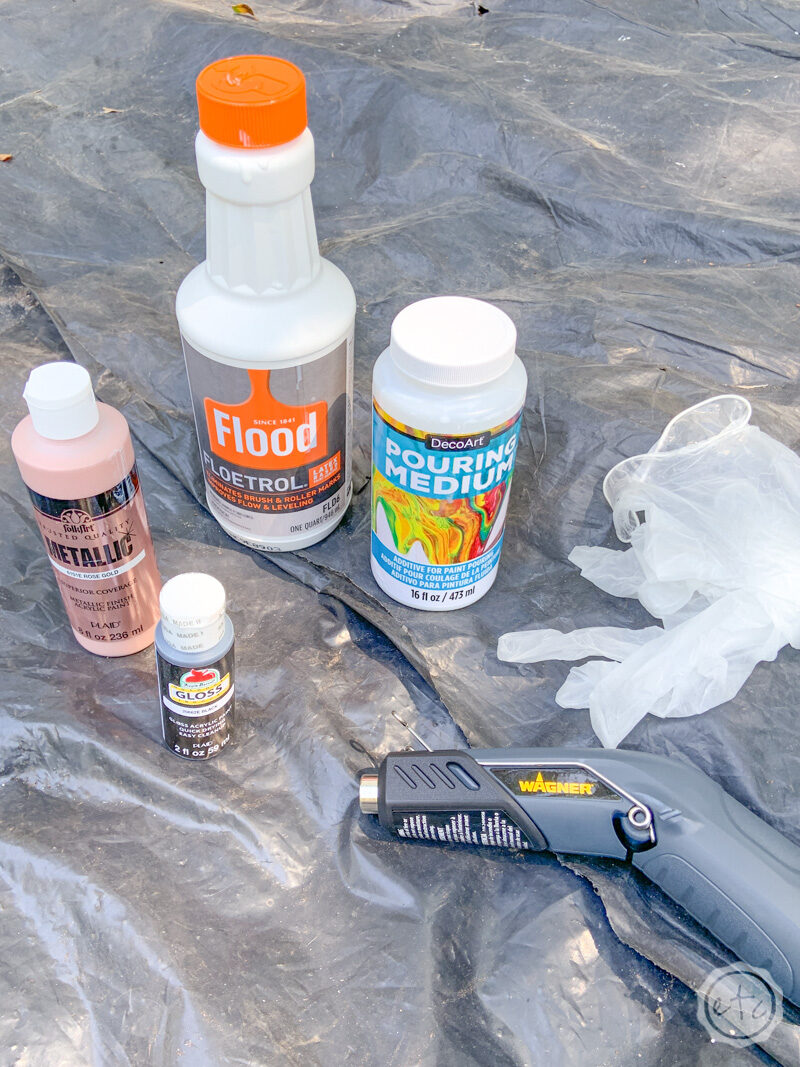
- Floetrol Additive
- Pouring Medium
- Acrylic Paint (White & 5-6 Colors)
- Plastic Cups
- Popsicle sticks
- Wagner HT400 Heat Gun
- Canvas Duck Fabric
- Cardboard
- Staples
- Gloves
- Plastic Drop Cloth
- Sawhorse/Cardboard Box/Table
- Needle and Thread
- Unscented Dental Floss
- Stuffing (Poly-Fil)
- Scissors
- Hot Glue
- Ribbon
- Felt Flowers
- White/Cream Felt for Leaves
- Sticks for Stems
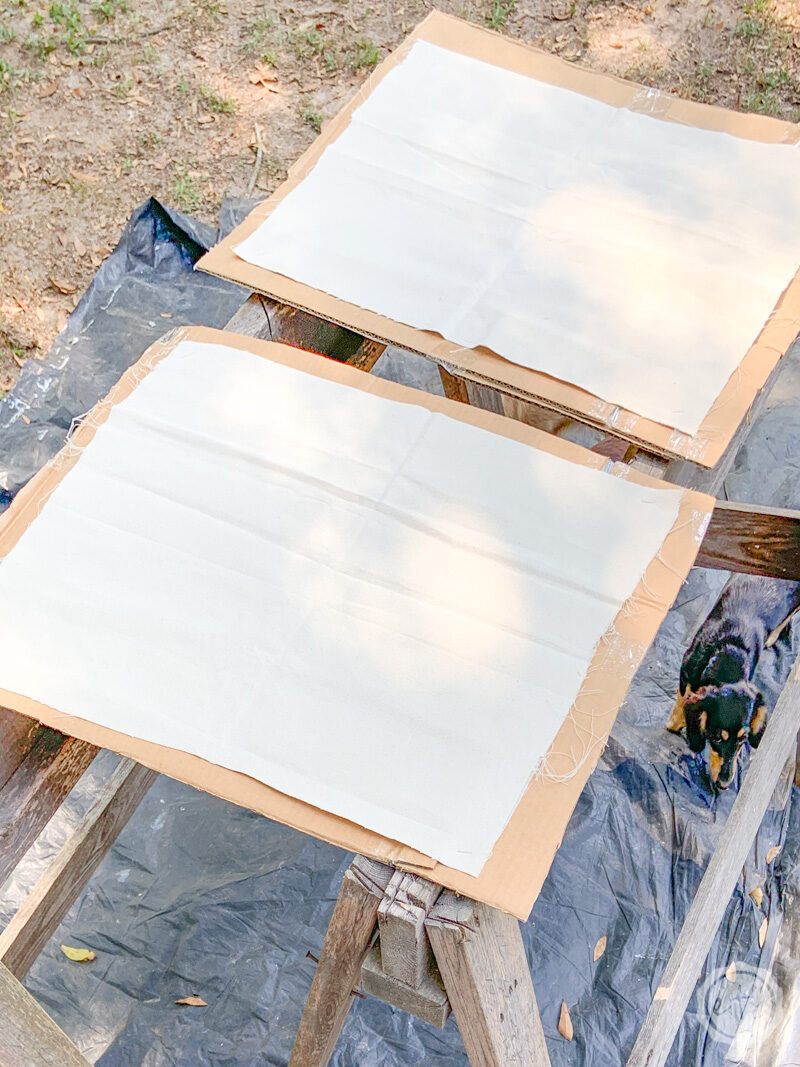
Prep Work: Before you get started make sure to set up your area! You’ll need a drop cloth to catch all the drips, drops and spills (trust me… this project gets messy!) as well as something to lay your project on.
Whether it’s a table, cardboard box or saw horses (like I used!) it doesn’t matter… just make sure whatever it is you can get it messy!
Step 1: Prep Your Canvas
Alright, y’all it’s time to get started! Since we have to make our flow art before we can make our pumpkins we have to start by whipping up a little bit of flow art. Then we’ll have to prep our paint and our canvas before we can actually pour our paint.
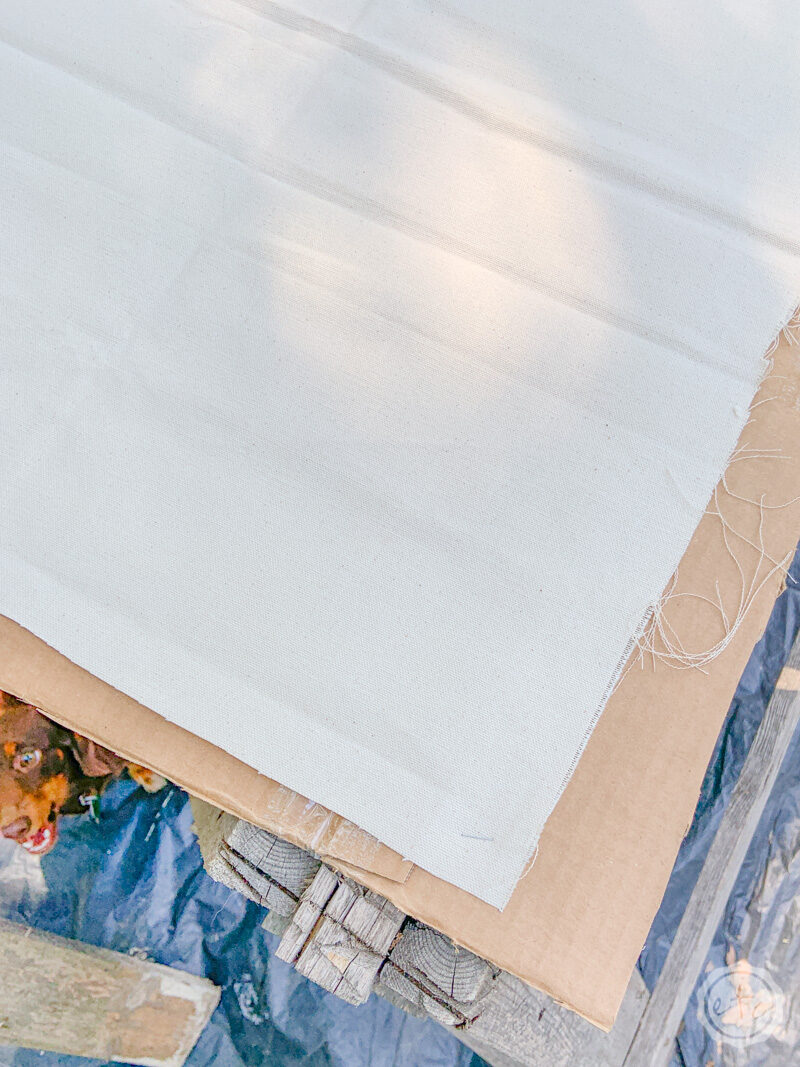
Since you’ll need fabric for this project (and not a canvas like traditional flow art) you’ll need to stretch your piece of canvas duck fabric over a sturdy piece of cardboard and secure it in place.
Canvas duck fabric is sturdy like canvas but a bit lighter… which is why I picked it. You’ll want fabric strong enough to hold the paint but flexible enough to bend and form our pumpkin. You can use a stapler to secure the canvas at each of the corners… that way the paint can roll clear off the edge of the fabric.
For this project I made two medium sized pumpkins out of my flow art fabric…. and I measured the fabric out for each of them at 18″ by 18″.
Step 2: Mix Your Paint
Now that our fabric is ready let’s mix our paint! In flow art we want our paint to be able to… flow. Get it?
I’m easily amused y’all…
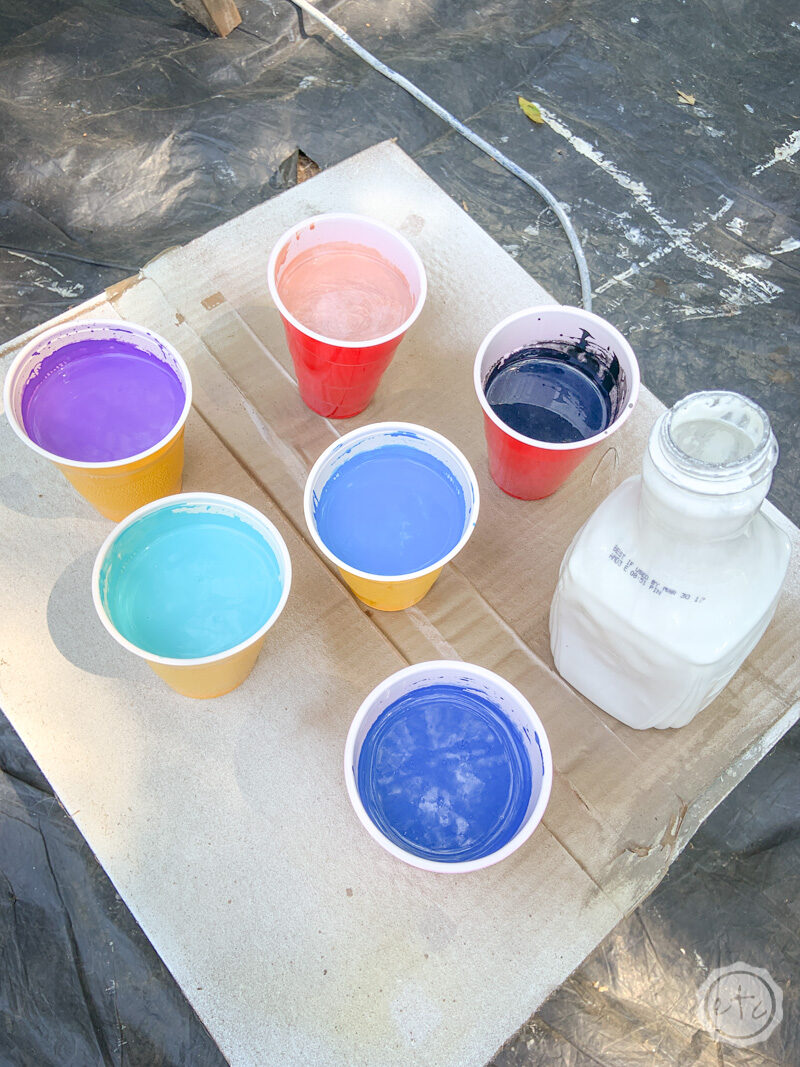
In order to do that we need to mix our paint with a little Floetrol, a little pouring medium and a little water. Once you add the water your paint will have a shelf life so make sure you don’t mix your paint until you’re ready to use it.
Go ahead and take your plastic cups and get ready to mix your colors. For each color you’ll need: 1/4 Floetrol, 1/4 Pouring Medium, 1/4 paint and 1/4 water.
Mix it alllll up in your disposable cup and you’ll be ready to go! An entire cup will do about 4-5 medium sized pumpkins.


Step 3: Cover Your Fabric with White Paint
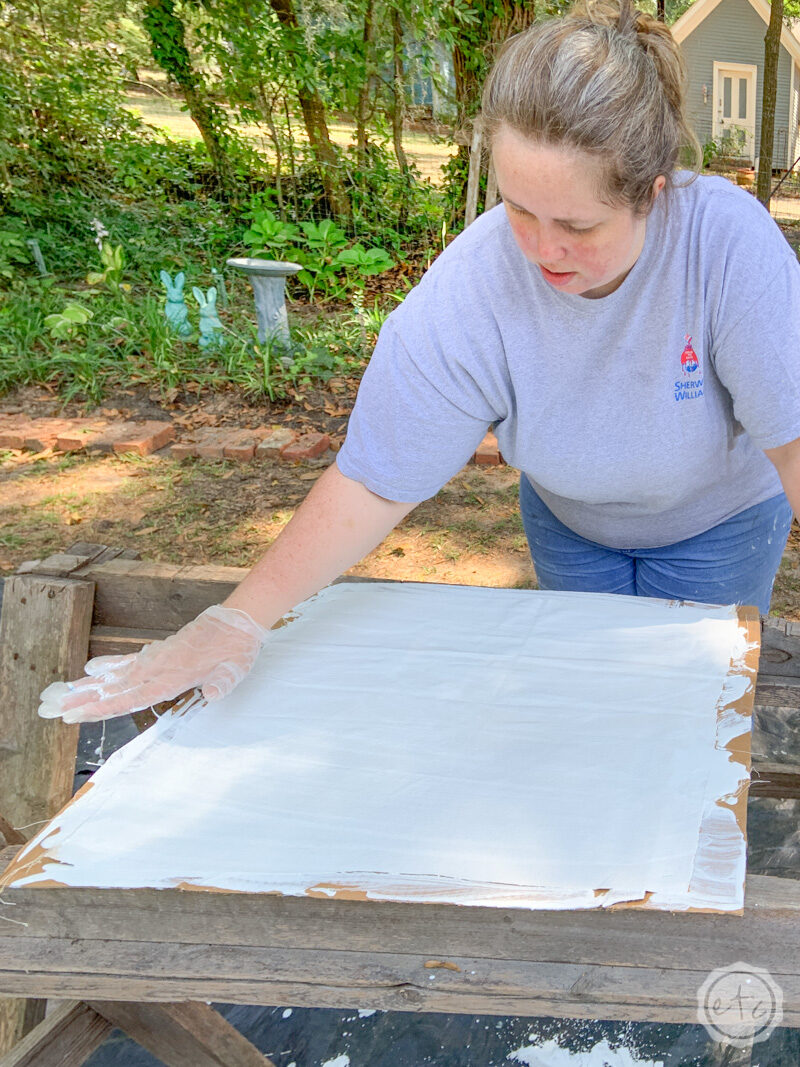
Ready for the fun? Go ahead and pour a bit of white paint onto your canvas… then spread it around. Paint flows best on other paint so we’re essentially covering our canvas so that the paint colors will flow better.
Make sure to cover every last inch of the canvas… don’t forget the corners! Tilt your fabric to roll the paint around and then spread the paint out as evenly as possible. There are paint spreaders that you can buy but for this project I simply used my hand and a disposable glove to spread the paint out.
Make sure to push the paint across the entire canvas so that it’s covered in a thin layer. We’ll be bending this fabric to form our fabric so we need to make sure the paint is as thin as possible so that it doesn’t crack.

Step 4: Pour Your Paint
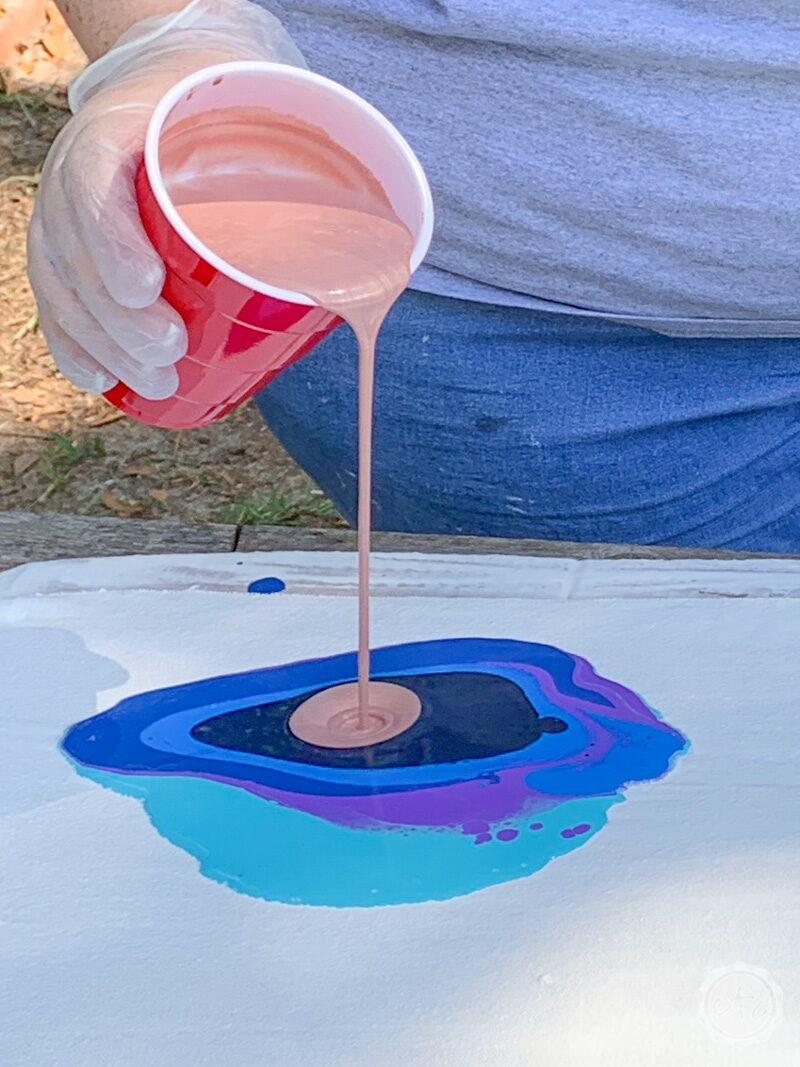
Now it’s the fun part… pouring the paint! Start in the middle of your canvas and pour your paint. Create layers of paint by pouring one color and then the next and then the next!
There are many techniques for flow art and pouring paint… for this particular technique we have two options. Option one is to pour a buuuuunnnnch of paint at once and then hope we have enough to cover our entire canvas when we tilt.
Option two (the one I used) is to pour about 10-15 layers, tilt our canvas and then pour a second ring, tilt our canvas, pour a third ring… and on until our canvas is covered.
By pouring our rings a little at a time we have a bit more control over the look of our paint at the end.

Step 4: Use Your Heat Gun to Pop all the Bubbles
This step is super important y’all… when you pour a bunch of paint allllll in a pile the paint on top is devoid of air bubbles but the air bubbles in the paint underneath get trapped.
Which isn’t great.
You need to pop those air bubbles so that the paint will flow together and mix properly… and the way to do that is with high heat!
This little Wagner HT400 heat gun has 2 heat settings, 450 and 680 which makes it perfect for projects where you need less heat (I used it to add iron-on quotes to mugs, milk jugs and baskets in this post) as well as projects like this flow art that need more heat.
Take your heat gun and set it to 680 then pass it over your paint. You’ll want to pass it over as much of the paint as possible so that it can pop all of those pesky paint bubbles underneath.


Step 5: Tilt Your Canvas
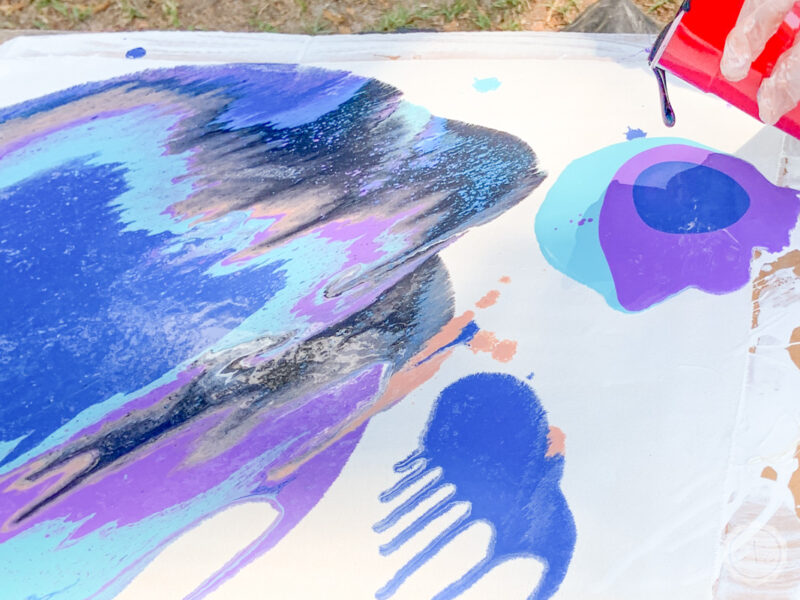
Now that all the bubbles are gone you can tilt your canvas! You want to cover as much of your canvas as possible… tilt it this way and that way until your paint is thin across the fabric.
At the end of the day you want your paint to go clear off the canvas so tilt your paint towards the edge as well as the middle of the fabric.
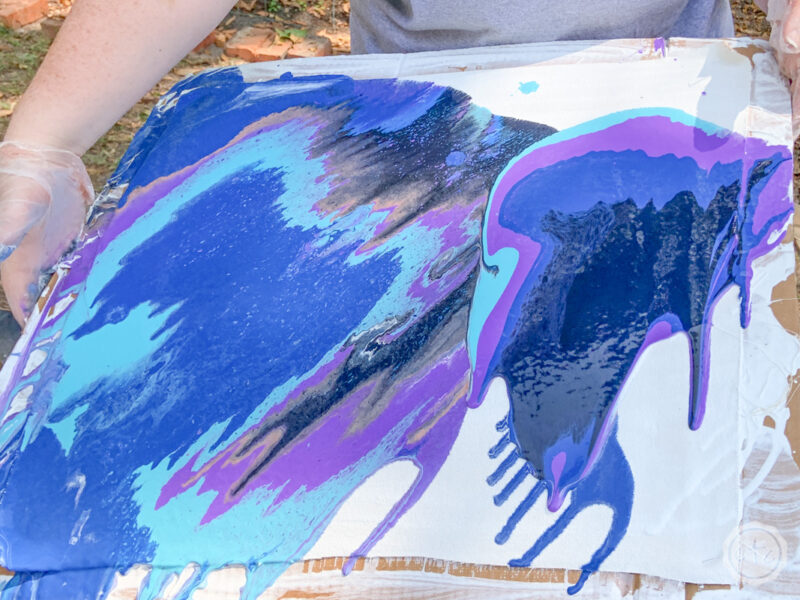
Step 6: Repeat!
Alright y’all… now we just have to repeat the process! If you still have blank space on your fabric then pour more paint, heat it with your heat gun to pop the bubbles and then tilt!
If you’re having trouble tilting paint off the actual corners you can pour a little paint directly onto the corners… or use your fingers to spread the paint a bit on the edges. The paint will level out as it dries so use small motions but feel free to finger paint a little.


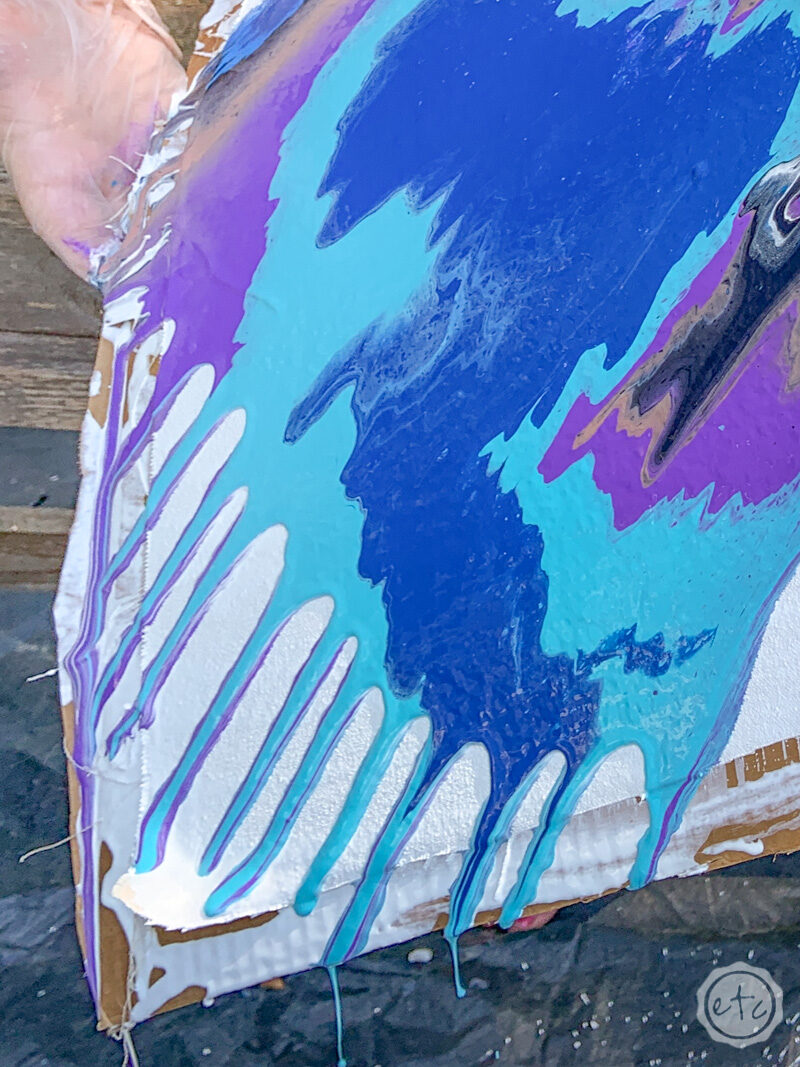
Make sure to cover each corner of the fabric and tilt as much paint as possible off the edges… you want the paint to be thin so it won’t crack when you bend it. (I’ve said that a few times right? It’s important!)
Of course, the best part about flow art is that if you don’t love a section you can easily add more paint and change the composition entirely. Just make sure to hit the new areas with your heat gun as you add new paint!
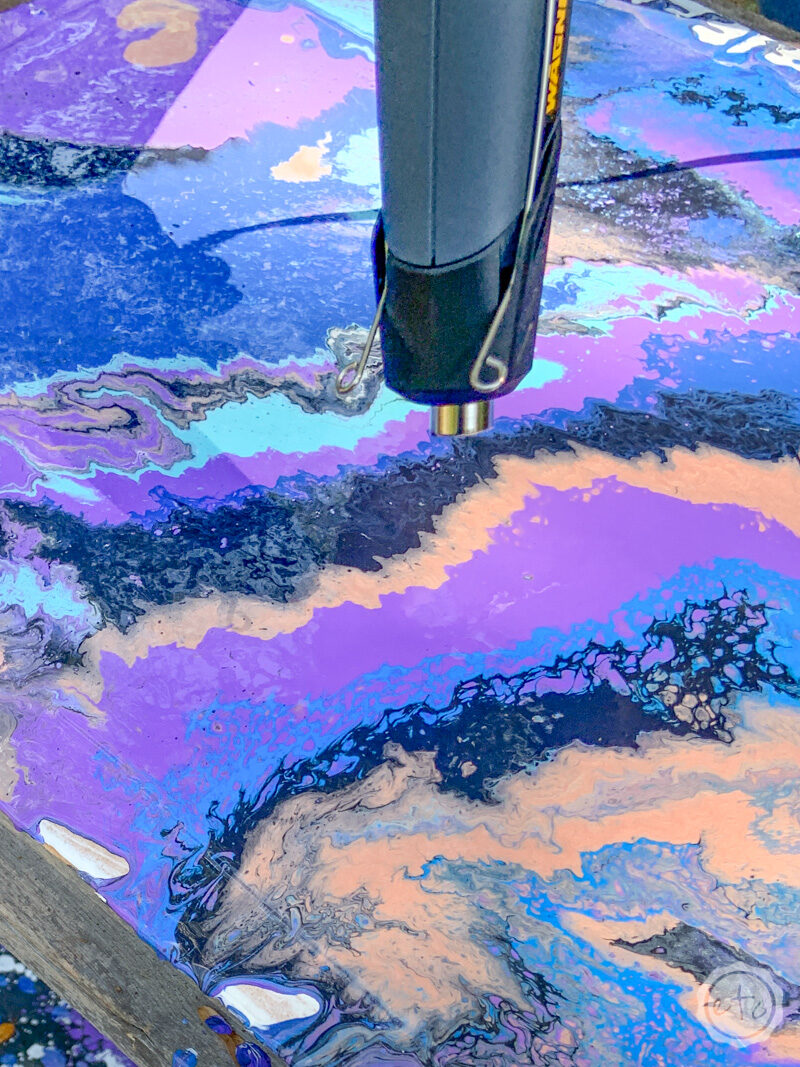

The entire process took about an hour (for both pieces of fabric!) although quite a bit of that was mixing paint… and clean up.
Seriously y’all this flow art makes quite a mess!
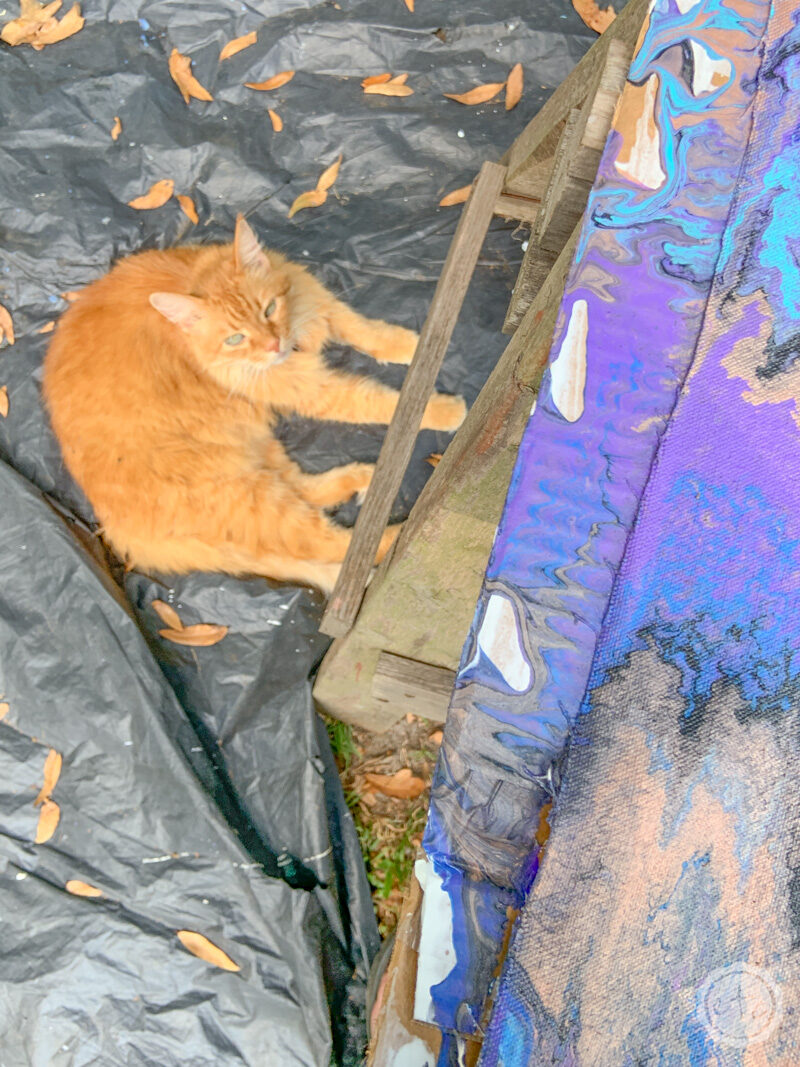
But it’s so worth it… ready for a peek at the fabric? Here it is right after I finished pouring the paint. You can see all of the cells that the pouring medium made as well as the lines from tilting the canvas.
I am in LOVE!
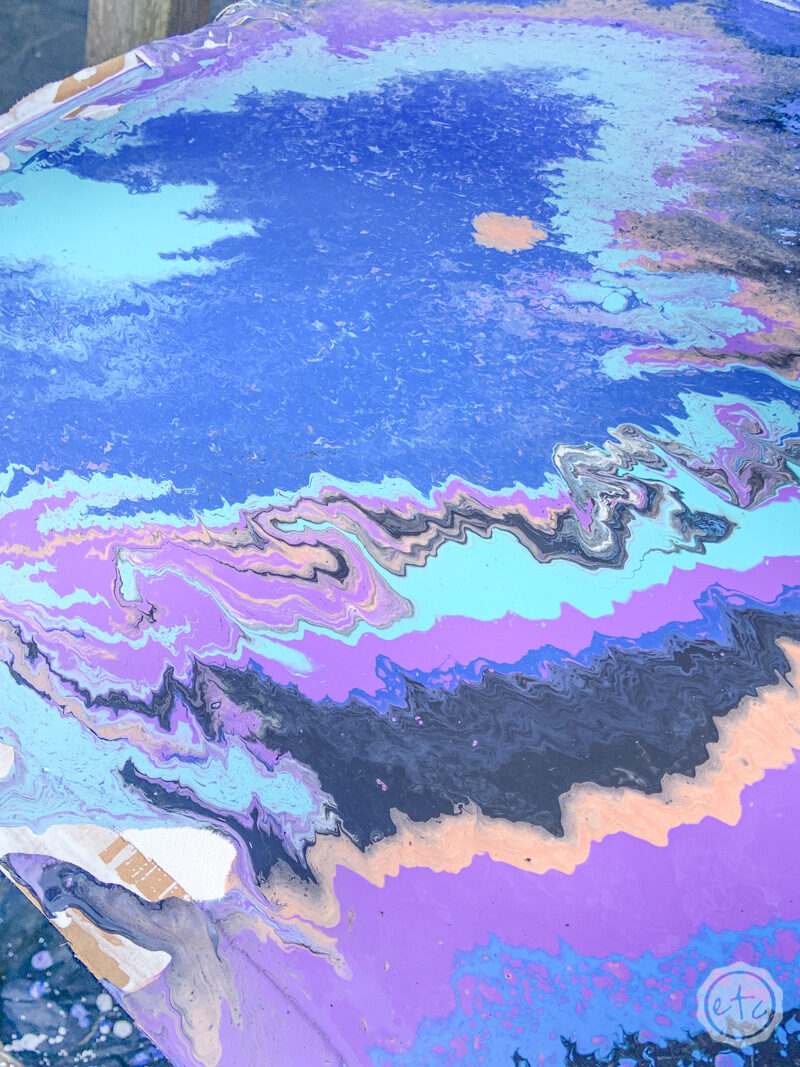

Step 7: Let the Paint Dry
Once you have the paint on your fabric how you like it you’re all set! You’ll need a clean dry FLAT area to set your fabric in so that it can completely dry.
If you didn’t get the memo flat is a particularly important part of the drying process… you want your paint to dry how it currently is and not pool in any one area.
There is a bunch. of. paint. on that canvas at this point so the drying process is usually a few days. You can check it over the course of 2-3 days but don’t be surprised if it takes the full 3 days to completely dry.
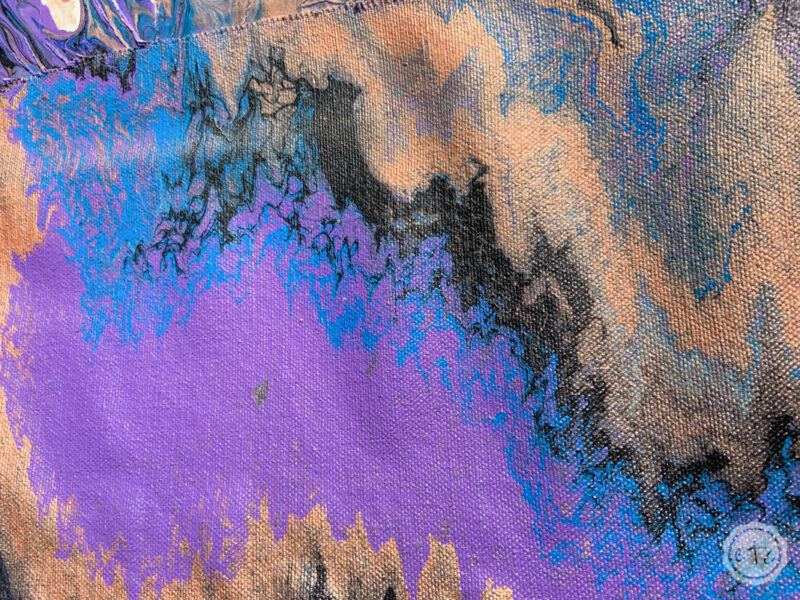
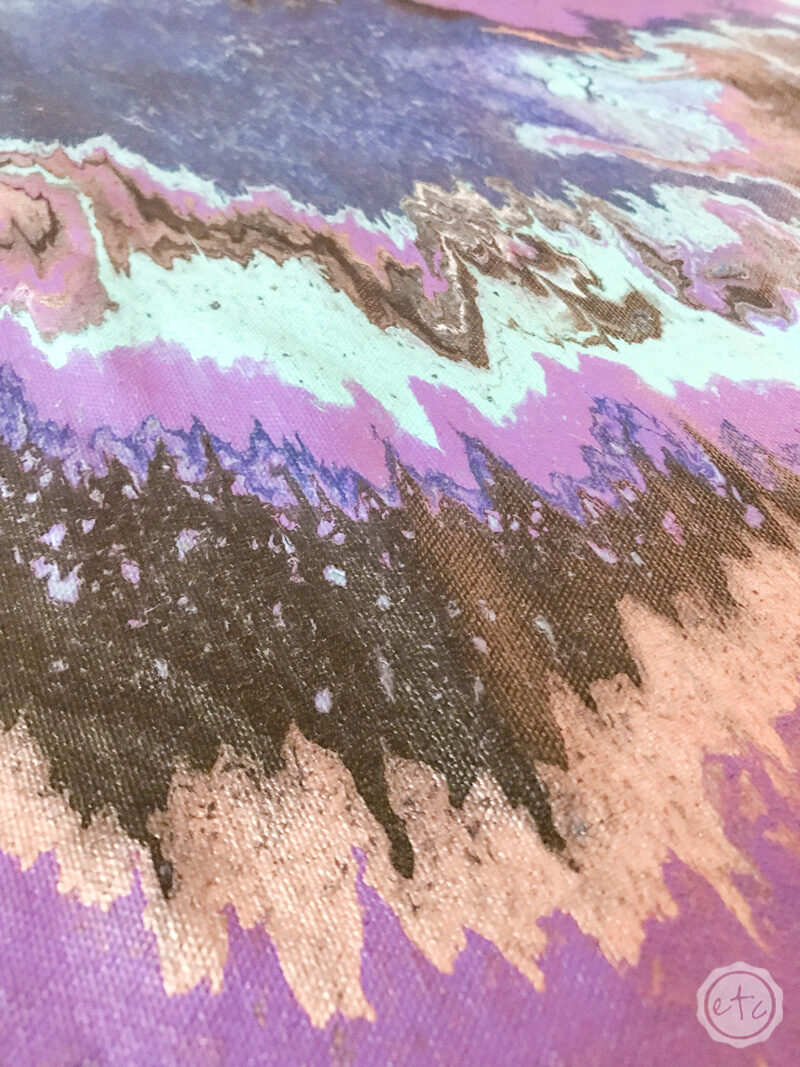
Ready to take a peek at what paint and a heat gun can make?
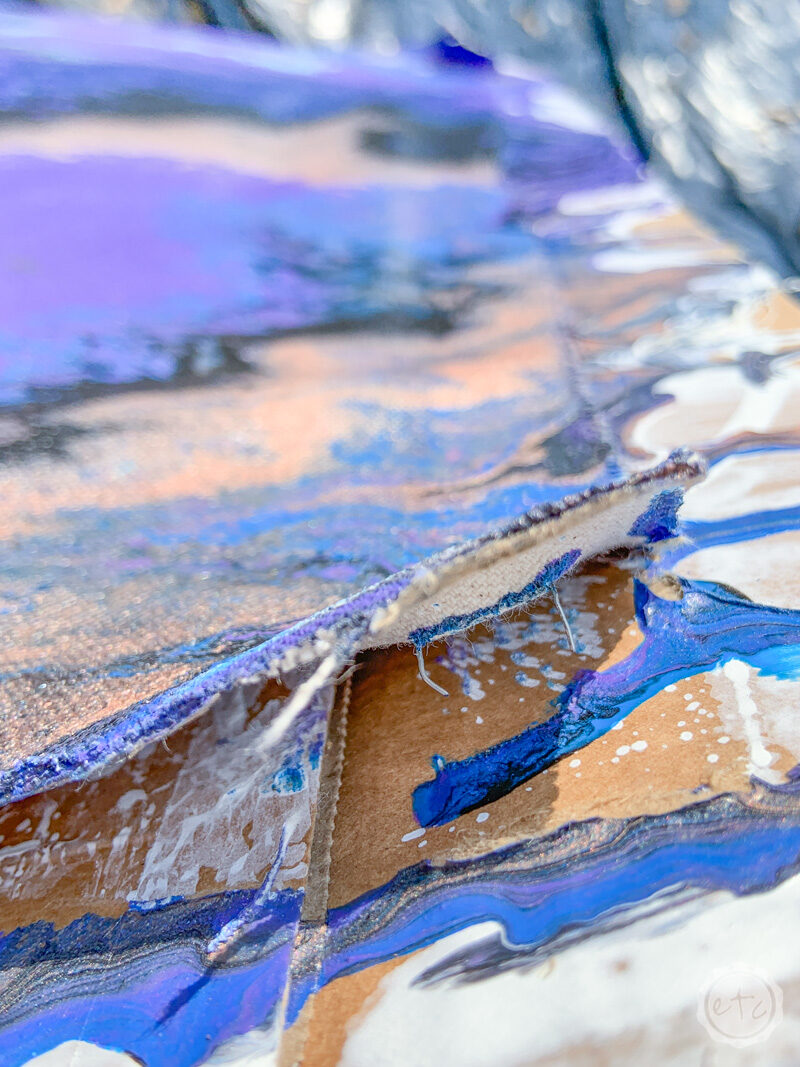
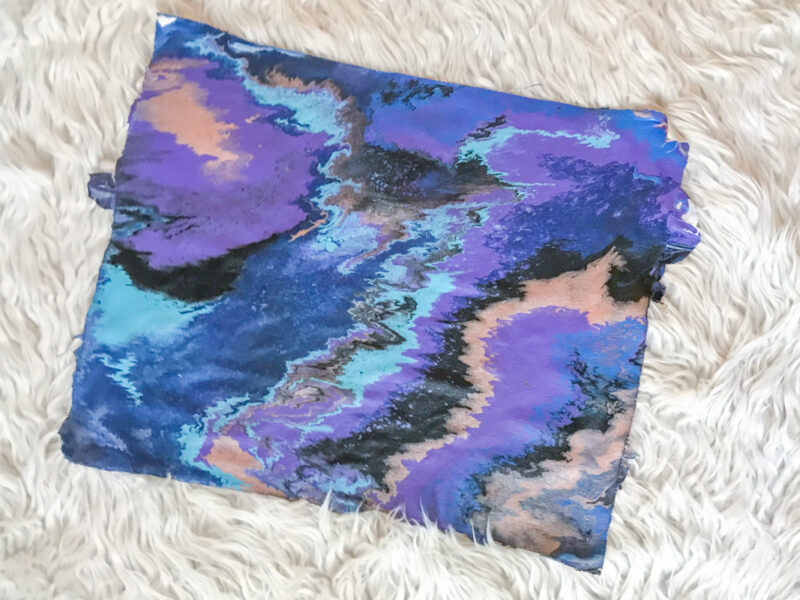
Here are a few shots of the fabric once it was completely dry.

Step 8: Remove Your Fabric from the Cardboard
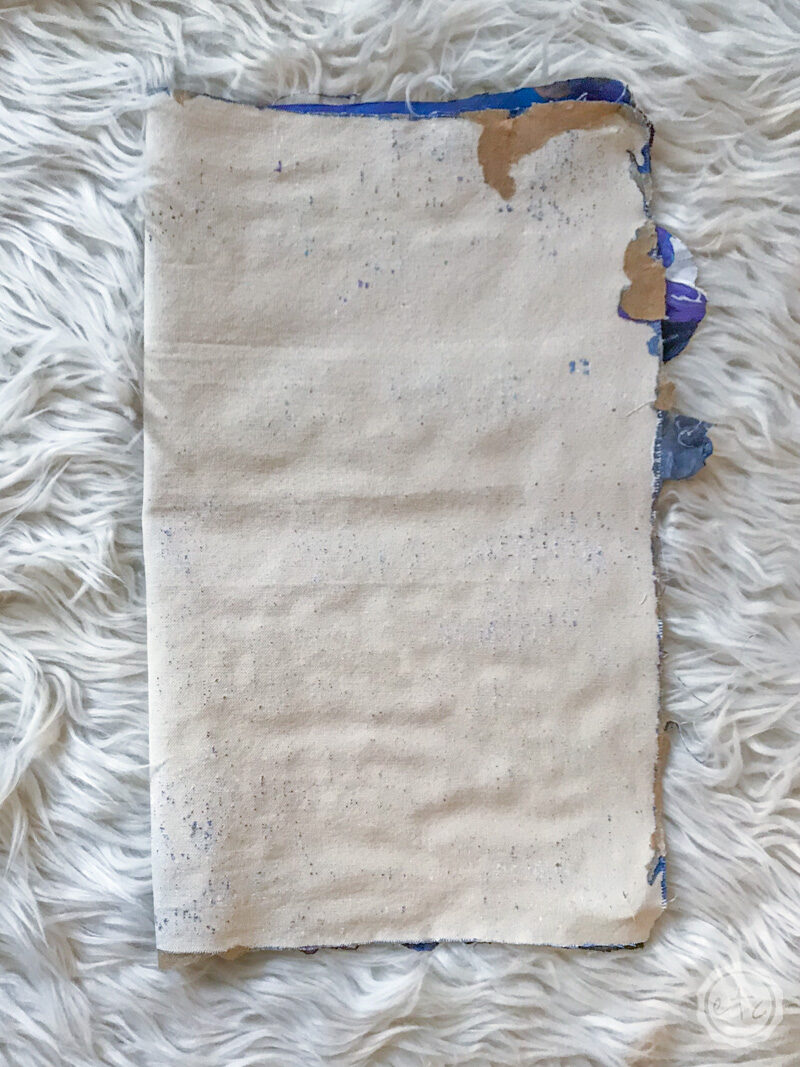
This is the best step! Now that the fabric is dry you can go ahead and remove the staples. You don’t want the staples in your finished pumpkin so make sure to completely remove them from the cardboard and the fabric.
The next step is to peeeeeel the fabric off of the cardboard. The dried paint will be holding it onto the cardboard so if you need to cut certain spots free that is fine… we’ll cut all the excess paint/mess off in a minute anyways so feel free to cut the fabric off the cardboard if that is easier.
Step 9: Cut Your Fabric into a Circle
Ready to trim your fabric down? My fabric pieces were a little more rectangular so I needed to cut them down to about 18″ by 18″. I started by folding the fabric in half and then folded it again into fourths.
Once it’s in fourths you can trim off the messy dried paint from the ends (and make the fabric square if need be).

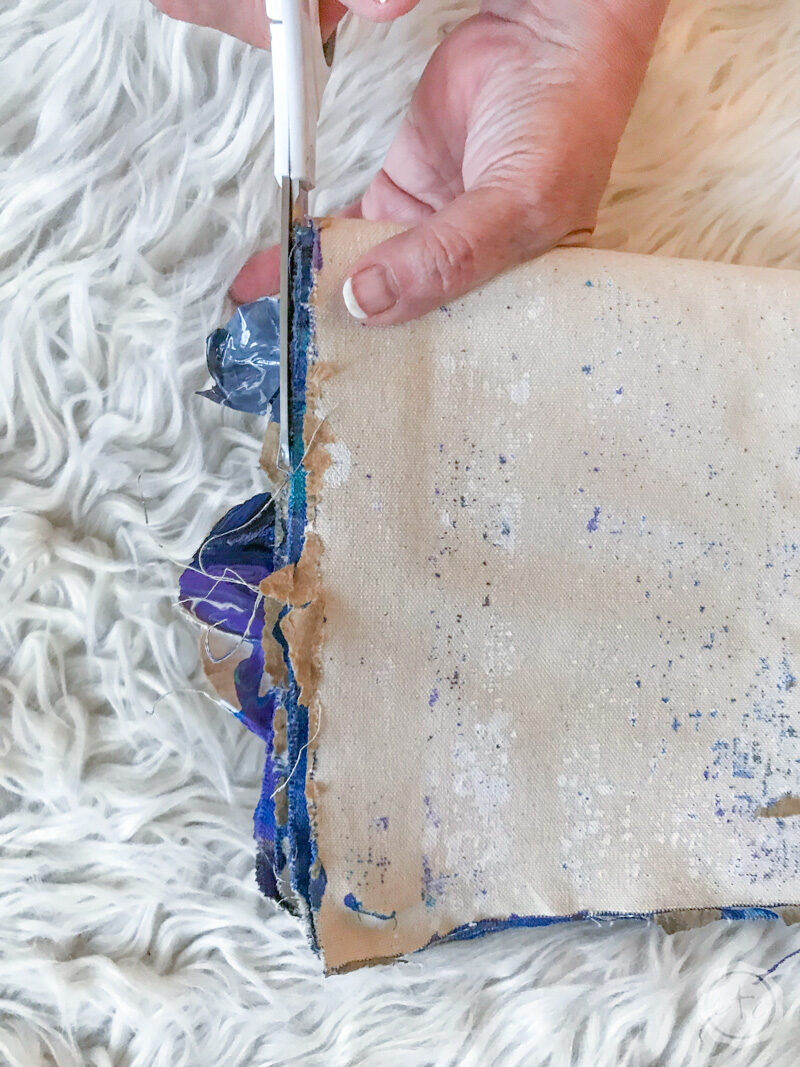
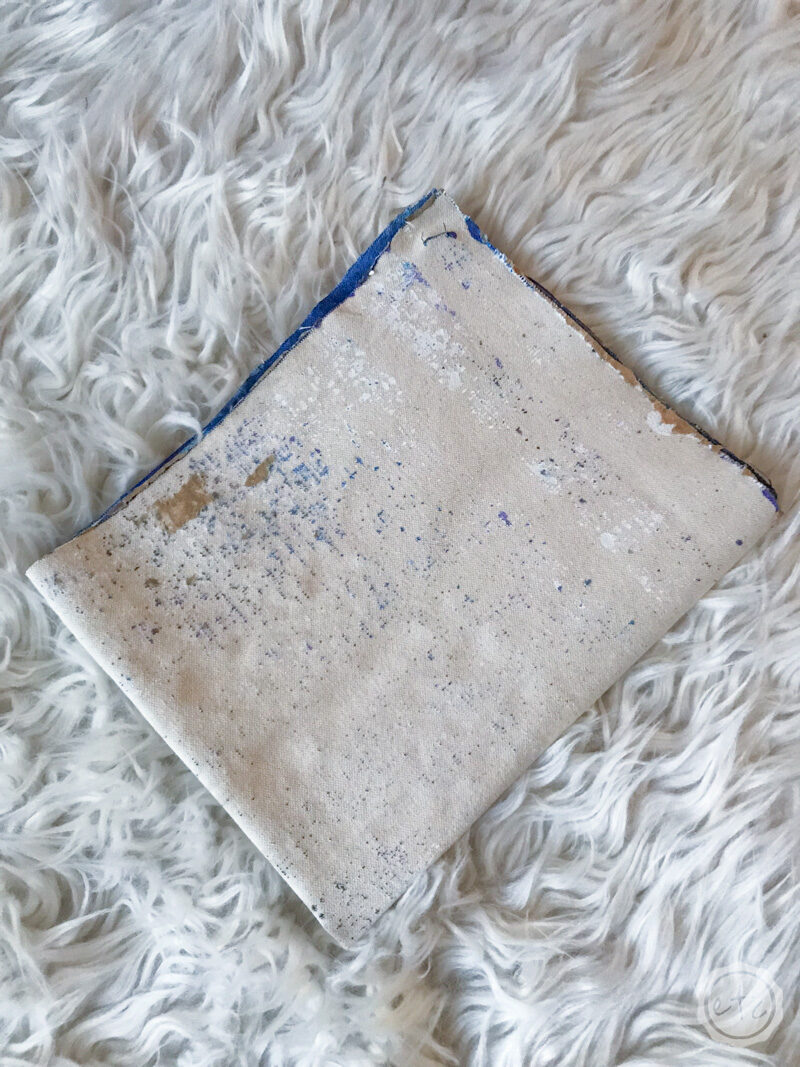
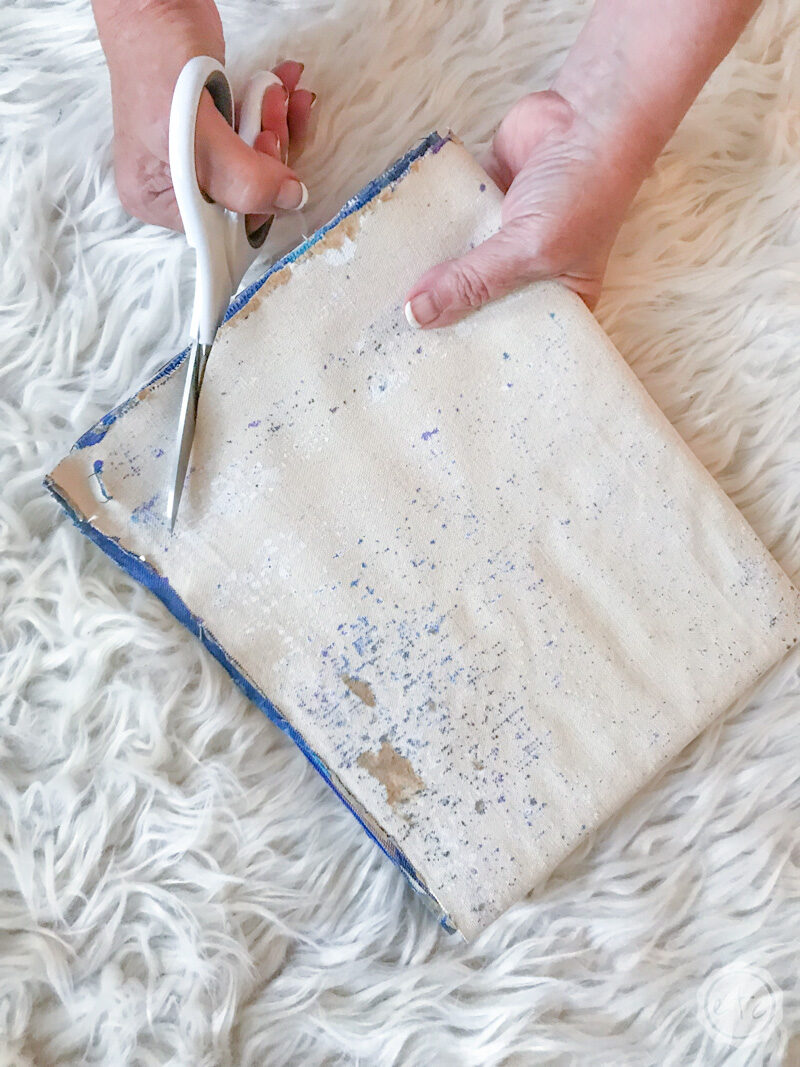
Once your fabric is a square… we can make it a circle! Go ahead and cut off that top corner so that when you unfold your fabric you’ll have a circular shape!
Score!
Of course, you could just cut a circle in your unfolded piece of fabric but it is quite a bit easier to fold it and then cut off the corner.


Step 10: Sew Your Pumpkin
Let’s sew this baby up!!! Start at one side (any side, pick a side, any side you like!) and make sure that you double, triple knot your dental floss so that when you pull the thread at the end the knot will hold.
Then simply sew allllll the way around your fabric. You want to sew about a centimeter away from the edge of your fabric with small stitches. Keep in mind that this fabric is super thick so you may want a thimble to protect your fingers!

BONUS TIP: This canvas fabric is quite thick… you add a layer of paint to the top and you’re looking at quite the piece of fabric. Which means you need a very sturdy piece of thread (so your piece of thread doesn’t break when pulling it through your thick piece of fabric).
Which is why instead of thread we’re going to use unscented dental floss. This is a tip my mama taught me… floss is super strong (it’s literally made not to break!) so it holds up to the toughest of fabrics. Just make sure it’s unscented so that you don’t have mint smelling pumpkins when you’re done.
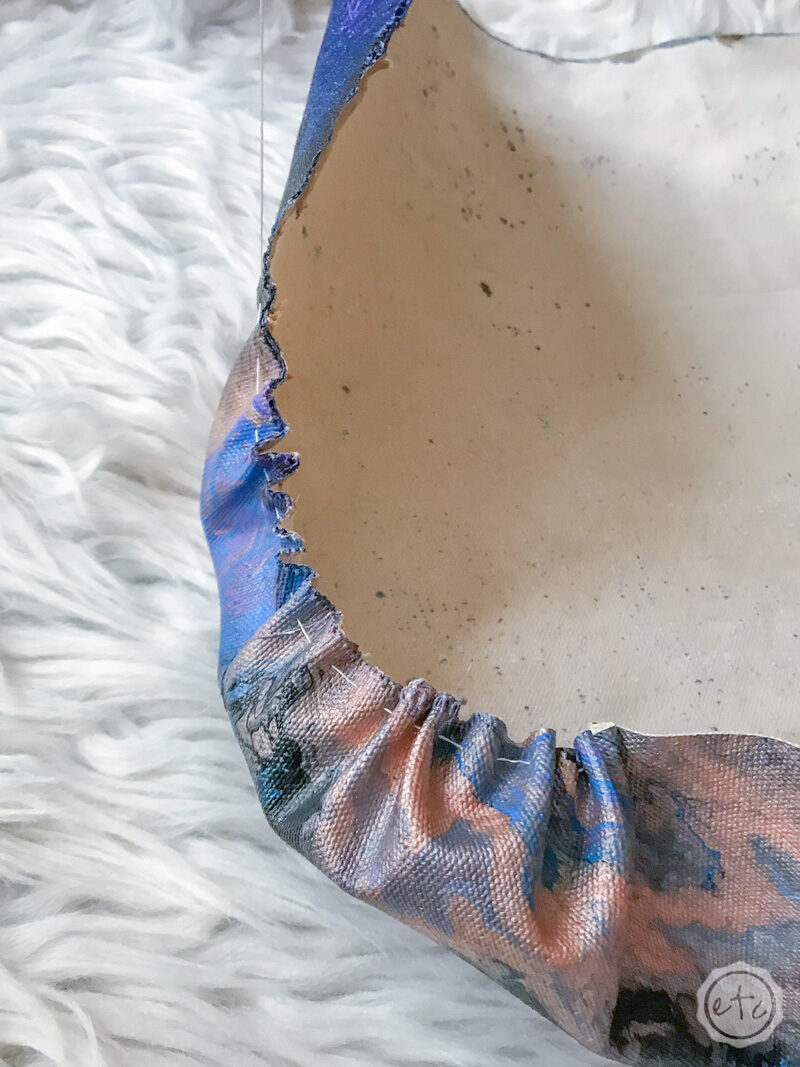
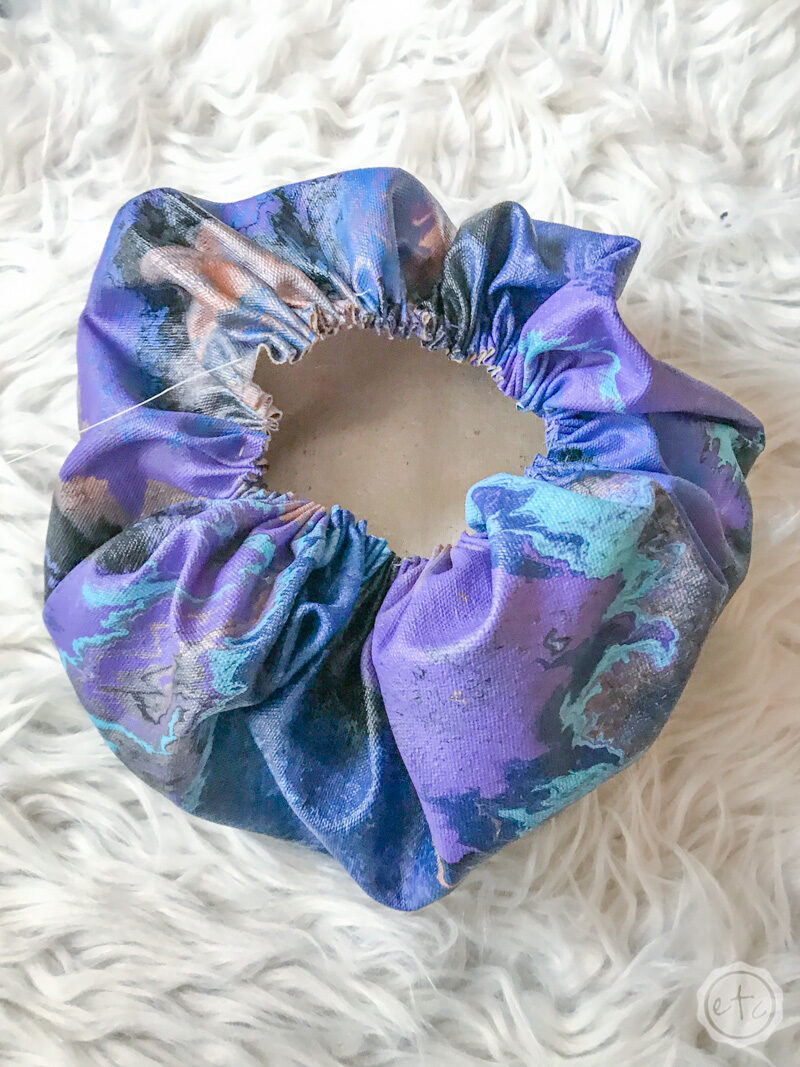
As you go around make sure to pull your dental floss and gather your fabric. Since this fabric is so thick you’ll have a hard time gathering the fabric at the end if you don’t gather as you go.
You want to leave a opening on top big enough so that you can stuff your pumpkin! So once you’ve sewn all the way around your fabric and you have a little pouch with an opening on top (I swear it looks like the shower cap my Mama wears) you’re ready for stuffing.
Go ahead and stuff your pumpkin! You want to fill the entire space with stuffing… make sure to push the stuffing allllllll the way out to the edges. Fill that baby up y’all, you want to make sure your pumpkin is pretty full.
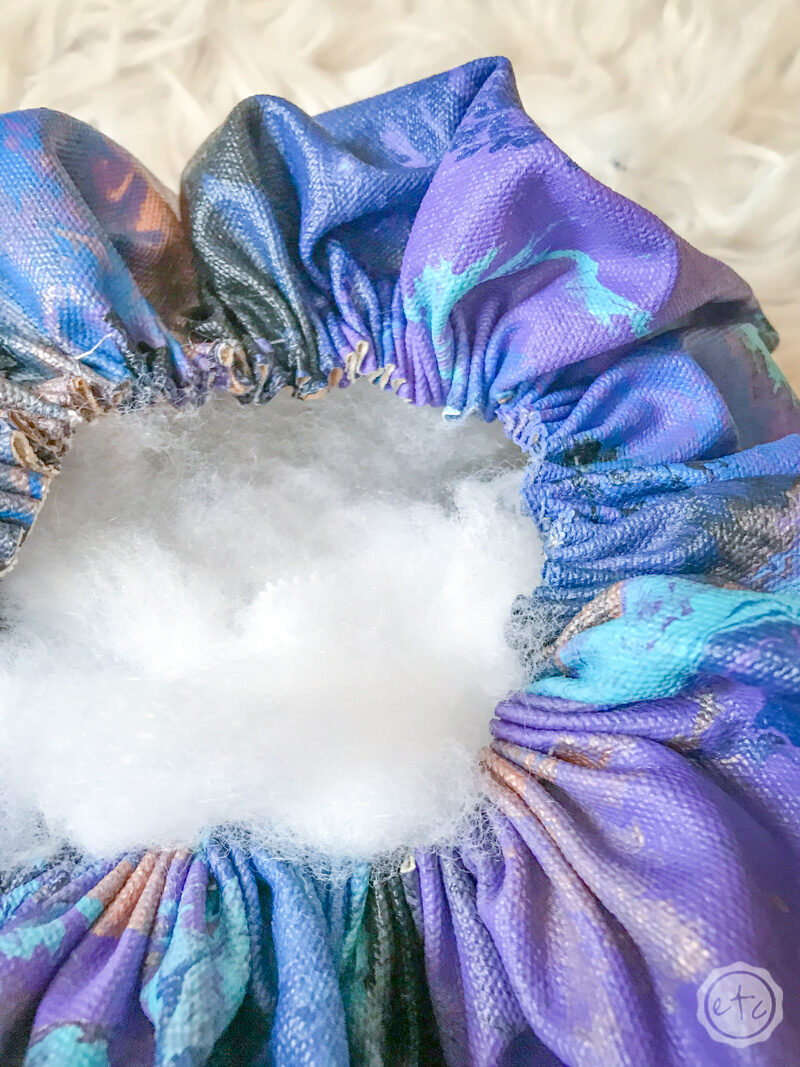
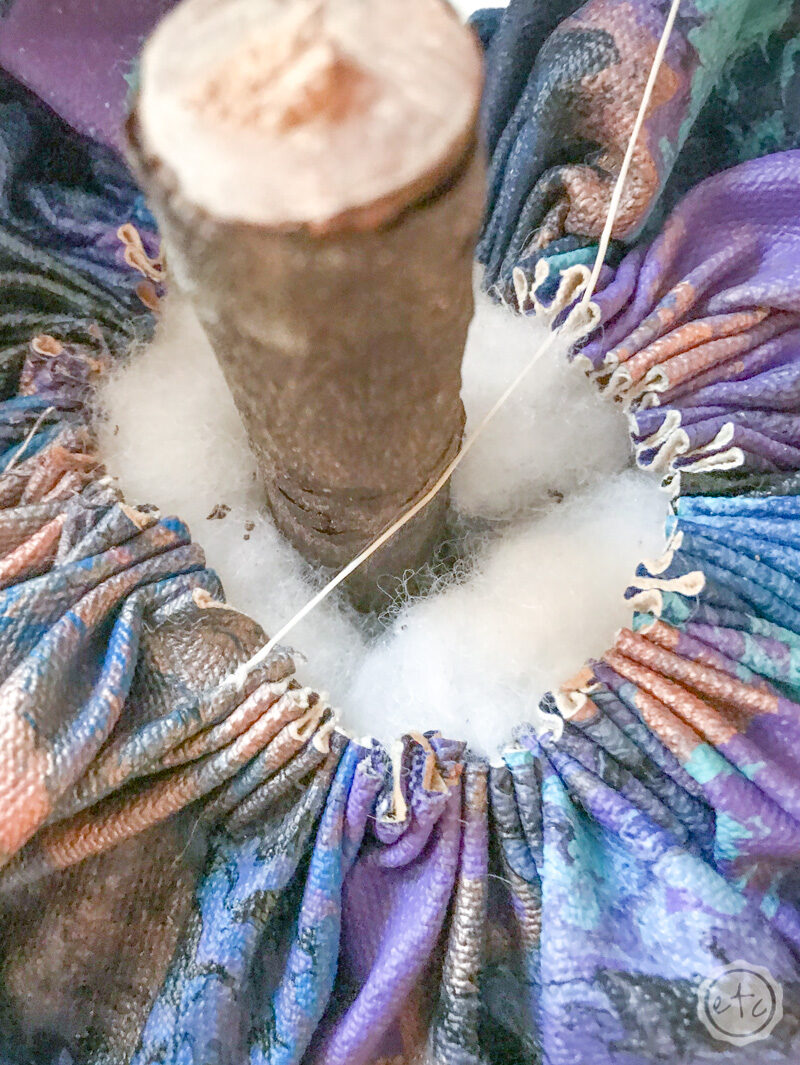
Step 11: Add your Stem!
Okay guys now that your pumpkin is full go ahead and insert your stem… just place it directly in the middle of your pumpkin. Once the stem is in place puuuuulllllllll your dental floss.
With thinner fabric this is more than enough to close the pumpkin… you can simply knot your fabric and call it good. However this fabric is so thick that even when you pull your fabric tight there’s still a bit of an open circle on the top of your pumpkin.
So pull your floss tight and tie it off (so that the gathering doesn’t fall out). Now we’re going to pull the fabric shut. It’s quite easy simply take your needle and go through the fabric directly across the circle from your thread.
Pull tight and tie your knot (make sure you’re tying these knots on the inside of the fabric so they’re not visible at the end). Now do the same thing on the left and right!
Go through the opposite side, pull tight, knot. Repeat.
Just keep repeating this process until your pumpkin is closed.
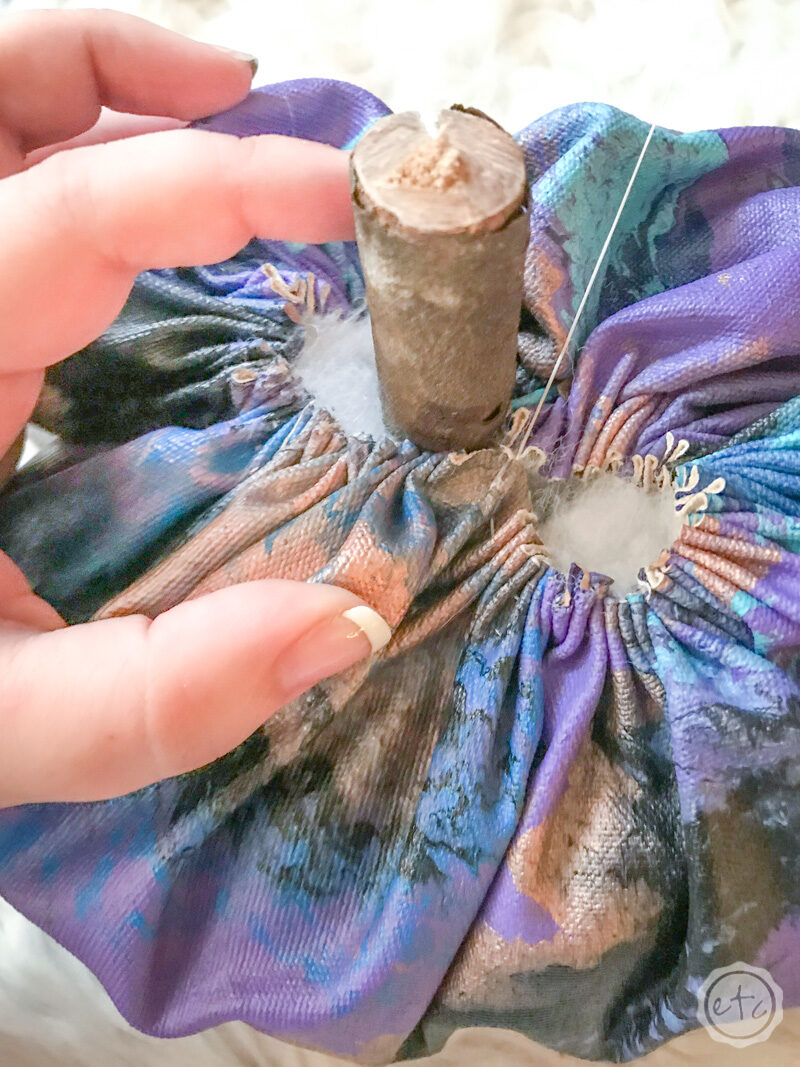
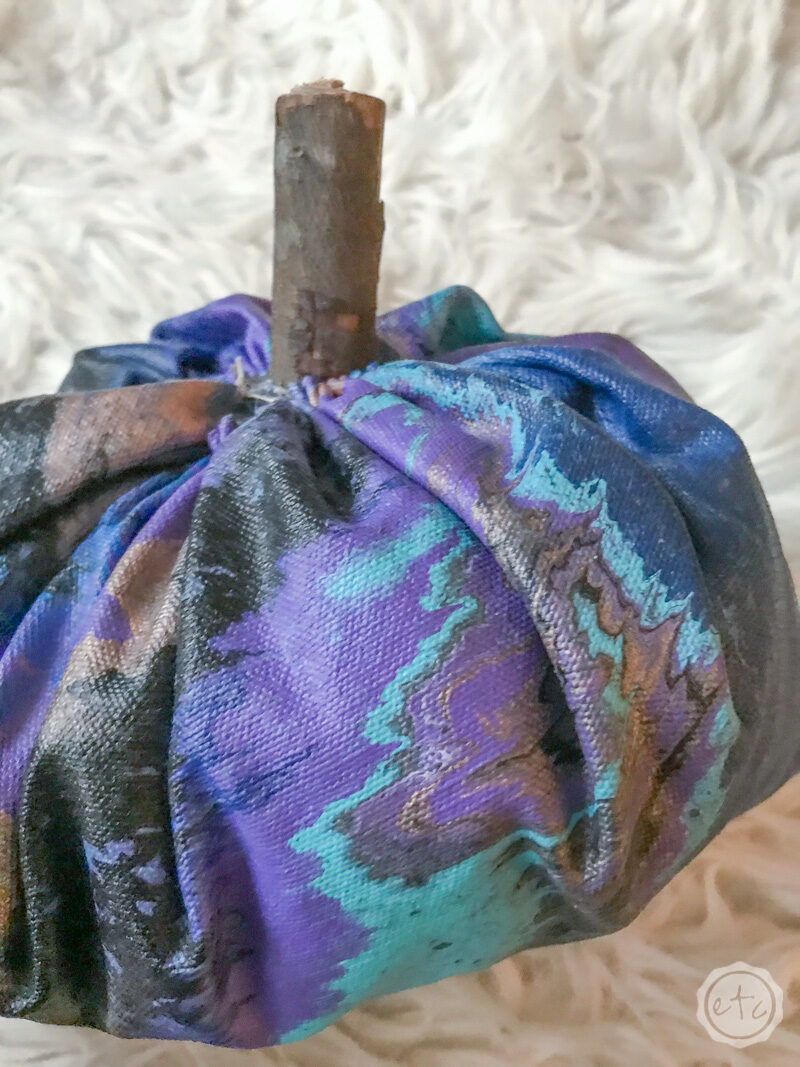
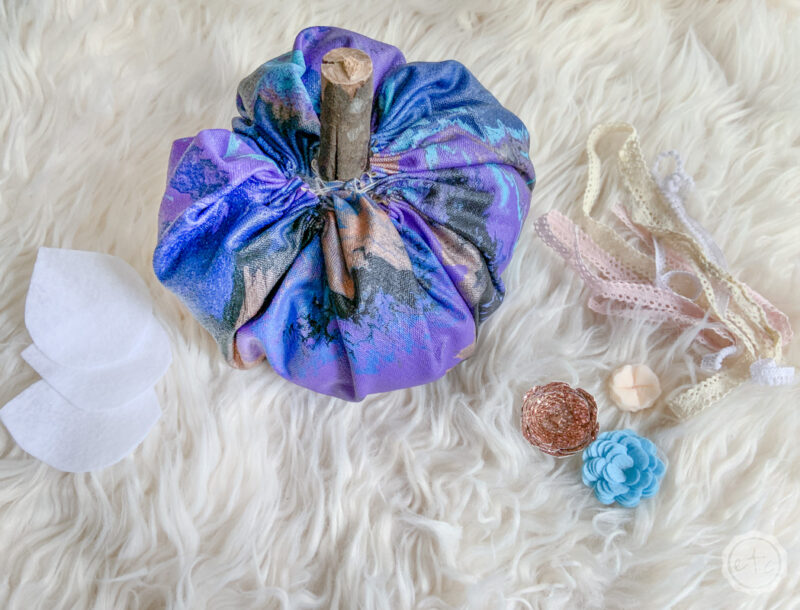
Step 12: Embellish!!!
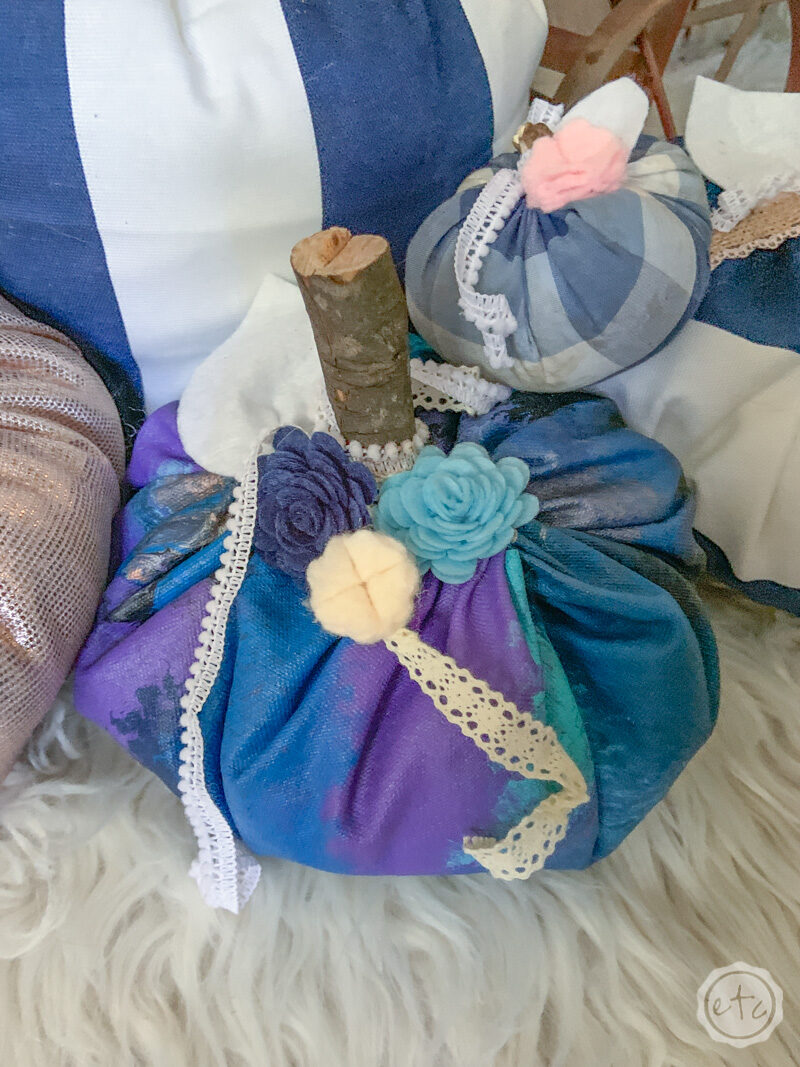
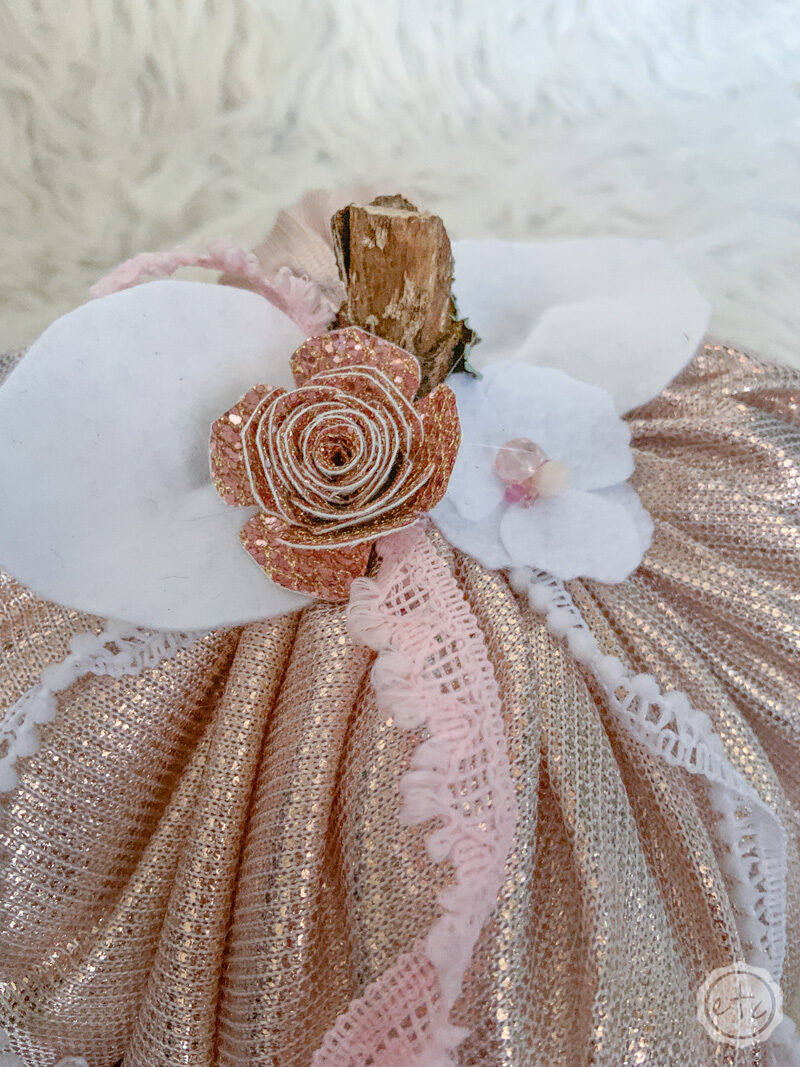
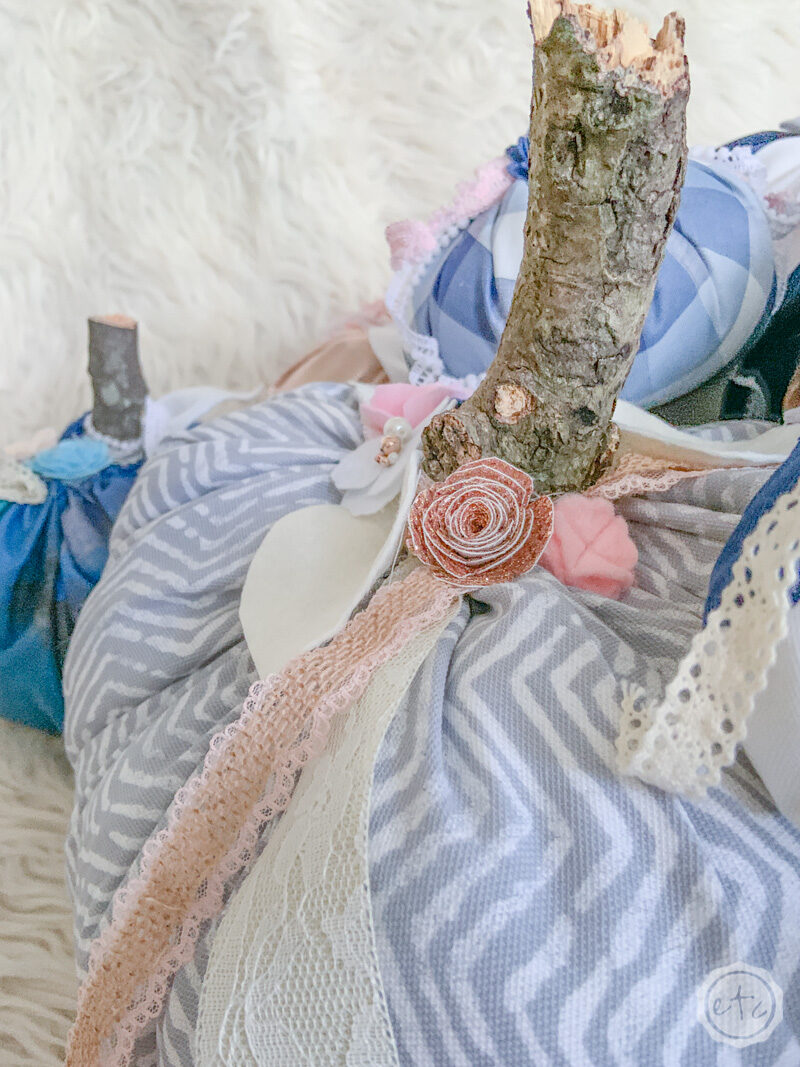
This is my favorite part! You could leave your pumpkin at this point but let’s be honest… everything is better with a little bling. So I added a few felt leaves, felt flowers and fun ribbons!
I made a bunch of felt flowers a few months ago so I was set but if you need a little help you can follow the entire felt flower tutorial here.
But before we get to flowers we have to start with the ribbons! Tie these onto your stem tightly and then push them all the way down. I didn’t want them to cover my stem too much (and I wanted them to cover the gathering on the pumpkin).
Go ahead and tie both of them on but make sure they frame the pumpkin nicely… which means before you start pick your favorite part of your fabric for the front.
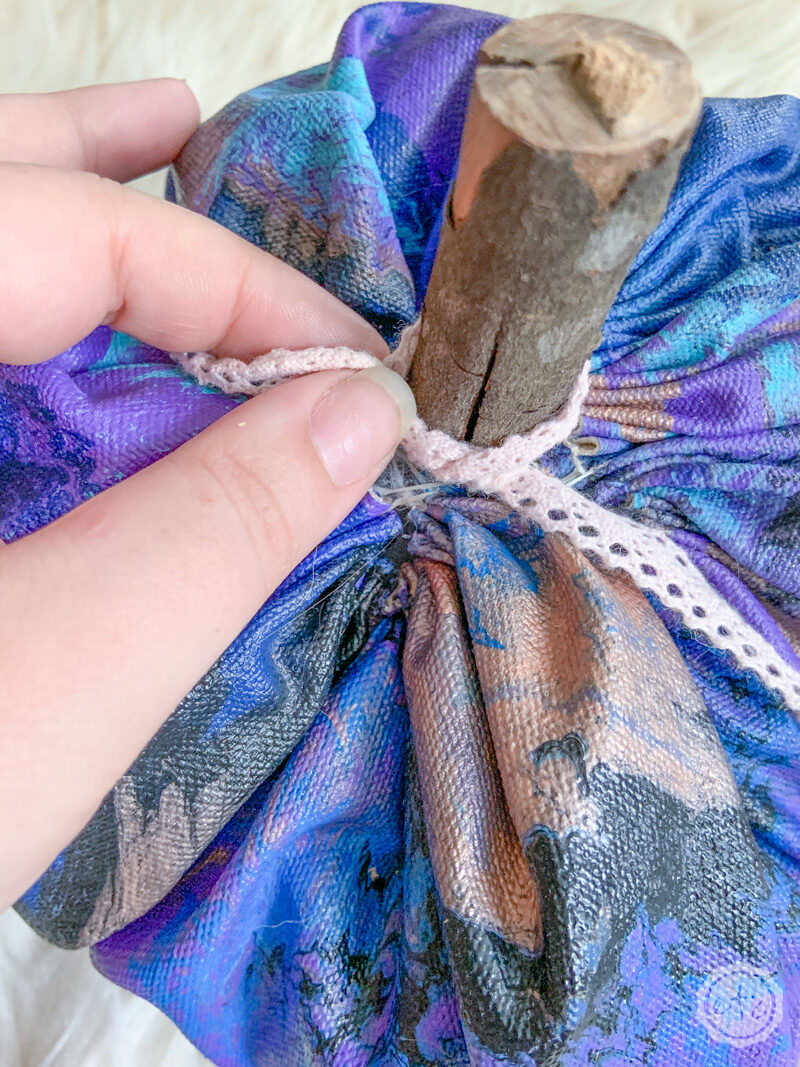
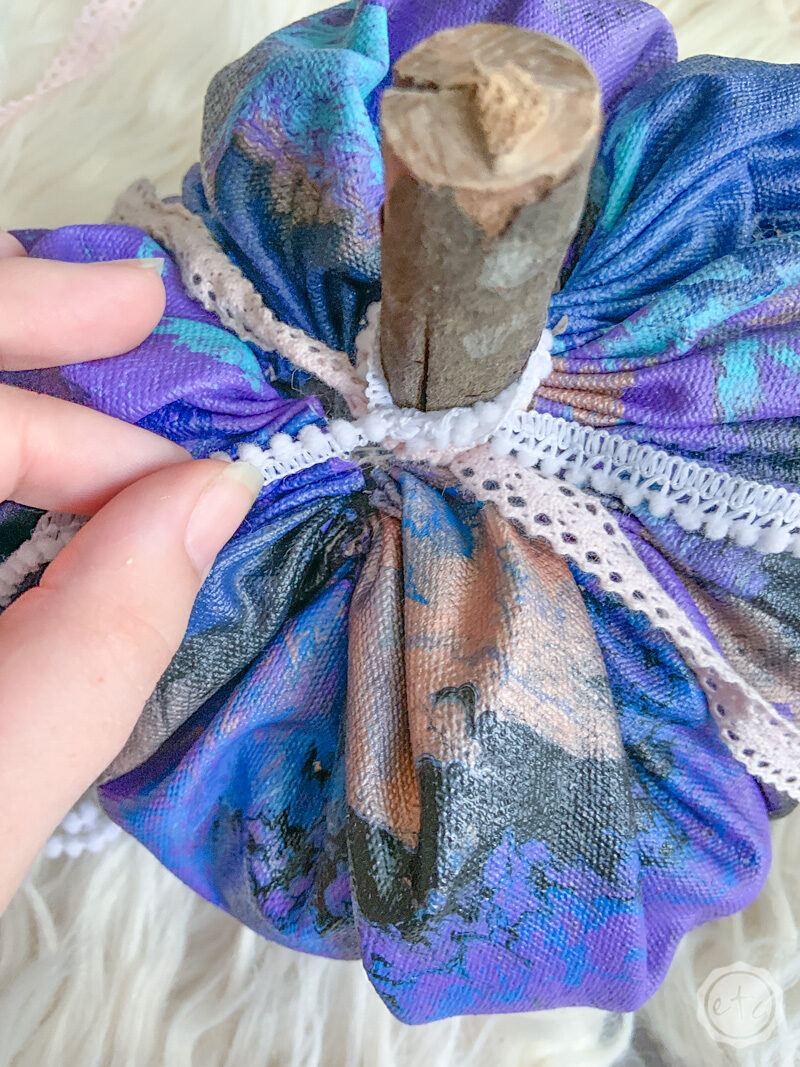
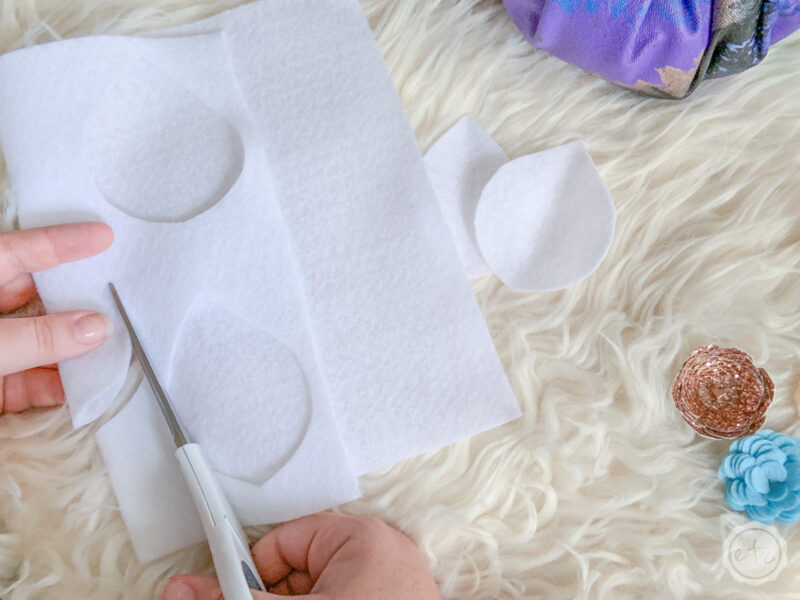
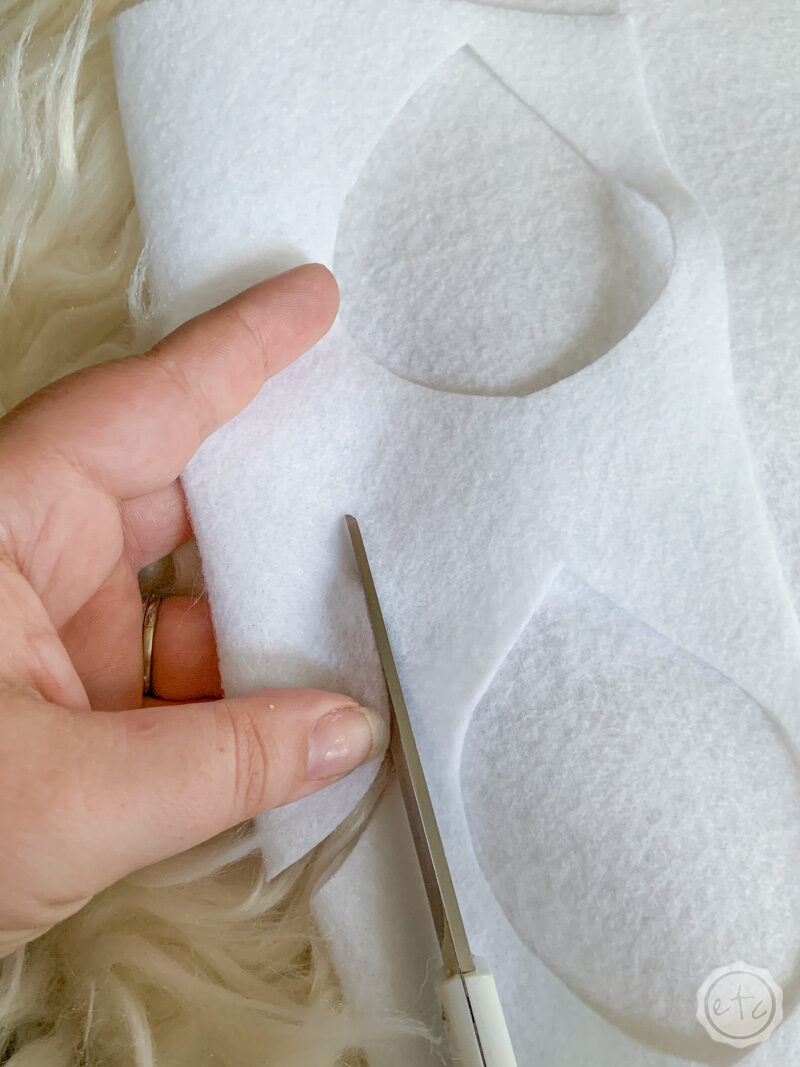
Now we can add our leaves! I simply cut these out of a bit of white felt with a pair of scissors. I used the old trick of folding my felt in half so I only have to cut out one side… and then cut a simple leaf shape.
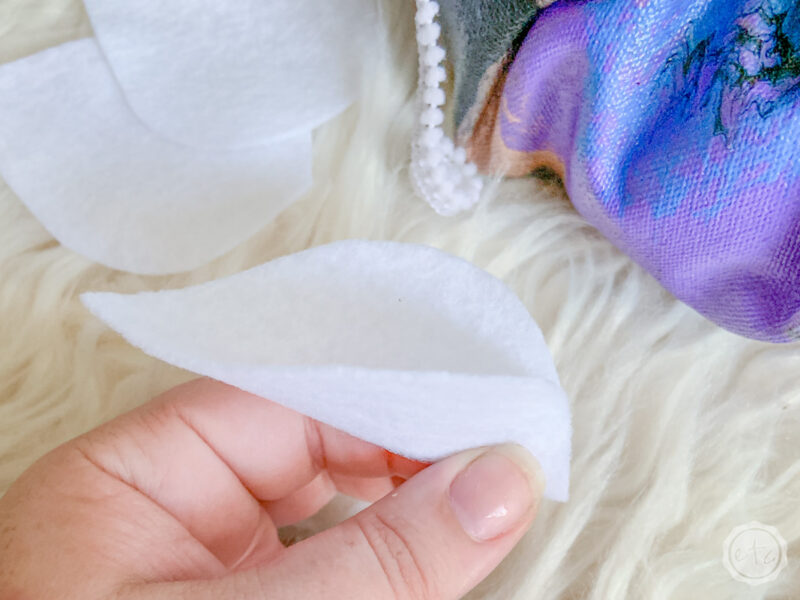
Once these guys are cut you can add a dab of hot glue to the base and then fold them in half to give these leaves a bit of dimension. Then add a bit of hot glue to the back and add it to your pumpkin!
Make sure when you start to hot glue onto your pumpkin that you’re aware of what part of your fabric you want to cover (the gathering) and what part you want to show (the prettiest parts of your flow art).
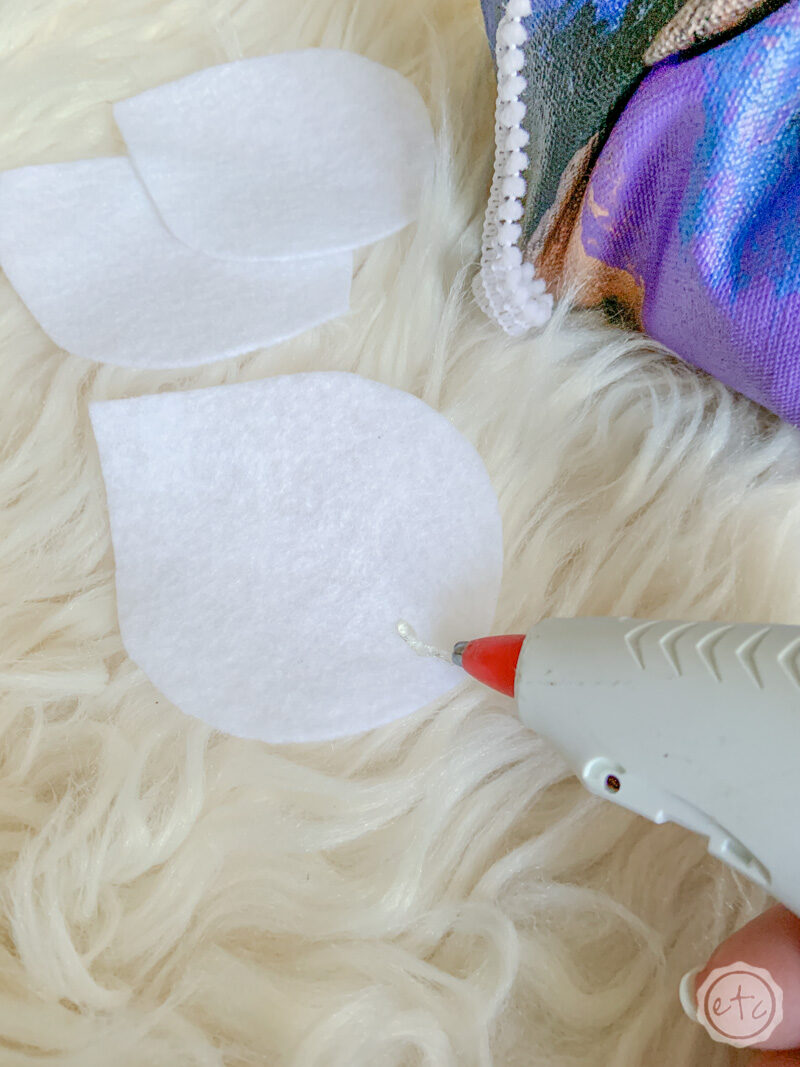


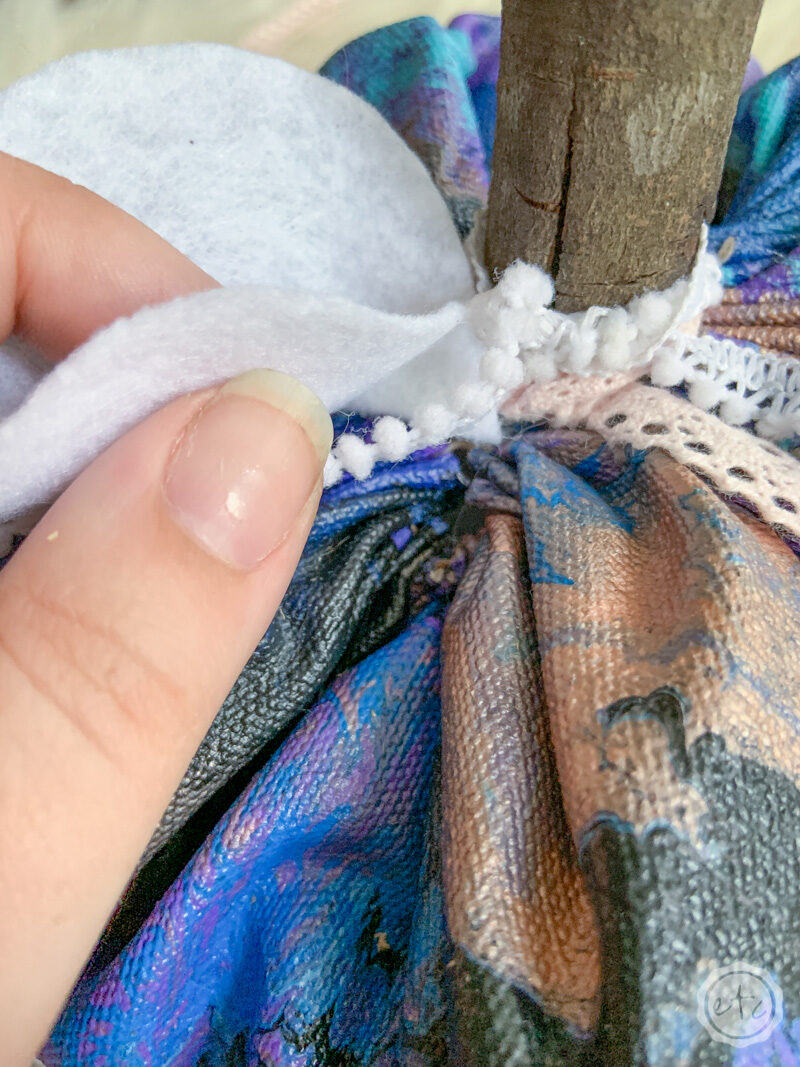
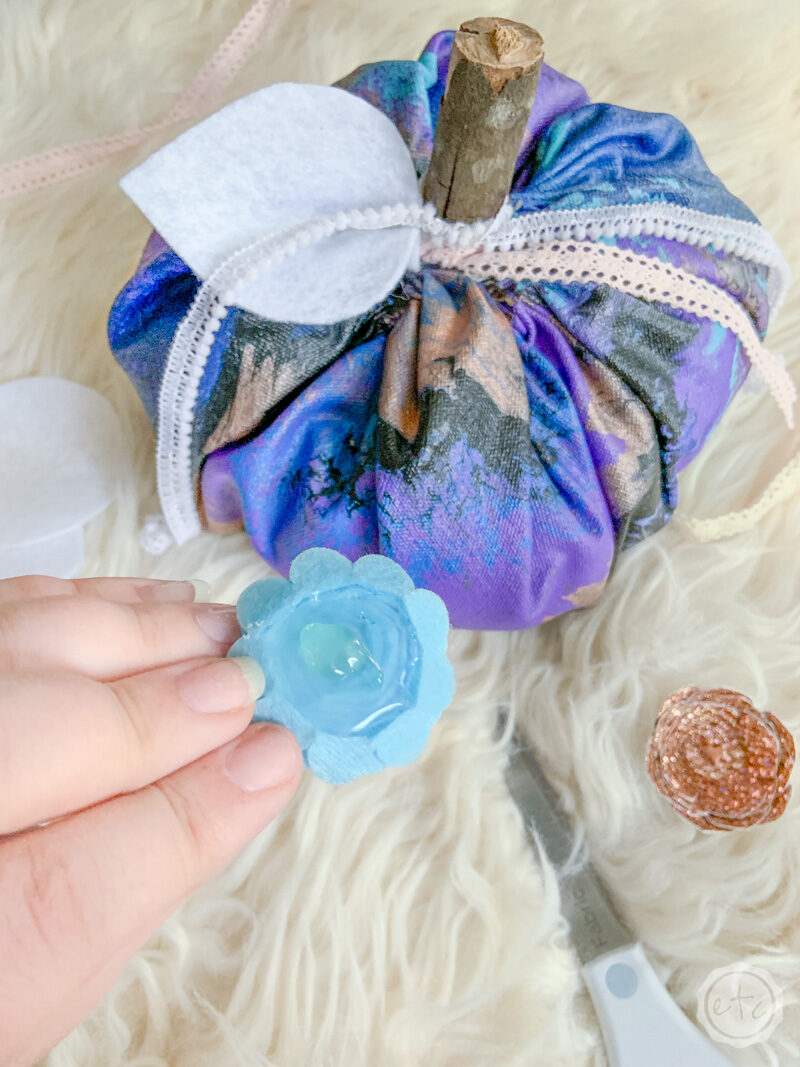
Now all that’s left is to add your felt flowers! I added 1-2 leaves as well as 2-3 flowers to each pumpkin. You can do a leaf on either side of the flower arrangement or one leaf to the side… it’s completely up to you!
I like to change it up so that my pumpkins all look a little different.
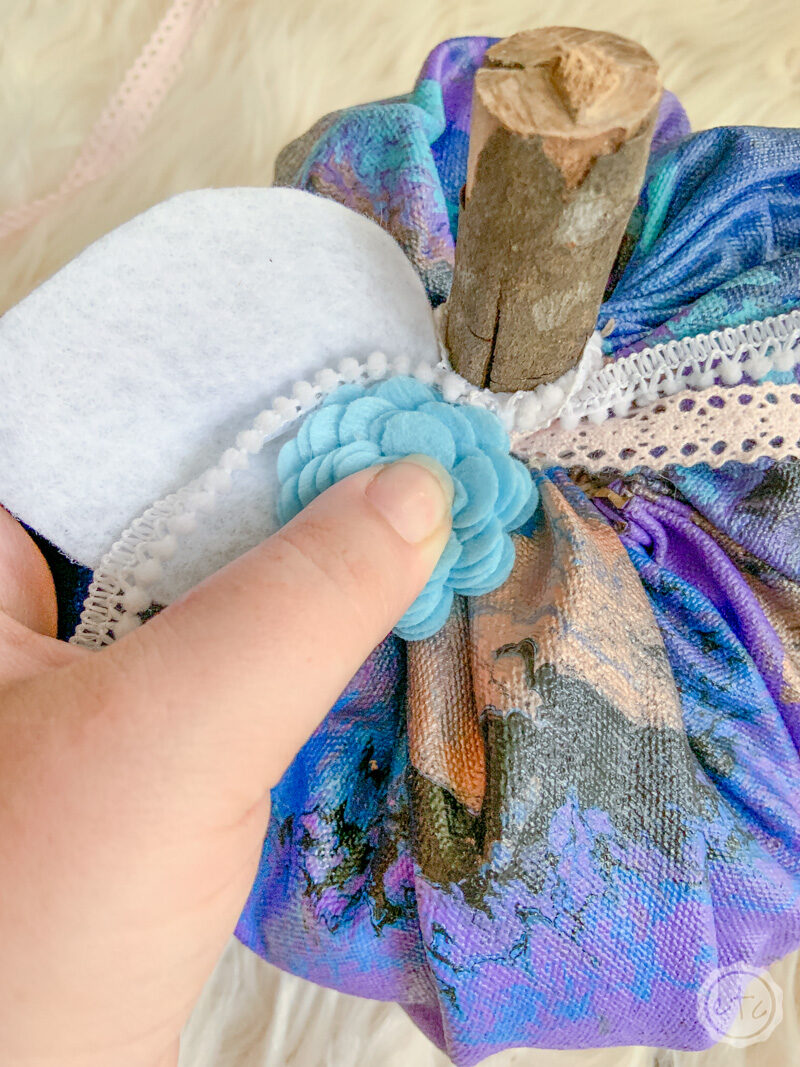
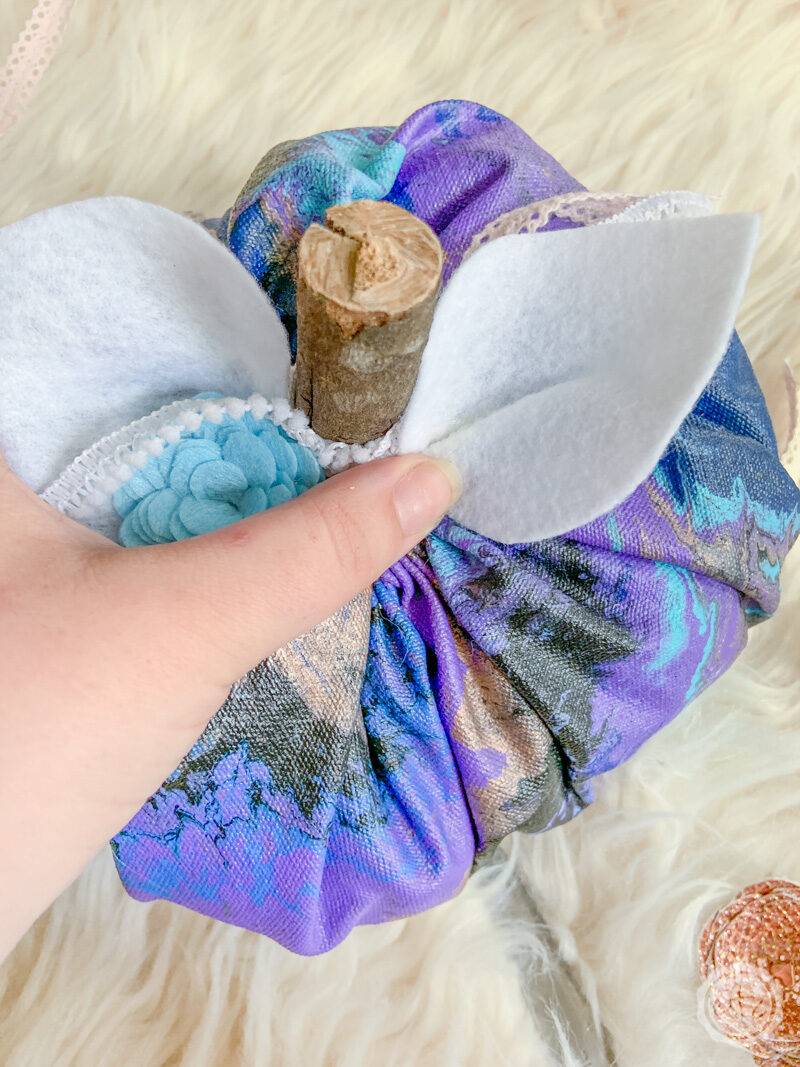
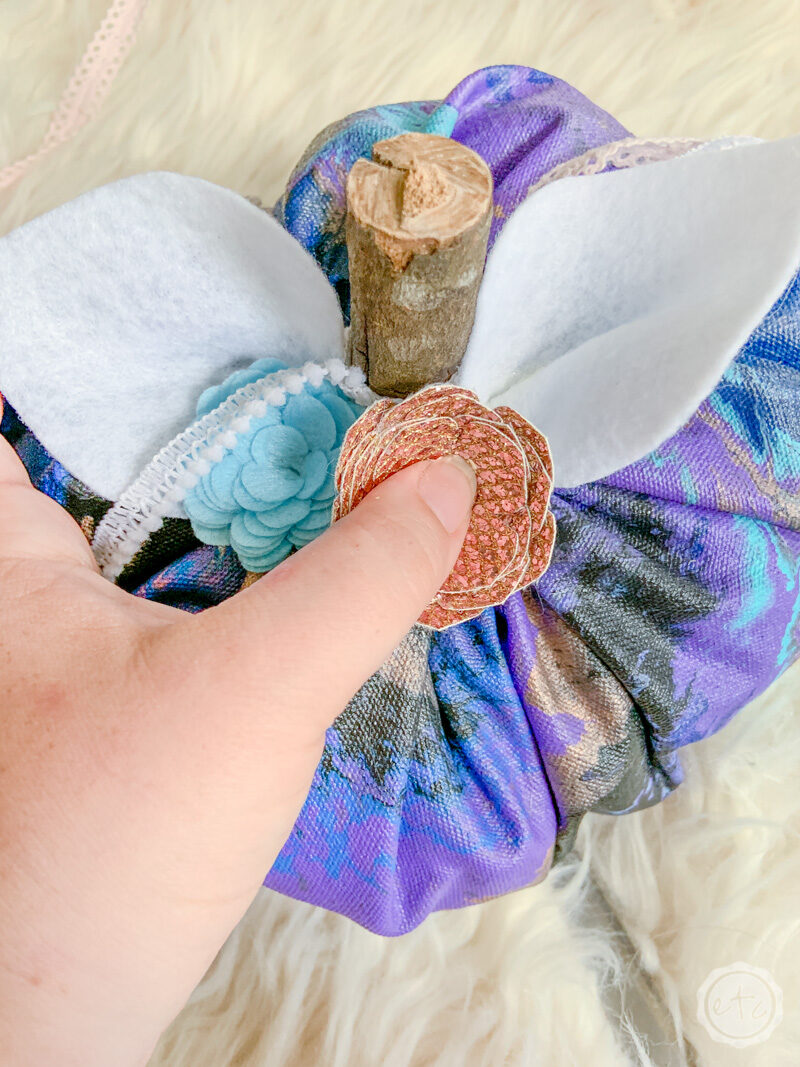

When you’re done gluing all of your leaves and flowers onto your pumpkin take a look at your ribbons again. Make sure they’re hanging in the perfect spot and don’t look awkward.
If your ribbons need a little help you can add a dab of hot glue under one to hold it in place. Just make sure it’s only a little bit so that you don’t see the hot glue through the ribbon.
I mean just take a look at the back of this pumpkin… this beautiful flow art portion is showing and I didn’t want the ribbon to cover it up! So I glued the ribbon slightly to the side so that it frames the flow art and doesn’t block it.
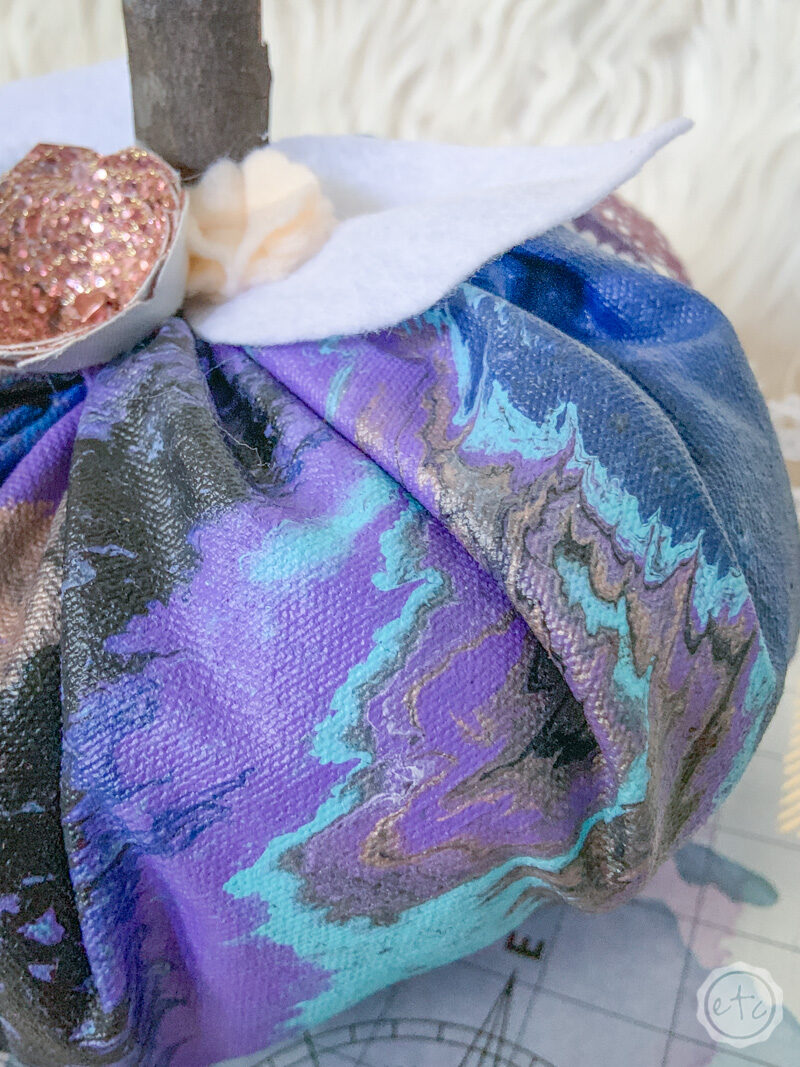
Isn’t it the absolute best pumpkin you’ve ever seen? I am IN ABSOLUTE LOVE. I put a lot of these projects in my antique booth but I am keeping this one… it is my new favorite fall decoration.
Just take a look at the overall look!
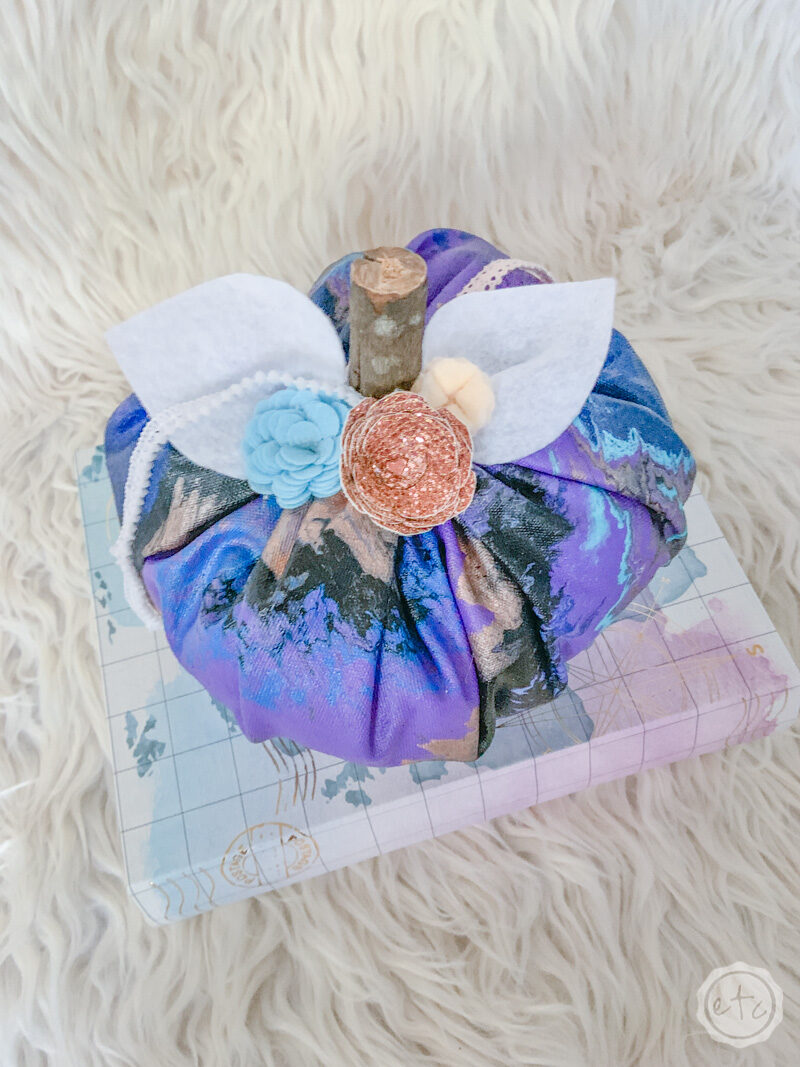

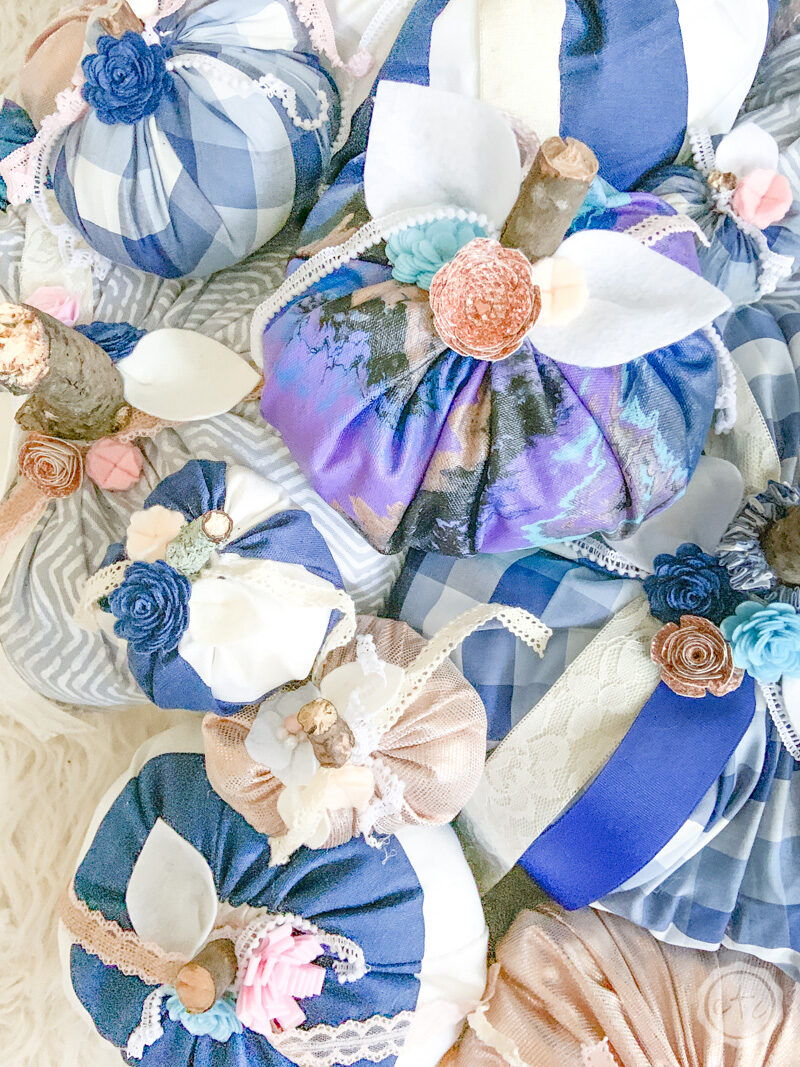
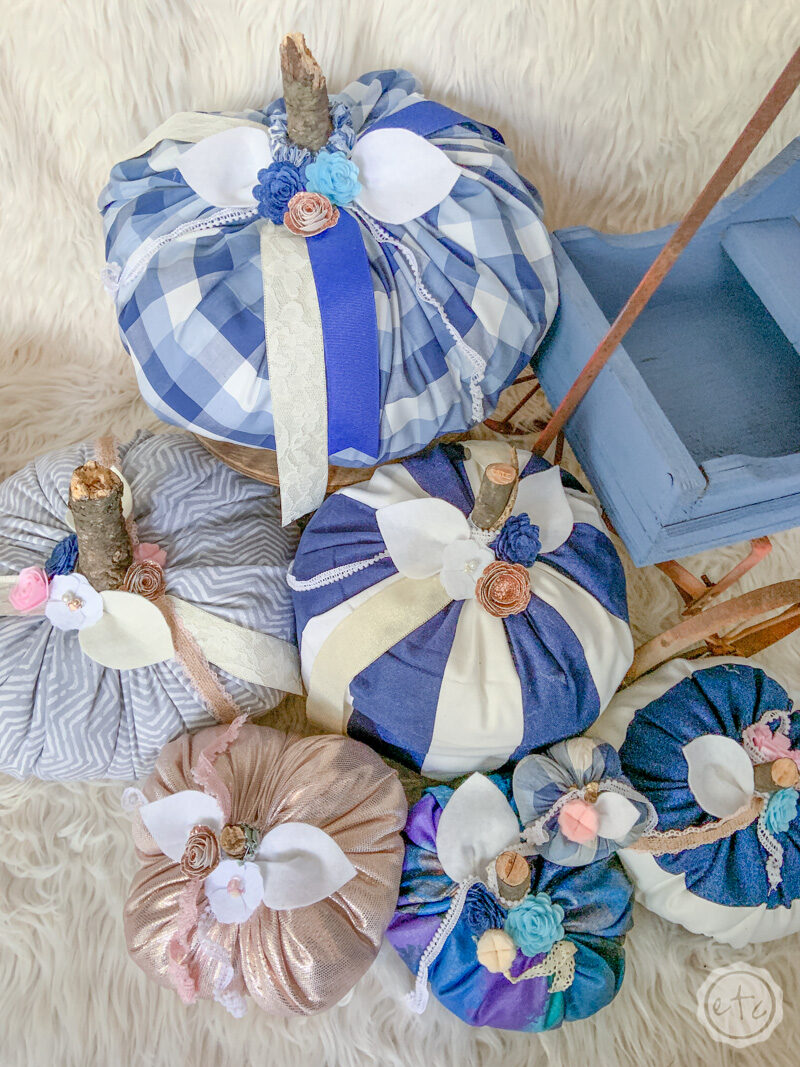
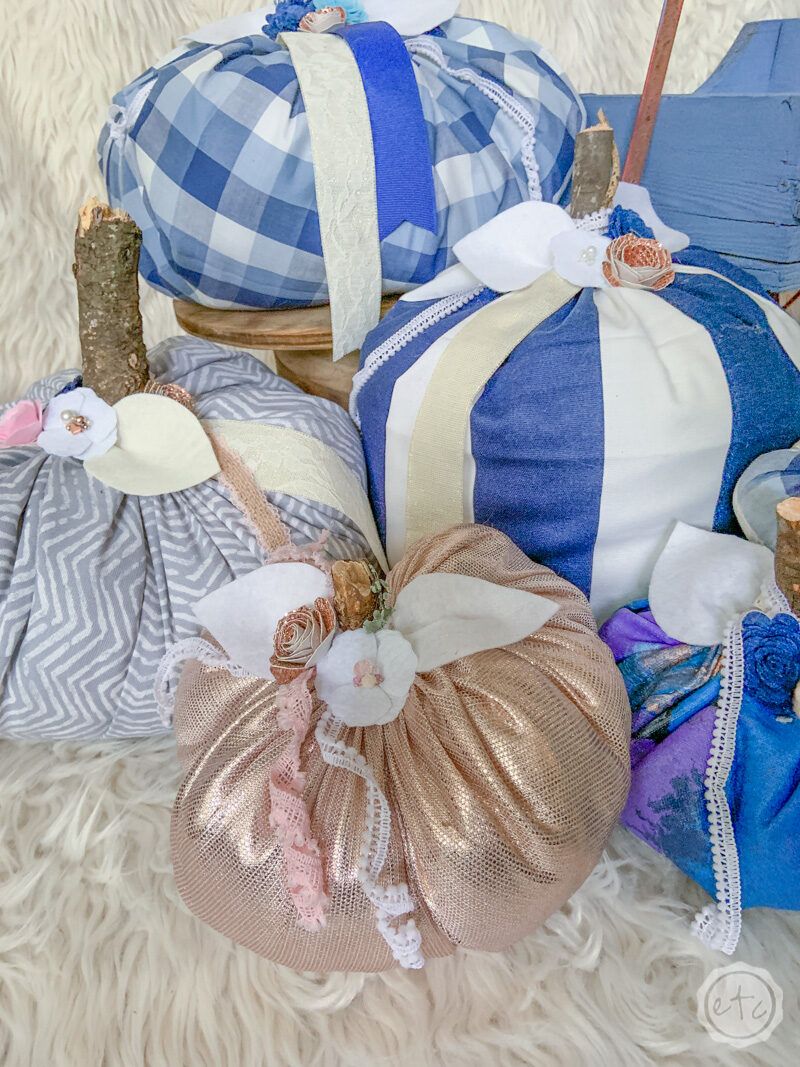
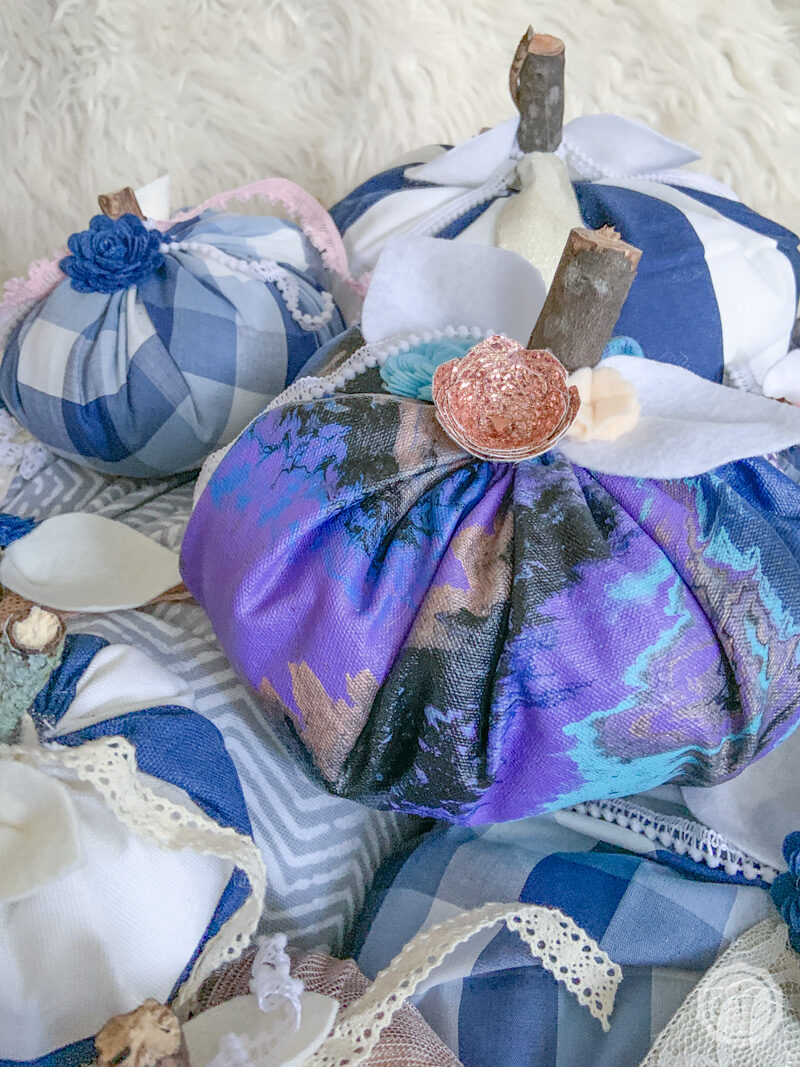
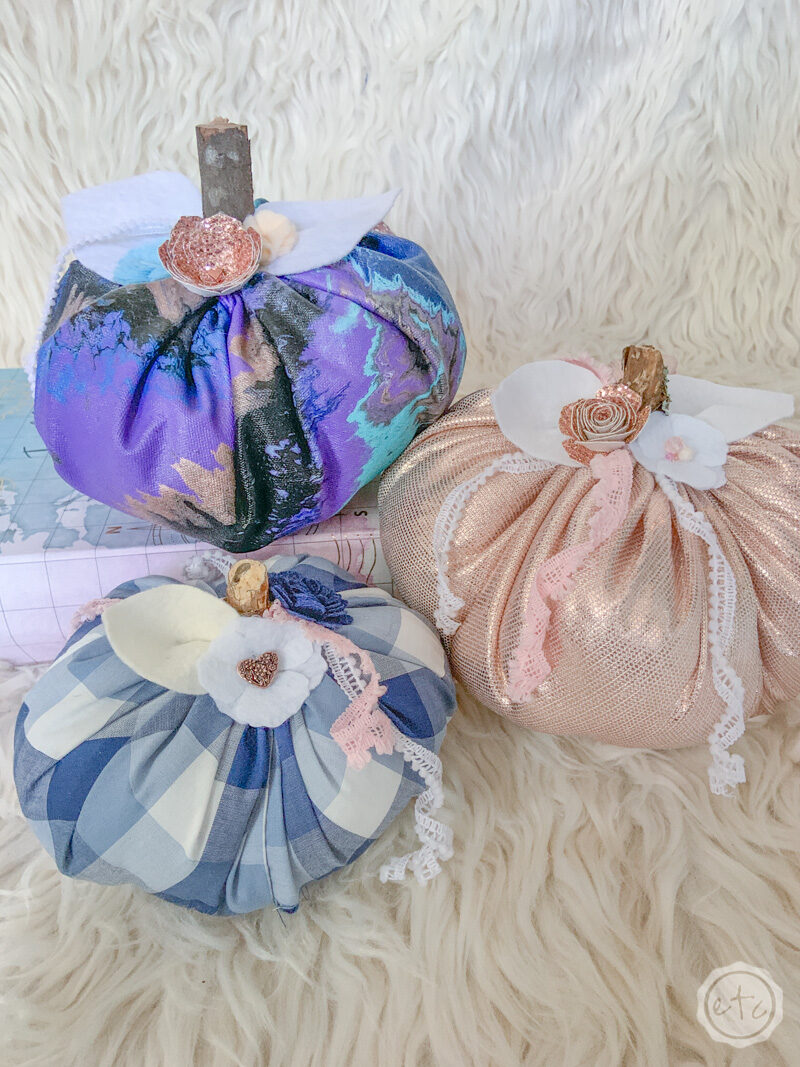
Of course, I couldn’t leave well enough alone. I decided that two pumpkins weren’t enough and I needed an entire patch.
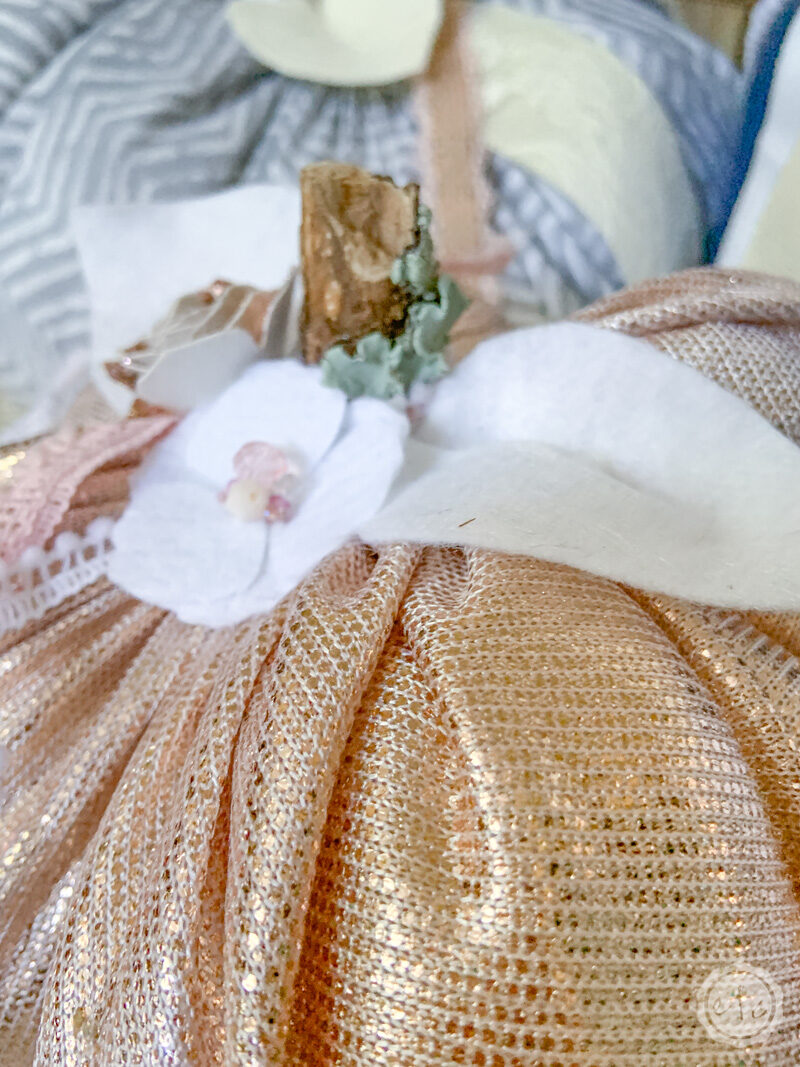
I really wanted the flow art pumpkins to stand out so I picked coordinating fabrics that would work with the pretty paints of our flow art: blue buffalo check, blue and white stripes, gray chevron and (my favorite) a metallic rose gold!
Ready for an overload of pumpkin photos… even a few with our 6 week old long haired miniature dachshund puppies?

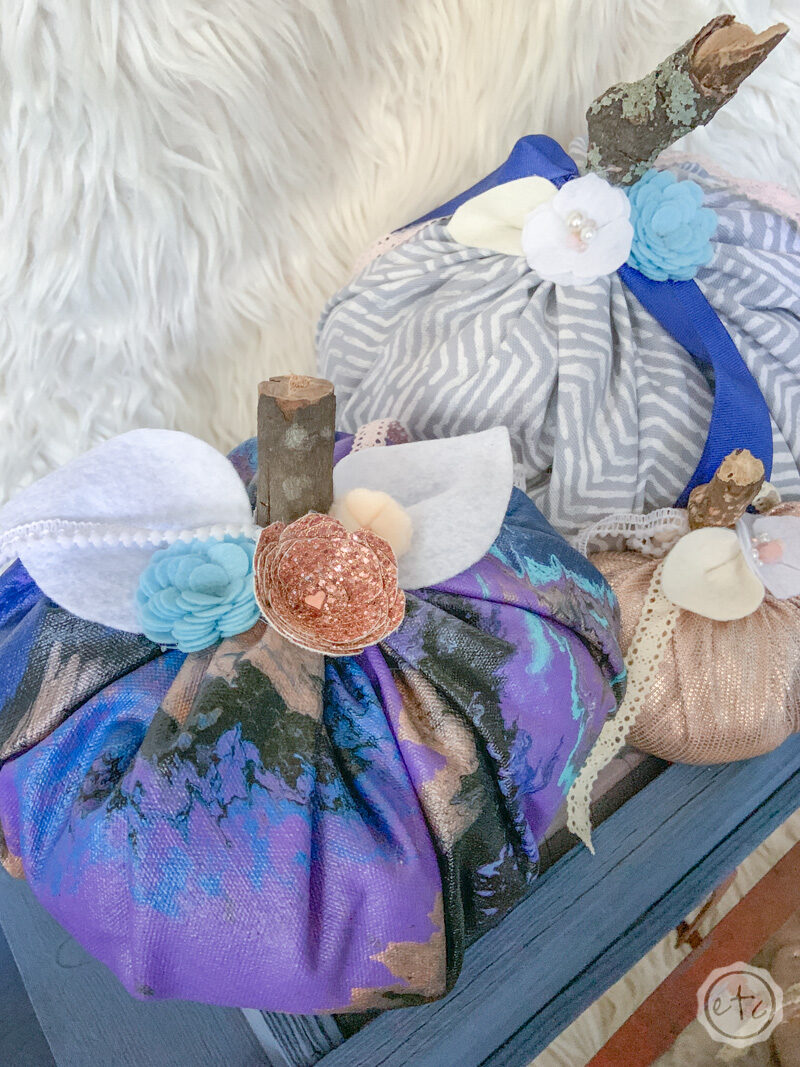

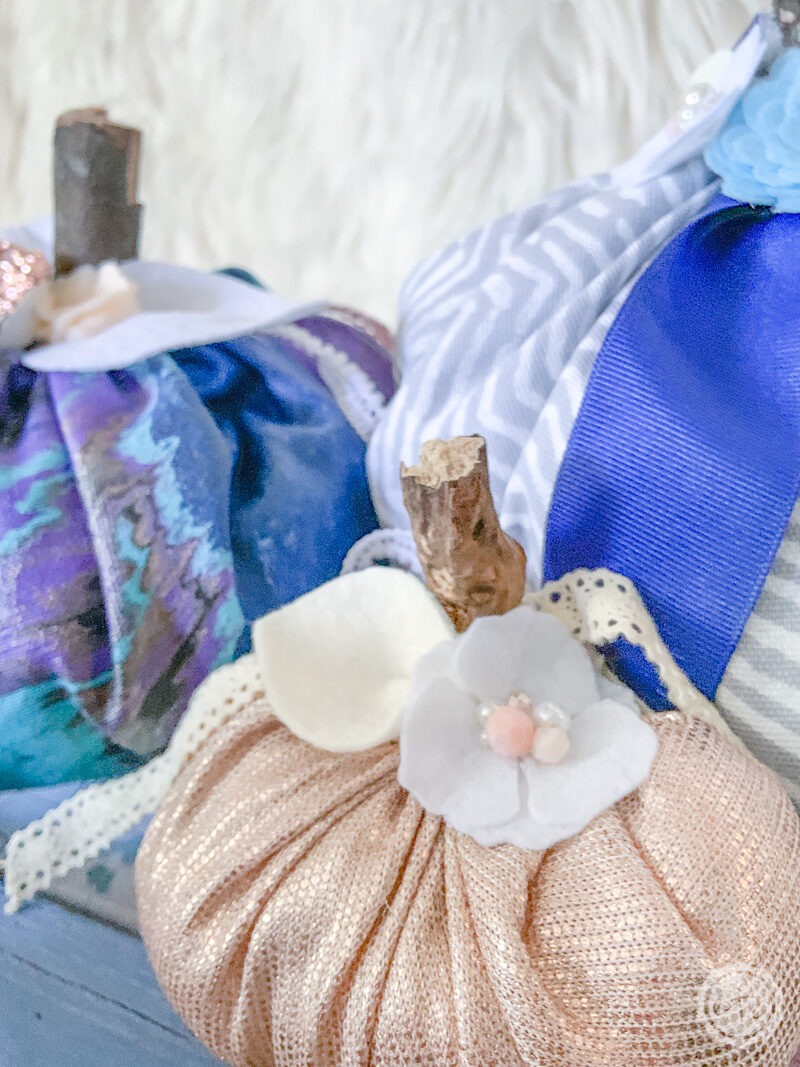




Looking for more rose gold holiday goodness? These posts are for you!
Get Your FREE SVG Files!
 Get the Cut Files for this project!


