


Every week I receive dozens of questions from you… which is absolutely amazing! Unfortunately I can’t answer each and every one of them (although I do try) but I make sure to answer at least one question each week in my weekly newsletter where you get behind the scenes tips, tricks and fun information.
Of course, some of the questions I receive are short and sweet… quick to answer. BUT some of those questions have long answers… answers I think the rest of my readers just may benefit from. So here are those answers! Starting with today’s question:
Hi Betsy!
I have been absolutely loving all of the fun Cricut tutorials you’ve put out recently. I especially loved the felt flower tutorials you shared last week and would love a few more felt tutorials in the future.
Maybe felt bows? I really like felt bow paperclips in my planner.
Thanks,
Haley
Hi Haley,
I’m so glad you’re enjoying all of the little Cricut projects I’ve shared recently… I was starting to worry there were too many of them! Those little felt flowers are so stinkin’ cute!
As a former cheerleader I’m a little obsessed with putting bows on e.v.e.r.y.t.h.i.n.g… I suppose it’s just a habit at this point. Felt bows have always been adorable but now that the Cricut Maker exists these little guys are so quick and easy to make!
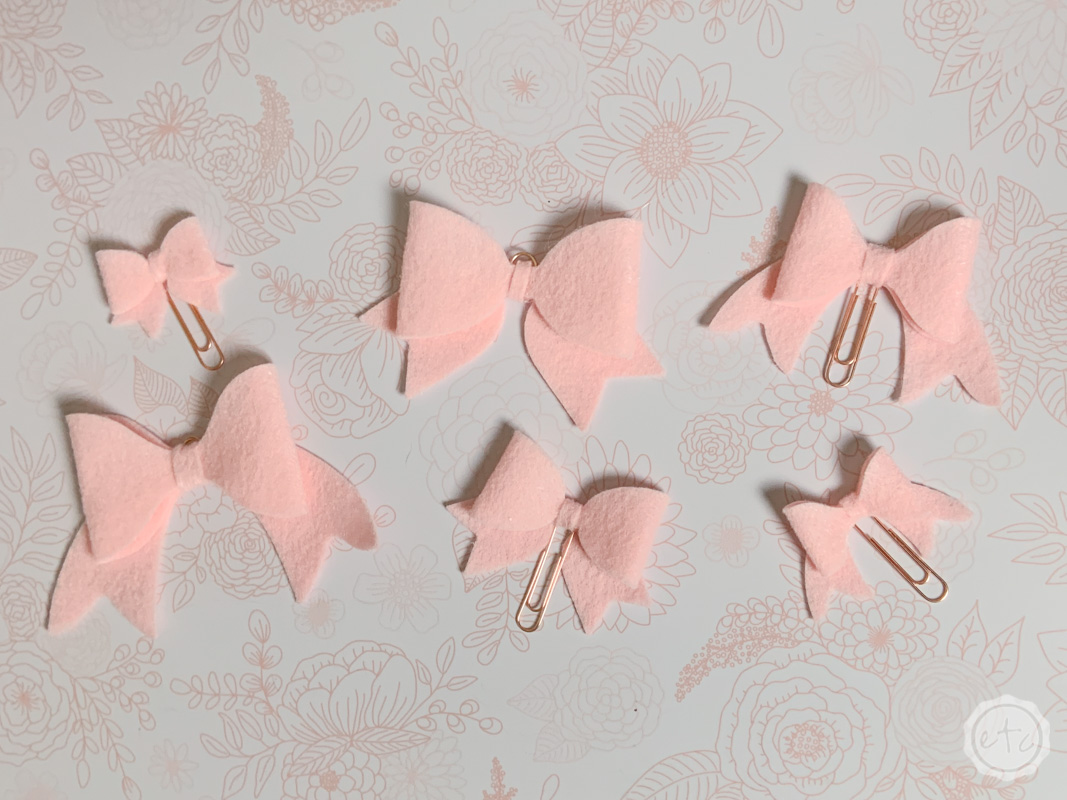
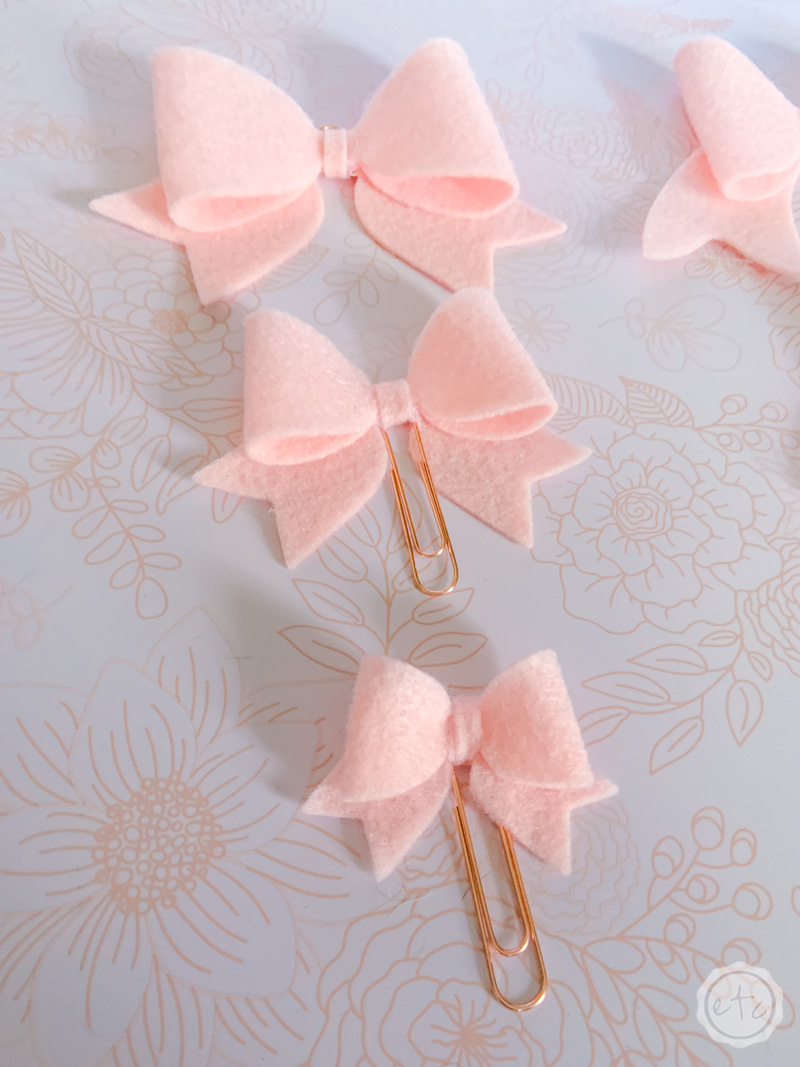
I wasn’t sure exactly what you were going to use these little bows for so I whipped up a freebie with 3 separate sizes: big, medium and small if you will. I love the little tiny bows for planner paper clips, the medium bows for planner swags (they’re so cute on the front of your travelers notebook!) and the bigger bows so cute as a hair bow.
Let’s get started!
Supplies:
- Cricut Maker
- Cricut Cut File (FREE at the bottom of this post)
- Fabric Grip Mat
- Rotary Blade
- Brayer
- Felt
- Hot Glue & Glue Gun
BONUS: Looking for a bit more excitement? Check out the felt holiday bow tutorial I just wrote here.
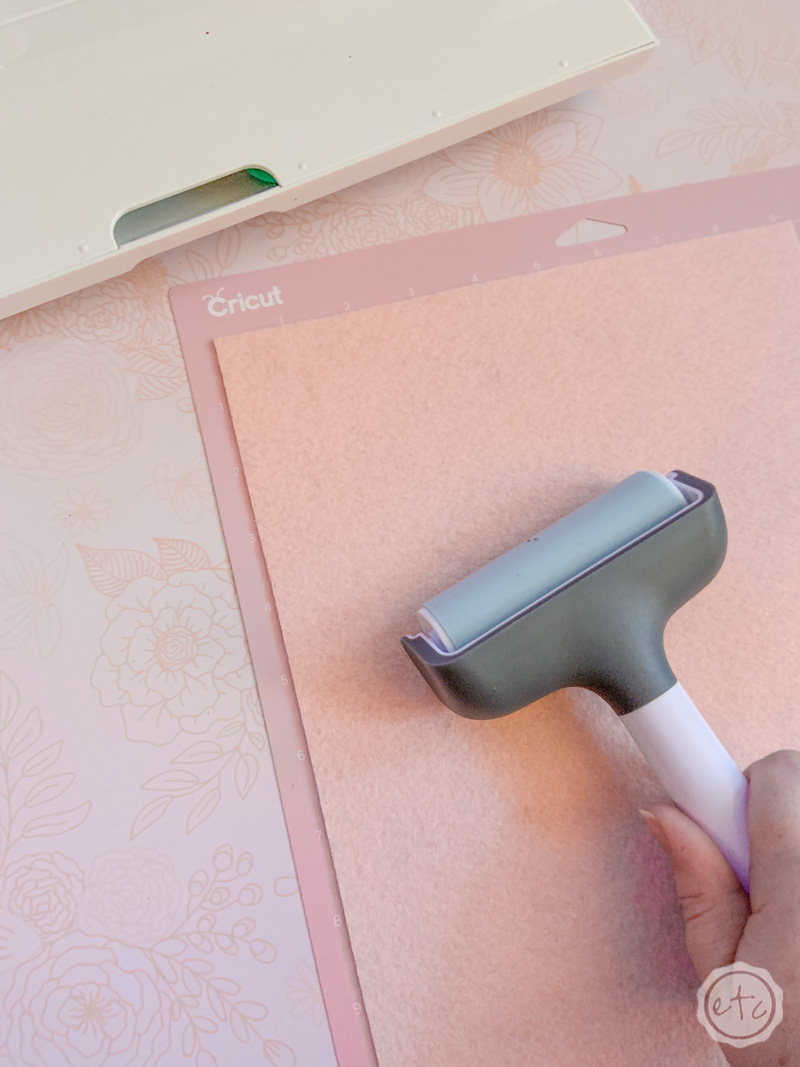
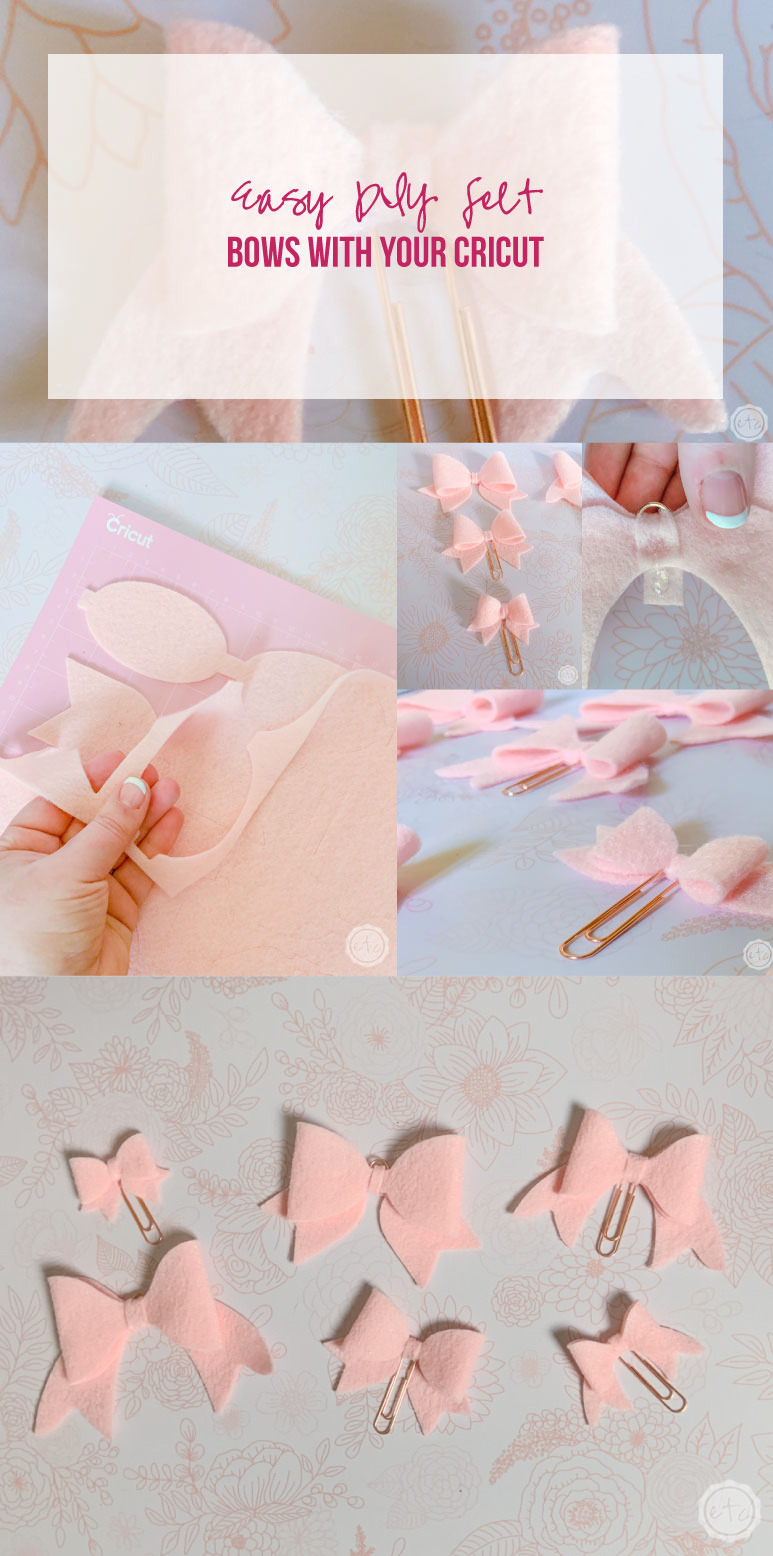
Step 1: Cut Your Felt
This is such a quick and easy project… you barely get started before you’re finished! Start by using your brayer to smooth your felt onto your Fabric Grip mat. I am using cheap thirty three cent felt from Wally World for these little bows and the whole rotary blade/cricut maker/brayer combination means this cheap felt cuts like butter!
Go ahead and pull up your Cricut Cut File for these bad boys (grab yours for FREE at the bottom of this post!) then hit go! From start to finish my Maker took about 5 minutes to cut out all three bows.
Once the bows are finished being cut go ahead and remove the excess felt… just grab a corner and pull! This is definitely the most satisfying part of the whole project! I just love seeing those little bows appearing out of no where.
https://happilyeverafteretc.com/wp-content/uploads/2019/03/Cricut-SVGs-for-Bows-Hair-Bows-Planner-Bows-Mermaid-Bows-Unicorn-Bows-Butterfly-Bows-Double-Bows-3-1.jpg
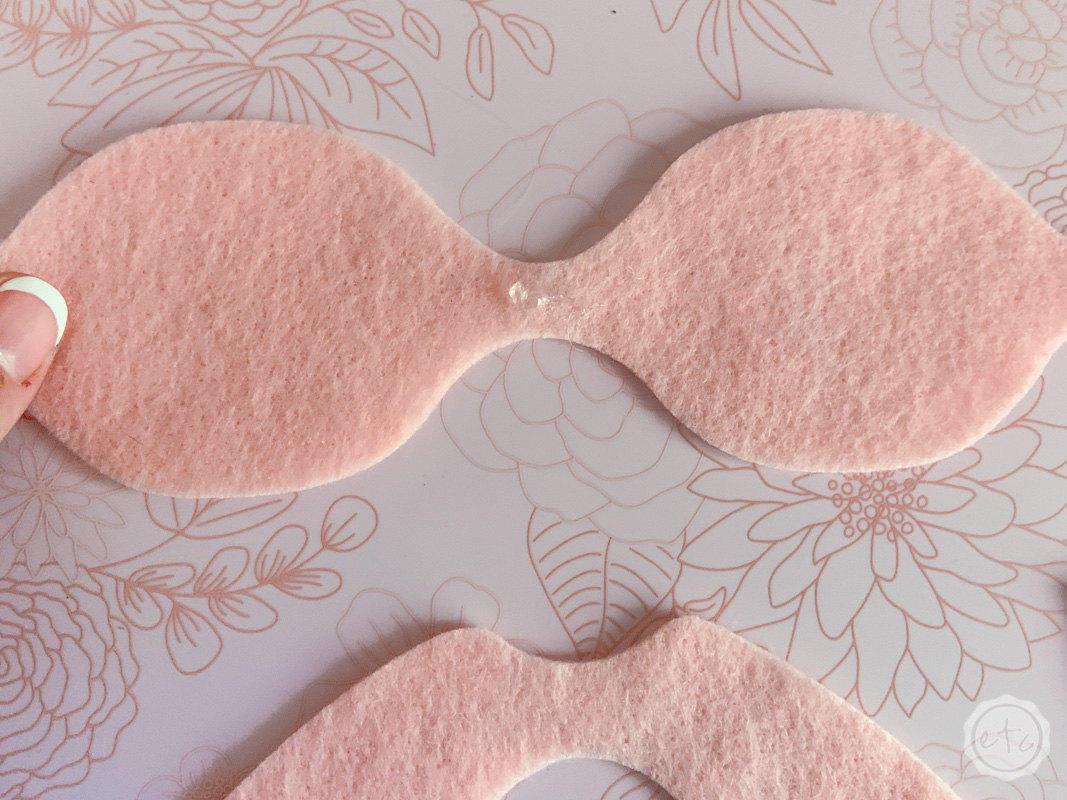
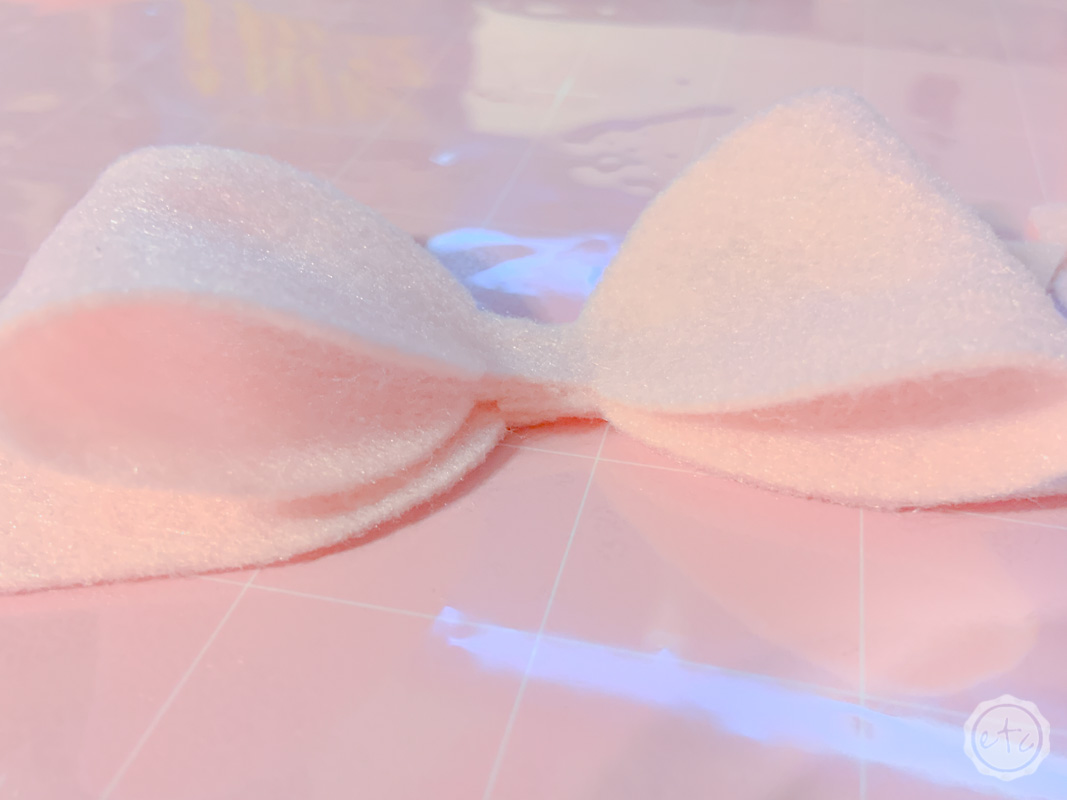
Step 2: Glue the Bow Loops
Alright now it’s time to heat up that hot glue gun! Start with the biggest loop piece of felt… the one with a circle on either side.
Place a dab of hot glue in the middle and then fold over the left loop. Try to line up the top and bottom of the loops so that your bow loop looks symmetrical. Now that the left bow loop is glued add a little more hot glue to the top and fold over the right bow loop (once again making sure that the top of the loop lines up with the bottom). Now your loops should be glued!!
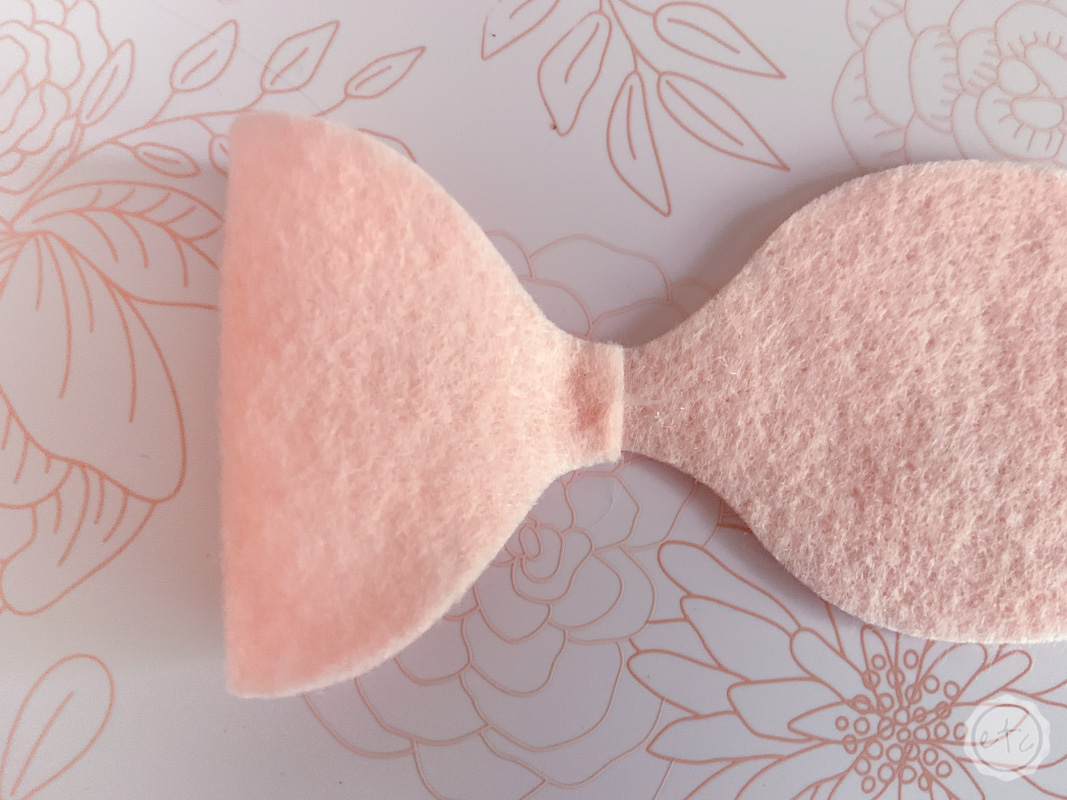
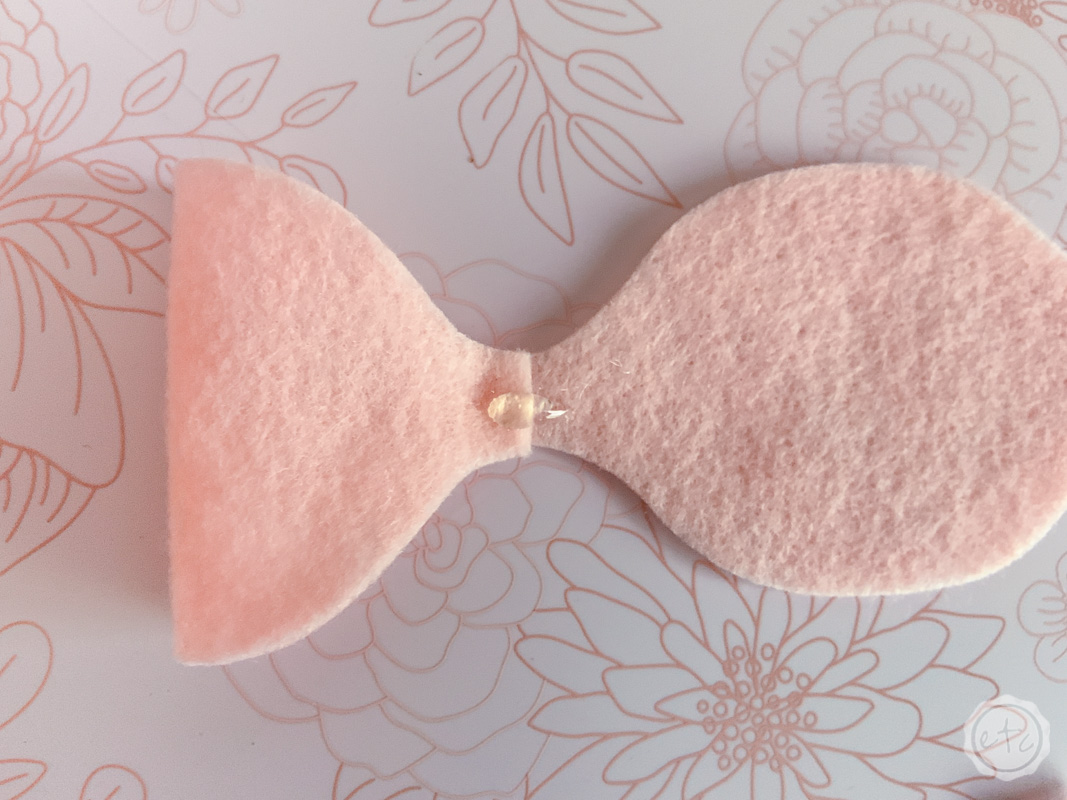
Step 3: Glue the Bow Loops and Tails Together
Ready for the next step? Add a bit more glue to the back of the bow loops and then glue those babies to the felt tail piece!
Hot glue on felt bonds like no bodies business so once you glue these pieces together they are going to be stuck together for life. So move fast and make sure to remove any excess hot glue that squeezes out the sides ASAP.
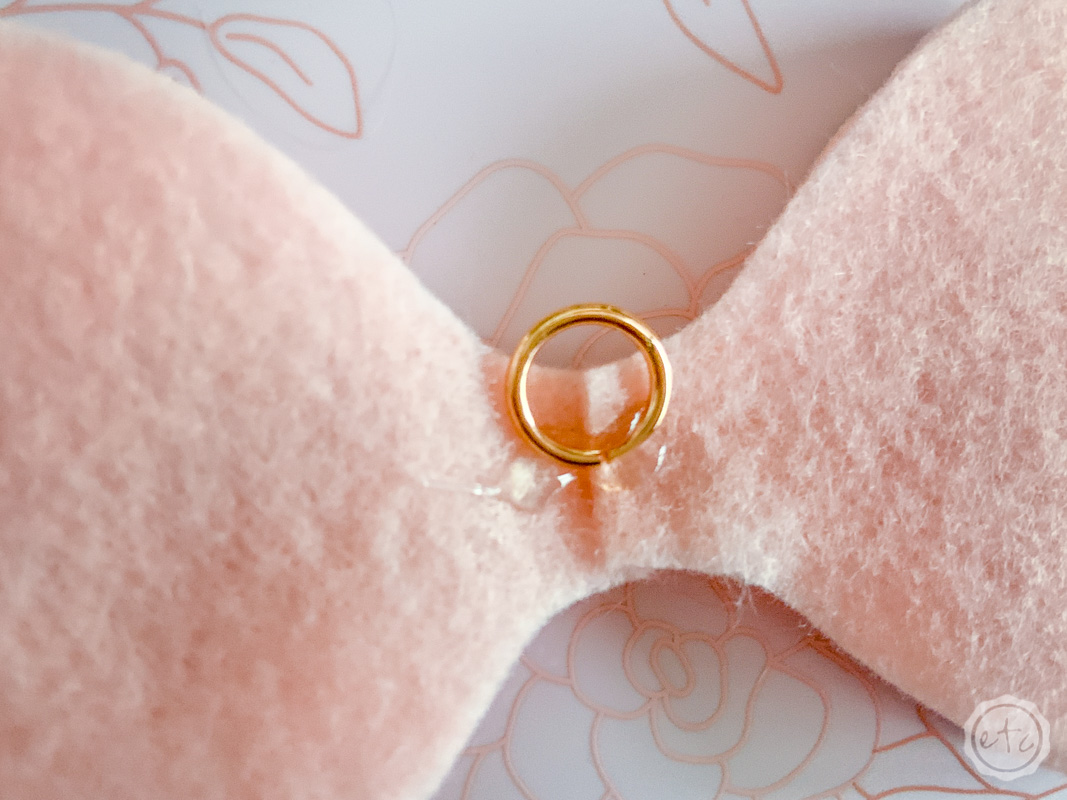
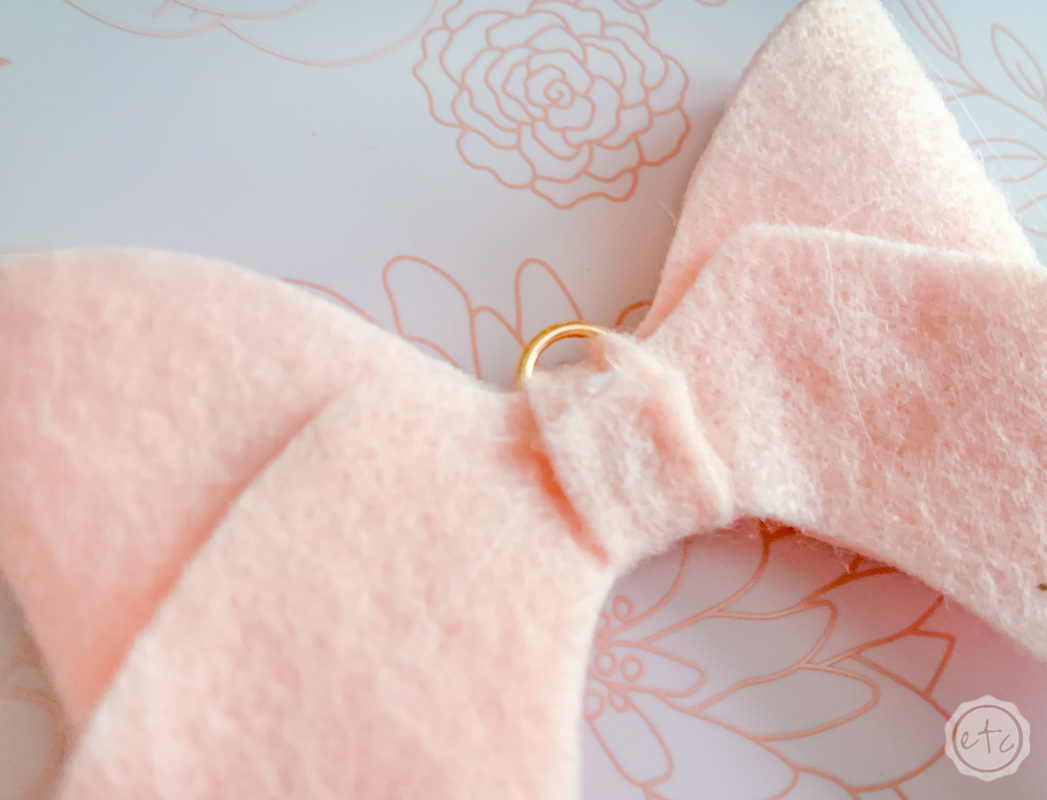
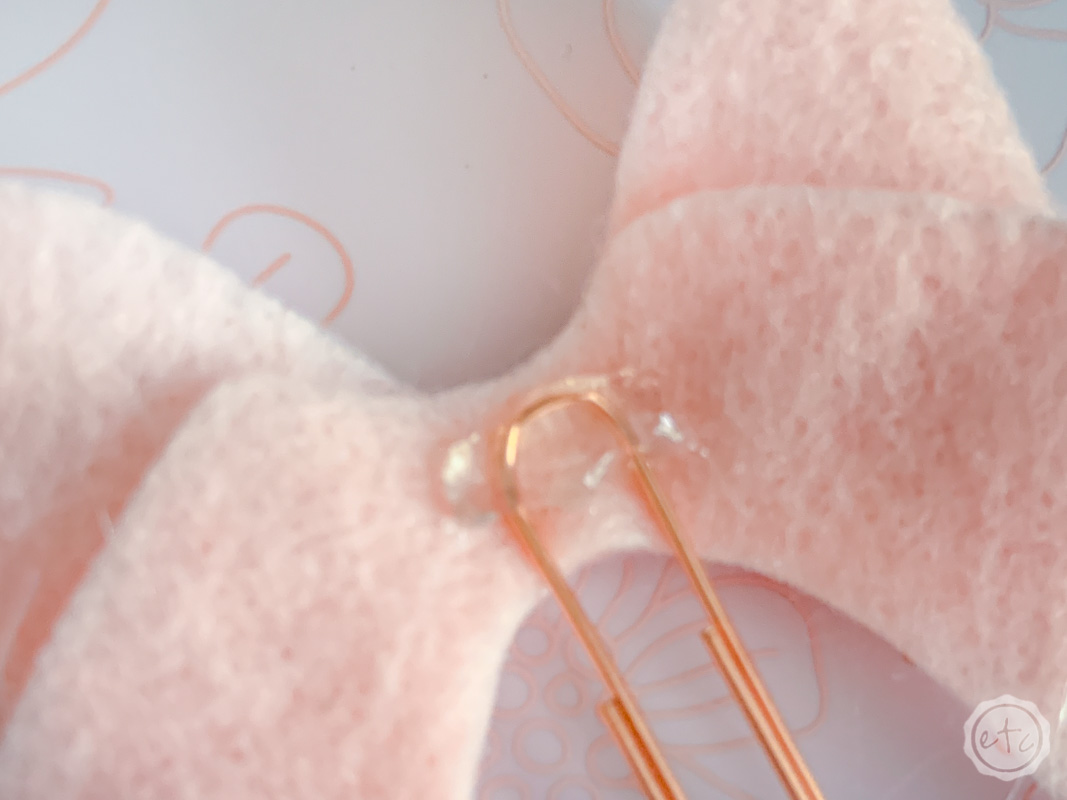
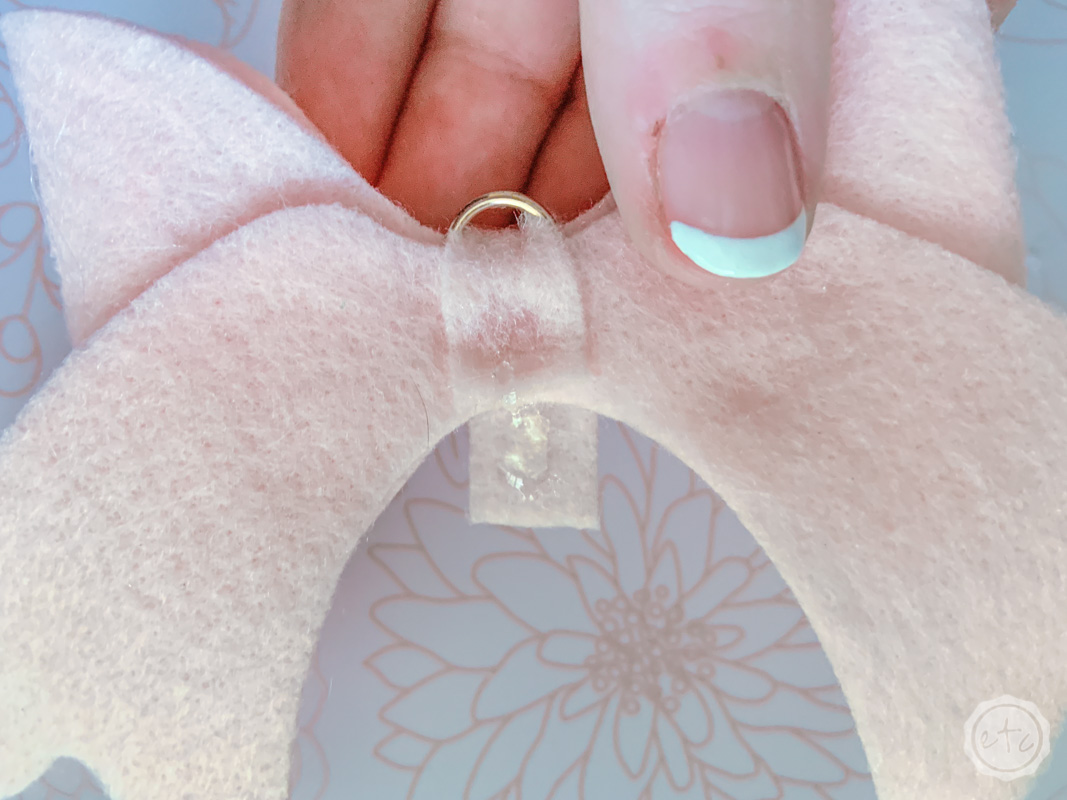
Tip: If you’re making your little bow into a floral swag for the front of your planner (or want to add it to a necklace!) go ahead and glue your jump ring in between the bow loops and the tail end.
Just sandwich the little jump ring in there!
I like to place my jump ring with the split side down so that only the continuous jump ring is visible above the felt. I only needed the jump ring for this little guy but if you need a lobster clasp make sure to put it on the jump ring before gluing the jump ring in place.
This little jump ring works well with the medium sized bow!
Step 4: Glue the Felt Wrap in Place!
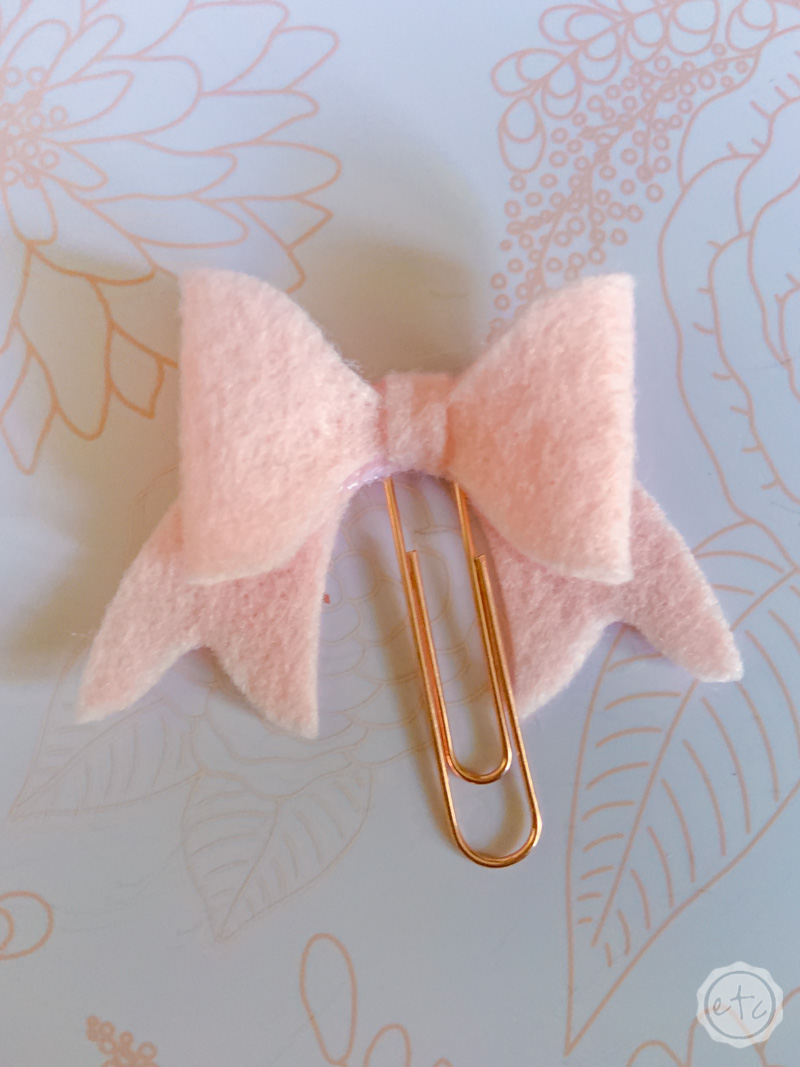
Now it’s time for the little tiny rectangular piece of felt (the only one we have left!). If you’re adding your felt bow to a paper clip go ahead and glue the paperclip in place first. Simply add a bit of hot glue to the back of your bow and then press the paper clip in place. FYI this little paper clip is the perfect scale for the little bow.
While the hot glue is still hot go ahead and press the top of your rectangular strip in the hot glue. Then stretch the wrap all the way around the front pull it tight and glue it into place.
If you need a little more hot glue before you glue the end of the wrap in place put another little dot on top of the first piece. Just remember that this is the final layer so any hot glue that seeps out the sides will be visible so wipe it away ASAP.
Ready for the final reveal? These little guys took about 20 minutes to make from start to finish… and that includes heat up time for the hot glue gun. If I had started the hot glue gun when my Cricut was cutting I would have been ready to rock when the cutting was done!
I love how these little guys turned out… I hope you love them too Haley!


[…] Planner Bows […]