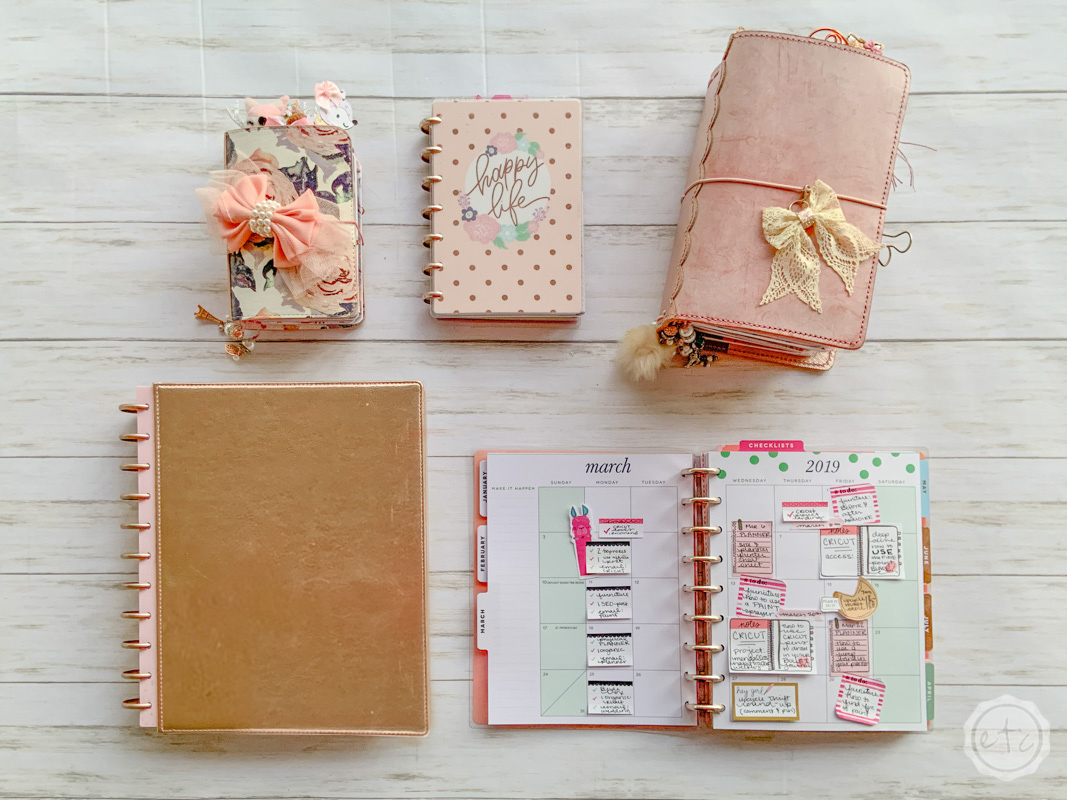
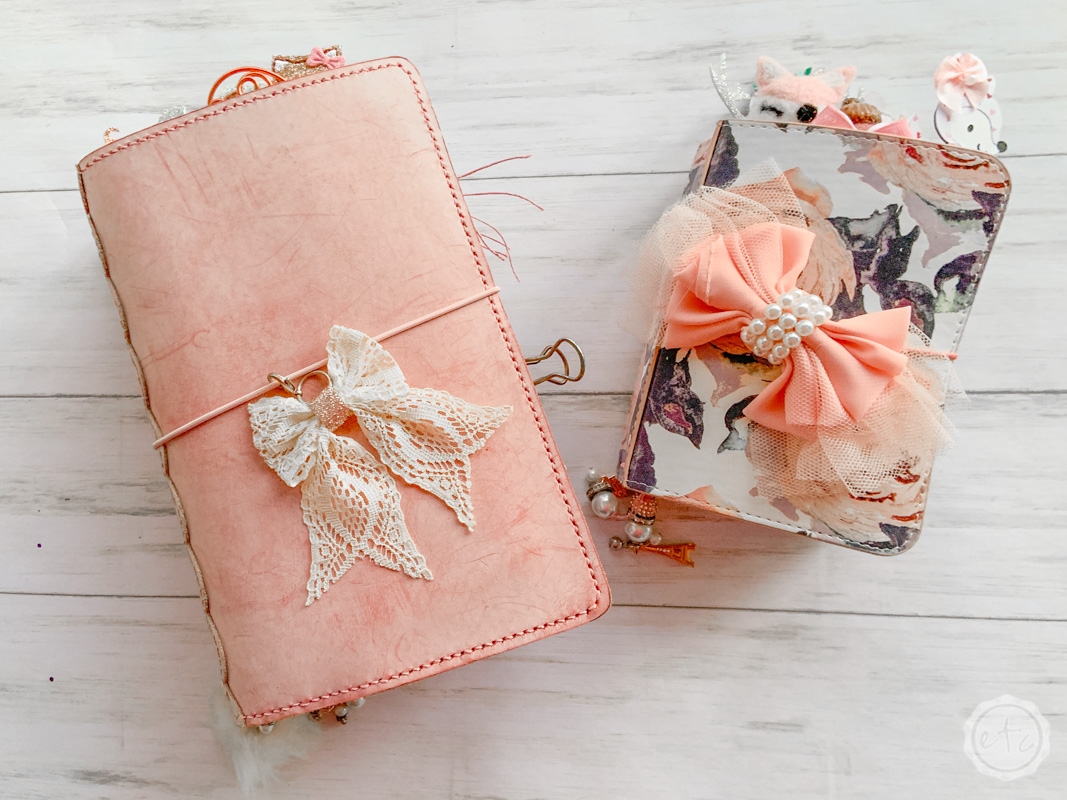
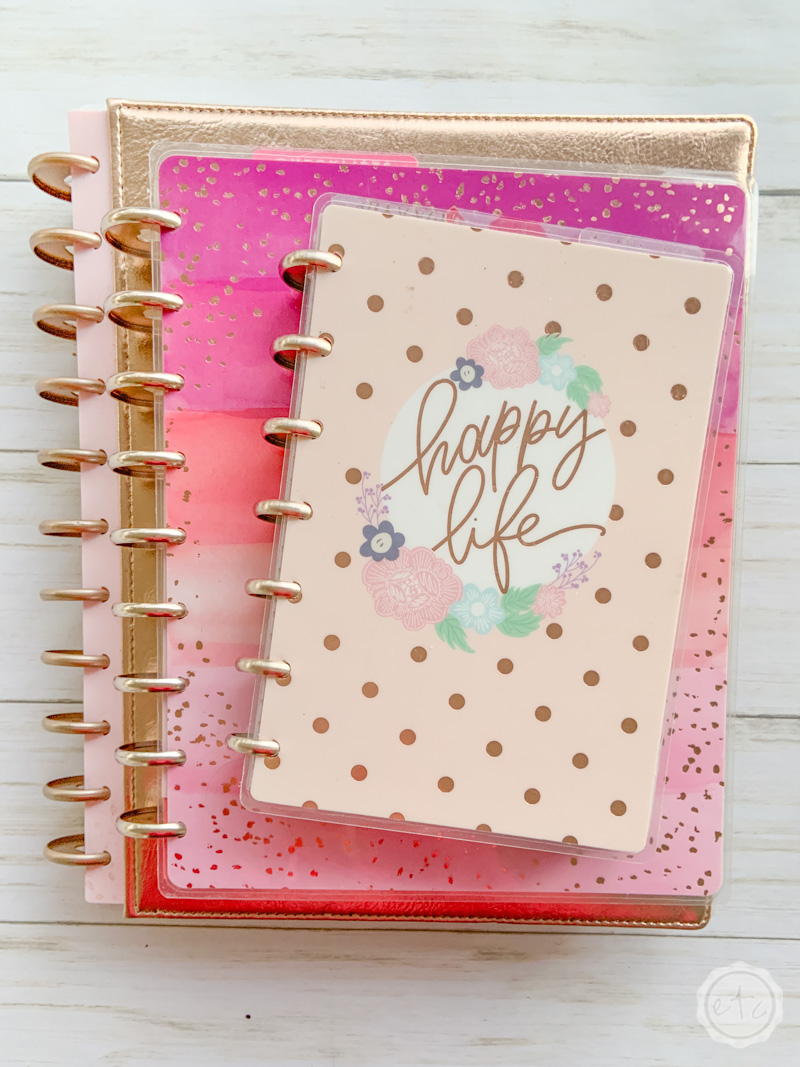
With so many different planners on the market the question I get asked most frequently is whether it’s possible to print a full size printable to fit into a smaller planner. Yes! Yes it is!
Plus it’s super easy… like I’m not 100% sure how to make this into an entire post easy!
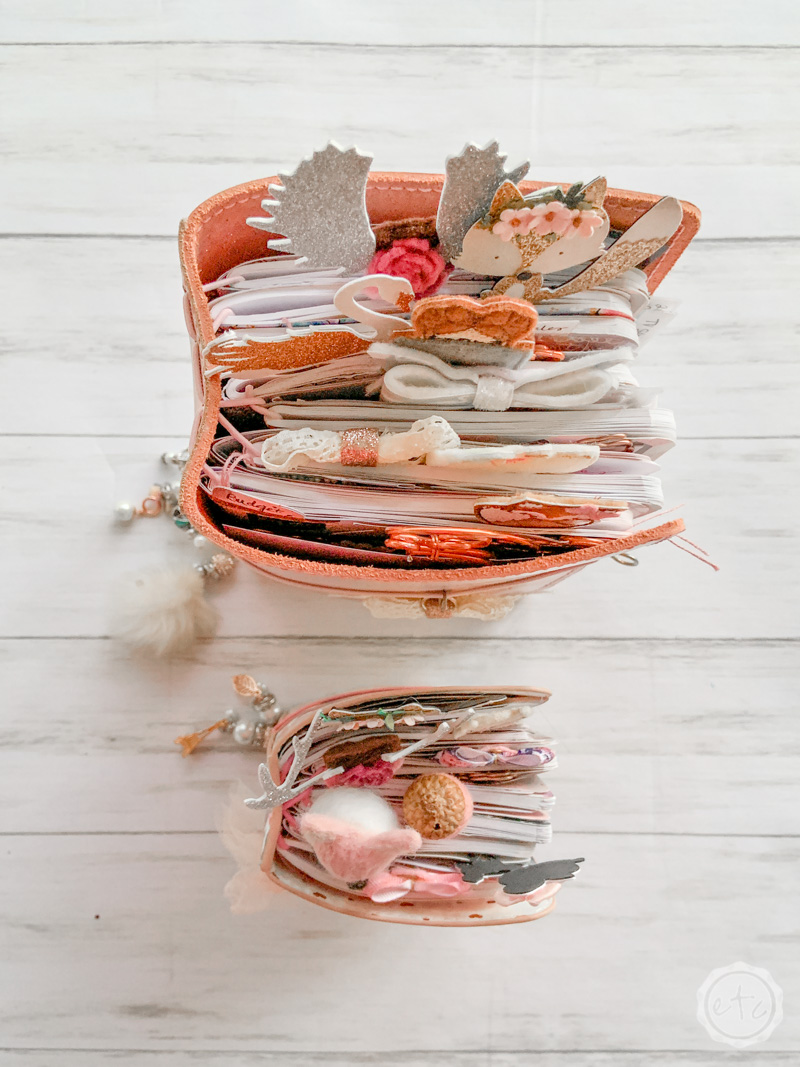
The chances are that you’ve found a super cute printable on the web that you want to print out and place into your planner. BUT maybe you use a mini happy planner or a pocket sized travelers notebook and that 8.5 x 11 letter sized printable would just be giant in your tiny planner.
Don’t worry y’all. Regardless of what planner you’re using we’ll be able to quickly resize your printable with just the touch of a button.
Here’s what we do:
First of all determine exactly what size your planner is. If you’re a full blown planner girl (guilty!) you probably know the exact name and dimensions of every single planner you own (yes, I have multiples. But if you bought your planner second hand or had it gifted to you don’t worry.
Simply take out a ruler or measuring tape and find out the length x width of your planner inserts. Make sure you’re measuring the insert (the actual paper y’all) that’s inside your planner since the cover is typically larger than the insert.
Once you have your dimensions write them down somewhere you’ll have easy access to them… I like to put them in the notes section of my planner so they’re always at the tip of my fingers.
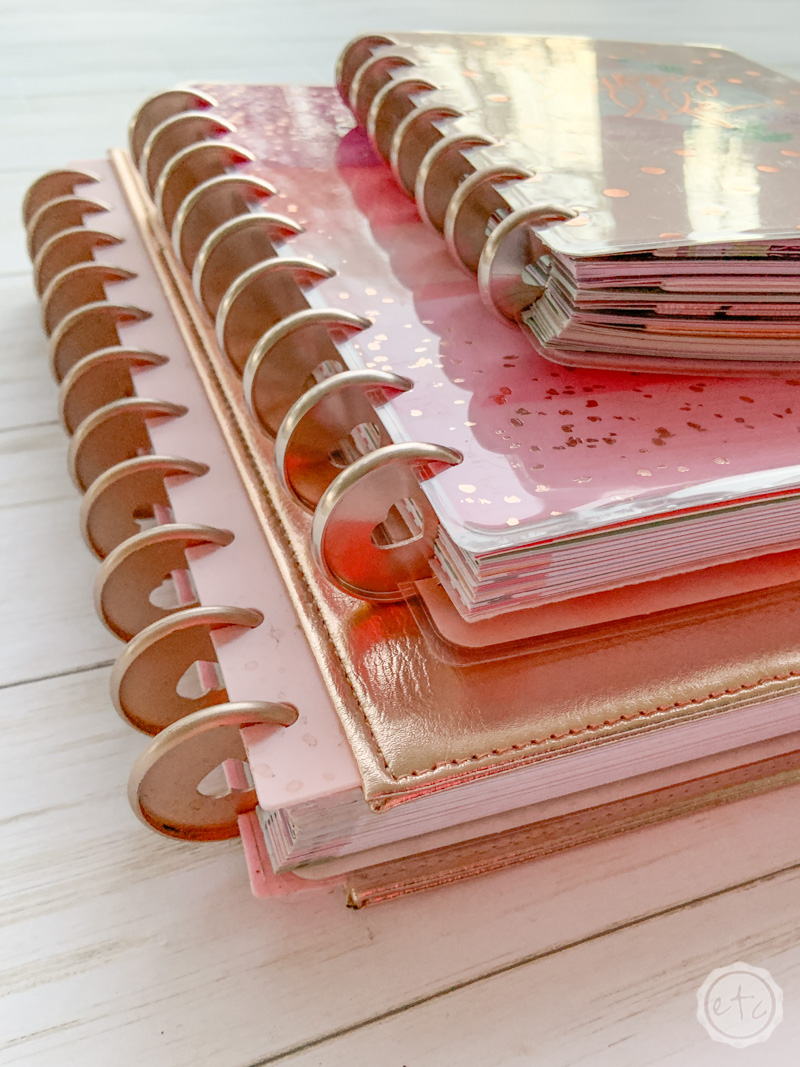
Quite a few planners take standard letter sized paper and if this is the case for you then you’re all set… planner tutorial over. You lucky ducks can just hit print and move on about your day. My Big Happy Planner takes 8.5 x 11 sized pages and I absolutely love printing those sheets since there’s no cutting after the printing is over!
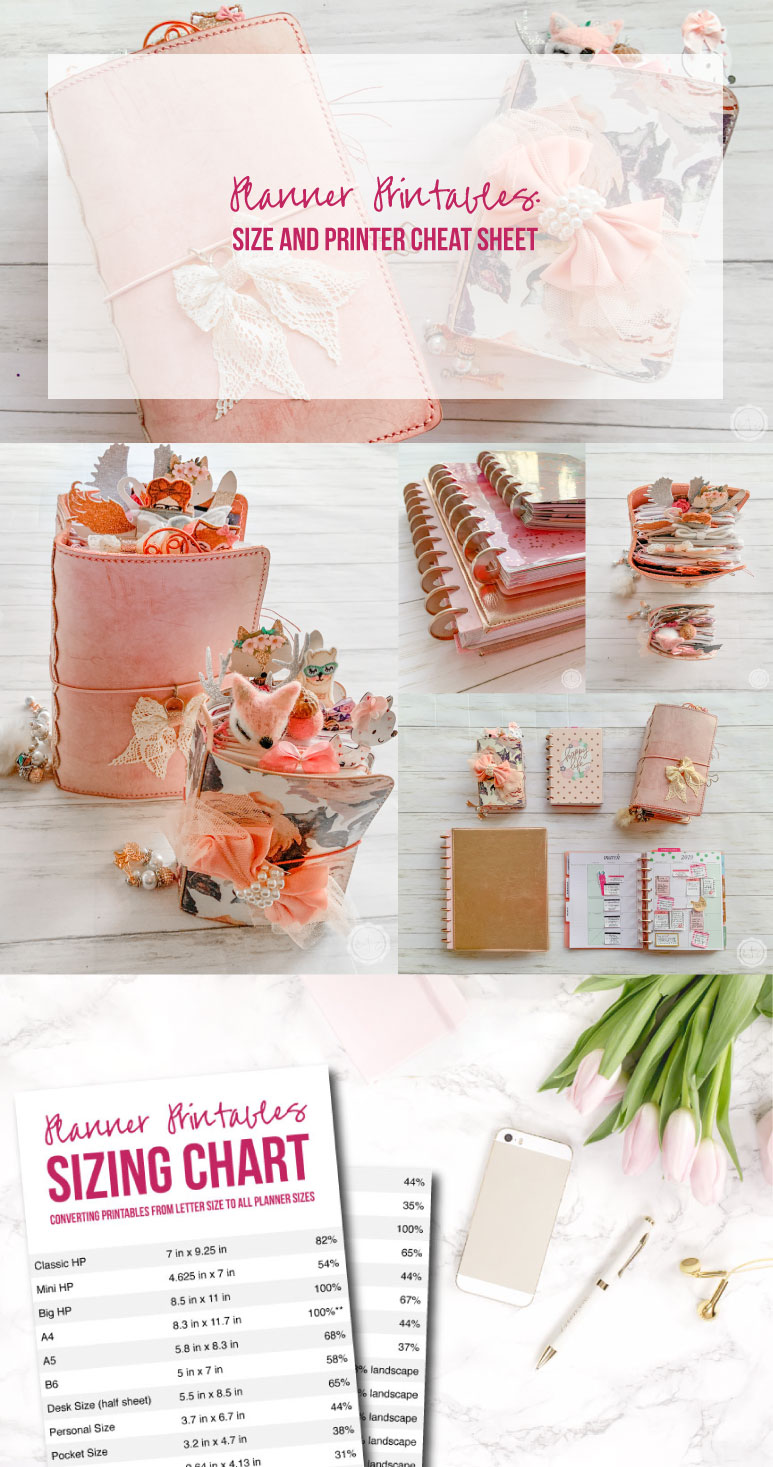
If your planner inserts are any smaller than 8.5 x 11 I’ve put together a quick little chart for you. Simply look up your insert size or your planner type on the left and then record the % to Print on the right. Go ahead now… find them on this sweet little chart:
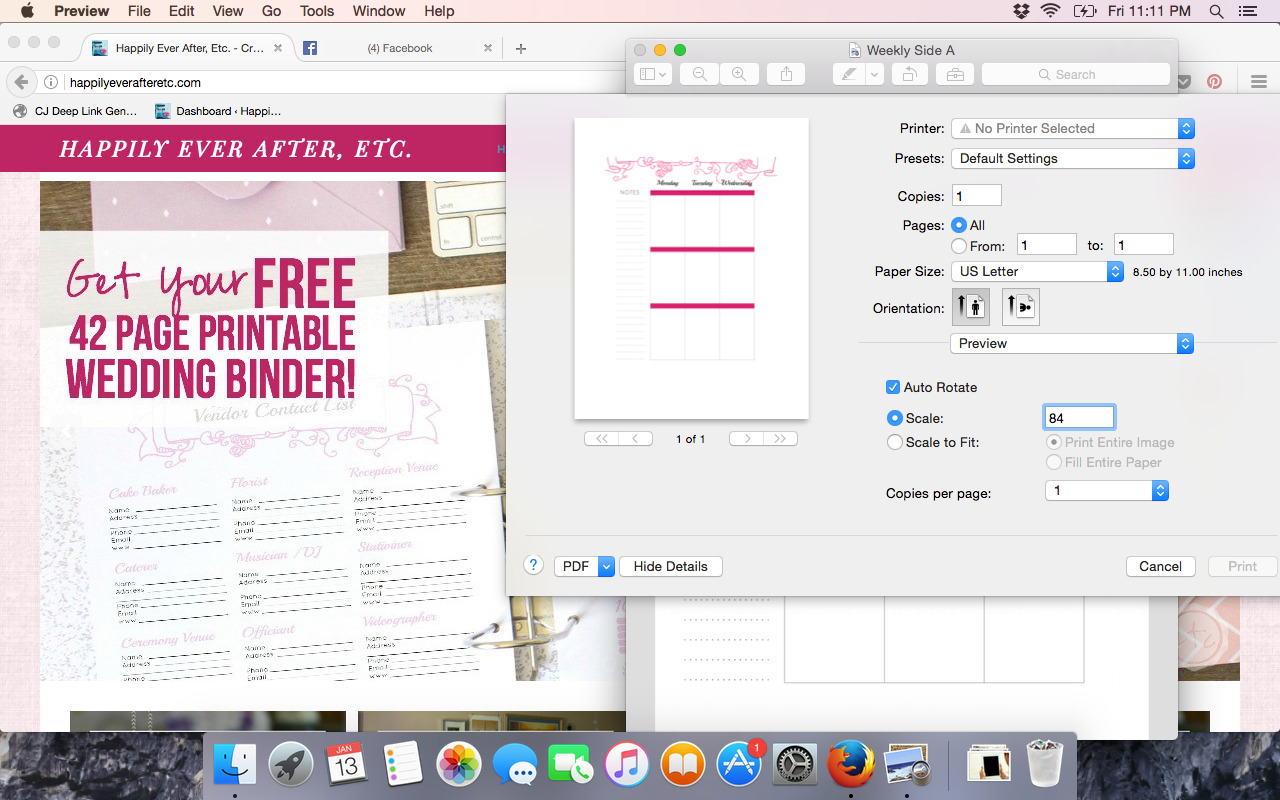
Now we’ve come to the easy part! Open your printable on your computer (I like to use preview on my Mac or adobe reader) and click print.
You’ll come to the same print screen we all know and love. At this point simply find the scale box (on my Mac it’s near the bottom, in the center) and put the corresponding percentage in the little box.
Now you’re ready to hit print… how easy was that?
Once you’ve printed out your pages go ahead and use a paper trimmer to cut them down to the final insert size so that they fit perfectly into your planner.
Easy peezy lemon squeezy.
I hope that helped in your planning adventures… let me know if there’s a planner type I missed so that I can add it to the list!


