


If you own a cricut chances are you’ve thought about decorating it before… it is a cutting machine after all. It only makes sense you’d want to cut something out to put on it! I have gone back and forth for years about whether or not to decorate mine… and I even had a small logo on my Explore Air 2 for a while but when I didn’t really want to go with all. the. branding. this time.
So instead I went for timeless with a little floral watercolor decal that blends just beautifully with my rose colored Cricut Maker!
I am in love with how it turned out… take a look!
Supplies:
- Cricut Maker
- Fine-Point Cutting Blade
- Standard Cutting Mat (that’s the green one! Although I used a fabric mat since it was on hand!)
- Printer
- Floral Watercolor PNG
- Printable Vinyl
- Delicate Transfer Tape

- True Control Knife
- Acrylic Ruler
- Cutting Mat
- Weeding Tool
Ready to take the leap but not sure which machine is right for you? Check out my Explore Air 2 and Maker comparison before pulling the trigger. I go over the pro’s and con’s of each machine and even have an easy to read check list of each machine’s features so you can decided which cutting machine is perfect for you.
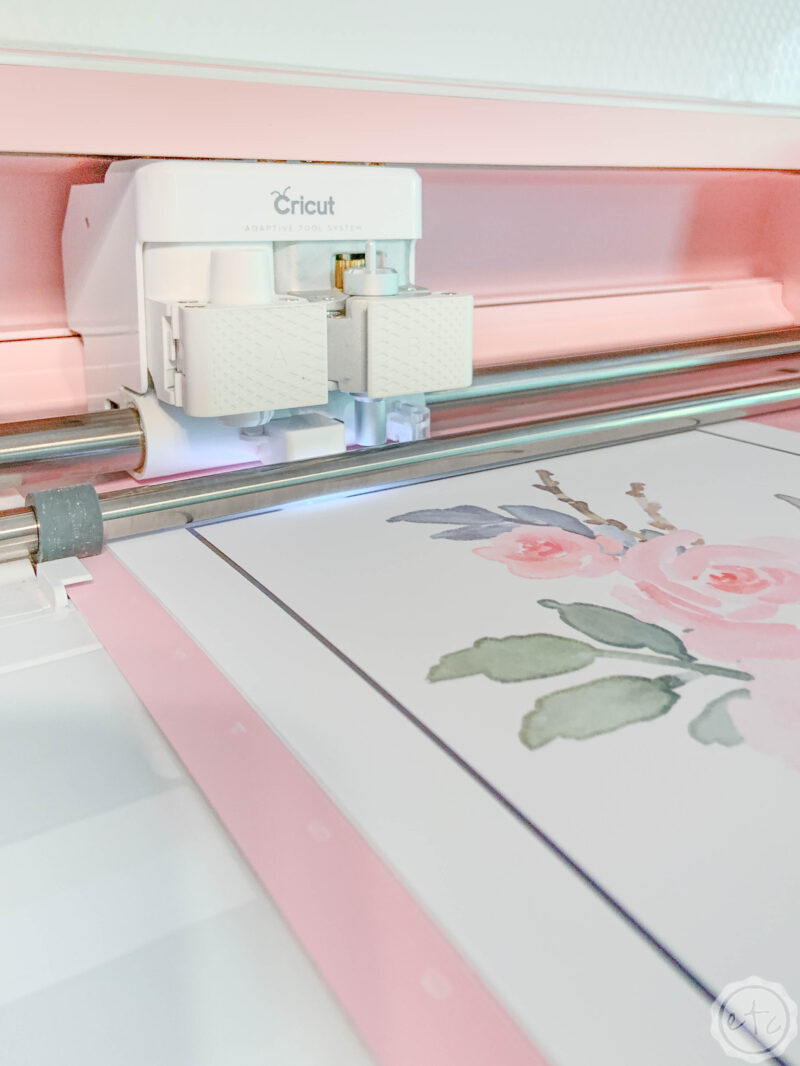
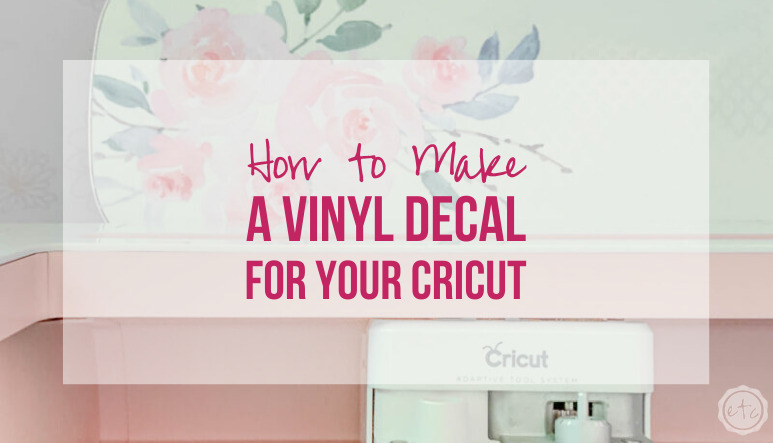
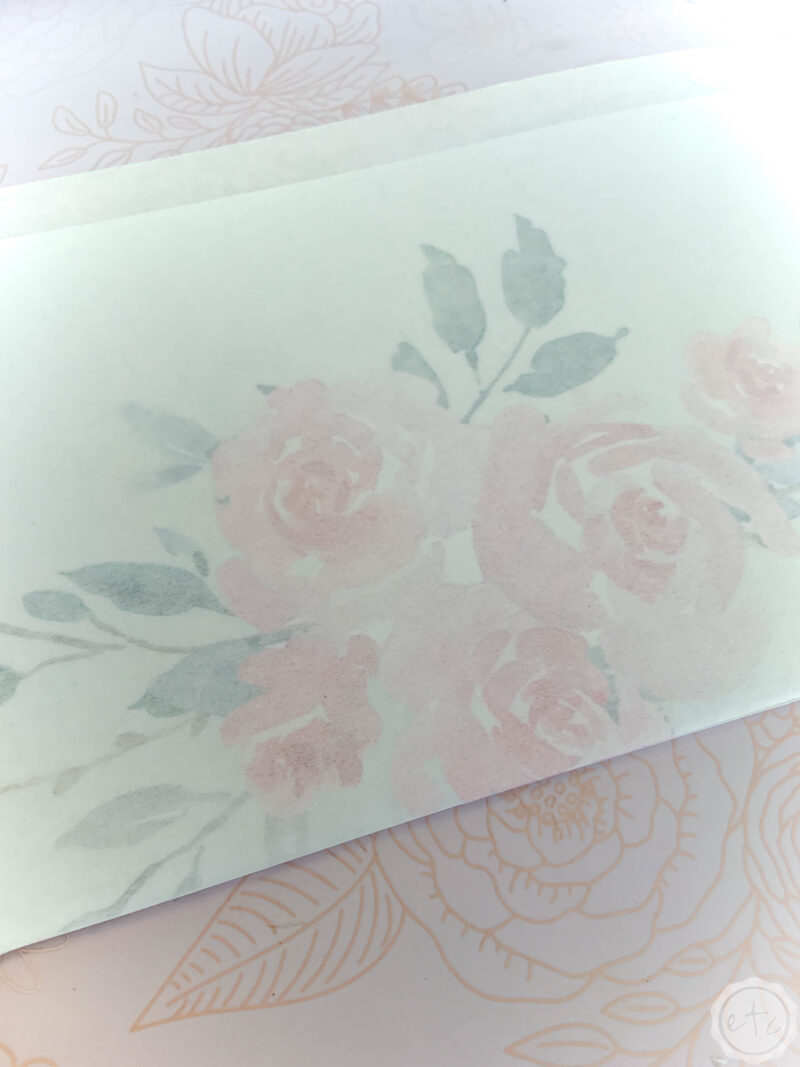
Step 1: Print & Cut your Decal
Let’s get started! I thought about sitting down to watercolor my own floral design but honestly I just wasn’t feeling like watercolor. Which is a little depressing but whatcha gonna do?
Instead I headed over to Etsy where I found the perfect watercolor floral design already whipped up. Plus it came with a whole slew of similar bouquets and other flowers so I’ll be able to use these bad boys for lots of projects (I’m thinking a pretty rose gold resin tumbler would be amazing with this design on it!).
Then it was simply a matter of uploading the png into Cricut Design Space as a print and cut file, printing it out on printable vinyl and running it through my maker to cut out the entire design.
I’m always impressed with how the cricut knows exactly where to cut on these photo like files… this particular file cut like a dream
If you’ve never used your Cricut’s print then cut feature you can follow my full tutorial for printing on your printable vinyl and then cutting out the decal.
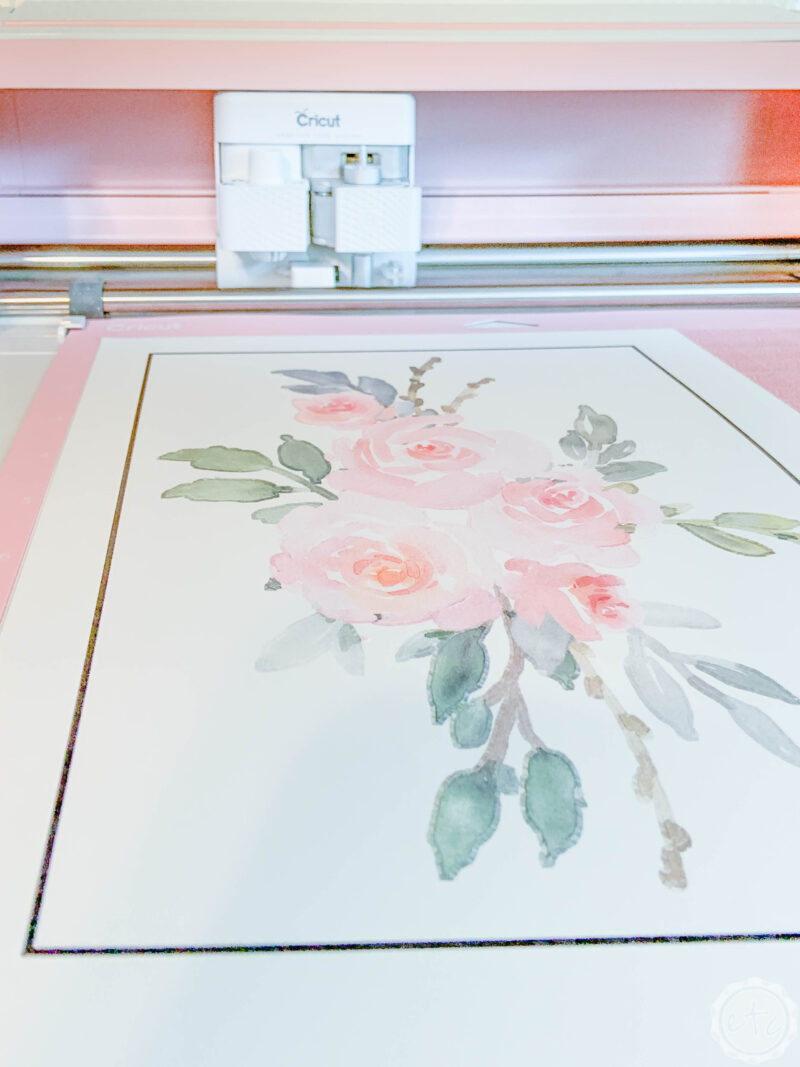

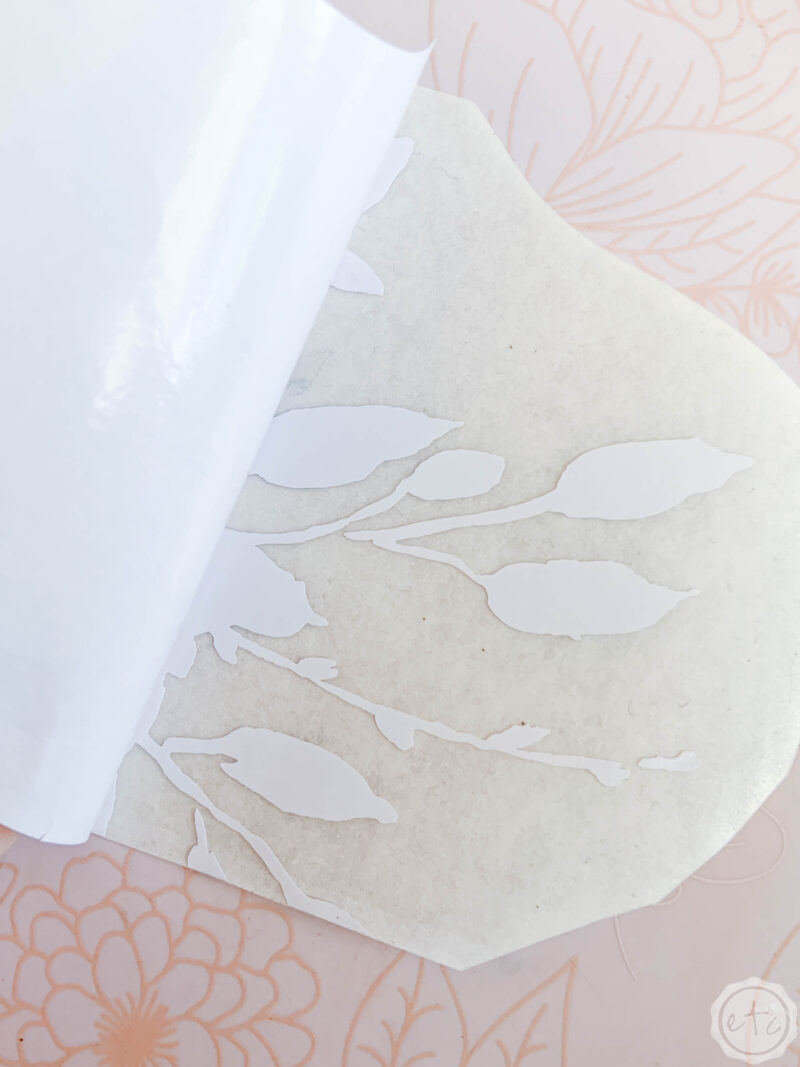
Step 2: Weed Your Decal
Once your little watercolor design is done being cut it’s time to weed the design.
You probably are very familiar with this concept but just in case this is your first project since unboxing your cricut here’s the scoop: weeding is simply removing the excess vinyl from your design. The background, the weird in-between spaces, the extra pieces of vinyl that you don’t want on your final design.
Psst… if you’re super new to this whole cricut life then you may want to check out this guide to the basic tool set or my post on beginner must have tools and accessories.
Start by pulling as much of the background off in one fell swoop as possible. This vinyl feels like butter and it weeds like a dream (sorry graphic design nerd here… I’m into paper) so you shouldn’t have any problems. Even still go slowly and make sure that you’re leaving all the little bits of the design in place and only pulling off extra vinyl.
If any little odds and ends try to come up with the background vinyl you can use your fingers (or a weeding tool) to gently press them back onto the carrier sheet and away from the excess vinyl.
Speaking of weeding tools. Once you’ve removed all the background vinyl you’ll be able to use a weeding tool to go in and remove any little sections between the flowers that need weeding.
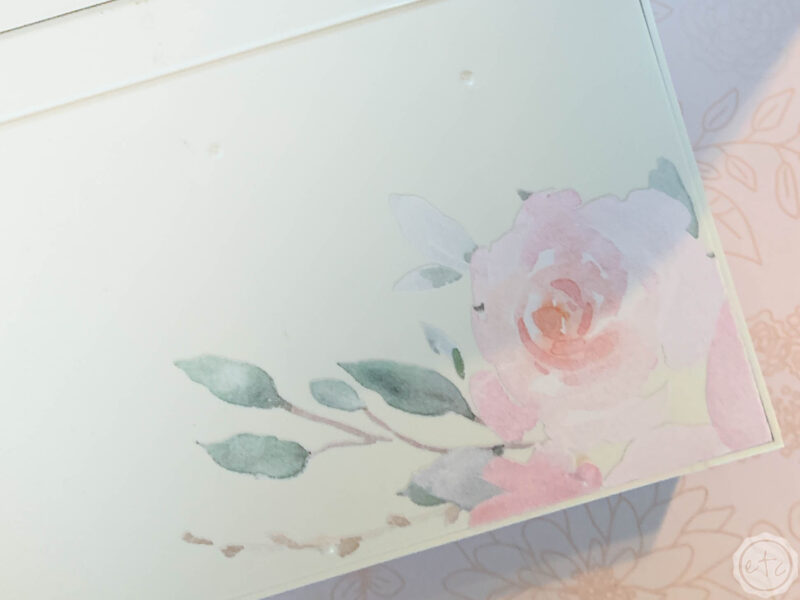
In this particular design there were 3 larger areas in between the flowers and a few smaller pieces that needed to be removed… but overall there wasn’t too much weeding to be done.

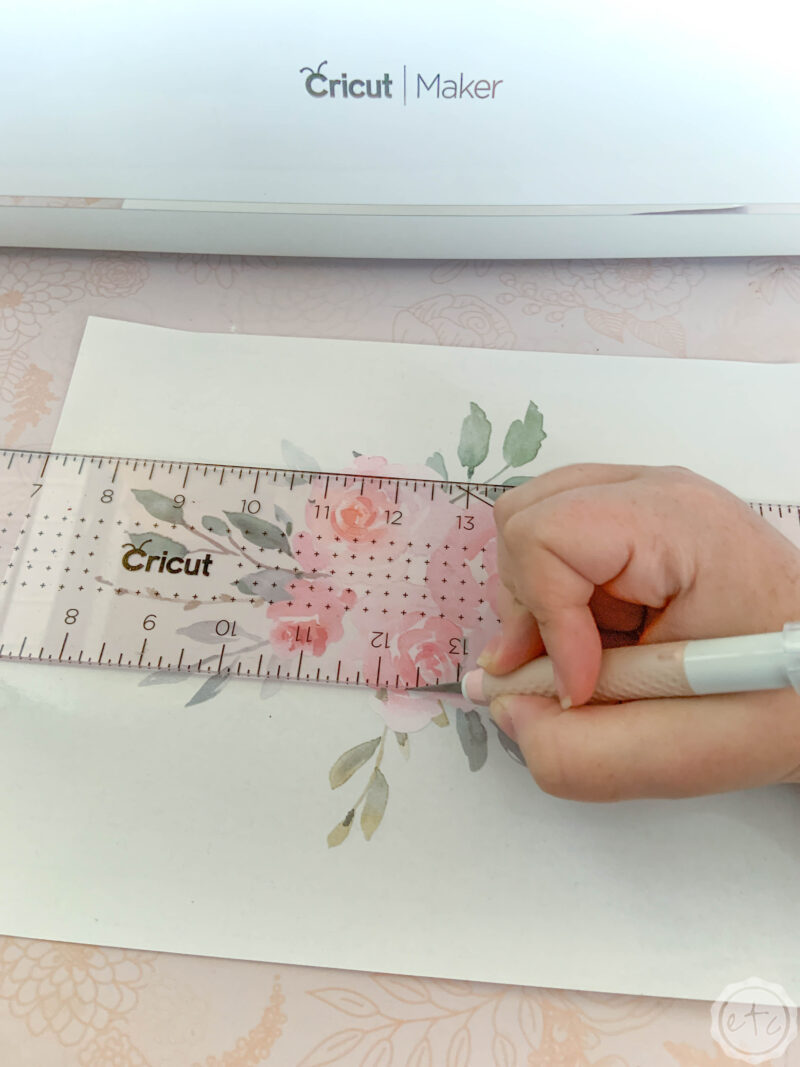
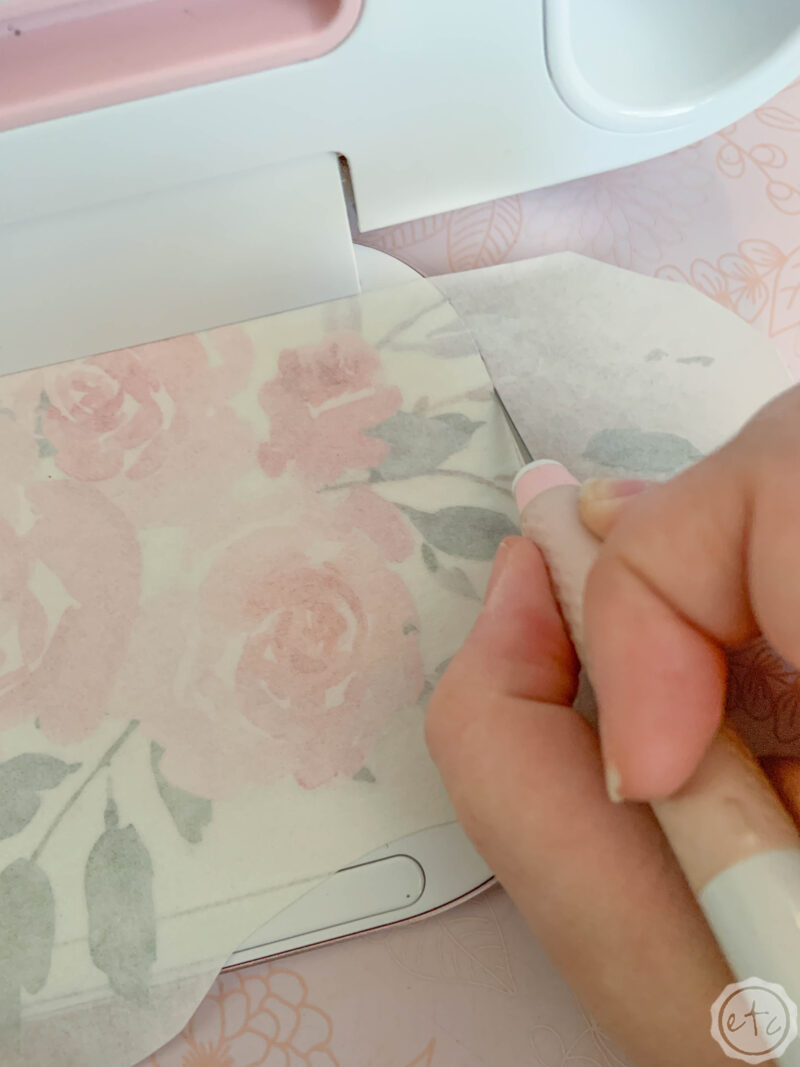
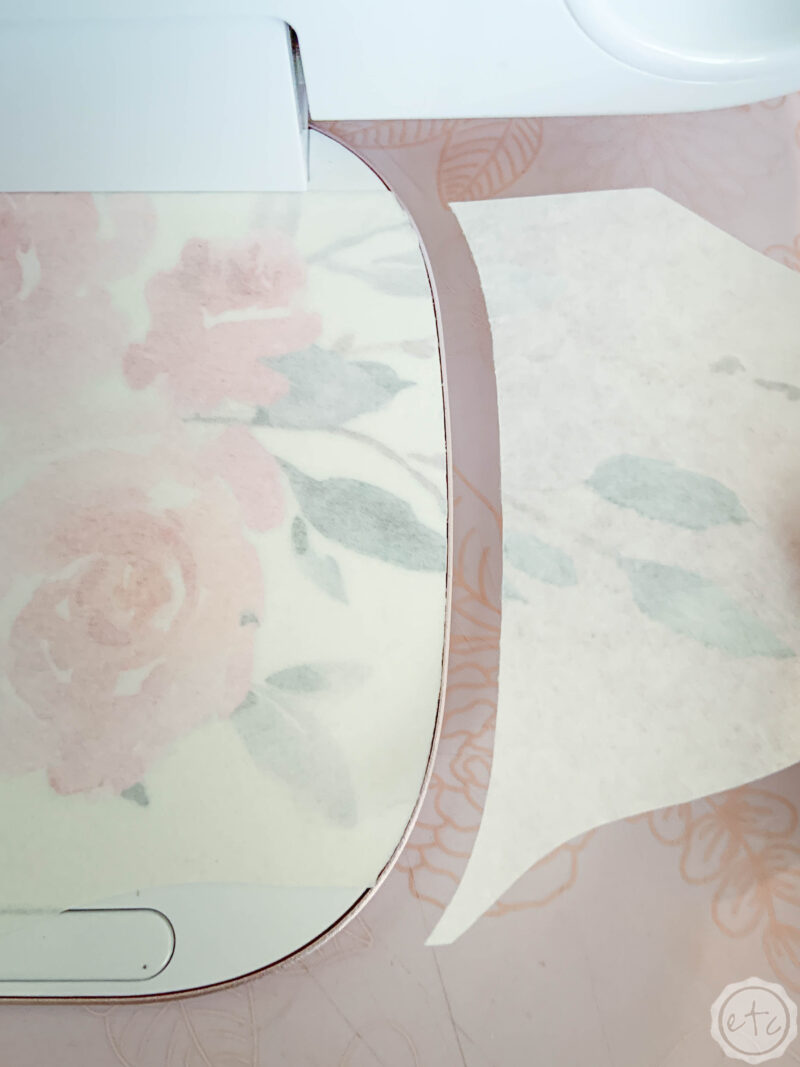
Step 3: Measure & Cut Your Decal
Now it’s time to cut this baby to size!
Since I wanted to place the decal onto my Maker before deciding exactly where to cut I went ahead and printed & cut the entire floral design. I knew I wanted the largest portion of flowers to be underneath the top lid on the left hand side… so I placed my design there and moved it around until I was happy.
Once I liked where it was I gently pushed the bottom down until I had a crease where the floral design would need to be cut (right at the juncture of the bottom of the lid and the top of the machine.
Then I used my acrylic ruler, cutting mat and a true control knife to cut a straight line through my little design.
Volia!
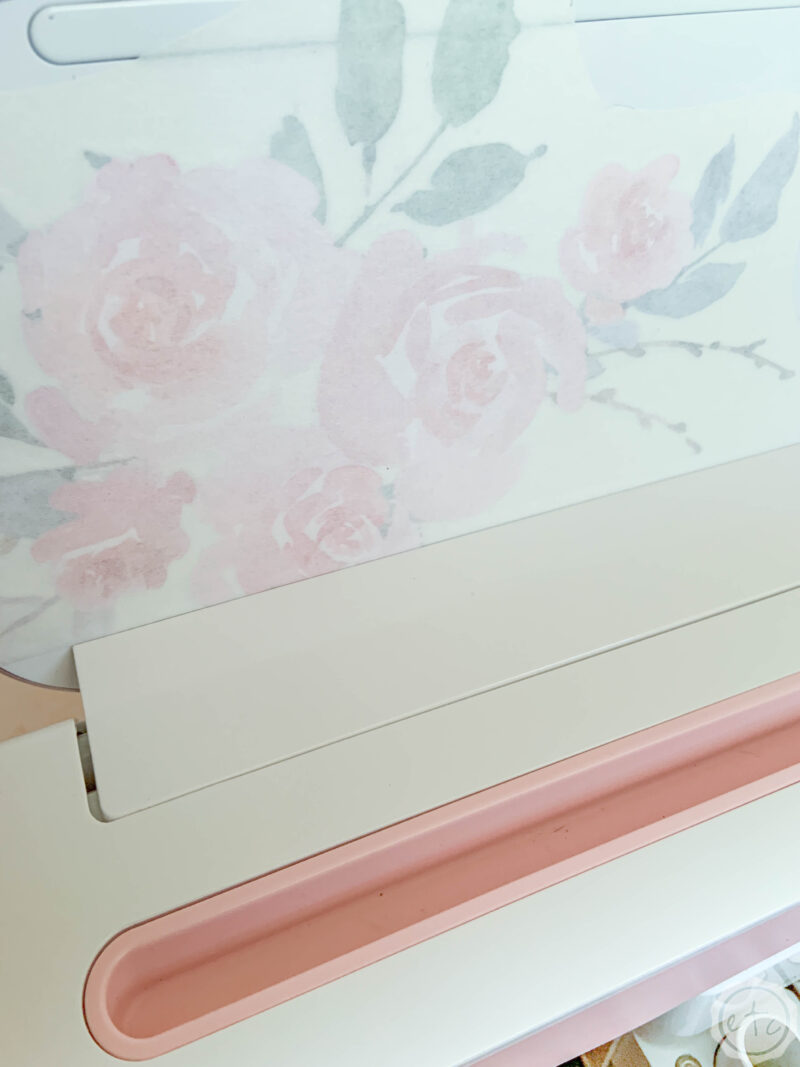
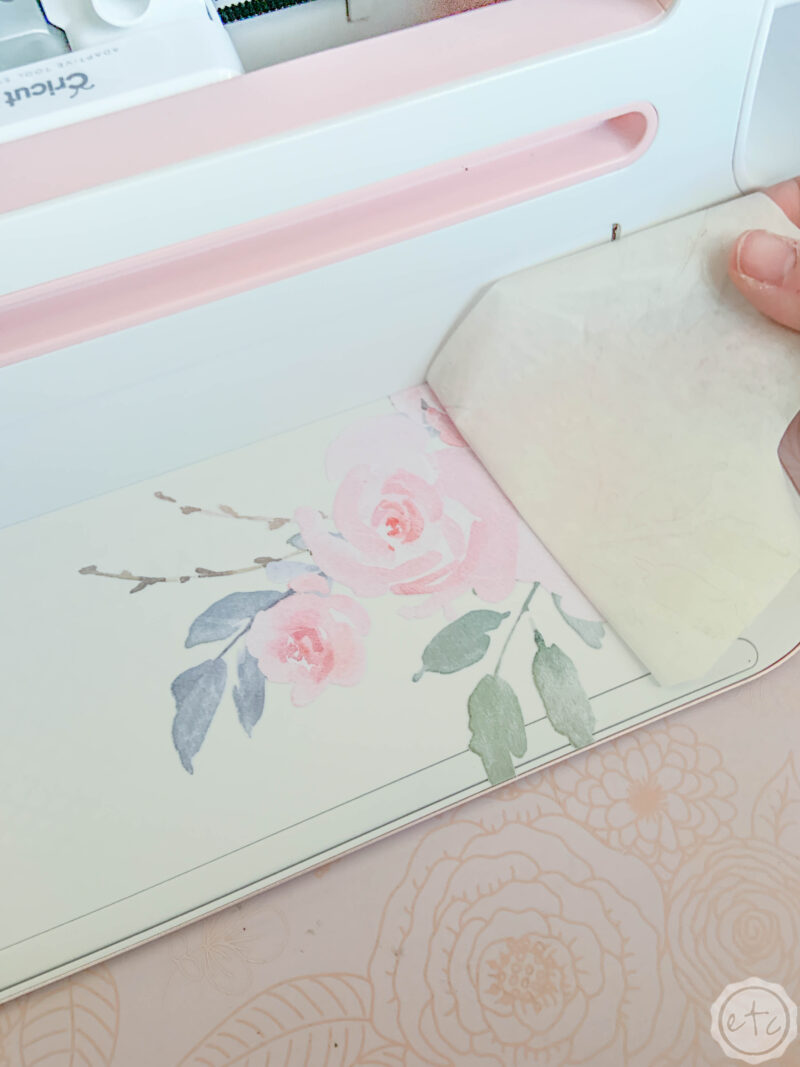
Step 4: Apply Transfer Tape
Let’s get ready for the good stuff: transfer tape. My life saver. The best invention since sliced bread. The thing that I could not live without… because I would have to transfer letters one by one from carrier sheet to design.
Since we’re using printable vinyl you definitely want to use a delicate transfer tape… otherwise the ink from the printer will come right off your design and live on your transfer tape. No bueno.
This is the delicate transfer tape I use and it’s wonderful for printable vinyl… I definitely wouldn’t use regular transfer tape and strong grip would absolutely destroy this.
This stuff comes on a roll so it’s easy to rip off a piece… line it up with the straight edge of your floral design and then gently smooth it over the entire design. This stuff is delicate but so is the printable vinyl so you don’t need a lot of pressure to smooth the transfer tape into place… and the more pressure you use the higher the chance that you’ll lose ink in the process.
Once you’ve smoothed the transfer tape in place I like to turn my design over so that it’s face down and slowly peel the carrier sheet away from the design. This way the carrier sheet gets curly and not your design.
Perfect!


Bonus Tip: You probably notice that I cut the transfer tape down around the design. That is completely unnecessary but I thought it might help me to place the design exactly how I wanted it… and it’s a pretty quick and easy step.
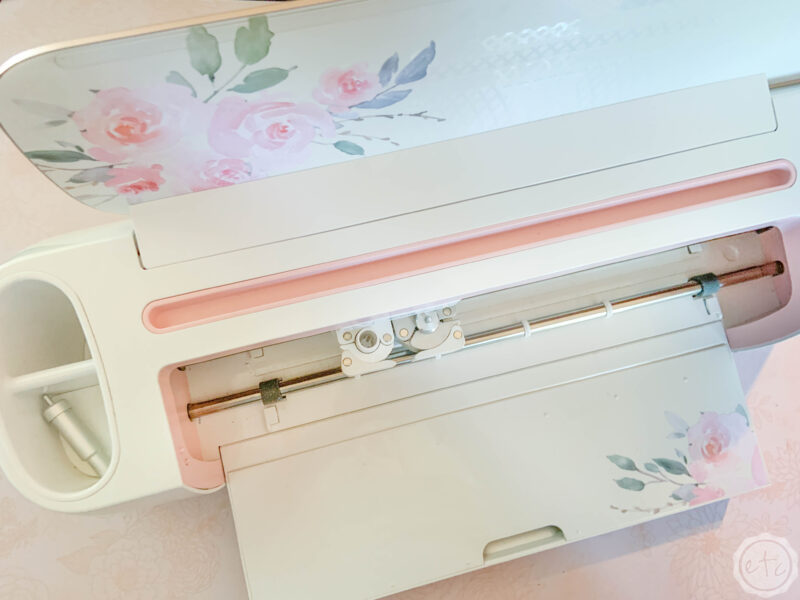
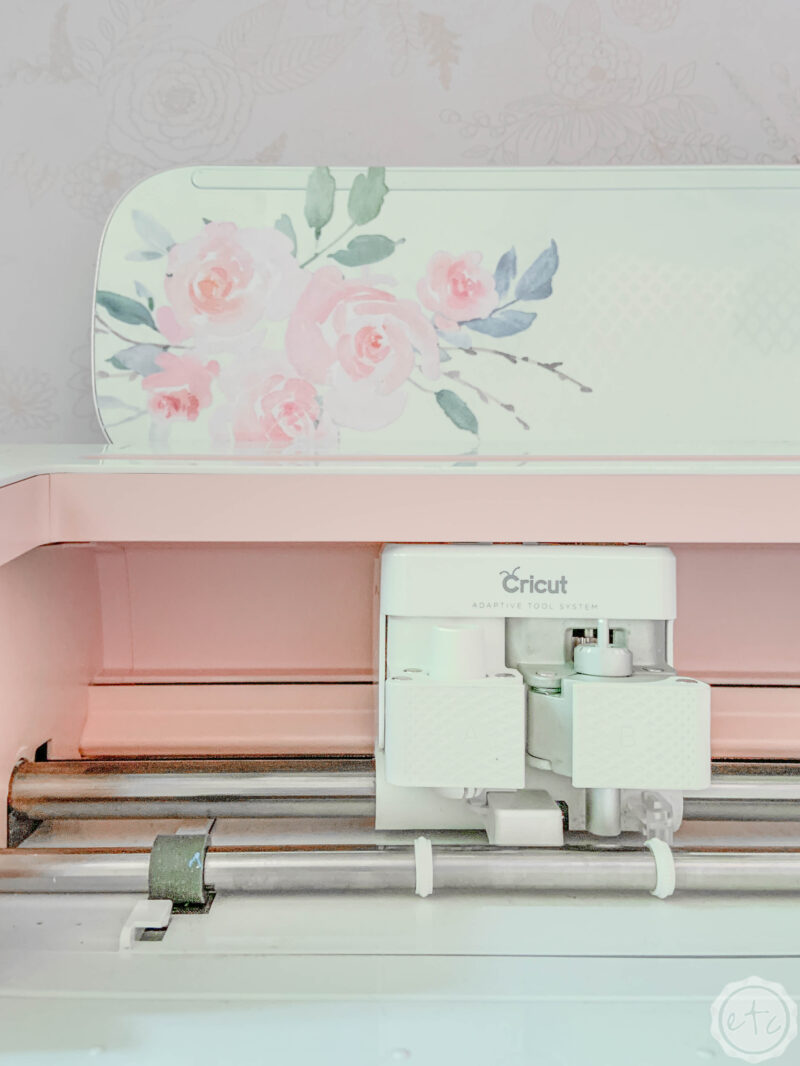
Step 5: Apply the Decal to your Cricut
Now we’re cooking with gas! Go ahead and line the decal up where you want it on your cricut and make sure the straight edge of the decal is flush with the straight edge of your cricut’s lid. Then smooth the decal down onto your cricut.
Start at the bottom and smooth the decal upwards and outwards from the middle of the decal so that it’s wrinkle free when you’re done.
Beautiful darling!
Once you’ve got it smoothed into place you can use your true control knife to cut along the curved edge of your cricut’s lid. Perfect!
Now slowly peel back the transfer tape leaving the design behind! Once the transfer tape is gone you can use your fingers to firmly press down the vinyl so that you know it’s bonded perfectly to the lid of your cricut!
I absolutely love how it looks!
Of course, you have a few pieces of your design left over… I used a new piece of transfer tape to put another little bit of floral loveliness down on the right side of my maker.
Take a look!
I absolutely love how this turned out! I know it will make me smile each and every time I go to use my machine! Although I’ll be honest now that it’s done I’m tempted to layer “Happily Ever After, Etc” in foiled rose gold right across the middle of that lid.
Wouldn’t that be pretty?

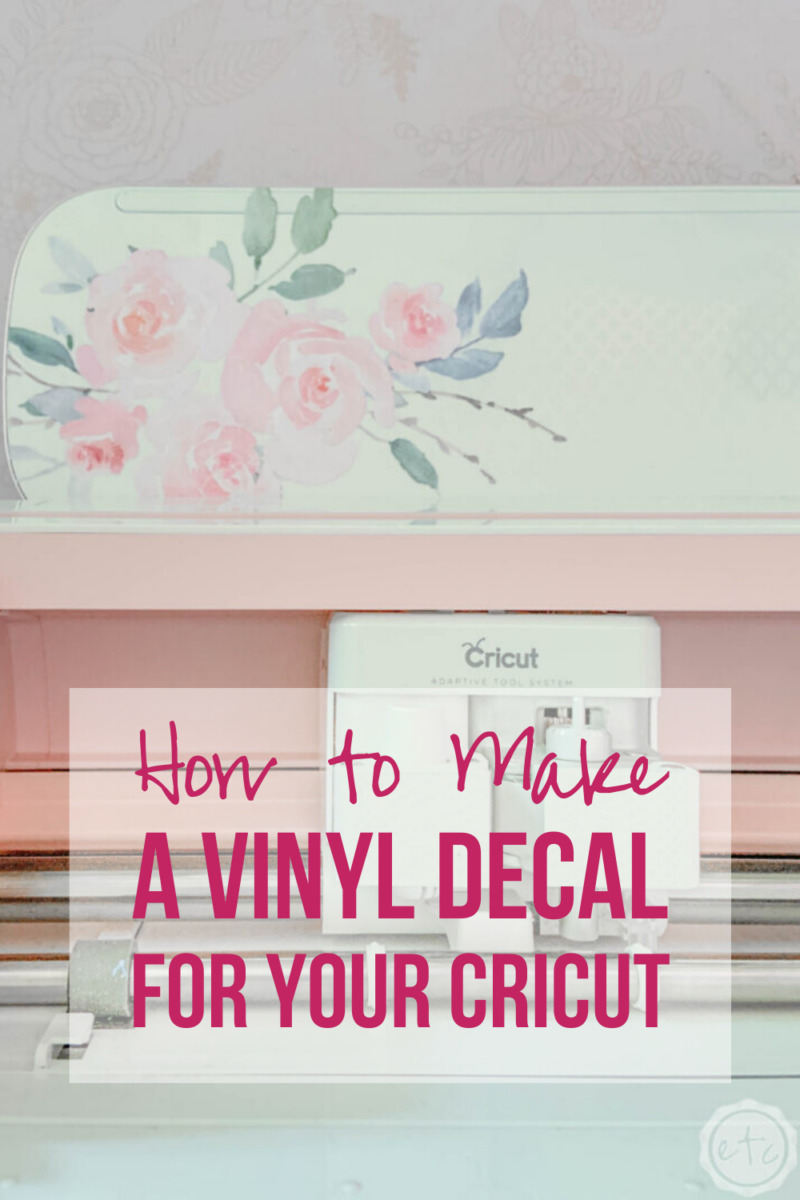


[…] For today’s project I’m sharing a little floral png that I printed on printable vinyl and turned into a custom decal for my Cricut Maker! […]