
This is a sponsored post written by me on behalf of Cricut. All opinions are 100% mine.

My crazy crafting hobby comes in second only to my true passion: hoarding craft supplies. Sometimes I’m not sure which is my true hobby… buying the craft supplies or using them. Either way I’m left with an abundance of supplies that need to be organized.
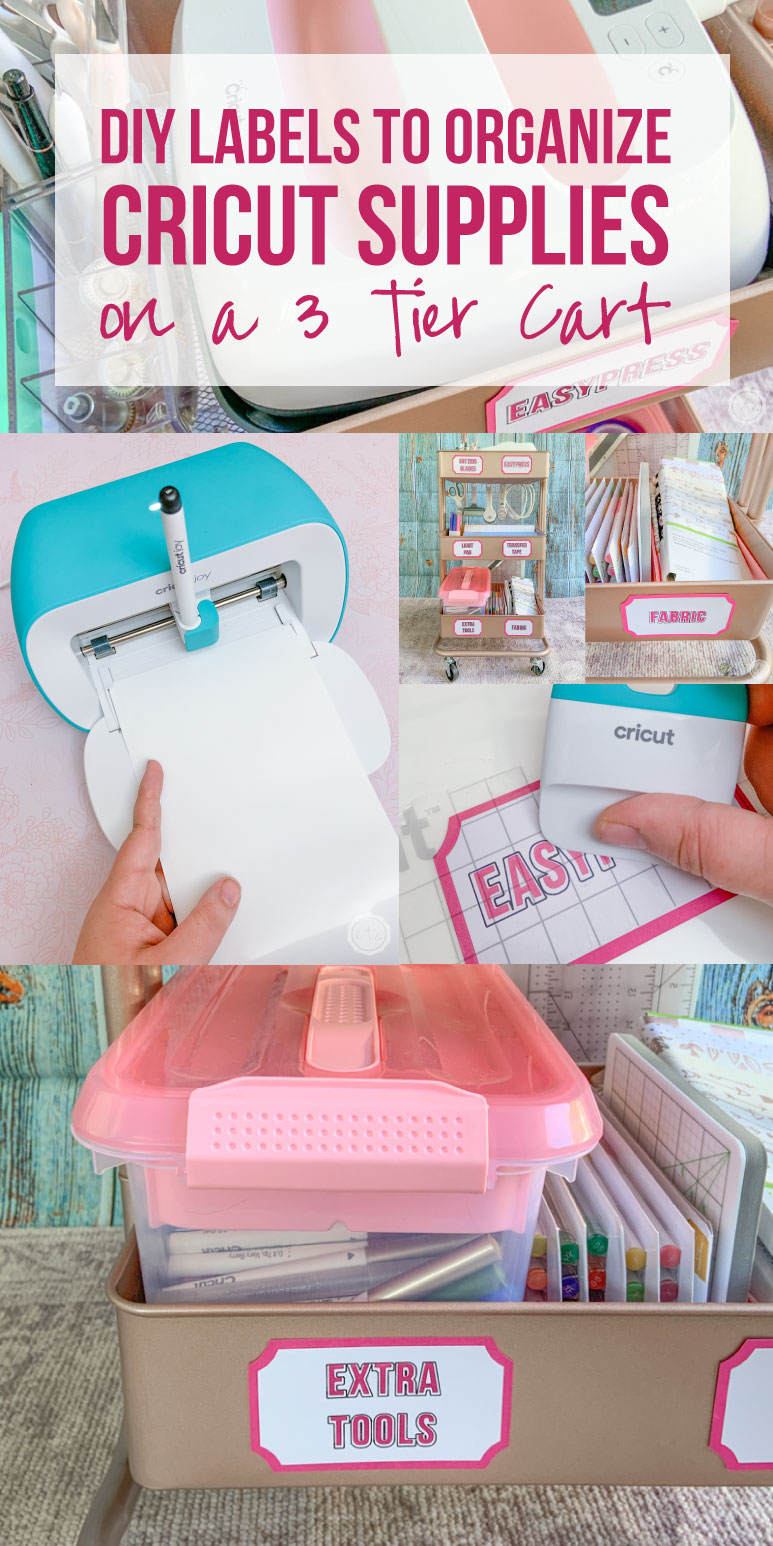
Which is why I thought I would share a quick label making tutorial today… that I’m going to use to organize my Cricut crafting supplies on one of my little 3-tiered carts! This way my supplies will still be mobile and at my fingertips but they’ll be organized and put away so that I can (hopefully) find them when I need them.
Of course, these little labels would work for organizing almost any area in your craft room. In addition to a 3-tier cart you could organize:
- Scrapbooking Supplies
- Resin Tools
- a Bookshelf
- Yarn for Knitting
- Ribbon and Buttons
- Brush Lettering Supplies
Ready to take the leap but not sure which machine is right for you? Check out my Explore Air 2 and Maker comparison before pulling the trigger. I go over the pro’s and con’s of each machine and even have an easy to read check list of each machine’s features so you can decided which cutting machine is perfect for you.
Ready to get started?
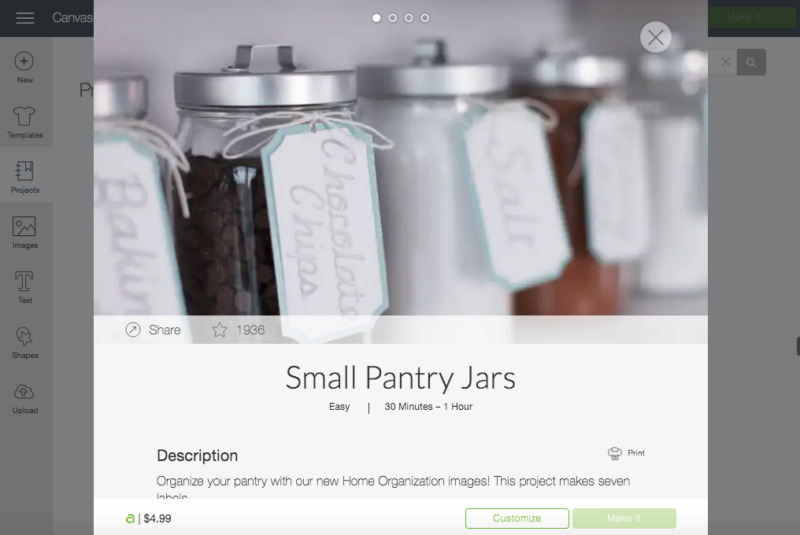
I wanted this project to be quick and easy so I headed to the Cricut Access Library and found a set of labels that I liked. These little jar labels were super cute and I could see them working for my 3-tiered cart… I just had to change the words from “chocolate chips” to “easypress” to work for my cricut supplies.
Easy peezy!
I decided to keep this project super simple and use my new little Cricut Joy… that way I didn’t have to get out my Maker. I love being able to cut simple projects without leaving my desk and plugging in big machines. My little Joy has taken up permanent residence on my desk so that I can craft or organize whenever the need hits.
Still trying to decide if you need the Cricut Joy? Read my full review here and make your decision!
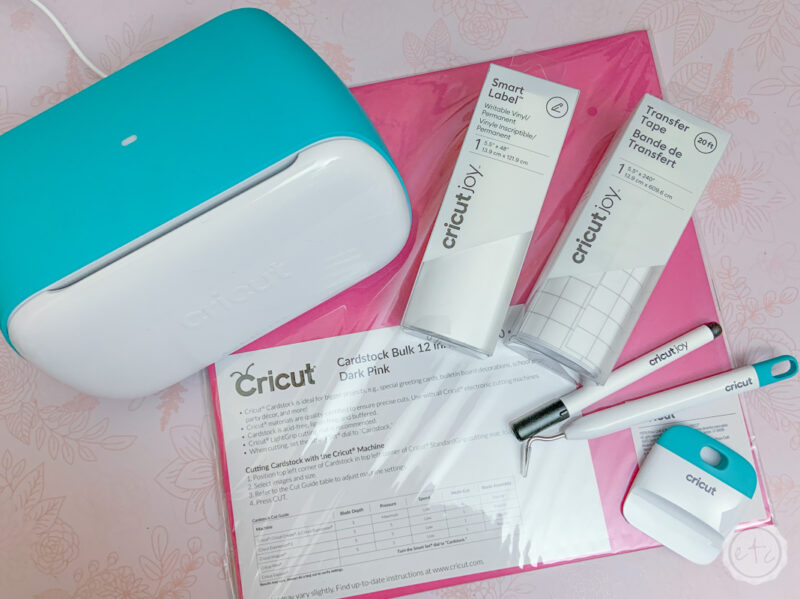
Supplies:
- Cricut Joy
- Cricut Access File: Search Small Pantry Jars
- Smart Label Vinyl
- Pink Cardstock
- Cricut Joy Mat
- Cricut Joy Black Pen
- Transfer Tape
- Bright Pad
- Weeding Tool
- XL Scraper Tool
Step 1: Cut the Smart Labels
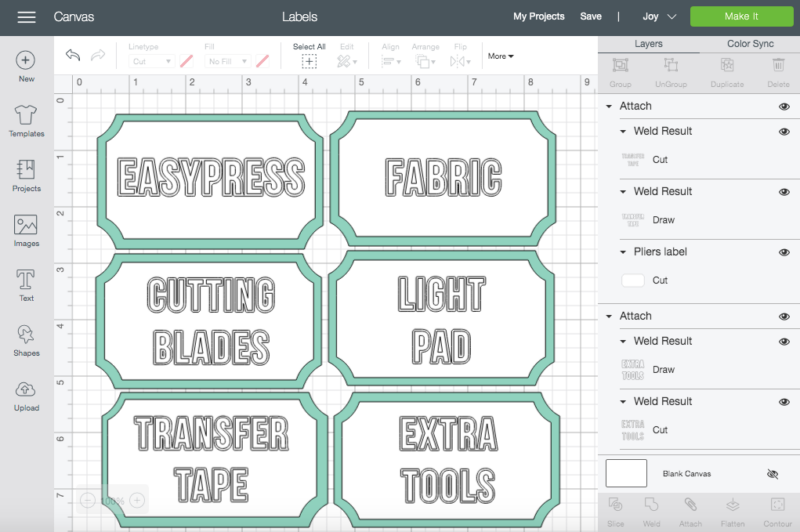
For these little labels I decided to get fancy with a white label on top of pink cardstock… that way I could cut out my words and the pink cardstock would show through.
For a bit of contrast I used a black pen to trace the outline of the words around the cut outs! If you wanted a simpler look you could easily stick with either writing the words on the label with your cricut pen or cutting out the letters.
I just thought both would be nice!
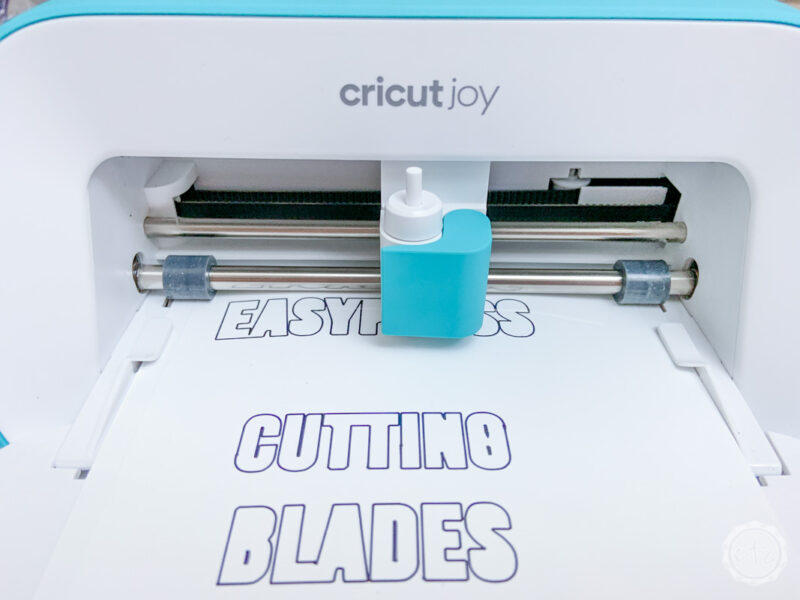
Start with the white smart labels… they’re smart because you can load them directly into the cricut joy without a mat (so much easier!). I used the label material instead of vinyl so that the pen ink didn’t smear when I used transfer tape to add the layers together.
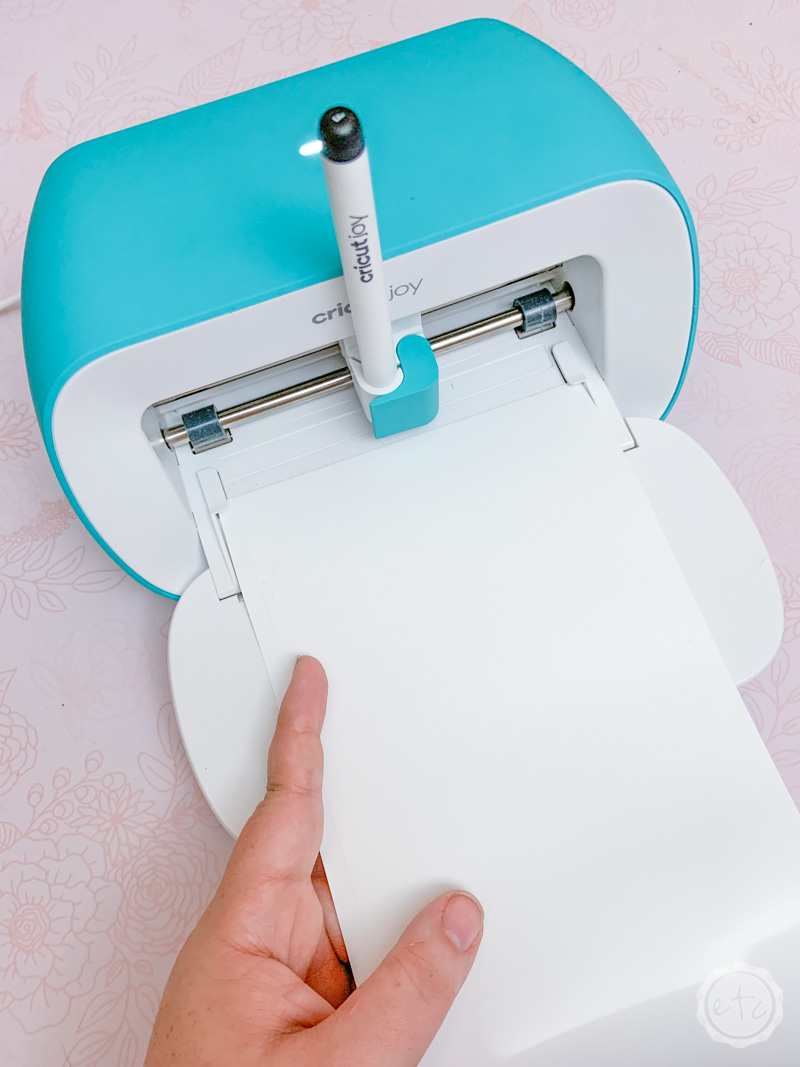
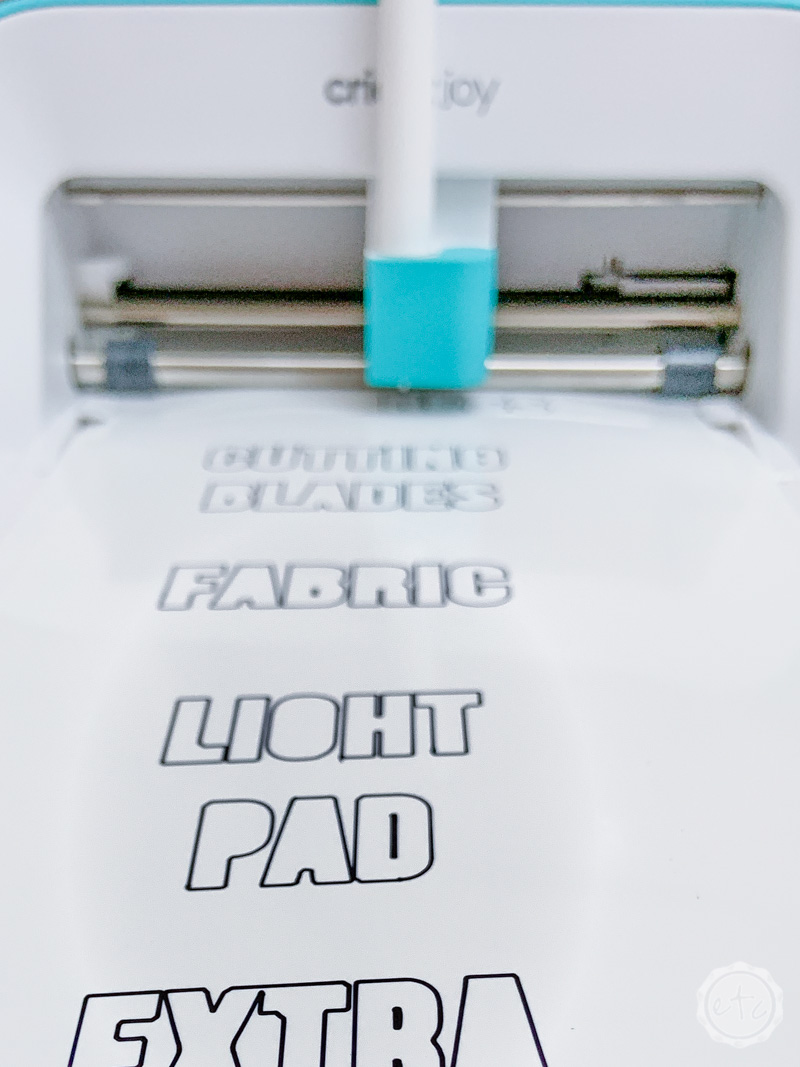
The Cricut Joy may be entirely wireless but it will still prompt you on the screen of your computer (or phone!) with instructions. You’ll start with the cricut pen loaded into the joy and then switch over to the fine point cutting blade when prompted.
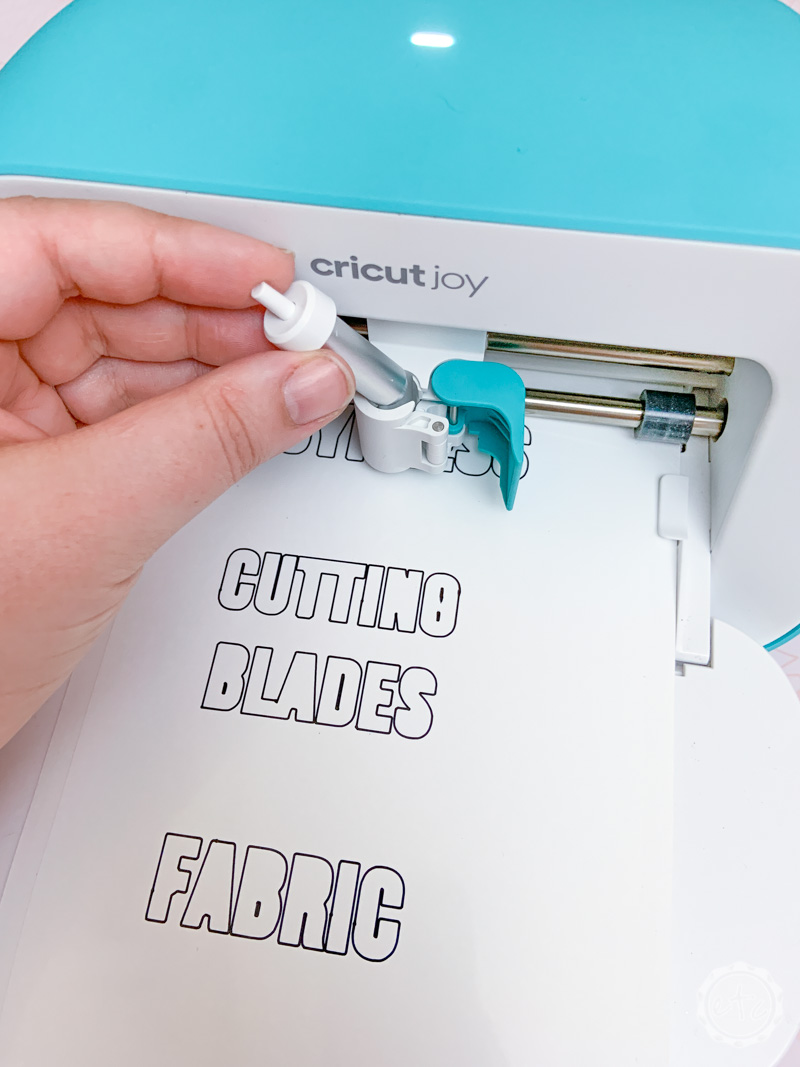
Keep in mind that the joy only has one clamp so you’ll have to physically switch the pen to the fine-point bade (they can’t both be loaded like with your Cricut Maker). You’ll also want to make sure you’re loading a Cricut Joy pen since the Maker pens are the wrong size for this little lady.
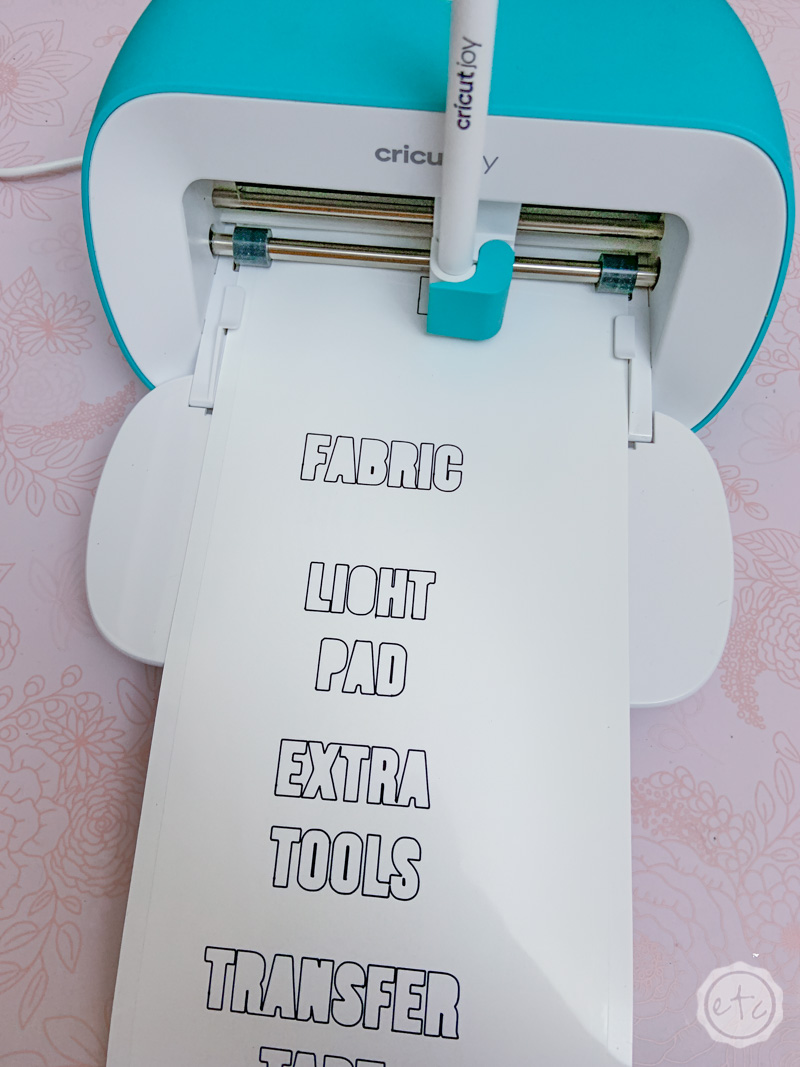
Even with the switch from the pen to the fine point blade the label material is pretty quick… you can write and cut 6 labels in just a few minutes!
Then it’s on to the next step!
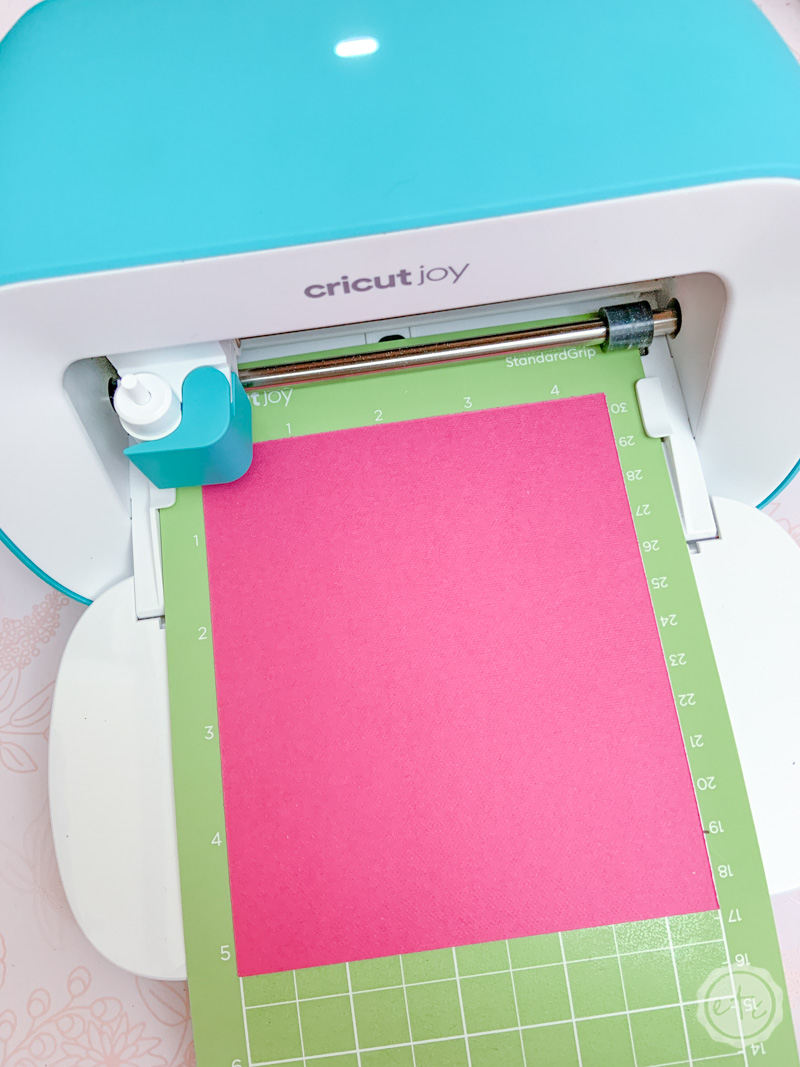
Step 2: Cut the Cardstock
Now it’s time for the cardstock! For this part make sure to select “with mat” when picking your cutting options… cardstock still needs a mat to cut.
Then load your cardstock onto a cutting mat and send it through the machine… these little cardstock labels are the easiest things you’ll ever weed!
Just make sure to take them off the mat by placing the entire mat face down on your surface and then peeling the mat away from your cardstock… otherwise your little labels will bend and curl. Which isn’t quite the look we’re going for.

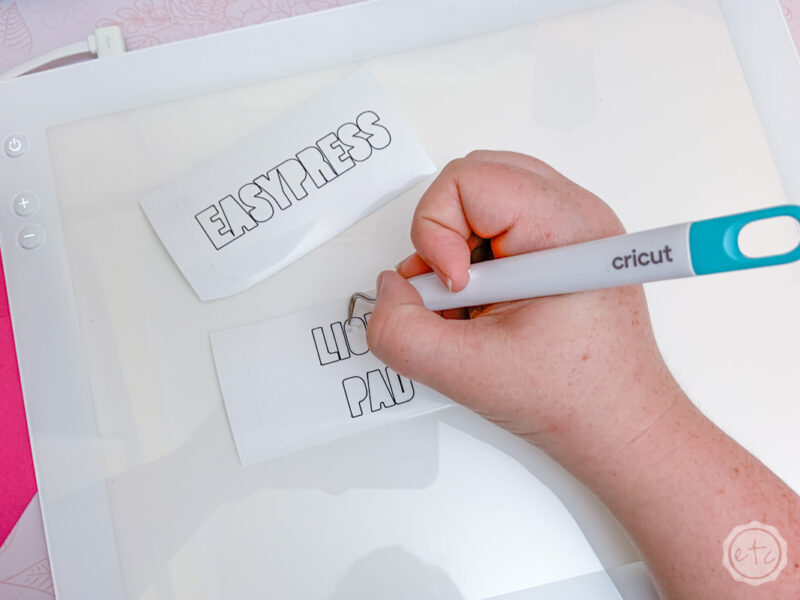
Step 3: Weed the Labels
Now it’s time to take all that extra vinyl off our little labels. You can leave your labels all connected but I decided to take a pair of scissors and cut all 6 of my labels apart to make them a bit easier to weed.
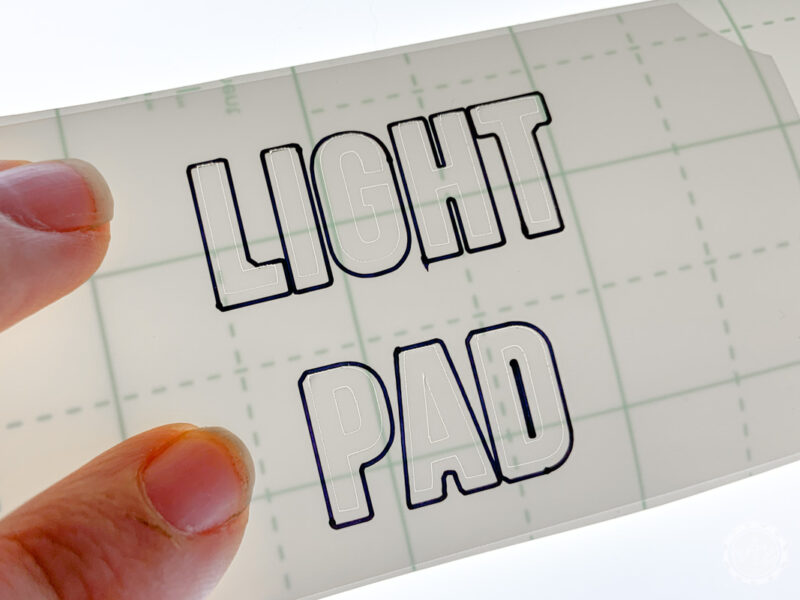
Weeing is easy… just use a weeding tool to carefully remove all the unwanted spaces. In this case we want our letters to be pink so we want to remove the actual letters leaving behind the negative spaces.
I don’t know why but I ALWAYS have a hard time weeding white vinyl… so I grabbed my bright pad to make it easier. I don’t use it nearly enough but it’s a must have for white vinyl or hard to read materials… it makes those cut lines so much easier to see!

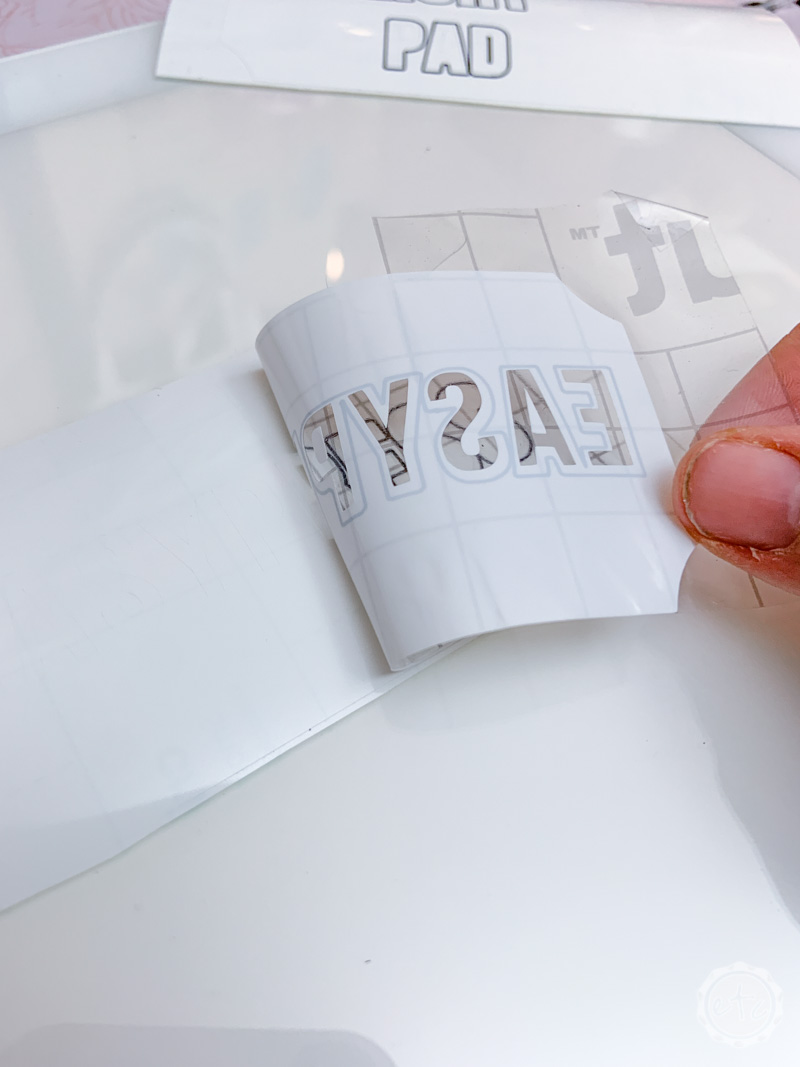
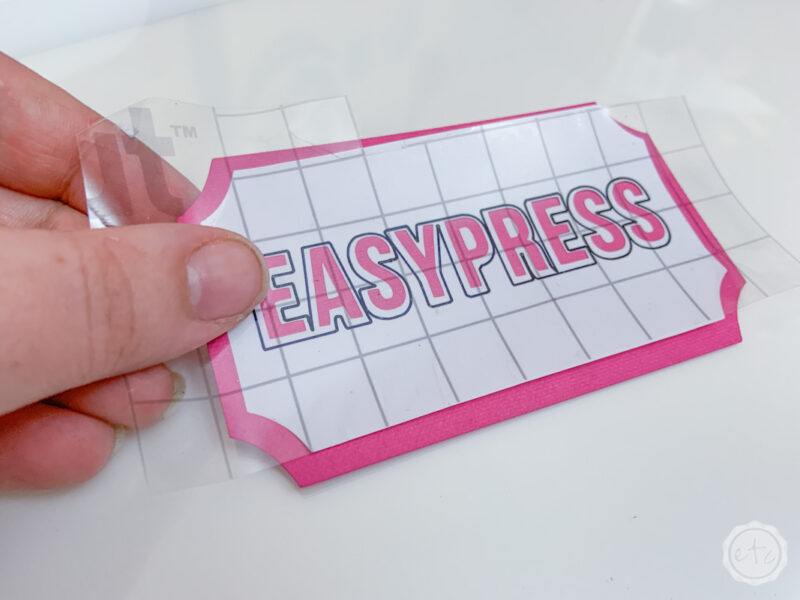
Step 4: Combine the Layers
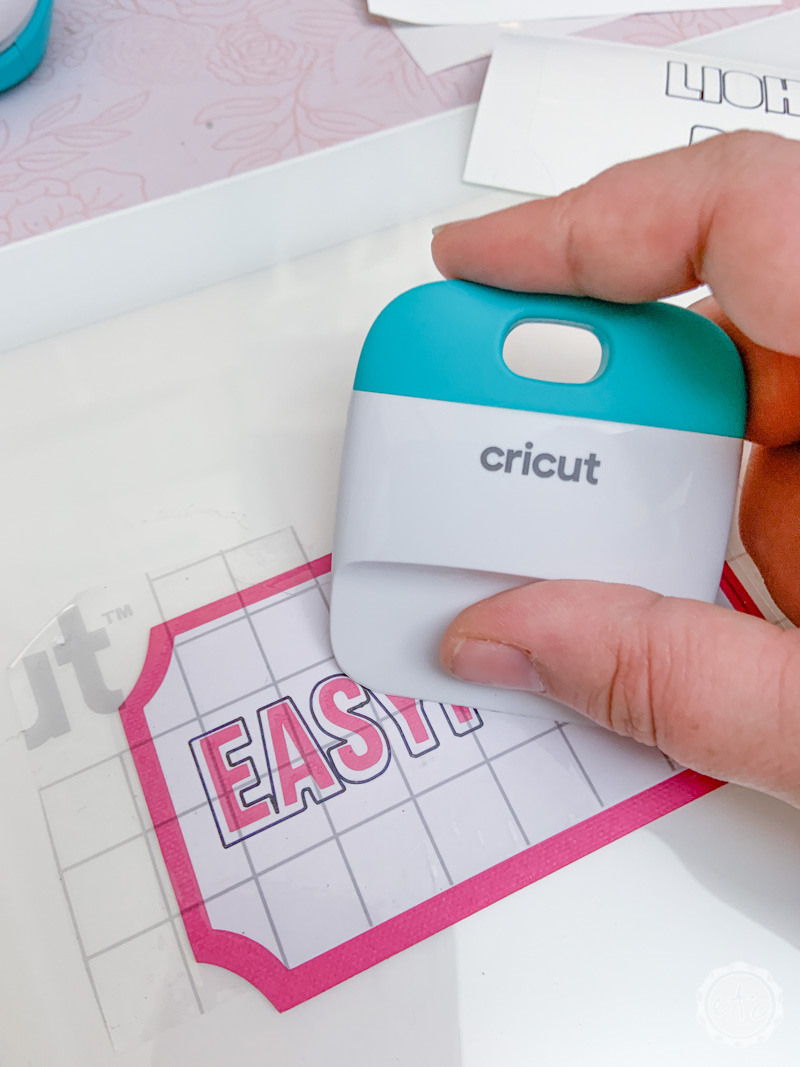
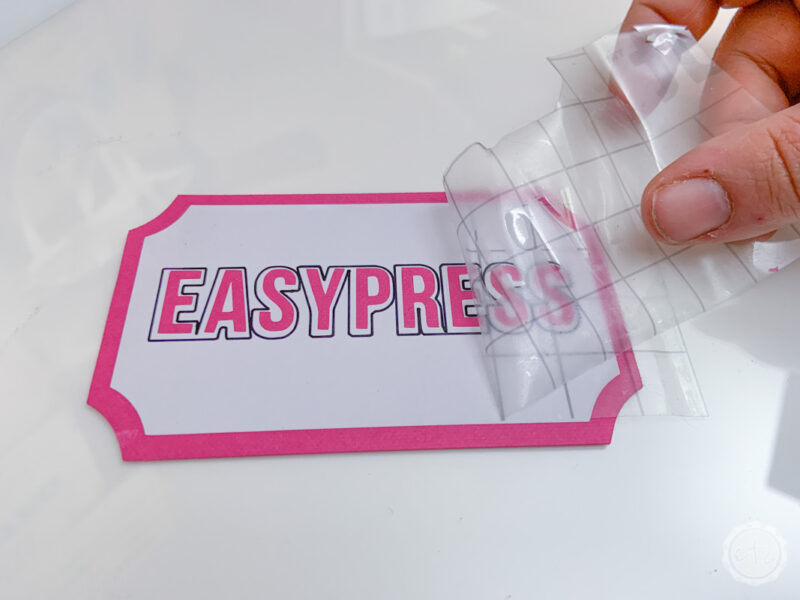
Ready for the fun part? Actually being able to see the layers! Go ahead and use a bit of transfer tape to pick up your white labels and place them onto the pink cardstock.
Smooth them into place and you’re done!
Now it’s time to see how these babies look on my little 3-tier cart!
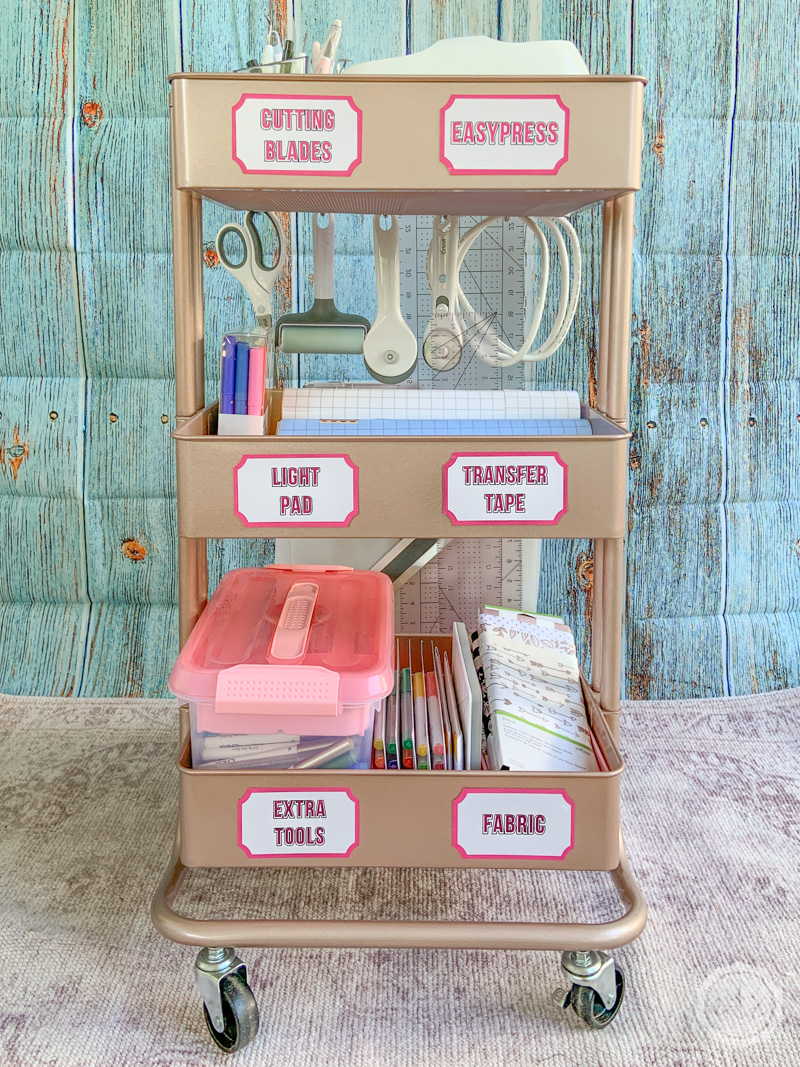
I love how quick and easy the little labels make it to find exactly what I’m looking for… especially since I’m not the only one uses this little cart. Of course, with all the supplies I keep on this cart I would need a few more labels to keep track of every single item on this little guy… but it keeps straight the things that are hard to find.
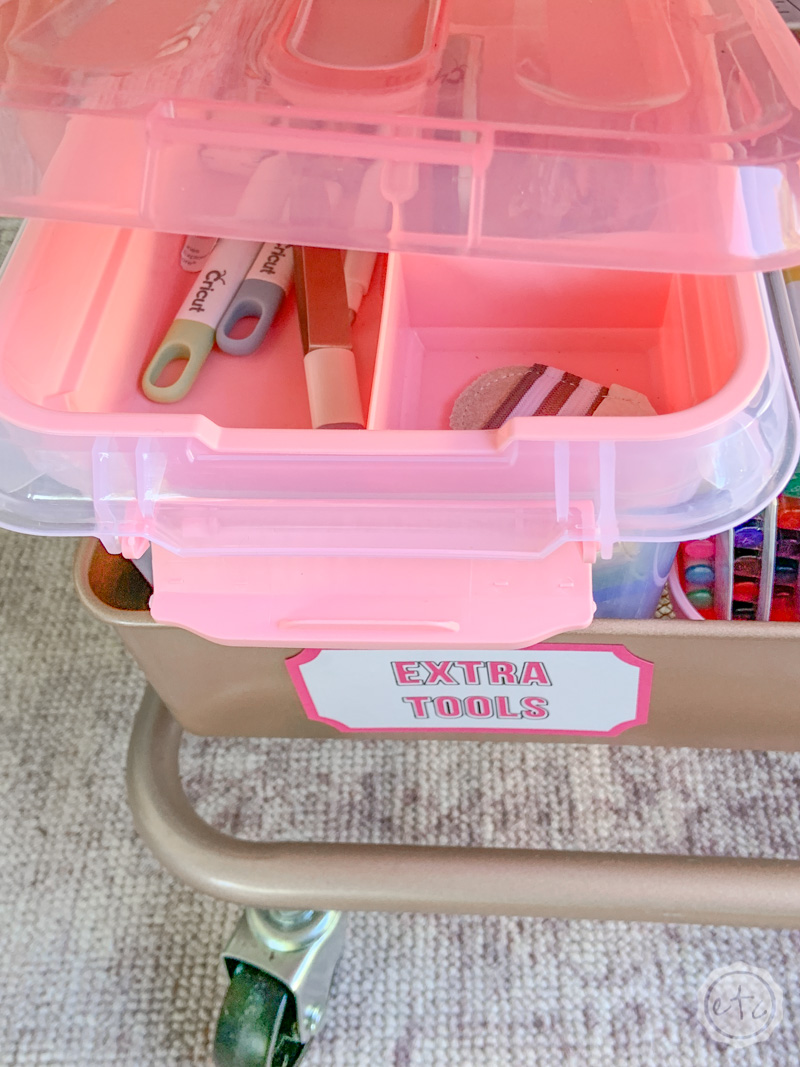
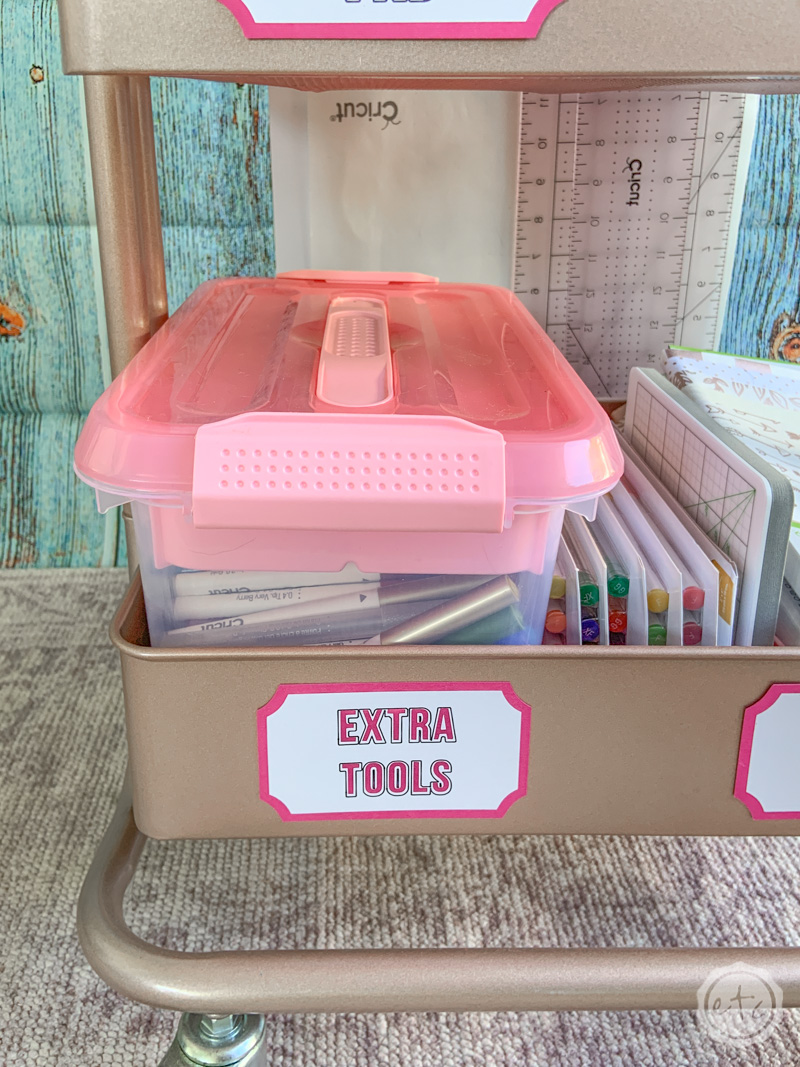
In addition to the little labels I’ve used a few bins and boxes to keep all the little items straight. Like the small box I’ve stocked with my collection of pens and extra weeding tools/blades on the bottom shelf.
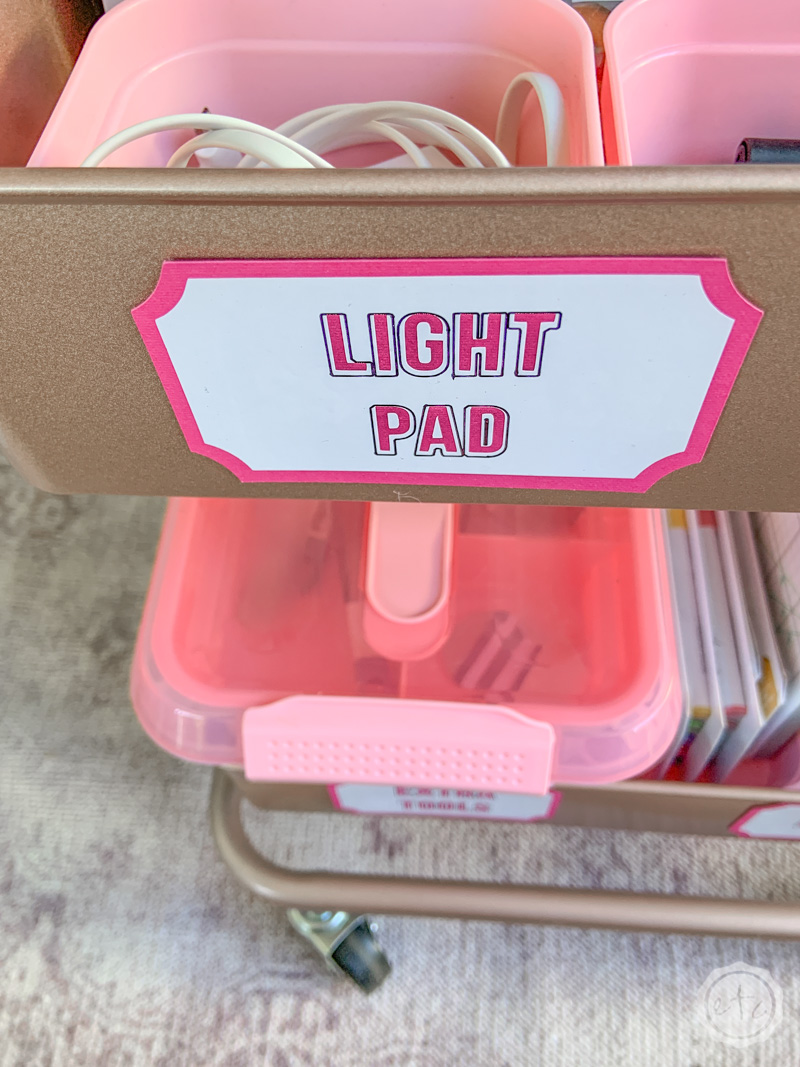
I’ve also used a few divider trays to keep track of smaller items like the charging cord for my bright pad (or the light pad as my Mom calls it!) and the pens I use most often.
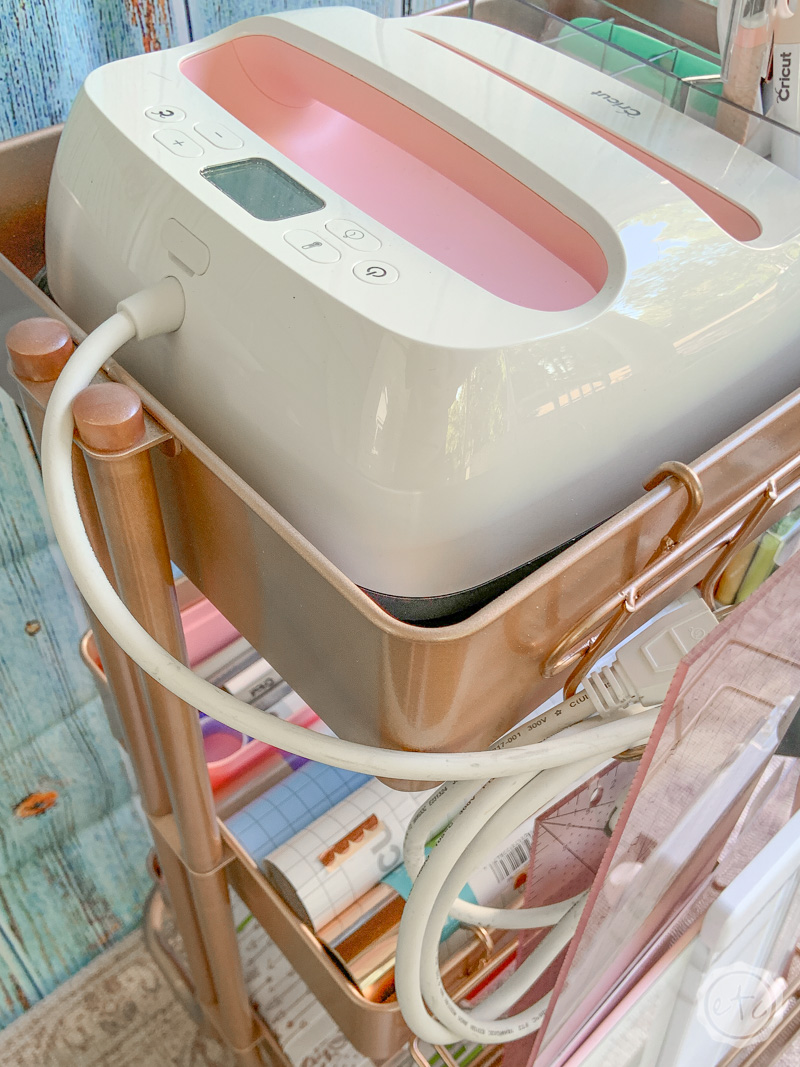
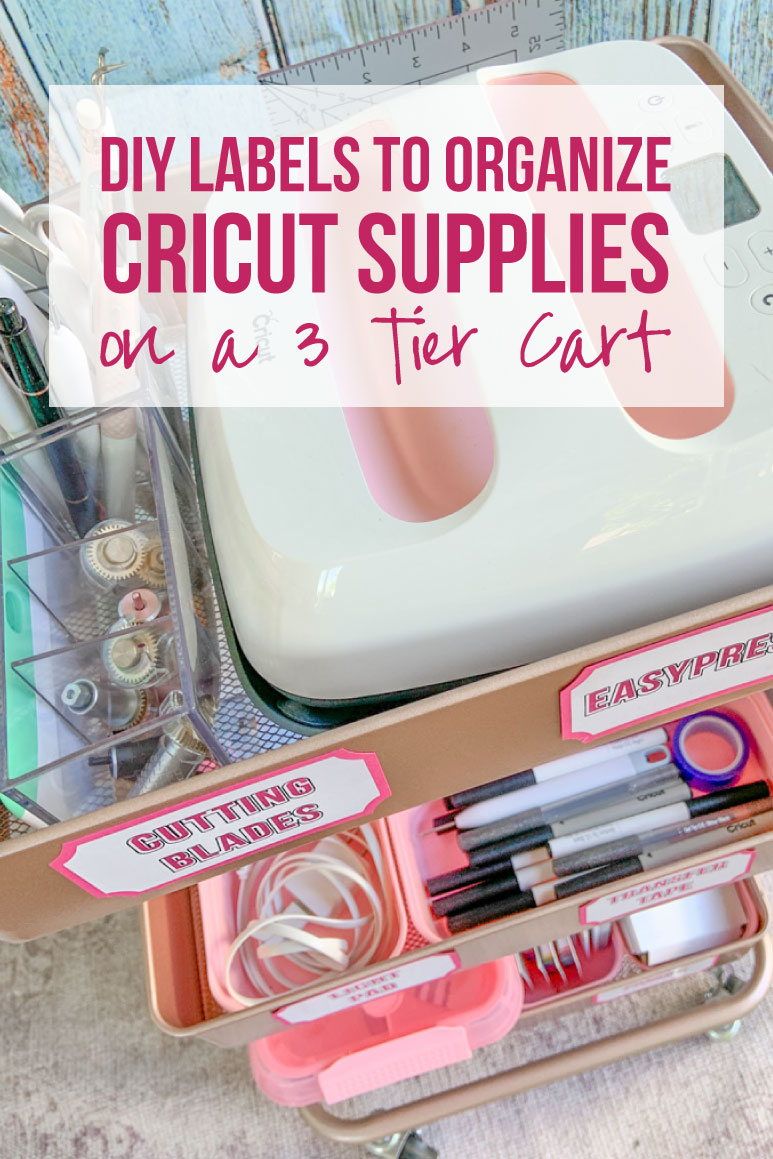
Of course, the item I use MOST often is definitely my Easypress! I keep it up top so that it’s easy to use (I plug it in and let it heat up right on the cart)… with the cord coiled on one of my little hooks when it’s not in use.
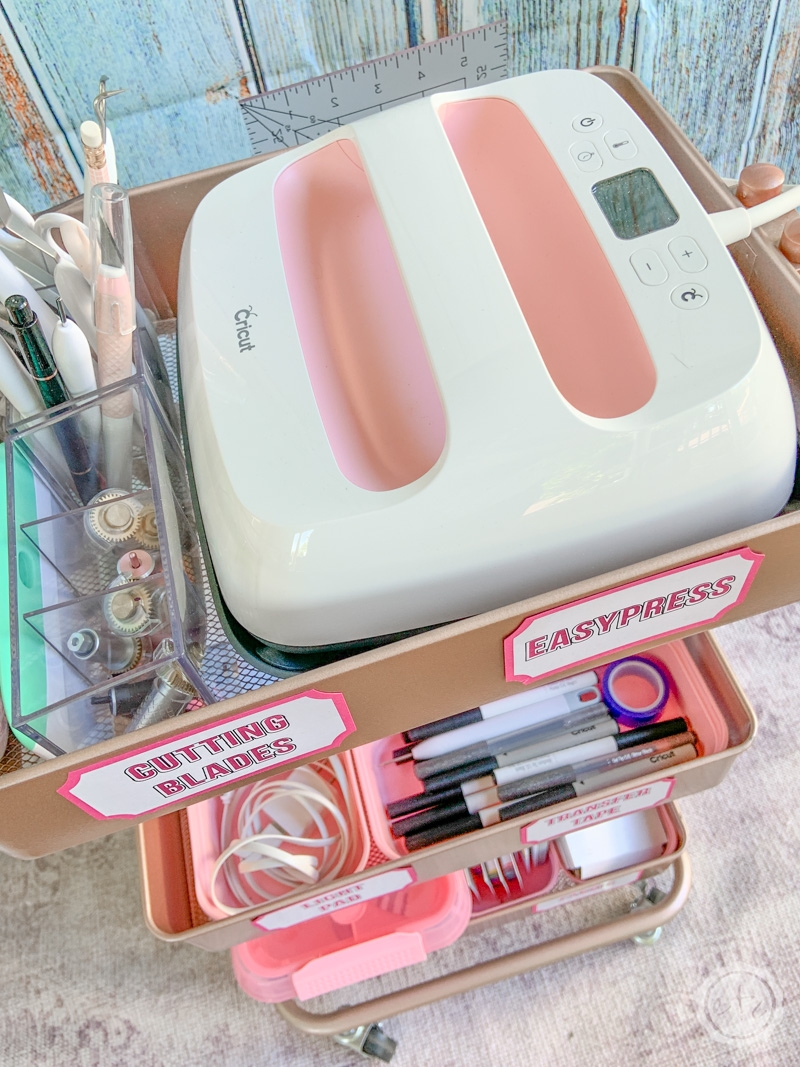
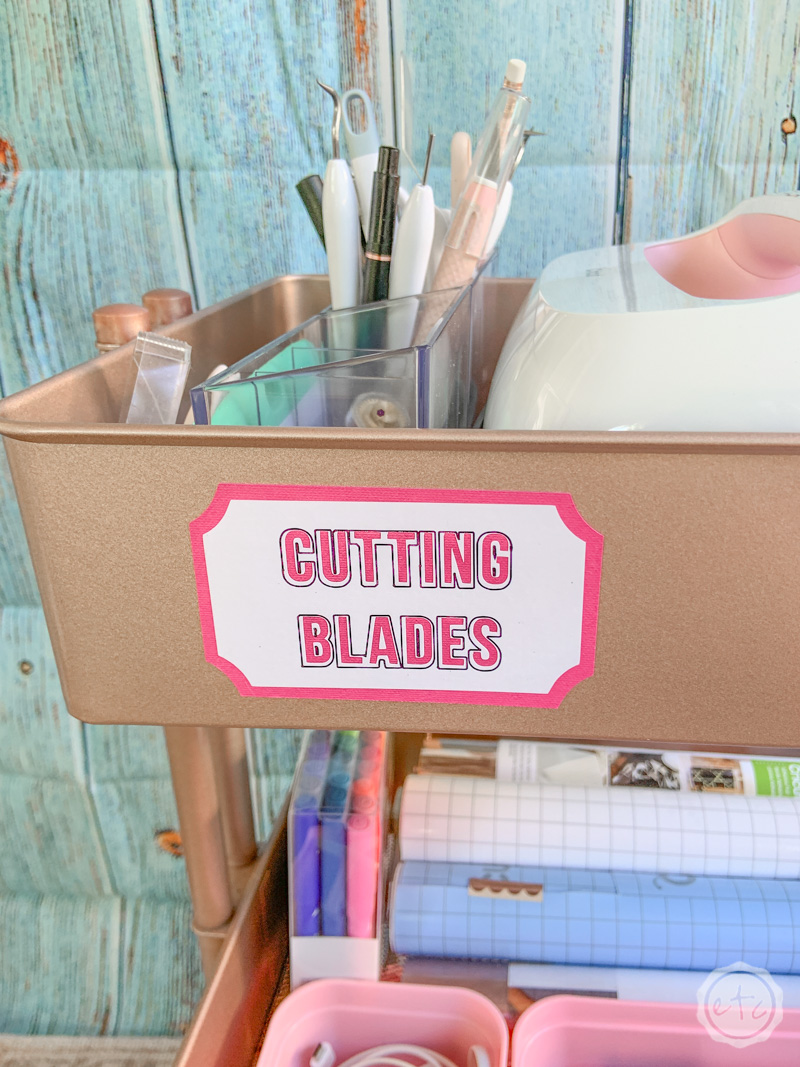
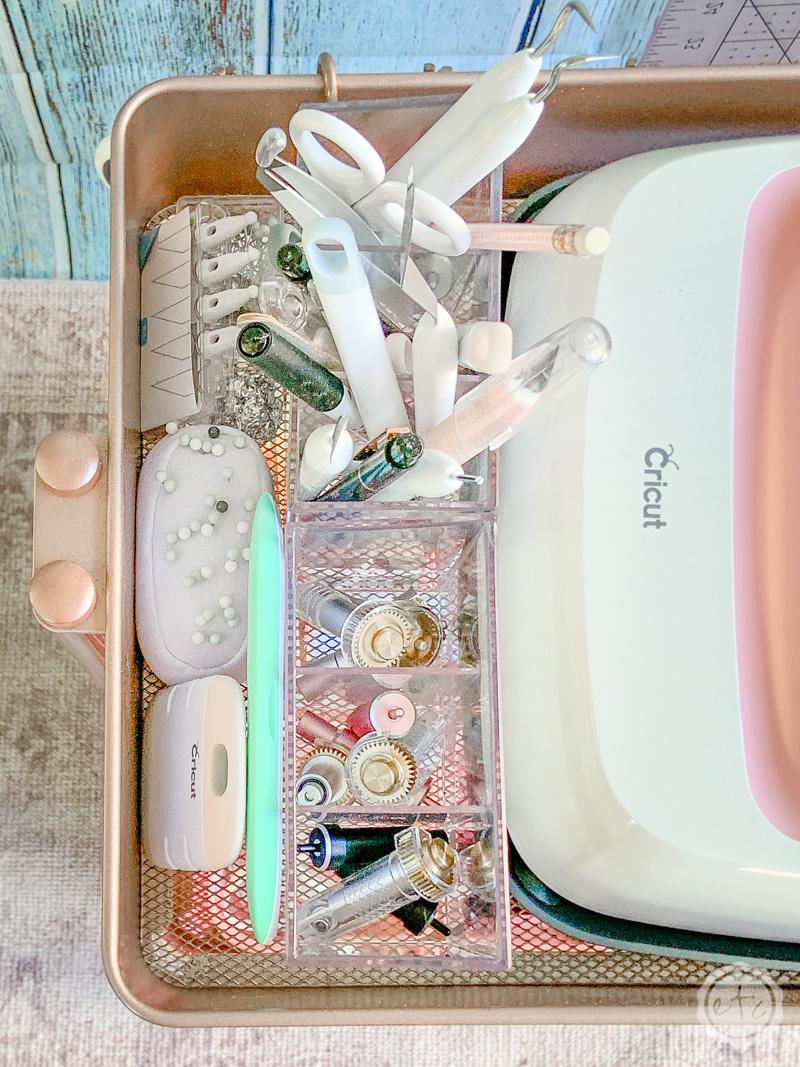
The hardest items to store were definitely my little cutting blades… I use them all the time so they needed to be easy to get to but I didn’t want to just put them all in a cup. They’d be too hard to pick which one is which when I’m trying to switch them out real quick.
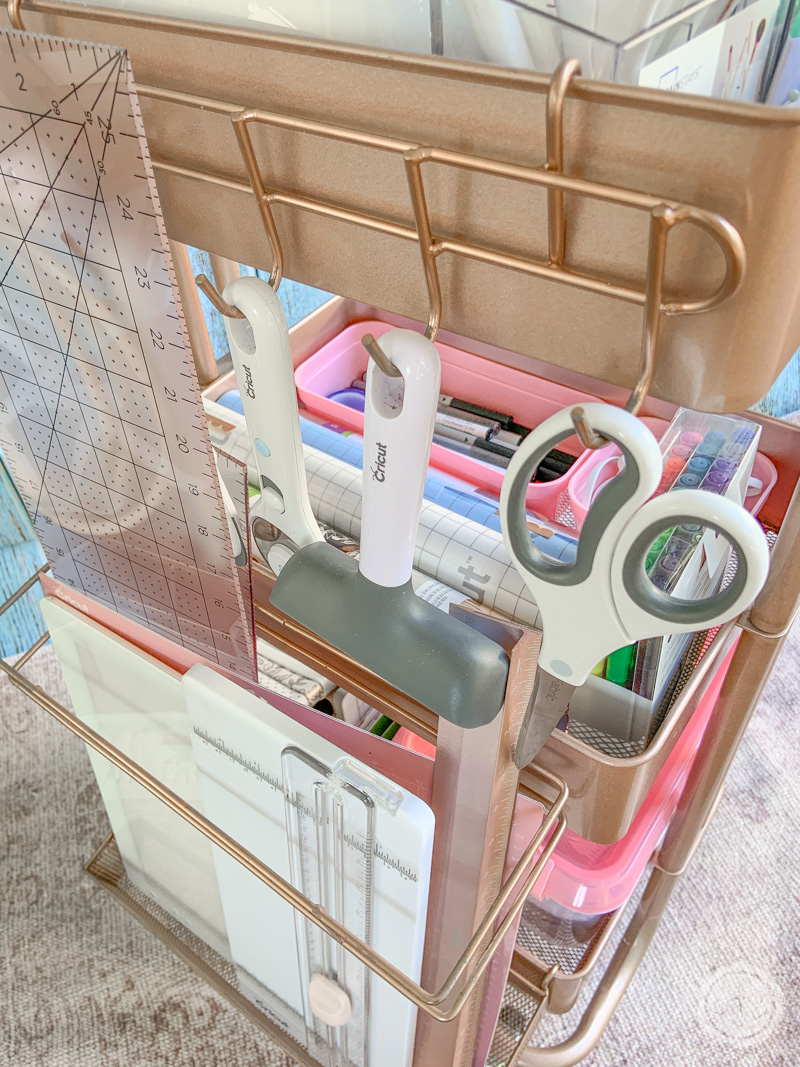
Instead I picked up two of these little clear brush dividers. One for all of my cutting blades and one for all of the tools I’m always reaching for: weeding tools, scissors, tweezers, my true control knife.
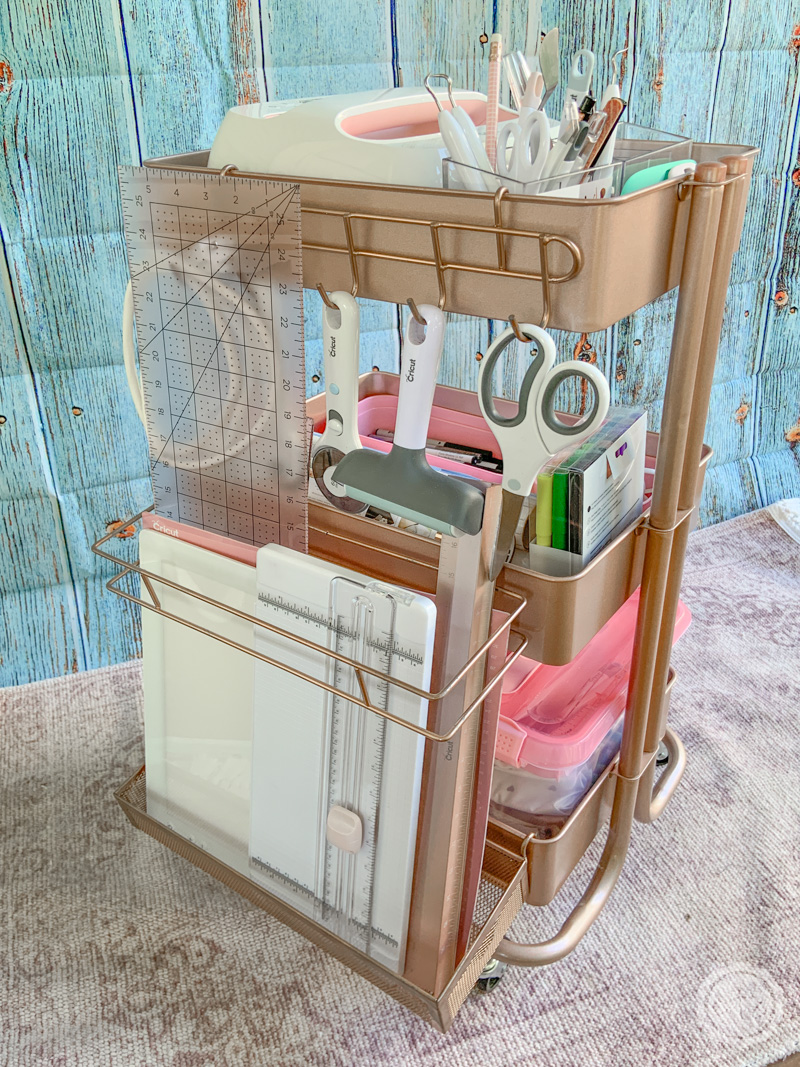
Last but not least I spray painted this little set of hanging pieces rose gold to go on the back of the cart. It’s the perfect solution for my easy press cord, my larger tools (like my brayer, scissors and rotary blades) as well as my paper cutter, bright pad and a few cutting mats.
All the good stuff!
Now that it’s all done and organized I’m just itching to go use all my supplies! I think I’ll make something pretty with my Cricut to celebrate my new little 3-tier cart!
Ready to finally buy a cricut but not sure which machine is right for you? Check out my Explore Air 2 and Maker comparison before pulling the trigger. I go over the pro’s and con’s of each machine and even have an easy to read check list of each machine’s features so you can decided which cutting machine is perfect for you.


[…] pink!) our 12 x 10 large size easy press! Go ahead and pull your easy press out (or roll over your cricut cart if you keep yours on top of your 3-tier cart like I do) and heat it […]