


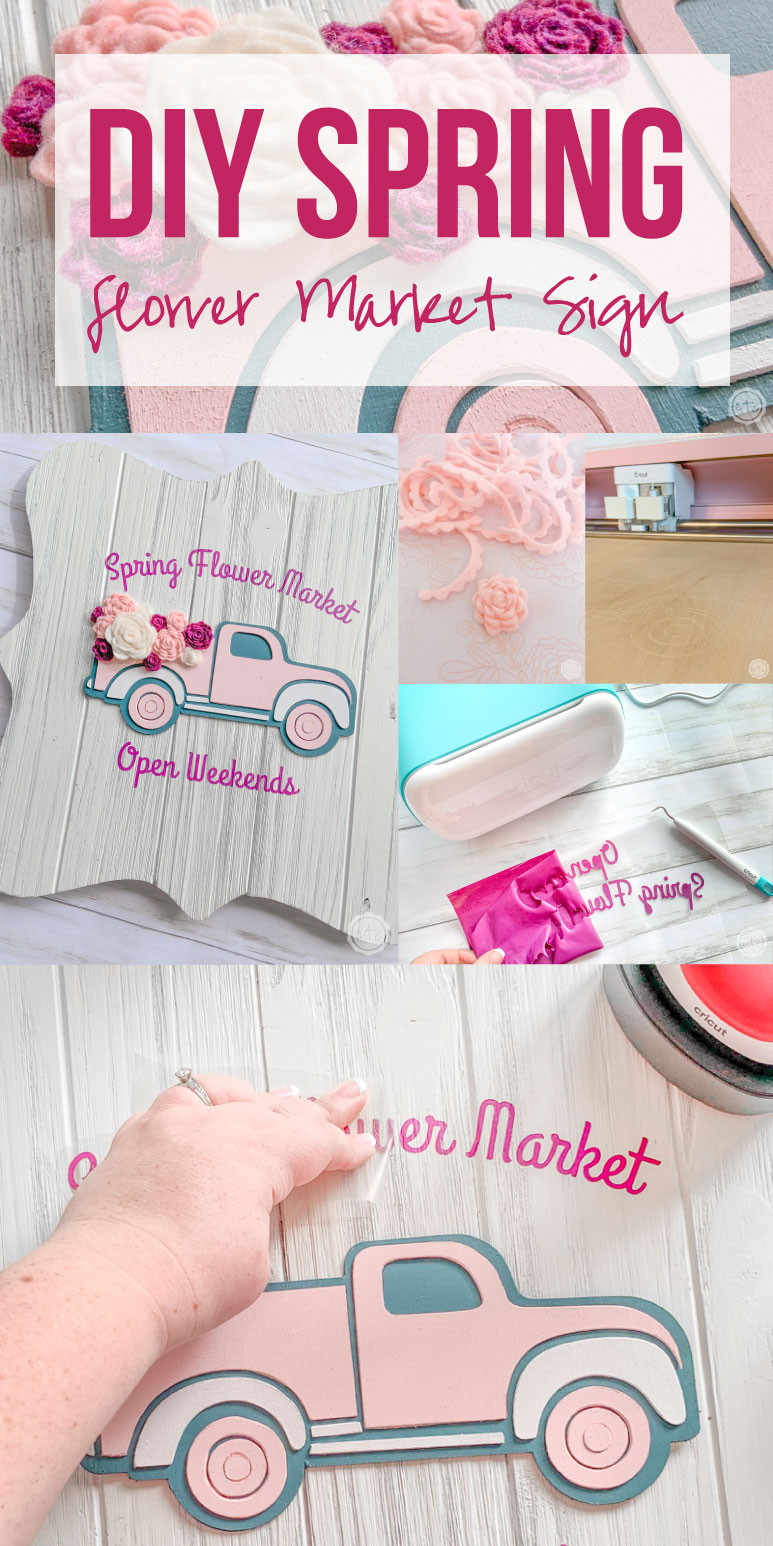
I have a fun and easy sign project to make today! A few weeks ago I saw a cute sign at a shop that had a little truck on the front… and it looked really similar to the truck I made last December for my Christmas Wreath.
Which got me thinking “truck’s are really popular and I should make more of them!”
Yup… that was the whole thought.
So I dusted off my truck SVG cut file from that cute Christmas wreath and got to work creating a little Spring Flower Market sign. After all… a little paint job and this Christmas truck can look perfect for Spring!
Ready to get started?
Supplies:
- Cricut Maker (I used my Cricut Joy to cut the Iron-On but you’ll need the Maker to cut your Basswood and Felt)
- Mini Easy Press (you can use any easy press but I prefer the mini for wood signs)
- Cricut SVG Files (free at the bottom of this post)
- Cricut Strong Grip Mat (that’s the purple one!)
- Rotary Blade
- Knife Blade
- Standard Fine-Point Blade (if you want to use your Maker to cut the Iron-On)
- Brayer
- Wooden Sign
- Amethyst Iron-On Vinyl
- Basswood
- Sand Paper
- Felt (in 3 colors: Amethyst, Pink, Peach)
- Hot Glue/Hot Glue Gun
- Glue Dots
- Reverse Tweezers
- Paint (Dark Turquoise, Pink and White)
Step 1: Make Your Truck!
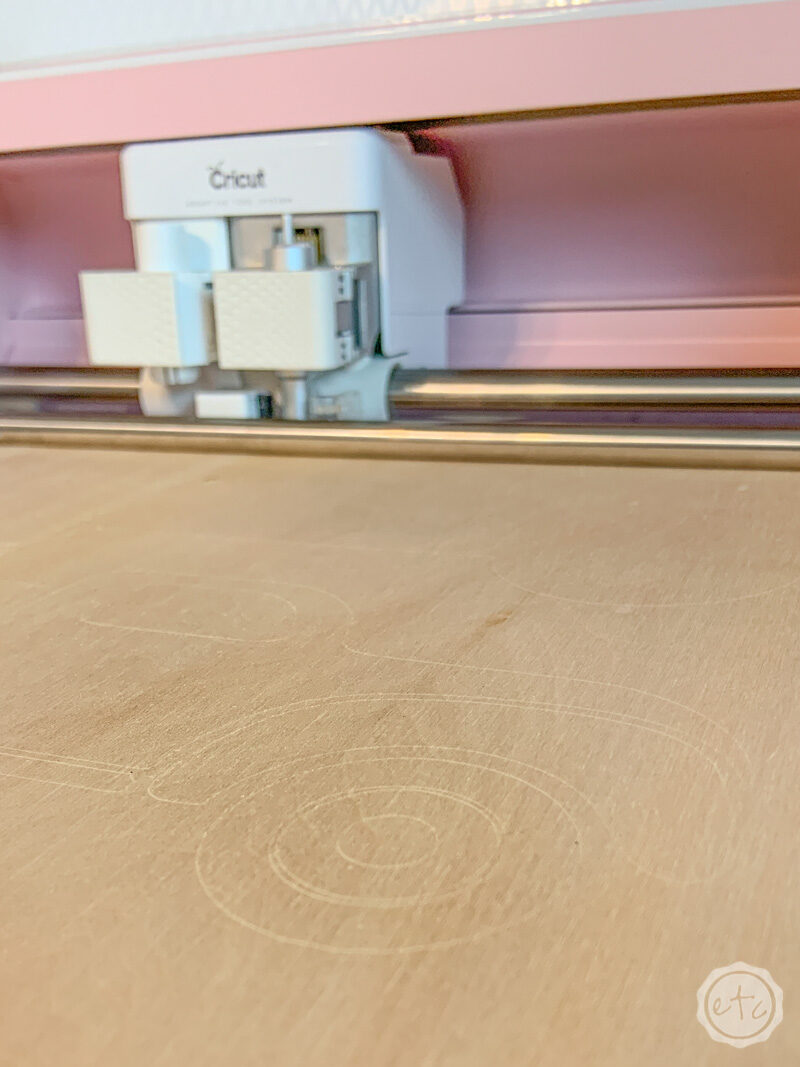
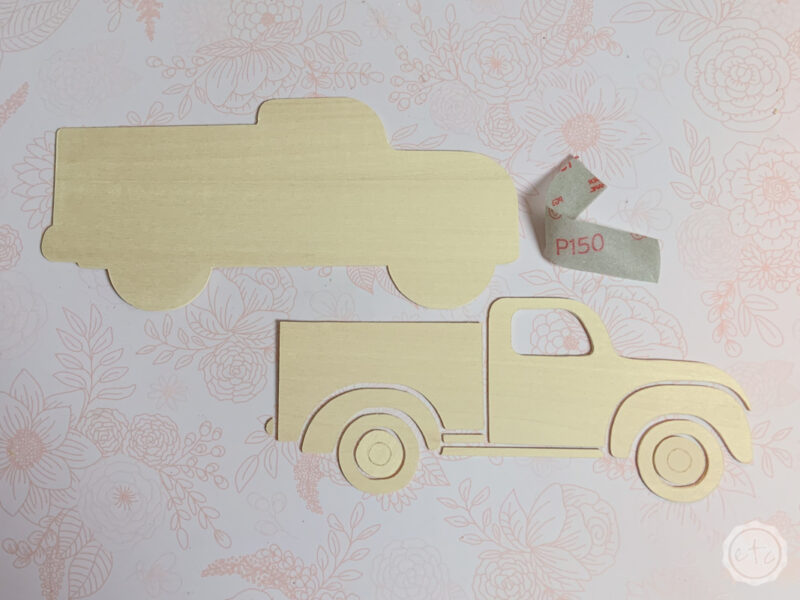
This little truck is actually pretty easy to make. You can follow this tutorial for all the steps but the general idea is to use the free SVG’s at the bottom of this post to cut this baby out of Basswood with my Cricut Maker!
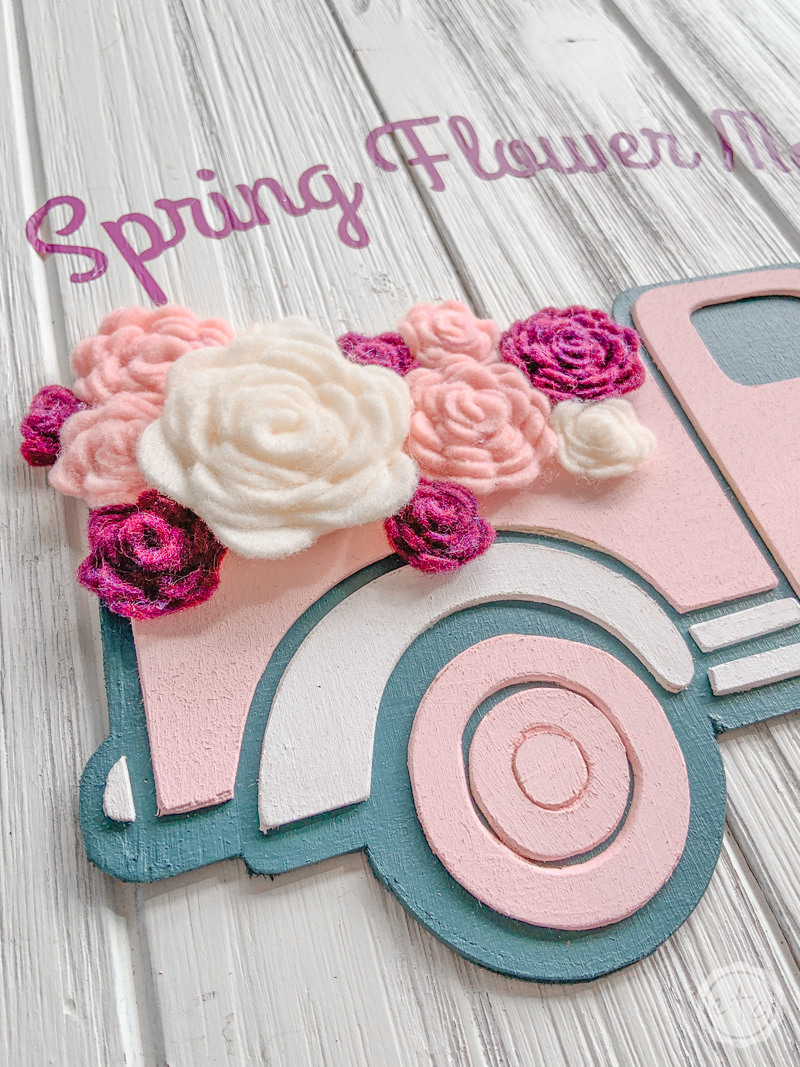
Once the little truck was cut I sanded down all of the edges and painted all of the pieces.
Since my sign is white I wanted to make sure the truck stood out so I painted the solid truck piece a dark turquoise. Then I painted the truck and wheels a light pink finishing it off with white hubcaps, undercarriage and tail light!
Once everything was dry I used a little modge podge to glue all the pieces together and then placed a book on top of them to dry overnight. When painting basswood I find that the wood starts to bow a bit so I always add something heavy on top once they’re dry to straighten them back out (and when the pieces are being glued together is the perfect time!).
Step 2: Add your Felt Flowers
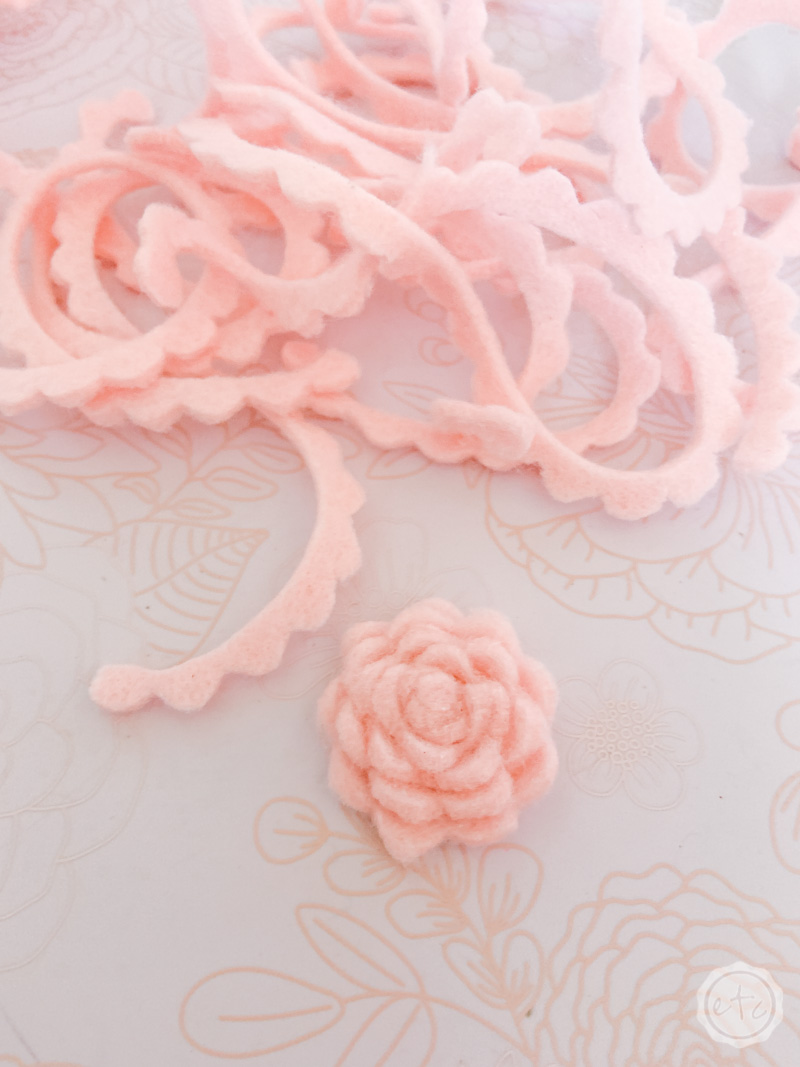
Now it’s time to fill that truck bed with a few felt flowers!
I wanted to have enough flowers to fill the entire truck bed so I picked 3 colors of felt and made 3 different sizes. (You can use Cricut brand felt but if you’re using a Cricut Maker any felt will work… I just grabbed these colors from Wal-mart).
If you’ve never made felt flowers before you can follow this easy rolled felt flower tutorial (there’s an SVG for cutting the template out of felt with your Cricut Maker as well).
Once all my flowers were made I simply laid them on top of my truck bed until I had an arrangement I liked and then hot glued them down!
Easy peezy!

Bonus Tip: I wanted it to look as if the flowers were over flowing from the truck a bit so I glued in the middle of my sign first (using glue dots) and then hot glued the felt flowers in place so that I could glue a few directly on the sign.
If you’re thinking these flowers look a bit familiar it’s because they do! I made quite a few of them for my felt flower tutorial so I’ve been using them in all. the. projects! You can see them in this adorable Buffalo Check Easter Bunny Wreath and as an add on to these adorable DIY Fuzzy Sock Gnomes.

Step : Cut Your Iron-On
Ready for the words? Now that our truck is glued in place we can add our words to the top and bottom of the sign! I went with a cute “Spring Flower Market” curved over the top of the truck and “Open Weekends” on the bottom.
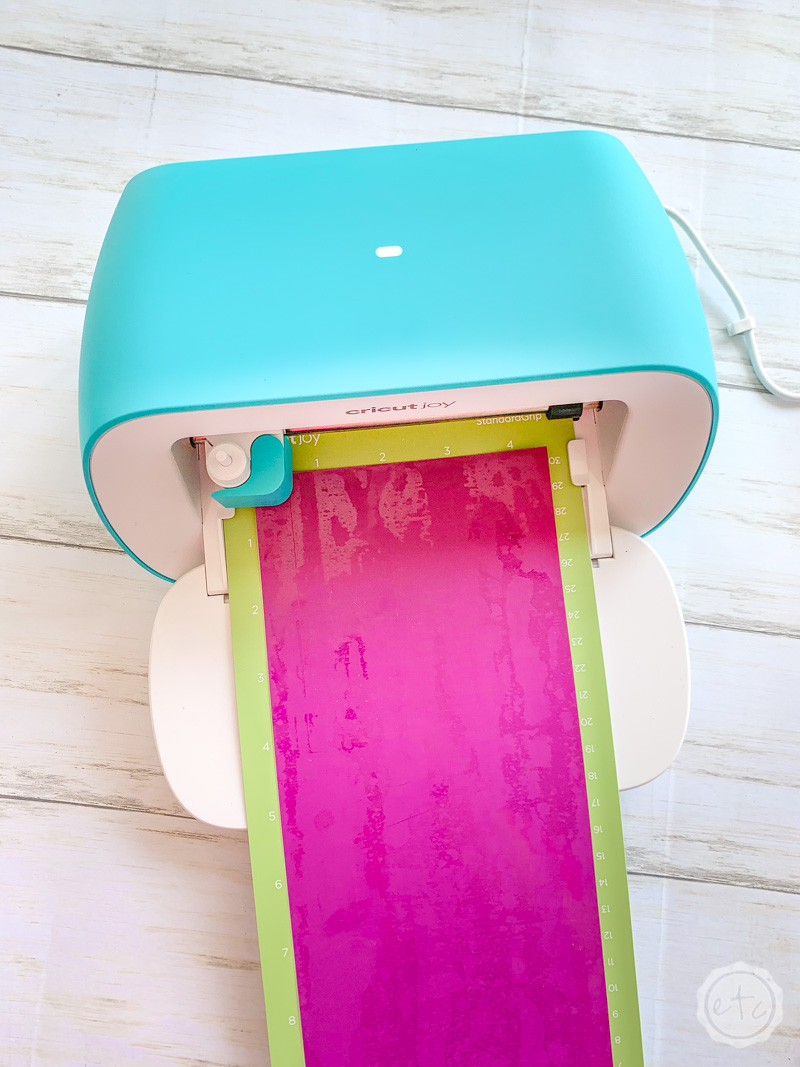
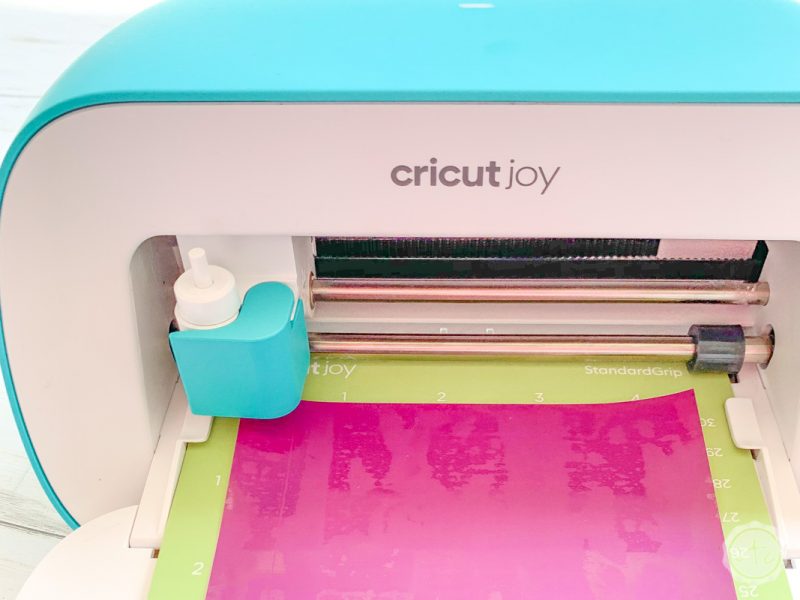
You could easily use your Cricut Maker to cut out the iron-on for this little sign but I was playing around with my new Cricut Joy and decided to check out cutting iron-on from my existing collection on the tiny standard grip mat.
Luckily it was pretty easy!
I just cut the iron-on to 4.5 x 12 and placed it (shiny side down) on the long cricut joy mat. Then I told Cricut Design Space I was using my Joy and it did the rest… mirror your design, select sportsflex iron-on as the material and hit go!

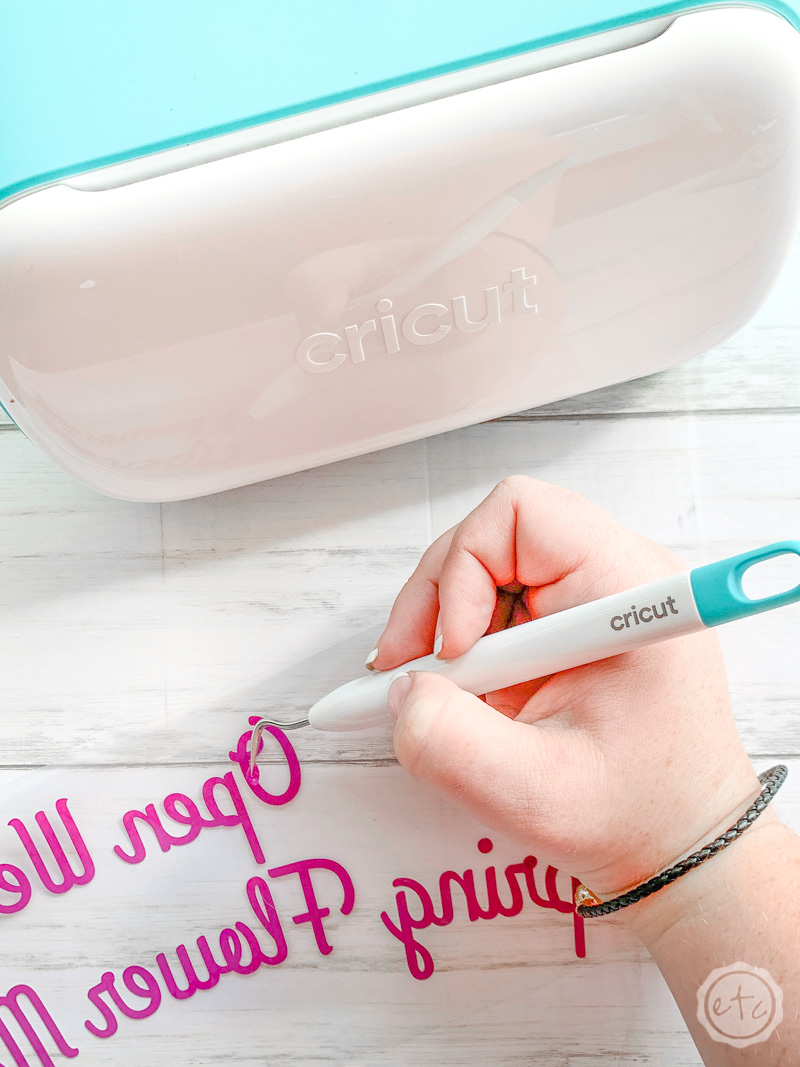
Now all that’s left is weeding your iron-on and actually ironing it onto your wooden sign!
I love to use my mini easy press for adding iron-on to wooden signs… I feel like it lets me control exactly where to place the heat (so I can put pressure on all the little edges of the letters if need be).
Set your mini easy press to the middle heat setting and start by pressing down in the middle of your iron-on. Then smooth the iron-on out to each side. I do this in a smooth motion only leaving the easy press in one spot for a couple seconds at a time.
This won’t firmly attach the iron-on but it will keep it in place so that you can work without worrying about it moving all about.
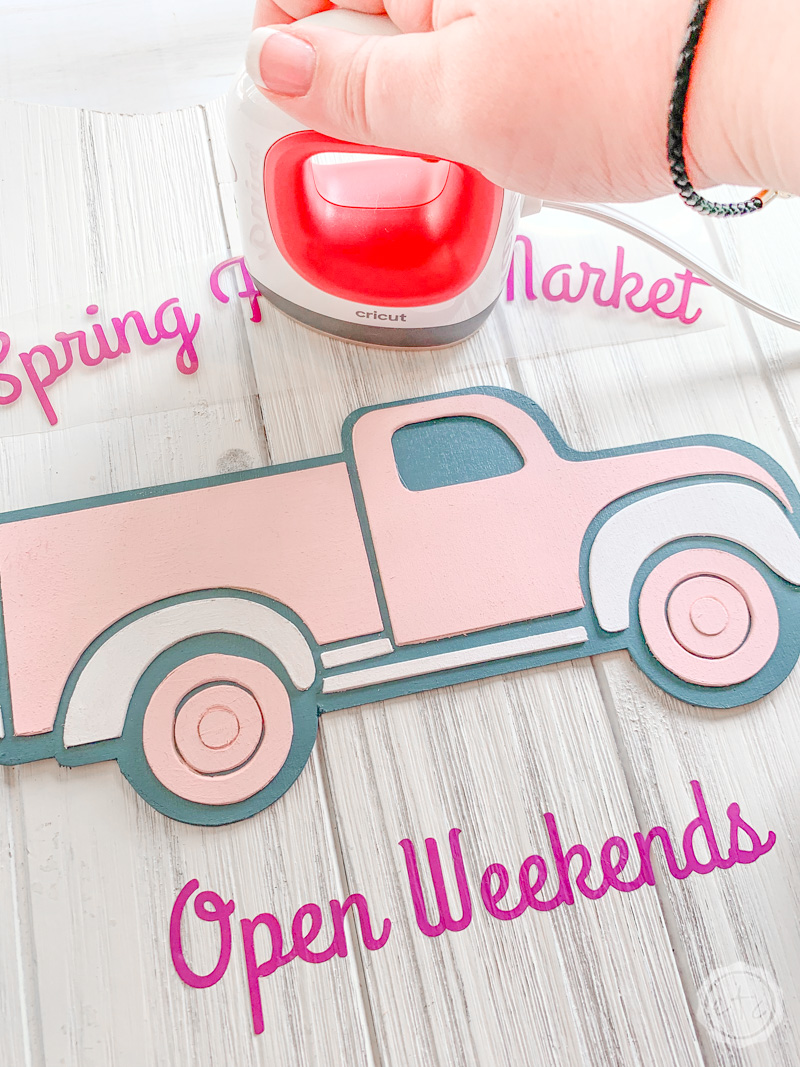

Now it’s just a matter of pressing down each letter with the easy press, pulling back the clear carrier sheet and then using your fingers to make sure that letter is firmly smoothed down into the grooves of the wood.
One letter at a time!
It goes pretty fast… just watch the letters as you go so that you don’t have anything break.


Ready for the finished result?
I absolutely love how this little sign turned out! I love when I can look at a project and say that I made all of the elements: the little basswood truck, the felt flowers and the lettering.
I didn’t buy a single thing pre-packaged.
Is this what people who cook from scratch feel like?


[…] *Like the Spring Flower Market Sign below? Follow the full tutorial to make your very own! […]