This post is sponsored by Cricut and filled with only my opinions and projects, you may also find a few affiliate links!

If you haven’t heard Cricut just came out with a new machine! The Cricut Maker 3! This baby is 2x as fast as the original Maker and can cut materials without a cutting mat. Which means we are now limitless! Instead of restricting our designs to a 12 x 12 square (or a 12 x 24 rectangle if you have the longer mat) you can now cut… whatever length you like!
Cricut literally has rolls of 75 foot vinyl! SEVENTY-FIVE FEET OF SHINY VINYL GOODNESS!
Surely no one is making a larger sign than that!
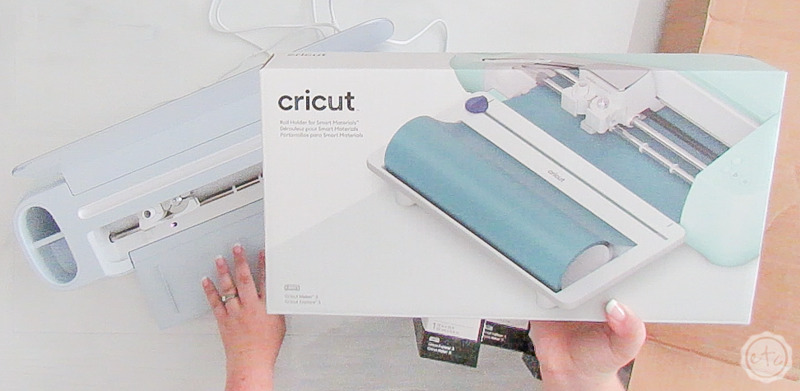
So in honor of the new Maker 3 I’m breaking my new machine out of the box (did I mention it’s LIGHT BLUE!!) and making a project… a long project. In fact I’m making a stencil for a dining room table! The table itself is 33 inches wide so let’s aim for a little under 30 inches shall we?
I’m going to cut my stencil out of removable vinyl in 3 long pieces (this would have taken 9 12 x 12 cutting mats before… piecing those together would be a nightmare!) instead I picked a design that had long linear sections so our 3 pieces can be completely independent… and this project would be super simple.
I can’t wait!
Let’s do this thing!
Supplies:
- Cricut Maker 3
- Vinyl Roll Holder
- Smart Removable Vinyl
- Local Honey SVG
- Transfer Tape
- Weeding Tool
- XL Scraper
- BrightPad
- Cricut Design Space
- Paint (Table Base, White, Yellow)
- Stencil Brush
- Table (or another surface)
Want to check out my fulllll review of the new Cricut Maker 3? You can read all the details here in my Ultimate Guide to the Cricut Maker 3.

Step 1: Upload & Prep File
Ready to rock?
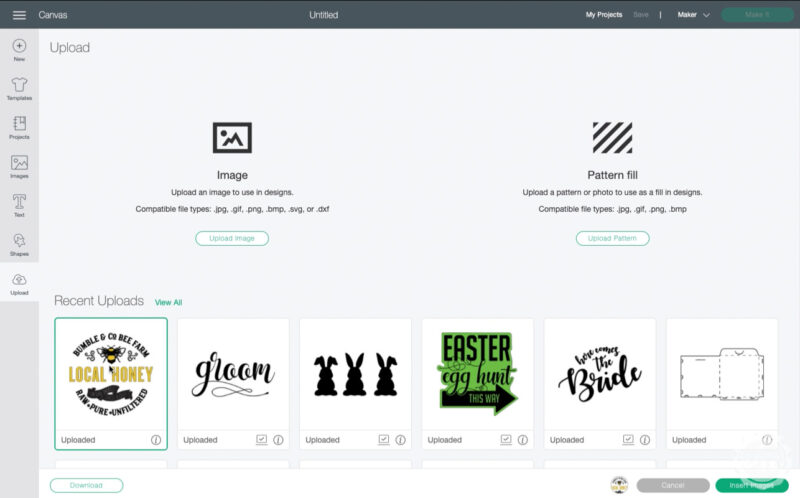
Before we pull out the Maker 3 and get to cutting we need to upload our SVG and get it ready to cut. For this particular project I’m using an SVG my Mom found and fell in love with and uploading it to Cricut Design Space. You can follow a simple SVG upload tutorial here if you need help with this part.
Once the file is in your library go ahead and select it and add it to your mat… it needs a little work before we can hit cut.
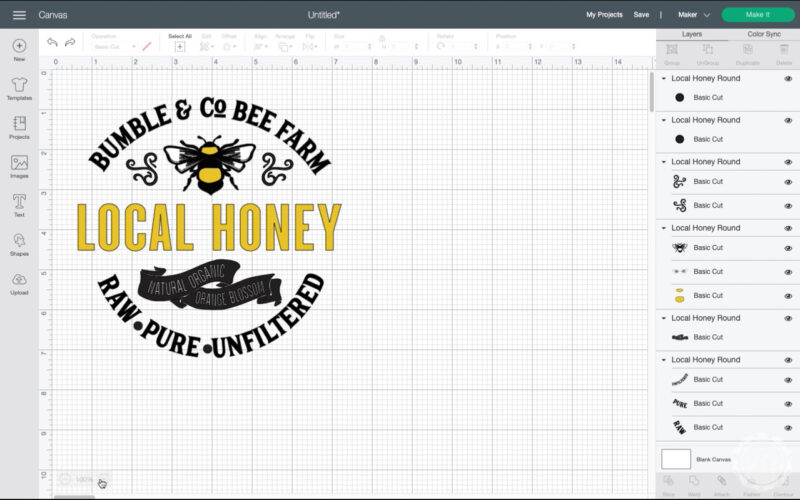
For this particular project we need to constantly remember we’re making a stencil. So we can’t just cut out the file as is… instead we need to look at the file and say “if I cut this out and remove the pieces showing will the remaining background vinyl give me a solid shape to stencil?”.
Since most of this design is words we’re good to go on the text portions… but that bee is a little trickier. It has a white layer (inside the wings), a yellow layer (the bigger parts of his body) and the black layer (the basic outline). For our stencil we only need the black portion so go ahead and select both the white and yellow layers and delete them out of the project.
Perfect!
Now let’s size this bad boy.
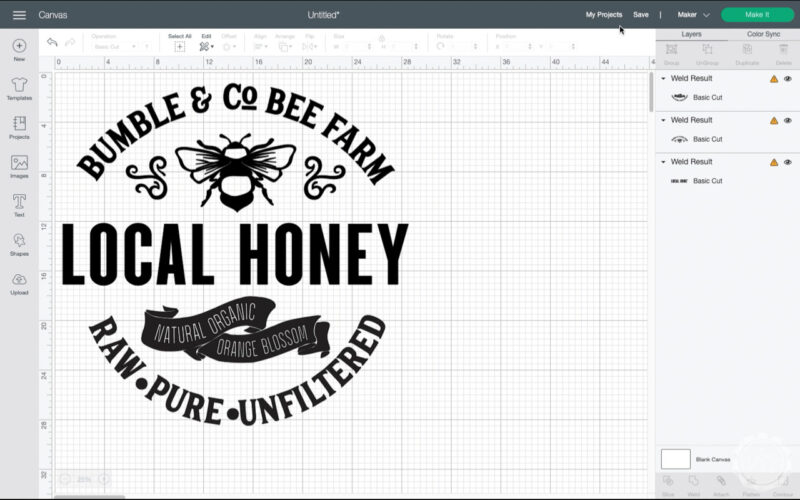
I need it to be about 30 inches across and fit within a 12″ strip of vinyl… which means we need 3 definite sections. Local honey in the middle is one section, everything above local honey (the bee, the swirls and Bumble & Co Bee Farm) is section 2 and everything below local honey (the swag with Natural Organic Orange Blossom and Raw * Pure * Unfiltered) is section number 3.
Go ahead and select each section (one at a time!) and hit the weld button at the bottom of the layers panel.
Perfect!
Now you have 3 distinct layers that are ready to cut on a large scale… just what we needed!

BONUS TIP! Not sure what weld means? Confused by all the buttons and jargon? Check out my Cricut Vocabulary post and I’ll show you all the buttons and what they mean… plus all the terminology that goes along with a Cricut post.
Step 2: Load Removable Smart Vinyl into your Cricut Maker 3
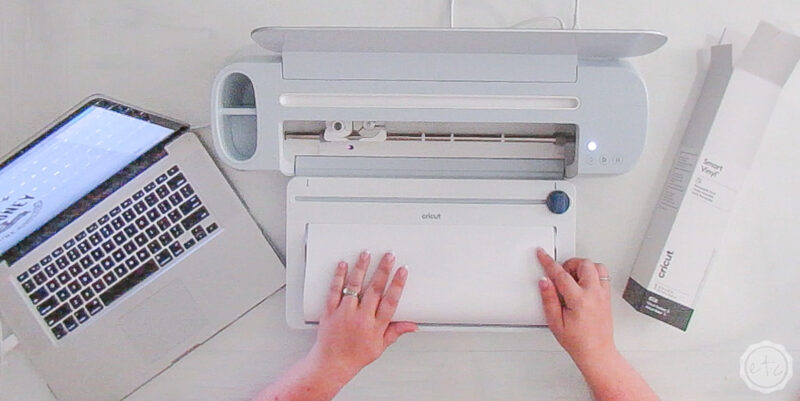
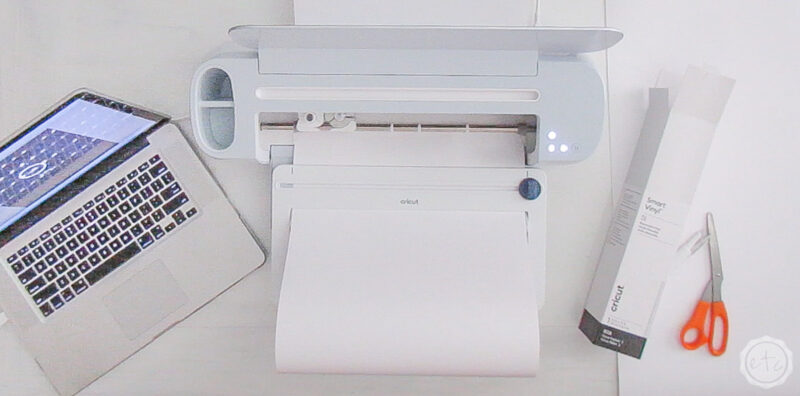
Now that our cut file is ready to rock let’s prep our actual materials. In this case that’s a roll of removable white vinyl!
FYI so far I’m loving the rolls of 21 foot vinyl because they last a while but aren’t as bulky (or expensive!) as the 75 foot rolls BUT if you’re just looking to buy material for this particular project a 12ft roll will be perfect since you need 7 feet to make this stencil.
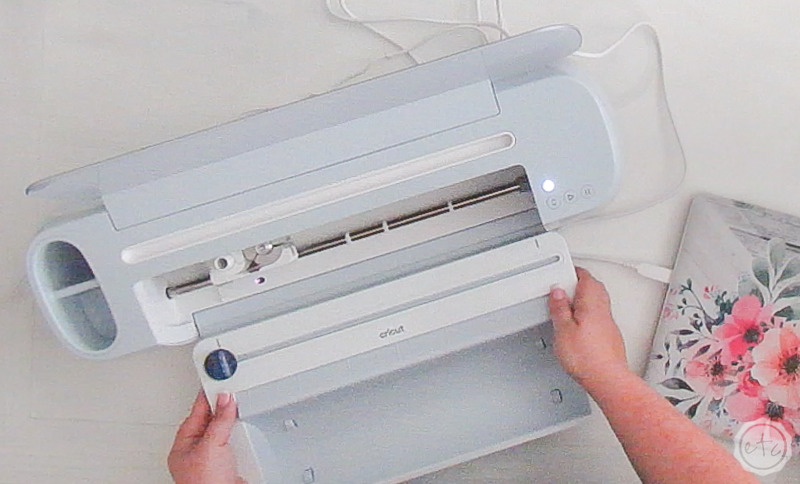
The best part? Cricut has made a specially designed roll holder for these larger, bulkier rolls. It simply sits next to your Cricut and holds your vinyl roll together while your Maker 3 works… which makes like a lot easier!
Think about it… the Maker 3 works off the idea that it can cut continuously, so instead of pre-cutting your vinyl you simply load the entire roll into the roll holder and thread the end into your machine.
The machine will measure out the right amount of material and then cut… when it’s finished you can cut off the excess (aka the rest of the roll) with the built in slicer and you’re ready to rock on your next project. Plus the bottom of the roll holder has little groves that match perfectly to the Maker 3 so you know you’re getting it lined up every time.
Score!
Go ahead and line up your roll holder, pop in your vinyl and let’s make this bad boy!
Step 3: Cut your Design
Alright y’all, let’s cut this bad boy out! Hit make on the screen in Cricut Design Space and make sure that everything fits on the… vinyl properly. I guess I can’t say make sure it fits on the cutting mat anymore… there’s no mat!
This matless cutting thing is wild.
If everything looks good go ahead and click continue at the bottom right of the screen. If everything doesn’t look good make sure you have your Maker 3 selected as your current machine (see in the upper right hand screen?). If it says Maker or Joy or Explore Air 2 there then you won’t have a matless cutting option and your pieces are probably doing all kinds of wacky things right now.
Hit cancel and up in the top right corner (in the same place as it says Maker 3) select the proper machine.
Perfect.


Once you have everything situated you can go on to the next screen which (as always) has your material and blade options. In this case we want to select smart vinyl, removable. It popped up for me automatically in my favorites list (even though this is my first matless project) so I imagine it’s linked to your Maker 3 settings but if you don’t get smart vinyl as an option you can click “browse all materials” and search for it.
Once you select a material the tools panel will pop up.
We want default pressure with a fine-point blade for removable vinyl and since these are the default settings you shouldn’t have anything to change here. Instead follow the instructions and hit the load material button to pop the vinyl into your machine.
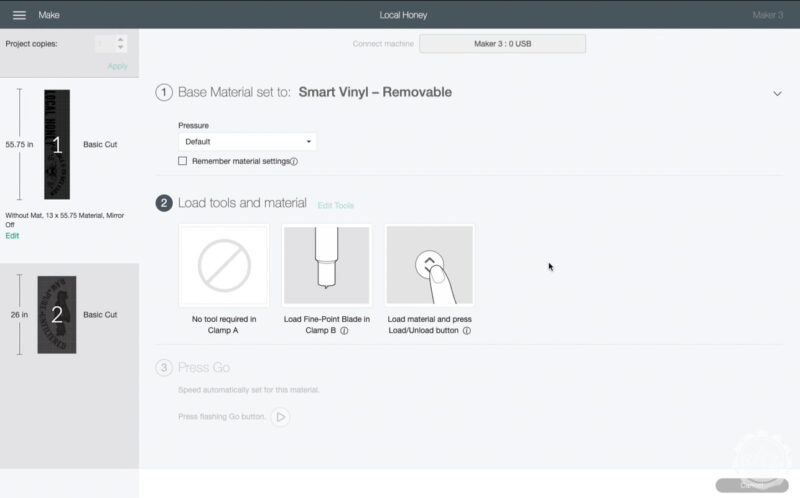

At this point the loading process will look a little different than your normal Maker or Explore Air family cuts… if you’re use to a Joy then we’re working with the same procedure.
You’ll get a screen like the one above that says it’s “measuring material length” and at the same time your Cricut Maker 3 will pull the full length needed for your cut through the machine.
It’s measuring so that you don’t get halfway through the cut and realize you don’t have enough vinyl on the roll for your project! Isn’t that cool?
Just make sure that your vinyl has enough room to go all the way through the machine… the standard 10 inches may not be enough room here! We need a full 55″ for the first cut so 10 inches of space definitely won’t cut it!
Now you just have to wait for the cut… and just a heads up… it won’t be long. When they say this baby is fast they mean it. Mine cut 55 inches in less than 5 minutes. Which is just a little bit crazy!
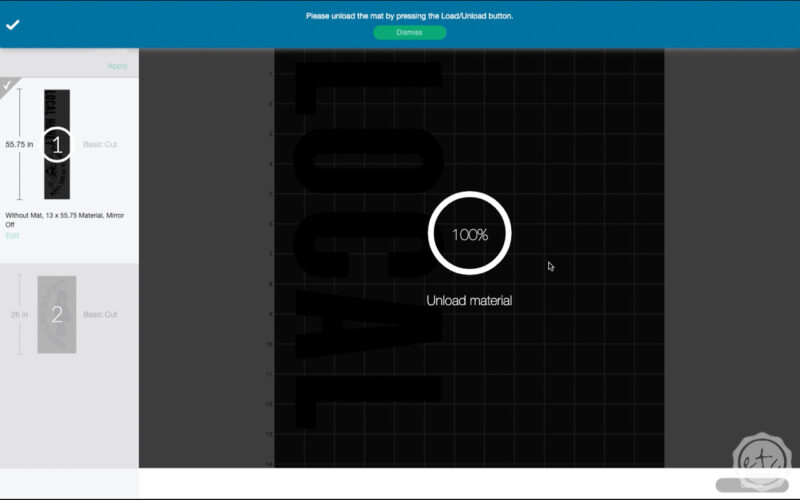
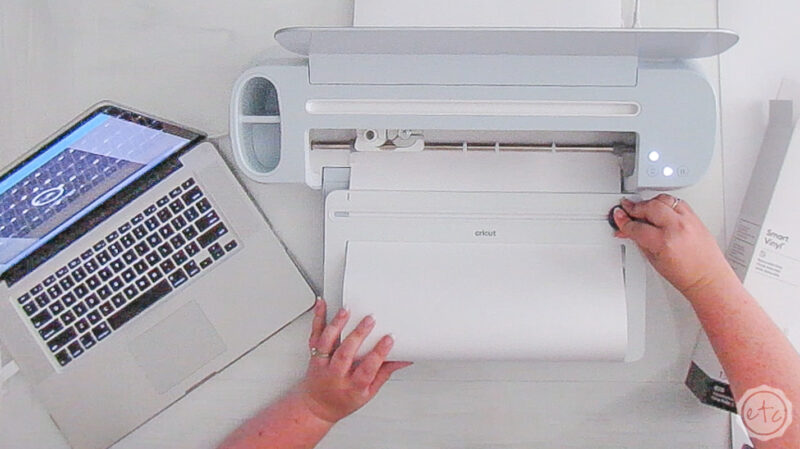

BONUS TIP: I learned this the hard way… even though it may seem like common sense to all of you. When your machine is done cutting make sure to use the slicer on your vinyl roll to slice the roll and the cut design apart. Then you can hit unload and you have two separate pieces!
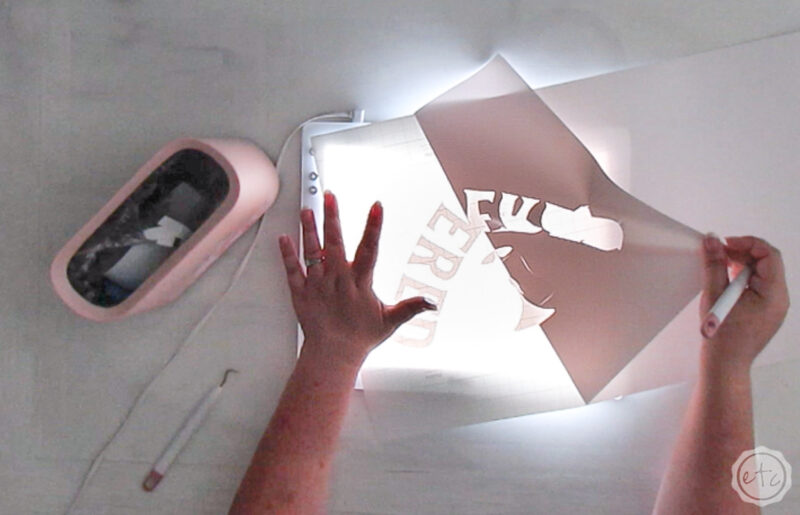
Step 4: Use your Brightpad to Weed your Vinyl
Ready for the fun stuff? Weeding white vinyl is always the bane of my existence… it’s just so hard to see! I’m ridiculously blind though so that may be part of the problem.
Anyway… I never pull out my brightpad… except for weeding white vinyl. It just makes such a difference! You can actually see the letters.
Worth every penny.
In addition to the bright pad being awesome it makes my pictures look super weird since the backgrounds are almost black. But if you ignore the fuzzy backgrounds you can see how much easier it is to see the letters and designs.
Of course, if you’re new to Cricut then here’s a crash course… weeding is removing any part of your design that you don’t need for the final piece. Normally we would remove the background to leave the letters and bee. BUT in this case we’re making a stencil.
Which means the letters and bee themselves will need to be painted soon.
So instead of removing the letters and designs we’re going to leave them be and remove the background.
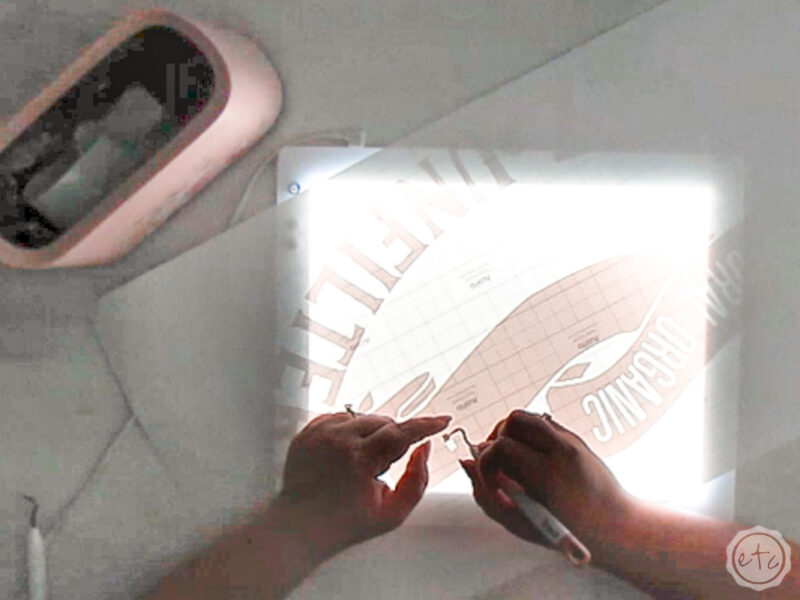
And if you’re confused by the pictures it’s because I’M A SPAZZ AND DID IT WRONG. To add insult to injury I didn’t get any photos of the correct version. So do as I say not as I do.
In the photo above where I’m peeling away the background? DON’T DO THAT! Leave the background… weed out the letters.
In the photo below where I removed the background and am weeding out the little letters from the swag? DON’T DO THAT. Leave the background, weed the letters, remove the swag, leave the tiny letters on the swag.
Got it?
Remember… when all is said and done we’re adding paint to the negative surfaces so look at your vinyl and think “which parts are suppose to be painted on the final piece?”
Step 5: Prep your Surface
Ready for a little table fun? Depending on your project you’ll have different steps but for this little table we gave the entire piece a scuff sand (it was suuuppppper shiny) and then painted it with chalk paint. Once we had two good coats of paint we were ready for our stencil!
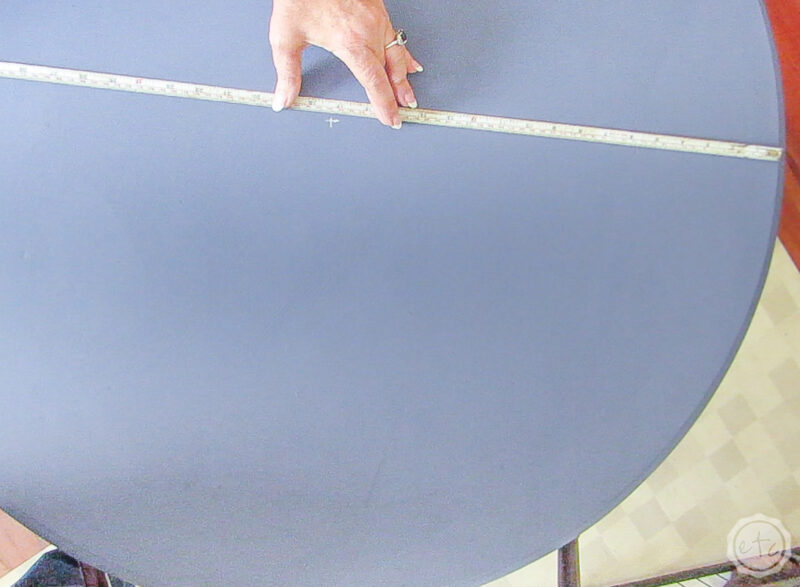
Since our little table is round we used a tape measure to find the center… that way our round stencil would be in the middle of the round table. We marked the center with a piece of chalk so we could reference it now and wipe it off later.
And I say we because my Mom decided to join me for the actual stenciling… hi Mom!
One last prep tip… our table actually has little medallions on the side. We should have made sure our stencil was square to those but we skipped that step. Luckily they were only a little off.
Just enough to mess with my ocd.
Ready to apply the stencil?

Step 6: Apply Transfer Tape to Your Vinyl
Since our vinyl cut out has lots of little pieces (the inside of o’s and e’s… dots on i’s and little parts of bees we can’t just peel them up and lay them down like a sticker. Instead we need to use transfer tape to keep everything together and in the right configuration.
Luckily we can use the same piece of transfer tape for all 3 parts. So let’s start with the middle piece. Cut a piece of transfer tape that will go across the entire table.
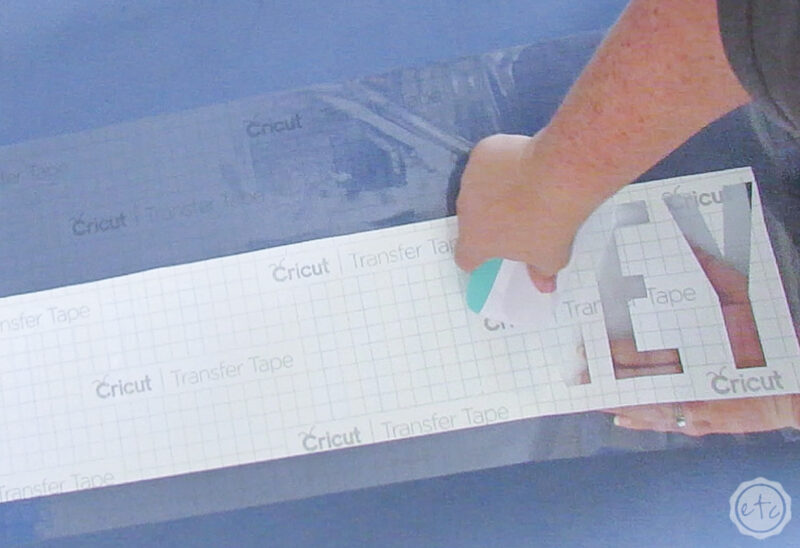
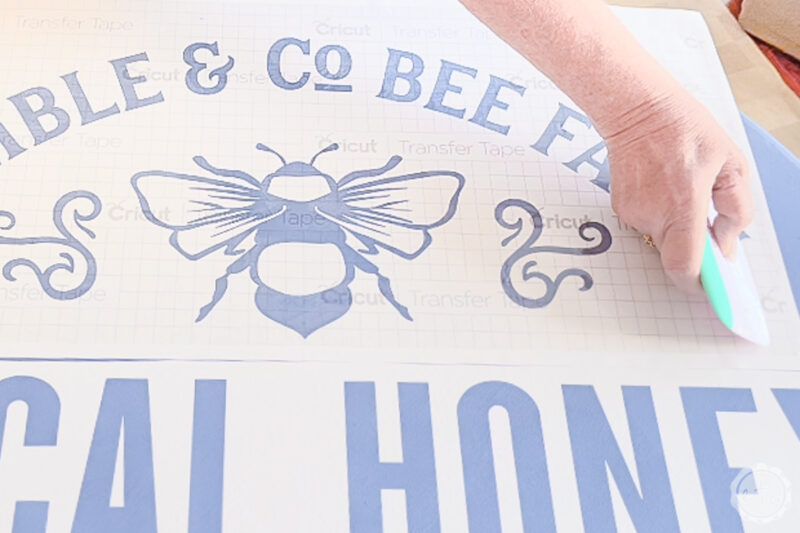
Then peel the transfer tape off it’s backing and smooth it down onto your vinyl. Make sure to start on one side and use your scraper tool to smooth it allll the way across your vinyl. Really burnish the transfer tape onto the vinyl so that they’re bonded.
Perfect.
Step 7: Peel Transfer Tape and Vinyl Design off the Backing
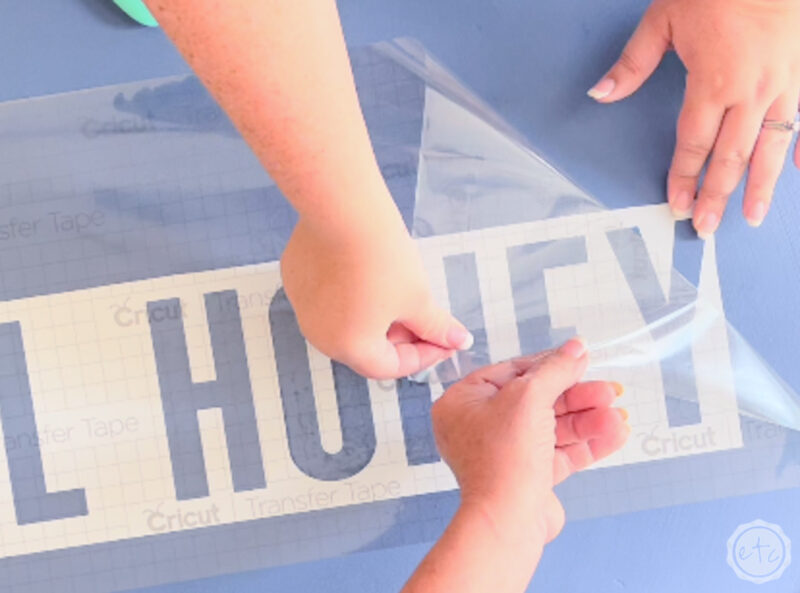
Now let’s remove that backing. Grab a corner of transfer tape and start peeling it up.
Go slow and make sure your vinyl is attached alllllllll the way across… if you go too quickly you run the risk of ripping your vinyl so be careful. We don’t want to mess up our vinyl at this point!
Just watch those letters (especially the insides and little curly q’s) and if a part of the vinyl doesn’t come up with the transfer tape that’s ok… just lay that part back down and use your scraper tool to really push the transfer tape down onto the vinyl.
It’ll come!
Step 8: Line Up Transfer Tape and Vinyl Decal then Smooth it onto Table
Perfect! So now we have a white piece of backing to throw away and our vinyl, transfer tape sandwich (that’s really sticky!
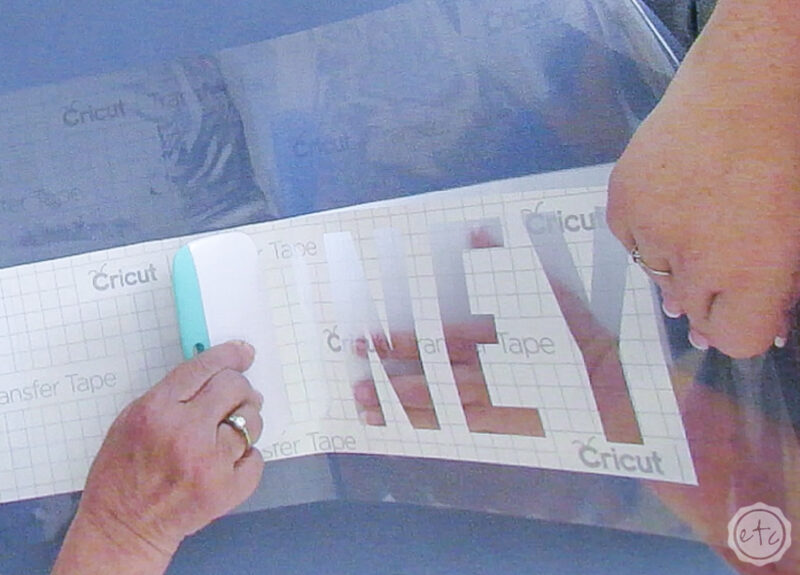
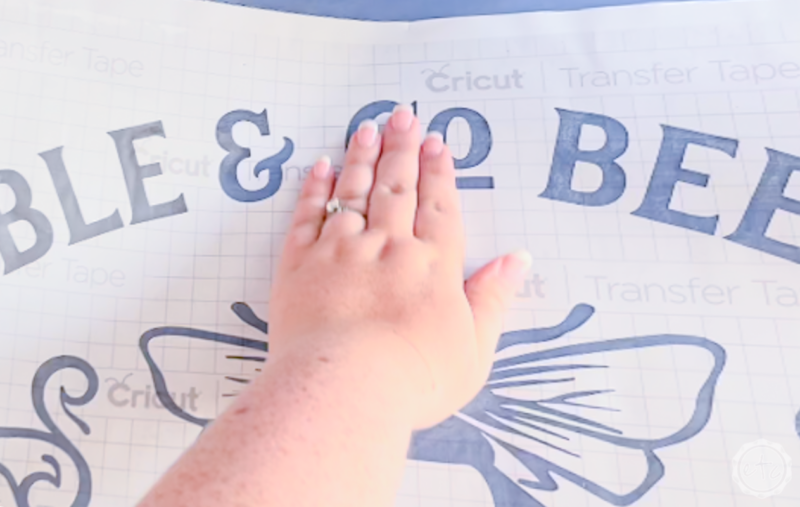
Find the center of your stencil and the center of the table… then lay down just the center. Make sure (double, triple check) that it’s alll lined up properly.
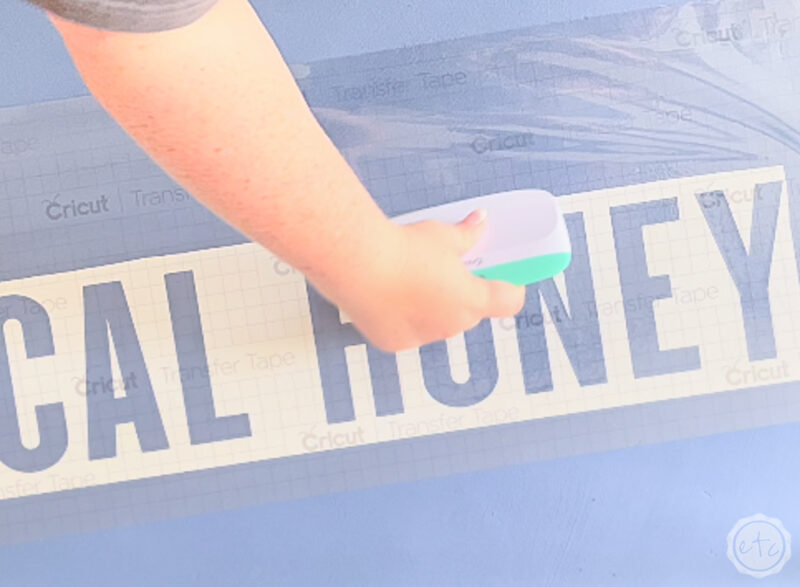
Once you’re sure you can start to smooth the vinyl, transfer tape sandwich down onto your table. Start in the middle where you lined everything up and smooth your hands out to the outside of the stencil. Make sure you go slow so you don’t miss any air bubbles!
Once everything is smoothed down you can grab your scraper and scrape, scrape, scrape. This scraping is called burnishing… it’s where you press down hard with your scraper to transfer your design from backing to transfer tape or from transfer tape to the surface of your project.
Once everything is burnished we’ll move on to the next step… removing the transfer tape!

Step 9: Peel up Transfer Tape Leaving your Stencil on the Surface
Ready? This step will be very familiar… it’s the same as when we first put the transfer tape on! Except now we’re peeling up the transfer tape and leaving the vinyl on the table!
For this step we want to go slow so that we don’t accidentally peel up any paint on the tables surface… plus tearing the vinyl now would be heartbreaking.
Truly heartbreaking.
Instead go slow and watch the vinyl… if you see a piece not bonded to the table just smooth it down with your scraper. Easy peezy!
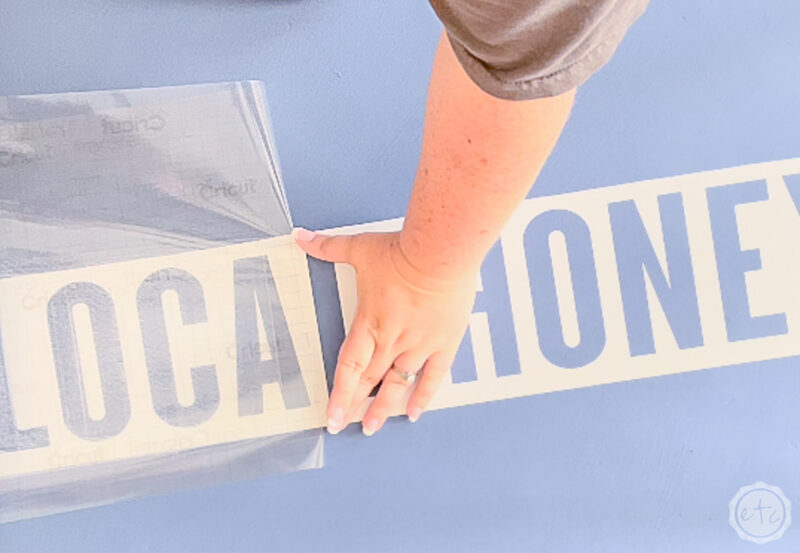
Once your transfer tape is off you can use it to transfer another piece of your stencil… making sure to line all 3 pieces up with the center!
Then once all three pieces are on the table make sure to use your scraper to smooth down the stencil alllllll the way across the table. We want a fully bonded stencil so that our paint won’t bleed underneath!
Now we’re ready for the fun part… paint!
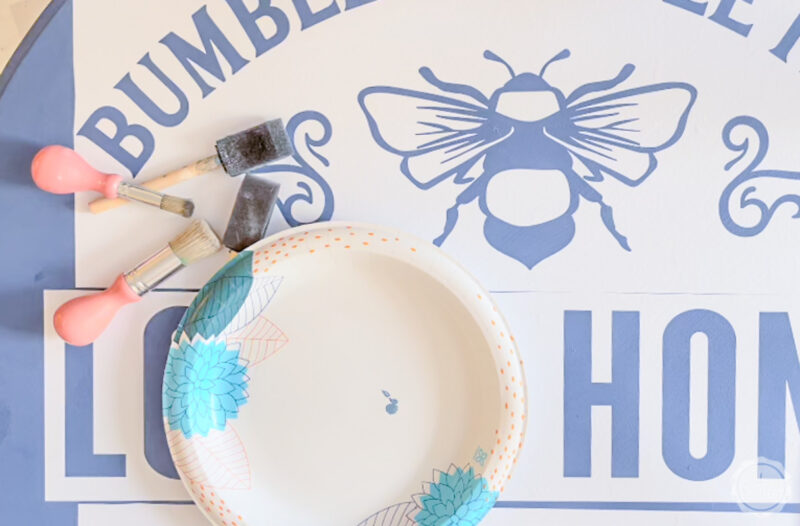
Step 10: Stencil your Design with Color #1
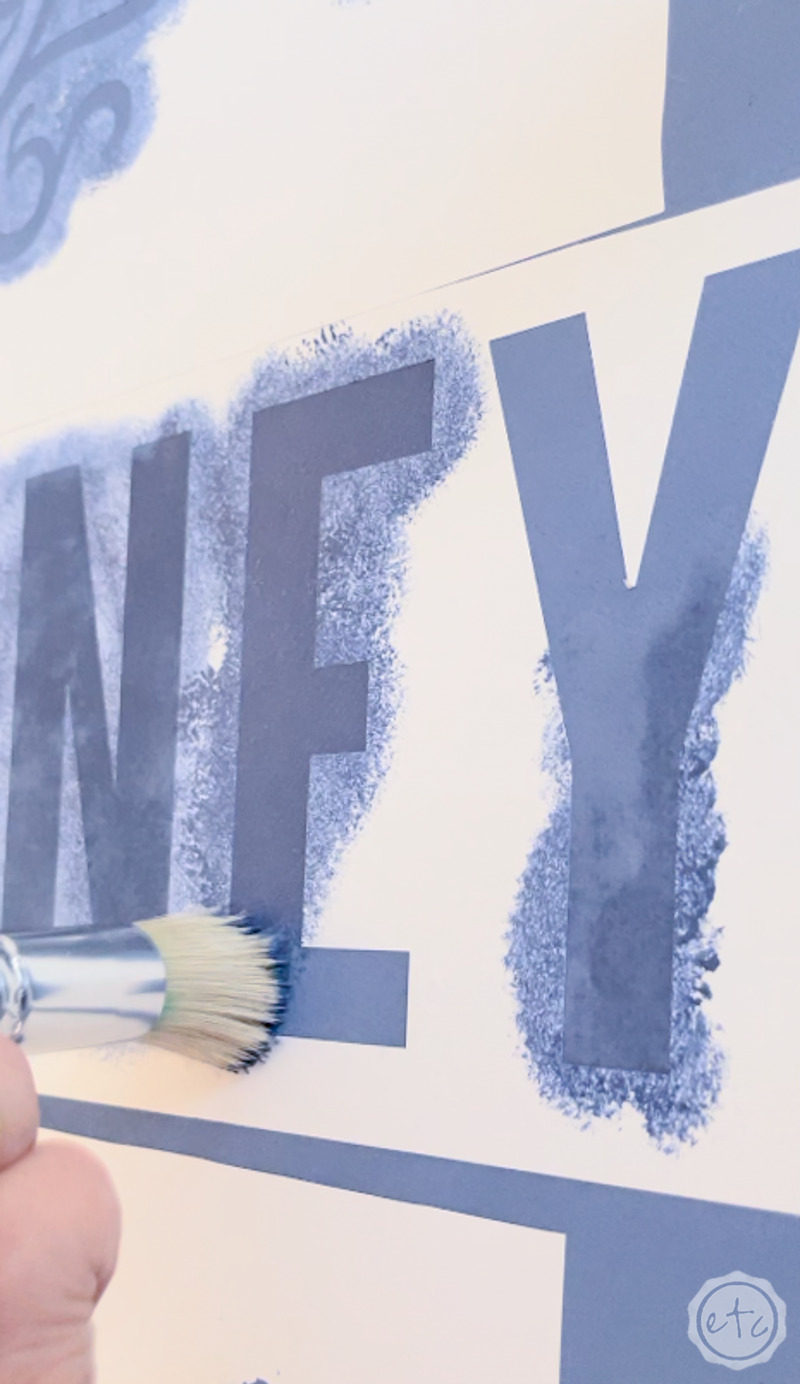
Ready to stencil? Since we’re using removable vinyl for this project and not stencil vinyl (please Cricut make smart stencil vinyl!) we’re going to use an old stencil trick… and stencil one coat of paint with the same color as our surface.
That way if anything bleeds it will be the same color as the table top and everything will blend together. Then when we add our second color (the true color) all of our edges will be sharp and clear.
For this piece we’re gong to stencil layer one with the same blue that’s on our table top. Make sure to use a stencil brush that’s very dry (dab off your paint and do NOT use a fully loaded brush… that’s just asking for trouble!) and instead of dragging your brush make sure to pounce it up and down.
Pounce, pounce, pounce!
Think short strokes with a dry brush and you’ll be fine!
Work your way across the table and then we’ll move on!

Step 11: Stencil your Design with Color # 2
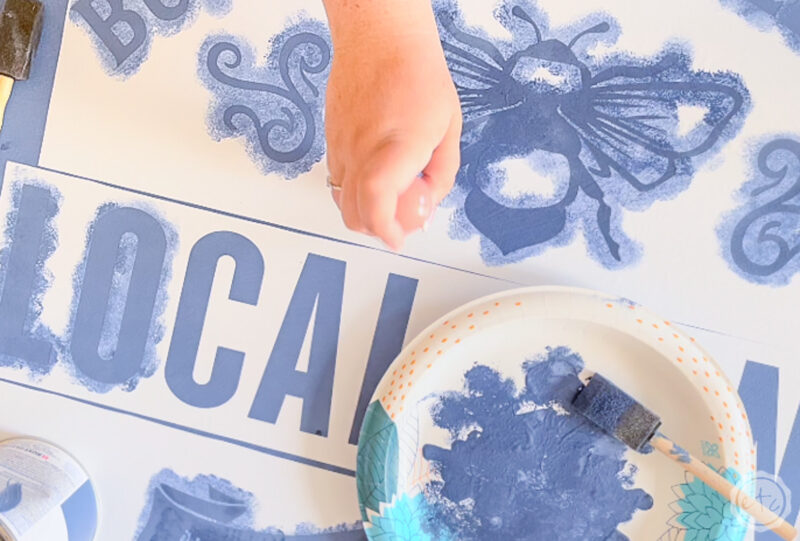
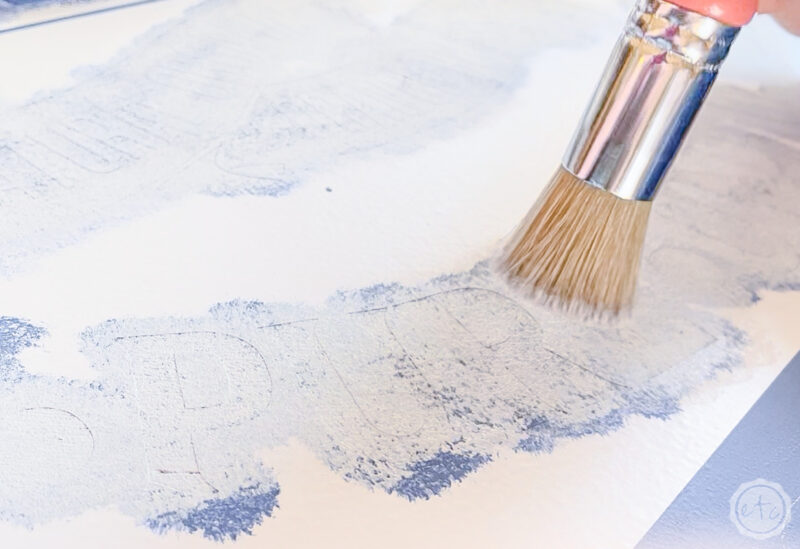
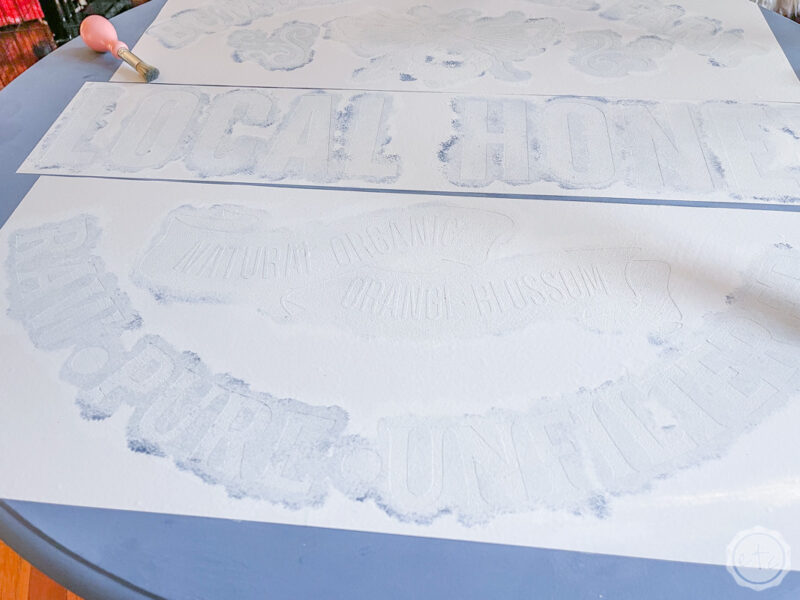
Once the first color is dry we can move on to layer 2… the white! Since I’m working with chalk paint it dries quickly… by the time I was done with the blue I could go back to the beginning and start with the white.
Keep in mind that the blue layer is amazing but it won’t work magic. So we still want to go in with a dry brush and pounce, pounce, pounce our white across the entire piece.
It’s not going to cover perfectly and that’s ok.
Light layers are always better than heavy layers when it comes to stencils!
I ended up doing 2 layers of the white… and even though I wanted to throw my brush across the room (never to be found again) by the time I was done it was totally worth it.
Take a look below… the left side has been stenciled with white once and the right side has been stenciled with white twice. You can literally see how much cleaner the right is… crisp and clear.
Beautiful darling!


Step 11: Add Details
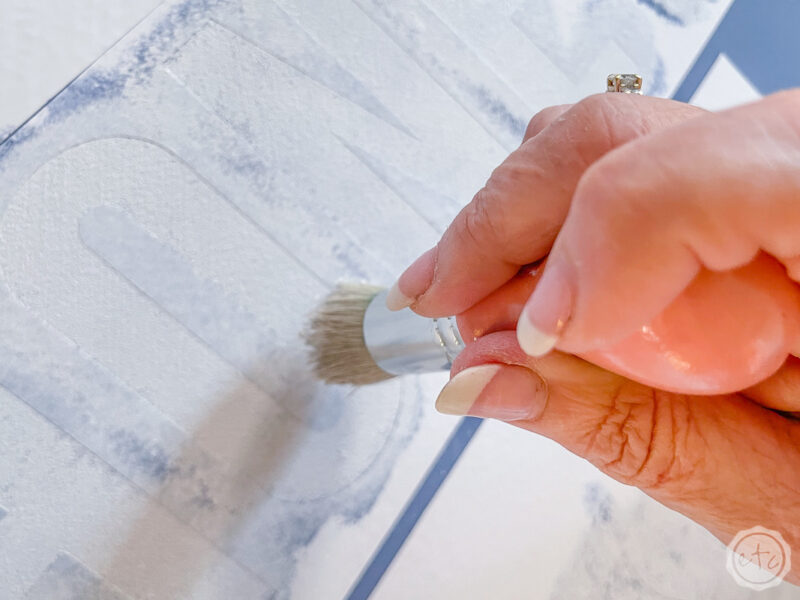
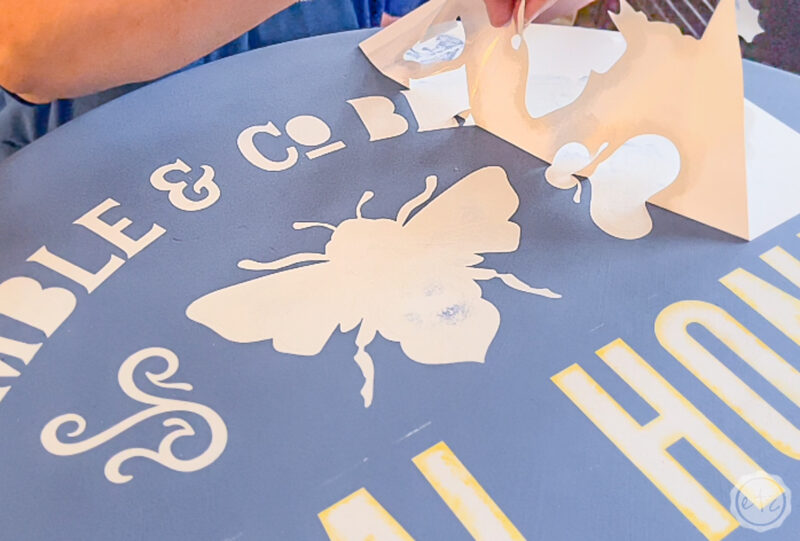
We are so close to finished! Our stencil is actually finished but the original design had the entire “local honey” tagline in bright yellow… as well as parts of the bee. I wanted to add a little spice but I didn’t want tooo much yellow.
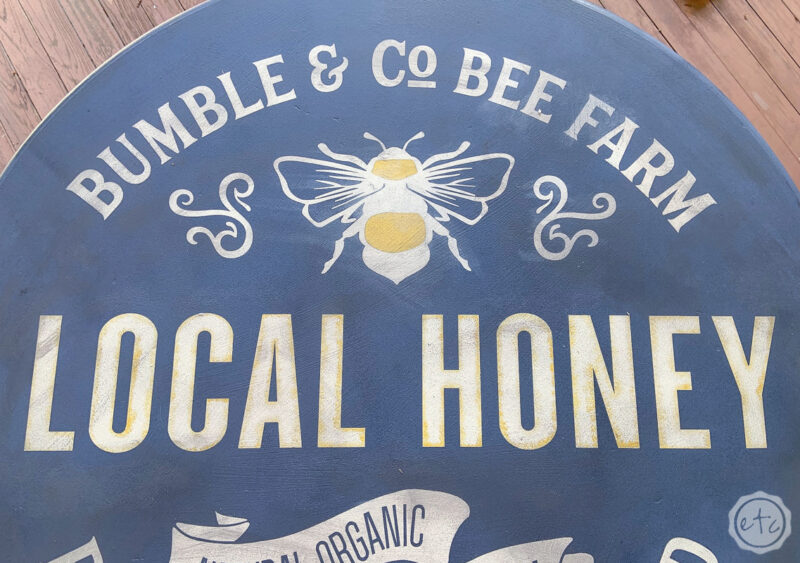
So instead I used a smaller brush to pounce a bit of yellow round the outside of the “local honey” letters. It looks like a little halo! I also grabbed a small brush and free painted the insides of the bee yellow. These two steps are completely unnecessary but I love how they look.
So cute!
Step 12: Remove your Stencil
This is literally the best part.
Take. that. stencil. off!
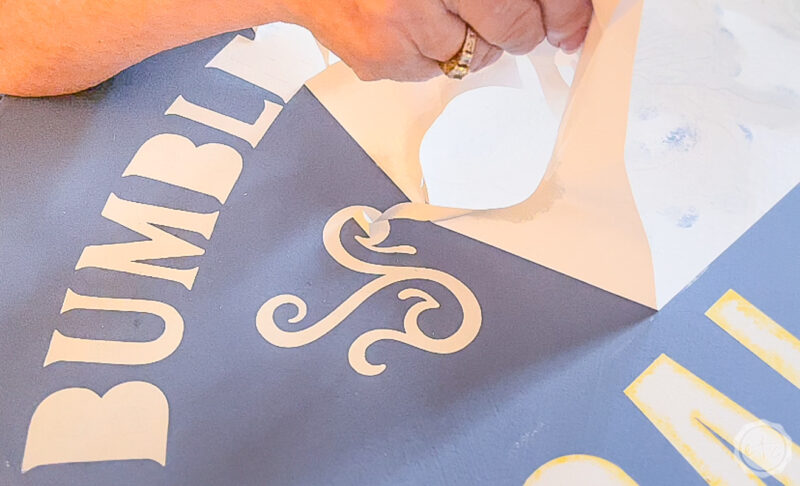
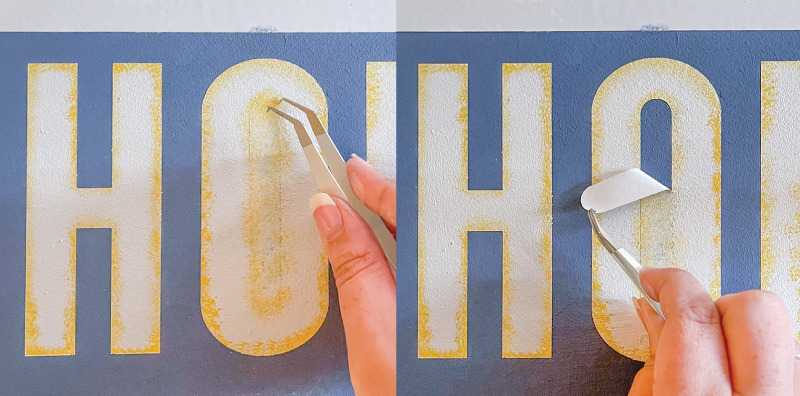
Go slow and peel it up fro one side to the other (I’d hate for the vinyl to pull up paint at this point!). Once you have all 3 larger pieces up we can grab a weeding tool and remove the letters!
Well, not just letters… anything small really.
Make sure to use the side of the weeding tool so you don’t stab holes in the table and go slow so you don’t scratch anything… but this is the point where you take it all off.
We don’t want any vinyl left on the table!



Optional Step 13: Distress your Table
Isn’t it beautiful!
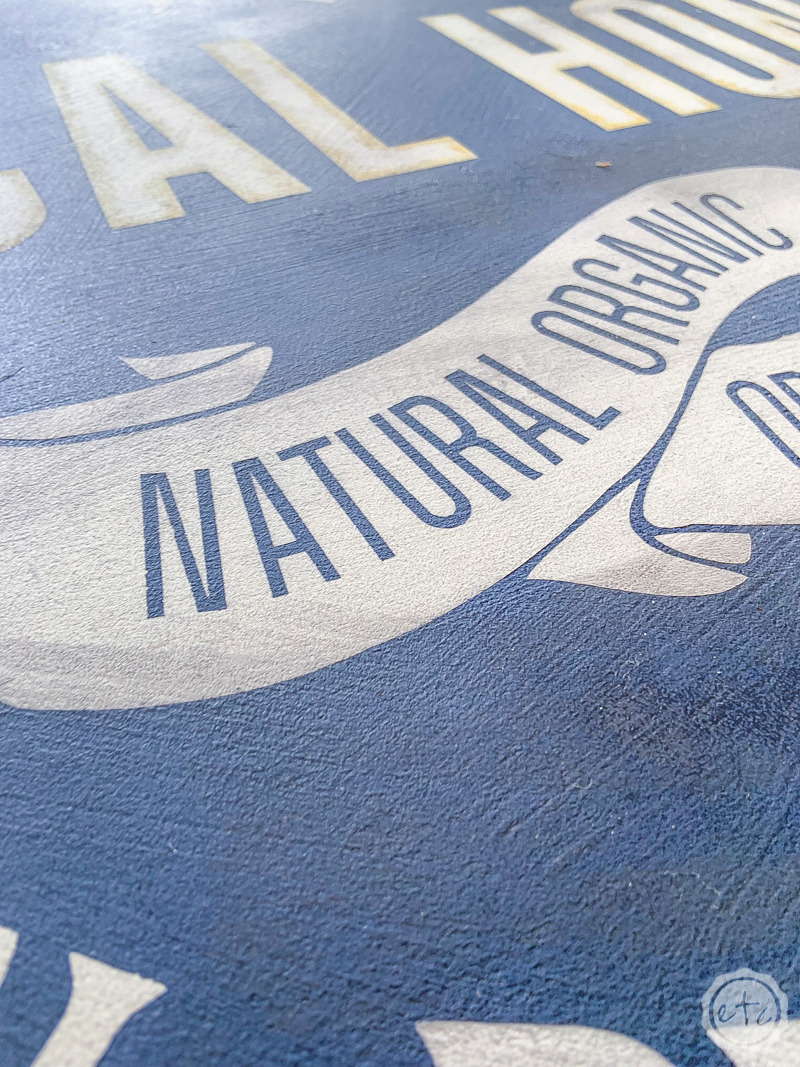
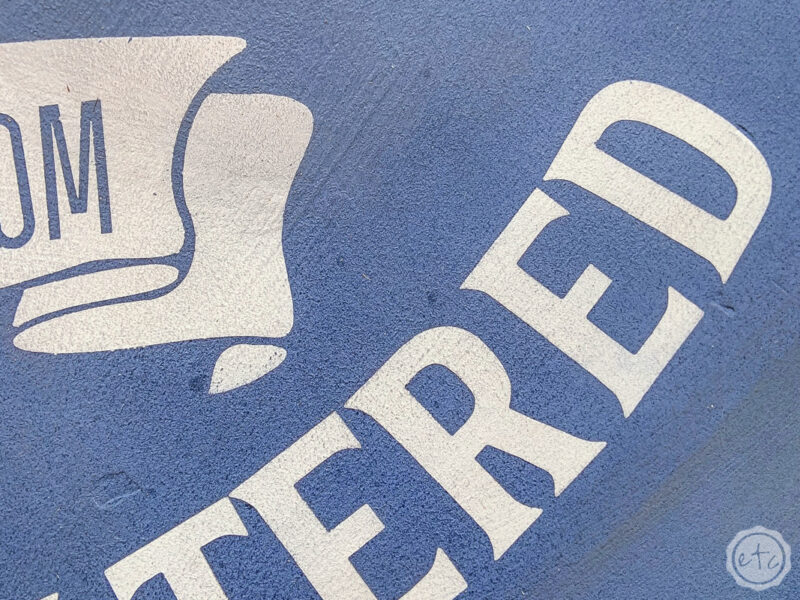
At this point you can totally leave it alone. The overall stencil is crisp and clear and the edges are *chief’s kiss* but my table has a lot of detail on the bottom… which means a little gray distressing wax. I can’t leave all those details undefined!
And since it doesn’t make any sense for the bottom of the table to be aged and distressed and the top to be perfect I went ahead and distressed the whole thing.
As a bonus I think distressing on top of a stencil helps it blend into the piece more and not look like it’s sitting on top of the paint. But don’t take my word for it: check it out.


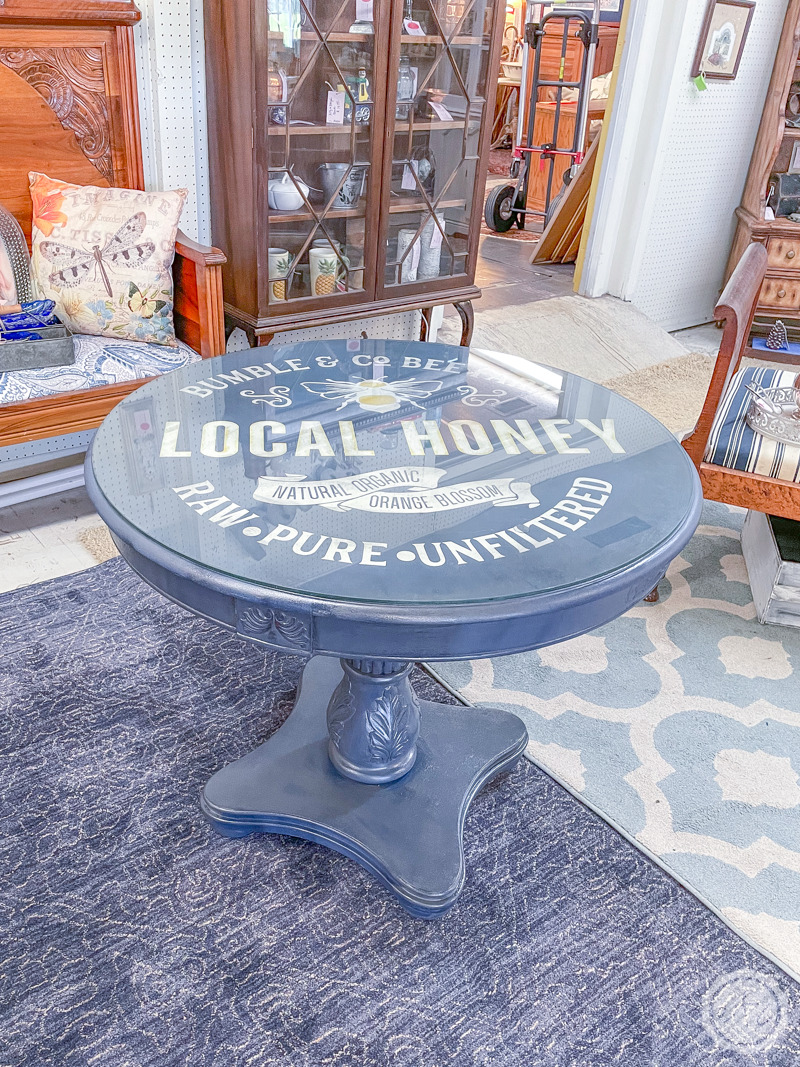
Step 14: Enjoy!
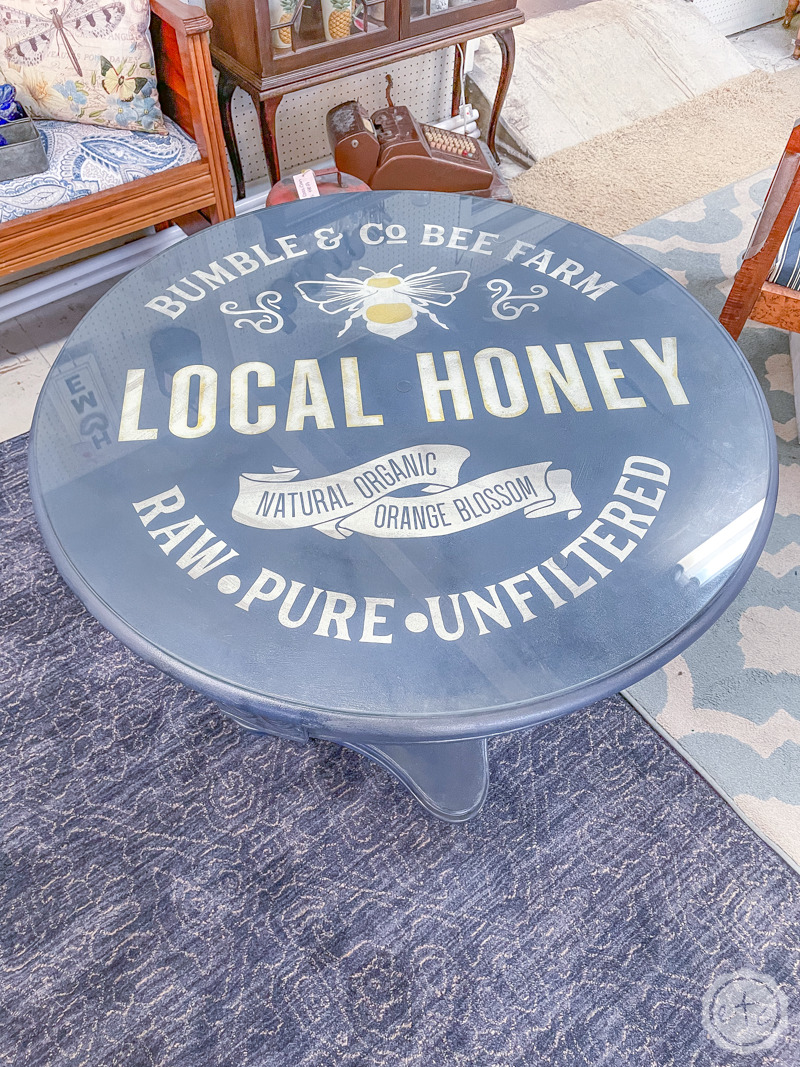
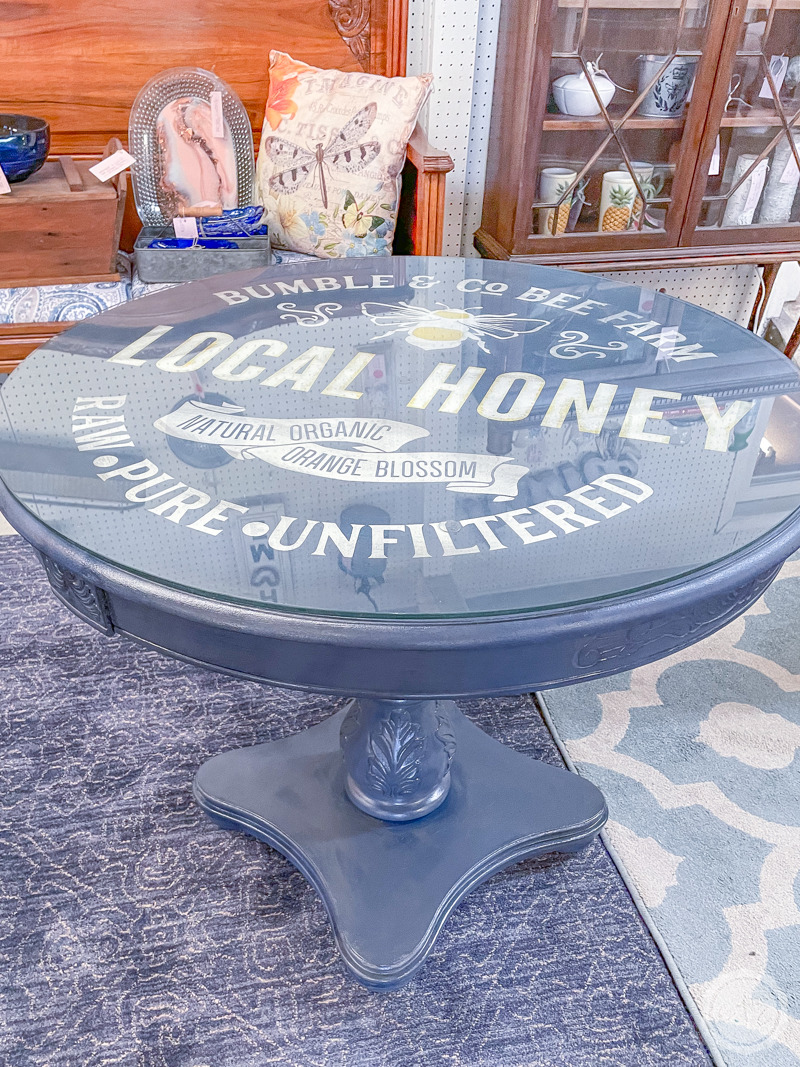
Now we’re done! We added a sealer to the whole table and a piece of glass over the top to protect the stencil and then it went off to live at our antique booth… hopefully not for long though!
Didn’t it turn out amazing?
Don’t you want to make all. the. stencils?
Mom’s already decided on another table to stencil so I think this might be my life now (I knew she had an ulterior motive for helping me!)

Looking for a walk-through on any other Cricut products? I’ve gone over alllll the basics here:
Get Your FREE PDF Guide!

Don't forget to snag your free PDF Guide to buying your first Cricut!










Leave a Reply